Home>Production & Technology>Stereo>How To Set Car Stereo Equalizer
Stereo
How To Set Car Stereo Equalizer
Modified: January 22, 2024
Learn how to set your car stereo equalizer to achieve the perfect sound balance and enhance your listening experience. Find step-by-step instructions and tips from stereo experts
(Many of the links in this article redirect to a specific reviewed product. Your purchase of these products through affiliate links helps to generate commission for AudioLover.com, at no extra cost. Learn more)
Table of Contents
- Introduction
- Understanding the Car Stereo Equalizer
- Step 1: Gathering the Required Tools and Materials
- Step 2: Locating the Equalizer Controls
- Step 3: Adjusting the Frequency Bands
- Step 4: Setting the Equalizer Presets
- Step 5: Customizing the Equalizer Settings
- Step 6: Saving and Resetting the Equalizer Settings
- Conclusion
Introduction
When it comes to enhancing the audio quality in your car, a car stereo equalizer is a handy tool. The equalizer allows you to fine-tune the audio frequencies to achieve the desired sound output. Whether you’re a bass lover or prefer a balanced audio experience, the car stereo equalizer gives you the flexibility to customize the sound according to your preferences.
In this article, we will guide you on how to set up a car stereo equalizer. We will walk you through the steps involved in adjusting the frequency bands, setting the equalizer presets, and customizing the equalizer settings to suit your audio preferences. By following these steps, you can take full control of your car’s audio system and enjoy a rich, immersive musical experience on your rides.
To get started with setting up your car stereo equalizer, you will need a few essential tools and materials. These include:
- Car stereo equalizer unit
- Owner’s manual for your car stereo system
- Access to the car audio system
- Patience and a keen ear for audio
Before diving into the process, it’s important to note that the specific steps and options may vary depending on the make and model of your car stereo system. It’s always a good idea to refer to the owner’s manual for detailed instructions specific to your system.
Now that you have a general understanding of the car stereo equalizer and have gathered the necessary tools, let’s move on to the next step: locating the equalizer controls.
Understanding the Car Stereo Equalizer
Before you begin setting up the car stereo equalizer, it’s important to have a basic understanding of how it works. The equalizer is a device that allows you to adjust the audio frequencies to achieve the desired sound quality. It consists of several frequency bands, each corresponding to a specific range of audio frequencies.
Typically, car stereo equalizers come with a range of frequency bands, including the low bass frequencies, midrange frequencies, and high treble frequencies. By adjusting the levels of these frequency bands, you can control the balance of the audio and tailor it to your preferences.
The equalizer often comes with pre-set sound profiles or presets that cater to different music genres or audio preferences. These presets are designed to enhance specific aspects of the sound, such as bass, vocals, or treble. Additionally, some equalizers allow you to manually customize the frequency bands to fine-tune the audio output.
When using the equalizer, it’s important to avoid over-compensating for certain frequencies, as this can lead to distortion or an unnatural sound. It’s best to make subtle adjustments and find the balance that suits your personal taste and the acoustics of your car.
Now that you have a basic understanding of how the car stereo equalizer works, let’s move on to the next step: gathering the required tools and materials.
Step 1: Gathering the Required Tools and Materials
Before you can start adjusting your car stereo equalizer, you will need to gather a few essential tools and materials. Having these items on hand will ensure a smooth setup process. Here’s what you’ll need:
- Car stereo equalizer unit: Make sure you have a compatible equalizer unit that is suitable for your car audio system. You can purchase one from an electronics store or online retailer. Ensure that it has the necessary connections to integrate with your existing setup.
- Owner’s manual for your car stereo system: Keep the owner’s manual handy, as it provides specific instructions tailored to your car’s audio system. It will guide you through the process of connecting and configuring the equalizer properly.
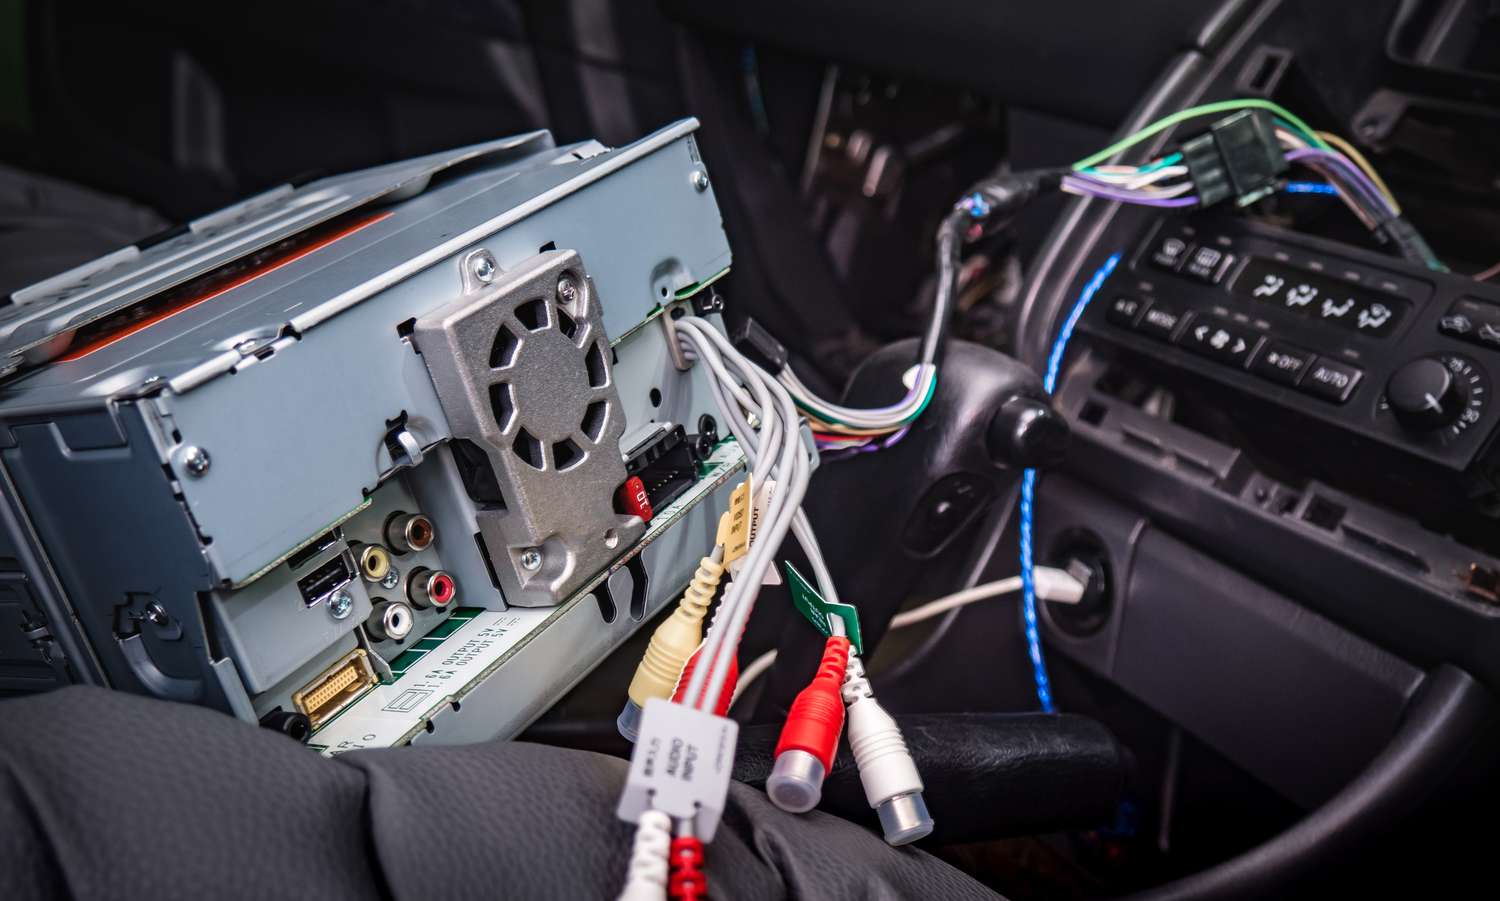
- Access to the car audio system: You’ll need access to your car’s audio system to make the necessary connections and adjustments. Make sure you have the tools required to remove any panels or access the audio controls.
- Patience and a keen ear for audio: Setting up the equalizer requires patience and a keen ear to fine-tune the sound to your liking. Take your time to make incremental adjustments and listen carefully to the changes to achieve optimal audio quality.
It’s worth noting that the specific tools and materials required may vary depending on your car’s make and model, as well as the type of equalizer unit you have chosen. Always refer to the owner’s manual for your particular car stereo system and equalizer unit to ensure you have all the necessary items.
Now that you have gathered the required tools and materials, you can move on to the next step: locating the equalizer controls.
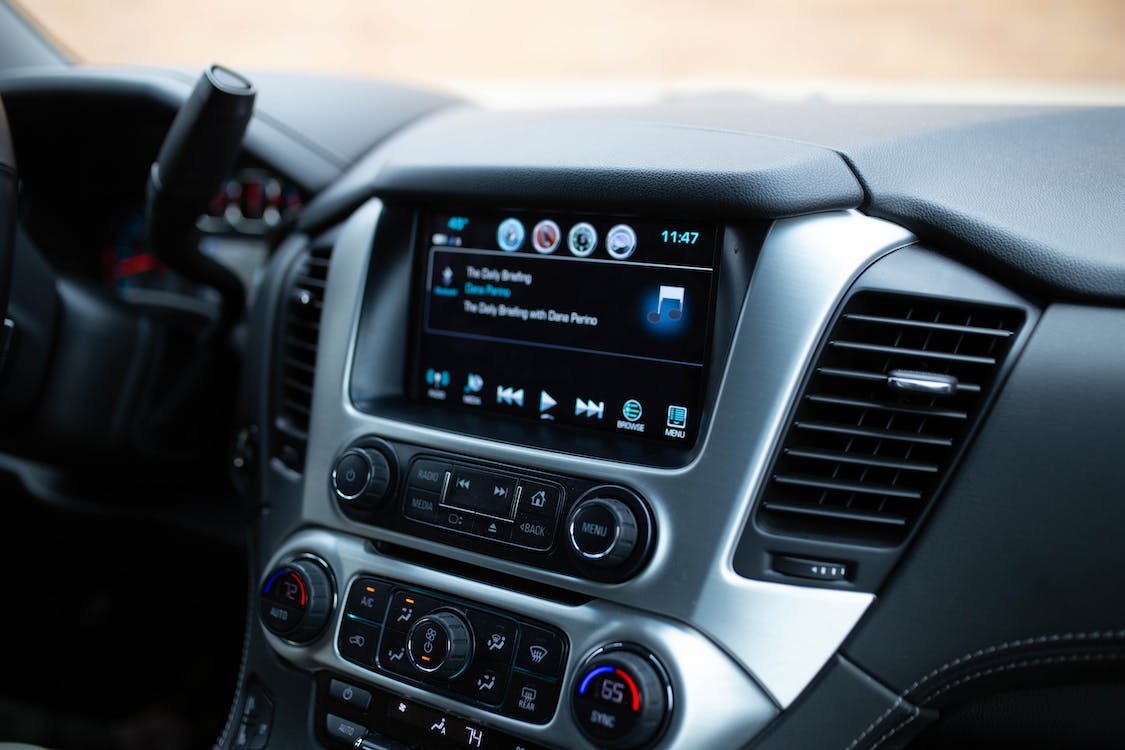
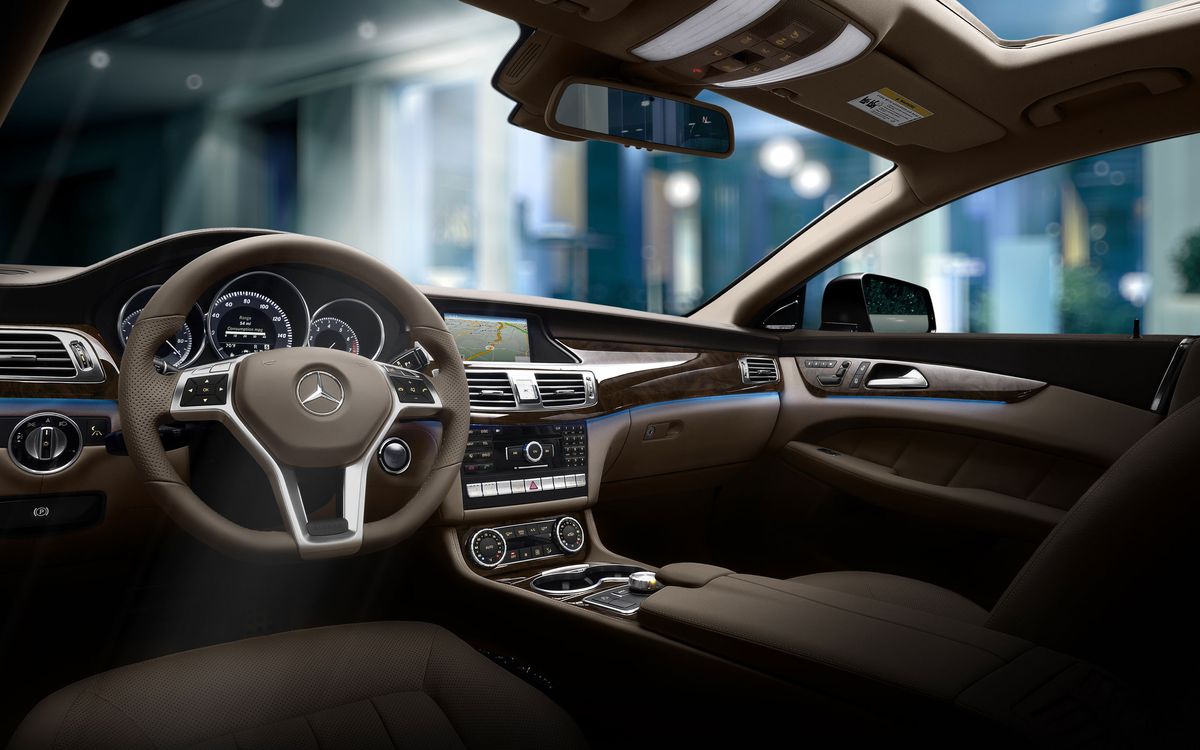
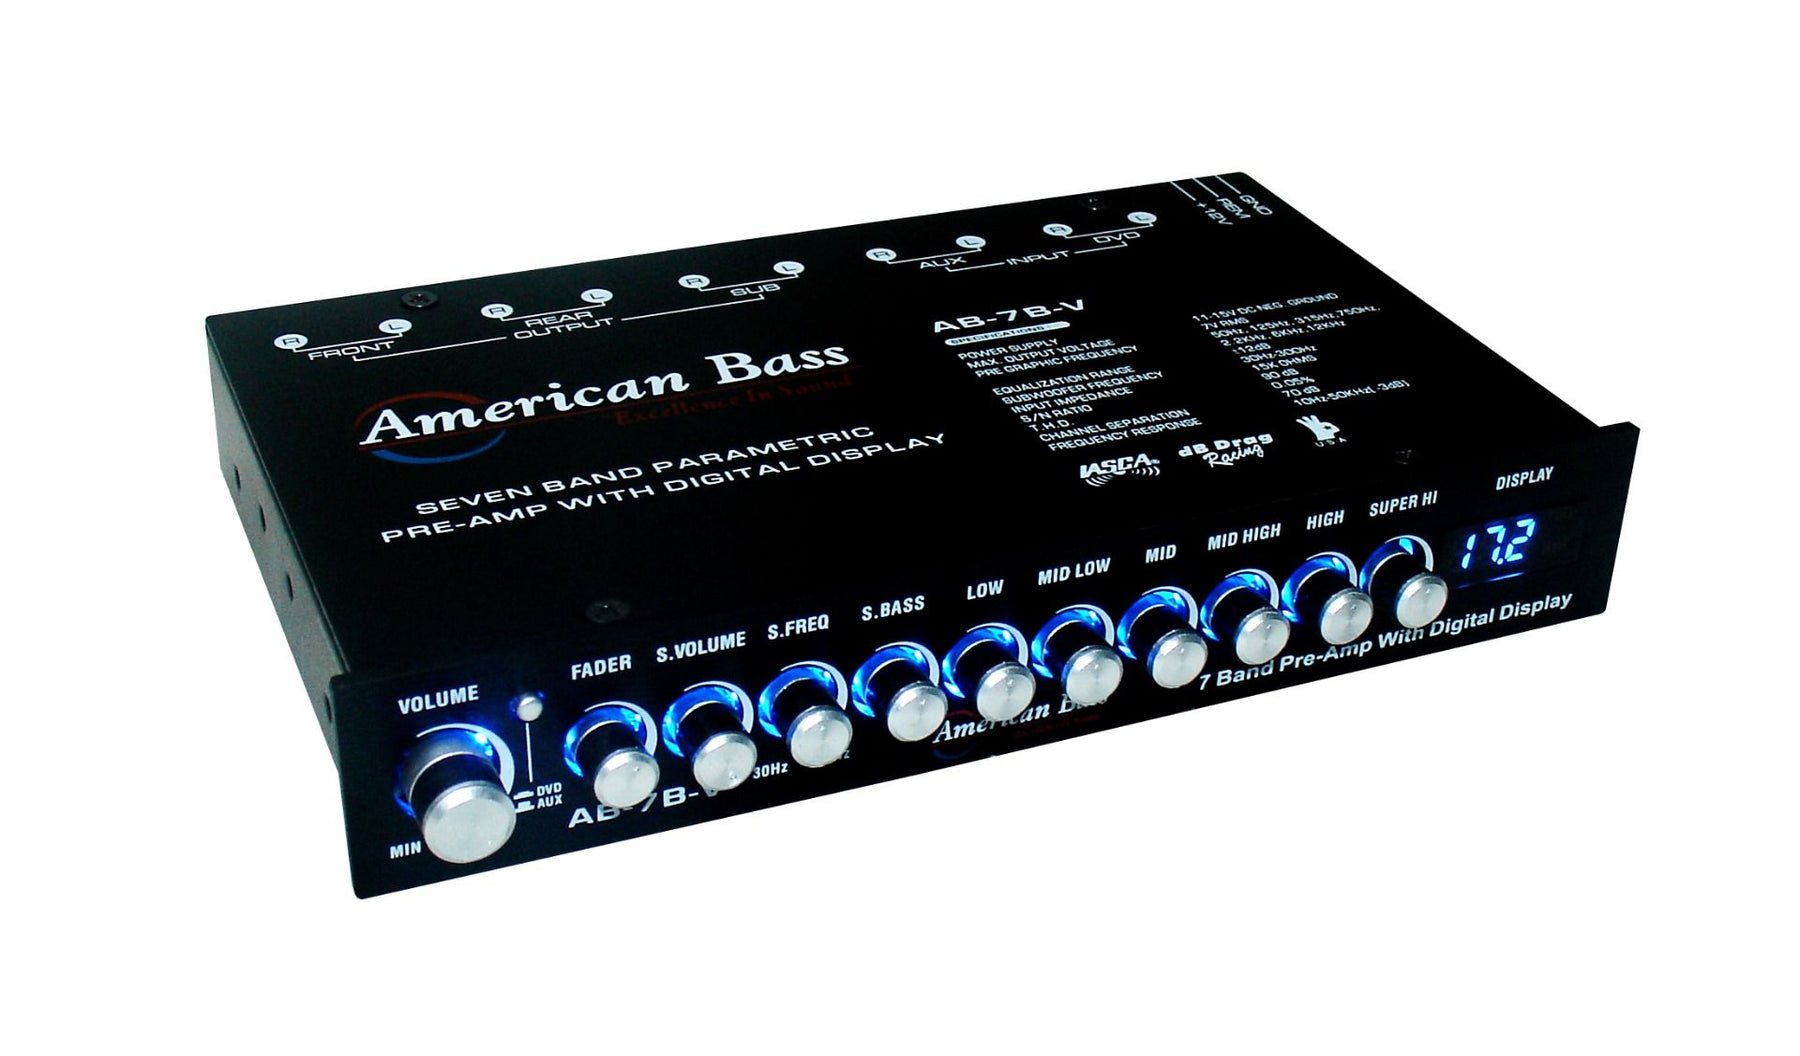
Step 2: Locating the Equalizer Controls
Once you have all the necessary tools and materials, the next step is to locate the equalizer controls on your car stereo system. The exact location of the controls may vary depending on the make and model of your car, but here are some common places to look:
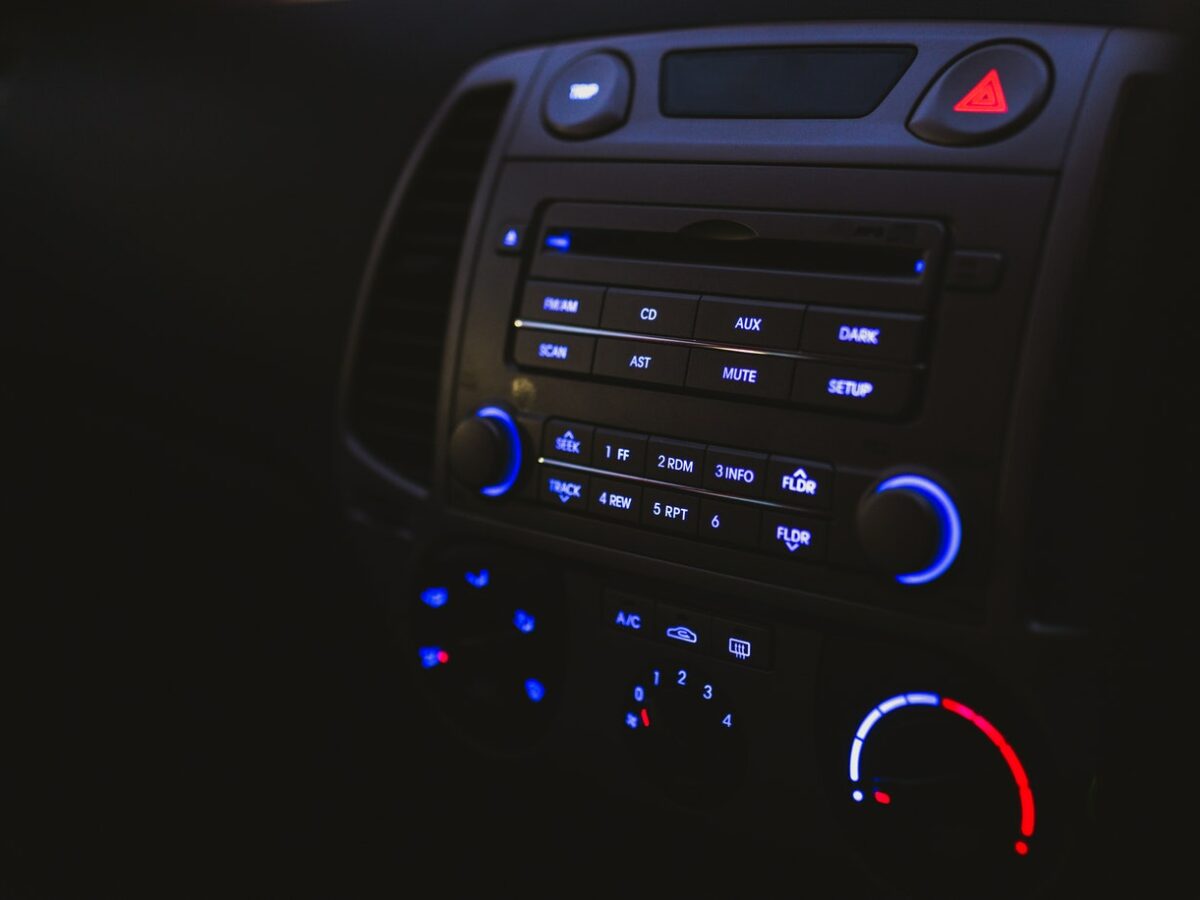
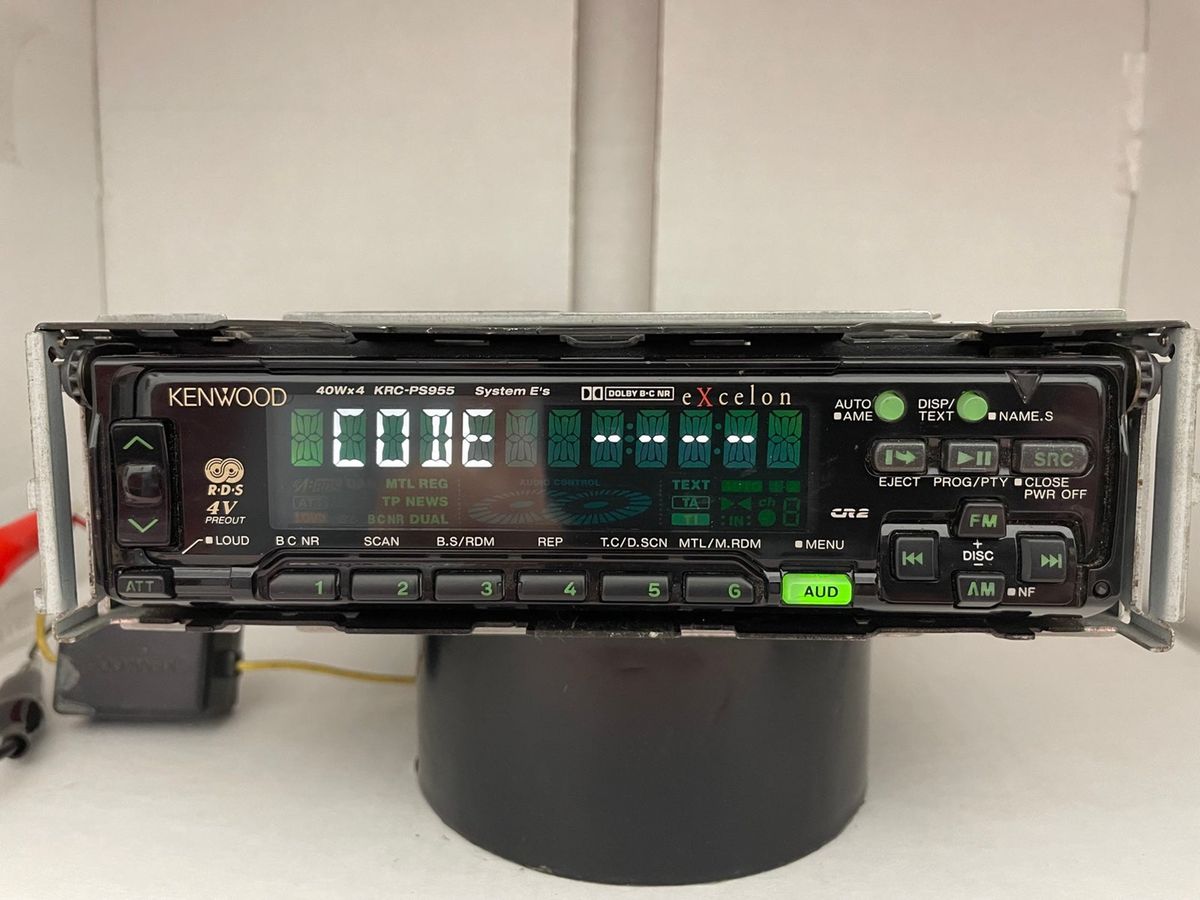
- Head Unit: In some cars, the equalizer controls are integrated directly into the head unit of the car stereo system. Look for buttons or knobs labeled “EQ” or “Equalizer” on the front panel of the head unit.
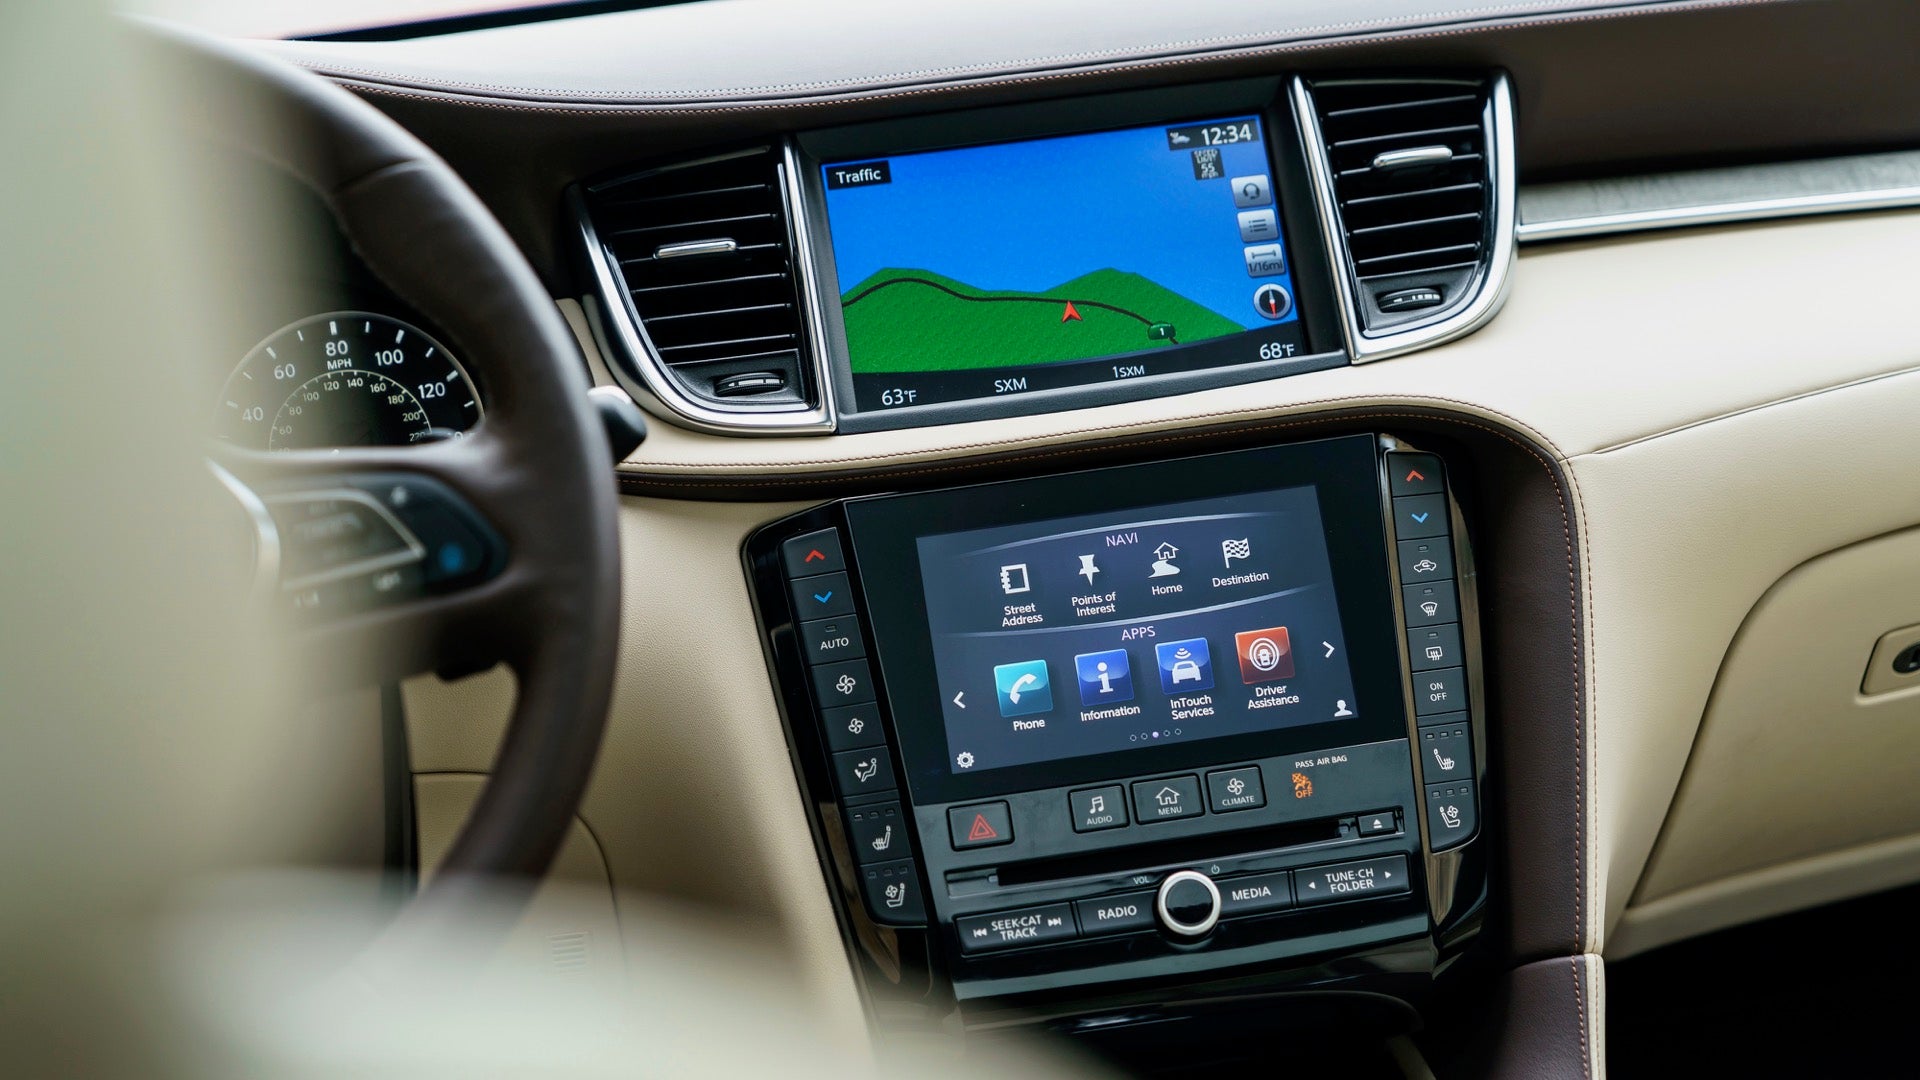
- Touchscreen Display: If your car has a touchscreen display for the audio system, the equalizer controls may be accessed through the menu or settings options. Look for an “Audio” or “Sound” section in the menu, and you should find the equalizer settings there.
- Remote Control: Some car stereo systems come with a remote control that allows you to adjust the equalizer settings from a distance. Check if your car stereo system includes a remote control and refer to the instructions to locate the equalizer controls on it.
If you’re having trouble finding the equalizer controls, refer to the owner’s manual for your car stereo system. It will provide precise instructions and illustrations to help you locate the controls specific to your car’s audio system.
Once you have identified the equalizer controls, you’re ready to move on to the next step: adjusting the frequency bands and fine-tuning the sound. Stay tuned!
html
Step 3: Adjusting the Frequency Bands
Now that you have located the equalizer controls, it’s time to adjust the frequency bands on your car stereo equalizer. The frequency bands allow you to control the audio output at different ranges of frequencies, such as bass, midrange, and treble.
Start by familiarizing yourself with the different frequency bands available on your equalizer. They are typically represented by sliders or knobs, each corresponding to a specific frequency range. Common frequency bands include:
- Bass: This frequency band controls the low-end tones and impacts the depth and richness of the bass. Adjust the slider or knob for the bass frequency to increase or decrease the bass levels according to your preference.
- Midrange: This frequency band influences the vocals and instruments’ clarity and presence. Use the midrange slider or knob to boost or cut the mid frequencies to shape the audio to your liking.
- Treble: The treble frequency band handles the high-end tones, such as cymbals and higher-pitched instrumentation. Adjust the treble slider or knob to add shimmer and brightness or reduce sharpness in the audio.
When adjusting the frequency bands, it’s essential to make subtle changes and listen carefully to the audio output. Start with a flat or neutral setting, then make gradual adjustments to each frequency band. Take note of how each adjustment affects the overall sound and make adjustments accordingly.
Keep in mind that everyone’s audio preferences are subjective. Experiment with different settings and find the balance that suits your taste and the type of music you enjoy.
Once you are satisfied with the frequency band adjustments, it’s time to move on to the next step: setting the equalizer presets. Stay tuned for the next part of the process!
html
Step 4: Setting the Equalizer Presets
Setting the equalizer presets on your car stereo equalizer can be a convenient way to achieve a desired sound profile without manually adjusting each frequency band. Presets are pre-configured equalizer settings designed to enhance specific music genres or audio preferences. Here’s how to set the equalizer presets:
- Refer to the owner’s manual for your car stereo system to determine how to access and navigate the equalizer presets menu.
- Select the equalizer presets option from the menu. It may be labeled as “Sound Modes,” “Audio Profiles,” or something similar.
- Browse through the available presets and select the one that best suits your preferences or the music genre you are currently listening to. Common presets include “Rock,” “Pop,” “Jazz,” “Classical,” and “Flat,” which provides a neutral sound.
- Once you have selected a preset, listen to the audio output and make any fine adjustments if necessary. Some presets might be too intense or subtle for your liking, so feel free to make additional modifications based on your preference.
- Take note of any preset customizations you make to help you remember your preferred sound profiles for different music genres or listening environments.
Remember, presets are helpful starting points, but you can always customize the settings further to suit your unique audio preferences. Don’t hesitate to experiment and tweak the equalizer settings to achieve the best sound quality for your car stereo system.
With the equalizer presets set, you’re ready to move on to the next step: customizing the equalizer settings to fine-tune the audio output. Keep reading!
html
Step 5: Customizing the Equalizer Settings
Customizing the equalizer settings allows you to have complete control over the audio output and tailor it precisely to your preferences. Here’s how you can customize the equalizer settings on your car stereo:
- Access the equalizer menu on your car stereo system. Refer to the owner’s manual for specific instructions on how to navigate to the equalizer settings.
- Once in the equalizer settings, you will see the individual frequency bands and their corresponding sliders or knobs. Here, you have the freedom to manually adjust each frequency band according to your preference.
- Start by listening to a piece of music or audio sample that covers a wide range of frequencies. This will allow you to identify any specific areas that you want to enhance or reduce.
- Make small, incremental adjustments to the sliders or knobs of the frequency bands. Pay attention to how each adjustment affects the overall sound. For example, if you want more pronounced vocals, you can increase the midrange frequency band. If you prefer a richer bass, you can boost the bass frequency.
- Take your time and experiment with different settings until you achieve the desired audio quality. It’s recommended to make small changes and listen to the results before making further adjustments. Avoid overcompensating or making drastic changes, as it can lead to distorted or unnatural sound.
- Personalize the equalizer settings based on your preferences and the type of music or audio you typically listen to. Remember that everyone’s hearing is unique, so don’t be afraid to trust your own judgment.
By customizing the equalizer settings, you can achieve a tailored audio experience that perfectly suits your taste and the acoustic environment of your car. Enjoy experimenting with different settings and fine-tuning the audio output to create your ideal sound signature.
Once you are satisfied with the customized equalizer settings, it’s important to save them and, if necessary, reset them to default. Let’s move on to the final step: saving and resetting the equalizer settings.
html
Step 6: Saving and Resetting the Equalizer Settings
After you have customized the equalizer settings to your liking, it’s important to save them so that you can easily access your preferred sound profile in the future. Additionally, knowing how to reset the equalizer settings can be helpful if you want to start fresh or revert back to the default settings. Here’s how to save and reset the equalizer settings:
- Once you have finalized the customized equalizer settings, look for an option in the equalizer menu to save the settings. It may be labeled as “Save,” “Store,” or something similar. Select this option to save your customized settings.
- If you’re not sure how to save the settings, refer to the owner’s manual for your specific car stereo system. It will provide detailed instructions on how to save the equalizer settings.
- Saving the settings will allow you to recall them easily in the future. The next time you power on your car stereo, the customized equalizer settings should be retained unless you manually change them.
- If you ever want to reset the equalizer settings to their default values, look for a “Reset” or “Restore Default” option in the equalizer menu. Select this option to revert the equalizer settings back to their original settings.
- Keep in mind that resetting the equalizer settings will erase any customizations you have made. Only reset the settings if you want to start fresh or if you are not satisfied with your current adjustments.
By saving and resetting the equalizer settings, you can easily switch between different sound profiles or revert back to the default settings whenever necessary.
Congratulations! You have successfully completed the process of setting up your car stereo equalizer and customizing the audio output according to your preferences. Enjoy your optimized audio experience on your car rides!
If you ever want to fine-tune the equalizer settings or try out different presets, feel free to revisit the steps outlined in this guide. Remember that the equalizer settings are subjective, and it may take some trial and error to discover the perfect sound for you.
Thank you for reading, and happy listening!
html
Conclusion
Setting up a car stereo equalizer is a great way to take control of your audio experience and tailor it to your preferences. By adjusting the frequency bands, setting presets, and customizing the equalizer settings, you can achieve the perfect sound profile for your car audio system.
Throughout this guide, we have covered the step-by-step process of setting up and optimizing your car stereo equalizer. From gathering the required tools and materials to adjusting the frequency bands and customizing the equalizer settings, each step is crucial in achieving an enhanced audio experience.
Remember, every car stereo system may have different controls and options, so it’s important to consult the owner’s manual for detailed instructions specific to your system.
By following these steps and experimenting with different settings, you can find the optimal sound balance that suits your preferences and the acoustics of your car. Whether you’re a bass enthusiast, a fan of crisp vocals, or looking for a balanced audio experience, the car stereo equalizer allows you to personalize the sound to your liking.
So, go ahead and unleash the full potential of your car’s audio system by setting up and fine-tuning your car stereo equalizer. Enjoy the immersive and high-quality sound on your drives, making every journey a musical delight!
Thank you for reading, and we hope this guide has been helpful in assisting you with your car stereo equalizer setup. Happy listening!