Home>Devices & Equipment>Car Audio>How To Set Car Audio Equalizer
Car Audio
How To Set Car Audio Equalizer
Modified: January 22, 2024
Learn how to set the car audio equalizer for optimal sound quality. Enhance your car audio experience with our step-by-step guide.
(Many of the links in this article redirect to a specific reviewed product. Your purchase of these products through affiliate links helps to generate commission for AudioLover.com, at no extra cost. Learn more)
Table of Contents
Introduction
Welcome to the world of car audio! If you’re a music enthusiast who enjoys quality sound while driving, then having a car audio equalizer is essential. An audio equalizer allows you to adjust and fine-tune the frequency response of your car’s audio system, giving you control over the sound quality and making your audio experience more enjoyable.
Whether you’re a casual listener or a hardcore audiophile, understanding how to set up and optimize your car audio equalizer is crucial. This article will guide you through the process, providing you with the knowledge and tools to achieve the best sound possible in your vehicle.
Before we dive into the nitty-gritty details of equalizer settings, it’s important to emphasize the impact that a well-tuned car audio system can have on your overall driving experience. Imagine cruising down the highway, music playing with crystal-clear highs, rich mids, and punchy lows. The right equalizer settings can elevate your favorite songs to new heights, bringing out every detail and nuance.
Not only does a properly set audio equalizer enhance your listening pleasure, but it also eliminates the need to pump up the volume to compensate for weak or unbalanced frequencies. This can help avoid distortion and speaker damage, as well as maintain audio clarity at lower volumes.
Setting up your car audio equalizer may seem daunting at first, but with a little bit of knowledge and experimentation, you’ll be well on your way to achieving audio perfection. So, let’s dive in and discover the art of tuning your car audio equalizer!
Understanding the Audio Equalizer
Before we delve into the process of setting up your car audio equalizer, it’s important to have a basic understanding of what an equalizer is and how it works.
An audio equalizer, also known as an EQ, is a device or software that allows you to adjust the frequency response of an audio signal. It essentially allows you to control the balance between different frequency bands, ranging from low frequencies (bass) to mid-range frequencies (vocals and instruments) to high frequencies (treble).
The equalizer achieves this by using a series of adjustable filters, known as bands, which correspond to specific frequency ranges. Each band can be adjusted to boost (increase) or cut (decrease) the level of frequencies within that range. Most car audio equalizers feature multiple bands, typically ranging from three to thirteen.
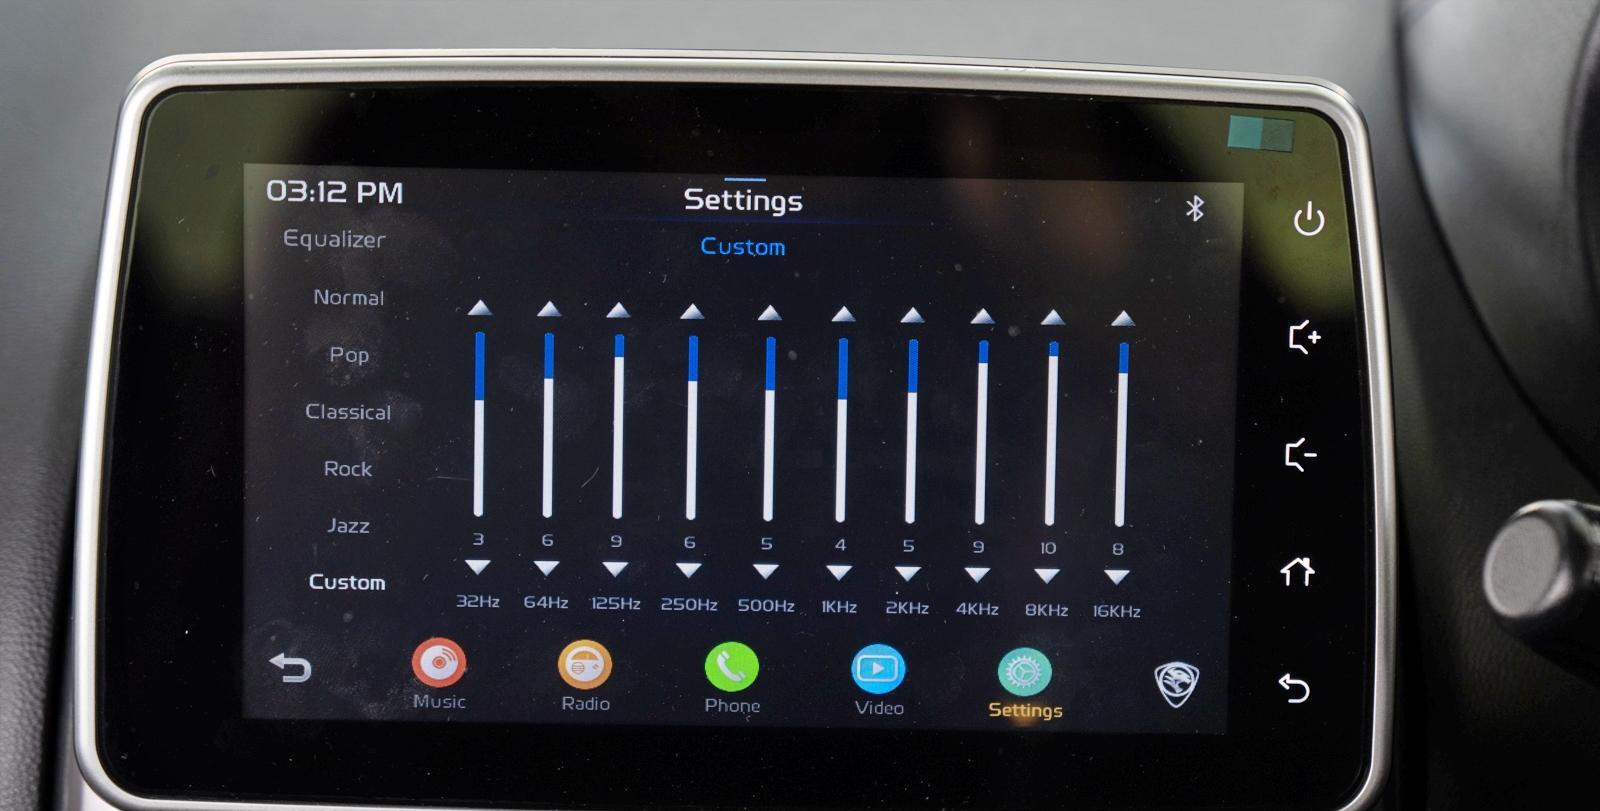
Understanding the frequency range is crucial when setting up your car audio equalizer. The human hearing range is roughly between 20Hz (low-frequency bass) to 20kHz (high-frequency treble). The frequencies within this range are responsible for the different tonal characteristics of our favorite songs. By adjusting the equalizer settings, you’ll be able to emphasize or attenuate specific frequencies, shaping the overall sound to your preference.
For example, boosting the low frequencies can result in a more pronounced bass response, giving your music a deeper and thumping feel. On the other hand, cutting the high frequencies can help reduce harshness or sibilance, creating a smoother and more balanced sound.
It’s important to note that not all car audio systems are created equal. The quality and capabilities of your audio system, including the speakers and amplifiers, will impact the results of your equalizer adjustments. Additionally, the acoustic characteristics of your vehicle’s interior, such as its size, shape, and materials, can also affect the overall sound quality.
Now that you have a basic understanding of what an audio equalizer is and how it works, it’s time to move on to the next step: setting up your car audio equalizer. This process will involve adjusting the frequency bands, balancing the equalizer settings, and fine-tuning the sound to achieve the best audio experience in your vehicle.
Setting up Your Car Audio Equalizer
Now that you have a good understanding of what an audio equalizer is, it’s time to dive into the process of setting up your car audio equalizer. Follow these steps to optimize your sound quality:
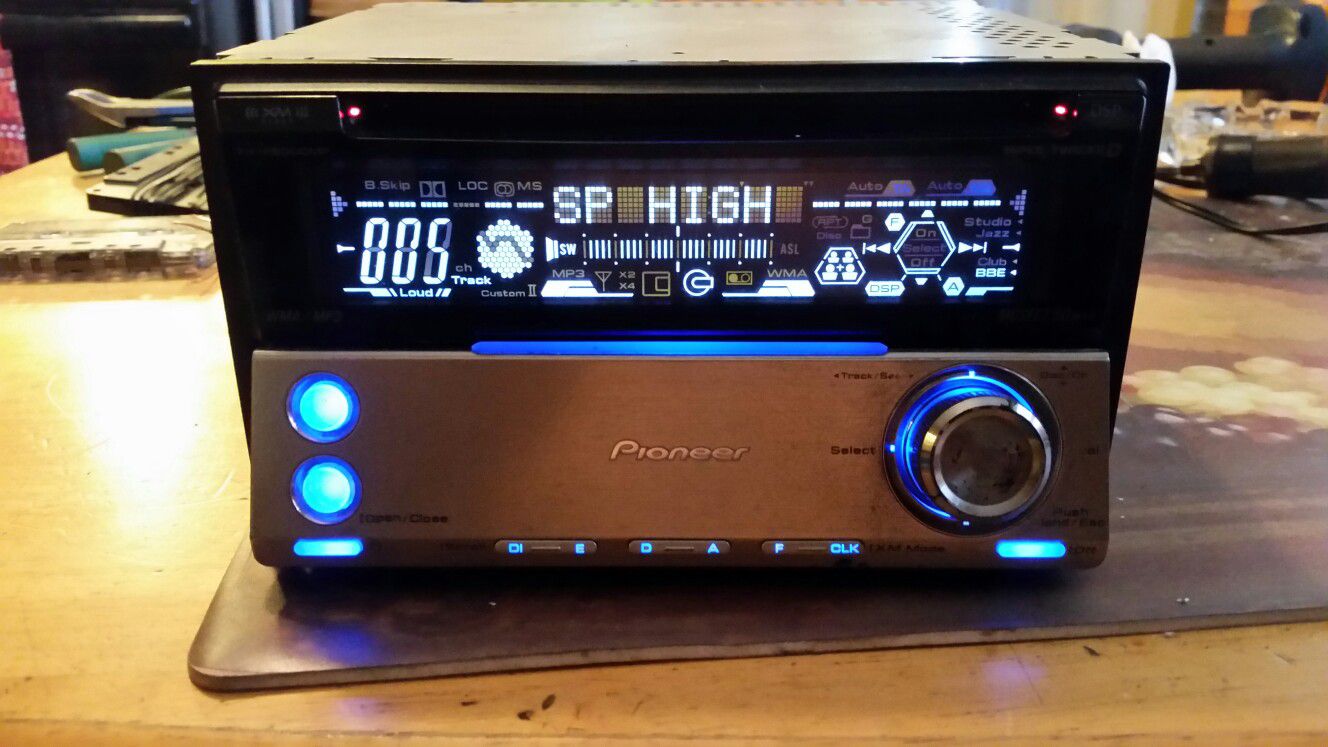
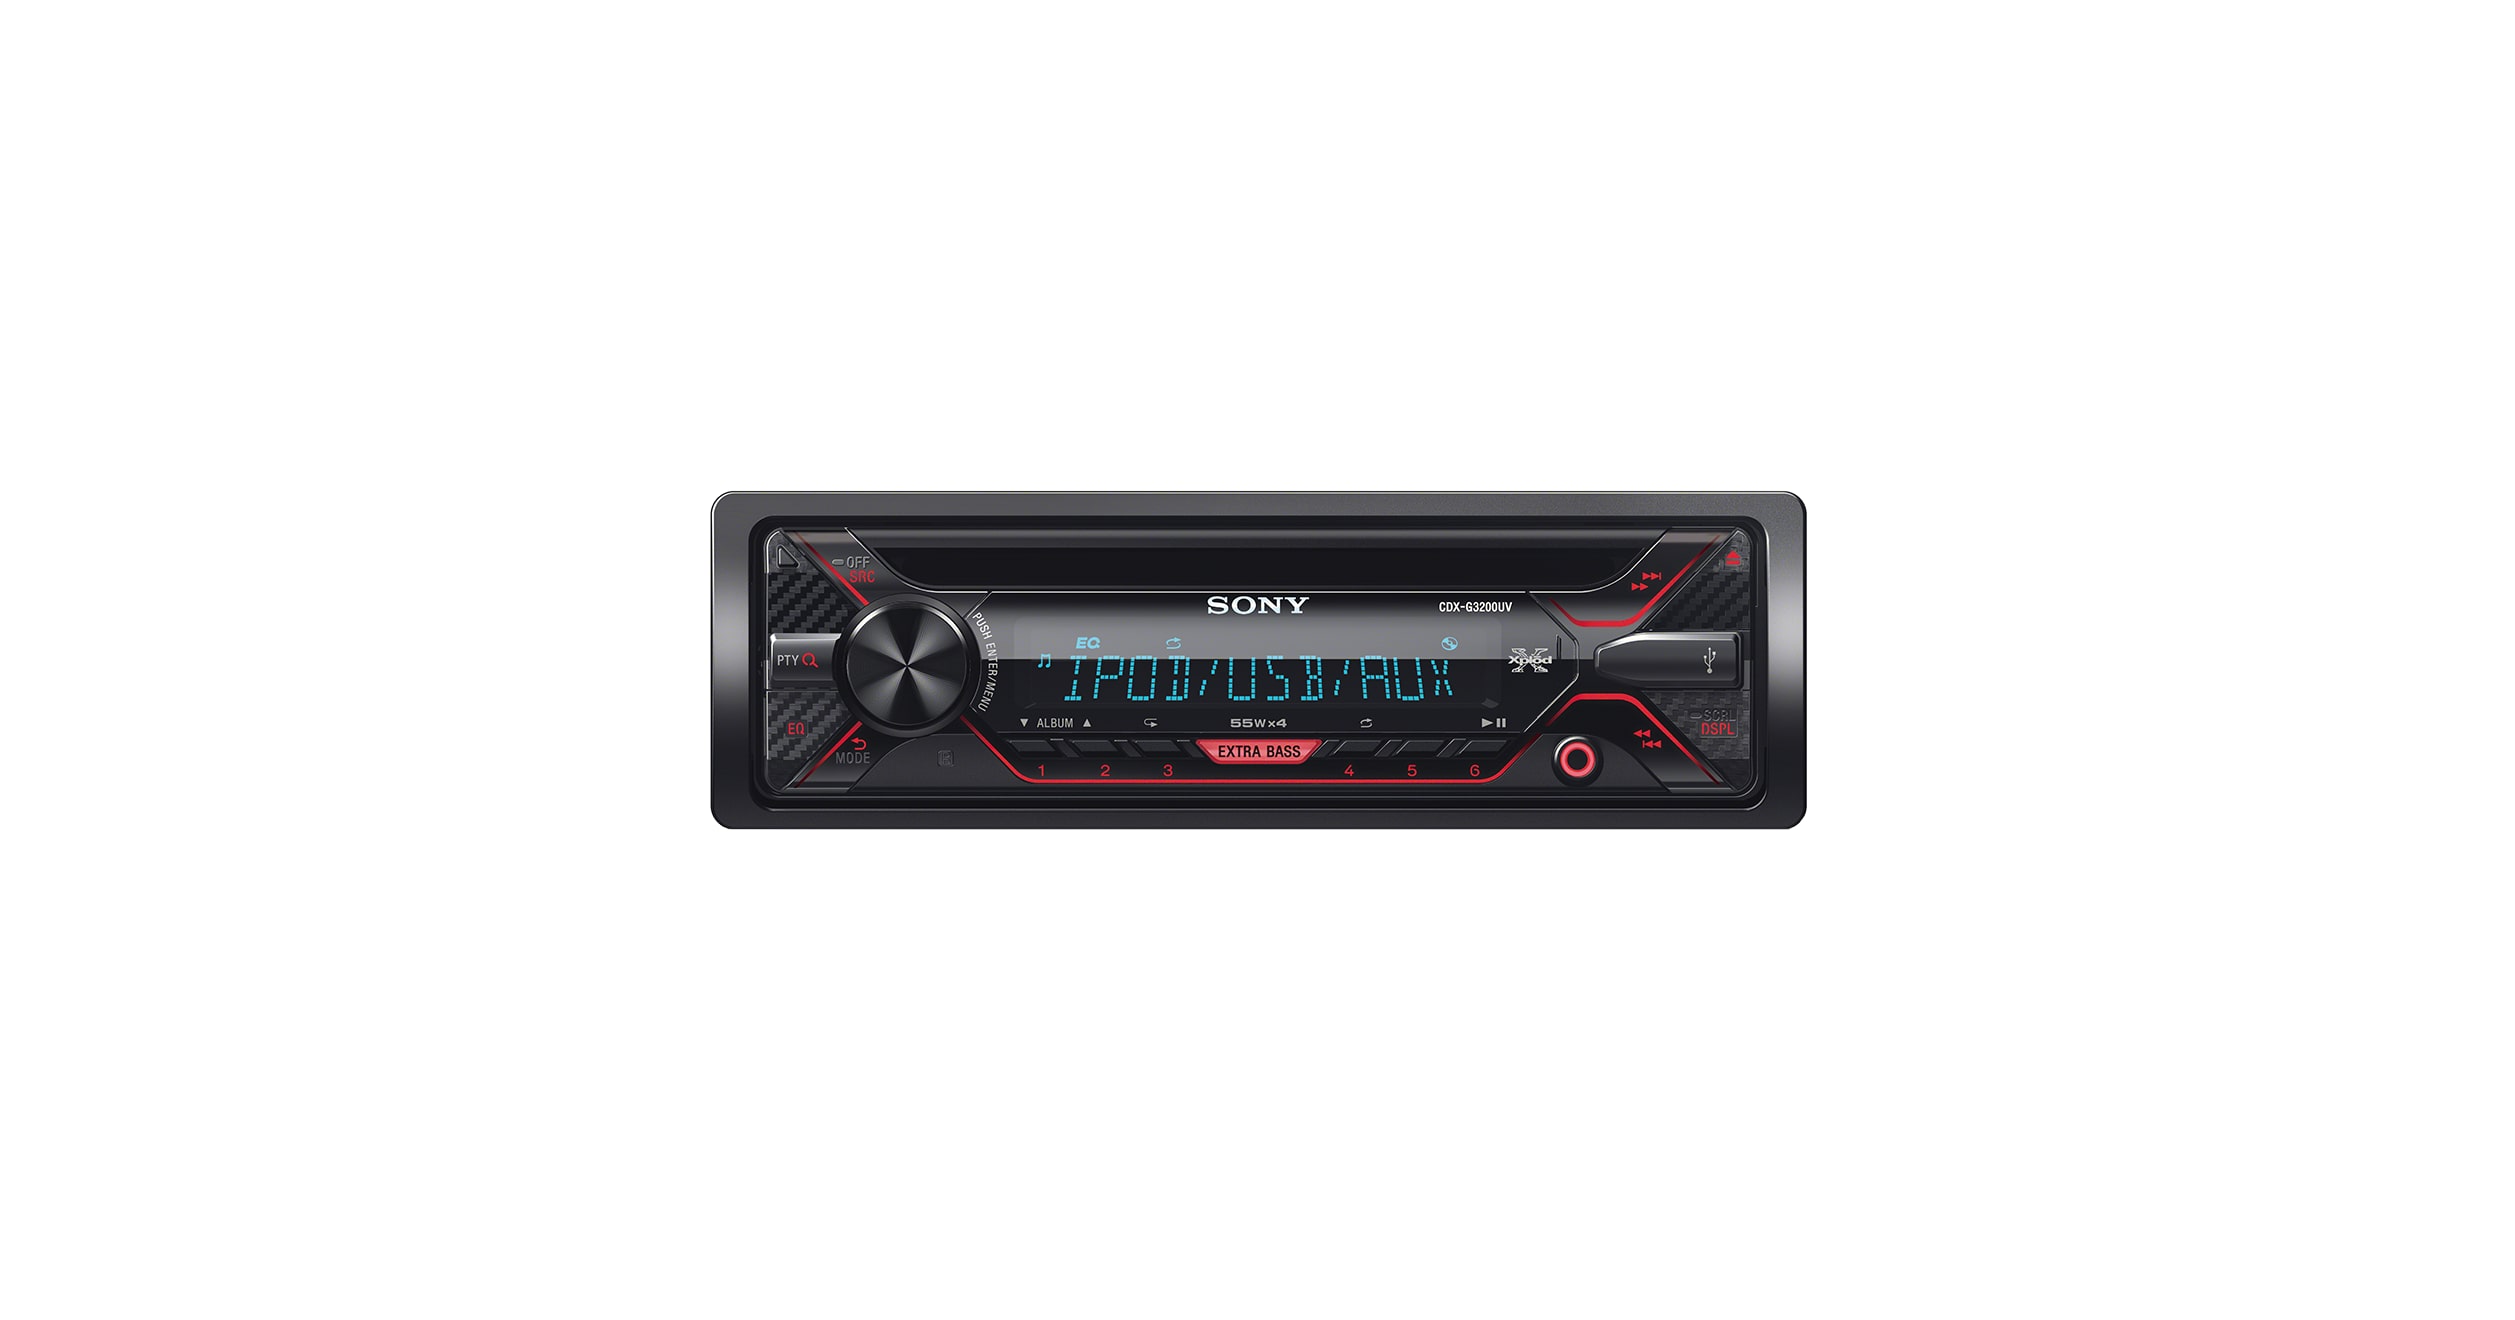
- Find your car audio equalizer: Locate the equalizer controls in your car’s audio system. Depending on the make and model of your vehicle, the equalizer may be located in the head unit or accessible through a separate EQ app or device.
- Start with a flat equalizer: Reset all EQ bands to the center or “flat” position. This will eliminate any previous settings and provide a neutral starting point for adjustments.
- Listen to reference tracks: Choose a few songs that you’re familiar with and consider as reference tracks. These can be songs that represent a variety of music genres and have a wide dynamic range. Listening to these tracks will help you assess the impact of your equalizer adjustments more effectively.
- Adjust the overall volume: Set the volume to a comfortable level. It’s essential to adjust the volume before making equalizer adjustments since different volume levels can affect the perception of frequencies.
- Focus on one frequency band at a time: Begin by adjusting a single frequency band. For example, start with the low frequencies (bass) and gradually adjust the level up or down to achieve the desired bass response.
- Listen and evaluate: After adjusting a frequency band, listen to the music and assess the impact of the change. Pay attention to the overall balance of the sound and whether it aligns with your preferences.
- Repeat for other frequency bands: Repeat the process for each frequency band, gradually moving from low frequencies to mid-range frequencies and then to high frequencies. Remember to make subtle adjustments and listen to the changes before proceeding.
It’s important to approach the equalizer adjustments as an iterative process. Take your time and make small adjustments until you achieve the desired sound quality. Remember that everyone’s preferences are different, so trust your ears and adjust accordingly.
It’s also worth noting that certain genres of music may require different equalizer settings. For example, you might want more bass emphasis for hip-hop or electronic music, while a more balanced sound may be preferred for classical or acoustic genres.
Lastly, it’s crucial to keep in mind that your car audio equalizer settings may vary depending on factors such as the quality of your audio equipment, your vehicle’s acoustic characteristics, and personal preference. Experimentation is key to finding the perfect sound signature for your car audio system.
Now that you have adjusted the frequency bands, the next step is to balance the equalizer settings to ensure a well-rounded sound. We will cover this in the next section.
Adjusting the Frequency Bands
Now that you have set up your car audio equalizer and found a starting point with the overall flat settings, it’s time to focus on adjusting the individual frequency bands. By adjusting these bands, you can fine-tune the specific areas of the frequency spectrum to achieve your desired sound signature.
Here are some tips and guidelines for adjusting the frequency bands effectively:
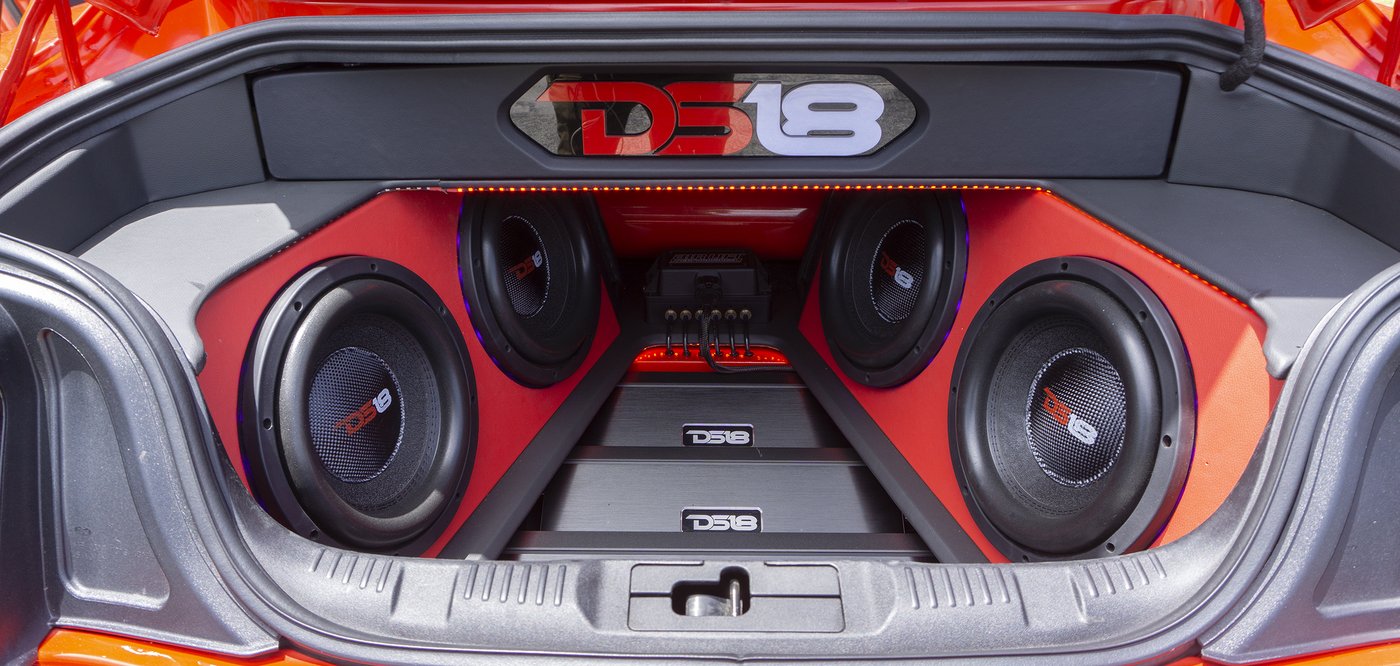
- Bass Frequencies (Low): Begin by adjusting the low-frequency band (usually labeled as “Bass” or “Low”). If you enjoy deep and powerful bass, consider boosting this frequency slightly. However, be careful not to go overboard as it can lead to distortion and muddiness. If you prefer a more modest bass response, you can either set it at the center or slightly cut it.
- Mid-Range Frequencies: The mid-range frequencies (usually labeled as “Mid” or “Midrange”) cover the vocal and instrument region. Adjusting this band can impact the clarity and presence of vocals and instruments. A slight boost in the mid-range frequencies can help bring vocals forward and add definition to instruments. Conversely, cutting this band slightly can result in a more laid-back or smooth sound.
- Treble Frequencies (High): The high-frequency band (often labeled as “Treble” or “High”) controls the presence and sparkle in the sound. Increasing the treble can provide greater clarity, especially in genres where detail and articulation matter, such as classical or jazz. However, too much treble can make the sound harsh or sibilant. If you find the treble too bright, consider reducing it slightly.
- Other Frequency Bands: Depending on your car audio equalizer, you may have additional frequency bands to adjust. These can include the sub-bass frequencies (below 100Hz), upper mid-range frequencies, or even parametric equalizer bands that allow for precise adjustments within specific frequency ranges. Experiment with these bands to further refine your sound.
As you adjust each frequency band, take the time to listen and evaluate the changes in sound. Beware of making drastic adjustments, as it can lead to unnatural or unbalanced sound reproduction. Aim for subtle changes and trust your ears to guide you towards the desired sound.
Remember, the goal is to achieve a well-balanced sound where no frequency range dominates or gets lost. Pay attention to how different instruments, vocals, and elements of the music are presented and ensure they are clear and distinguishable.
Once you have adjusted the frequency bands, it’s time to move on to balancing the equalizer settings to create a cohesive and enjoyable soundstage. We will explore this in the next section.
Balancing the Equalizer Settings
Now that you have adjusted the individual frequency bands of your car audio equalizer, it’s time to focus on balancing the equalizer settings. Balancing the settings will ensure that all frequency ranges work harmoniously together, creating a cohesive and enjoyable soundstage.
Here are some tips to help you balance your equalizer settings effectively:
- Aim for a neutral starting point: Reset all the equalizer bands to their center or “flat” position before you begin balancing. This will provide a neutral starting point and allow you to make adjustments accordingly.
- Pay attention to the overall sound: Listen to the music and assess how the different frequency bands interact with each other. Ideally, you want a balanced sound where no frequency range overpowers the others.
- Make small adjustments: Start by making subtle adjustments to the frequency bands that need attention. If you notice that the bass is overpowering, consider slightly reducing the bass frequencies. Conversely, if the sound lacks depth, a small boost in the low end might be beneficial.
- Listen to different genres: Test your equalizer settings with a variety of music genres to ensure that they work well across different styles of music. Genres like rock, pop, classical, hip-hop, and electronic music have different tonal characteristics, and it’s important to find a balance that suits your preferences across the board.
- Don’t be afraid to fine-tune: Fine-tuning is an ongoing process. As you listen to more music and become accustomed to your equalizer settings, you may find areas that can be further refined. Trust your ears and make small adjustments as needed.
- Consider the acoustics of your vehicle: Keep in mind that the acoustic characteristics of your vehicle’s interior can impact the sound quality. The materials of the seats and panels, as well as the overall size and shape of the cabin, can affect the way sound is reproduced. Adjust your equalizer settings accordingly to optimize for your specific vehicle.
Remember, achieving the perfect balance is subjective and can vary depending on personal preferences and the characteristics of your audio system. Aim to find a balance that pleases your ears and enhances your overall listening experience.
With the frequency bands adjusted and the equalizer settings balanced, it’s time to move on to the final step: testing and fine-tuning your car audio system to ensure optimal sound quality. We will explore this in the next section.
Testing and Fine-tuning
After setting up and balancing your car audio equalizer, it’s important to test and fine-tune the settings to ensure optimal sound quality. Testing and fine-tuning allow you to make any necessary adjustments and refine the audio experience to your liking.
Here are some steps and tips to help you test and fine-tune your car audio system:
- Listen to a variety of music: Play different genres of music to evaluate how your equalizer settings perform across a range of styles. Test tracks with varying instrumentals, vocals, and dynamic ranges to assess the clarity, detail, and overall balance of the sound.
- Use reference tracks: Utilize reference tracks that you’re familiar with to gauge how well your equalizer adjustments are working. These reference tracks should represent the intended sound signature you are aiming for.
- Pay attention to specific elements: Focus on specific elements of the music, such as vocals, instruments, basslines, or treble details. Make note of any areas that may still require adjustments to achieve the desired tonal balance and clarity.
- Play with different volume levels: Test your equalizer settings at various volume levels to ensure that the desired sound is maintained across the range. Pay attention to any changes in balance or distortion as you increase or decrease the volume.
- Involve others: Seek opinions from other passengers or fellow audio enthusiasts. Their perspectives can provide valuable feedback and help you make objective decisions about fine-tuning the sound in your car.
- Make small, incremental adjustments: If you identify specific areas that need refinement, make small adjustments to the relevant frequency bands. Repeat this process until you achieve the desired sound quality.
- Trust your ears: Ultimately, trust your own ears and personal preferences. Every individual has their own unique taste in sound and no preset formula can replace your subjective judgment. Make adjustments that bring you joy and satisfaction.
Remember that testing and fine-tuning is an ongoing process. As you become more attuned to your car audio system and listen to a wider range of music, you may discover nuances that require further adjustments. Embrace this process as a way to continuously improve and optimize your audio experience.
By carefully testing and fine-tuning your car audio system, you can achieve a sound that truly elevates your driving experience. So sit back, enjoy the music, and revel in the audio quality that you have curated for your car.
With the testing and fine-tuning complete, we can now conclude our journey to setting up a car audio equalizer.
Conclusion
Congratulations! You have successfully learned how to set up and optimize your car audio equalizer. By understanding the purpose and functionality of an equalizer, adjusting the frequency bands, balancing the equalizer settings, and fine-tuning your audio system, you can now enjoy a customized and immersive sound experience while driving.
Remember, the key to achieving the best sound quality lies in experimentation and listening to your own preferences. Every car and audio system is unique, and finding the perfect balance for your specific setup may require some trial and error. Take the time to test your equalizer settings with a variety of music genres and utilize reference tracks to assess the tonal balance and clarity.
Additionally, keep in mind that the acoustics of your vehicle can impact the sound reproduction. Consider the materials, size, and shape of your car’s interior when making equalizer adjustments to optimize the sound for your specific vehicle.
By following the steps outlined in this guide and trusting your ears, you can achieve an audio experience that enhances your enjoyment of music while on the road. Whether you prefer deep bass, crystal-clear vocals, or a balanced sound, the power is now in your hands.
So buckle up, turn up the volume, and let your car audio equalizer transport you to a world of high-quality sound. Happy tuning!