Home>Production & Technology>Stereo>How To Hook Up An Equalizer To A Home Stereo
Stereo
How To Hook Up An Equalizer To A Home Stereo
Modified: January 22, 2024
Learn how to hook up an equalizer to your home stereo and enhance the audio experience. Follow these simple steps to optimize your stereo settings.
(Many of the links in this article redirect to a specific reviewed product. Your purchase of these products through affiliate links helps to generate commission for AudioLover.com, at no extra cost. Learn more)
Table of Contents
Introduction
Welcome to the world of high-quality audio! If you’re a music enthusiast or an audio aficionado, you know how important it is to have excellent sound reproduction. A home stereo system allows you to immerse yourself in your favorite music, movies, or games, creating an immersive experience right in the comfort of your own home.
However, sometimes the audio output of a home stereo system may not meet your expectations. The sound may lack clarity or depth, or certain frequencies may overpower others, resulting in an imbalanced audio experience. This is where an equalizer comes in handy. An equalizer allows you to fine-tune the audio output of your stereo system by adjusting different frequency bands, giving you control over the sound characteristics.
In this article, we will guide you through the process of hooking up an equalizer to your home stereo system. Whether you have a vintage stereo system or a modern setup, the steps we provide will help you connect and optimize the equalizer settings for a more enjoyable audio experience.
Before we dive into the steps, it’s essential to note that not all home stereo systems are compatible with external equalizers. Make sure to check the specifications of your stereo system and the equalizer to ensure compatibility. Additionally, we recommend consulting the manuals of your stereo system and equalizer for specific instructions tailored to your equipment.
Are you ready to take your audio experience to the next level? Let’s gather the necessary equipment and get started!
Step 1: Gather the Necessary Equipment
Before you can begin connecting an equalizer to your home stereo system, you will need to gather the following equipment:
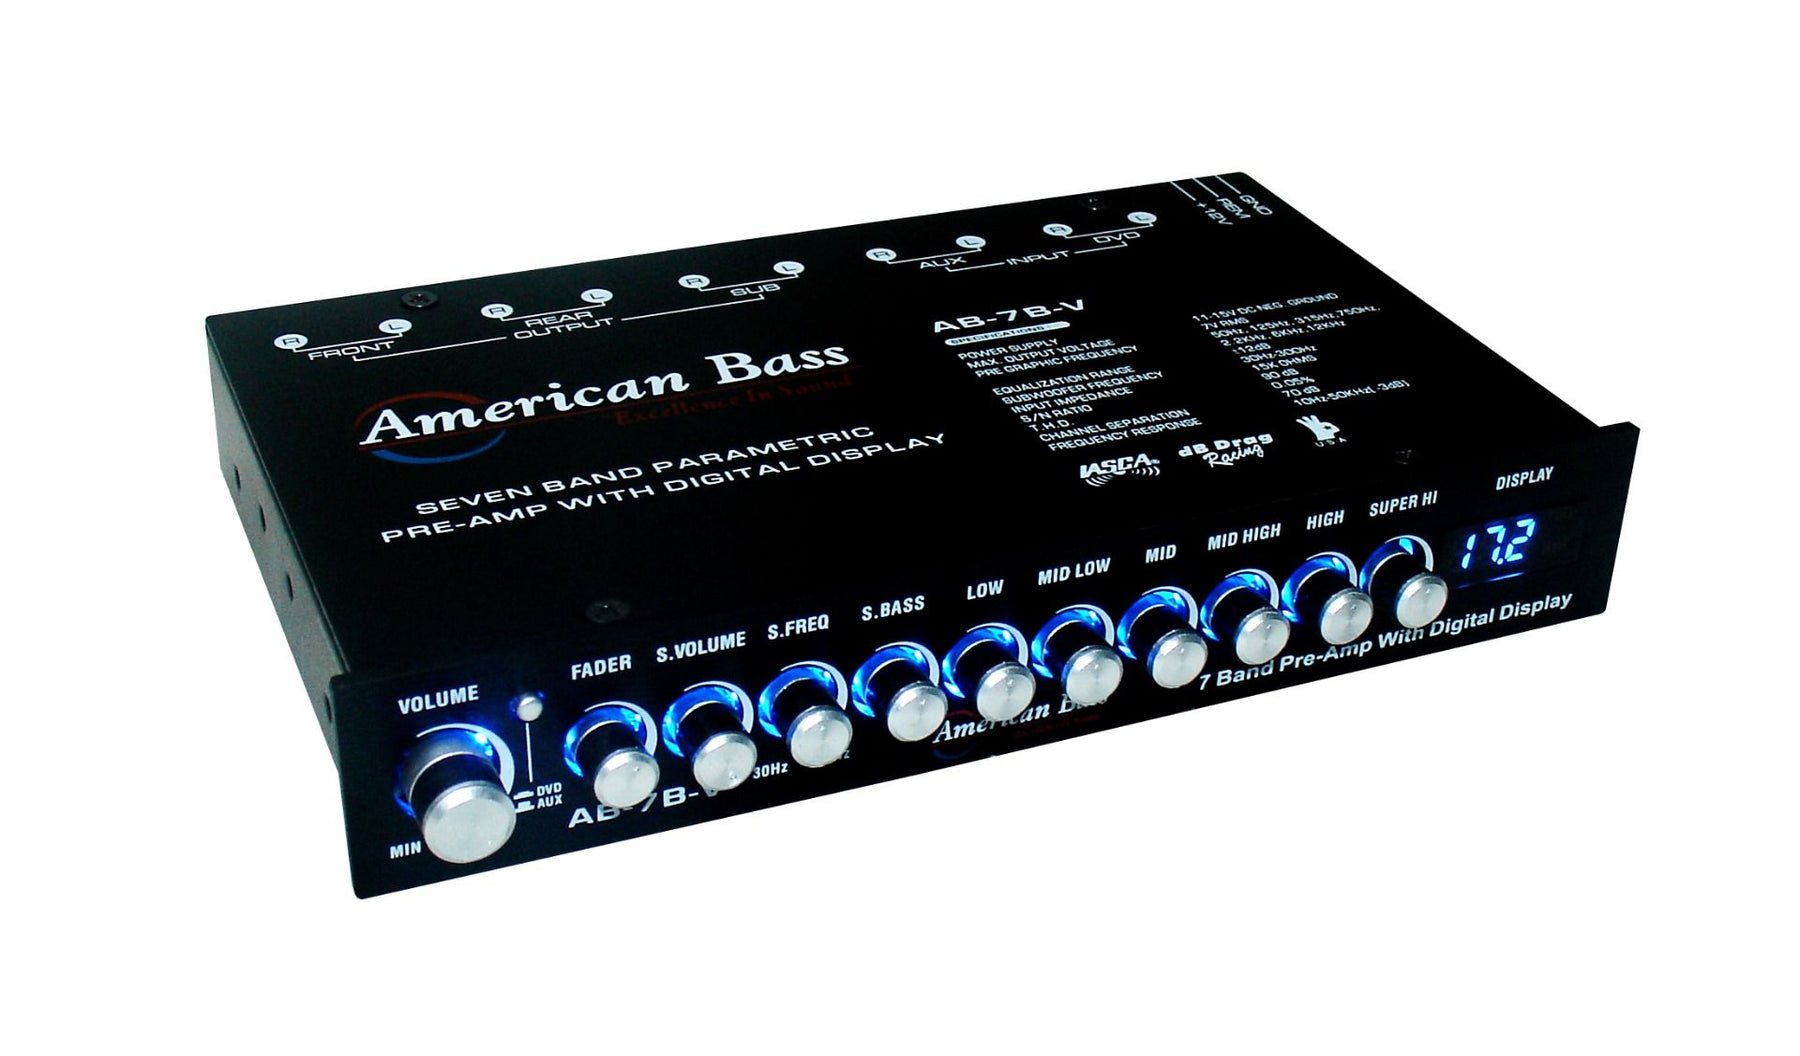
- Equalizer: Invest in a high-quality equalizer that matches your needs and budget. There are hardware equalizers that connect directly to your stereo system and software equalizers that operate on your computer or smartphone. Choose the type that suits your setup.
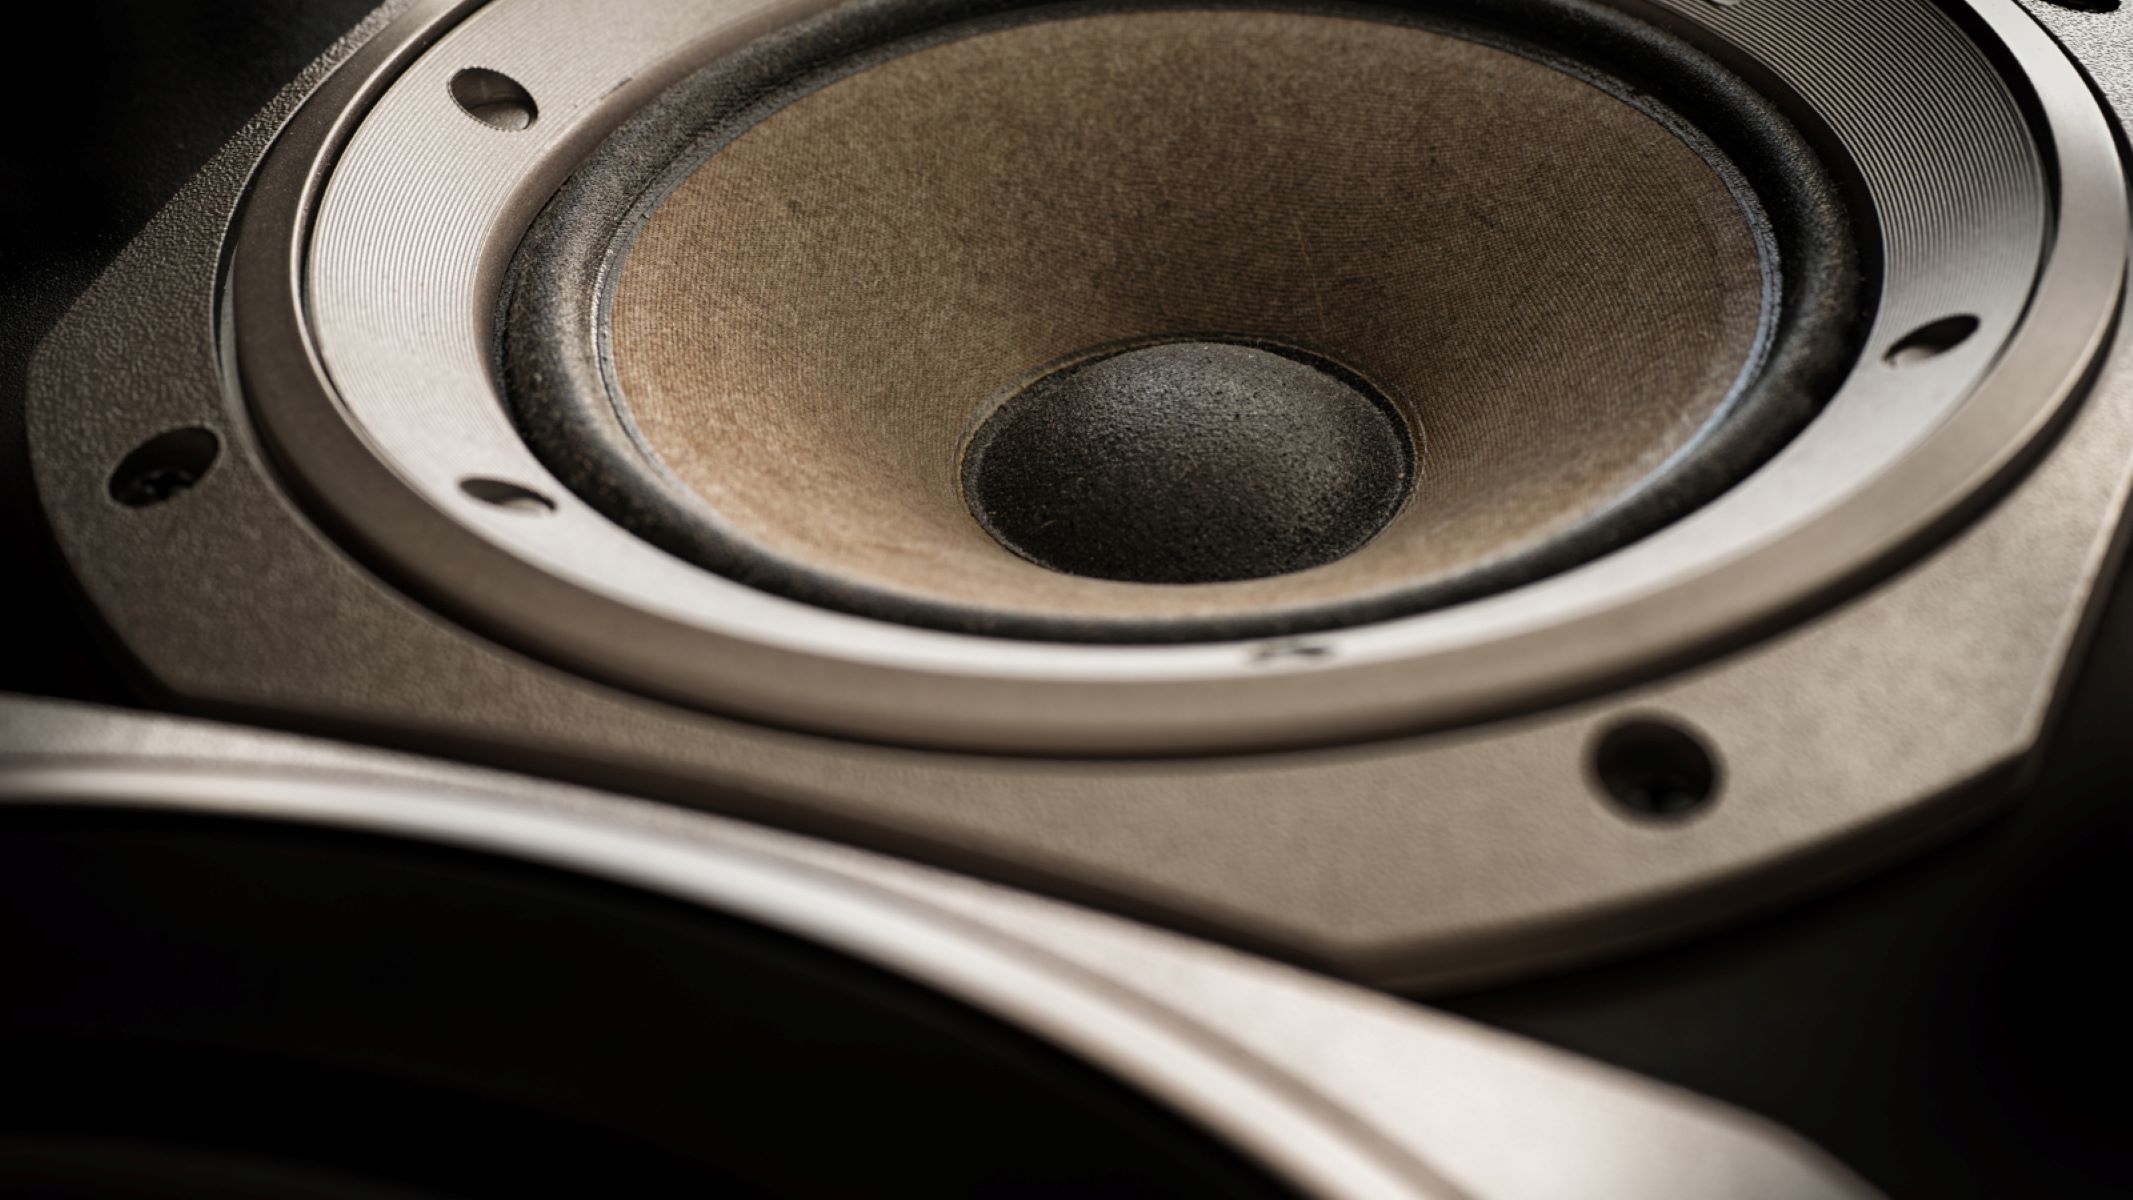
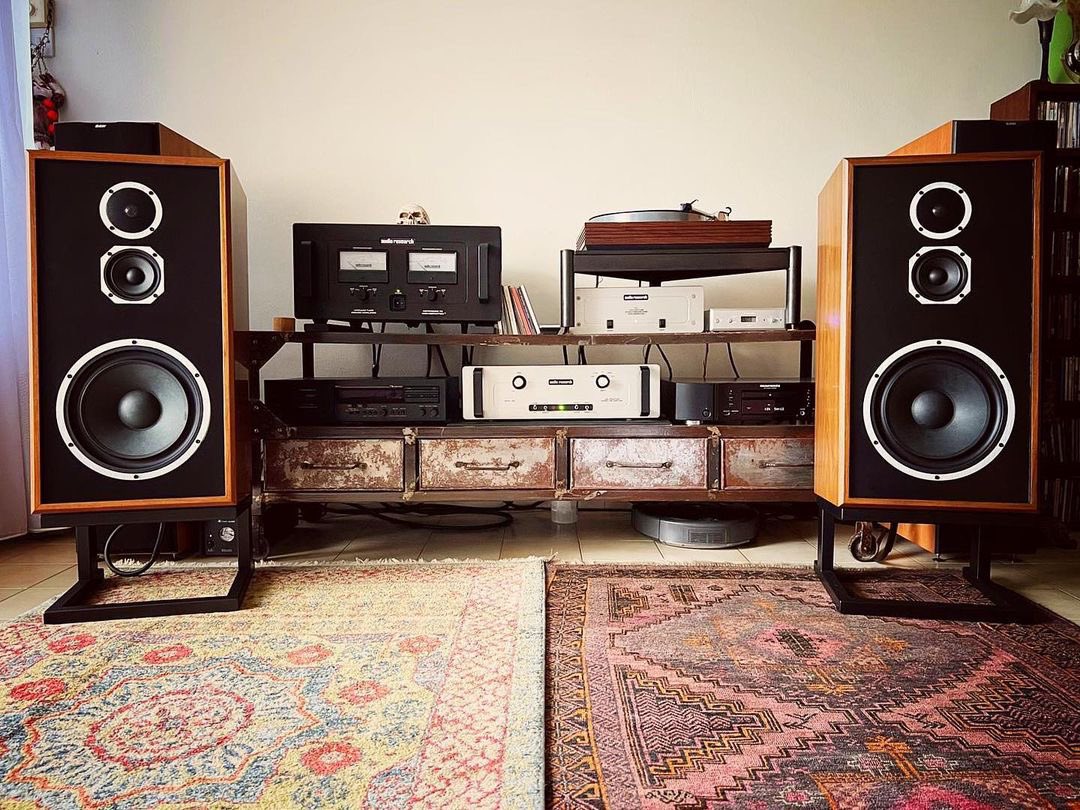
- Home Stereo System: This includes your amplifier or receiver, speakers, and any other audio components you have as part of your setup. Ensure that your stereo system has the necessary audio connection options to support an external equalizer.
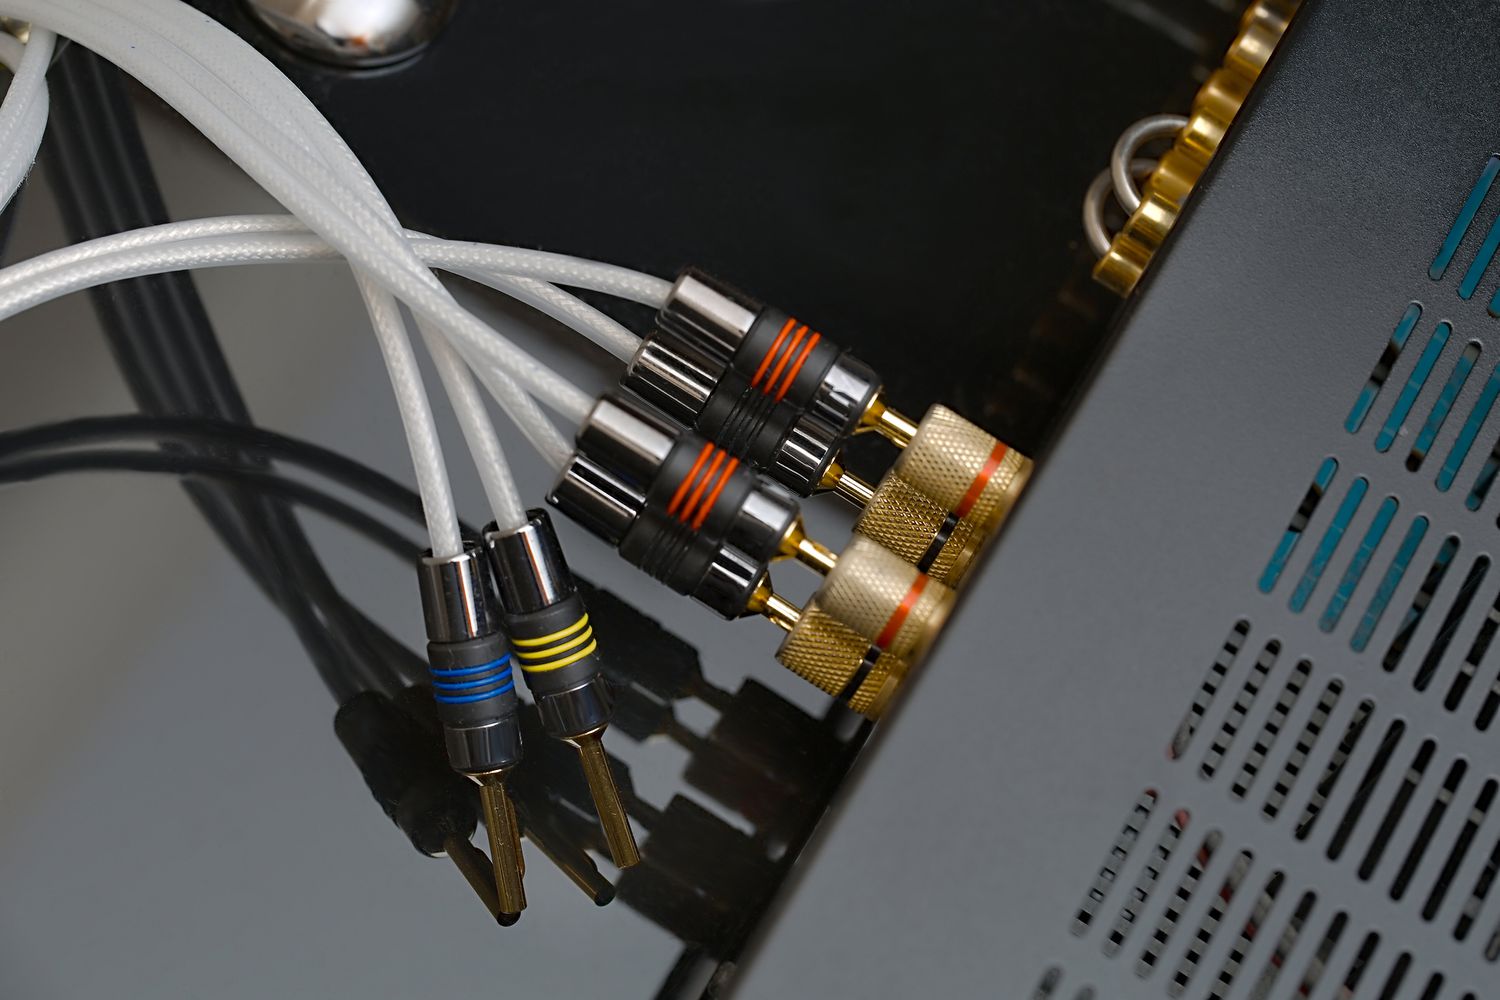
- Cables: You will need appropriate audio cables to connect the equalizer to your stereo system. The type of cables required will depend on the connections available on both the equalizer and the stereo system. Common cable types include RCA cables, TRS cables, or XLR cables.
- Manuals: Keep the manuals of your stereo system and equalizer handy. They contain valuable information and instructions specific to your equipment.
Once you have all the necessary equipment, you are ready to move on to the next step: finding the appropriate connections.
Step 2: Find the Appropriate Connections
Now that you have gathered all the necessary equipment, it’s time to find the appropriate connections on your home stereo system and equalizer. Here are the common types of connections you may come across:
- RCA Connections: These are the most common connections found on audio equipment. Check your stereo system and equalizer for RCA input and output jacks. Typically, the equalizer will have two sets of RCA input and output jacks labeled “IN” and “OUT.”
- TRS Connections: TRS (Tip-Ring-Sleeve) connections are commonly found on professional audio equipment. If your system uses TRS connections, look for TRS input and output jacks on your equalizer.
- XLR Connections: XLR connections are often used in professional audio setups. If your equalizer and stereo system have XLR jacks, make sure to locate them for future connections.
- Other Connections: Depending on your stereo system and equalizer, you may encounter other types of connections, such as digital audio inputs/outputs or optical connections. Refer to the manuals of your equipment for specific connector types.
Take a moment to visually inspect your stereo system and equalizer to locate the input and output jacks. Identify the types of connections available and ensure compatibility between the input and output types. It’s crucial to match the connection types to ensure proper audio signal flow. If needed, refer to the manuals for detailed diagrams and instructions.
With the connections identified, you are ready to move on to the next step: connecting the equalizer to the stereo system. Let’s get started!
Step 3: Connect the Equalizer to the Stereo
With the appropriate connections identified, it’s time to connect the equalizer to your home stereo system. Follow these steps:
- Turn off your stereo system and disconnect it from the power source for safety.
- Take one end of the audio cable and connect it to the output jacks of your stereo system. These are typically labeled “TAPE OUT” or “RECORD OUT”. Ensure you connect to the appropriate output jacks.
- Connect the other end of the audio cable to the input jacks on your equalizer. These are usually labeled “IN” or “INPUT”. Again, make sure to connect to the correct input jacks.
- If your equalizer has multiple channels or options, make sure to connect each channel accordingly. For example, connect the left channel output to the left channel input on the equalizer, and the right channel output to the right channel input.
- If your equalizer has a bypass switch or button, ensure it is in the appropriate position. The bypass mode allows you to switch between using the equalizer and bypassing it for a direct audio signal.
- Once the connections are secure, double-check all the connections and ensure they are snug and correctly aligned.
With the equalizer now connected to your stereo system, you are ready to move on to the next step: adjusting the settings on the equalizer. Let’s continue!
Step 4: Adjust the Settings on the Equalizer
Now that the equalizer is connected to your home stereo system, it’s time to fine-tune the audio settings. Follow these steps to adjust the settings on the equalizer:
- Begin by setting all the equalizer sliders to their neutral or center positions. This ensures a balanced starting point for your audio adjustments.
- Play some audio through your stereo system, such as your favorite song or a movie scene with dialogue and background music.
- Listen carefully and pay attention to the sound characteristics. Are there any frequencies that sound too prominent or overpowering? Are there any frequencies that seem weak or lacking clarity?
- Identify the frequency bands on the equalizer. Most equalizers have sliders for different frequency ranges, such as bass, midrange, and treble.
- Make subtle adjustments to the sliders to enhance the audio quality. For example, if you feel the bass is too weak, raise the bass slider slightly. If the vocals are getting lost in the mix, adjust the midrange frequencies accordingly.
- It’s important to make small adjustments and listen to the changes in the sound. Fine-tune the sliders until you achieve a well-balanced audio output that suits your preferences.
- Take note of the changes you make and the positions of the sliders. This will help you remember the settings for future reference or adjustments.
Remember, the optimal audio settings will vary depending on personal preferences, the acoustics of your listening environment, and the audio content you’re consuming. Take your time to experiment and find the settings that provide the best audio experience for you.
With the settings adjusted, it’s time to move on to the final step: testing the audio output. Let’s proceed!
Step 5: Test the Audio Output
Now that you have connected and adjusted the equalizer, it’s time to test the audio output of your home stereo system. Follow these steps to ensure everything is working correctly:
- Turn on your stereo system and play various types of audio content, such as music from different genres, movies, or audio clips.
- Listen carefully to the audio output. Pay attention to the clarity, balance, and depth of the sound.
- Make note of any improvements or issues you notice in the audio reproduction. Are the vocals clearer? Is the bass more pronounced? Are there any frequencies that need further adjustment?
- Continue making small adjustments to the equalizer settings, taking into account your observations. Fine-tune the sliders to achieve the desired audio quality.
- It’s important to consider different audio sources and content to ensure that your equalizer settings work well across a range of media.
- Once you are satisfied with the audio output and have optimized the equalizer settings, sit back and enjoy your enhanced home stereo experience.
Keep in mind that personal audio preference is subjective, and there is no one-size-fits-all approach when it comes to equalizer settings. Experimentation and tweaking are key to achieving the best audio output for your own listening enjoyment.
Congratulations! You have successfully connected and optimized your equalizer to your home stereo system. You can now enjoy your favorite music, movies, and games with enhanced audio quality tailored to your preferences.
Remember, if at any point you want to make further adjustments or changes to your equalizer settings, you can always go back and fine-tune the sliders to meet your evolving audio preferences.
Enjoy your immersive audio experience!
Conclusion
Congratulations on successfully hooking up an equalizer to your home stereo system! You have taken a significant step towards improving your audio experience and creating a more immersive sound environment.
By following the steps outlined in this guide, you have learned how to gather the necessary equipment, identify the appropriate connections, connect the equalizer, adjust the settings, and test the audio output. Each of these steps has contributed to fine-tuning the sound reproduction of your stereo system to suit your preferences.
Remember, finding the perfect equalizer settings may take some time and experimentation. It’s important to trust your ears and make subtle adjustments until you achieve the desired audio output. What works for one person may not work for another, as sound preferences can vary greatly.
As you become more familiar with your equalizer and your stereo system, you can continue to fine-tune and customize your audio experience. Play around with different genres of music, movies, or games to fully appreciate the improvements and adjust settings accordingly.
Should you ever need to make changes or adjustments in the future, refer back to this guide or consult the manuals of your equipment for further guidance.
Now, sit back, relax, and enjoy the rich, detailed, and balanced sound that your home stereo system, enhanced by the equalizer, can provide. Whether you’re a music enthusiast, a movie lover, or a gamer, you can now experience your favorite audio content in a whole new way.
Thank you for taking the time to read this guide. We hope it has been informative and helpful in your quest for audio perfection. Happy listening!