Home>Production & Technology>Stereo>How To Hook Up An Equalizer To A Car Stereo
Stereo
How To Hook Up An Equalizer To A Car Stereo
Published: November 18, 2023
Learn how to easily hook up an equalizer to your car stereo for enhanced sound quality and an optimal listening experience. Improve your stereo's performance today!
(Many of the links in this article redirect to a specific reviewed product. Your purchase of these products through affiliate links helps to generate commission for AudioLover.com, at no extra cost. Learn more)
Table of Contents
Introduction
Adding an equalizer to your car stereo can greatly enhance your audio experience, allowing you to customize the sound to your liking. Whether you’re a bass enthusiast or want to fine-tune the balance of your audio, an equalizer provides you with the flexibility to adjust the frequency levels to suit your preferences.
In this article, we will guide you through the process of hooking up an equalizer to your car stereo. It’s important to note that the specific steps may vary depending on the make and model of your stereo system. Therefore, we recommend referring to the manufacturer’s instructions or seeking professional assistance if you are unsure.
Before we dive into the step-by-step process, let’s take a moment to understand what an equalizer is and how it works. An equalizer, also known as an EQ, is a device that allows you to adjust the frequency response of an audio system. It features sliders or knobs that control different frequency bands, such as bass, midrange, and treble.
By manipulating these bands, you can enhance or attenuate specific frequencies to tailor the sound output to your liking. This means you can boost the bass for a more impactful thump, enhance the midrange for clearer vocals, or tweak the treble for crisper high notes.
Now that you have a basic understanding of what an equalizer does, let’s move on to the step-by-step process of hooking it up to your car stereo. With a few tools and some patience, you’ll be able to enjoy a customized audio experience on your next drive.
Step 1: Gather Necessary Equipment
Before you begin the installation process, it’s essential to gather all the necessary equipment. Here’s a list of items you’ll need:
- Equalizer: Choose an equalizer that suits your needs and preferences. There are various types available, including graphic equalizers, parametric equalizers, and digital signal processors (DSPs).
- Wiring Harness Adapter (if necessary): Some car stereos may require a wiring harness adapter to connect the equalizer. Check your stereo’s documentation or consult a professional to determine if you need one.
- Wire Cutters and Strippers: These tools are necessary for cutting and stripping the wires to ensure a secure and proper connection.
- Electrical Tape or Heat Shrink Tubing: You’ll need these materials to insulate the wired connections and prevent any unwanted electrical interference.
- Socket Set and Screwdrivers: Depending on your car’s make and model, you may need these tools to remove panels or gain access to the stereo’s wiring.
- Owner’s Manual and Wiring Diagram: Refer to your car stereo’s owner’s manual and wiring diagram to understand the color codes and specific connections required.
- Protective Gloves and Safety Glasses: It’s always a good idea to wear protective gear to prevent any injuries while working with electrical components.
Make sure you have all the necessary equipment before proceeding with the installation. Having everything ready will help streamline the process and minimize any interruptions along the way. If you’re unsure about any specific tools or components needed, consult the documentation provided with your car stereo or consult a professional for guidance.
Step 2: Disconnect the Battery
Prior to working on any electrical components in your car, it is crucial to disconnect the battery to ensure your safety and prevent any damage to the car’s electrical system. Follow these steps to disconnect the battery:
- Park your car: Find a safe and level surface to park your car. Ensure that the ignition is turned off and the keys are removed.
- Locate the battery: Open the hood of your car and locate the battery. Most batteries are located near the front of the engine compartment.
- Identify the positive and negative terminals: The positive terminal is usually marked with a “+,” while the negative terminal is marked with a “-.”
- Disconnect the negative terminal: Using a wrench or a socket set, loosen the nut on the negative terminal and carefully remove the cable from the battery. It is important to disconnect the negative terminal first to prevent any accidental short circuits.
- Secure the negative cable: Once the negative cable is disconnected, secure it away from the battery to prevent accidental contact.
- Disconnect the positive terminal: Repeat the same process for the positive terminal by loosening the nut with a wrench and removing the cable from the battery.
- Secure the positive cable: Just like the negative cable, secure the positive cable away from the battery to prevent any accidental contact.
By disconnecting the battery, you ensure that there is no power flowing through the car’s electrical system. This step is crucial to avoid any electrical shocks or damage to the components during the installation process. Remember to handle the battery terminals with care and avoid touching any metal surfaces, as there may still be residual charge even after disconnecting the battery.
With the battery disconnected, you can now move on to the next step of locating the car stereo in your vehicle.
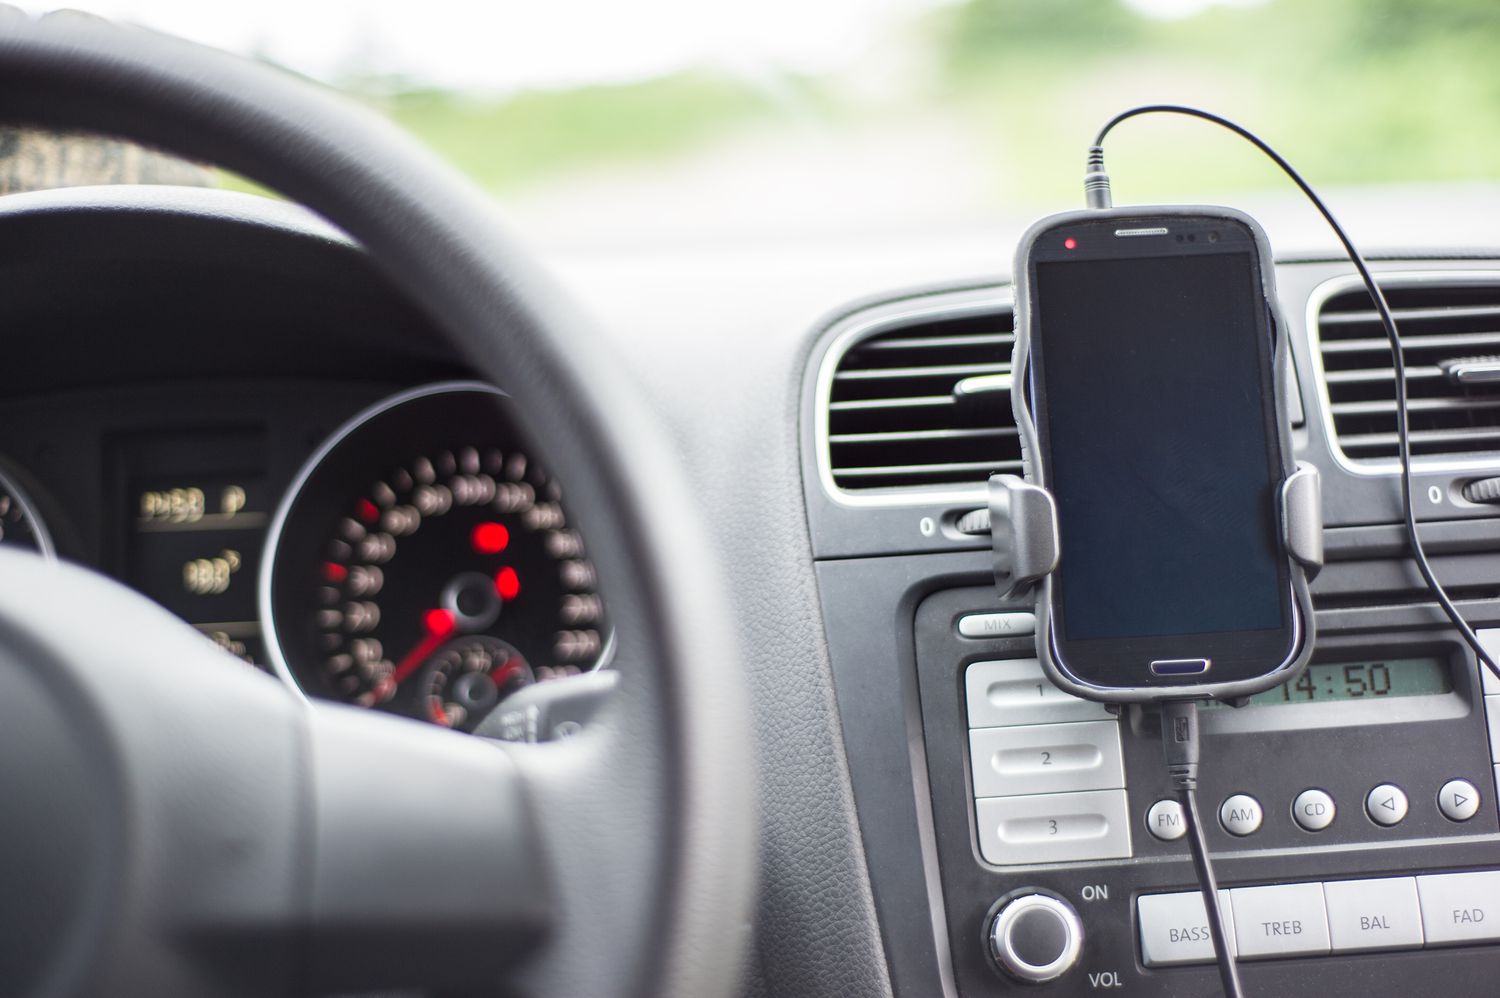
Step 3: Locate the Car Stereo
Locating the car stereo is an important step in the process of hooking up an equalizer. The exact location of the car stereo can vary depending on the make and model of your vehicle. Here are some general guidelines to help you find it:
- Check the dashboard: In most cars, the stereo is located in the center of the dashboard. Look for a rectangular panel that houses the stereo unit.
- Inspect the control buttons and knobs: The car stereo unit is typically accompanied by various control buttons and knobs for adjusting the volume, changing radio stations, and other functions.
- Consult the owner’s manual: If you’re having trouble locating the stereo, refer to the owner’s manual of your vehicle. It usually contains detailed information about the dashboard layout and the position of the stereo.
- Look for removable panels: Some car stereos may be hidden behind removable panels. These panels can be gently pryed off to reveal the stereo unit.
Once you have located the car stereo, take a moment to familiarize yourself with the connections at the back of the unit. You will need to identify the wiring harness, which consists of a group of wires that connect the stereo to the car’s electrical system. The wiring harness is essential for connecting the equalizer to the stereo.
Make sure to exercise caution when working with the car stereo, as it may be fragile and sensitive to pressure. Avoid using excessive force or tools that may cause damage.
With the car stereo located, you are now ready to move on to the next step of connecting the equalizer to the stereo. The following step will guide you through the process of establishing the necessary connections for optimal audio quality.
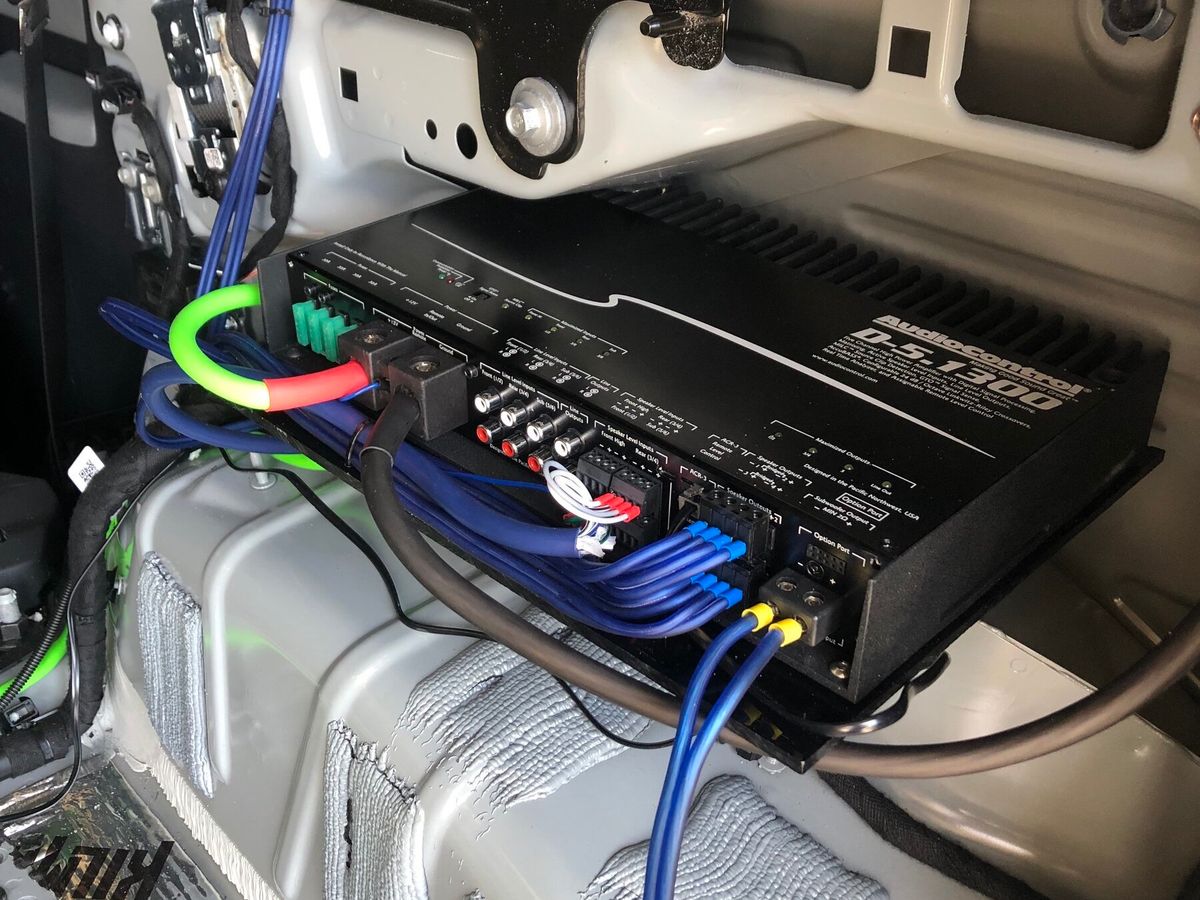
Step 4: Connect the Equalizer
Now that you have located the car stereo, it’s time to connect the equalizer. Follow these step-by-step instructions to ensure a successful installation:
- Identify the equalizer’s input and output: The equalizer will have designated input and output ports. The input ports are where you will connect the car stereo, while the output ports will be connected to the speakers or amplifier.
- Prepare the wiring: Use wire cutters and strippers to remove a small portion of insulation from the ends of the wires. This will allow for a proper and secure connection.
- Connect the equalizer to the stereo: Take the input wiring harness from the car stereo and connect it to the input ports of the equalizer. Make sure to match the appropriate left and right channels.
- Secure the connections: Once the wires are inserted into the ports, tighten the screws or terminals to secure the connections. Ensure that there is a snug fit, but be careful not to overtighten.
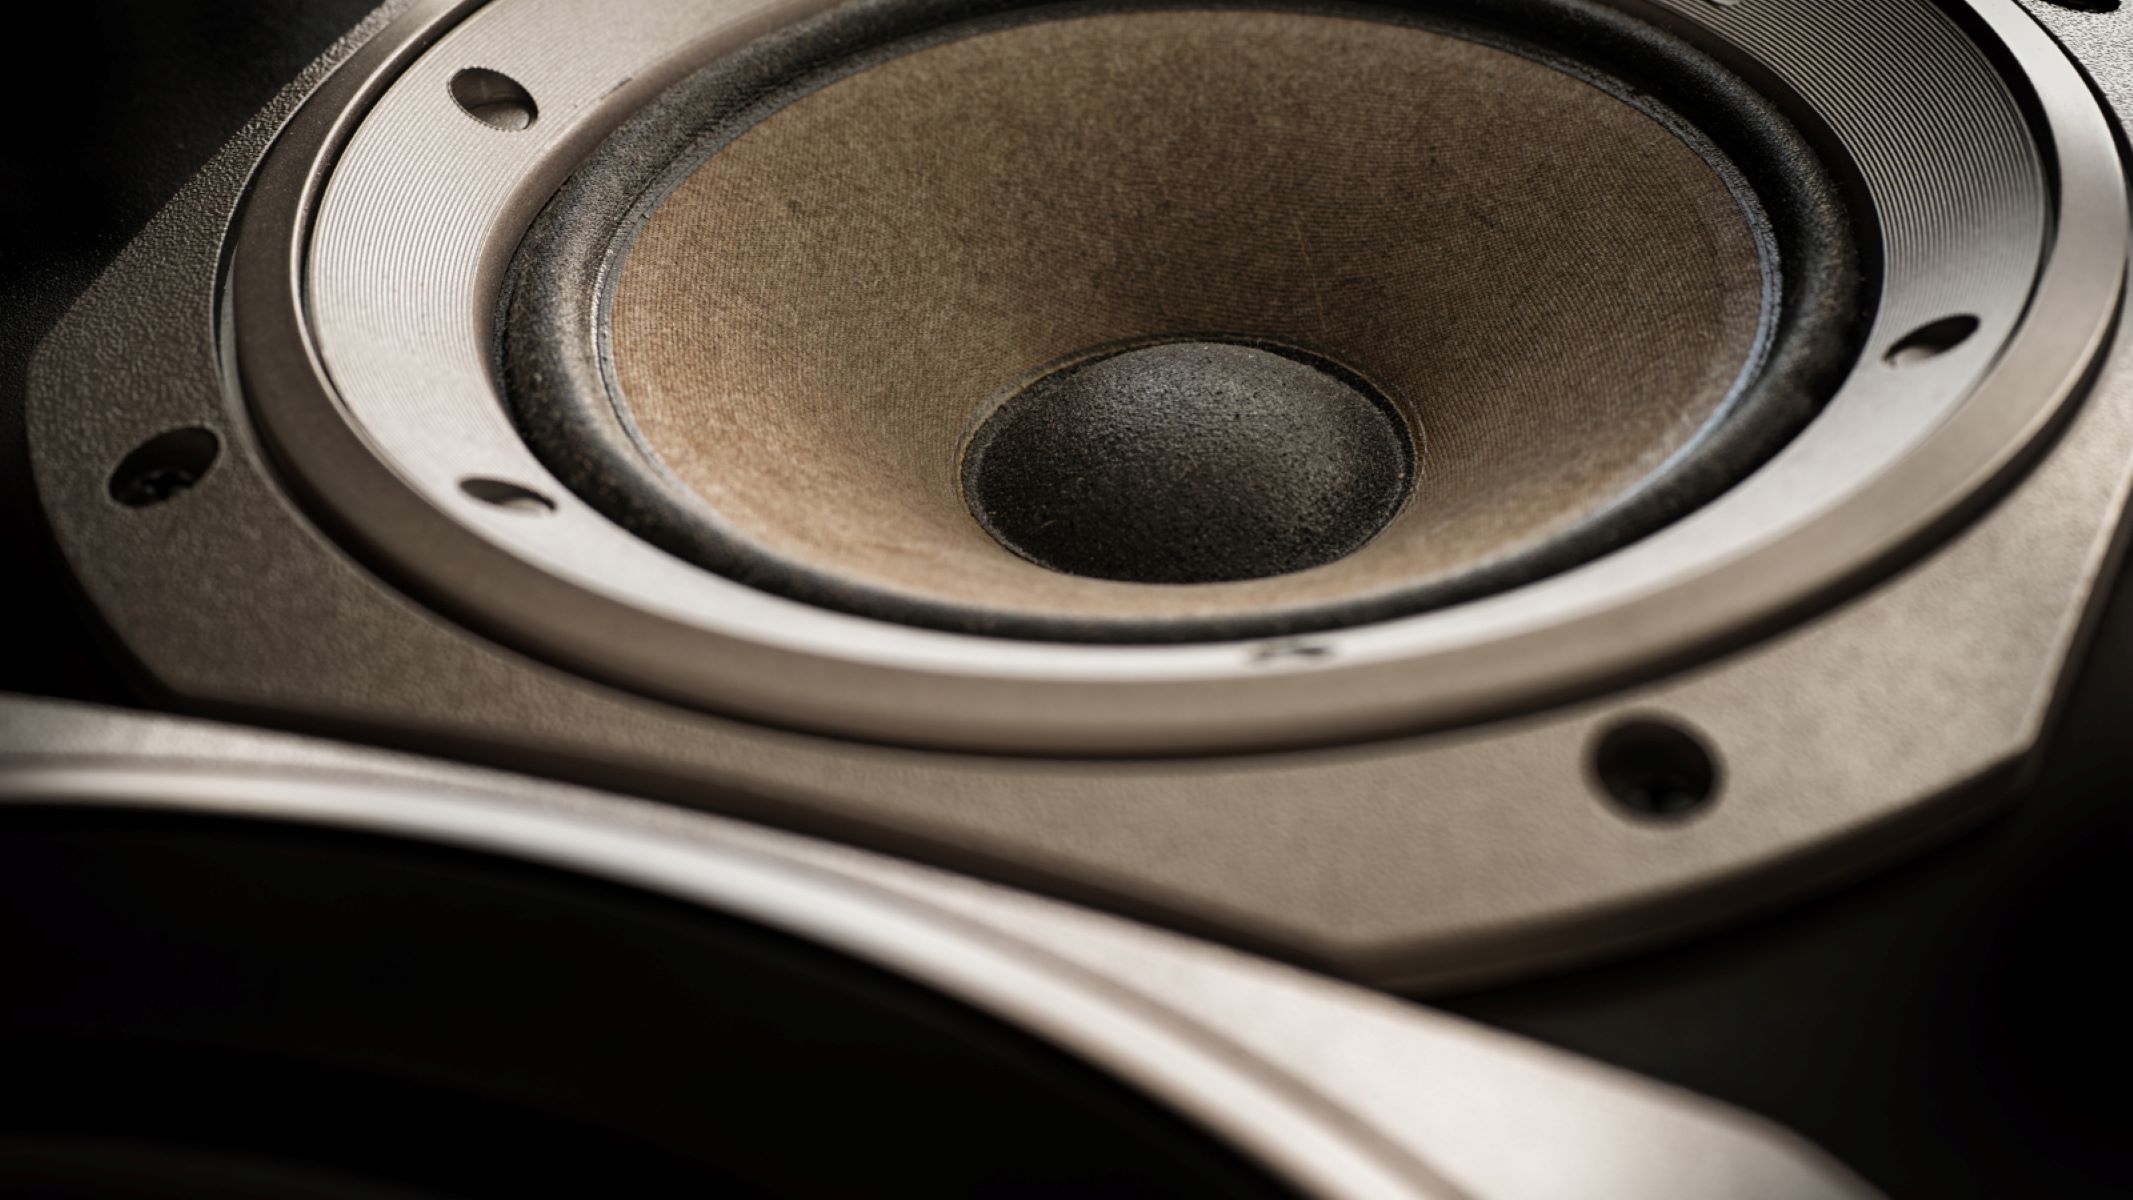
- Connect the equalizer to the speakers: Take the output wiring harness from the equalizer and connect it to the speakers or the amplifier (if you are using one). Again, match the appropriate left and right channels.
- Secure the speaker connections: Similarly, tighten the screws or terminals to secure the speaker connections. Double-check that all connections are secure and properly aligned.
It is important to follow the wiring diagram provided with the equalizer and reference the car stereo’s wiring diagram to ensure the correct connection of wires. If you are unsure, consult the manufacturer’s instructions or seek professional assistance to avoid any electrical damage or improper functionality.
Once the equalizer is securely connected to the car stereo and speakers, you can proceed to the next step of connecting the equalizer to the amplifier (if applicable). This step will further enhance the audio output and give you even more control over the sound settings.
Step 5: Connect the Equalizer to the Amplifier (Optional)
If you have an amplifier in your car audio system, connecting the equalizer to the amplifier can further enhance the audio quality and give you more control over the sound output. Follow these steps to connect the equalizer to the amplifier:
- Identify the amplifier’s input and output: The amplifier will have input and output ports just like the equalizer. The input ports are where you will connect the equalizer, while the output ports will be connected to the speakers.
- Prepare the wiring: Use wire cutters and strippers to remove a small portion of insulation from the ends of the wires. This will allow for a proper and secure connection.
- Connect the equalizer to the amplifier: Take the output wiring harness from the equalizer and connect it to the input ports of the amplifier. Make sure to match the appropriate left and right channels.
- Secure the connections: Once the wires are inserted into the ports, tighten the screws or terminals to secure the connections. Double-check that all connections are secure and properly aligned.
- Connect the amplifier to the speakers: Take the output wiring harness from the amplifier and connect it to the speakers. Ensure that you match the appropriate left and right channels.
- Secure the speaker connections: Tighten the screws or terminals to secure the speaker connections. Make sure that all connections are tightened properly and securely.
Connecting the equalizer to the amplifier allows you to fine-tune the sound output even further. It gives you precise control over the frequency response and allows for better integration between the equalizer and amplifier to optimize the audio performance.
Remember to consult the wiring diagrams provided with the equalizer and amplifier, as well as the manufacturer’s instructions for your specific vehicles and components. If you are unsure about the wiring or connections, it is recommended to seek assistance from a professional or refer to the appropriate documentation.
With the equalizer connected to both the car stereo and the amplifier (if applicable), you are now ready to move on to the next step of reconnecting the battery and testing the equalizer.
Step 6: Reconnect the Battery
After completing the necessary connections of the equalizer to the car stereo and amplifier (if applicable), it is time to reconnect the battery. Follow these steps to safely reconnect the battery:
- Ensure all connections are secure: Before reconnecting the battery, double-check all the connections to ensure they are properly secured. This includes the wiring harness connections for the equalizer and any other components that were disconnected.
- Reconnect the positive terminal: Take the positive cable and carefully attach it to the positive terminal of the battery. Use a wrench to tighten the nut, ensuring a snug fit without overtightening.
- Reconnect the negative terminal: Similarly, attach the negative cable to the negative terminal of the battery and tighten the nut using a wrench.
By reconnecting the battery, you are restoring power to the car’s electrical system. This step allows the equalizer, car stereo, and amplifier (if applicable) to receive the necessary power to function properly.
It is important to note that when reconnecting the battery, there may be a small spark. This is normal and is caused by the electrical current. However, if you notice any unusual sparks or smoke, immediately disconnect the battery and assess the connections for any potential issues.
With the battery reconnected, you can now proceed to the final step of testing the equalizer to ensure that it is functioning correctly and making the desired adjustments to your audio experience.
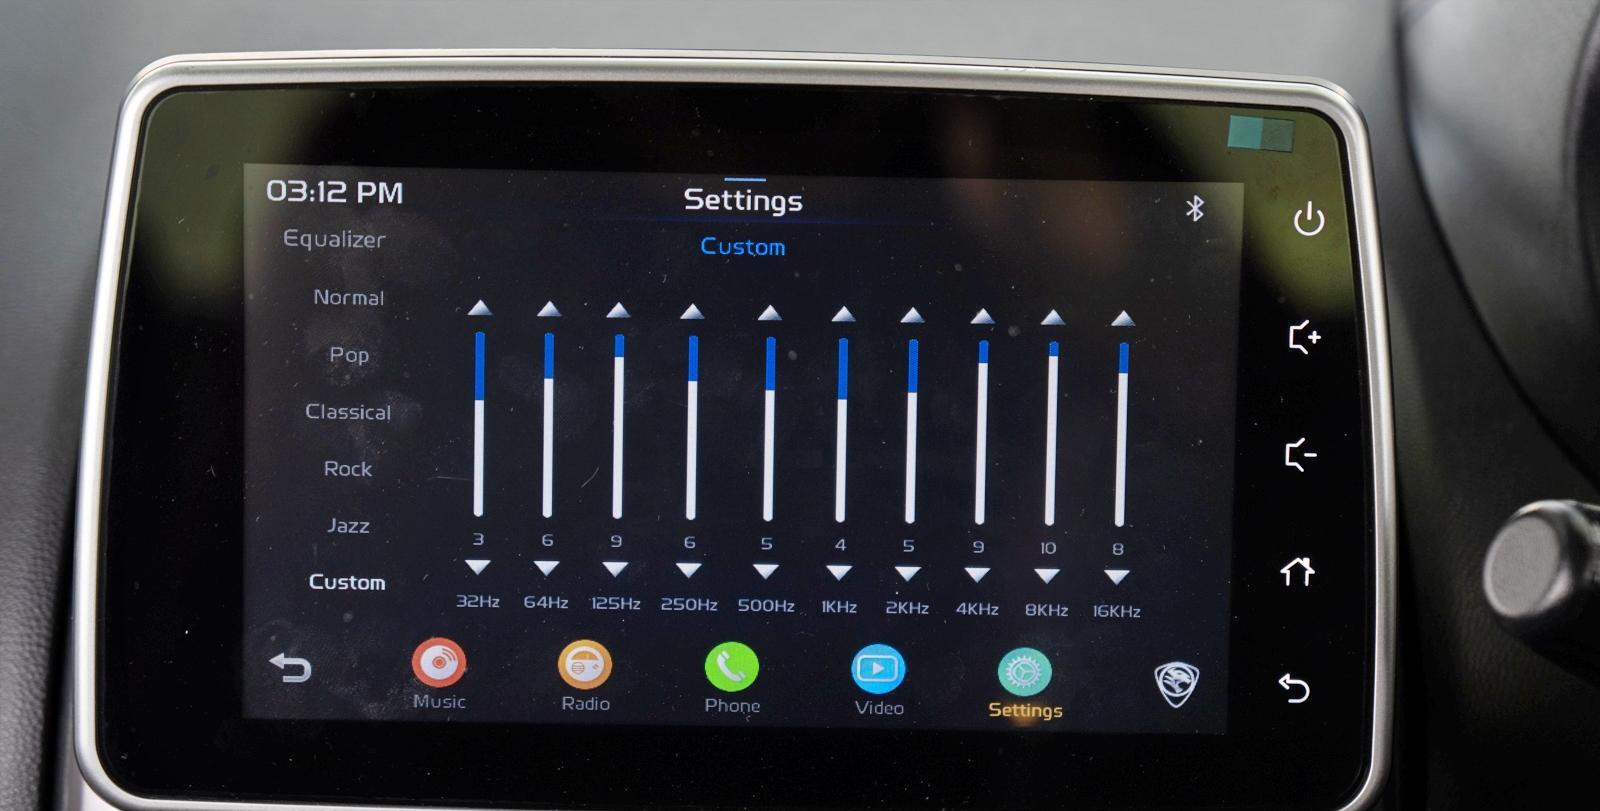
Step 7: Test the Equalizer
Now that you have completed the installation of your equalizer and reconnected the battery, it’s time to test it to ensure that it is functioning properly. Follow these steps to test the equalizer:
- Turn on the car stereo: Start by turning on the car stereo. Ensure that it is receiving power and functioning normally.
- Adjust the equalizer settings: Use the sliders or knobs on the equalizer to adjust the frequency bands and customize the sound according to your preferences. Experiment with different settings to find the balance that suits your taste.
- Listen to the sound: As you make adjustments to the equalizer settings, pay attention to the audio output. Listen for any changes in the bass, midrange, and treble frequencies. Adjust the equalizer until you achieve the desired sound quality.
- Test all audio sources: Test the equalizer with different audio sources, such as radio, CDs, or streaming services. This will allow you to confirm that the equalizer is working consistently across different sources and providing the desired sound customization.
- Make further adjustments if necessary: If you notice any specific frequency ranges that need further adjustment, use the corresponding sliders on the equalizer to fine-tune the sound. Continue to test and make adjustments until you are satisfied with the audio quality.
During the testing phase, it’s important to listen to a variety of music and audio content to get a comprehensive understanding of how the equalizer is impacting the sound. Take your time to explore different genres and observe the changes the equalizer makes to the overall audio experience.
If you encounter any issues or are not satisfied with the results, refer to the owner’s manual of the equalizer for troubleshooting steps or consult a professional for assistance.
With the equalizer successfully tested and optimized, you can now sit back, enjoy your customized audio experience, and appreciate the enhanced sound quality in your car.
Conclusion
Adding an equalizer to your car stereo can significantly enhance your audio experience by giving you control over the sound frequencies and allowing for personalized adjustments. Through this step-by-step guide, we have provided you with the necessary information to connect an equalizer to your car stereo effectively.
Throughout the installation process, we emphasized the importance of gathering the necessary equipment, disconnecting the battery for safety, locating the car stereo, and connecting the equalizer. We also highlighted the optional step of connecting the equalizer to an amplifier for further audio enhancement.
By following each step carefully and consulting the appropriate documentation, you can confidently install and set up an equalizer to customize your car audio system. Take the time to test the equalizer and make the necessary adjustments to achieve the desired sound quality.
Remember, if you are unsure or uncomfortable with the installation process, it is always advisable to seek professional assistance. They can ensure that the equalizer is installed correctly and functioning optimally, providing you with a top-of-the-line audio experience.
Now that you have the knowledge and understanding of how to hook up an equalizer to your car stereo, it’s time to enjoy a personalized audio experience on your next journey. Sit back, relax, and immerse yourself in the rich, customized sound that the equalizer brings to your car’s audio system.