Home>Instruments>Guitar>How To Make Your Own Guitar

Guitar
How To Make Your Own Guitar
Published: February 13, 2024
Learn how to make your own guitar with our step-by-step guide. Discover the joy of crafting your own instrument at home.
(Many of the links in this article redirect to a specific reviewed product. Your purchase of these products through affiliate links helps to generate commission for AudioLover.com, at no extra cost. Learn more)
Table of Contents
Introduction
So, you've decided that you want to make your own guitar. Congratulations! Building your own guitar can be an incredibly rewarding and fulfilling experience. Not only will you gain a deeper understanding of how guitars work, but you'll also have the opportunity to create an instrument that is uniquely yours. Whether you're an experienced luthier or a complete novice, this guide will walk you through the process of crafting your very own guitar from start to finish.
Building a guitar from scratch is a labor of love that requires patience, attention to detail, and a passion for craftsmanship. It's a journey that will take you through the realms of woodworking, design, and music, and the end result will be a beautiful, one-of-a-kind instrument that you can proudly call your own. Throughout this guide, we'll explore the step-by-step process of creating a custom guitar, from gathering materials and tools to putting the finishing touches on your masterpiece.
Before we dive into the nitty-gritty details of guitar construction, it's important to note that building a guitar is not for the faint of heart. It requires a significant investment of time, effort, and resources, but the sense of accomplishment and the joy of playing a guitar that you've built with your own hands is truly priceless.
So, if you're ready to embark on this exciting journey of craftsmanship and creativity, let's roll up our sleeves and get started on the adventure of building your very own guitar. Gather your tools, sharpen your skills, and prepare to bring your musical dreams to life through the art of guitar making.
Gathering Materials and Tools
Before you begin the process of building your own guitar, it’s crucial to gather all the necessary materials and tools. Here’s a comprehensive list to get you started:
- Wood: The type of wood you choose will significantly impact the tone and aesthetics of your guitar. Common choices include mahogany, ash, alder, and maple for the body, and maple, mahogany, or rosewood for the neck.
- Guitar Components: You’ll need hardware such as tuning pegs, bridge, and pickups. These components come in various styles and finishes, so choose ones that complement the overall design of your guitar.
- Tools: Essential tools for guitar making include a bandsaw, jigsaw, router, chisels, files, and sanders. Additionally, specialized luthier tools like fretting saws and nut files are necessary for precise fretwork and setup.
- Adhesives and Finishes: High-quality wood glue, finish, and sealant are essential for assembling and protecting your guitar.
- Templates and Plans: Acquire or create detailed plans and templates for the body shape, neck profile, and other components to ensure accuracy and consistency in your build.
- Safety Gear: Protect yourself with safety goggles, ear protection, and a respirator when working with wood, adhesives, and finishes.
As you gather these materials and tools, consider the specific design and style of guitar you want to build. Whether it’s a classic solid-body electric, a versatile semi-hollow, or a resonant acoustic, each type of guitar will require different materials and tools to bring your vision to life.
Once you’ve assembled everything you need, you’ll be well-prepared to move on to the next exciting phase: designing your custom guitar.
Designing Your Guitar
Designing your own guitar is a thrilling opportunity to unleash your creativity and personalize every aspect of the instrument. Whether you’re envisioning a sleek and modern electric guitar or a warm and resonant acoustic, the design phase sets the stage for the entire build. Here’s how to approach the process:
Body Shape and Style: Consider the overall silhouette of your guitar. Will it feature a timeless single-cutaway design, a double-cutaway for enhanced upper fret access, or a unique and unconventional shape? The body style not only affects the guitar’s aesthetics but also influences its ergonomics and playability.
Wood Selection: The choice of wood species for the body and neck profoundly impacts the instrument’s tone, weight, and visual appeal. Research the tonal characteristics of different woods and select ones that align with your sonic preferences and design vision.
Hardware and Electronics: Determine the hardware and electronics that will adorn your guitar. From the style of the bridge and tuners to the configuration of pickups and control layout, these components contribute to the instrument’s functionality and sonic versatility.
Finish and Accents: Explore various finish options, such as vibrant stains, classic sunbursts, or natural clear coats, to enhance the wood’s beauty. Additionally, consider decorative elements like inlays, binding, and pickguard materials to add personalized touches to your instrument.
Throughout the design phase, leverage resources such as guitar design software, online forums, and luthier books to refine your ideas and create detailed sketches or digital renderings of your guitar. This process allows you to visualize the final product and make informed decisions about the aesthetic and functional aspects of your instrument.
Once you’ve finalized the design, you’ll be ready to move on to the hands-on work of shaping the body of your custom guitar, bringing your vision into three-dimensional reality.
Cutting and Shaping the Body
With your guitar design firmly in place, it’s time to bring it to life by cutting and shaping the body. This transformative phase requires precision, patience, and a keen eye for detail. Here’s a step-by-step guide to help you navigate this critical stage of the guitar-building process:
Preparing the Wood: Begin by selecting high-quality lumber for the body, ensuring that it’s free of defects and possesses the acoustic properties you desire. Once you have the raw wood, use your design template to mark the body’s outline and carefully cut it out, either by hand or with a bandsaw, following the template’s contours.
Shaping and Contouring: After cutting the body outline, use rasps, files, and sanders to refine the edges and contours, gradually shaping the wood to match your design’s specifications. Pay close attention to the body’s curves, bevels, and comfort contours, as these details greatly impact the guitar’s aesthetics and playability.
Routing Cavities: Depending on your guitar’s design, you may need to route cavities for electronics, control cavities, and pickup mounting. Precision routing templates and a plunge router equipped with the appropriate router bits are essential for this task, ensuring clean and accurate cavities that accommodate the hardware and electronics seamlessly.
Drilling Holes and Openings: Drill precise holes for the bridge, tailpiece, and control components, following your design’s specifications. Additionally, if your guitar features a pickguard, carefully drill mounting holes to secure it to the body without splintering the wood.
Throughout the cutting and shaping process, meticulous attention to detail and adherence to your design’s measurements are paramount. Take your time to achieve smooth contours, clean cavities, and accurately positioned openings, as these factors will directly impact the final fit and finish of your custom guitar.
Once the body is expertly cut, contoured, and prepared, you’ll be ready to move on to crafting the neck, a pivotal component that significantly influences the playability and character of your handmade instrument.
Constructing the Neck
The neck of a guitar is a critical component that directly influences playability, tone, and overall performance. Constructing a well-crafted neck requires precision, attention to detail, and a deep understanding of the instrument’s ergonomic and sonic characteristics. Here’s a comprehensive guide to crafting the neck of your custom guitar:
Wood Selection: Choose high-quality wood for the neck, such as mahogany, maple, or other tonally suitable hardwoods. The stability, density, and resonance of the wood significantly impact the neck’s durability and tonal properties.
Creating the Neck Blank: Start by cutting the neck blank to the appropriate dimensions, accounting for the scale length, neck profile, and headstock design. Use a bandsaw and planer to achieve a straight and uniform blank that’s ready for shaping.
Shaping the Neck Profile: Utilize rasps, files, and sanders to carve the neck profile, carefully sculpting the back contour, shoulder transition, and heel to achieve a comfortable and ergonomic shape. Pay close attention to achieving consistent thickness and a smooth, symmetrical profile for optimal playability.
Installing the Truss Rod: If your design incorporates an adjustable truss rod for neck reinforcement, carefully route the truss rod channel and install the truss rod according to the manufacturer’s specifications. This crucial step ensures the neck’s stability and allows for precise adjustment of the instrument’s neck relief.
Shaping the Headstock: Sculpt the headstock to your desired shape, whether it’s a classic design or a custom creation. Use a bandsaw and files to form the headstock outline and achieve smooth, even curves that complement the overall aesthetic of your guitar.
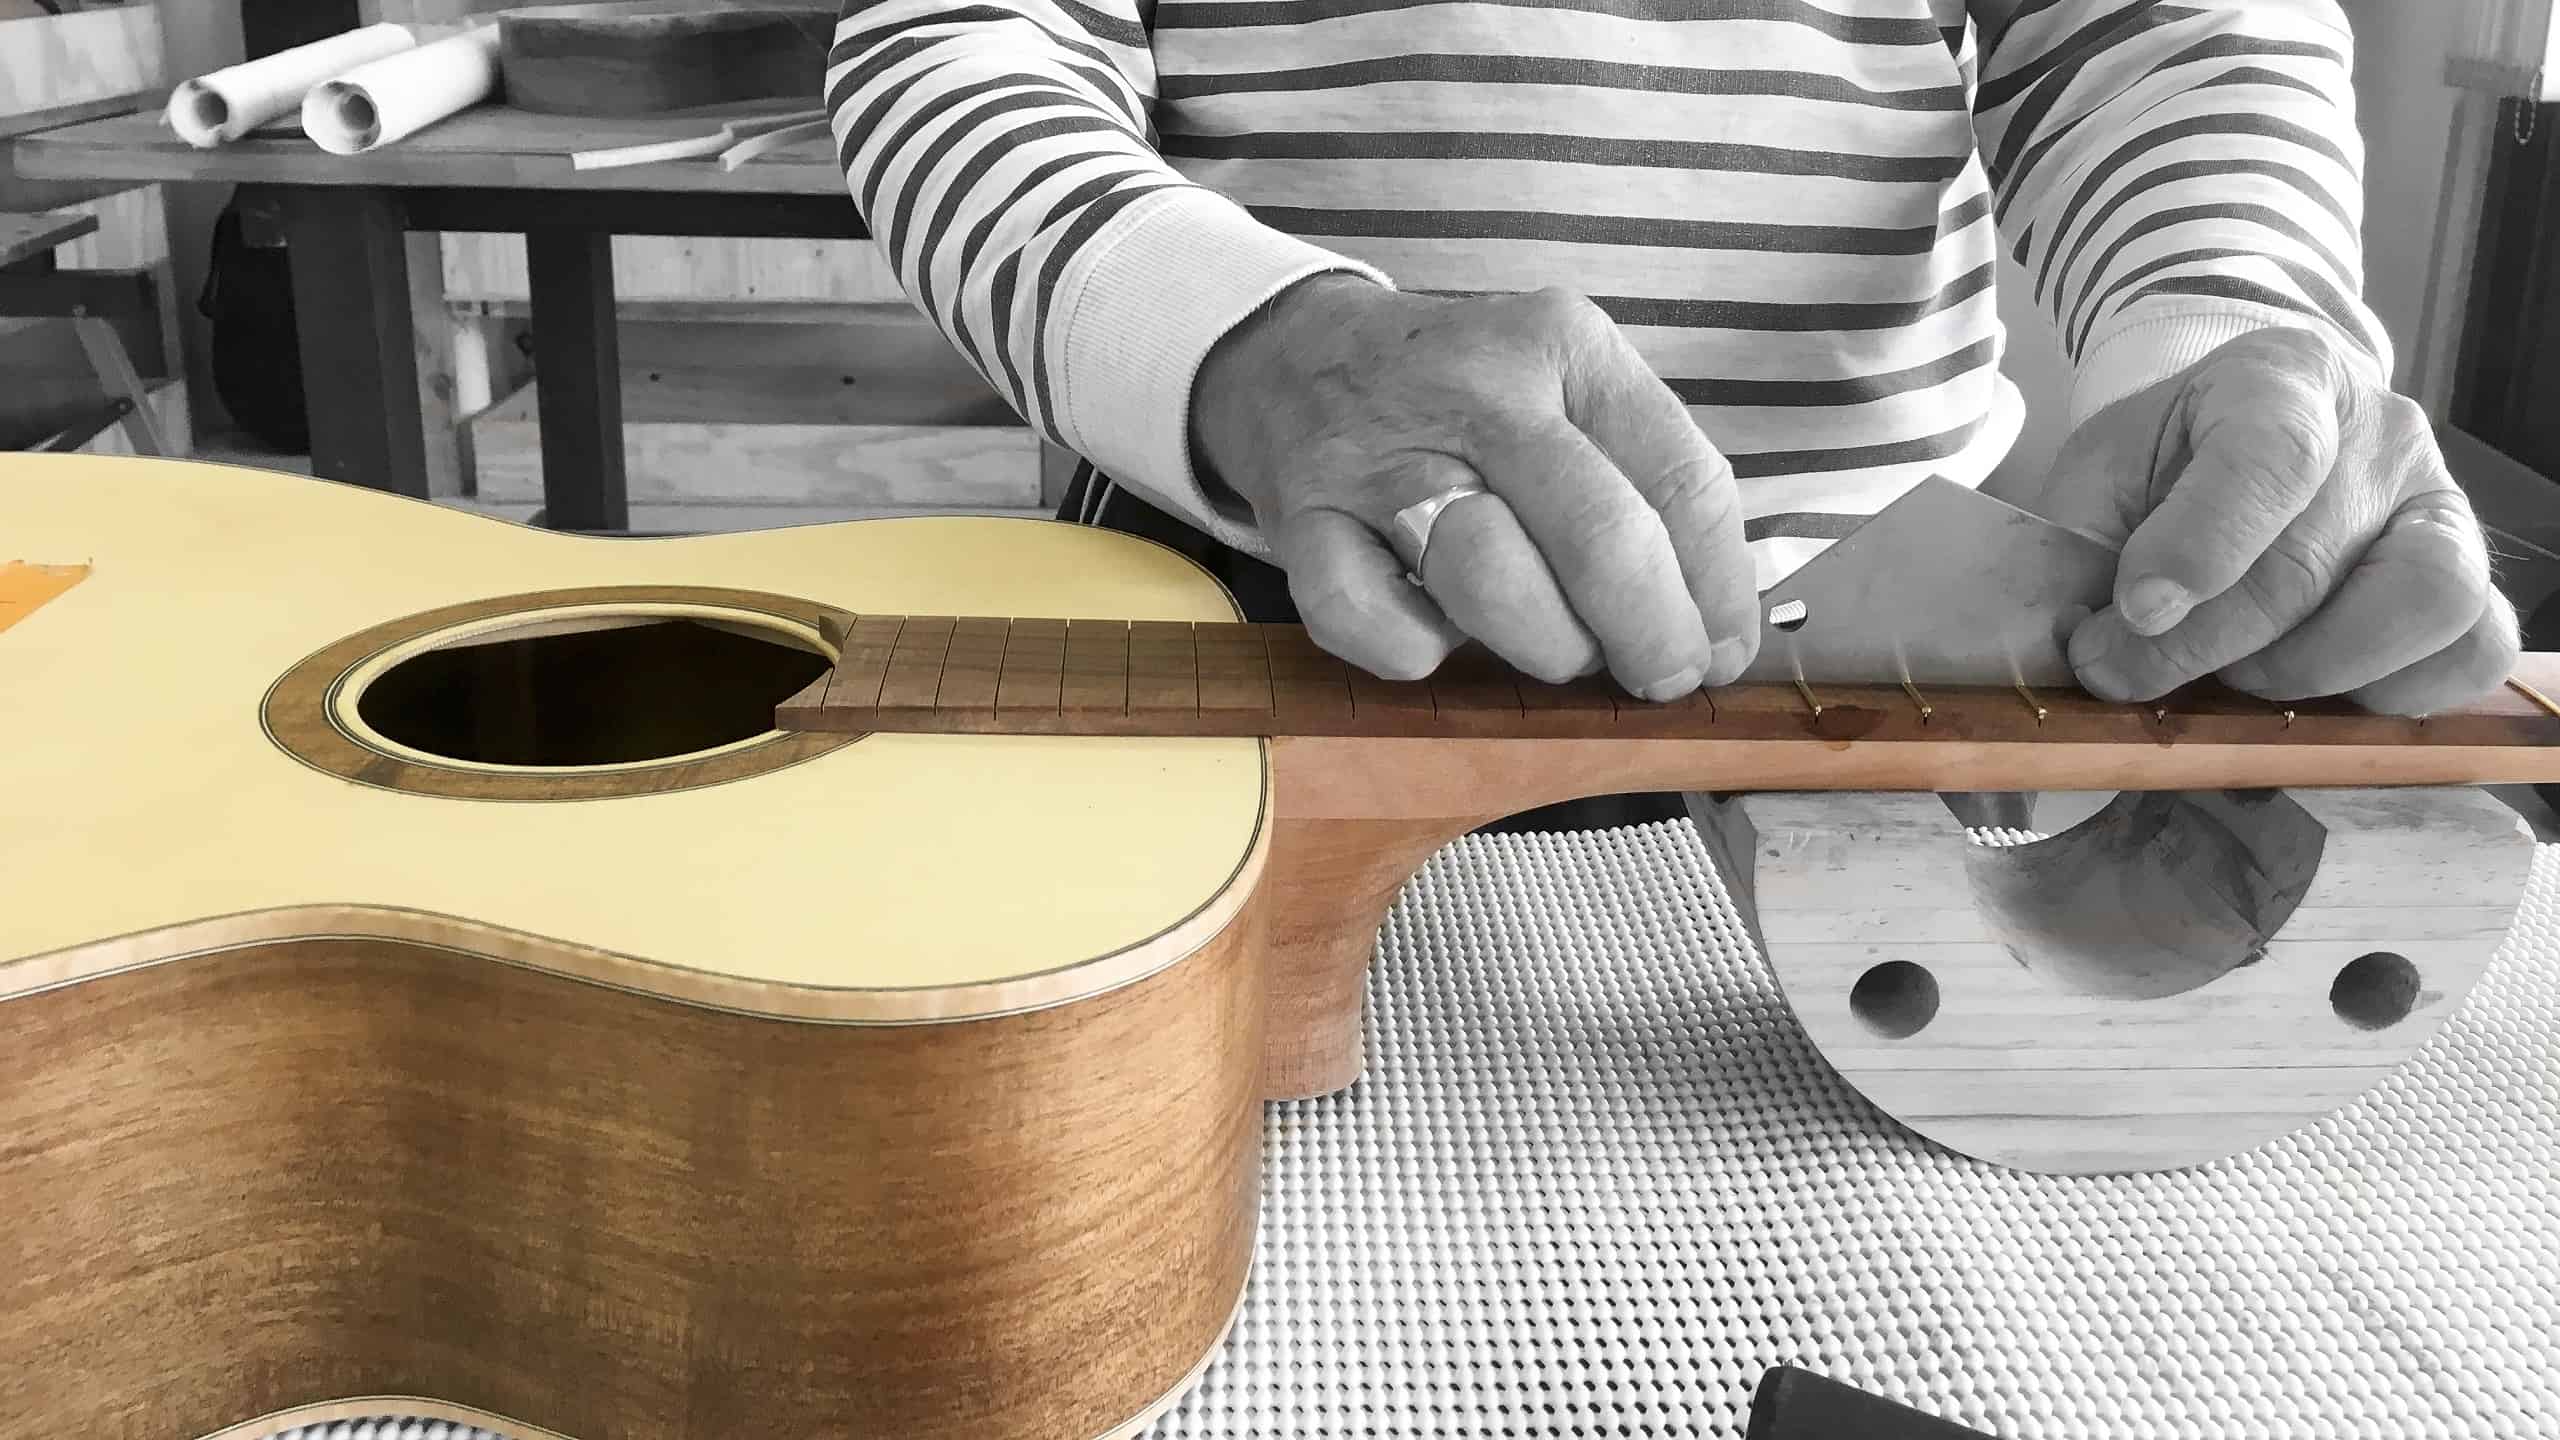
Fretboard Installation: Prepare the fretboard by slotting it for fret wire and carefully gluing it to the neck. Ensure proper alignment and a tight, secure bond between the fretboard and neck to guarantee stability and optimal fretting conditions.
As you construct the neck, precision and patience are paramount. Take the time to refine the neck’s profile, ensure proper truss rod installation, and execute meticulous fretboard installation, as these factors directly contribute to the playability, stability, and tonal integrity of your custom guitar.
Once the neck is expertly crafted, you’ll be ready to proceed to the next phase: assembling the various components of your guitar and bringing it to life.
Assembling the Guitar
As you reach the assembly phase of building your custom guitar, the individual components you’ve meticulously crafted and prepared will come together to form a cohesive and playable instrument. This stage requires precision, patience, and a methodical approach to ensure that each element fits seamlessly and functions harmoniously. Here’s a detailed guide to assembling your handmade guitar:
Body and Neck Alignment: Begin by carefully aligning the neck with the body, ensuring a snug and precise fit. Pay close attention to the neck angle, ensuring that it complements the instrument’s design and facilitates optimal playability and intonation.
Installing Hardware and Electronics: Mount the hardware components, such as the bridge, tuners, and control knobs, according to your design specifications. Additionally, carefully install the pickups, output jack, and any electronic components, following wiring diagrams and ensuring secure connections.
Fret Installation and Dressing: If you’re building a fretted instrument, carefully press and seat the fret wire into the fret slots, ensuring a uniform and secure fit. Once the frets are in place, meticulously level, crown, and polish them to achieve smooth, buzz-free playability.
Setting the Nut and Bridge: Install the nut and bridge, ensuring proper string spacing and alignment. The nut and bridge play a crucial role in establishing accurate string action, intonation, and overall tonal performance.
Stringing and Initial Setup: With the components in place, string the guitar and perform an initial setup, adjusting the truss rod, bridge height, and intonation to achieve optimal playability and tonal balance. This step lays the foundation for the instrument’s performance and sets the stage for fine-tuning adjustments.
As you assemble your guitar, meticulous attention to detail and adherence to your design’s specifications are essential. Take the time to ensure that each component fits precisely and functions as intended, as the assembly phase sets the stage for the final setup and fine-tuning of your custom-built instrument.
Once the guitar is fully assembled and set up, you’ll be ready to move on to the exciting phase of adding the finishing touches that will elevate your handmade instrument to its full potential.
Finishing Touches
As you near the completion of your custom-built guitar, the finishing touches play a pivotal role in enhancing its aesthetics, protection, and overall appeal. From applying a lustrous finish to fine-tuning the setup, these final steps will elevate your instrument to its full potential. Here’s a comprehensive guide to adding the finishing touches to your handmade guitar:
Applying the Finish: Choose a finish that aligns with your design vision and the wood’s characteristics. Whether it’s a glossy polyurethane, a traditional nitrocellulose lacquer, or a hand-rubbed oil finish, meticulously apply the chosen finish to protect the wood and enhance its natural beauty.
Fretboard Conditioning: Treat the fretboard with high-quality fretboard oil or conditioner to nourish the wood, hydrate the fretboard, and protect it from environmental factors. Conditioning the fretboard ensures its longevity and maintains a smooth, comfortable playing surface.
Setup Refinement: Fine-tune the instrument’s setup by adjusting the string action, intonation, and pickup height to achieve optimal playability and tonal balance. A well-executed setup ensures that your guitar performs at its best and delivers a rewarding playing experience.
Hardware and Electronics Check: Verify the functionality and stability of the hardware and electronics, ensuring that all components are securely fastened and functioning as intended. Address any potential issues to guarantee the instrument’s reliability and performance.
Quality Control and Testing: Conduct a thorough inspection of the instrument, checking for any imperfections, loose components, or setup irregularities. Once the guitar passes the quality control assessment, put it through its paces by playing a variety of musical styles and evaluating its tonal characteristics and playability.
As you add the finishing touches to your guitar, meticulous attention to detail and a commitment to excellence are paramount. Each step, from applying the finish to refining the setup, contributes to the overall quality and performance of your handmade instrument, ensuring that it meets your expectations and delivers a rewarding playing experience.
With the finishing touches in place and the instrument thoroughly tested, you’ve successfully completed the journey of building your own guitar. Your dedication, craftsmanship, and creativity have culminated in a unique and personalized instrument that reflects your passion for music and the art of lutherie.
Conclusion
Congratulations on completing the exhilarating journey of building your own guitar! From the initial spark of inspiration to the final finishing touches, you’ve embarked on a fulfilling and transformative experience that has yielded a one-of-a-kind musical instrument. As you reflect on this remarkable endeavor, it’s essential to recognize the invaluable skills, knowledge, and personal growth that have accompanied the process of guitar making.
Building a guitar from scratch is a testament to your dedication, patience, and unwavering commitment to craftsmanship. Throughout this journey, you’ve delved into the realms of woodworking, design, and music, honing your skills and gaining a profound understanding of the intricacies involved in creating a musical instrument from raw materials.
Moreover, the guitar you’ve built embodies your unique vision, creativity, and personal expression. Every contour, joint, and finish detail reflects your artistic sensibilities and musical aspirations, resulting in a truly individualized instrument that resonates with your identity as a musician and artisan.
Beyond the tangible outcome of a handcrafted guitar, this experience has fostered a deeper connection to the art of lutherie and a profound appreciation for the craftsmanship that goes into every instrument. Whether you’re an experienced luthier or a first-time builder, the journey of guitar making is a continuous source of inspiration and growth, offering endless opportunities to refine your skills and pursue new creative horizons.
As you strum the first chords on your custom-built guitar, savor the sense of accomplishment and pride that comes with bringing your musical dreams to life. Your handmade instrument is not merely a collection of materials and components; it’s a testament to your passion, ingenuity, and unwavering dedication to the art of guitar making.
So, as you embark on your musical journey with a guitar that embodies your creativity and craftsmanship, remember the remarkable feat you’ve achieved – the creation of a truly unique and exceptional instrument that will accompany you on countless musical adventures and inspire your artistic endeavors for years to come.


