Home>Instruments>Guitar>How To Replace Guitar Strings
Guitar
How To Replace Guitar Strings
Published: February 14, 2024
Learn how to replace guitar strings with our step-by-step guide. Keep your guitar sounding great and playing smoothly.
(Many of the links in this article redirect to a specific reviewed product. Your purchase of these products through affiliate links helps to generate commission for AudioLover.com, at no extra cost. Learn more)
Table of Contents
Introduction
Introduction
Playing the guitar is not just about strumming the strings; it's about maintaining your instrument to ensure it produces the best sound possible. One important aspect of guitar maintenance is replacing the strings. Over time, strings can lose their tone and clarity, affecting the overall sound of the guitar. Additionally, worn-out strings are more prone to breaking, which can be both frustrating and disruptive during a jam session or performance.
In this comprehensive guide, we will walk you through the process of replacing your guitar strings. Whether you're a seasoned guitarist or a beginner, understanding how to replace your strings is a fundamental skill that every guitarist should possess. By following these steps, you can ensure that your guitar produces a crisp, vibrant sound, allowing you to fully express your musical creativity.
Replacing guitar strings may seem daunting at first, but with the right tools, a bit of patience, and the guidance provided here, you'll be able to confidently tackle this essential task. So, grab your guitar, gather the necessary materials, and let's dive into the process of giving your instrument a fresh set of strings.
Tools and Materials Needed
Tools and Materials Needed
Before embarking on the journey of replacing your guitar strings, it’s crucial to ensure that you have the necessary tools and materials at your disposal. Here’s a comprehensive list of what you’ll need:
- New Guitar Strings: The first step in the process is to acquire a fresh set of guitar strings. There are various types of strings available, such as steel, nylon, and coated strings, each offering distinct tonal qualities. Ensure that you select the appropriate strings based on your guitar’s specifications and your playing style.
- Wire Cutters: A pair of wire cutters will be essential for snipping off the excess string length once the new strings are installed. These cutters should be capable of cleanly severing the metal strings without leaving sharp edges.
- Tuner: A reliable tuner is indispensable for ensuring that your guitar is perfectly in tune once the new strings are in place. Whether you prefer a digital tuner or a clip-on tuner, having one on hand will streamline the tuning process.
- Clean Cloth: It’s advisable to have a clean, soft cloth within reach to wipe down your guitar and remove any accumulated dust and grime. This step will help maintain the visual appeal of your instrument and prevent any debris from interfering with the string replacement process.
- String Winder: While not mandatory, a string winder can significantly expedite the string replacement process. This tool allows for swift winding and unwinding of the tuning pegs, saving you time and effort.
By ensuring that you have these essential tools and materials at hand, you’ll be well-prepared to proceed with confidence as we delve into the process of replacing your guitar strings. With everything in place, you’re one step closer to revitalizing the sound and playability of your instrument.
Removing the Old Strings
Removing the Old Strings
Before installing new strings, it’s crucial to remove the old ones carefully. This process involves several steps to ensure a smooth transition to the fresh set of strings. Here’s a detailed guide on how to remove the old strings from your guitar:
- Loosen the Strings: Begin by turning the tuning pegs to loosen the tension in the strings. Start with the low E string and work your way to the high E string. Loosening the strings will prevent them from snapping abruptly, minimizing the risk of injury.
- Unwind the Strings: Once the strings are sufficiently loosened, unwind them from the tuning pegs. As you unwind each string, be mindful of any kinks or tangles that may have formed near the tuning pegs or bridge. Smoothly guide the strings out of their respective slots without applying excessive force.
- Remove the Bridge Pins (Acoustic Guitars): For acoustic guitars with bridge pins securing the strings, carefully extract the bridge pins using a bridge pin puller or a suitable alternative. Gently wiggle the pins while applying upward pressure to release them from the bridge. Take care not to lose the bridge pins, as they are essential for securing the new strings.
- Clean the Guitar Body: With the old strings removed, take this opportunity to clean the guitar body and fretboard. Use a soft, dry cloth to wipe away any accumulated dust, fingerprints, or residue from the fretboard. This simple maintenance step will help preserve the condition of your instrument.
By following these steps, you can effectively remove the old strings from your guitar, setting the stage for the installation of fresh, vibrant strings. Properly handling the removal process is essential for maintaining the integrity of your instrument and preparing it for the next phase of the string replacement process.
Cleaning the Guitar
Cleaning the Guitar
Once the old strings have been removed, it’s an opportune time to give your guitar a thorough cleaning. This maintenance step not only enhances the visual appeal of the instrument but also contributes to its longevity and playability. Here’s a comprehensive guide on how to clean your guitar effectively:
- Fretboard Cleaning: Use a specialized fretboard cleaner or a small amount of lemon oil on a clean cloth to gently wipe the fretboard. This process removes accumulated dirt and grime while conditioning the wood, preserving its luster and preventing it from drying out.
- Body and Neck Wiping: Employ a soft, dry cloth to wipe down the guitar body and neck, removing any dust, fingerprints, or smudges. Pay attention to areas around the pickups, bridge, and tuning pegs, ensuring that no debris is left behind.
- Polishing (Optional): If desired, apply a small amount of guitar polish to a separate cloth and gently polish the guitar body and neck. This step adds a subtle sheen to the instrument’s finish, providing a polished and professional appearance.
- Inspect for Damage: While cleaning, take the opportunity to inspect the guitar for any signs of damage, such as cracks, loose hardware, or irregularities in the frets. Addressing any issues promptly will help maintain the structural integrity of the instrument.
By meticulously cleaning your guitar, you not only maintain its aesthetic appeal but also contribute to its overall performance and longevity. A well-maintained guitar not only looks impressive but also plays and sounds its best, allowing you to fully immerse yourself in your musical endeavors.
Installing the New Strings
Installing the New Strings
With the old strings removed and the guitar cleaned, it’s time to embark on the process of installing the new strings. This transformative step plays a pivotal role in revitalizing the sound and playability of your instrument. Follow these detailed guidelines to ensure a seamless and effective string installation:
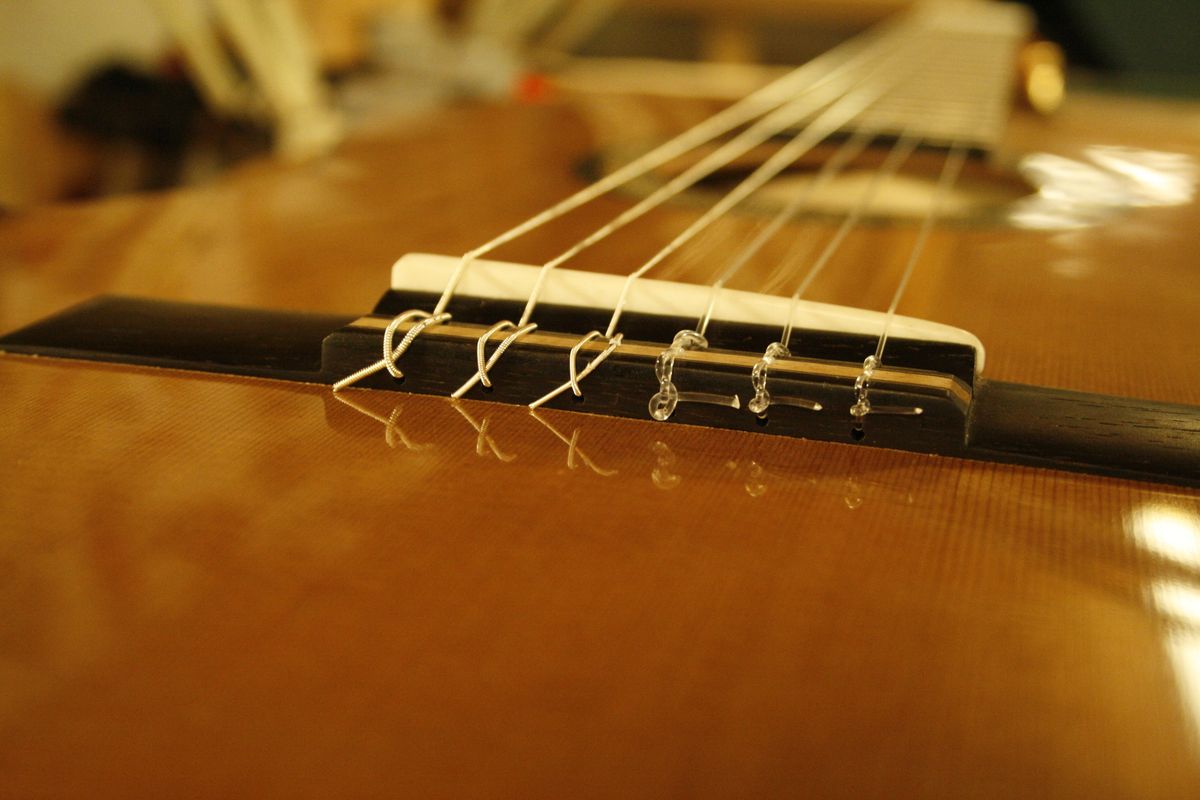
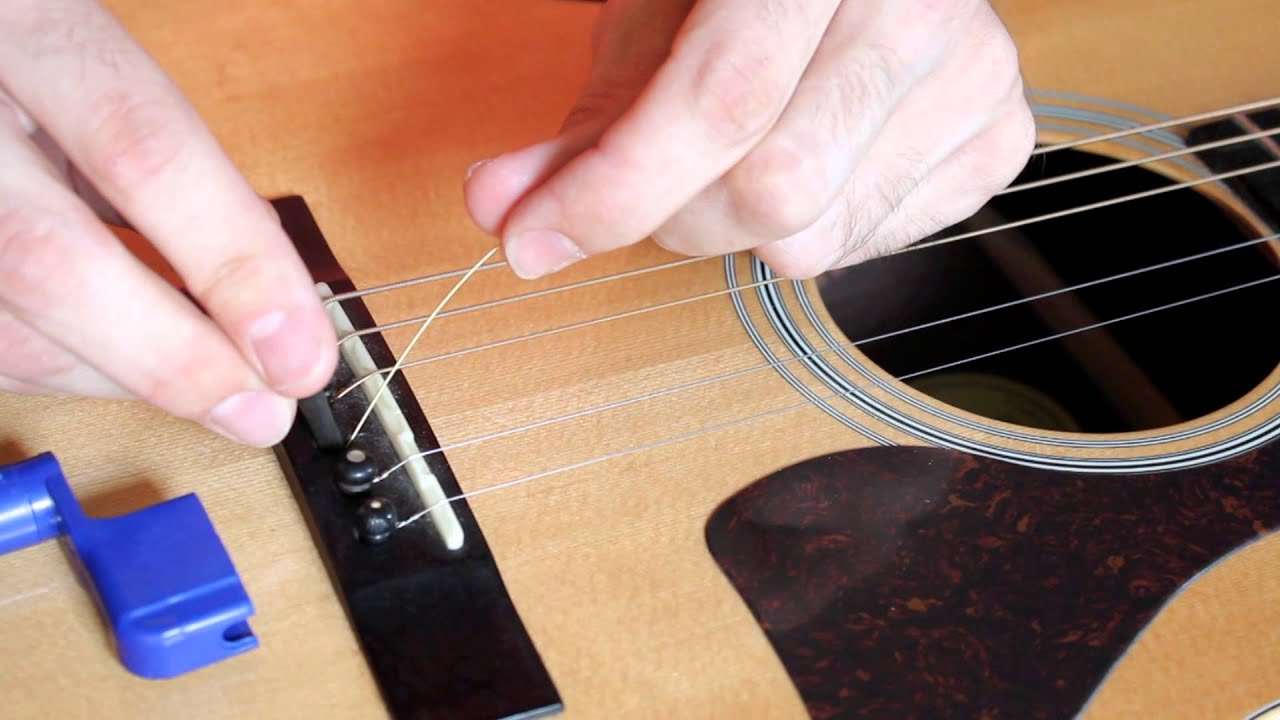
- Feed the Strings Through: Begin by inserting the ball end of each string into the corresponding bridge pin slot, ensuring a secure fit. For electric guitars with a stop tailpiece, insert the strings through the appropriate holes, allowing the ball ends to rest against the tailpiece.
- Secure the Bridge Pins (Acoustic Guitars): If you’re restringing an acoustic guitar, gently press the bridge pins back into place, securing the strings in the bridge. Ensure that the pins are fully seated to prevent any slippage during tuning and playing.
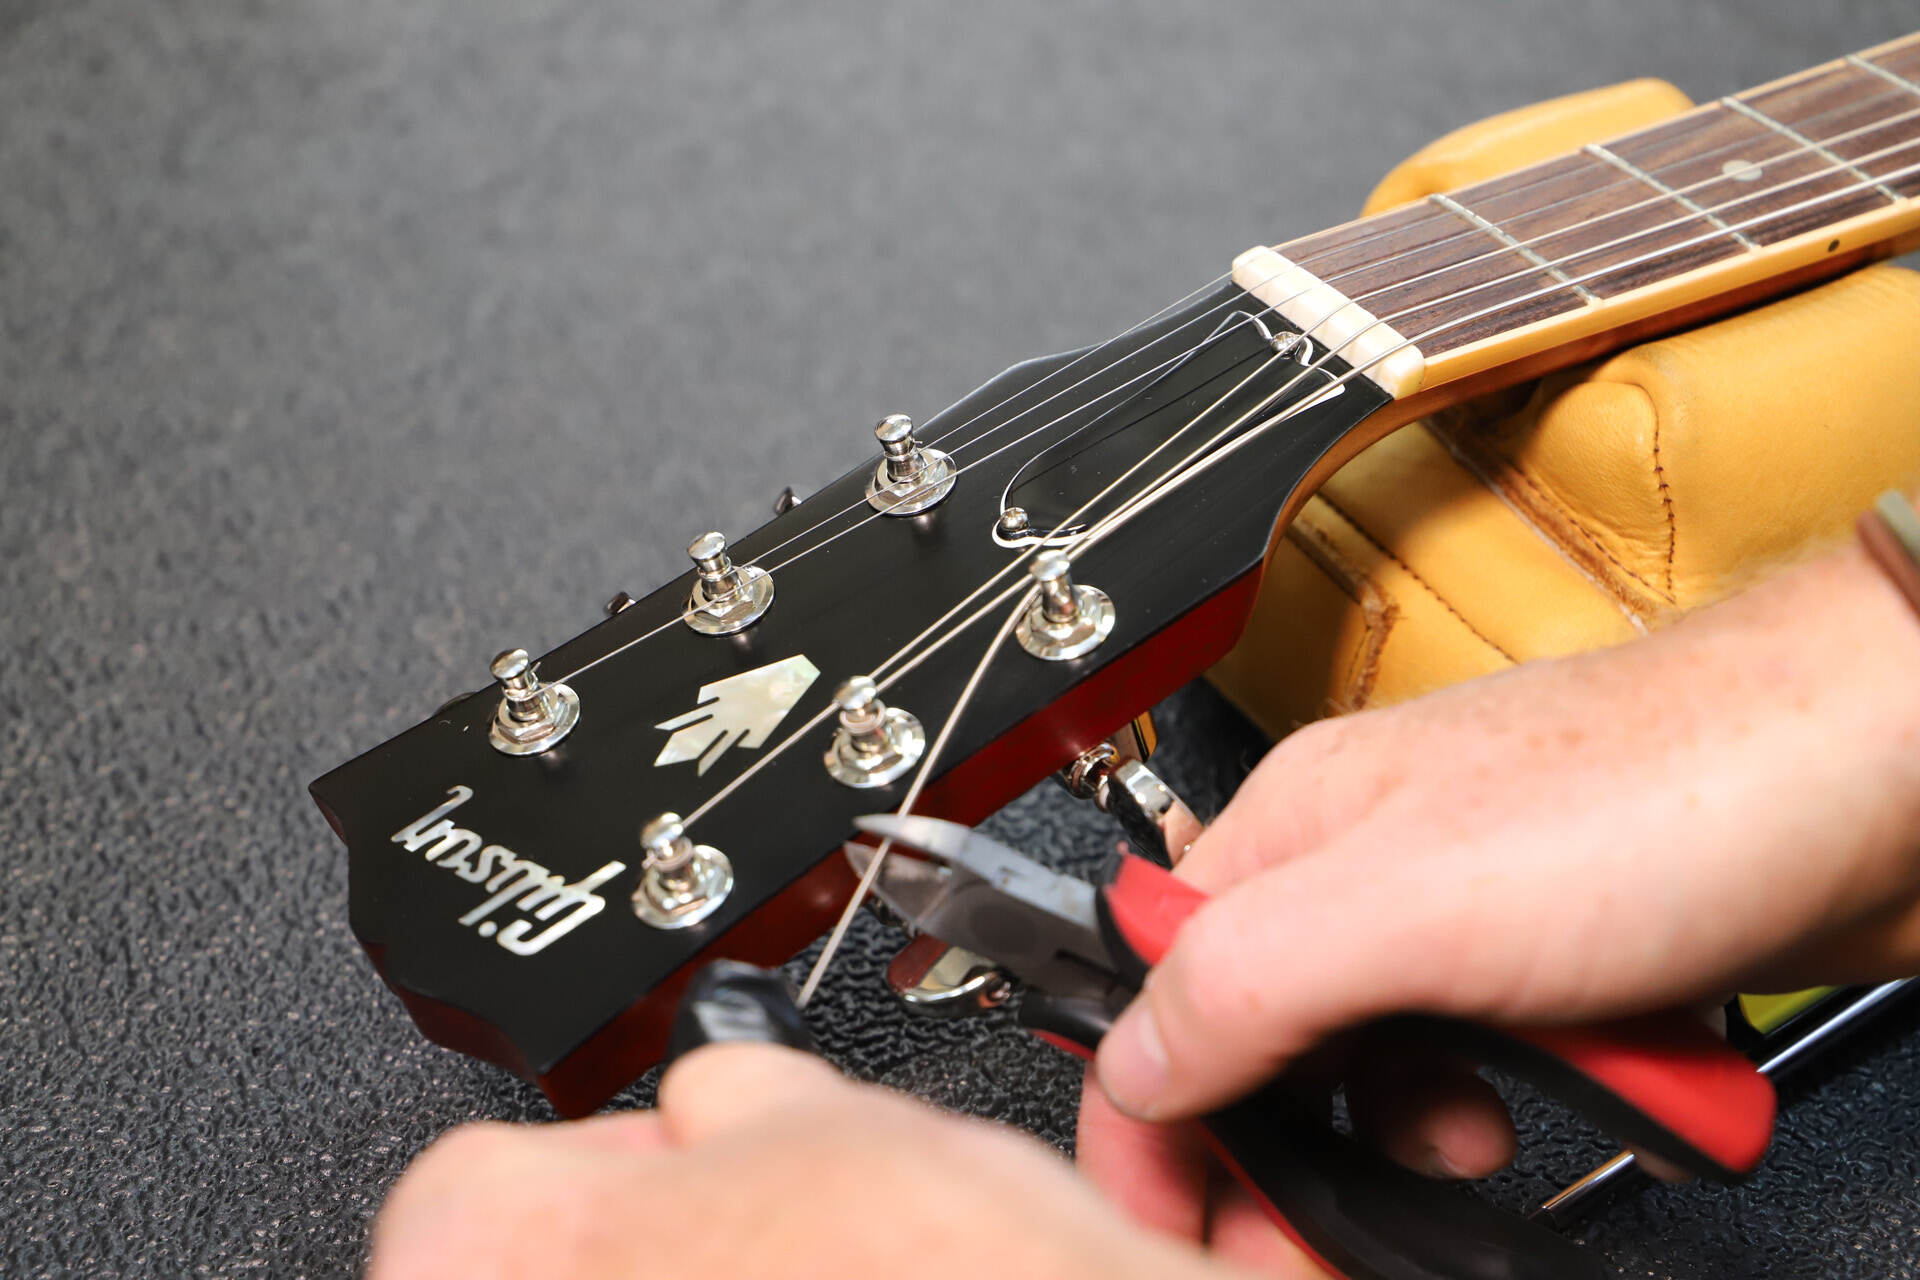
- Wind the Strings: Starting with the low E string, guide the opposite end of the string through the corresponding tuning peg hole. Leave ample slack to accommodate several winds around the peg. Use a string winder for efficiency, gradually winding the string until it holds tension. Repeat this process for the remaining strings.
- Cut Excess String: Once the strings are securely wound and tuned to pitch, use wire cutters to trim the excess string length near the tuning pegs. Exercise caution to avoid any sharp protrusions that could cause injury or damage to the instrument.
- Stretch and Tune: With the new strings installed, gently stretch each string by pulling it away from the fretboard, allowing the strings to settle and stabilize. Use a tuner to meticulously tune each string to its respective pitch, ensuring accuracy and stability.
By carefully following these steps, you can successfully install a fresh set of strings, infusing your guitar with renewed tonal clarity and responsiveness. The string installation process is a pivotal aspect of guitar maintenance, and when executed with precision, it sets the stage for an enhanced playing experience.
Tuning the Guitar
Tuning the Guitar
After installing the new strings, the final crucial step in the string replacement process is tuning the guitar to ensure that each string produces the correct pitch. Proper tuning is essential for achieving optimal sound quality and playability. Here’s a comprehensive guide on how to tune your guitar effectively:
- Initial Tuning: Begin by tuning the low E string to the correct pitch using a tuner as a reference. Gradually tighten or loosen the string’s tension until it matches the designated pitch.
- Progressive Tuning: Once the low E string is in tune, proceed to tune the remaining strings in the following sequence: A, D, G, B, and high E. Tuning in this order minimizes the strain on the neck and helps maintain overall stability.
- Double-Check Tuning: After tuning all the strings, revisit each string to ensure that it remains at the correct pitch. Due to the interdependence of string tension, tuning one string may slightly affect the tuning of others. Fine-tune as needed to achieve precise pitch accuracy.
- Verify Intonation (Optional): For advanced players or those seeking optimal performance, verifying the guitar’s intonation is recommended. This involves checking the accuracy of the guitar’s pitch at various fret positions to ensure consistent tuning across the entire fretboard.
By meticulously tuning your guitar, you ensure that it produces harmonious, accurate tones, setting the stage for a rewarding playing experience. Whether you’re practicing, recording, or performing live, a well-tuned guitar allows you to fully express your musical creativity with confidence and precision.
Conclusion
Conclusion
Congratulations! By following the comprehensive guide on replacing your guitar strings, you’ve taken a significant step toward maintaining the optimal performance and playability of your instrument. The process of replacing guitar strings is not only a fundamental aspect of maintenance but also an opportunity to breathe new life into your musical companion. As you reflect on the journey of string replacement, consider the following key takeaways:
- Maintenance Matters: Regularly replacing your guitar strings is a vital component of instrument maintenance, ensuring that your guitar produces vibrant, clear tones and remains responsive to your playing dynamics.
- Attention to Detail: From removing the old strings to meticulously tuning the new ones, every step in the process demands attention to detail and precision to achieve the desired results.
- Enhanced Playability: Fresh strings contribute to improved playability, allowing you to explore a wide range of musical styles and techniques with confidence and clarity.
- Longevity and Performance: By caring for your guitar and replacing its strings as needed, you’re investing in the longevity and consistent performance of your instrument, ensuring that it remains a reliable partner in your musical journey.
As you strum the first chords or pluck the initial notes on your newly strung guitar, take a moment to appreciate the transformative impact of this simple yet essential maintenance task. The revitalized sound and responsiveness of your instrument serve as a testament to your dedication to preserving its musical prowess.
Remember, the process of replacing guitar strings is not merely a technical chore; it’s a ritual that reaffirms your bond with your instrument and sets the stage for countless musical adventures. So, savor the sound of your revitalized guitar, and let its renewed voice inspire your musical creativity.
With your guitar now equipped with fresh strings and restored vitality, you’re poised to embark on a melodic journey filled with resonance, expression, and endless possibilities. Whether you’re strumming for personal enjoyment, collaborating with fellow musicians, or captivating an audience, your well-maintained guitar stands ready to amplify your musical aspirations.