Home>Production & Technology>Acoustic>How To Replace The Nut On An Acoustic Guitar

Acoustic
How To Replace The Nut On An Acoustic Guitar
Published: March 12, 2024
Learn how to replace the nut on your acoustic guitar with our step-by-step guide. Keep your instrument in top shape and playing beautifully.
(Many of the links in this article redirect to a specific reviewed product. Your purchase of these products through affiliate links helps to generate commission for AudioLover.com, at no extra cost. Learn more)
Table of Contents
Introduction
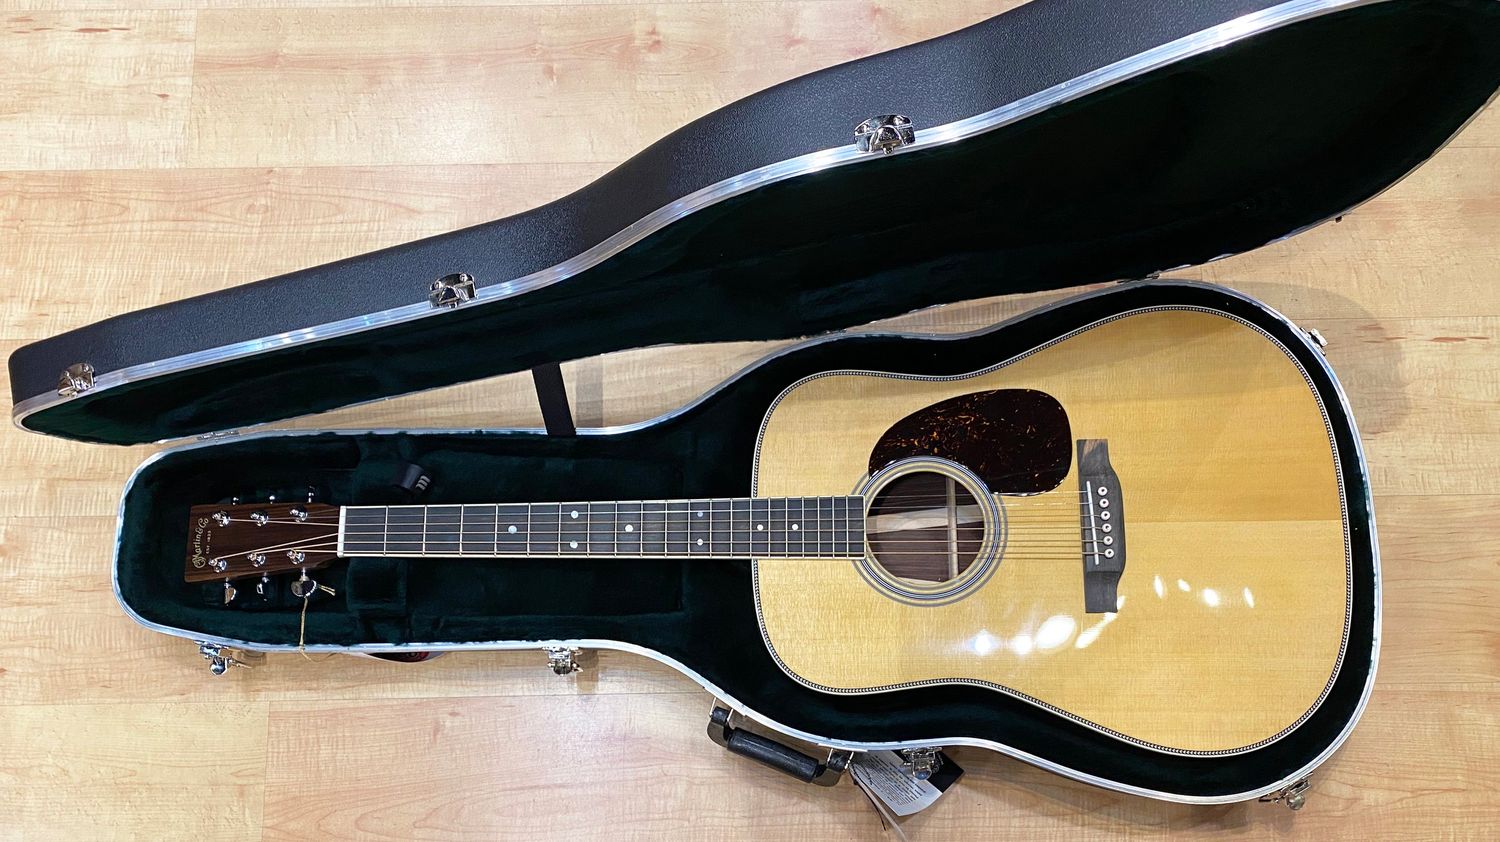
Replacing the nut on an acoustic guitar is a fundamental aspect of guitar maintenance and can significantly impact the instrument's playability and tone. The nut, a small but crucial component located at the top of the guitar's neck, serves as the anchor point for the strings, determining their spacing and height above the fretboard. Over time, the nut may wear down, become chipped, or impede the strings' movement, leading to tuning instability, buzzing, or discomfort while playing. By learning how to replace the nut on an acoustic guitar, you can restore the instrument's functionality and ensure optimal performance.
The process of replacing the nut involves several essential steps, from gathering the necessary tools and materials to carefully installing and testing the new nut. While it may seem daunting at first, with the right guidance and attention to detail, even novice guitar enthusiasts can successfully undertake this task. Whether you're a seasoned musician or a beginner eager to delve into the world of guitar maintenance, understanding the intricacies of nut replacement empowers you to take control of your instrument's upkeep and enhance your playing experience.
In the following sections, we will explore the step-by-step process of replacing the nut on an acoustic guitar, providing clear instructions and valuable insights to guide you through this essential maintenance procedure. By following these instructions and exercising patience and precision, you can breathe new life into your acoustic guitar, ensuring that it continues to resonate with clarity and precision for years to come. Let's embark on this journey to discover the art of nut replacement and unlock the potential of your beloved acoustic guitar.
Step 1: Gather the necessary tools and materials
Before embarking on the process of replacing the nut on your acoustic guitar, it's essential to gather the requisite tools and materials to ensure a smooth and efficient procedure. Having the right equipment at your disposal not only facilitates the task but also contributes to the overall quality and longevity of the replacement. Here's a comprehensive list of the tools and materials you'll need:
Tools:
- Nut Files: These specialized files are designed to precisely shape the slots in the nut, allowing for proper string clearance and alignment. It's crucial to have a set of nut files that correspond to the gauge of your guitar strings.
- Small Hammer: A lightweight hammer will aid in gently tapping the old nut out of its position without causing damage to the guitar's neck or headstock.
- Needle Files: These fine, pointed files are instrumental in refining the nut slot's shape and depth, ensuring a snug fit for the new nut.
- Ruler or Calipers: Accurately measuring the dimensions of the existing nut and the new replacement nut is essential for a precise fit.
- Masking Tape: Using masking tape to protect the surrounding areas of the nut slot during the removal and installation process helps prevent accidental scratches or dents.
- Small Chisel or Knife: This tool aids in carefully loosening the old nut and separating it from the surrounding adhesive or glue.
- Sandpaper or Fret Leveling File: Ensuring the bottom of the new nut is perfectly flat is crucial for achieving optimal string action and intonation.
- Tuner: A tuner is indispensable for testing the guitar's tuning after the new nut is installed, ensuring that the strings are properly seated and spaced.
Materials:
- Replacement Nut: Acoustic guitar nuts are typically made of materials such as bone, synthetic bone, or various types of plastic. Ensure that the replacement nut matches the specifications of your guitar, including width, height, and string spacing.
- Adhesive or Glue: Depending on the guitar's construction, a small amount of adhesive may be necessary to secure the new nut in place. It's important to use a non-permanent adhesive to allow for future adjustments or replacements.
- Microfiber Cloth: Keeping a microfiber cloth handy for cleaning the nut slot and surrounding areas ensures a debris-free environment for the new nut installation.
By assembling these tools and materials, you'll be well-prepared to initiate the nut replacement process with confidence and precision. Each item plays a crucial role in ensuring the successful removal of the old nut and the seamless installation of its replacement, ultimately contributing to the enhanced performance and longevity of your acoustic guitar.
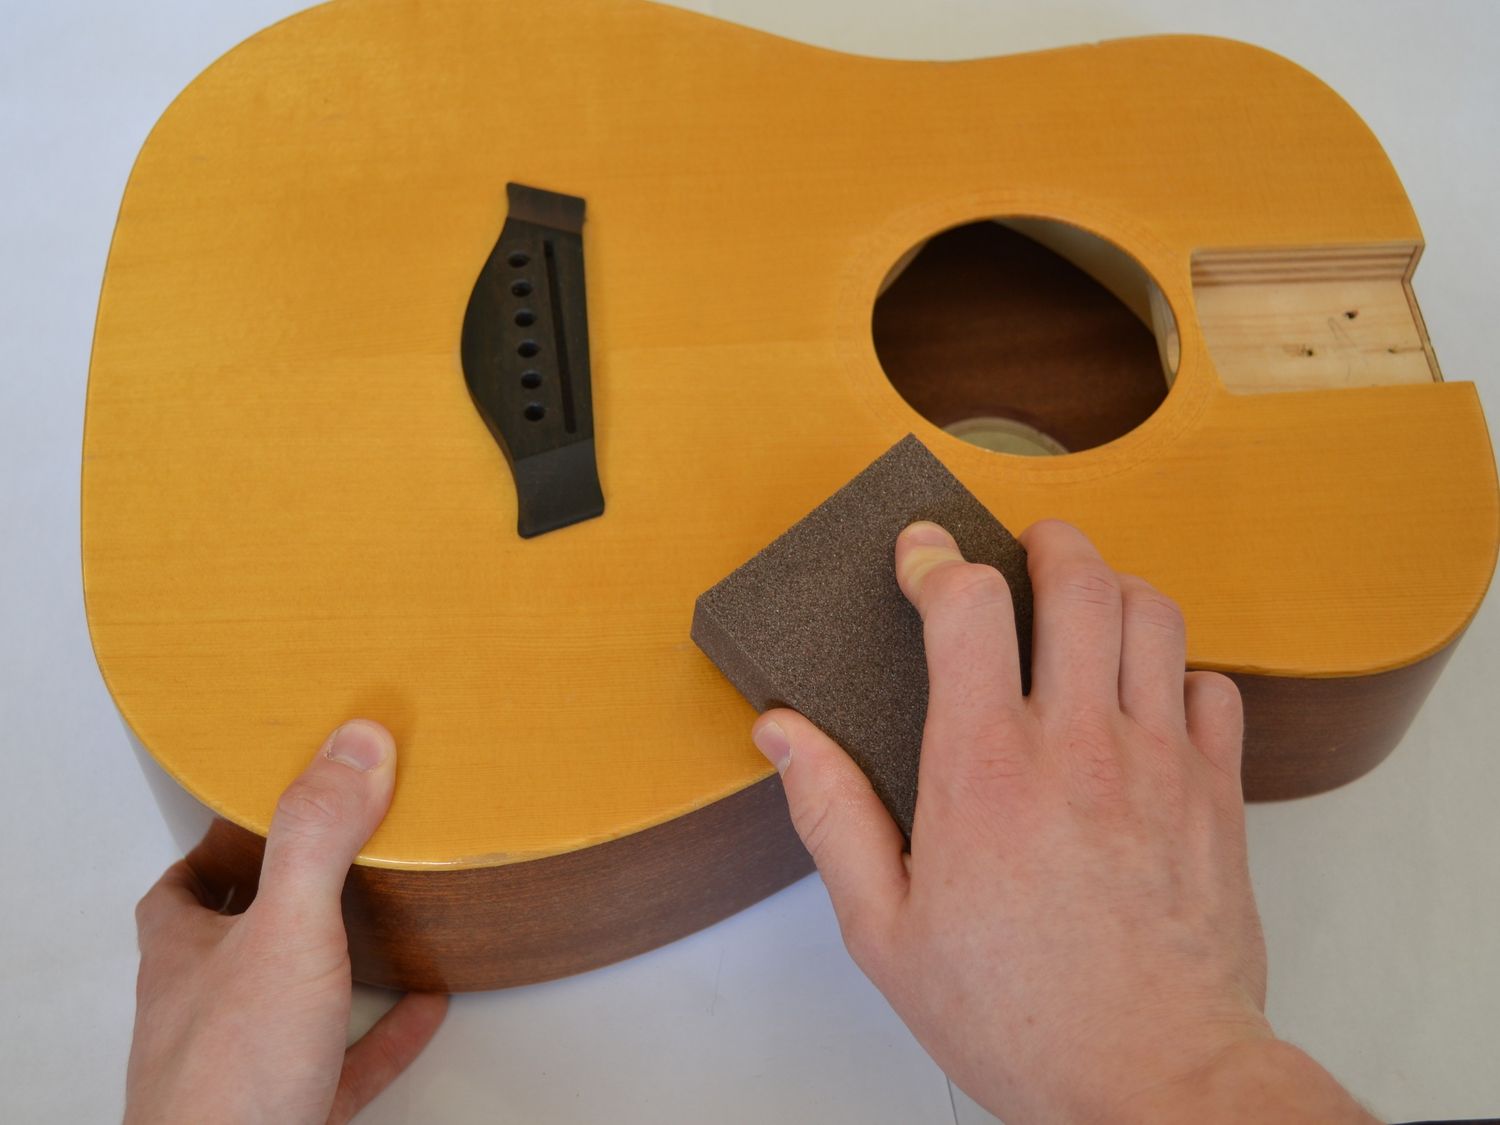
Step 2: Remove the old nut
Removing the old nut from an acoustic guitar is a delicate yet essential step in the process of nut replacement. It requires patience, precision, and a gentle touch to avoid damaging the guitar's neck or headstock. Here's a detailed guide on how to effectively remove the old nut:
1. Loosen the Strings:
Begin by loosening the tension of the guitar strings to alleviate pressure on the nut. This can be achieved by turning the tuning pegs to lower the pitch of each string. It's important to loosen the strings gradually and uniformly to prevent sudden shifts in tension.
2. Protect the Surrounding Area:
To safeguard the guitar's finish and prevent accidental scratches, use masking tape to cover the area around the nut. This simple yet crucial step ensures that the removal process does not inadvertently mar the guitar's aesthetic appeal.
3. Assess the Adhesive:
In some cases, the old nut may be secured in place with a small amount of adhesive or glue. Carefully inspect the base of the nut to determine if it is adhered to the neck. If adhesive is present, use a small chisel or knife to gently loosen the nut, taking care not to apply excessive force that could cause damage.
4. Tap the Nut:
Using a small hammer, lightly tap the old nut from side to side to gradually dislodge it from its position. It's important to exercise caution and patience during this step, ensuring that the nut is loosened without causing any structural harm to the guitar.
5. Remove the Nut:
Once the old nut has been sufficiently loosened, carefully lift it from the nut slot using a gentle upward motion. Take care to avoid any sudden or forceful actions that could result in splintering or chipping of the nut or the surrounding wood.
6. Clean the Nut Slot:
After the old nut has been removed, use a microfiber cloth to clean the nut slot and remove any residual debris or adhesive. This prepares the slot for the installation of the new nut, ensuring a clean and secure fit.
By following these steps with attentiveness and precision, you can effectively remove the old nut from your acoustic guitar, setting the stage for the subsequent preparation and installation of the new nut. This meticulous approach not only preserves the integrity of the instrument but also paves the way for a seamless transition to the next phase of the nut replacement process.
Step 3: Prepare the new nut
With the old nut successfully removed, the next crucial phase in the nut replacement process involves preparing the new nut for installation. This step is pivotal in ensuring that the new nut aligns perfectly with the guitar's neck, facilitating optimal string action and resonance. Here's a comprehensive guide on how to prepare the new nut with precision and attention to detail:
-
Assess the Fit: Before proceeding, carefully examine the dimensions and contours of the new nut to verify that it aligns with the specifications of your acoustic guitar. Confirm that the width, height, and string spacing of the replacement nut correspond to the original nut and are compatible with the instrument's neck and fretboard.
-
Fine-Tune the Nut: Using nut files and needle files, refine the bottom of the new nut to ensure a flat and uniform surface that will make direct contact with the nut slot. This meticulous adjustment is essential for achieving consistent string height and intonation across the fretboard.
-
Shape the Slots: Employ the nut files to delicately shape the slots in the new nut, corresponding to the gauge of your guitar strings. Each slot should be meticulously crafted to accommodate the strings with precise clearance and alignment, promoting smooth and accurate fretting and strumming.
-
Check String Spacing: Verify that the string spacing in the new nut aligns with the guitar's specifications, maintaining uniformity and balance across the fretboard. Accurate string spacing is crucial for preventing string slippage and ensuring even tension and resonance.
-
Refine the Contours: Utilize the needle files to refine the contours of the new nut, ensuring that it seamlessly integrates with the guitar's neck and headstock. Smooth and polished edges contribute to a snug and secure fit, enhancing the overall stability and functionality of the nut.
-
Test the Fit: Prior to installation, carefully place the new nut into the nut slot to assess its compatibility and alignment. This preliminary test fit allows for any necessary adjustments to be made, ensuring that the new nut seamlessly integrates with the guitar's neck and facilitates optimal string performance.
By meticulously preparing the new nut with precision and attention to detail, you set the stage for a seamless and effective installation process. This meticulous approach not only ensures the compatibility and functionality of the replacement nut but also contributes to the overall playability and tonal quality of your acoustic guitar.
Step 4: Install the new nut
With the old nut removed and the new nut meticulously prepared, the time has come to embark on the pivotal phase of installing the replacement nut onto your acoustic guitar. This step demands precision, patience, and a meticulous approach to ensure that the new nut seamlessly integrates with the instrument's neck, fostering optimal string alignment and resonance. Here's a comprehensive guide on how to install the new nut with meticulous attention to detail:
-
Apply Non-Permanent Adhesive: If the original nut was affixed with adhesive, sparingly apply a non-permanent adhesive to the base of the new nut. It's crucial to use a minimal amount of adhesive to secure the nut in place while allowing for future adjustments or replacements. Exercise caution to prevent excess adhesive from seeping into the nut slot.
-
Align the Nut: Carefully position the new nut into the nut slot, ensuring that it aligns precisely with the neck and headstock. The nut should sit flush with the fretboard, maintaining uniformity and stability across the strings' path. Verify that the string slots are oriented correctly to accommodate the respective string gauges.
-
Gently Tap the Nut: Using a small hammer or mallet, lightly tap the new nut into place, exerting gentle and uniform pressure to secure it within the nut slot. Exercise caution to avoid excessive force that could potentially damage the nut or the surrounding wood. The goal is to achieve a snug and secure fit without compromising the integrity of the guitar.
-
Verify String Clearance: After installing the new nut, verify that each string rests comfortably within its designated slot, with adequate clearance and alignment. This meticulous check ensures that the strings are properly seated and spaced, setting the stage for optimal playability and intonation.
-
Clean Excess Adhesive: If any adhesive has seeped out during the installation process, carefully clean the surrounding areas using a microfiber cloth or a suitable cleaning solution. It's essential to maintain a clean and debris-free environment around the nut slot, preserving the aesthetic appeal and functionality of the guitar.
-
Allow for Setting Time: Once the new nut is installed, allow sufficient time for any applied adhesive to set and cure. This setting period ensures that the nut securely bonds with the neck, promoting stability and longevity.
By meticulously following these steps and exercising precision throughout the installation process, you can effectively integrate the new nut into your acoustic guitar, setting the stage for enhanced playability and tonal clarity. This meticulous approach not only ensures the seamless integration of the replacement nut but also contributes to the overall performance and longevity of your cherished instrument.
Step 5: Test the new nut
After successfully installing the new nut on your acoustic guitar, it's crucial to conduct a comprehensive testing phase to ensure that the instrument's functionality and playability are optimized. This pivotal step allows you to verify the alignment, string action, and overall resonance facilitated by the new nut, ensuring that it seamlessly integrates with the guitar's neck and contributes to an enhanced playing experience. Here's a detailed guide on how to effectively test the new nut with precision and attentiveness:
-
String Tension and Alignment: Begin by gradually tuning the guitar to its standard pitch, allowing the strings to settle and attain optimal tension. As you tune each string, observe its alignment and seating within the slots of the new nut. Verify that the strings maintain consistent spacing and clearance, promoting smooth fretting and strumming across the fretboard.
-
Fretting and Intonation: Test the guitar's fretting and intonation by playing various chords, scales, and melodies across different positions on the fretboard. Pay close attention to the string action and resonance, ensuring that the new nut facilitates uniform string height and tonal clarity. Verify that the strings resonate with sustain and clarity, reflecting the precision and stability of the new nut's installation.
-
Open String Resonance: Strum each open string individually and assess its resonance and sustain. Listen for any buzzing, rattling, or muted tones that may indicate improper seating or alignment within the nut slots. The absence of such issues signifies that the new nut effectively anchors the strings, promoting consistent and vibrant open string resonance.
-
Tuning Stability: Test the tuning stability of the guitar by adjusting the strings to various pitches and observing their ability to maintain consistent tuning. A well-installed new nut contributes to tuning stability, minimizing the likelihood of strings slipping or detuning during playing sessions.
-
String Bending and Vibrato: Experiment with string bending and vibrato techniques to gauge the responsiveness and stability of the strings facilitated by the new nut. Smooth and controlled string bending, coupled with vibrant vibrato, indicates that the new nut effectively supports string movement and tension, enhancing expressive playing techniques.
-
Assessing Nut Slot Cleanliness: Inspect the nut slots and surrounding areas for any residual debris, adhesive, or irregularities that may affect the strings' movement or seating. A clean and debris-free environment around the new nut ensures unhindered string action and resonance, contributing to the overall playability of the guitar.
By meticulously testing the new nut with precision and attentiveness, you can effectively evaluate its impact on the acoustic guitar's functionality and tonal quality. This comprehensive testing phase not only validates the successful integration of the replacement nut but also provides insights into the instrument's enhanced playability and resonance, reflecting the meticulous care and attention invested in the nut replacement process.
Conclusion
In conclusion, the process of replacing the nut on an acoustic guitar is a fundamental aspect of instrument maintenance that significantly influences playability and tonal quality. By following the comprehensive steps outlined in this guide, guitar enthusiasts can effectively undertake the task with precision and confidence, ensuring that their beloved instruments continue to resonate with clarity and precision for years to come.
The journey of nut replacement begins with gathering the necessary tools and materials, setting the stage for a seamless and efficient procedure. From nut files and small hammers to replacement nuts and non-permanent adhesive, each item plays a crucial role in facilitating the successful removal of the old nut and the meticulous installation of its replacement. This preparatory phase not only streamlines the process but also contributes to the overall quality and longevity of the replacement.
The subsequent steps of removing the old nut, preparing the new nut, and installing the replacement nut demand patience, precision, and a meticulous approach. By carefully assessing the fit, shaping the slots, and aligning the new nut, guitar enthusiasts can ensure that the replacement seamlessly integrates with the instrument's neck, fostering optimal string alignment and resonance. The testing phase that follows allows for a comprehensive evaluation of the new nut's impact on the guitar's functionality and tonal quality, providing valuable insights into its enhanced playability and resonance.
Ultimately, the art of nut replacement empowers guitar enthusiasts to take control of their instrument's upkeep, enhancing their playing experience and fostering a deeper connection with their cherished acoustic guitars. By embracing the intricacies of nut replacement and exercising patience and precision throughout the process, musicians can breathe new life into their instruments, ensuring that they continue to inspire and resonate with clarity and precision.
In the realm of guitar maintenance, nut replacement stands as a testament to the dedication and care invested in preserving the integrity and functionality of acoustic guitars. As guitar enthusiasts embark on this journey, they not only enhance the performance and longevity of their instruments but also cultivate a profound appreciation for the craftsmanship and artistry that defines the world of acoustic guitar maintenance.