Home>Instruments>Vocalist>How To Mic Up A Vocalist

Vocalist
How To Mic Up A Vocalist
Modified: February 17, 2024
Discover the best techniques for micing up a vocalist to achieve clear and professional sound. Perfect your vocal recordings with these essential tips and tricks.
(Many of the links in this article redirect to a specific reviewed product. Your purchase of these products through affiliate links helps to generate commission for AudioLover.com, at no extra cost. Learn more)
Table of Contents
Introduction
When it comes to capturing the powerful and emotive vocals of a vocalist, having the right microphone setup is crucial. A well-mic’d vocalist can bring a live performance or recording to life, creating an immersive experience for the audience. But with so many microphone options and techniques available, it can be overwhelming to know where to start.
In this article, we will explore the best microphones for vocalists, how to properly position the microphone, various mic techniques, and solutions for common issues like feedback. We will also discuss the importance of using a pop filter and offer tips for setting levels and EQ. By the end of this article, you will have the knowledge and confidence to mic up a vocalist like a pro.
Choosing the right microphone for a vocalist is essential for capturing their unique sound and tone. While there are countless options available, some popular choices include dynamic microphones, condenser microphones, and ribbon microphones. Dynamic microphones are known for their durability and ability to handle high sound pressure levels, making them ideal for live performances with energetic vocalists. Condenser microphones, on the other hand, offer a wide frequency response and excellent sensitivity, making them a top choice for studio recordings. Ribbon microphones are known for their smooth and warm sound, often favored by jazz and blues vocalists.
Once you have chosen the right microphone, positioning it correctly is crucial for achieving optimal sound quality. The general rule of thumb is to position the microphone 4-8 inches away from the vocalist’s mouth, angled slightly upward. This distance allows the vocalist’s voice to be captured clearly without picking up excessive breath noise or plosives. Experiment with different angles and heights to find the sweet spot that captures the vocalist’s sound accurately.
Now that the microphone is properly positioned, let’s explore some mic techniques that can enhance the vocalist’s performance. One common technique is the proximity effect, where the vocalist moves closer to the microphone for a more intimate and bass-rich sound. This technique works well for softer and more emotive sections of a performance. On the other hand, if the vocalist gets too close to the microphone, it can result in an excessive bass boost and muddiness, so it’s important to find the right balance.
Another technique to consider is using a directional microphone. This type of microphone picks up sound primarily from the front and rejects sound from the sides and rear. It can help reduce background noise and improve the clarity of the vocalist’s voice. Additionally, using a shock mount or a microphone stand with an isolation mount can help minimize unwanted vibrations and handling noise.
Stay tuned for the next sections, where we will delve into how to deal with feedback issues, the importance of using a pop filter, and tips for setting levels and EQ to further enhance the vocals of a vocalist.
Best Microphones for Vocalists
When it comes to choosing the best microphone for vocalists, there are several options that consistently deliver exceptional sound quality and reliability. Let’s explore some of the top choices for capturing the full range and nuances of a vocalist’s voice.
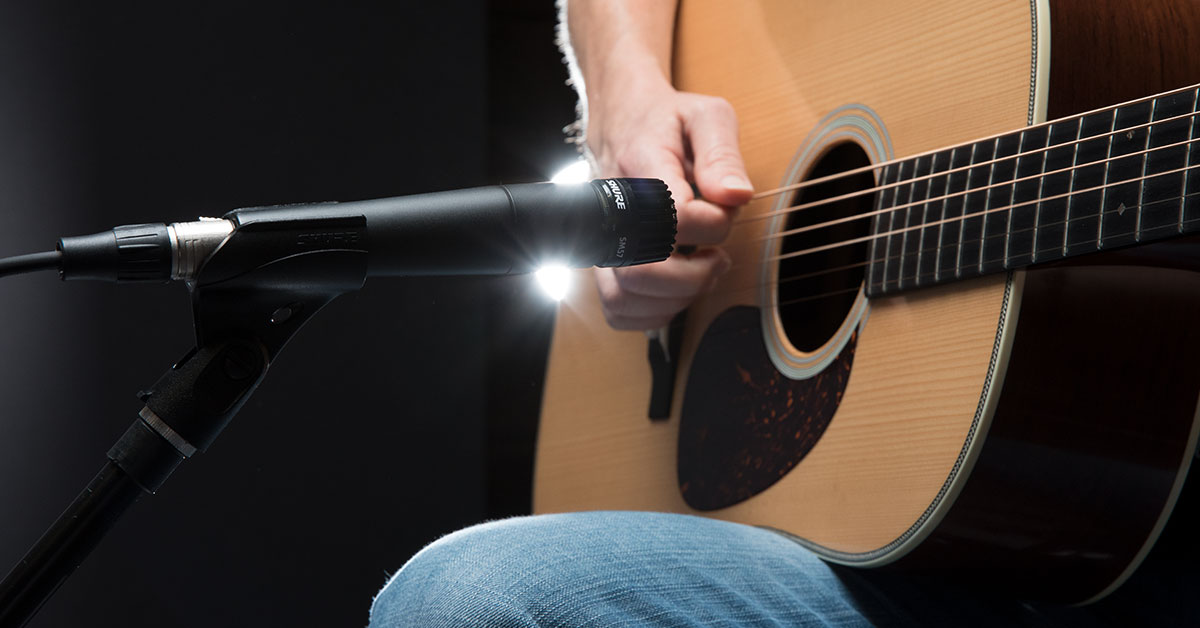
1. Shure SM58
The Shure SM58 is a legendary dynamic microphone that has been a go-to choice for vocal performances for decades. Known for its durability and excellent sound reproduction, the SM58 has a warm and smooth sound that complements a wide range of vocal styles. It also features a built-in spherical wind and pop filter, reducing breath and plosive sounds.
2. Neumann U87
For studio recordings and professional vocal performances, the Neumann U87 is a top choice. This condenser microphone offers a rich and detailed sound with a wide frequency response. It captures every nuance and subtlety of the vocalist’s voice, making it ideal for capturing studio-quality vocals.
3. Audio-Technica AT2020
An affordable yet highly capable option, the Audio-Technica AT2020 is a condenser microphone that delivers excellent sound quality. It offers a smooth and extended frequency response, making it suitable for a wide range of vocal styles. With low self-noise and a sturdy build, the AT2020 is a reliable and versatile choice for vocalists.
4. AKG C414
The AKG C414 is a versatile large-diaphragm condenser microphone that excels in capturing vocals. With multiple polar patterns and a wide frequency response, the C414 provides flexibility in achieving the desired sound for different vocal styles and recording environments. It is known for its transparent and accurate sound reproduction.
5. Sennheiser e945
The Sennheiser e945 is a dynamic microphone specifically tailored for vocals. It offers a balanced and natural sound along with excellent feedback rejection, making it a great choice for live performances. The e945 has a rugged construction and a high SPL handling capability, ensuring durability and reliability on stage.
These are just a few examples of the many great microphone options available for vocalists. Each microphone has its own unique characteristics, so it’s important to consider the specific needs and preferences of the vocalist when making a selection.
Remember, the best microphone for a vocalist ultimately depends on their individual voice, style, and the intended use (live performance or studio recording). It’s always a good idea to try out different microphones and seek professional advice to find the perfect match for capturing the true essence of a vocalist’s sound.
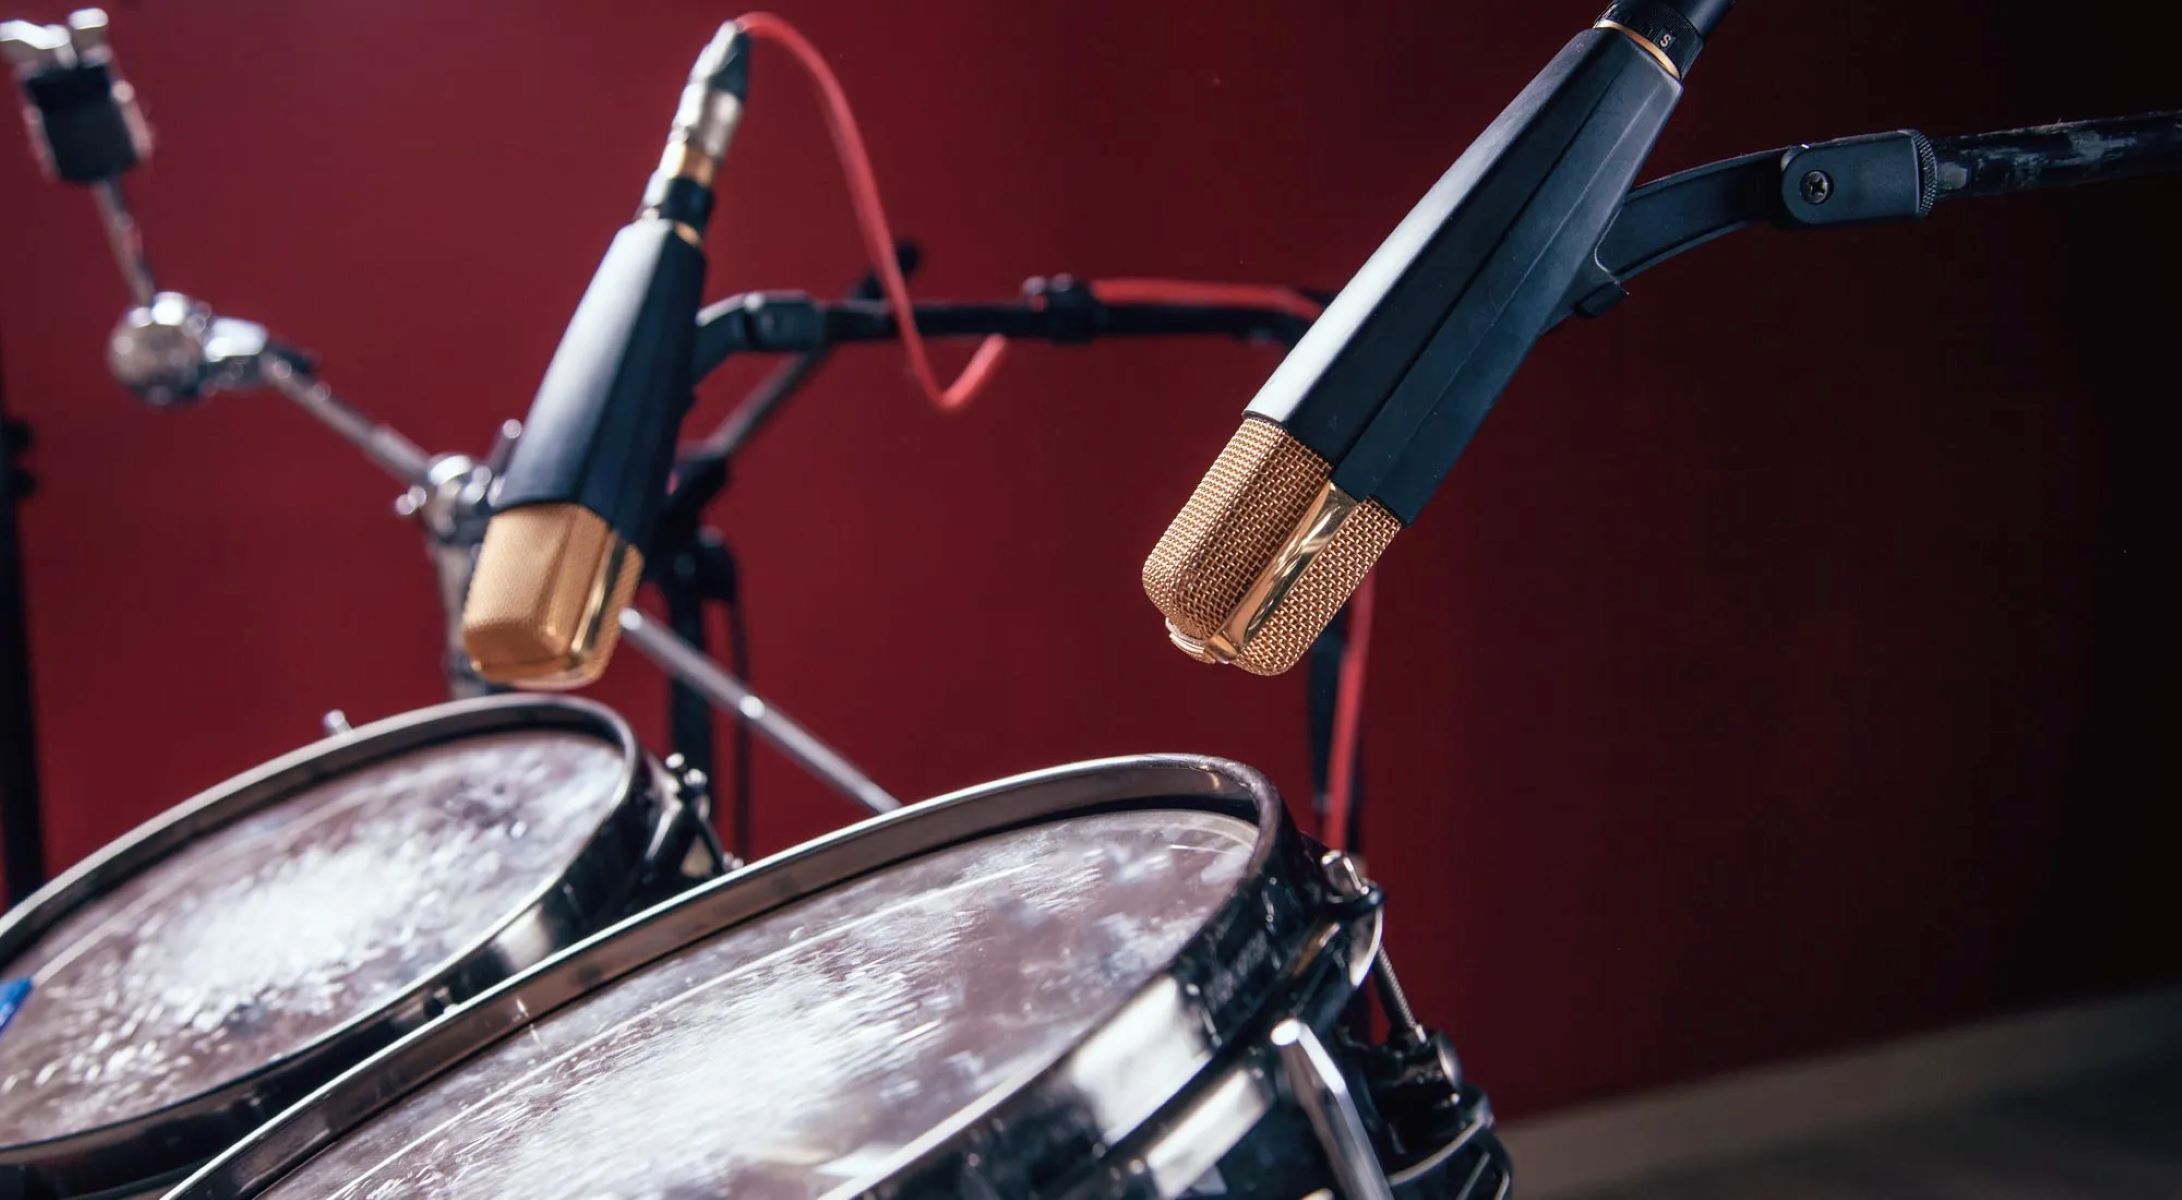
Positioning the Microphone
The proper positioning of a microphone is crucial for achieving optimal sound quality and capturing the true essence of a vocalist’s performance. Here are some guidelines to follow when positioning the microphone:
1. Distance from the mouth
The general rule of thumb is to position the microphone approximately 4-8 inches away from the vocalist’s mouth. This distance allows for a good balance between capturing the vocal performance clearly and minimizing unwanted breath noise and plosives. Experiment with different distances to find the sweet spot that works best for the vocalist’s voice and style.
2. Angle of the microphone
The microphone should be angled slightly upward towards the vocalist’s mouth. This angle helps with capturing the sound directly and reducing the pickup of unwanted ambient noise. Adjust the angle based on the vocalist’s positioning and vocal projection to ensure clear and accurate sound reproduction.
3. Microphone height
The height of the microphone should be adjusted based on the vocalist’s comfort and best vocal performance position. It’s important to place the microphone at the right height to capture the vocalist’s voice without straining their neck or compromising their posture. A mic stand or boom arm can be used to easily adjust the height as needed.
4. Microphone type
Different microphone types require slightly different positioning techniques. For dynamic microphones, which are commonly used in live performances, the vocalist can get closer to the microphone to take advantage of the proximity effect, which enhances the low-frequency response. For condenser microphones, commonly used in studio recordings, it’s important to maintain a consistent distance to capture a balanced sound without excessive proximity effect.
Keep in mind that these guidelines are general recommendations, and the specific positioning may vary depending on the vocalist’s style, the venue, and the desired sound. It’s always important to experiment and fine-tune the microphone positioning to achieve the best results.
Additionally, it’s worth noting that capturing vocals in a live performance setting may require additional considerations. In a live setting, where stage monitors and loudspeaker systems are present, feedback can be an issue. Placing the microphone at a slightly off-axis angle can help reduce feedback by minimizing the pickup of sound from the monitors. It’s also crucial to check and adjust the microphone’s gain levels to prevent feedback and achieve a balanced mix.
By taking the time to properly position the microphone, you can ensure that the vocalist’s performance is accurately captured, allowing their voice to shine through and engage the audience with clarity and impact.
Mic Techniques for Vocalists
Using the right microphone technique can significantly enhance the quality and impact of a vocalist’s performance. Here are some mic techniques to consider when capturing vocals:
1. Proximity Effect
The proximity effect refers to the phenomenon where the bass response increases when the vocalist sings closer to the microphone. This technique can be used to create a warm and intimate sound. To utilize the proximity effect effectively, encourage the vocalist to move closer to the microphone during softer and more emotional sections of the performance. However, be cautious as getting too close can result in excessive bass levels or muddiness, so finding the right balance is crucial.
2. Off-Axis Technique
The off-axis technique involves positioning the microphone slightly off to the side, rather than directly in front of the vocalist’s mouth. This technique helps reduce plosive sounds and minimizes the pickup of unwanted breath and mouth noise. It can also help mitigate the risk of feedback in a live performance setting when using stage monitors. Experiment with different angles to find the sweet spot that captures the vocals accurately while minimizing unwanted noise pickup.
3. Directional Microphones
Using a directional microphone, such as a cardioid or supercardioid microphone, can help isolate the vocals and reject sound coming from the sides and rear. This helps focus the microphone on the vocalist’s voice, resulting in clearer and more defined sound. When using a directional microphone, make sure the vocalist maintains a consistent position in front of the microphone to ensure consistent sound quality throughout the performance.
4. Dynamic Microphones for Live Performances
In live performance settings, dynamic microphones are commonly used for vocalists due to their durability and ability to handle high sound pressure levels. They are less sensitive to background noise and provide excellent feedback rejection. Ensure the microphone is held securely or mounted on a stand to minimize handling noise. Encourage the vocalist to experiment with their positioning and microphone technique to find the sweet spot that optimizes their vocal performance.
5. Condenser Microphones for Studio Recordings
In the studio, condenser microphones are often favored for capturing vocals due to their wider frequency response and higher sensitivity. They provide a detailed and pristine sound that is ideal for capturing subtle nuances in the vocalist’s performance. When using a condenser microphone, ensure the recording environment is properly treated to minimize reflections and background noise that can affect the clarity of the vocals.
Remember, each vocalist may have unique preferences and vocal qualities, so it’s important to experiment and tailor the microphone technique to suit their individual needs. The goal is to capture the essence of their voice and bring out the best in their performance.
By employing these microphone techniques, you can elevate the vocal performance to new heights and create an immersive experience for the audience, whether it’s a live performance or a studio recording.
Dealing with Feedback Issues
Feedback is a common concern when amplifying vocals, especially in live performance settings. It occurs when the sound from the loudspeakers is picked up by the microphone and gets amplified in a loop, creating a high-pitched squeal or howling sound. Dealing with feedback issues requires a combination of proper equipment setup, sound system management, and microphone techniques. Here are some tips to help address feedback problems:
1. Positioning and Directionality
The positioning of the microphone and its directionality play a significant role in managing feedback. Encourage vocalists to maintain a consistent distance from the main loudspeakers and position the microphone at an angle that minimizes the pickup of sound from the monitors. By keeping the microphone off-axis from the speakers, you can reduce the likelihood of feedback occurring.
2. EQ and Filtering
Using EQ (equalization) can help to attenuate frequencies that are prone to feedback. Identify the frequencies that are causing the feedback and reduce them using a graphic or parametric EQ. Additionally, utilizing feedback suppression tools or notch filters can specifically target and eliminate problem frequencies, further reducing the chances of feedback occurring.
3. Acoustic Treatment
Ensure that the performance space is properly treated acoustically. Acoustic treatments, such as absorptive panels and diffusers, can help minimize reflections, echoes, and reverberations that can amplify feedback. Properly positioning stage monitors and loudspeakers away from reflective surfaces can also help reduce the chances of feedback occurring.
4. Sound System Management
Managing the sound system is crucial in preventing feedback. Start by setting appropriate gain levels for each microphone to prevent over-amplification. Balancing the levels of the vocalists and other instruments in the mix is essential for a clear and transparent sound. Additionally, using a high-quality feedback suppression device or utilizing automatic feedback control systems can help monitor and prevent feedback before it becomes a problem.
5. Monitor Placement and Management
Position stage monitors strategically to minimize the chances of feedback. Ensure that the monitors are angled away from microphones and positioned in a way that allows the vocalists to hear themselves clearly without causing excessive bleed into the microphones. Communication between the sound engineer and the performers is important to find the right mix and monitor levels to prevent feedback issues.
6. Vocalist Technique
Proper microphone technique from the vocalist can also help prevent feedback. Encourage the vocalist to stay at a consistent distance from the microphone and avoid getting too close during loud passages. Instruct them to move slightly off-axis from the main speakers to further reduce the chances of feedback occurring.
By implementing these techniques and strategies, you can effectively manage and mitigate feedback issues. It’s important to remember that each sound system and performance environment is unique, so experimentation and adjustments may be necessary to find the optimal setup for feedback-free vocal amplification.
Using a Pop Filter
A pop filter is a simple yet essential tool in a vocal recording setup. It is designed to minimize harsh plosive sounds caused by bursts of air hitting the microphone during vocal performances. Plosives are common when singing or speaking words with strong plosive consonants like “p” and “b.” Using a pop filter can help prevent these sudden bursts of air from distorting the sound and ensure a clean and clear vocal recording. Here’s how to effectively use a pop filter:
1. Placement
Position the pop filter between the vocalist and the microphone. It should be placed about two to three inches in front of the microphone, ensuring that it covers the entire front-facing surface of the microphone. The distance between the pop filter and the microphone may need to be adjusted based on the vocalist’s proximity and preferences.
2. Proper Distance
Make sure there is sufficient space between the vocalist and the pop filter to allow for comfortable singing or speaking. This distance helps diffuse the airflow and prevents the direct impact of plosive sounds on the microphone diaphragm. It also minimizes additional handling noise that may be caused by accidental contact with the pop filter.
3. Angling
Angle the pop filter slightly downwards to guide air away from the microphone. This positioning helps steer the plosive sounds downward rather than directly into the microphone, reducing the chance of distortion. Experiment with different angles to find the optimal position for your specific microphone and vocalist.
4. Communication
Educate the vocalist about the purpose of a pop filter and the importance of proper microphone technique. Instruct them to sing or speak slightly off-axis from the pop filter, focusing their breath towards the side or edge of the filter rather than directly into it. This technique helps further minimize plosive sounds and ensures a cleaner recording.
5. Maintenance
Regularly clean and maintain the pop filter to ensure optimum performance. Over time, the filter may accumulate dust, moisture, or vocal residue, which can affect its effectiveness. Follow the manufacturer’s instructions for cleaning or replacing the filter to keep it in optimal condition for capturing high-quality vocals.
Using a pop filter is a simple and effective way to improve the quality of vocal recordings by minimizing plosive sounds. By properly positioning the pop filter and educating vocalists about its purpose and usage, you can ensure clean and professional-sounding vocal recordings that are free from harsh bursts of air caused by plosive sounds.
Setting Levels and EQ
Setting proper levels and using EQ (equalization) effectively are essential steps in achieving a balanced and polished vocal sound. Here are some tips for setting levels and utilizing EQ to enhance the vocals:
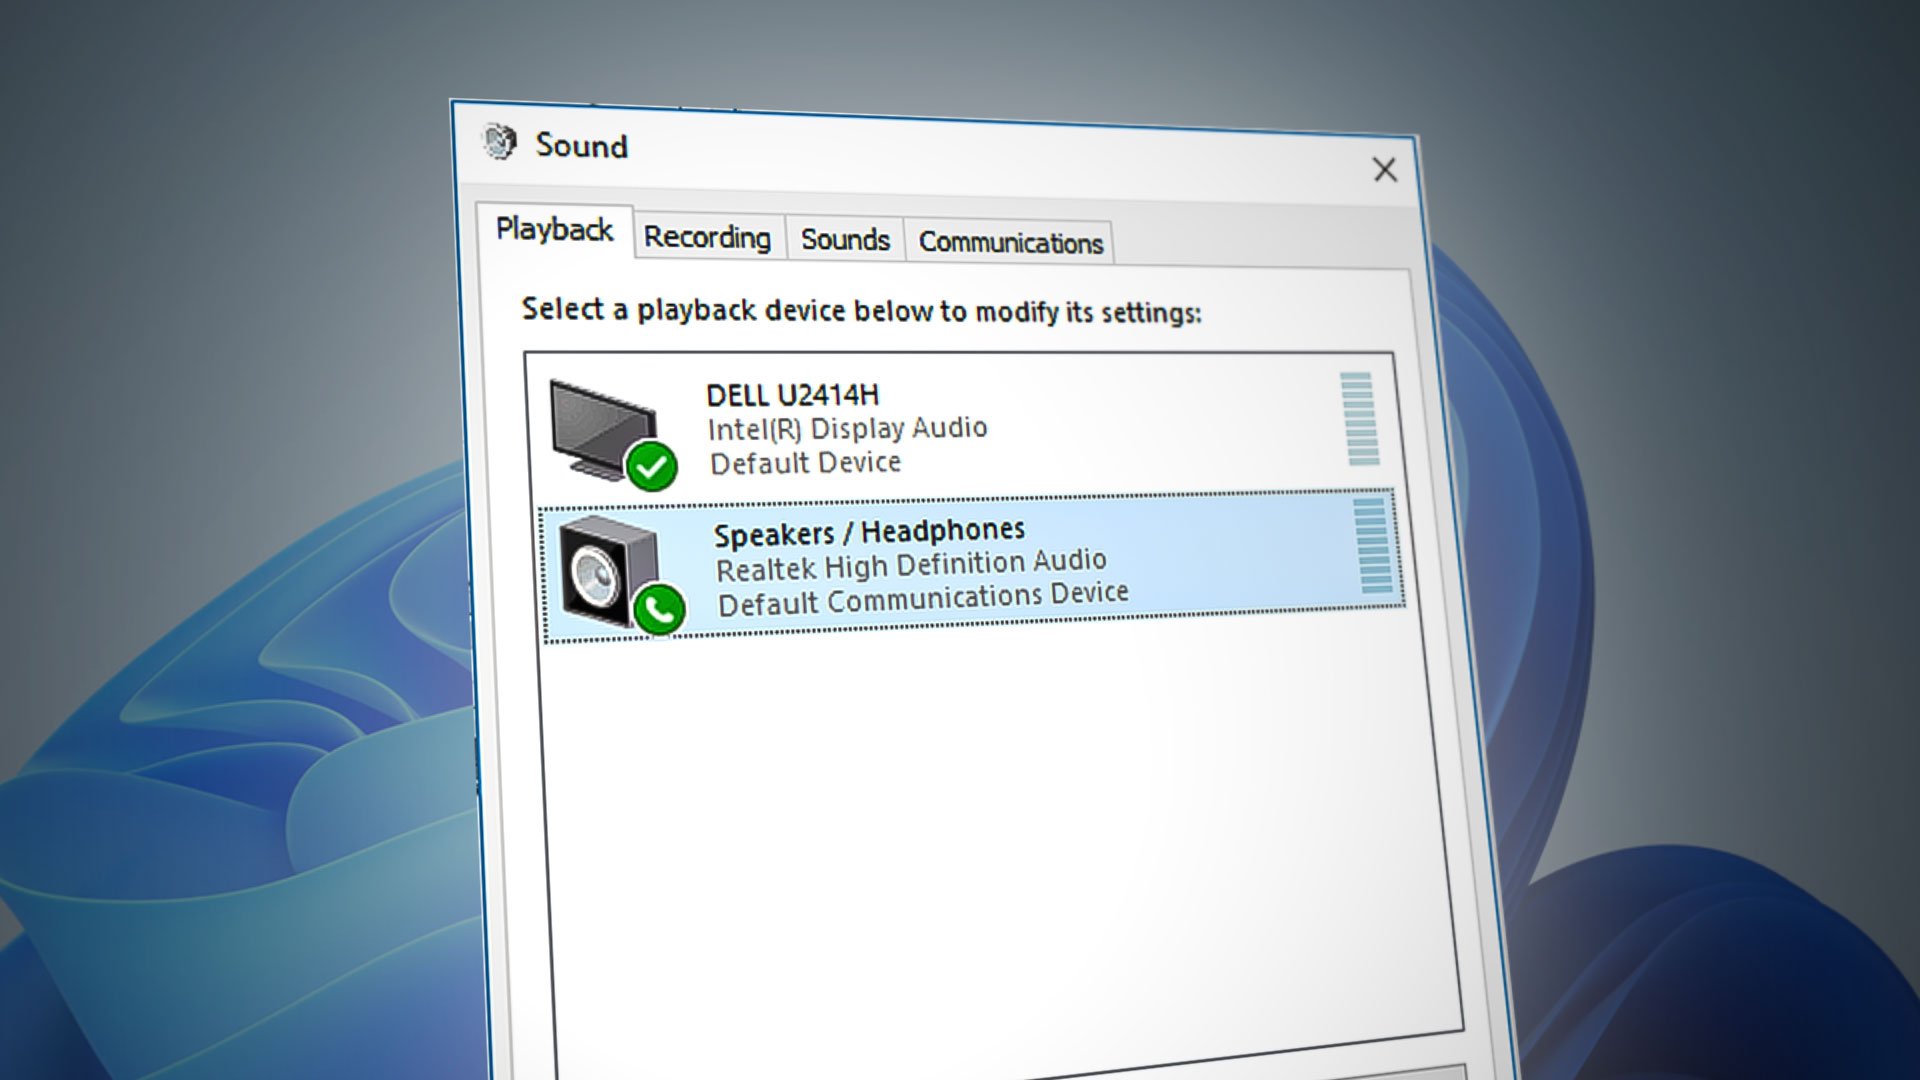
1. Level Setting
Start by setting the input gain or microphone level to ensure that the vocals are neither too soft nor too loud. Aim for an optimal level that allows the vocals to cut through the mix without clipping or distorting. This can be done by adjusting the input gain on the audio interface or mixer. Pay close attention to peaks in the waveform and make adjustments accordingly. It’s important to find the right balance to avoid issues such as signal clipping or excessive noise.
2. EQ Basics
Understand the basic principles of EQ to shape and enhance the vocal sound. EQ allows you to adjust the frequency response of the vocals to achieve clarity and balance. Common EQ controls include low-frequency (bass), mid-frequency, and high-frequency (treble) bands. Start by identifying any frequency areas that need attention, such as muddiness in the low-mid range or harshness in the high frequencies.
3. Cut Unwanted Frequencies
Identify and cut any frequencies that are causing unwanted resonances or conflicts with other instruments in the mix. This can include removing low-frequency rumble or excessive high-frequency sibilance. Use a narrow bandwidth or notch filter to precisely target specific frequencies and reduce their prominence in the vocal sound.
4. Boost Desired Frequencies
Boosting certain frequencies can help bring out the desired characteristics of the vocals. For example, adding a subtle boost in the mid-range can enhance clarity and intelligibility. Boosting higher frequencies can add presence and sparkle to the vocals. Use a gentle, broad Q (bandwidth) for boosts to maintain a natural and transparent sound.
5. Vocal Tone Shaping
EQ can be used to shape the overall tone of the vocals. For example, rolling off the low frequencies can reduce muddiness and excessive proximity effect. Gently attenuating or boosting specific frequency areas can alter the vocal character to fit the desired style. Experiment with different EQ settings to achieve a pleasing and balanced vocal tone that complements the instrumentation and genre.
6. Complement with Compression
Consider using compression in conjunction with EQ to control the dynamic range of the vocals. Compression helps even out the volume levels and adds consistency to the vocal performance. Adjust the compression settings carefully to preserve the vocal dynamics while ensuring a smooth and controlled sound.
Remember that subtle adjustments are often more effective than drastic changes in EQ settings. Be attentive to how each adjustment impacts the overall vocal sound and make incremental changes as needed.
7. A/B Comparison
Periodically compare the EQ’d vocals to the original unprocessed recording to ensure that the enhancements are genuinely improving the sound. This comparison can help fine-tune the EQ adjustments and avoid over-processing the vocals, which can result in an unnatural or artificial sound.
By setting proper levels and utilizing EQ effectively, you can achieve a well-balanced and professional sounding vocal track that complements the overall mix. Remember to trust your ears and make adjustments based on the specific needs and characteristics of the vocals.
Final Tips for Mic’ing Up a Vocalist
As you strive to capture the best possible vocal performance, here are some final tips to consider when mic’ing up a vocalist:
1. Test and Experiment
Take the time to test different microphones, positions, and techniques to find the combination that best captures the unique qualities of the vocalist’s voice. Every vocalist is different, and what works well for one may not work as effectively for another. Experimentation is key to achieving the desired sound.
2. Monitor Mix
Ensure that the vocalist can hear themselves clearly in their monitor mix. A confident and well-controlled vocal performance is often a result of the singer being able to hear themselves accurately. Work closely with the sound engineer to create a monitor mix that is comfortable and enhances the vocal performance.
3. Communicate with the Vocalist
Establish clear communication with the vocalist to ensure they are comfortable with the microphone setup and techniques being used. Encourage them to provide feedback on their own sound and make necessary adjustments together. Collaboration and open dialogue are key to achieving the best results.
4. Monitor the Room Acoustics
Be aware of the acoustics of the recording or performance space. Some rooms may have excessive reverb or reflections that can affect the clarity of the vocals. Consider using acoustic treatment to minimize unwanted echoes or invest in a portable vocal booth for more controlled recordings.
5. Pay Attention to Mic Handling Noise
Handling noise can be an issue, especially if the vocalist is holding the microphone. Educate them on proper microphone handling techniques and encourage a firm grip to minimize any unwanted vibrations or noise. Using a shock mount or microphone stand with an isolation mount can also help reduce handling noise.
6. Take Breaks
Remember that vocal cords can become fatigued over extended periods of use. Encourage the vocalist to take breaks and rest their voice when needed. This will help maintain vocal health and prevent strain or damage during recording sessions or performances.
7. Trust Your Ears
While technical guidelines and best practices are valuable, it’s important to trust your ears and use them as the primary guide. Ultimately, the goal is to capture a vocal performance that sounds natural, expressive, and emotionally resonant. Trust your instincts and make adjustments based on what sounds best to your own perception.
By applying these final tips, you can optimize the mic’ing process and capture powerful and captivating vocal performances. Remember, the goal is to create an experience that showcases the unique talent and artistry of the vocalist, leaving the audience captivated and inspired.