Home>Production & Technology>Audio Interface>How To Connect Mic To Audio Interface
Audio Interface
How To Connect Mic To Audio Interface
Modified: March 11, 2024
Learn how to easily connect a microphone to your audio interface and start recording high-quality sound. Essential tips and step-by-step instructions for beginners.
(Many of the links in this article redirect to a specific reviewed product. Your purchase of these products through affiliate links helps to generate commission for AudioLover.com, at no extra cost. Learn more)
Table of Contents
Introduction
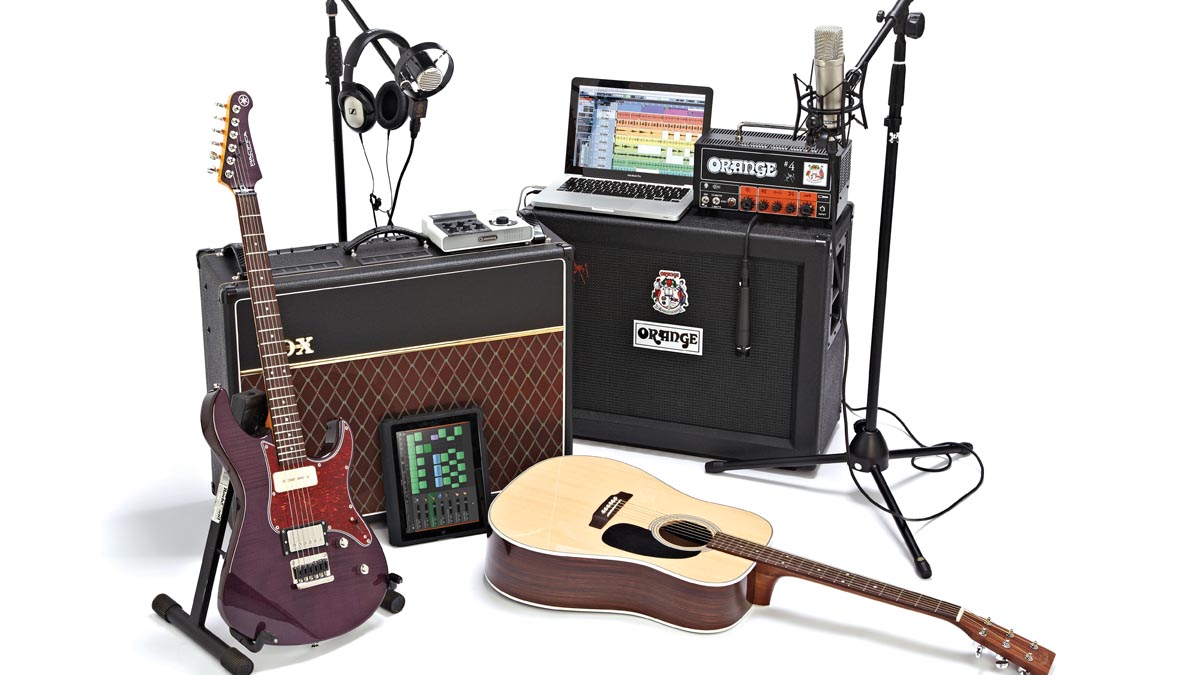
Welcome to the world of audio interfaces! Whether you’re a professional musician, podcaster, or simply someone who loves recording audio, an audio interface plays a crucial role in ensuring high-quality sound. But before we dive into the technicalities of connecting a microphone to an audio interface, let’s first understand what an audio interface is and why it’s essential.
An audio interface is a device that connects various audio equipment, such as microphones, instruments, and speakers, to your computer or recording system. It acts as a bridge between analog and digital audio, allowing you to capture and process sound with exceptional clarity and accuracy.
Why do you need an audio interface, you might ask? Well, the built-in audio inputs and outputs on most computers or laptops are often not optimized for professional audio recording. They lack the necessary preamps, converters, and connectivity options to deliver studio-grade results. An audio interface, on the other hand, provides you with these features, giving you more control over your audio signal.
Now that you understand the importance of having an audio interface let’s focus on the main topic of this article: how to connect a microphone to your audio interface. This step is crucial as it determines the quality of your recordings and ensures that your voice or instrument is captured accurately.
In the next sections, we’ll guide you through the process of choosing the right microphone, gathering the necessary cables and adapters, connecting everything correctly, and troubleshooting common issues that may arise along the way. By the end of this article, you’ll be equipped with the knowledge to confidently connect your microphone to an audio interface and unlock a whole new world of audio recording possibilities.
Understanding the Audio Interface
Before you start connecting your microphone to an audio interface, it’s important to have a basic understanding of how an audio interface works. This understanding will help you make more informed decisions when it comes to choosing the right equipment and setting up your recording environment.
An audio interface acts as the intermediary device between your microphone and your computer or recording system. It typically includes several inputs and outputs that allow you to connect various audio sources and playback devices. The key components of an audio interface are:
- Preamps: Preamps are essential for boosting the low-level microphone signals to a usable level. They are responsible for amplifying the signal and ensuring that it is captured accurately without any loss of quality. Good preamps can enhance the overall sound quality of your recordings.
- Converters: Converters handle the conversion of analog audio signals from your microphone into digital data that your computer can process. They play a critical role in maintaining the integrity of the audio signal and ensuring accurate reproduction.
- Connectivity: Audio interfaces offer a range of connectivity options, including USB, Thunderbolt, FireWire, and more. The choice of connectivity depends on your specific needs and the compatibility with your computer or recording system.
- Features: Audio interfaces often come with additional features like headphone outputs, phantom power, MIDI inputs, and DSP (Digital Signal Processing) effects. These features can greatly enhance your recording experience and give you more control over your sound.
When choosing an audio interface for your microphone, consider factors such as the number of inputs and outputs you’ll need, the quality of the preamps and converters, and the compatibility with your computer or recording system. It’s also worth considering future expansion possibilities, as your recording needs may evolve over time.
By understanding how an audio interface functions and the various components that make it up, you’ll be better equipped to make informed decisions and ensure optimal sound quality when connecting your microphone.
Choosing the Right Microphone
When it comes to connecting a microphone to an audio interface, selecting the right microphone is crucial. The type of microphone you choose will greatly impact the sound quality and overall performance of your recordings. Here are a few key factors to consider when making your selection:
Microphone Types: There are several microphone types to choose from, including dynamic, condenser, and ribbon microphones. Dynamic microphones are rugged and versatile, making them suitable for live performances and recording louder sound sources. Condenser microphones are more sensitive and capture finer details, making them ideal for studio vocals and acoustic instruments. Ribbon microphones are delicate and offer a vintage sound, often used for capturing the warm tones of instruments or vocals.
Polar Patterns: Microphones have different pickup patterns, also known as polar patterns, that determine the directionality of sound they capture. The most common polar patterns are cardioid, omnidirectional, and figure-8. Cardioid microphones capture sound from the front while minimizing background noise. Omnidirectional microphones capture sound from all directions, making them suitable for recording ambient sounds or group performances. Figure-8 microphones capture sound from the front and back, making them perfect for capturing duets or interviews.
Frequency Response: Each microphone has a specific frequency response, which refers to the range of frequencies it can accurately reproduce. It’s important to choose a microphone with a frequency response that suits your recording needs. For vocal recordings, a wide frequency response is desirable to capture both low and high-end frequencies. For instrument recordings, you may need a microphone specifically tailored to the instrument’s frequency range.
Budget: Like any piece of equipment, microphones come in a range of prices. It’s important to set a budget and consider the best microphone within that range. Remember that a more expensive microphone doesn’t always guarantee superior sound quality, so make sure to research and read reviews to find the best value for your money.
When choosing the right microphone for your setup, consider the specific requirements of your recording projects and the sound characteristics you wish to achieve. It’s also worth experimenting with different microphones to find the best match for your voice or instrument. Ultimately, selecting the right microphone will significantly enhance the overall quality and clarity of your recordings.
Gathering the Required Cables and Adapters
Now that you have chosen the perfect microphone for your needs, it’s time to gather the necessary cables and adapters to connect it to your audio interface. While the exact cables and adapters required will depend on the specific microphone and audio interface you’re using, here are some general considerations:
Microphone Cable: The most common type of cable used to connect a microphone to an audio interface is an XLR cable. XLR cables are balanced cables that provide a clean and noise-free signal transmission. Make sure to choose a cable with the appropriate length for your setup.
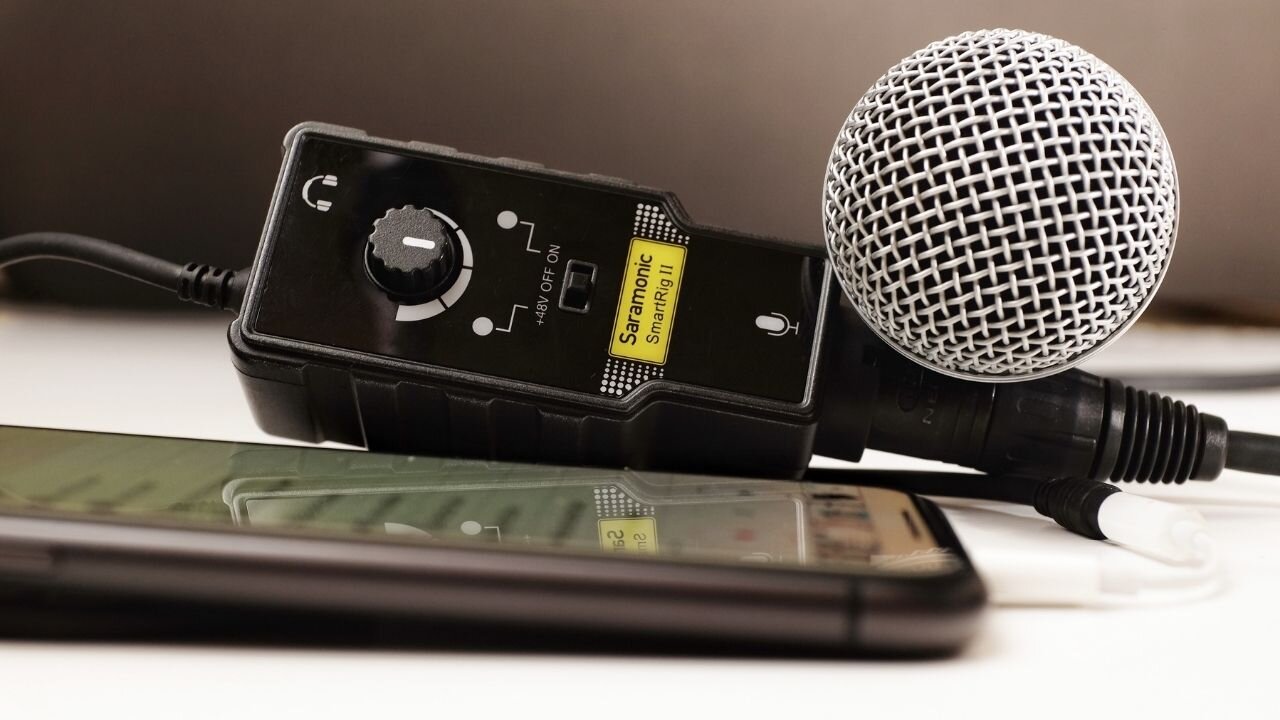
Adapter: Depending on your microphone and audio interface, you may need an adapter to connect the XLR cable to the audio interface’s input. If your microphone has a different connector, such as a 1/4″ TRS or a mini-jack, you’ll need the corresponding adapter to convert it to an XLR connection. Ensure that the adapter matches the impedance and connection type of your microphone and audio interface.
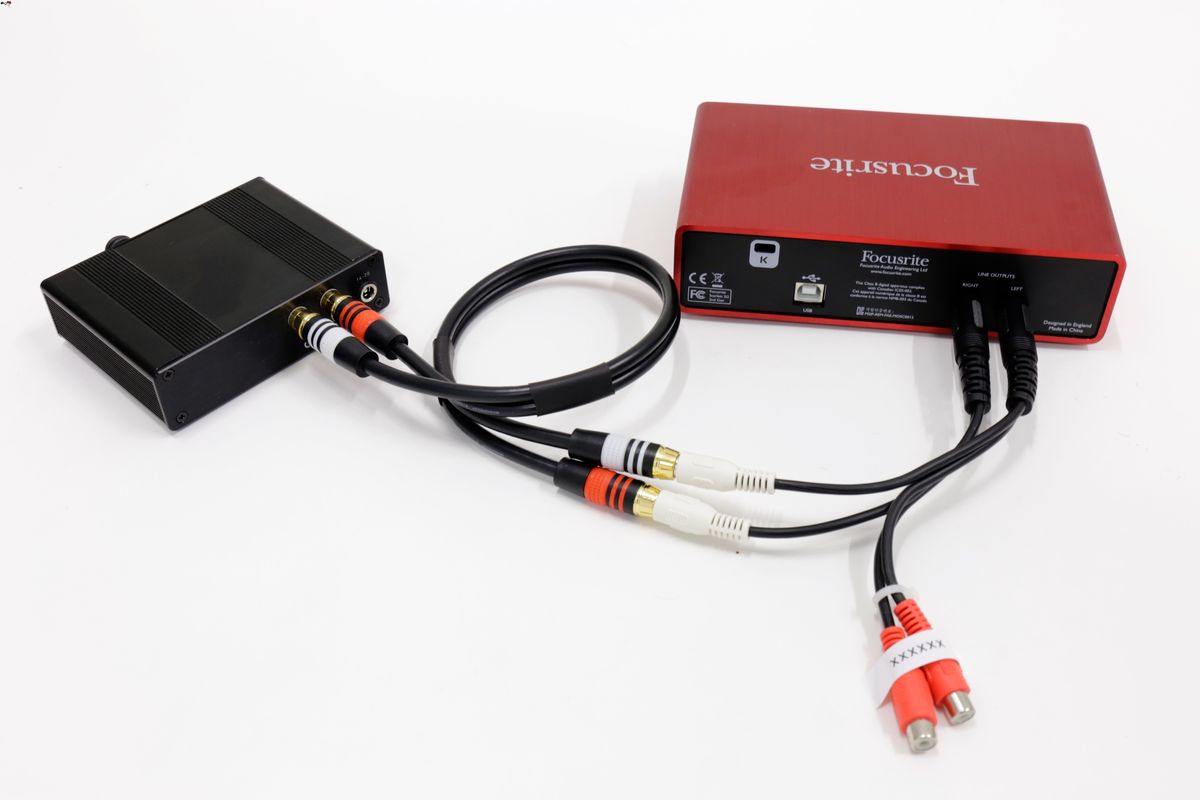
Interface Cable: Once you have connected your microphone to the audio interface, you’ll need a cable to connect the audio interface to your computer or recording system. USB or Thunderbolt cables are commonly used for this purpose, depending on the connectivity options available on your audio interface.
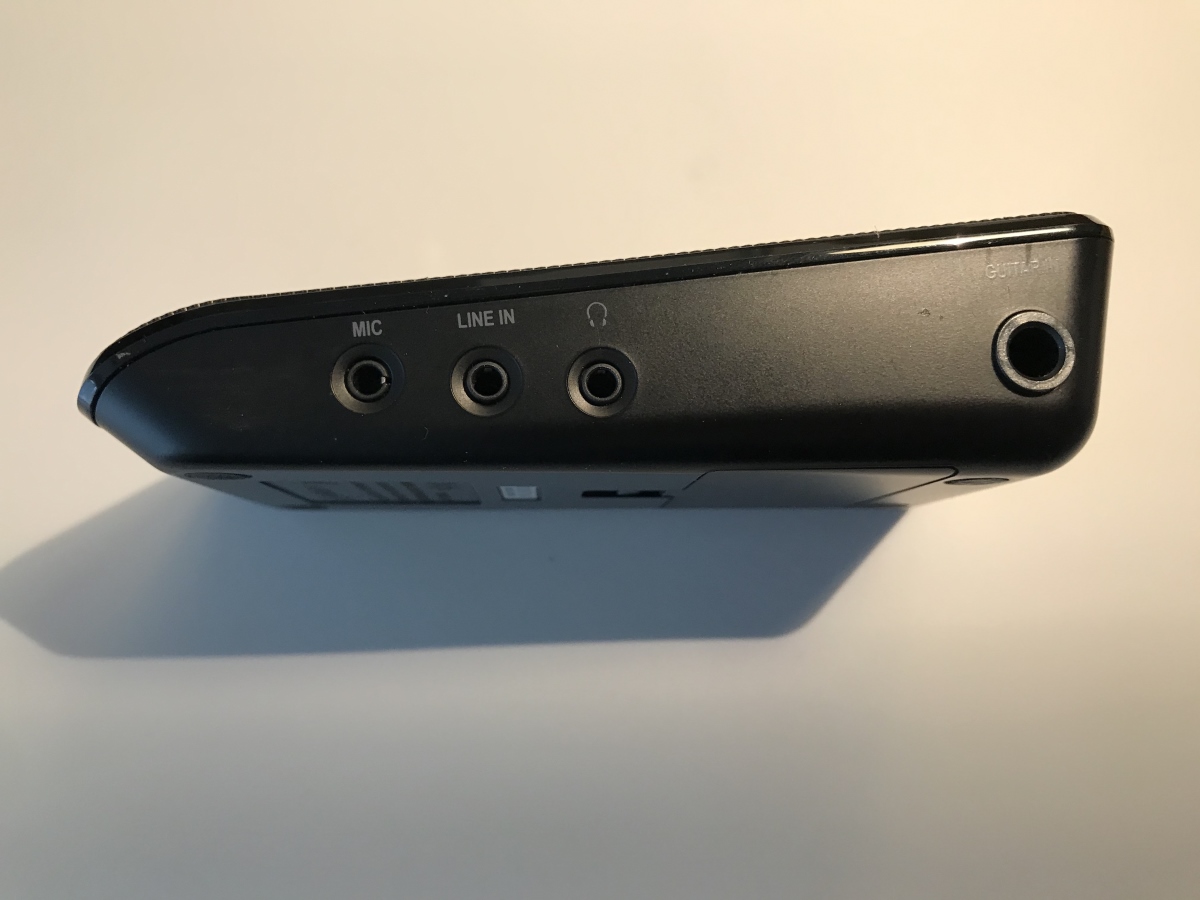
Headphone Cable: If you plan on monitoring your recordings using headphones connected to the audio interface, make sure you have the appropriate cable to connect your headphones to the interface’s headphone output. This is typically a standard headphone cable with a 3.5mm or 6.35mm connector, depending on the interface.
Before purchasing any cables or adapters, it’s crucial to check the specifications of your microphone and audio interface to ensure compatibility. Additionally, consider the length of the cables needed to reach your desired recording location without any strain or interference.
Once you have gathered all the necessary cables and adapters, you’re one step closer to connecting your microphone to your audio interface. In the next section, we’ll guide you through the process of making the physical connections and ensuring a secure and reliable setup.
Connecting the Microphone to the Audio Interface
Now that you have all the required cables and adapters, it’s time to connect your microphone to the audio interface. Follow these steps to ensure a proper and secure connection:
- Start by turning off your audio interface and computer to avoid any potential damage during the connection process.
- Take your XLR microphone cable and connect one end to the XLR output on your microphone. Make sure it is securely fastened.
- If you’re using an adapter, connect the other end of the XLR cable to the adapter, ensuring a snug fit.
- Connect the other end of the adapter or XLR cable to the input on your audio interface. Again, make sure it is securely fastened.
- Turn on your audio interface and computer, allowing them to recognize each other. Install any necessary drivers or software for your audio interface if prompted.
- If your audio interface has a headphone output, connect your headphones to it using the appropriate cable.
- Ensure that your audio interface is properly set up and recognized by your recording software or digital audio workstation (DAW). Select the correct input source and adjust any necessary settings.
It’s crucial to double-check all connections and ensure they are secure before proceeding. Loose connections can result in poor sound quality or audio dropouts during recording.
Keep in mind that some audio interfaces may require additional power or phantom power for certain types of microphones, such as condenser microphones. If your microphone requires phantom power, make sure to activate it on your audio interface before recording.
Once you have successfully connected your microphone to the audio interface, you are ready to test the connection and adjust the audio levels. In the next section, we’ll guide you through this process to ensure optimal sound quality for your recordings.
Testing the Microphone Connection
After connecting your microphone to the audio interface, it’s essential to test the connection and ensure that everything is working correctly. By testing the microphone connection, you can identify any potential issues and make any necessary adjustments before beginning your recording. Follow these steps to test the microphone connection:
- Open your recording software or digital audio workstation (DAW) on your computer.
- Create a new audio track and set the input source to the corresponding input on your audio interface where the microphone is connected.
- Enable monitoring for the audio track. This will allow you to hear the audio signal through your headphones or speakers in real-time.
- Speak or sing into the microphone at a normal volume while keeping an eye on the audio level meters in your recording software or DAW. You should see the meters responding to your voice, indicating that the microphone is picking up sound.
- Listen to the playback of the recorded audio to ensure that the sound quality is clear and free from any unwanted noise or distortion.
- If the audio level appears too low or too high, adjust the gain or input level on your audio interface. Be cautious not to set the level too high, as it may result in distorted audio. Aim for a level that is neither too low (causing weak or noisy recordings) nor too high (causing distortion).
- Continue testing by performing different vocal or instrument techniques to ensure that the microphone is capturing all the desired nuances accurately.
During the testing phase, pay attention to any unwanted noise, interference, or artifacts in the audio signal. If you notice any issues, double-check your connections, adjust the gain or input level, and make sure your equipment is properly grounded. It’s also a good idea to test the microphone in different recording scenarios to ensure its versatility in capturing various sound sources.
With the microphone connection properly tested and adjusted, you can proceed with your recording session or performance with confidence, knowing that the audio signal is being captured accurately and with optimal sound quality.
Adjusting the Audio Levels
Once you have tested the microphone connection and ensured that it is working correctly, the next step is to properly adjust the audio levels. This step is crucial in achieving balanced and clear recordings. Follow these guidelines to adjust the audio levels effectively:
- Start by setting the input gain or input level on your audio interface. This controls the sensitivity of the microphone and determines how loud the audio signal will be.
- Begin with the input gain/input level set at its minimum or lowest position.
- Speak or sing into the microphone at your normal recording volume and keep an eye on the audio level meters in your recording software or DAW.
- Gradually increase the input gain/input level until the audio peaks below the maximum level, usually around -6 dB to -10 dB. This allows headroom for unexpected loud sounds and prevents clipping, which can result in distorted audio.
- Spend some time experimenting with different vocal or instrument techniques to ensure that the audio levels remain balanced and consistent.
- Make adjustments as needed to maintain a consistent level throughout your recordings. This is especially important if you plan to record multiple takes or sections that need to seamlessly blend together.
- Remember to monitor your audio through headphones or speakers while making adjustments to ensure that the sound is clear and free from distortion or unwanted noise.
When adjusting the audio levels, it’s important to find the right balance between capturing enough signal without overloading the input. Overloading the input can result in distorted or unusable recordings. On the other hand, too low of a level may introduce unwanted noise or require excessive post-processing to achieve a desirable volume.
Keep in mind that different microphones and recording environments may require different input gain levels. Additionally, the dynamics of your vocal or instrument performance may vary, so be prepared to make subtle adjustments during the recording process to maintain optimal levels.
By properly adjusting the audio levels, you can ensure that your recordings have a good signal-to-noise ratio, are free from distortion, and are ready for further processing and mixing in your production workflow.
Troubleshooting Common Issues
While connecting a microphone to an audio interface is usually a straightforward process, it’s not uncommon to encounter some common issues along the way. Here are a few troubleshooting steps you can take to address these problems:
No sound or low volume:
- Check that the microphone is securely connected to the audio interface.
- Ensure that the microphone is powered on (if applicable) and any necessary phantom power is activated on the audio interface.
- Verify that the input gain or input level on the audio interface is properly adjusted. Increase it gradually until you achieve an optimal audio level.
- Try using a different XLR cable or adapter to rule out any faulty connections.
Excessive noise or interference:
- Check for any loose or improperly shielded cables. Make sure all connections are snug and secure.
- Ensure that the microphone cable is kept away from any power cables or other sources of electromagnetic interference.
- If you’re using a condenser microphone, make sure it is not picking up unwanted noise from the room. Consider using a reflection filter or a dedicated vocal booth to minimize ambient noise.
- Double-check that the microphone is not positioned too close to any sources of electrical interference, such as computer monitors or fluorescent lights.
Distorted or clipping audio:
- Adjust the input gain or input level on the audio interface to ensure that the audio signal is not exceeding the maximum level. Aim for a level around -6 dB to -10 dB to allow for headroom.
- Ensure that you’re using the appropriate microphone for the sound source. Some microphones are better suited for loud or high SPL (sound pressure level) sources.
- If the distortion persists, try reducing the volume or adjusting the distance between the microphone and the sound source.
No recognition by the computer or recording software:
- Check that the audio interface is properly connected to your computer via the correct cable (USB, Thunderbolt, etc.)
- Ensure that the necessary drivers, firmware, or software for the audio interface are up to date and properly installed.
- Restart your computer and audio interface to reset any potential software or hardware conflicts.
- If the issue persists, try connecting the audio interface to a different USB or Thunderbolt port on your computer.
When troubleshooting, it’s important to approach each issue systematically and eliminate potential causes one by one. thorough attention to detail will help you identify and resolve any issues that may be affecting your microphone connection and audio quality.
If the problem still persists, consult the user manual of your specific microphone or audio interface or reach out to the manufacturer’s technical support for further assistance.
Conclusion
Connecting a microphone to an audio interface is a crucial step in achieving professional-grade audio recordings. The right microphone, along with the proper cables and adapters, can make a significant difference in the sound quality and overall performance of your recordings.
By understanding the workings of an audio interface and selecting a microphone that suits your specific needs, you can capture sound with exceptional clarity and accuracy. Take the time to gather the necessary cables and adapters, ensuring compatibility between your microphone and audio interface.
Once everything is connected, it’s important to test the microphone and adjust the audio levels to achieve optimal sound quality. Monitoring the levels and making necessary adjustments will ensure balanced recordings and prevent issues such as distortion or unwanted noise.
If you encounter any issues along the way, don’t panic. Troubleshooting common problems, such as low volume, excessive noise, or recognition issues, can often be resolved by checking connections, adjusting settings, or seeking technical support when necessary.
By following the steps outlined in this article, you’ll be well-equipped to connect your microphone to an audio interface and unlock the full potential of your audio recording projects. Whether you’re a musician, podcaster, or content creator, the right microphone and audio interface combination will provide you with the tools to capture and create impactful audio experiences.
So, dive into the world of audio interfaces, explore different microphone options, and let your creativity soar as you embark on a journey of high-quality sound and immersive recordings.