Home>Production & Technology>Audio Interface>How To Hook Up Mic To Di Box To Audio Interface
Audio Interface
How To Hook Up Mic To Di Box To Audio Interface
Modified: March 11, 2024
Learn how to connect your microphone to a DI box and then to your audio interface for optimum sound quality. Enhance your audio production with the right setup.
(Many of the links in this article redirect to a specific reviewed product. Your purchase of these products through affiliate links helps to generate commission for AudioLover.com, at no extra cost. Learn more)
Table of Contents
Introduction
When it comes to recording audio, having a reliable and high-quality setup is crucial. Whether you are a professional musician, podcaster, or voice-over artist, one of the key components you need is an audio interface. An audio interface acts as the bridge between your microphone and your computer, allowing you to capture clean and studio-quality sound.
In this article, we will explore the process of hooking up a microphone to a DI (Direct Input) box, and then connecting it to an audio interface. This setup is commonly used in professional audio recording studios, as well as in live sound reinforcement applications.
Understanding the different components involved and how they work together is essential for achieving optimal audio recording results. By following the steps outlined in this article, you will be able to set up your microphone, DI box, and audio interface properly, ensuring a seamless and efficient workflow.
So, let’s dive in and explore the world of mic to DI box to audio interface connections.
Understanding the Components
Before we delve into the step-by-step process of connecting a microphone to a DI box and then to an audio interface, let’s first familiarize ourselves with the components involved.
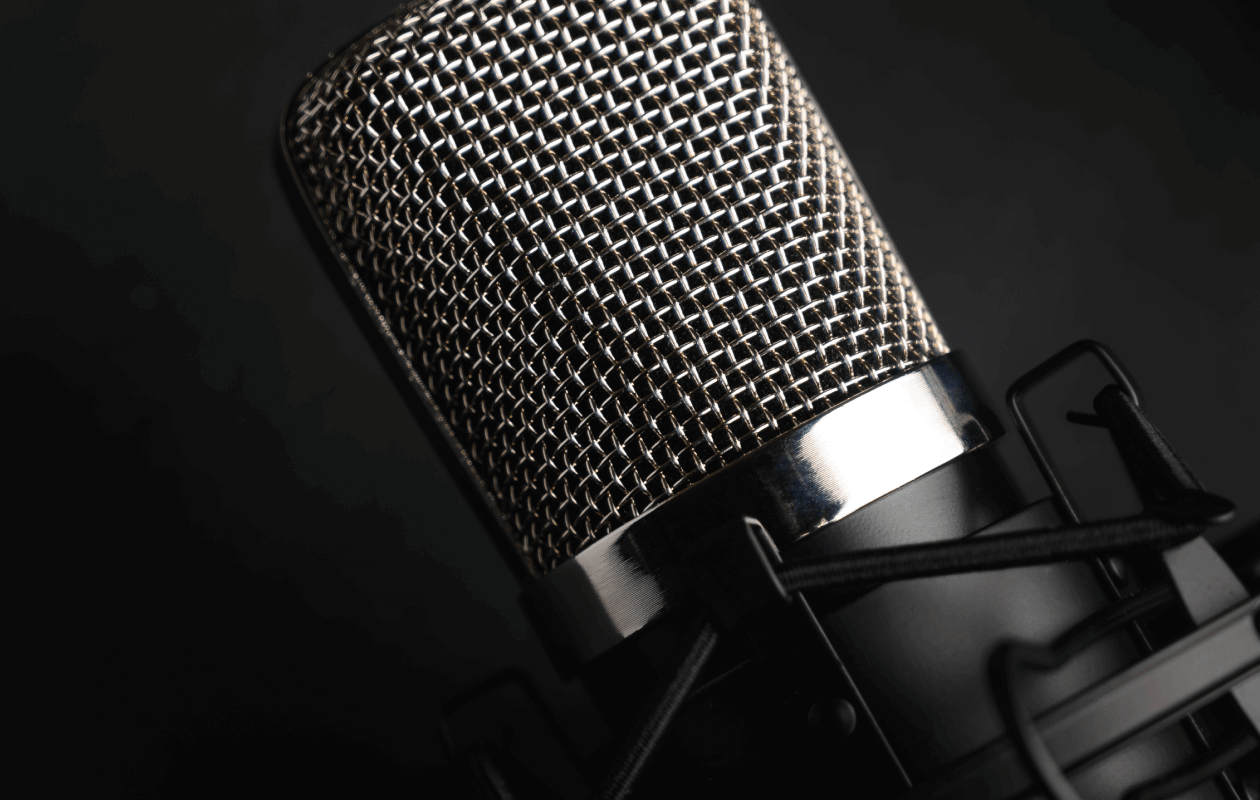
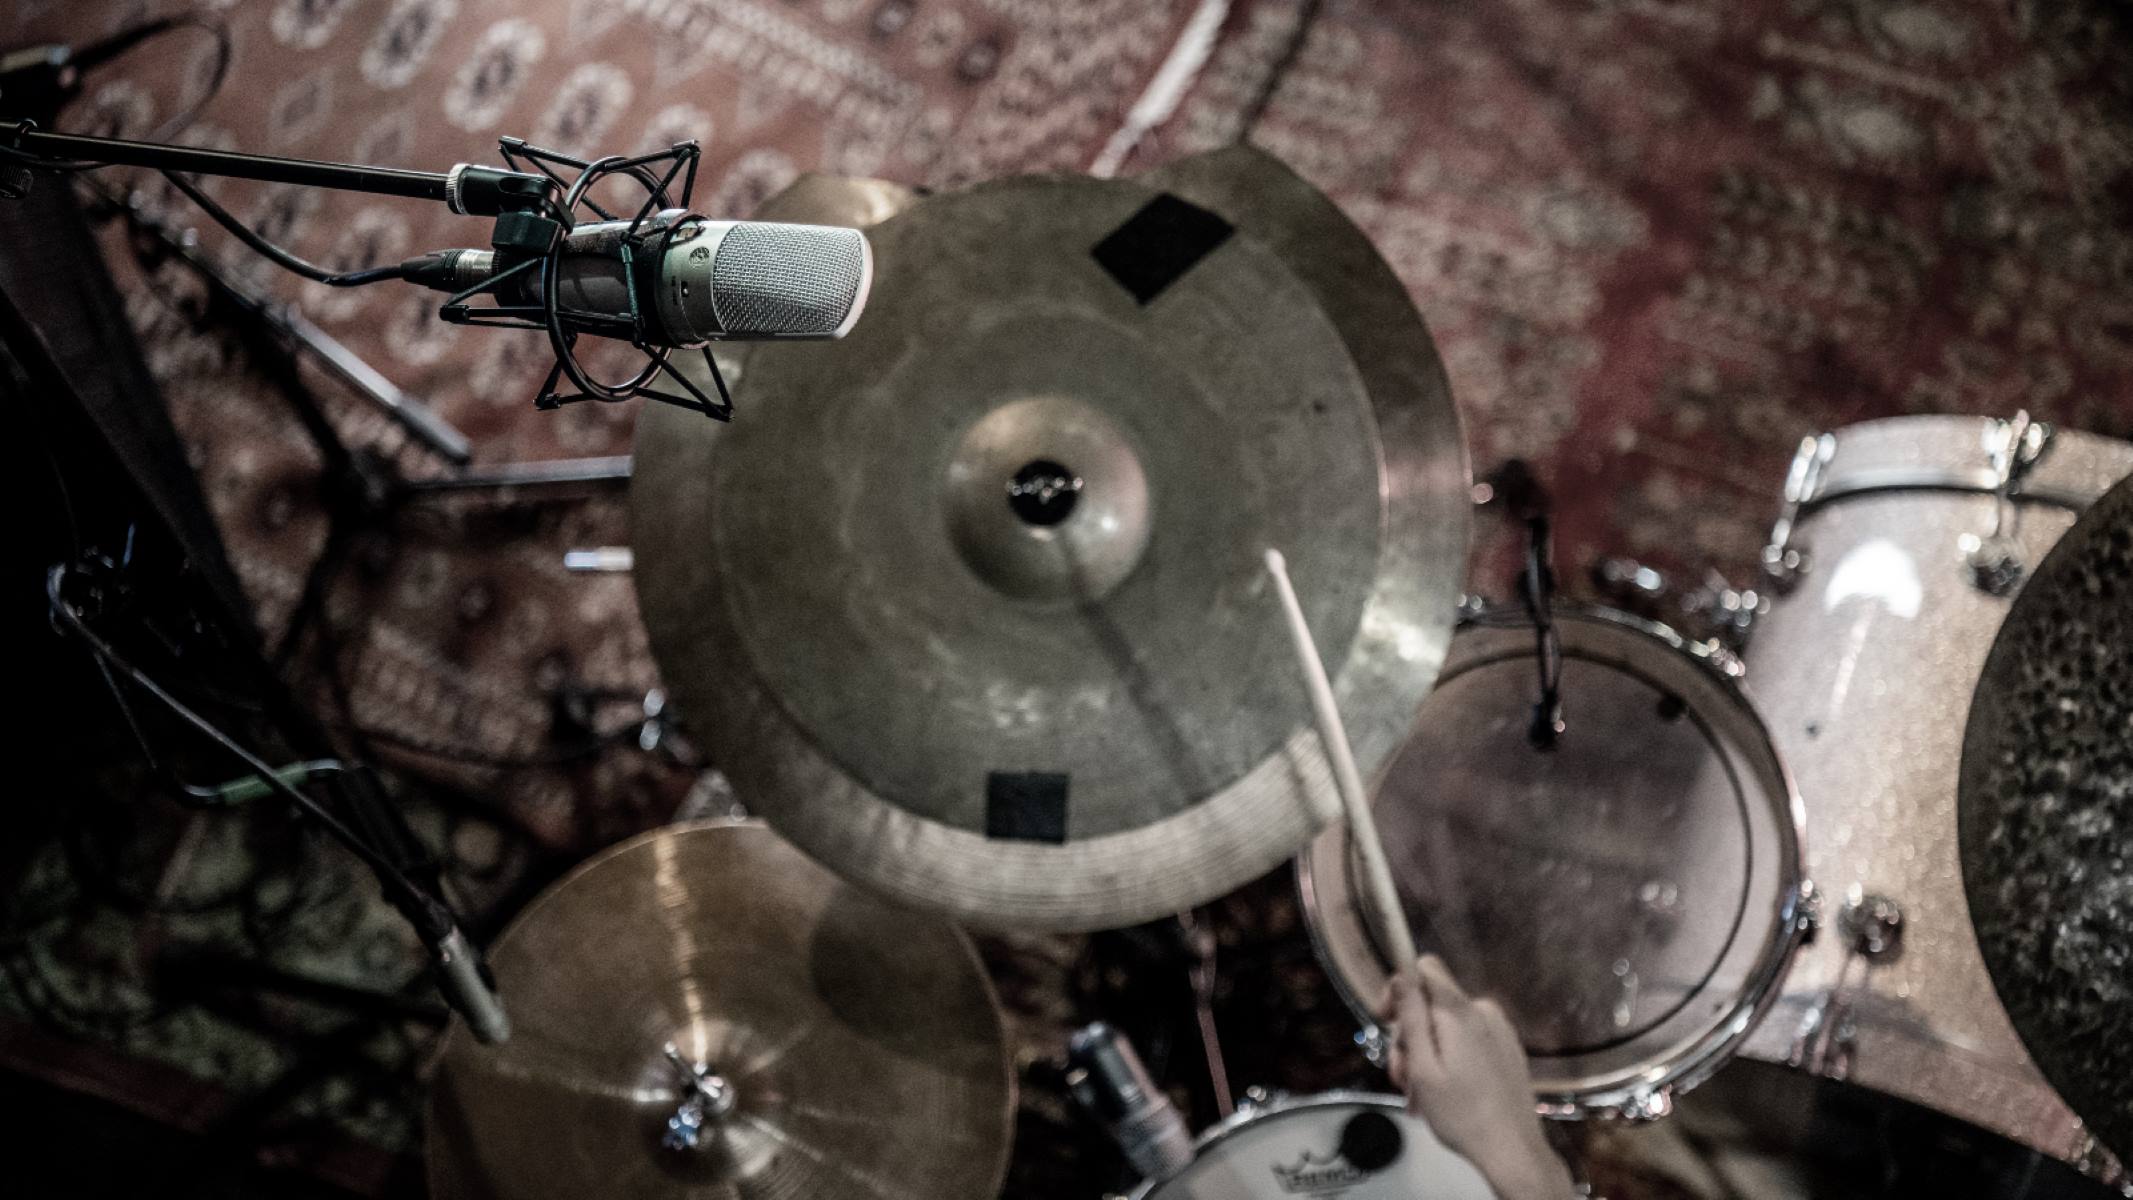
1. Microphone: The microphone is the primary input device used to capture audio. There are different types of microphones available, such as dynamic, condenser, and ribbon microphones, each with its own unique characteristics and intended applications. It is important to choose a microphone that suits your specific needs and preferences.
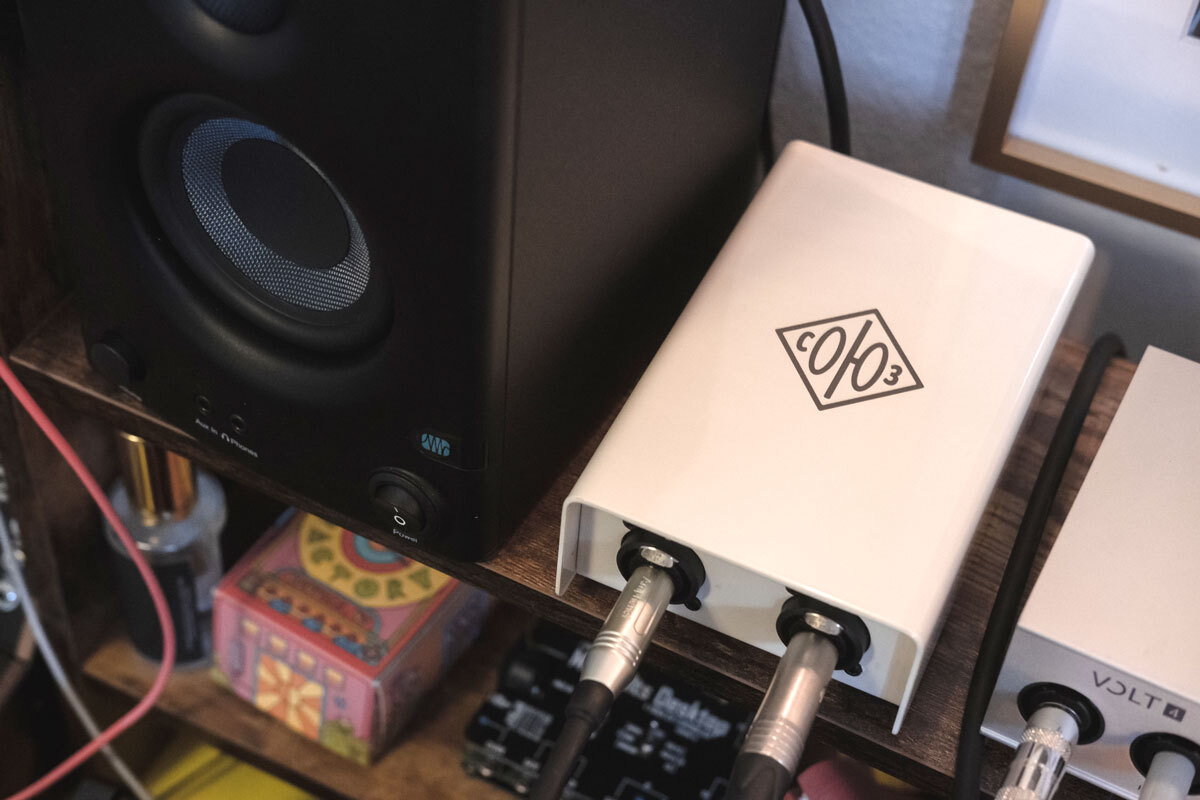
2. DI Box: The DI box, also known as a Direct Input box or Direct Box, is an essential device that converts an unbalanced audio signal (such as from a microphone) into a balanced signal, which can then be sent to the audio interface. It helps eliminate noise, interference, and signal degradation, resulting in a cleaner and more robust audio recording.
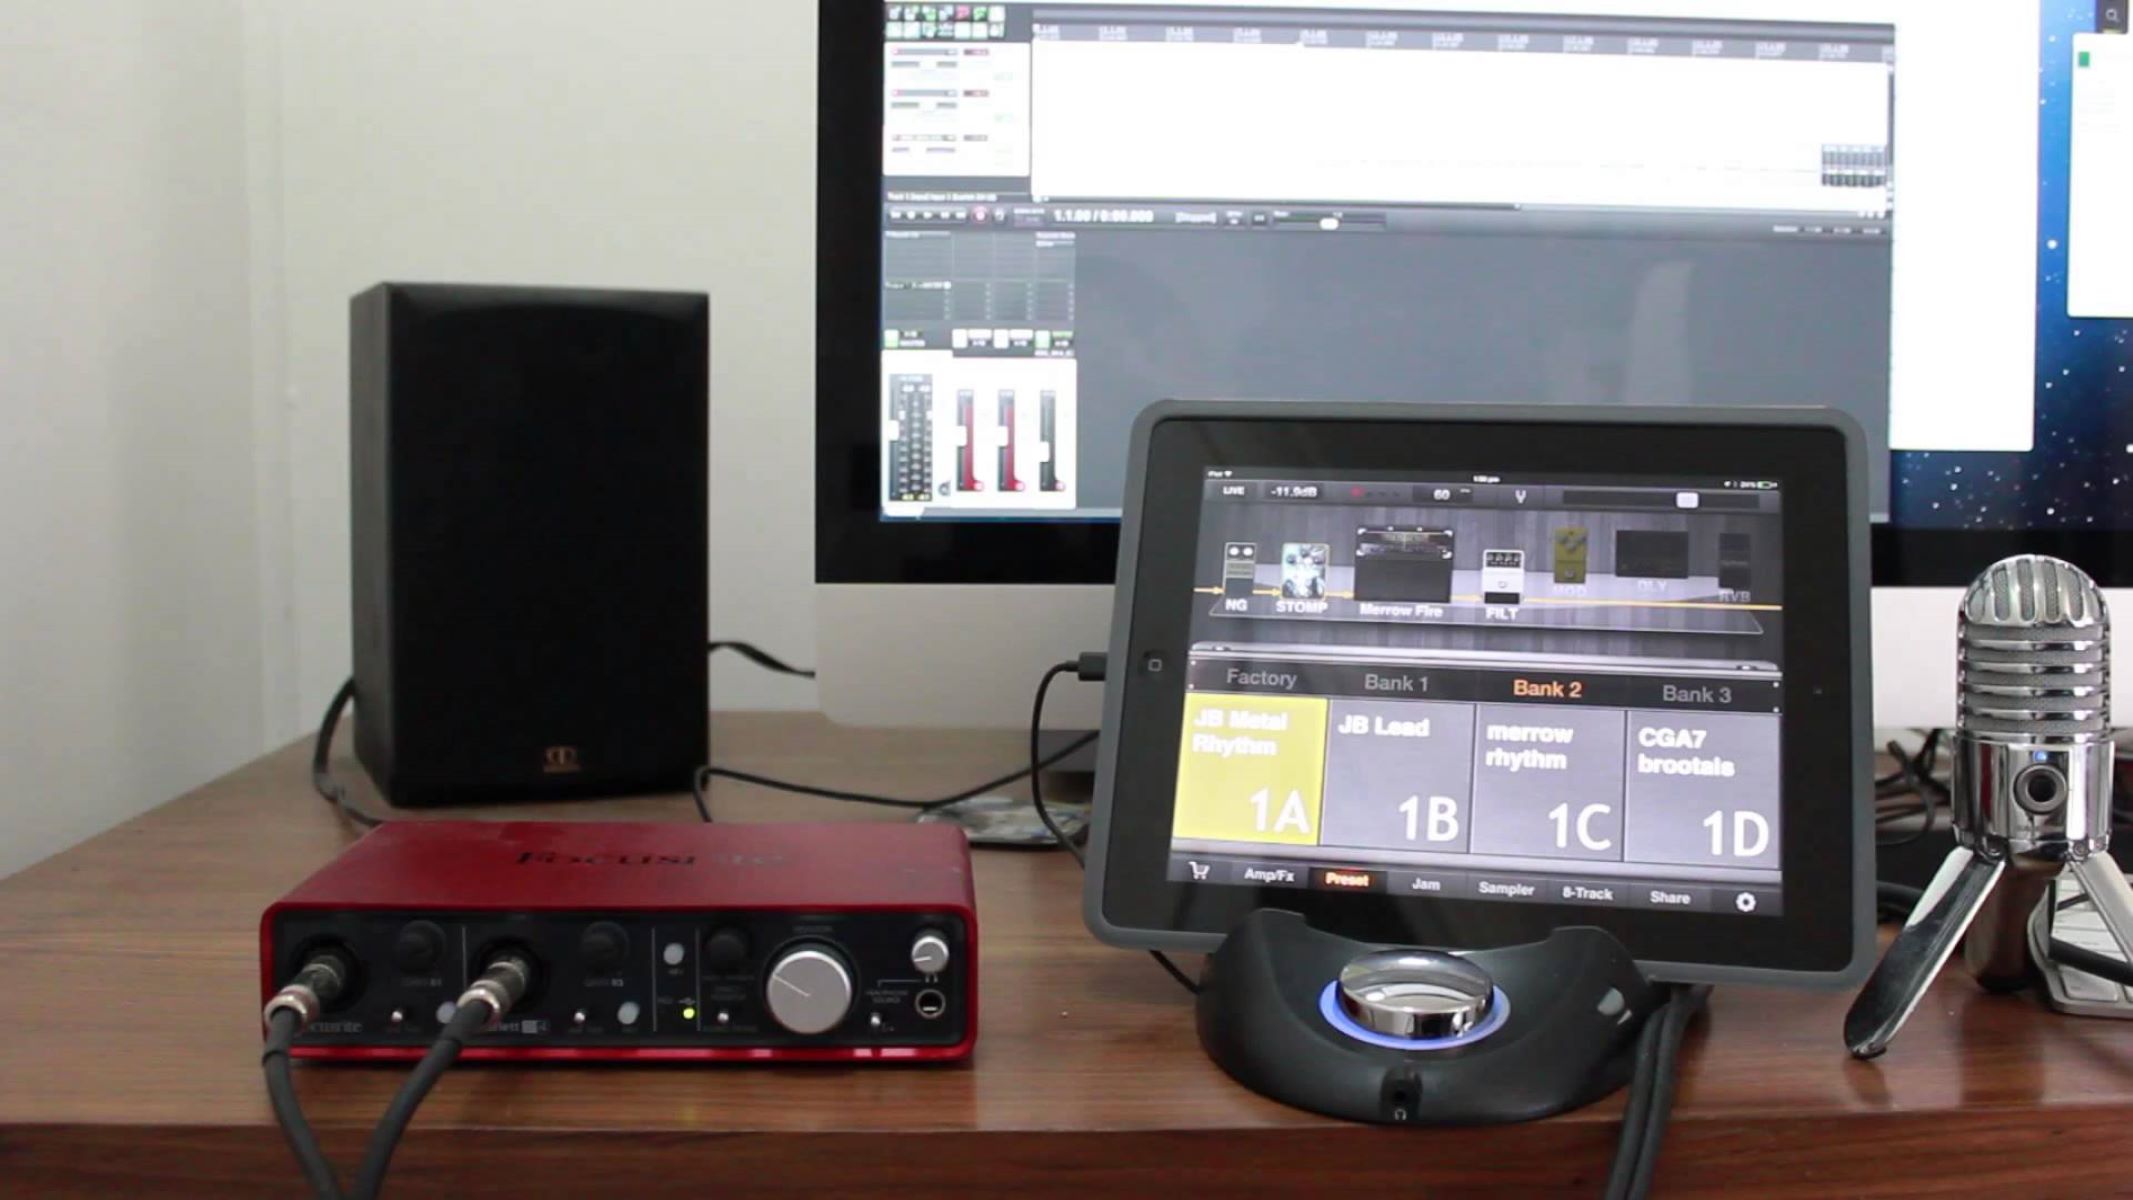
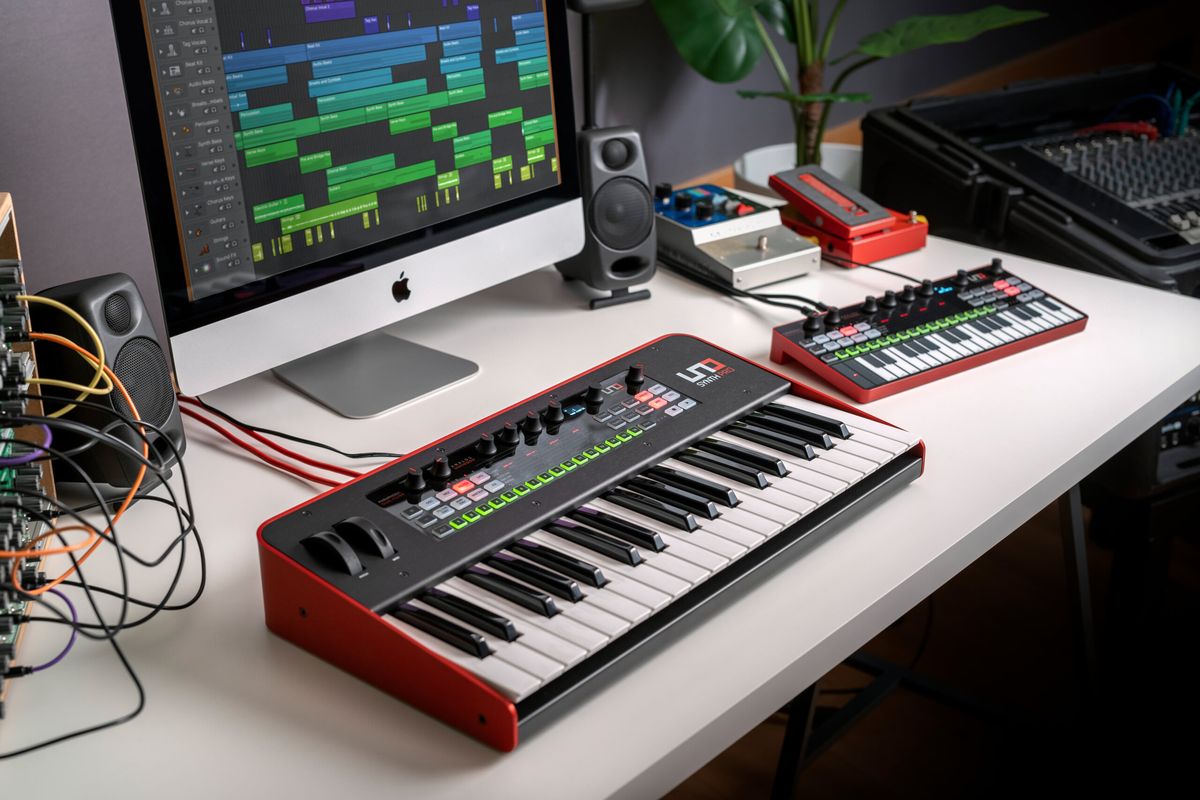
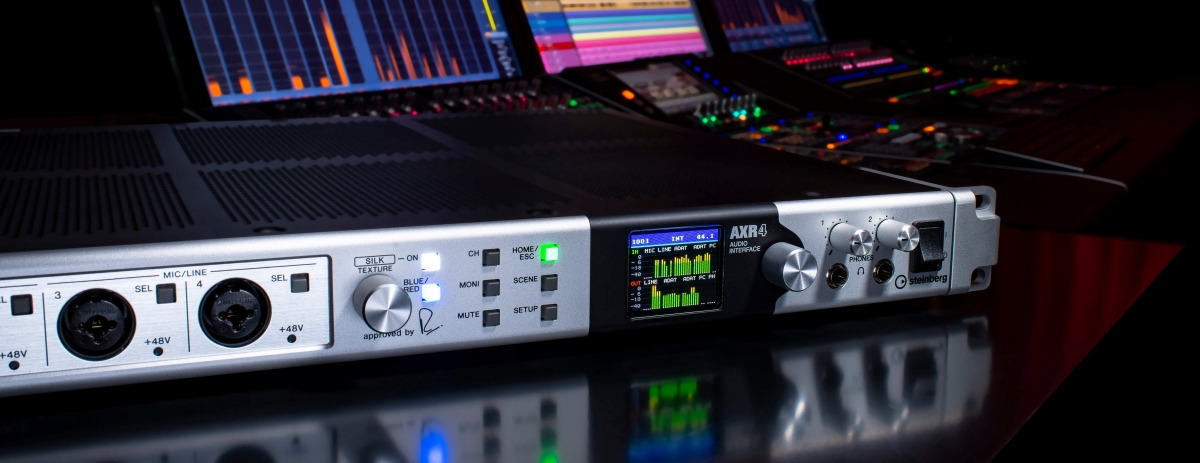
3. Audio Interface: The audio interface serves as the intermediary between your microphone, DI box, and your computer. It connects to your computer via USB, Thunderbolt, or FireWire, allowing you to record and monitor your audio. Audio interfaces come in various configurations, ranging from simple two-input models to more complex multi-channel interfaces, offering a wide range of input and output options.
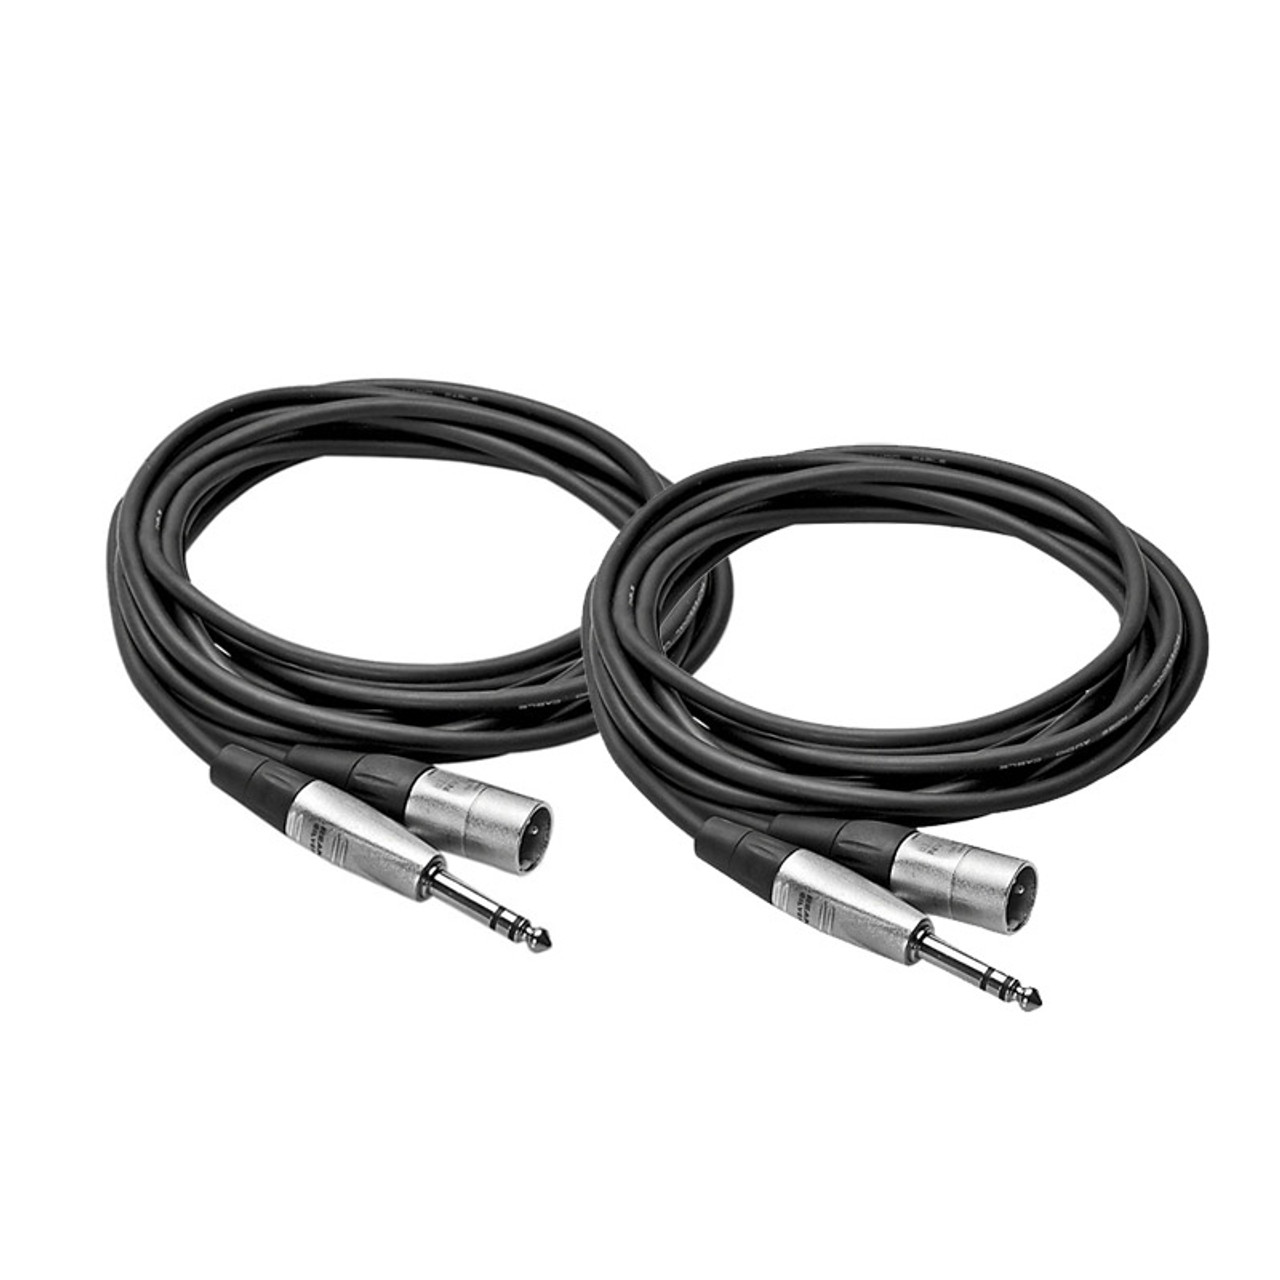
4. Cables and Connectors: To connect the components together, you will need appropriate cables and connectors. XLR cables are commonly used to connect the microphone to the DI box, while TRS or XLR cables are used to connect the DI box to the audio interface. It is crucial to use high-quality cables to minimize signal loss and interference.
Now that we have a basic understanding of the components involved, let’s move on to the step-by-step process of connecting them to set up your mic to DI box to audio interface connection.
Step 1: Choosing the Right Microphone
The first step in setting up your mic to DI box to audio interface connection is selecting the right microphone for your recording needs. The type of microphone you choose will depend on the sound source you want to capture and the recording environment you will be working in.
There are three main types of microphones to consider:
- Dynamic Microphones: These microphones are rugged, versatile, and best suited for capturing loud sound sources. They are commonly used for live performances and recording instruments such as drums and electric guitars.
- Condenser Microphones: Condenser microphones are more sensitive and accurate in capturing a wide range of frequencies. They require phantom power, which is usually provided by the audio interface or an external power source. Condenser microphones are ideal for recording vocals, acoustic instruments, and studio environments.
- Ribbon Microphones: Ribbon microphones are delicate and highly sensitive, capturing subtle nuances and providing a vintage sound character. They are often used in studio applications for recording vocals, brass instruments, and stringed instruments.
Consider the sound source, the intended use, and your budget when selecting the microphone. It’s also helpful to read reviews, listen to audio samples, and seek recommendations from professionals in the audio industry.
Once you have chosen the microphone, ensure that it has an XLR connector. This is the standard connector used in professional audio applications and will allow for a secure and reliable connection to the DI box.
By selecting the right microphone for your recording needs, you will be setting the foundation for capturing high-quality audio and achieving the desired outcome in your recordings.
Step 2: Connecting the Microphone to a DI Box
After selecting the appropriate microphone for your recording needs, it’s time to connect it to a DI (Direct Input) box. The DI box will convert the unbalanced audio signal from the microphone into a balanced signal, which is better suited for transmission over longer distances and helps minimize interference and signal degradation.
Here are the steps to connect the microphone to a DI box:
- Locate the XLR output on the microphone: Most professional microphones have an XLR output. It is a three-pin connector that carries the audio signal from the microphone.
- Connect one end of an XLR cable to the microphone’s XLR output: Ensure that the cable is securely plugged into the microphone, as a loose connection can introduce unwanted noise or audio issues.
- Locate the XLR input on the DI box: The DI box will have an input labeled “Mic In” or “XLR In” where the XLR cable will be connected.
- Connect the other end of the XLR cable to the DI box: Plug the XLR cable into the designated input on the DI box, making sure it is firmly attached.
- Ensure the DI box is powered: Some DI boxes require external power, while others are passive and do not need power. Check the specifications of your DI box and ensure it is properly powered.
Once the microphone is connected to the DI box, the audio signal is balanced and ready to be transmitted to the next component in the chain: the audio interface. However, it’s important to note that connecting the microphone to a DI box alone will not provide audio monitoring or recording capabilities. The DI box serves as an intermediary step in the signal path, preparing the signal for the audio interface to process.
In the next step, we will explore how to connect the DI box to the audio interface, completing the mic to DI box to audio interface setup.
Step 3: Connecting the DI Box to an Audio Interface
Once you have connected your microphone to a DI (Direct Input) box, the next step is to connect the DI box to an audio interface. The audio interface acts as the bridge between your analog audio signals and your computer, allowing you to record and monitor your audio with high quality and low latency.
Follow these steps to connect the DI box to an audio interface:
- Locate the XLR output on the DI box: The DI box will have an output labeled “Output,” “XLR Out,” or a similar designation. This is where you will connect the cable to the audio interface.
- Choose the appropriate cable for connection: Depending on the type of audio interface you have, you may need either an XLR or TRS cable to connect the DI box to the audio interface. Check the specifications of your audio interface to determine the correct cable type.
- Connect one end of the cable to the DI box output: Plug the cable into the designated output on the DI box, ensuring a secure connection.
- Locate the corresponding input on the audio interface: The audio interface will have input channels labeled for mic/line inputs. Locate the input channel you wish to use and connect the other end of the cable to the input, either XLR or TRS.
- Ensure the audio interface is connected to your computer: Connect the audio interface to your computer using the appropriate USB, Thunderbolt, or FireWire cable. Install any necessary drivers or software provided by the manufacturer.
Once the DI box is connected to the audio interface, the balanced audio signal from the microphone is now being processed by the audio interface. This allows for control over gain, phantom power, and other settings that the audio interface provides.
Now that the microphone, DI box, and audio interface are all connected, it’s time to move on to adjusting the settings on the audio interface, which we will cover in the next step.
Step 4: Adjusting Settings on the Audio Interface
Once you have connected the DI (Direct Input) box to your audio interface, the next step is to adjust the settings on the audio interface to ensure optimal recording quality. The audio interface provides various control options that allow you to adjust the input gain, phantom power, monitoring, and other essential settings.
Follow these steps to adjust the settings on your audio interface:
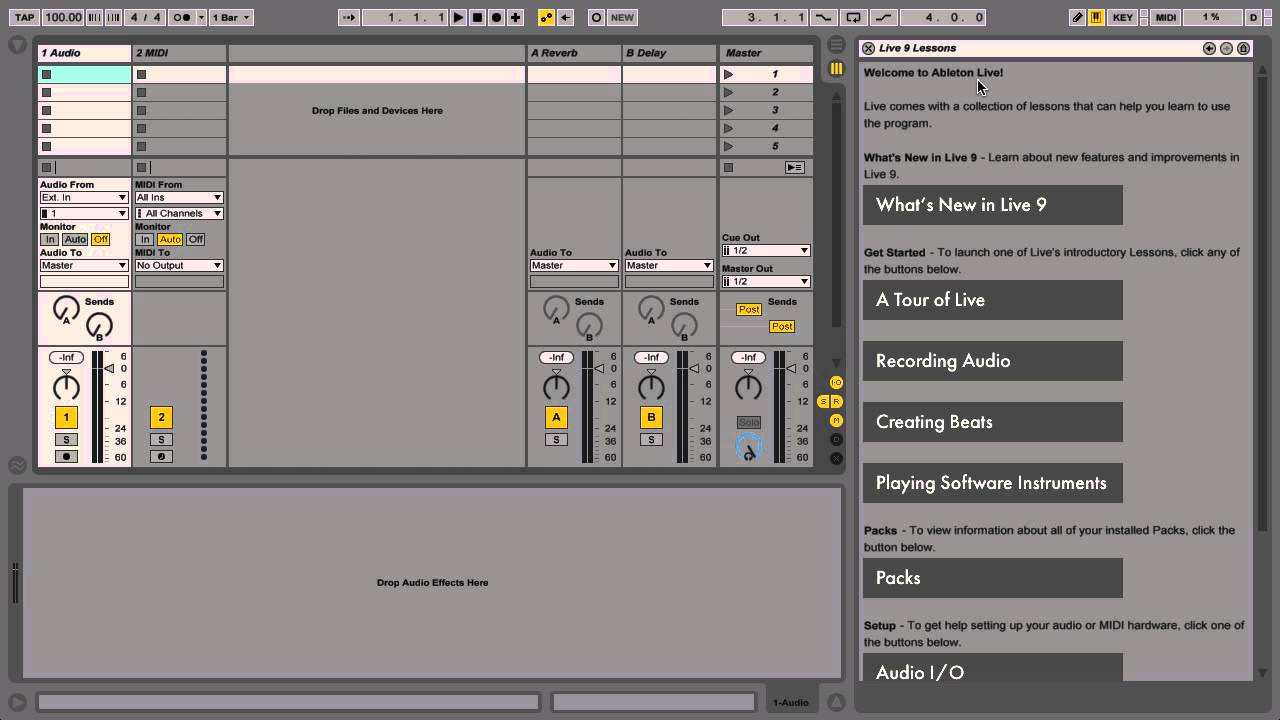
- Access the audio interface control software: Most audio interfaces come with control software that allows you to adjust settings and monitor your audio. Open the control software on your computer.
- Select the correct input channel: In the audio interface control software, select the input channel that corresponds to the one you connected the DI box to. This ensures that you are adjusting the settings for the correct microphone signal.
- Set the input gain: Adjust the input gain knob or slider on your audio interface to set the appropriate level for the microphone signal. Aim for a strong and clean signal without clipping or distortion. Experiment with different gain levels to find the optimal setting for your recording.
- Enable phantom power: If your microphone requires phantom power, activate it on the audio interface. Phantom power is typically required for condenser microphones and is essential for proper operation.
- Configure monitoring options: Depending on your preference, set up monitoring options such as direct monitoring, which allows you to hear the microphone signal in real-time without any latency.
- Check other settings: Explore other settings provided by your audio interface, such as sample rate, buffer size, and routing options. Adjust these settings as necessary, depending on your recording requirements.
By properly adjusting the settings on your audio interface, you can ensure the best possible recording quality and a smooth workflow. Take your time to familiarize yourself with the control software and experiment with different settings to achieve the desired sound.
In the next step, we will cover testing and troubleshooting the microphone connection to ensure everything is working properly.
Step 5: Testing and Troubleshooting the Connection
After following the previous steps to connect your microphone to a DI (Direct Input) box, and then to an audio interface, it’s crucial to test the connection to ensure that everything is working correctly. Testing and troubleshooting the connection will help identify any issues and ensure that you are capturing clean and high-quality audio.
Here are some steps to test and troubleshoot the microphone connection:
- Play a test signal: Use a sound source, such as your voice or an instrument, and make some noise while monitoring the audio through headphones or speakers. This will help identify if any sound is being captured, indicating that the microphone and connection are working.
- Monitor the audio levels: Keep an eye on the audio levels on your audio interface or in the recording software you are using. Ensure that the levels are within an appropriate range, neither too low to be barely audible nor too high to cause distortion.
- Listen for unwanted noise: Pay attention to any unwanted noise, such as hums, buzzes, or static. If you encounter noise issues, make sure all connections are secure, and check for any ground loops or interference sources that may be causing the problem.
- Adjust settings and retest: If necessary, go back to the settings on your audio interface and make any adjustments needed. This may include fine-tuning the input gain, adjusting phantom power, or tweaking monitoring settings. Retest the connection after making changes to ensure the desired audio quality.
- Seek professional help if needed: If you encounter persistent issues or are unsure about the quality of your microphone connection, it may be helpful to consult with a professional audio engineer or technician. They can provide further guidance and assistance in troubleshooting the problem.
By thoroughly testing and troubleshooting the microphone connection, you can ensure that everything is functioning as it should. This will give you confidence in your setup and allow you to focus on capturing the best possible audio for your recordings or performances.
Concluding the entire setup process, let’s summarize the key steps we covered.
Conclusion
Setting up your microphone, DI (Direct Input) box, and audio interface is a crucial process in achieving professional-quality audio recordings. By following the steps outlined in this article, you can establish a seamless and efficient connection from your microphone to your audio interface.
We began by understanding the components involved, including the microphone, DI box, audio interface, and necessary cables and connectors. Selecting the right microphone for your recording needs is essential, considering factors such as the sound source, recording environment, and budget.
Next, we explored the step-by-step process of connecting the microphone to a DI box, ensuring a balanced audio signal for transmission. From there, we moved on to connecting the DI box to an audio interface, establishing the critical link between analog audio signals and your computer.
Adjusting the settings on the audio interface was the next step, allowing you to optimize input gain, phantom power, monitoring options, and other essential parameters. This ensures that you have full control over the recording process and can capture the best possible audio quality.
Finally, we discussed the importance of testing and troubleshooting the microphone connection to identify and resolve any potential issues. By monitoring audio levels, listening for unwanted noise, and making necessary adjustments, you can ensure a clean and reliable audio signal.
Remember, while the steps outlined in this article provide a general guideline, it’s important to consult the user manuals and documentation provided by the manufacturers of your specific equipment. Every setup may have slight variations, and it’s crucial to follow the instructions provided by the manufacturers to ensure optimal performance.
With a properly connected microphone, DI box, and audio interface, you are now ready to embark on your audio recording journey. Whether it’s recording vocals, capturing musical instruments, or creating podcasts, this setup will provide you with the tools and capabilities to achieve professional-level results.
So, go ahead, unleash your creativity, and enjoy the rewarding experience of capturing high-quality audio with your mic to DI box to audio interface setup!