Home>Production & Technology>Audio Interface>How To Use USB Mic With Audio Interface

Audio Interface
How To Use USB Mic With Audio Interface
Modified: February 17, 2024
Learn how to connect and use a USB microphone with an audio interface. Enhance your sound quality with this step-by-step guide.
(Many of the links in this article redirect to a specific reviewed product. Your purchase of these products through affiliate links helps to generate commission for AudioLover.com, at no extra cost. Learn more)
Table of Contents
Introduction
Welcome to the world of professional audio recording! If you’re a podcaster, musician, or voiceover artist, you know how important it is to have a high-quality audio setup. One essential component of a great recording setup is the audio interface. An audio interface is a device that connects your computer to your audio gear, allowing you to record and monitor your audio with precision and clarity. And when it comes to capturing your voice or instrument, using a USB microphone with an audio interface can take your recordings to the next level.
In this article, we will delve into the world of USB microphones and audio interfaces, exploring their compatibility, setup, and how to optimize their use. Whether you’re a beginner looking to set up your first home recording studio or a seasoned pro seeking to upgrade your equipment, this guide will provide you with the knowledge you need to make the most of your USB mic and audio interface combination.
Before we dive into the specifics, let’s take a moment to understand the basics. A USB microphone, as the name suggests, is a microphone that connects to your computer via a USB cable. These microphones are convenient and easy to use, as they eliminate the need for additional cables and preamps. They are plug-and-play devices, compatible with most operating systems, and offer decent audio quality for a variety of recording applications.
On the other hand, an audio interface acts as a bridge between your computer and your audio gear. It typically has multiple inputs and outputs, allowing you to connect microphones, instruments, and other audio equipment. The audio interface converts the analog signals from your microphones and instruments into digital signals that your computer can process and record.
Now that you have a basic understanding of USB microphones and audio interfaces, let’s explore the key considerations when using them together. Compatibility, setup, and optimization are crucial to ensuring a seamless and professional recording experience. So, let’s delve into the details and help you get the most out of your USB mic and audio interface setup!
Overview of USB Mic and Audio Interface
Understanding the key features and benefits of USB microphones and audio interfaces is essential before delving into their usage. Let’s take a closer look at each component to gain a better understanding of their capabilities.
USB Microphone
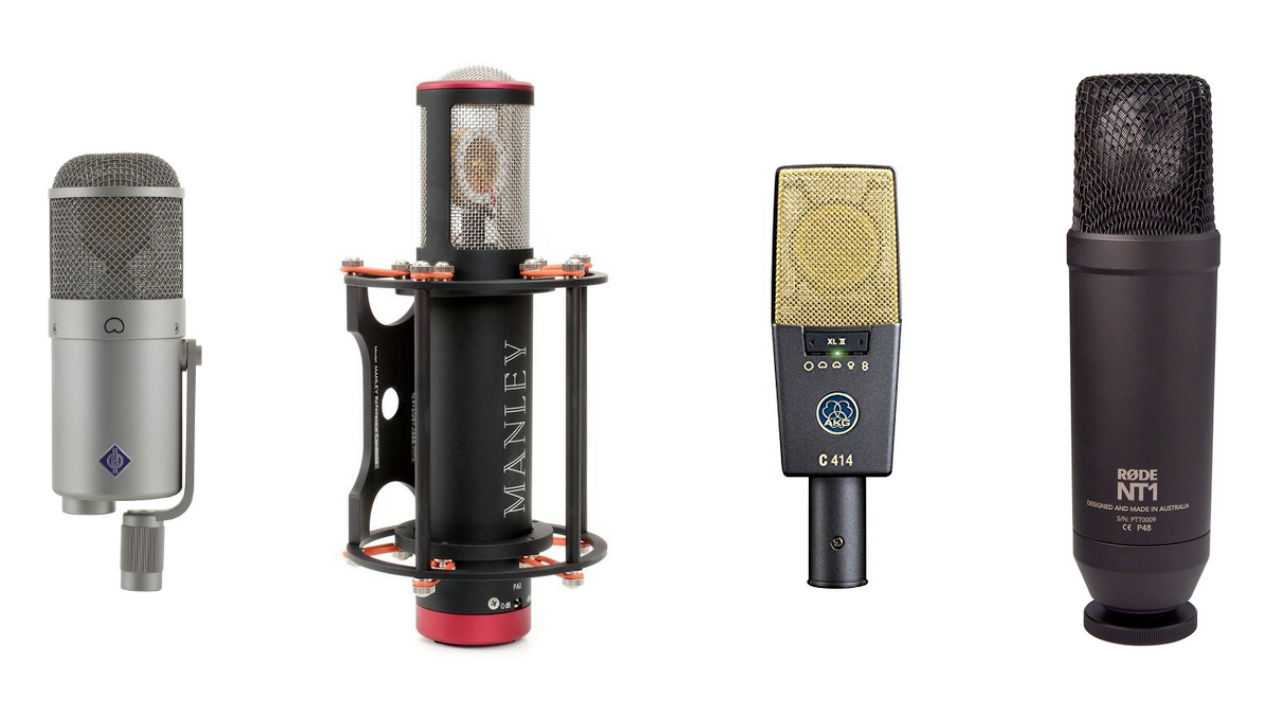
A USB microphone is a powerhouse when it comes to recording audio. Designed for simplicity and convenience, USB microphones are plug-and-play devices that connect directly to your computer via a USB cable. Unlike traditional microphones that require additional recording equipment, such as mixers or preamps, USB microphones incorporate these components within the mic itself.
USB microphones offer several advantages over their XLR counterparts. They are easy to set up, requiring minimal technical knowledge to get started. Additionally, they eliminate the need for additional cables and power sources, making them portable and ideal for on-the-go recording. USB microphones are a popular choice among podcasters, musicians, and voiceover artists due to their simplicity and excellent audio quality.
Audio Interface
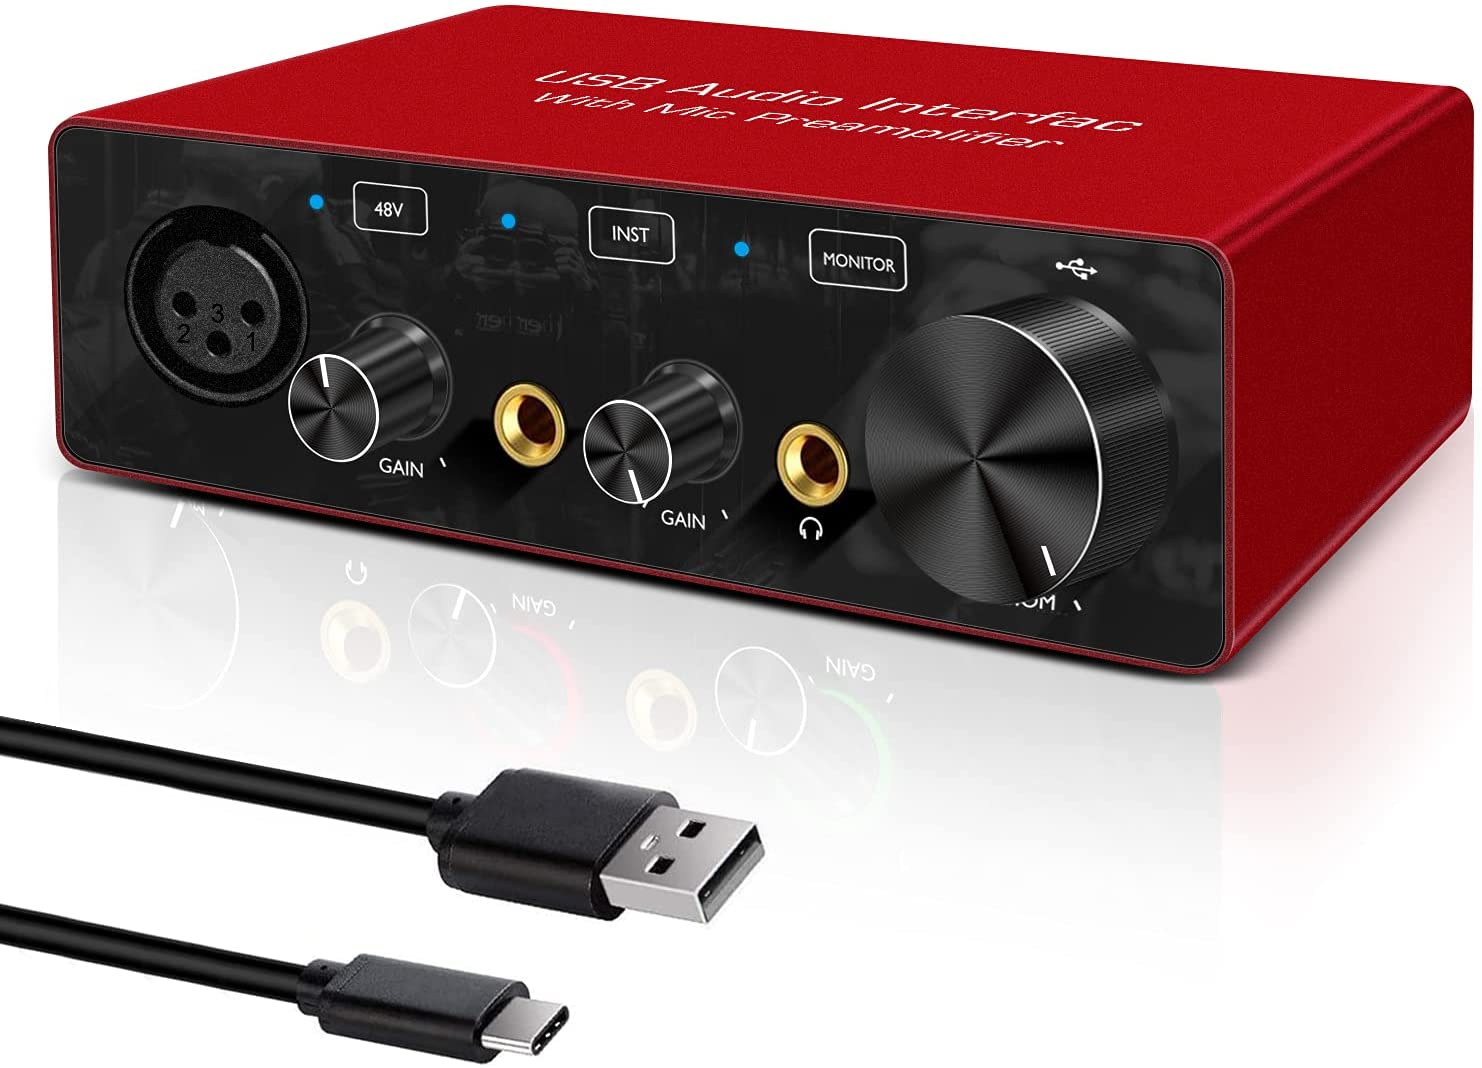
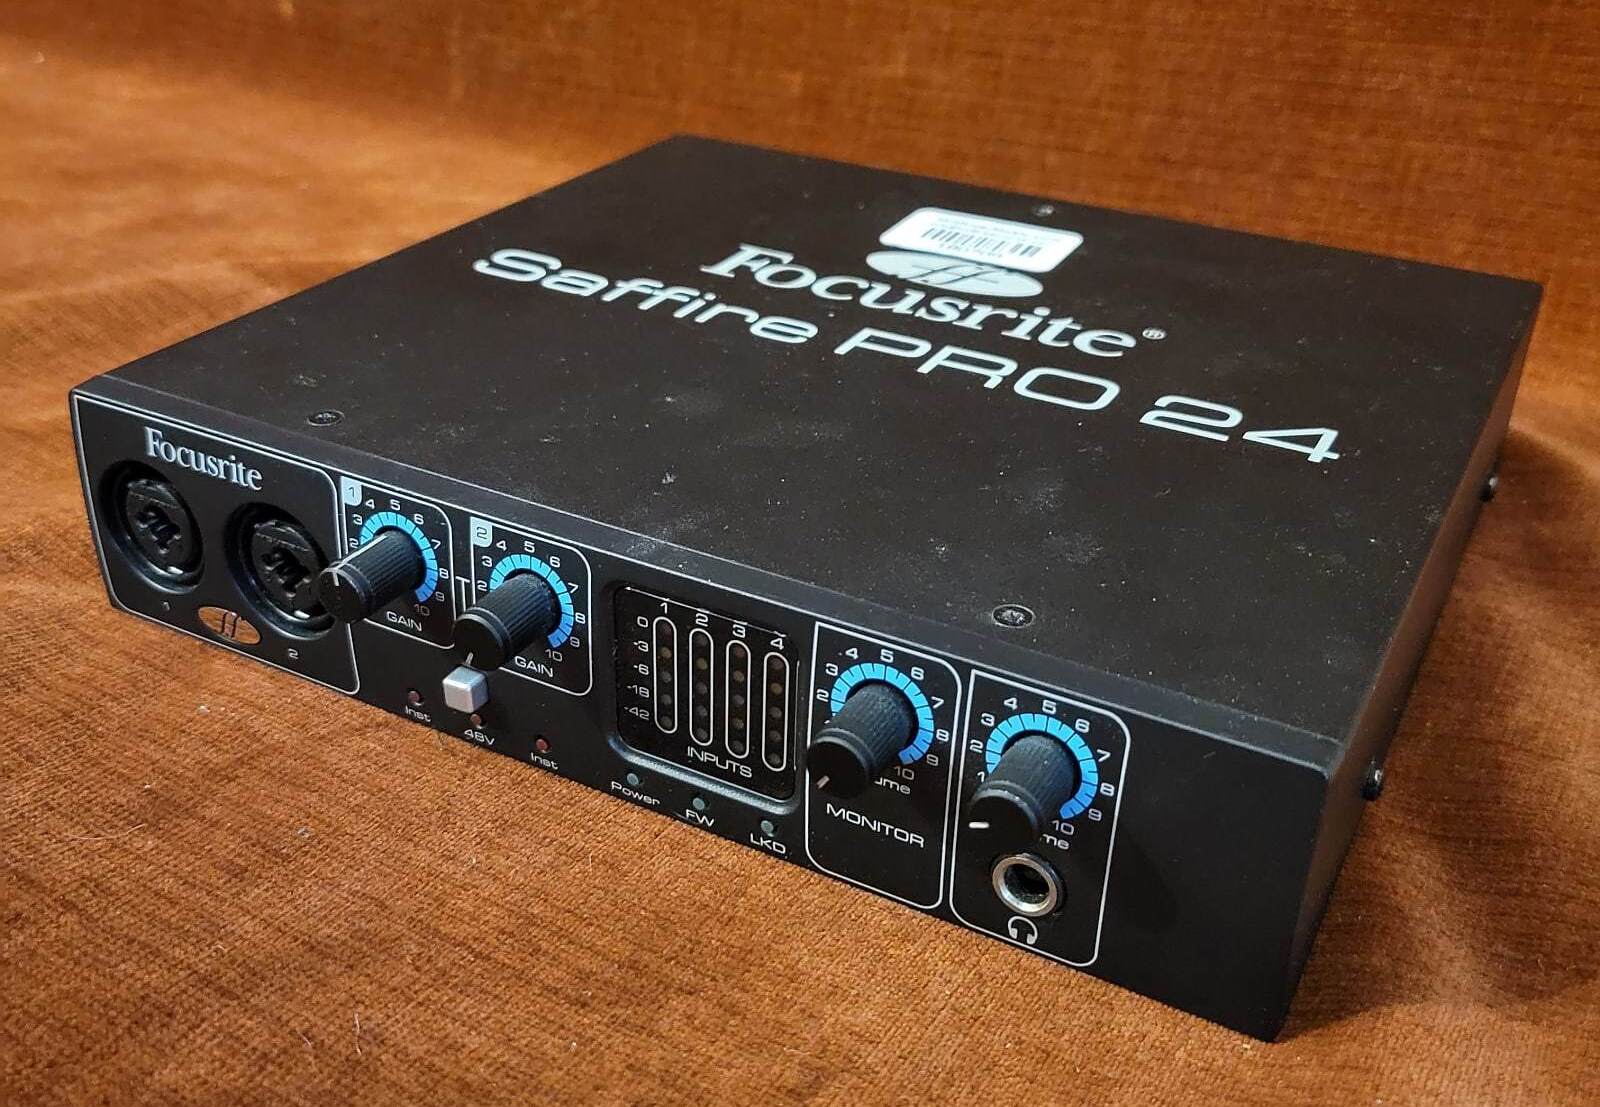
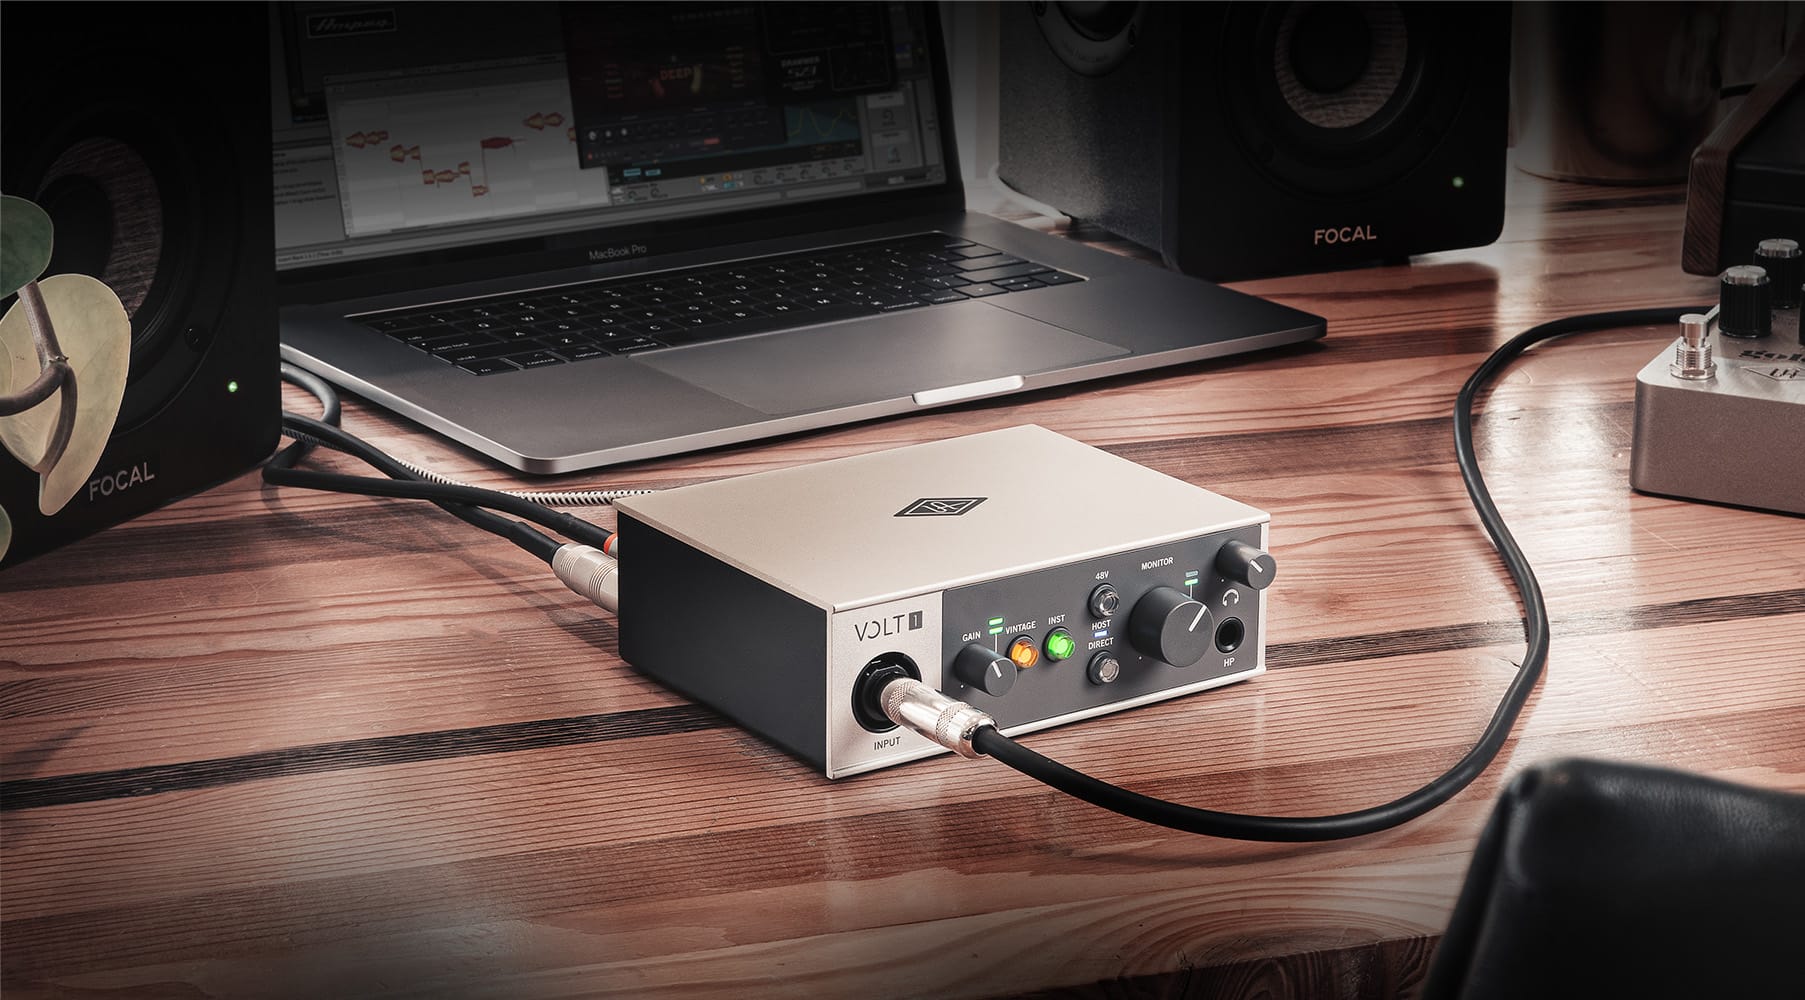
An audio interface serves as the central hub of your recording setup. It acts as a bridge between your computer and your audio equipment, facilitating the transfer of audio signals in both directions. Audio interfaces come in various shapes and sizes, offering different input and output options to suit different recording requirements.
One of the key advantages of using an audio interface is the ability to connect multiple microphones, instruments, and other audio equipment simultaneously. This flexibility allows for more complex recording setups, such as capturing multiple vocalists or recording a live band. Audio interfaces also offer features like preamps, phantom power, and signal processing capabilities, allowing you to fine-tune your audio signals for optimal recording quality.
Another important aspect of audio interfaces is their low-latency monitoring feature. This allows you to monitor your audio in real-time without any noticeable delay, which is crucial for recording and performing. Furthermore, audio interfaces offer high-resolution audio conversion, ensuring that your recorded audio retains all the nuances and details of the original performance.
When used together, USB microphones and audio interfaces can deliver professional-level audio recordings. The combination of a high-quality USB microphone and a reliable audio interface provides a versatile and convenient setup for various recording applications.
Now that we have a solid understanding of USB microphones and audio interfaces, let’s explore the compatibility considerations when using them together in the next section.
Compatibility Considerations
When using a USB microphone with an audio interface, it’s important to ensure compatibility between the two devices. Here are some key considerations to take into account:
Driver Compatibility
USB microphones are designed to be plug-and-play devices, meaning they typically don’t require any special drivers to work with your computer. However, some audio interfaces may require specific drivers to optimize their performance and functionality. Before purchasing an audio interface, check if it is compatible with your operating system and ensure that the necessary drivers are available.
Power Requirements
USB microphones, as self-contained devices, draw power directly from your computer’s USB port. However, audio interfaces may require external power sources or have different power requirements. Make sure to check the power specifications of your audio interface and ensure that it fits within your recording setup. Some audio interfaces may come with their own power supply, while others may draw power directly from your computer or require an additional power source.
Input and Output Compatibility
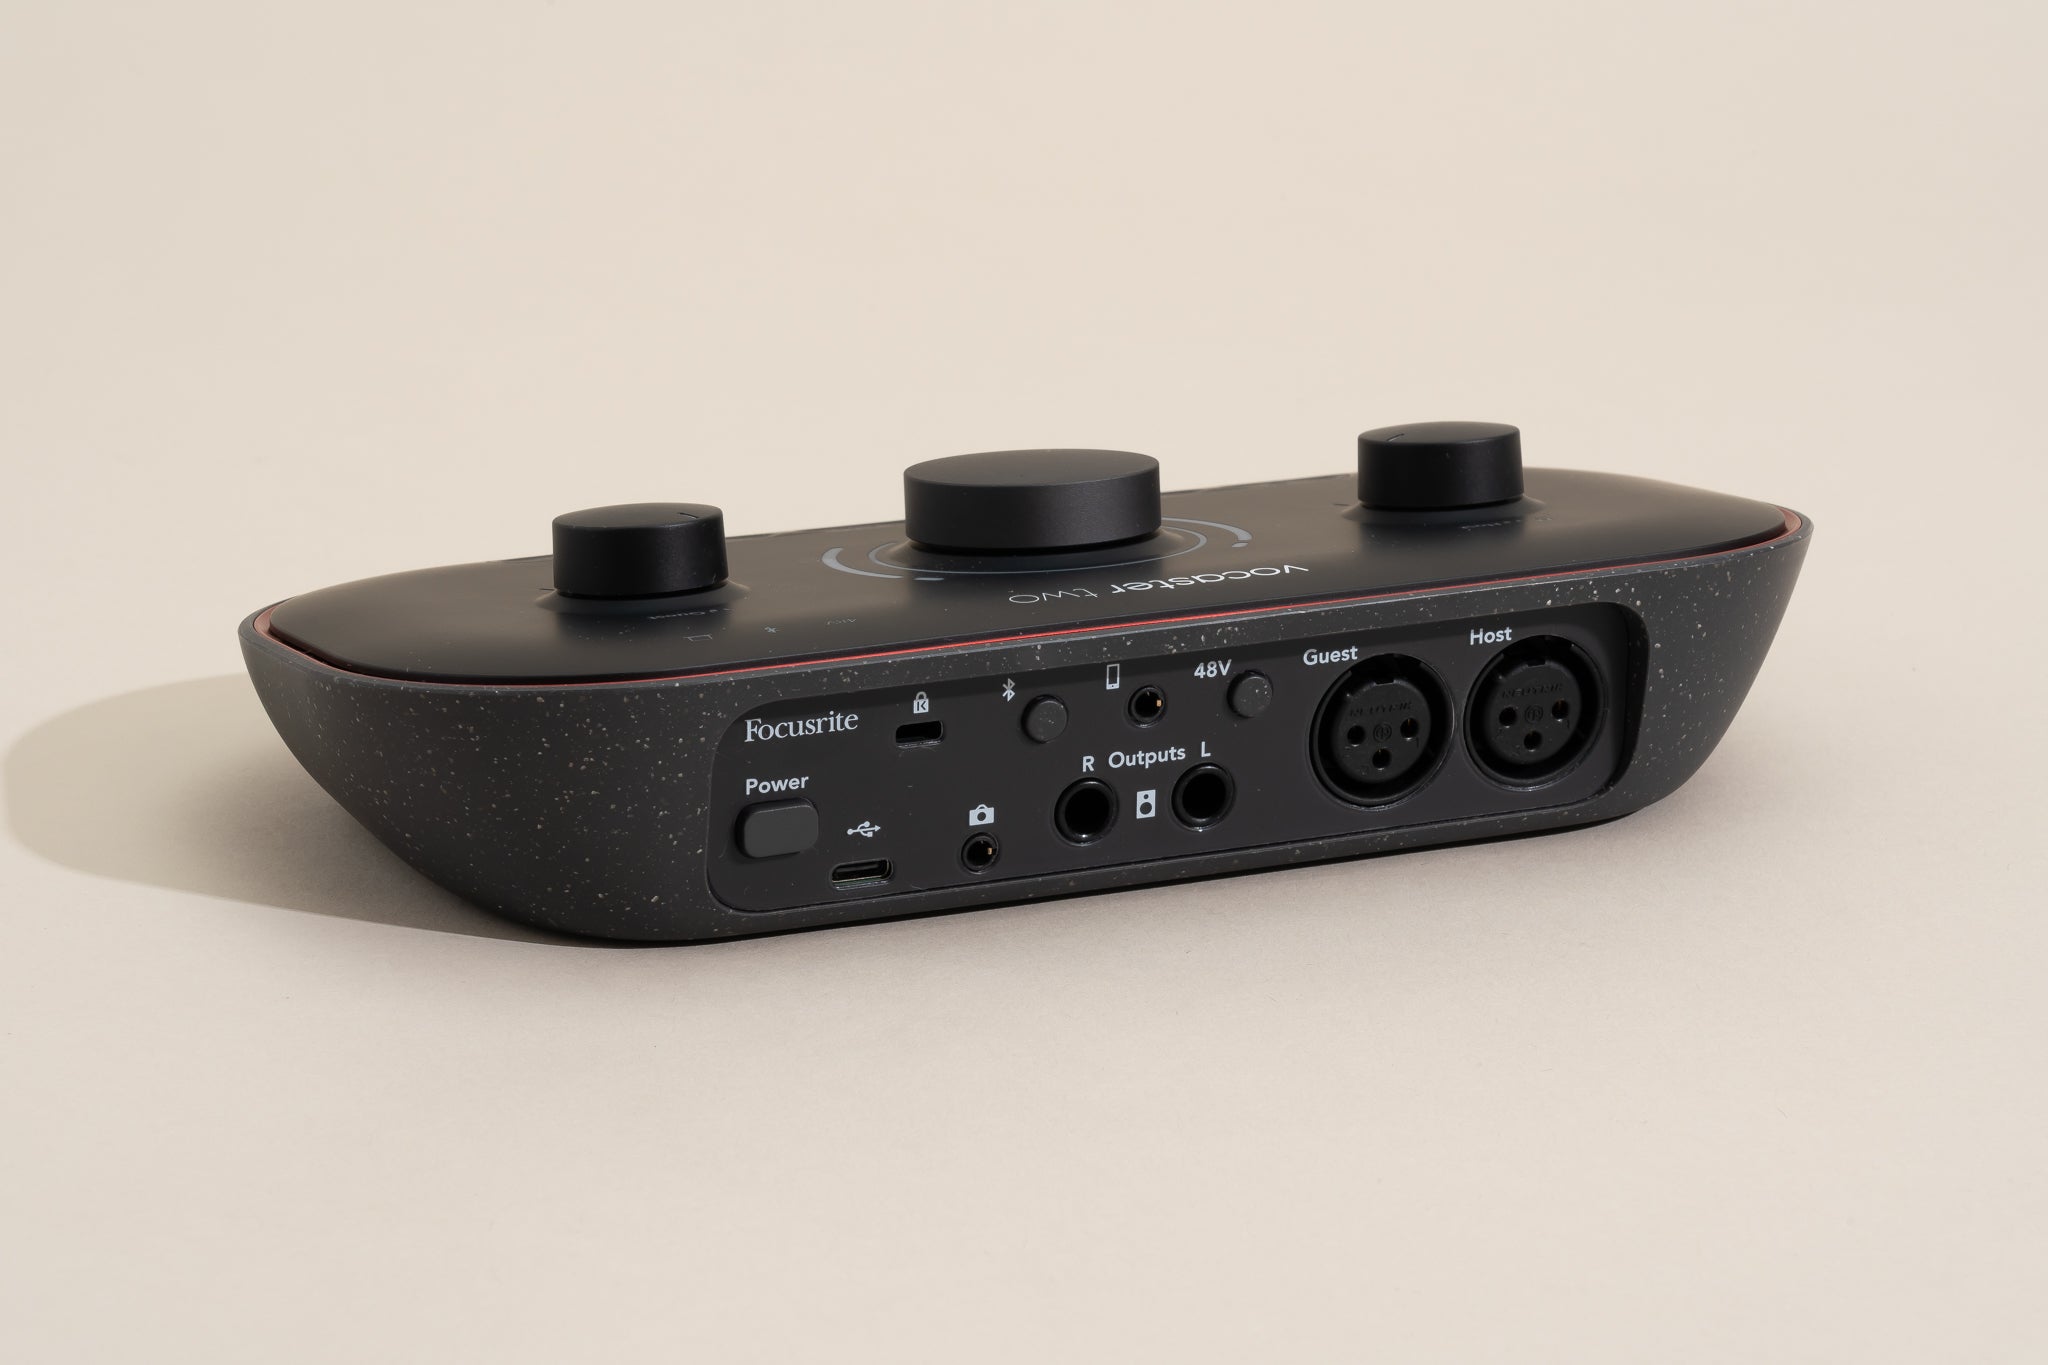
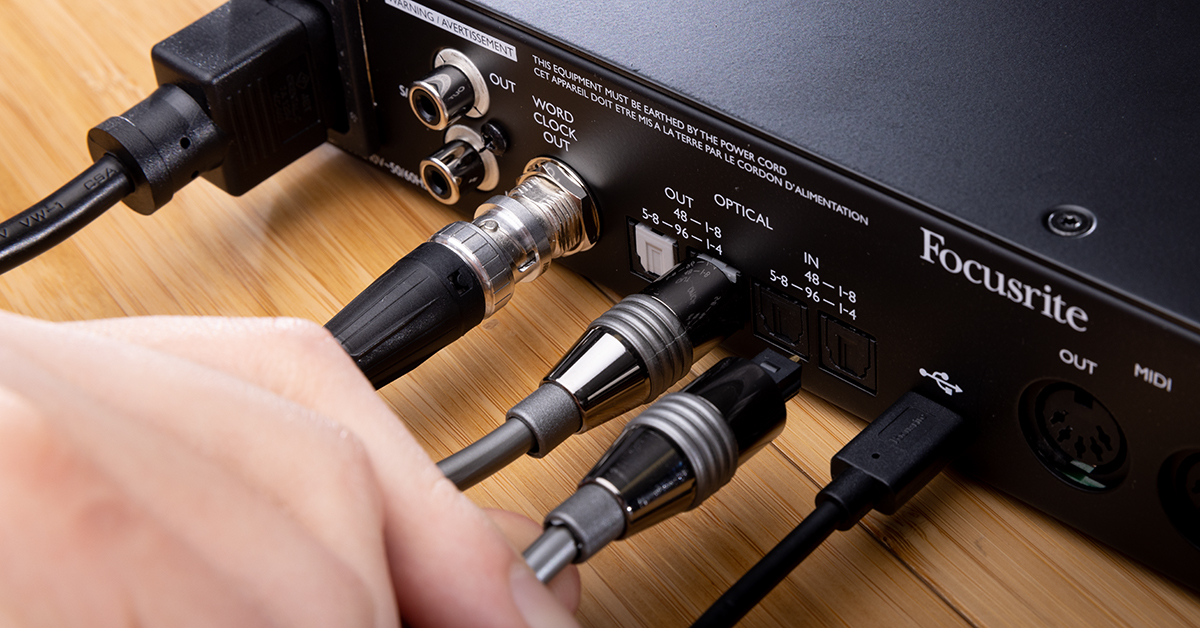
When using a USB microphone with an audio interface, it’s important to consider the input and output connections on both devices. Most USB microphones have a single USB connection, which will be used to connect to your computer. However, audio interfaces offer various input and output options, such as XLR, TRS, and MIDI. Ensure that the audio interface you choose has the appropriate input connections to accommodate your USB microphone.
Additionally, if you plan on using other audio equipment, such as additional microphones or instruments, consider the compatibility of their connections with the audio interface. This will ensure that all your devices can be connected and utilized effectively in your recording setup.
Sample Rate and Bit Depth
Sample rate and bit depth are important specifications to consider for optimal recording quality. USB microphones typically have fixed sample rate and bit depth settings. When using an audio interface, ensure that it supports the sample rate and bit depth of your USB microphone. Mismatched settings can result in audio quality degradation or performance issues.
By understanding and addressing these compatibility considerations, you can ensure a seamless integration of your USB microphone and audio interface, allowing you to focus on capturing high-quality audio recordings. In the next section, we will explore the setup process of connecting a USB microphone to an audio interface.
Setting up the USB Mic with the Audio Interface
Setting up your USB microphone with an audio interface is a straightforward process. Here’s a step-by-step guide to help you get started:
Step 1: Gather the Necessary Cables
Make sure you have all the required cables on hand. You will need:
- A USB cable to connect the USB microphone to your computer.
- Your audio interface’s appropriate cable to connect it to your computer (e.g., USB, Thunderbolt, etc.).
- If you’re using other audio equipment, such as headphones or studio monitors, ensure you have the necessary cables to connect them to your audio interface.
Step 2: Connect the USB Mic to the Computer
Take the USB cable and connect one end to the USB port on your USB microphone. Then, plug the other end of the cable into a free USB port on your computer. Ensure that the connection is secure.
Step 3: Connect the Audio Interface to the Computer
If your audio interface requires a specific cable (e.g., USB, Thunderbolt), connect it to the appropriate port on both the audio interface and your computer. Again, make sure the connection is secure.
Step 4: Power On the Audio Interface
If your audio interface has a power switch, turn it on. If it requires an external power source, ensure it is plugged in and powered on. Some audio interfaces may draw power directly from the computer, so make sure your computer is powered on as well.
Step 5: Configure the Audio Settings
Once the connections are made, open the audio settings on your computer. Navigate to the sound settings and ensure that the USB microphone and audio interface are selected as the input and output devices, respectively. Adjust the input volume level to your desired setting.
Step 6: Test the Setup
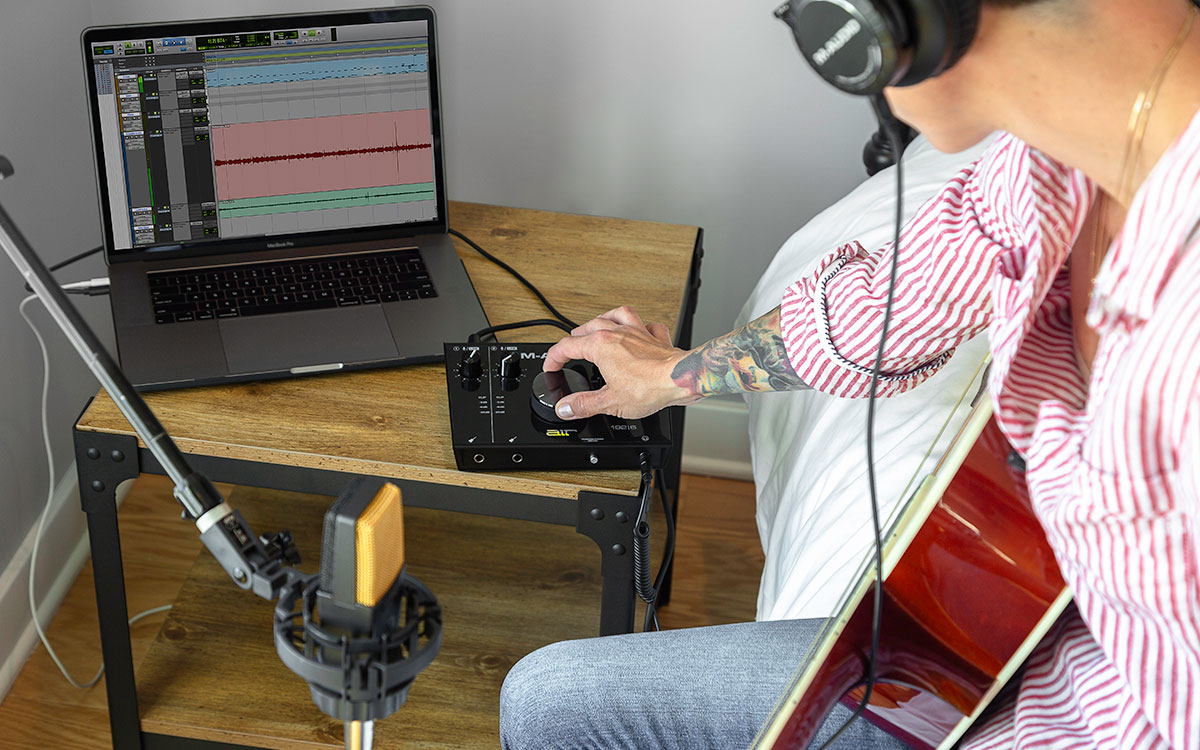
Open your preferred recording software and create a new audio track. Speak or sing into the USB microphone and check if the audio signal is being received by the software. Monitor the audio levels on your audio interface to ensure proper signal strength. If everything looks and sounds good, you’re ready to start recording.
Remember, every audio interface and recording software may have slightly different settings and configurations. Consult the user manuals for your specific devices for detailed information on their setup process.
With your USB microphone properly connected to your audio interface, you’re now ready to unleash your creativity and start capturing professional-grade audio recordings. In the next section, we will explore how to optimize the mic settings on the audio interface for the best recording experience.
Adjusting the Mic Settings on the Audio Interface
Optimizing the microphone settings on your audio interface is crucial to achieving the best possible audio quality. Here are some key settings to consider:
Gain Control
The gain control on your audio interface adjusts the input level of your microphone. It determines how loud or soft the audio signal is before it reaches your recording software. It’s important to find the right balance so that the audio signal is strong enough for a clear recording but not too loud to cause distortion.
Start by setting the gain control to its lowest setting. Then, gradually increase it while monitoring the audio levels on your recording software. Speak or sing into the microphone at your normal volume and adjust the gain until the levels are consistently within the desired range without clipping or distorting.
Phantom Power
If you’re using a condenser microphone, it may require phantom power to operate. Phantom power is a DC voltage that provides the necessary power for condenser microphones. It’s typically provided by the audio interface and can be toggled on/off. Check if your microphone requires phantom power and ensure that the corresponding switch is activated on your audio interface.
Polar Pattern Selection
Some microphones offer different polar patterns, such as cardioid, omnidirectional, or figure-8. The polar pattern determines the microphone’s sensitivity to sound from different directions. Choose the appropriate polar pattern based on your recording environment and desired pickup characteristics. This selection is often made on the microphone itself rather than the audio interface.
Monitoring Options
Monitoring refers to the ability to hear yourself or the recorded audio in real-time. Many audio interfaces offer monitoring options, such as direct monitoring or software monitoring.
Direct monitoring allows you to listen to the audio coming directly from the microphone before it reaches your computer. This eliminates any latency or delay that may occur when monitoring through your recording software. Check if your audio interface has a direct monitoring feature and enable it if desired.
Software monitoring, on the other hand, allows you to listen to the audio through your recording software. This can be useful if you want to apply effects or processing to the audio signal before monitoring it. Ensure that the monitoring settings within your recording software are configured correctly.
Experiment with different monitoring options to find the one that suits your workflow and preferences the best.
Signal Routing and Mixing
If your audio interface has multiple inputs and outputs, you may have the option to route and mix the signals. This can be useful when recording multiple microphones or instruments simultaneously or when sending audio to different outputs, such as headphones or studio monitors.
Consult the user manual of your audio interface to learn how to adjust the signal routing and mixing settings. This will allow you to customize your recording setup based on your specific needs and preferences.
Take the time to explore and adjust these mic settings on your audio interface to achieve the best possible audio quality. Experiment with different configurations to find the ideal settings for your recording environment and desired sound. In the next section, we will discuss how to configure recording software for optimal use with a USB microphone and audio interface.
Configuring Recording Software for USB Mic and Audio Interface
Configuring your recording software to work seamlessly with your USB microphone and audio interface is essential for a smooth and efficient recording process. Here are some key steps to follow:
Step 1: Selecting the Input Device
Open your recording software and navigate to the audio settings or preferences. Look for the option to select the input device. Choose your USB microphone from the available options. This ensures that the software receives the audio signal from your microphone.
Step 2: Setting the Sample Rate and Bit Depth
Ensure that the sample rate and bit depth settings in your recording software match those of your audio interface. Select the appropriate values to ensure optimal audio quality and compatibility. Mismatched settings can lead to audio issues or decreased quality.
Step 3: Monitoring Options
Decide how you want to monitor your audio during recording. Some recording software offers the option to monitor through the audio interface’s direct monitoring feature, while others allow for software monitoring.
If you prefer direct monitoring, ensure that the monitoring settings in your recording software are disabled. This allows you to hear the audio directly from the microphone without any additional processing or delays from the software.
If you prefer software monitoring, make sure the monitoring settings within your recording software are enabled. This allows you to hear the audio through your computer’s speakers or headphones, with any effects or processing applied in real-time.
Step 4: Adjusting Recording Levels
With your USB microphone connected and selected as the input device, monitor the input levels within your recording software. Speak or sing into the microphone at your normal recording volume and adjust the input levels to ensure that the audio signal is strong but not clipping or distorting.
Most recording software provides a visual representation of the audio levels, often displayed as a meter or waveform. Aim to keep the levels consistently within the recommended range to achieve optimal recording quality.
Step 5: Configuring Recording Format and File Settings
Review the recording format and file settings in your recording software and adjust them according to your preferences. Choose the appropriate file format (e.g., WAV, MP3) and adjust other settings like stereo/mono, sample rate, and bit depth to meet your specific requirements.
Step 6: Test the Setup
Before diving into a full recording session, it’s a good idea to test the setup by recording a short sample. Speak or sing into the microphone and monitor the recording levels and audio quality. Playback the recording and ensure that it sounds clear and meets your expectations.
If any issues arise during the testing phase, go back and review the settings mentioned above to troubleshoot the problem. Make adjustments as necessary until you are satisfied with the results.
By properly configuring your recording software, you can ensure that it is optimized to work seamlessly with your USB microphone and audio interface. This allows you to focus on the creative process without any technical hindrances. In the next section, we will cover some common issues that may arise and how to troubleshoot them.
Troubleshooting Common Issues
While using a USB microphone with an audio interface can greatly enhance your recording experience, you may encounter some common issues along the way. Here are a few common problems and their potential solutions:
No Sound or Signal
If you’re not getting any sound or signal from your USB microphone, there are a few things you can check:
- Ensure that both the USB microphone and audio interface are properly connected to your computer.
- Check that the input settings in your recording software are configured correctly and that the USB microphone is selected as the input device.
- Verify that the microphone gain is appropriately set on the audio interface.
- If using a condenser microphone, make sure that phantom power is activated on the audio interface if necessary.
If you’re still not getting any sound, try using a different USB port or cable, or test the USB microphone on a different computer to isolate the issue.
Audio Latency
Latency refers to the delay between when you speak or play an instrument and when you hear the sound through your headphones or monitors. If you experience noticeable latency, consider the following solutions:
- Make sure you have the latest drivers installed for your audio interface.
- Reduce the buffer size in your recording software’s audio settings. Lower buffer sizes can help reduce latency, but be mindful that too low of a buffer size can cause audio glitches or dropouts.
- If your audio interface has a direct monitoring feature, enable it to monitor the audio signal directly from the microphone rather than through your recording software.
If you’re still experiencing latency issues, you may need to upgrade your computer’s hardware or consider using a different audio interface with lower latency performance.
Noisy or Distorted Audio
If you’re hearing unwanted noise or distortion in your recordings, try the following troubleshooting steps:
- Check for any interference or electrical sources near your setup. Move away from them or shield your cables to minimize noise interference.
- Ensure that the gain on the audio interface is not set too high, as it can introduce noise or distortion. Adjust the gain level to an appropriate level where the audio is clear and without distortion.
- If using a condenser microphone, ensure that you’re not speaking or singing too close to the microphone. This can cause distortion or overload the microphone’s capsule.
- Consider using a pop filter or windscreen to reduce plosives and other unwanted noise when recording vocals.
If the noise or distortion persists, try using a different cable or testing the USB microphone on a different setup to identify the source of the problem.
Incompatibility Issues
Sometimes, certain USB microphones may not be fully compatible with specific audio interfaces or operating systems. If you’re experiencing incompatibility issues, consider the following steps:
- Check the manufacturer’s website for any firmware or driver updates for your audio interface.
- Verify that the USB microphone is listed as compatible with your audio interface or contact the manufacturer for assistance.
- Try using a different USB microphone or audio interface combination to see if the issue persists.
- If necessary, consider upgrading your audio interface or USB microphone to ensure compatibility.
It’s also worth reaching out to technical support for both the USB microphone and audio interface manufacturers for further guidance on resolving any compatibility issues.
Remember, troubleshooting can be a trial-and-error process, but with patience and persistence, you can overcome most common issues. If all else fails, don’t hesitate to seek assistance from the manufacturers or professional audio technicians for more advanced troubleshooting and support.
Now that we’ve covered some common troubleshooting techniques, let’s conclude this guide and summarize the key takeaways.
Conclusion
Using a USB microphone with an audio interface can significantly elevate the quality of your audio recordings. By understanding the compatibility considerations, setting up the equipment correctly, adjusting the mic settings on the audio interface, configuring the recording software, and troubleshooting common issues, you can create professional-grade recordings right from the comfort of your own home.
Remember to ensure compatibility between your USB microphone and audio interface, considering factors such as driver compatibility, power requirements, and input/output connections. Setting up the USB microphone with the audio interface involves connecting the necessary cables and adjusting the mic settings on the audio interface, such as gain control, phantom power, and monitoring options. Configuring your recording software is essential for optimal usage, including selecting the input device, adjusting sample rate and bit depth, and configuring monitoring options.
While using USB microphones and audio interfaces may come with some challenges, troubleshooting common issues like lack of sound or signal, audio latency, noisy or distorted audio, and incompatibility can help you overcome these hurdles. It’s important to test and adjust the settings, seek updates and support from manufacturers, and explore different solutions to find the best setup for your specific recording needs.
With the right equipment, proper setup, and troubleshooting techniques, you can unlock your creative potential and produce professional-quality audio recordings. Whether you’re a podcaster, musician, voiceover artist, or content creator, the combination of a USB microphone and audio interface opens up a world of possibilities and helps you achieve outstanding results.
So, experiment, explore, and let your creativity shine through your USB mic and audio interface setup. Happy recording!

