Home>Production & Technology>Acoustic>How To Relic An Acoustic Guitar
Acoustic
How To Relic An Acoustic Guitar
Published: March 12, 2024
Learn how to relic an acoustic guitar and give it a vintage look with our step-by-step guide. Discover the best techniques for distressing your acoustic guitar.
(Many of the links in this article redirect to a specific reviewed product. Your purchase of these products through affiliate links helps to generate commission for AudioLover.com, at no extra cost. Learn more)
Table of Contents
Introduction
Relicing an acoustic guitar is a fascinating process that involves giving a new instrument the appearance of a well-loved, vintage piece. This technique has gained popularity among musicians and collectors who appreciate the aesthetic charm and character of aged instruments. By carefully distressing the guitar's finish and hardware, you can achieve a unique and weathered look that adds a touch of history and personality to the instrument.
Relicing is not just about creating a worn-out appearance; it's about telling a story through the instrument's visual appeal. Each scratch, ding, and faded finish can evoke a sense of nostalgia and authenticity, making the guitar feel like a cherished heirloom with a rich history. Whether you're a seasoned guitarist looking to customize your instrument or a hobbyist seeking a creative project, relicing an acoustic guitar can be a rewarding and enjoyable endeavor.
In this comprehensive guide, we will explore the step-by-step process of relicing an acoustic guitar, from gathering the necessary materials to adding aging effects and final touches. Whether you're aiming for a subtle, road-worn look or a heavily distressed vintage vibe, this guide will provide you with the insights and techniques needed to achieve your desired result. So, grab your acoustic guitar and let's embark on a journey to transform it into a relic that exudes character and charm.
Step 1: Gather the Necessary Materials
Before embarking on the relicing process, it's essential to gather the required materials to ensure a smooth and successful transformation of your acoustic guitar. Here's a comprehensive list of the necessary items:
-
Acoustic Guitar: Select the guitar you want to relic. Whether it's a brand-new instrument or an older model, the relicing process can breathe new life into its appearance.
-
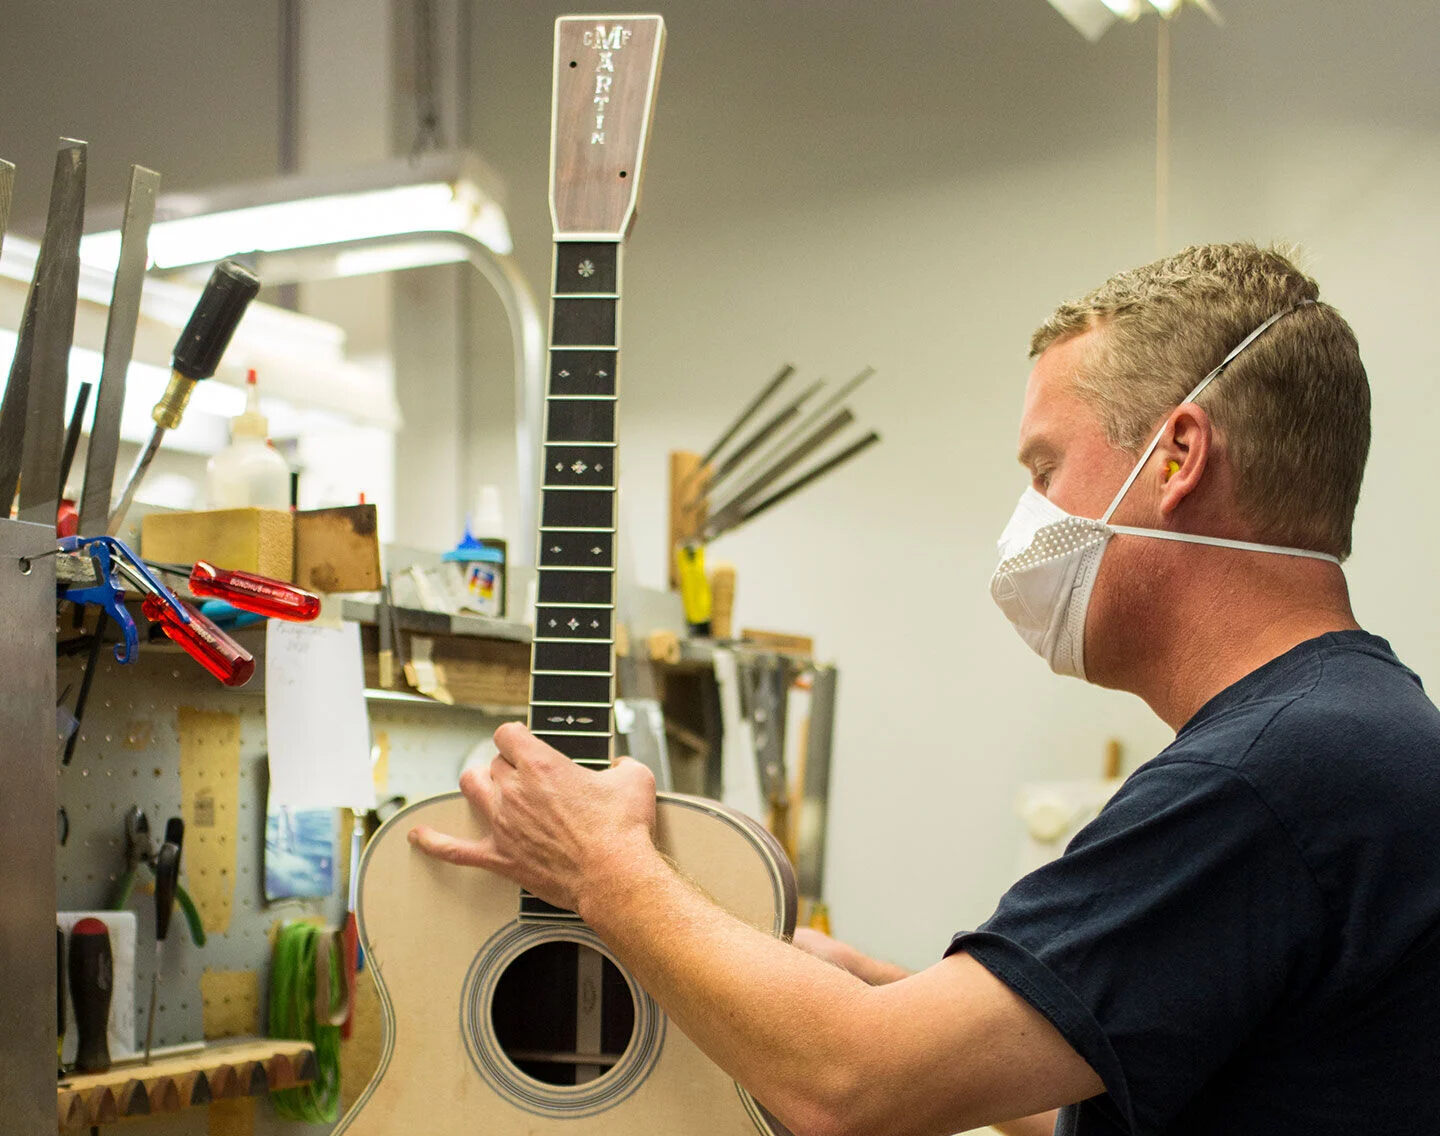
Protective Gear: Prioritize safety by acquiring protective gear such as gloves, safety goggles, and a face mask. These items will shield you from potential hazards during the relicing process.
-
Relicing Tools: Gather an assortment of tools for distressing the guitar, including sandpaper of varying grits, steel wool, a wire brush, and small chisels or screwdrivers for creating wear and tear.
-
Cleaning Supplies: Prepare a set of cleaning materials such as a soft cloth, mild soap, and water for removing debris and preparing the guitar's surface for relicing.
-
Aging Solutions: Invest in aging solutions like vinegar, tea, or specialized guitar aging products to create authentic discoloration and patina on the guitar's finish.
-
Protective Finish: Consider acquiring a clear protective finish or lacquer to seal the relicing effects and preserve the guitar's appearance for the long term.
-
Work Area: Set up a well-ventilated and organized work area where you can comfortably carry out the relicing process without causing disruptions or safety hazards.
-
Reference Materials: Gather reference materials such as photos of vintage guitars or reliced instruments to serve as inspiration and guidance during the relicing process.
By assembling these essential materials, you'll be well-prepared to embark on the journey of relicing your acoustic guitar. Each item plays a crucial role in achieving the desired aesthetic transformation, ensuring that the relicing process is carried out effectively and with attention to detail. With these materials at your disposal, you're ready to move on to the next step and begin preparing the guitar for the relicing process.
Step 2: Prepare the Guitar
Before diving into the intricate process of relicing your acoustic guitar, it's crucial to prepare the instrument adequately. This step sets the foundation for the relicing journey, ensuring that the guitar's surface is primed for the distressing and aging techniques that will follow. Here's a detailed breakdown of the essential tasks involved in preparing the guitar for relicing:
Cleaning and Inspection
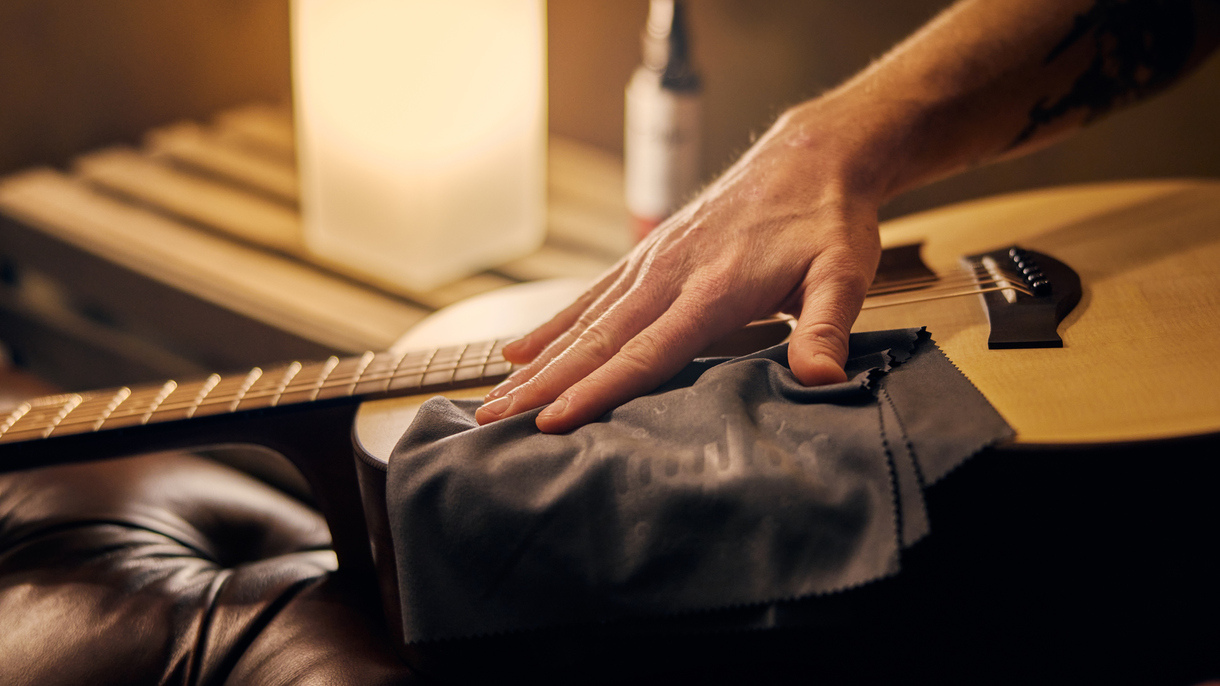
Begin by thoroughly cleaning the guitar to remove any dirt, dust, or residue that may have accumulated on the surface. Use a soft cloth dampened with mild soap and water to gently wipe down the body, neck, and headstock. Pay close attention to hard-to-reach areas around the bridge, frets, and tuning pegs. Once the guitar is clean, carefully inspect it for any existing damage or imperfections that may require attention before proceeding with the relicing process.
Removing Hardware
To facilitate easier access to the guitar's body and ensure that the hardware remains unharmed during relicing, consider removing the hardware components such as the bridge, tuning pegs, and pickguard. This step is particularly important if you plan to distress the guitar's finish extensively or apply aging solutions that could potentially affect the hardware. Keep the removed components organized in a safe place to prevent misplacement or damage.
Masking and Protection
For precise relicing and to safeguard certain areas from unintended distressing, masking off specific parts of the guitar is recommended. Use painter's tape to cover areas such as the fretboard, soundhole, and binding, providing a protective barrier against accidental scratches or aging effects. Additionally, protect the guitar's interior by inserting a cloth or paper into the soundhole to prevent debris from entering the body cavity during the relicing process.
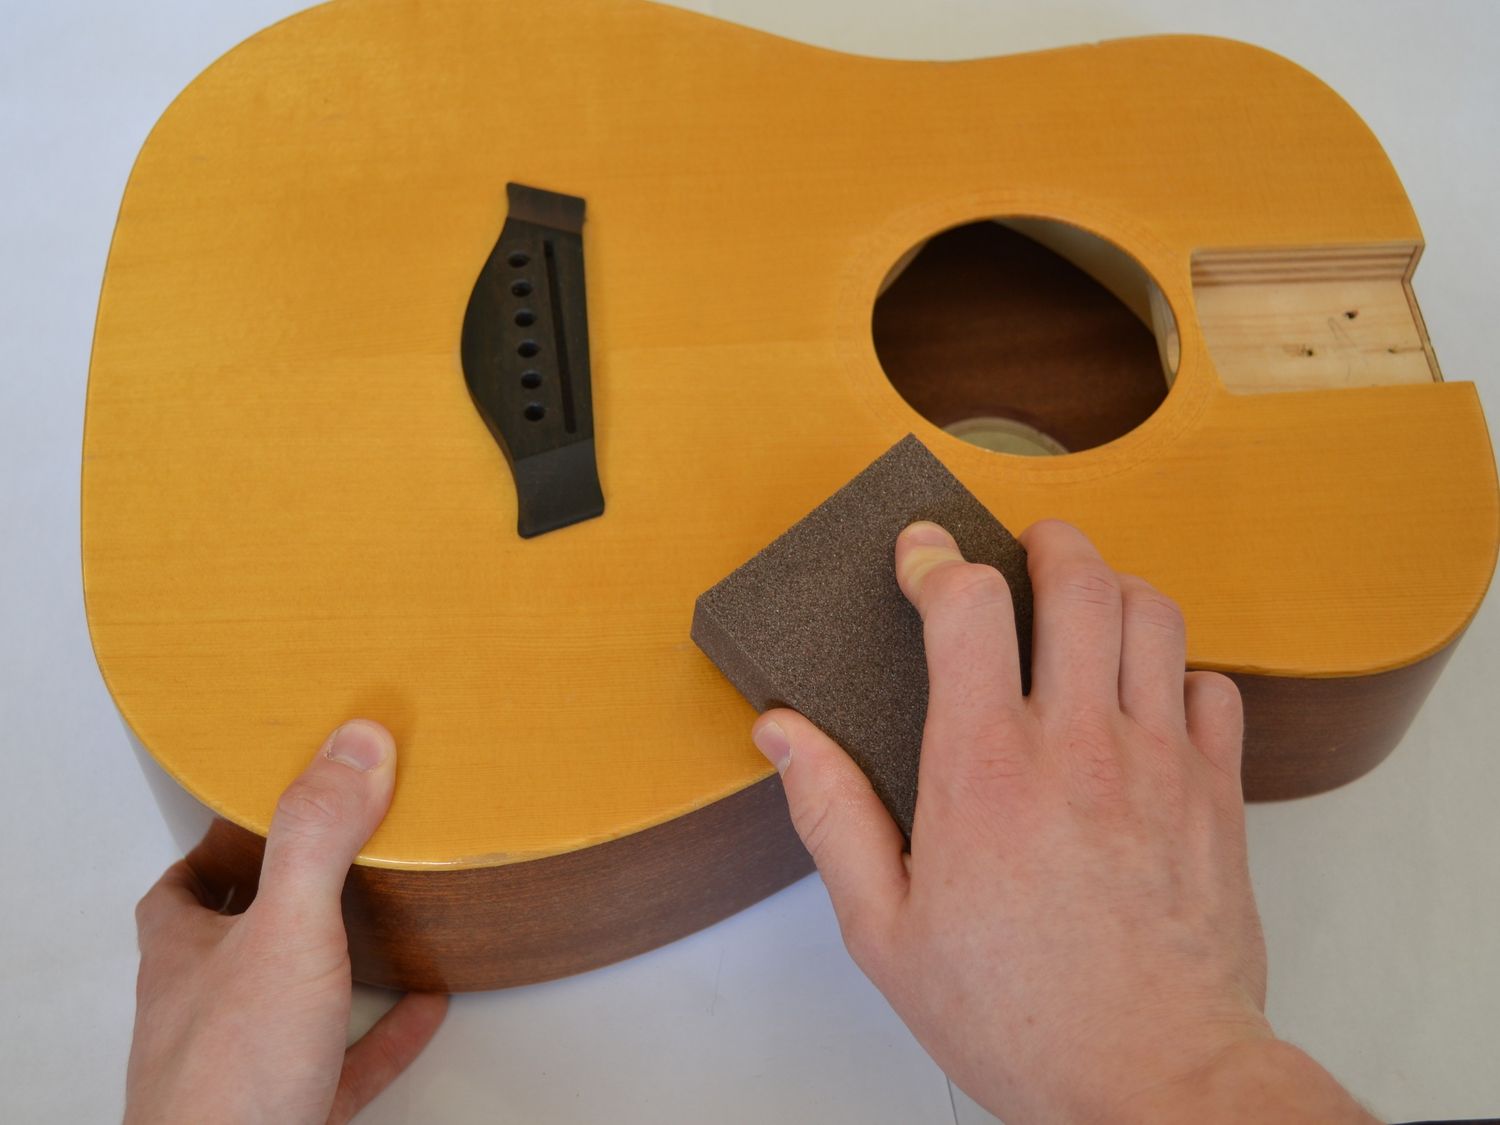
Surface Preparation
Before proceeding with distressing and aging techniques, ensure that the guitar's surface is adequately prepared to receive these treatments. This may involve lightly sanding the finish to create a receptive texture for aging solutions or distressing tools. Carefully consider the type of finish on your guitar, as different finishes may require specific preparation methods to achieve optimal results without causing damage.
By meticulously carrying out these preparatory tasks, you set the stage for a successful and controlled relicing process. The careful cleaning, inspection, and preparation of the guitar's surface and hardware lay the groundwork for the subsequent steps, allowing you to approach the relicing process with confidence and precision. With the guitar primed and ready, you're now poised to embark on the creative and transformative journey of relicing your acoustic instrument.
Step 3: Create Wear and Tear
With the guitar meticulously prepared, it's time to delve into the captivating process of creating authentic wear and tear on its surface. This step involves employing various techniques to simulate the natural aging and usage patterns that give vintage instruments their distinctive character. By skillfully distressing the guitar's finish and hardware, you can infuse it with a sense of history and storytelling, transforming it into a relic that exudes charm and authenticity.
Distressing the Finish
Begin by strategically distressing the guitar's finish to mimic the wear patterns typically found on vintage instruments. Utilize sandpaper of varying grits to carefully wear down the finish in areas that would naturally experience the most contact and friction, such as the back of the neck, lower bout, and edges of the body. Focus on creating subtle, nuanced wear patterns that reflect the instrument's hypothetical journey through years of passionate play.
Creating Scratches and Scuffs
To add depth and character to the relicing process, use small chisels, screwdrivers, or other suitable tools to create deliberate scratches and scuffs on the guitar's surface. Pay attention to areas that would naturally incur marks from belt buckles, pickguards, and general handling. By thoughtfully incorporating these simulated blemishes, you can evoke a sense of nostalgia and authenticity, infusing the guitar with a visual narrative of its imagined history.
Hardware Distressing
In addition to distressing the finish, consider distressing the hardware components to further enhance the vintage aesthetic. Gently use steel wool or a wire brush to weather the metal hardware, such as the tuning pegs, bridge, and tailpiece. This process can create an aged patina that complements the distressed finish, contributing to the overall vintage appeal of the reliced guitar.
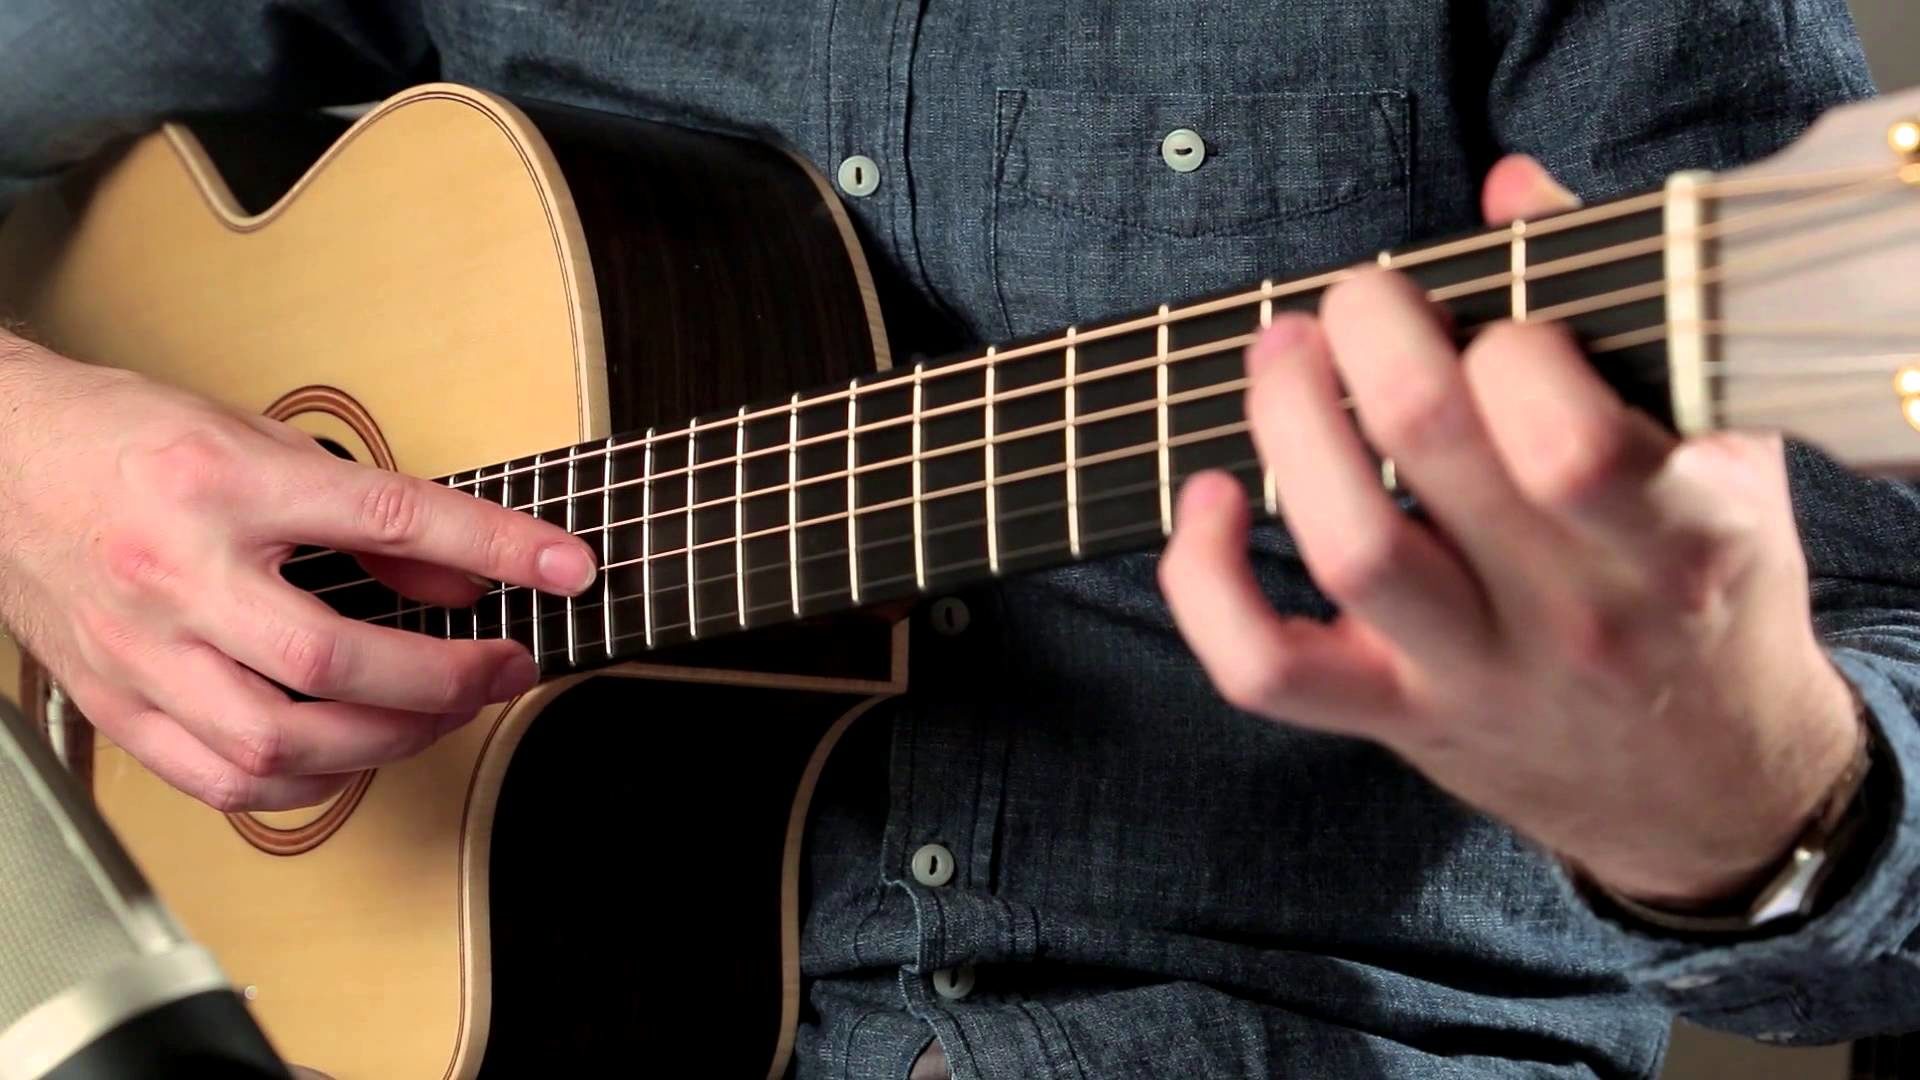
Faux Wear from Play
Simulate wear from play by strategically buffing the fretboard and frets to mimic the natural wear and smoothing that occurs over time. This technique adds a layer of authenticity to the relicing process, capturing the visual cues of a well-loved instrument that has been cherished and played for decades.
By meticulously executing these techniques, you can breathe life into the acoustic guitar, infusing it with a compelling visual narrative that transcends its physical appearance. The artful creation of wear and tear is a pivotal stage in the relicing process, allowing you to craft a visually captivating instrument that resonates with the allure of a cherished vintage relic.
Step 4: Add Aging Effects
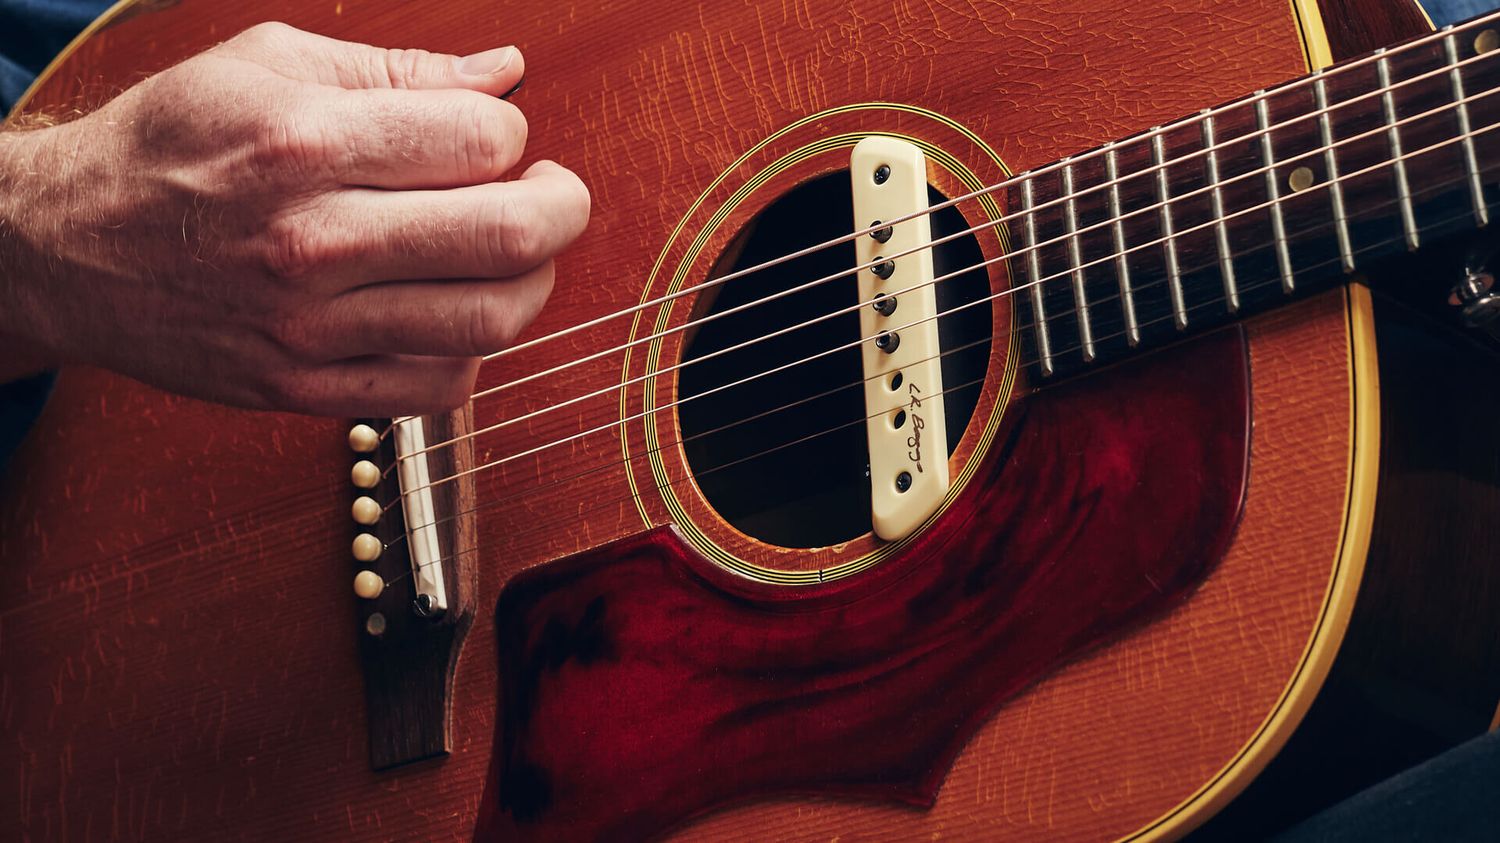
After meticulously distressing the guitar's finish and hardware, the next phase of the relicing process involves adding aging effects to further enhance the instrument's vintage allure. This step focuses on imbuing the guitar with a weathered patina and subtle discoloration, replicating the natural aging process that occurs over time. By skillfully applying aging solutions and techniques, you can elevate the instrument's visual authenticity, infusing it with a sense of history and character.
Application of Aging Solutions
Utilize aging solutions such as vinegar, tea, or specialized guitar aging products to introduce nuanced discoloration and patina to the guitar's finish. These solutions can be applied strategically to areas that would naturally experience fading and wear, such as the top, back, and sides of the instrument. By carefully controlling the application and intensity of the aging solutions, you can achieve a convincing vintage patina that adds depth and character to the guitar's appearance.
Faux Weathering and Oxidation
Simulate the effects of natural weathering and oxidation by selectively applying aging solutions to metal hardware components such as tuning pegs, bridge, and tailpiece. This process can create an aged, weathered look that complements the distressed finish, contributing to the overall vintage aesthetic of the reliced guitar. By skillfully blending these aging effects with the distressing techniques employed in previous steps, you can achieve a harmonious visual narrative that evokes the charm of a well-loved vintage instrument.
Patina Enhancement
Enhance the patina and aged appearance of the guitar by delicately buffing and polishing the aged areas to achieve a subtle sheen and depth. This step adds a layer of refinement to the aging effects, elevating the visual impact of the reliced instrument and accentuating the intricate details of the distressing and discoloration. By carefully refining the patina, you can achieve a balance between authenticity and visual appeal, ensuring that the aging effects contribute to the overall character of the reliced guitar.
Protective Finish Application
Following the application of aging effects, consider applying a clear protective finish or lacquer to seal and preserve the relicing treatments. This protective layer safeguards the aging effects and distressing techniques, ensuring that the visual transformation remains intact over time. Additionally, the protective finish enhances the tactile experience of the reliced guitar, providing a smooth and consistent surface that reflects the instrument's newfound vintage charm.
By skillfully incorporating these aging effects into the relicing process, you can elevate the acoustic guitar into a visually captivating relic that exudes authenticity and character. The careful application of aging solutions, weathering techniques, and patina enhancement culminates in a transformative visual narrative that pays homage to the timeless allure of vintage instruments.
Step 5: Final Touches and Maintenance
As the relicing process nears its culmination, attention to final touches and maintenance is paramount to ensure that the reliced acoustic guitar achieves its full potential as a visually captivating and authentic vintage instrument. This phase encompasses the meticulous refinement of the reliced appearance, as well as the implementation of maintenance practices to preserve the guitar's newfound character for the long term.
Refinement and Detailing
With the relicing effects in place, take the time to meticulously assess the guitar's appearance and make any necessary refinements. This may involve fine-tuning the wear patterns, adjusting the intensity of aging effects, and ensuring that the distressing techniques harmoniously blend with the overall aesthetic. Pay close attention to details such as simulated wear from play, subtle discoloration, and the patina on metal hardware, refining each element to achieve a cohesive and compelling visual narrative.
Aesthetic Enhancement
Consider incorporating additional aesthetic enhancements to further elevate the reliced guitar's allure. This could involve the application of subtle embellishments such as vintage-style decals, aged hardware replacements, or custom modifications that complement the instrument's newfound vintage character. By thoughtfully integrating these enhancements, you can accentuate the guitar's visual appeal and reinforce its status as a meticulously crafted relic with a distinct personality.
Preservation and Care
Following the completion of the relicing process, prioritize the implementation of maintenance practices to safeguard the guitar's reliced appearance. This includes applying a protective wax or polish to maintain the aged patina and distressing effects, as well as establishing a regular cleaning routine to prevent the accumulation of dirt and debris. Additionally, store the reliced guitar in a suitable environment, away from extreme temperature and humidity fluctuations, to preserve its visual integrity and aging effects.
Documentation and Appreciation
Capture the essence of the relicing journey by documenting the transformation of the acoustic guitar through photographs and written accounts. This documentation serves as a testament to the meticulous craftsmanship and creative vision invested in the relicing process, preserving the story behind the instrument's visual evolution. Furthermore, take the time to appreciate the unique character and charm of the reliced guitar, acknowledging the artistry and dedication that have breathed new life into the instrument.
By embracing the final touches and maintenance practices, the reliced acoustic guitar transcends its physical form, embodying a rich visual narrative that pays homage to the timeless allure of vintage instruments. The culmination of the relicing process marks the beginning of the guitar's new chapter, where it stands as a testament to creativity, craftsmanship, and the enduring appeal of aged instruments.
Conclusion
In conclusion, the process of relicing an acoustic guitar is a captivating journey that transcends mere visual transformation. It is a testament to the artistry, creativity, and dedication of musicians and enthusiasts who seek to imbue their instruments with a timeless allure and character. Through meticulous distressing, aging effects, and thoughtful refinement, a reliced acoustic guitar becomes more than just a musical instrument; it becomes a visual narrative that evokes nostalgia, authenticity, and the enduring charm of vintage instruments.
The journey of relicing an acoustic guitar is a celebration of craftsmanship and storytelling, where each scratch, wear pattern, and aged patina contributes to the instrument's unique identity. It is a process that invites musicians and collectors to breathe new life into their instruments, infusing them with a sense of history and personality that transcends time.
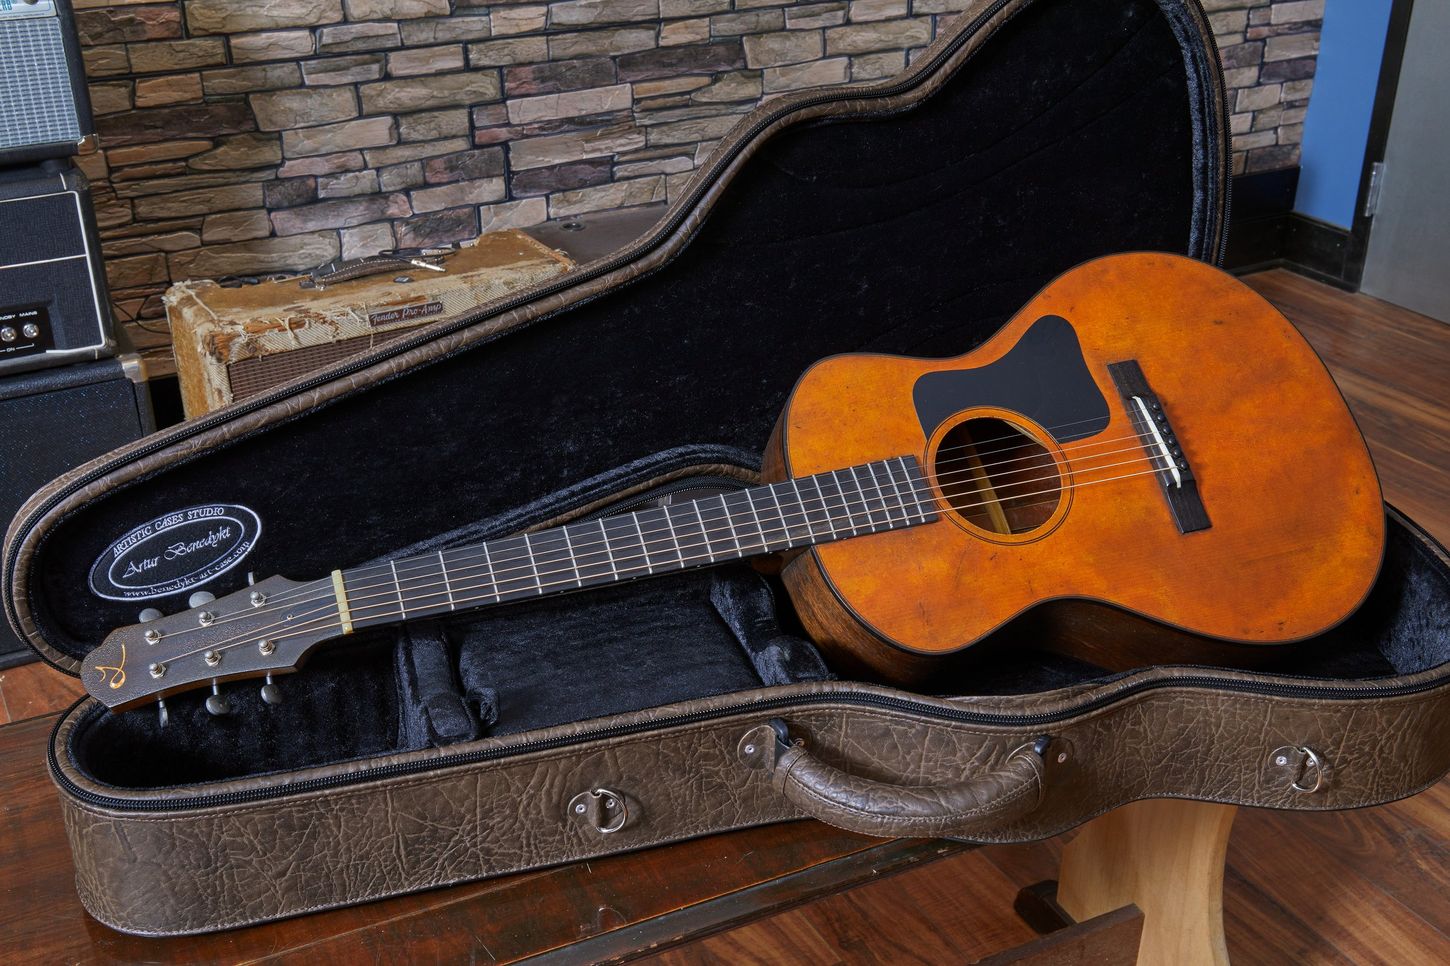
As the relicing process reaches its culmination, the guitar emerges as a visually captivating relic that embodies the allure of a cherished vintage instrument. The careful balance of wear and tear, aging effects, and meticulous detailing culminates in an instrument that exudes authenticity and character, inviting admiration and appreciation from musicians and enthusiasts alike.
Furthermore, the preservation and maintenance practices implemented post-relicing ensure that the instrument's newfound character endures for years to come. By documenting the relicing journey and appreciating the unique charm of the reliced guitar, individuals honor the artistry and dedication invested in the transformation, creating a lasting testament to the instrument's visual evolution.
Ultimately, relicing an acoustic guitar is a labor of love, a creative endeavor that honors the legacy of vintage instruments while inviting personal expression and storytelling. It is a testament to the enduring appeal of aged instruments and the art of crafting visual narratives that resonate with musicians and enthusiasts on a profound level.
In the end, a reliced acoustic guitar stands as a symbol of creativity, craftsmanship, and the timeless allure of vintage instruments, inviting musicians to embark on a journey of transformation and self-expression through the art of relicing.