Home>Production & Technology>Audio Interface>What Does Dim Mean On My Audio Interface?

Audio Interface
What Does Dim Mean On My Audio Interface?
Published: February 5, 2024
Discover the meaning of "dim" on your audio interface and how it affects sound quality. Gain insights into the functionality of audio interfaces and optimize your audio setup.
(Many of the links in this article redirect to a specific reviewed product. Your purchase of these products through affiliate links helps to generate commission for AudioLover.com, at no extra cost. Learn more)
Table of Contents
Introduction
Welcome to the world of audio interfaces! If you’re a music producer, podcaster, or sound enthusiast, you understand the importance of having a high-quality audio interface to capture and process your audio signals. One essential feature that you might come across on your audio interface is the DIM button. But what exactly does DIM mean, and what does it do?
The DIM feature on an audio interface is designed to attenuate the audio output signal, reducing its volume temporarily. This feature is particularly useful when you need to lower the audio level quickly, allowing you to listen to your mix at a lower volume without having to make manual adjustments.
In this article, we will explore the concept of DIM on audio interfaces, discuss how it affects your audio, and provide tips on how to use it effectively. So, whether you’re a beginner or an experienced audio engineer, let’s dive in and unlock the mysteries of DIM on your audio interface.
Understanding the DIM feature
Before we delve into the details of the DIM feature on your audio interface, let’s first understand its purpose and functionality. DIM, which stands for “diminished,” is a feature that allows you to lower the volume of your audio output by a set amount, typically around -20dB to -30dB. It serves as a quick and convenient way to attenuate the audio signal without affecting the overall mix.
When activated, the DIM feature reduces the volume of the audio output, providing a temporary decrease in volume. This can be useful in various scenarios, such as when you need to have a conversation while monitoring your audio, or when you want to listen to your mix at a lower volume without having to adjust individual faders or knobs.
The DIM feature is especially handy in environments where you need to maintain a consistent volume level. For example, in a recording studio, it allows you to quickly lower the volume during recording sessions without disrupting the flow or causing any abrupt changes in your audio levels. Similarly, if you’re using an audio interface for live performances, the DIM feature can help you lower the volume during sound checks or when you need to communicate with other musicians on stage.
While the primary function of DIM is to lower the volume, it’s important to note that it does not alter the audio signal in any other way. It simply reduces the volume level, allowing you to listen to your mix at a lower level without affecting the balance, EQ, or other processing settings of your audio interface.
Now that we have a basic understanding of what the DIM feature does, let’s explore how it affects the audio output on your audio interface.
How does DIM affect audio on my interface?
The DIM feature on your audio interface has a direct impact on the audio output, specifically when it comes to reducing the volume level. When you activate DIM, the audio signal passing through your interface is attenuated by a predetermined amount, typically around -20dB to -30dB.
This volume reduction affects all audio signals passing through the interface, including your playback, monitoring, and any connected devices or peripherals. By lowering the volume, DIM allows you to listen to your audio at a reduced level without altering any other aspects of the audio signal.
It’s important to note that the DIM feature is not a form of compression or any form of dynamic processing. It simply lowers the overall volume uniformly across all channels, without affecting the dynamic range or altering the characteristics of the audio signal.
When you activate DIM on your audio interface, you’ll notice an immediate decrease in volume. This can be particularly useful in situations where you need to quickly attenuate the audio signal, such as when you want to have a conversation in the studio or when you need to listen to your mix at a lower level while keeping your audio settings intact.
By reducing the volume, the DIM feature creates a quiet and controlled listening environment. This can be helpful during recording sessions, as it allows you to focus on the performance without distractions. It also ensures that you can communicate effectively in situations where you need to lower the volume temporarily.
Keep in mind that the exact volume reduction achieved by the DIM feature may vary depending on your specific audio interface model or manufacturer. Some interfaces may allow you to customize the degree of attenuation, while others provide a fixed reduction level. Consult your audio interface’s user manual for more specific information on the DIM functionality of your device.
In the next section, we will discuss the reasons why you might want to use the DIM feature on your audio interface.
Reasons to use DIM on your audio interface
The DIM feature on your audio interface offers several valuable benefits that can enhance your audio production and monitoring experience. Let’s explore some of the reasons why you might want to use DIM:
- Conversation and Communication: When working in a studio or recording environment, there are often moments when you need to have a conversation with other musicians, engineers, or clients. Activating DIM allows you to quickly lower the volume, creating a quieter environment for clear communication without disrupting your audio settings.
- Mix Evaluation: Lowering the volume with DIM enables you to listen to your mix at a lower level while maintaining the overall balance and sonic characteristics. This can help identify any issues or imbalances in the mix that may be masked at higher volume levels, allowing you to make more informed mixing decisions.
- Protecting Your Ears: Prolonged exposure to high audio levels can cause hearing fatigue and potentially damage your hearing. By regularly using DIM to lower the volume during monitoring sessions, you can reduce the risk of ear fatigue and protect your hearing in the long run.
- Room Acoustics: Some rooms or listening environments may have inherent acoustic issues, such as excessive reflections or resonances. Lowering the volume with DIM can help mitigate these issues by reducing the overall sound energy and minimizing the impact of room acoustics on your perception of the audio.
- Collaboration: In situations where you are working with other musicians or collaborators, activating DIM allows you to lower the volume without needing to communicate individual level adjustments. This ensures consistent volume levels across all members, making it easier to work together and focus on the music.
By taking advantage of the DIM feature on your audio interface, you can improve communication, evaluate your mix accurately, protect your hearing, address room acoustics, and streamline collaboration. It’s a versatile tool that can greatly enhance your overall audio experience.
Now that we understand the benefits of using DIM, let’s explore how to activate it on different audio interfaces.
How to activate DIM on different audio interfaces
Activating the DIM feature on your audio interface may vary depending on the specific model and manufacturer. Here, we will provide a general overview of how to activate DIM on different types of audio interfaces:
- Software-controlled interfaces: Many modern audio interfaces offer software control panels or dedicated software applications that allow you to access and adjust various settings, including DIM. To activate DIM on these interfaces, you would typically navigate to the software control panel or settings menu and look for a specific DIM button or option. Clicking or toggling this button will activate the DIM feature.
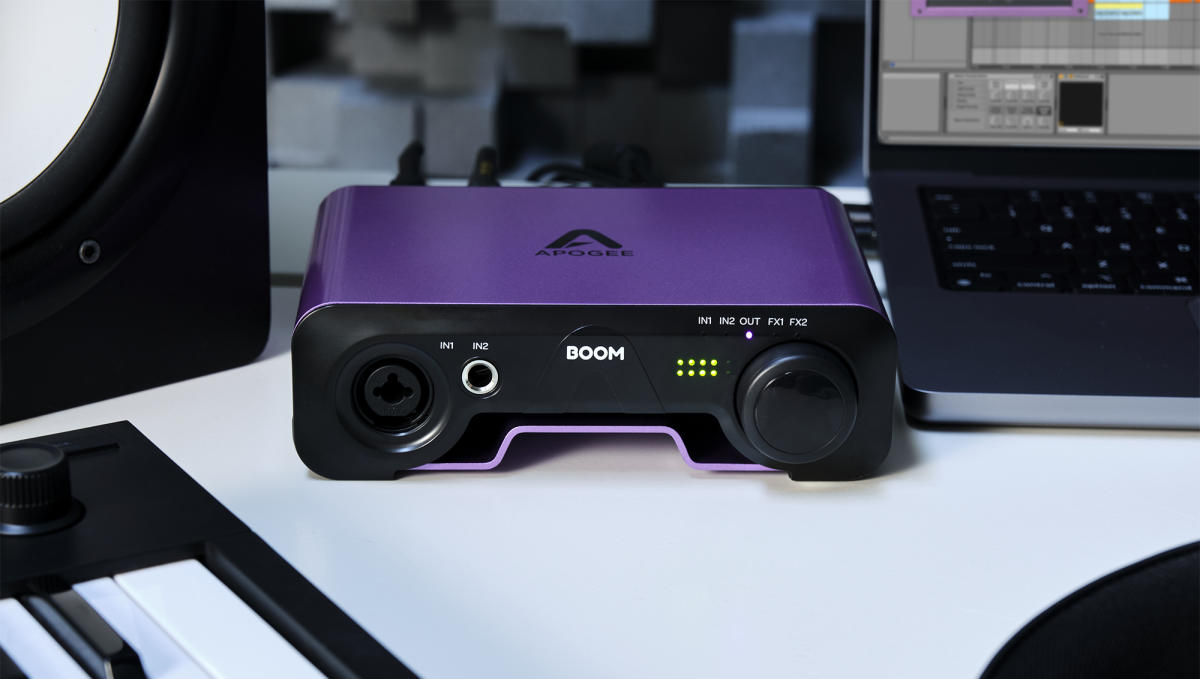
- Hardware-based interfaces: Some audio interfaces have physical buttons or switches located directly on the device itself. To activate DIM on these interfaces, locate the DIM button or switch and press or toggle it. It may be labeled as “DIM,” “Attenuate,” or a similar term.
- Mixer-style interfaces: Certain audio interfaces feature built-in mixers with dedicated controls for various functions, including volume and monitoring. To activate DIM on these interfaces, you would typically find a designated DIM button or knob on the mixer section. Pressing this button or turning the knob will activate the DIM feature.
- Control surface interfaces: If you are using a separate control surface alongside your audio interface, check the control surface’s user manual or settings menu for options related to DIM. These interfaces often have programmable buttons or knobs that can be assigned to different functions, including DIM. Assigning the DIM function to a specific control surface button or knob allows you to activate it with a simple press or turn.
It’s important to consult your specific audio interface’s user manual for detailed instructions on activating DIM. Manufacturers may use different terminology or provide specific instructions unique to their products.
Once you have activated DIM on your audio interface, experiment with the volume reduction level to find the setting that best suits your needs. Some interfaces may allow you to adjust the degree of attenuation, while others provide a fixed level. Find the balance that allows for clear communication, comfortable monitoring, and accurate mix evaluation.
In the next section, we will provide some useful tips for using the DIM feature effectively.
Tips for using DIM effectively
Using the DIM feature on your audio interface can greatly enhance your workflow and improve your monitoring experience. To make the most out of this feature, here are some helpful tips:
- Set a comfortable DIM level: Experiment with different volume reduction levels to find the DIM setting that suits your preferences. It should be a level that allows for clear communication and comfortable listening without compromising the overall balance of your audio.
- Assign a dedicated button or shortcut: If your audio interface allows for custom mappings or programmable buttons, consider assigning a dedicated button or shortcut to activate DIM. This will make it quick and convenient to enable or disable the feature whenever needed.
- Use in conjunction with talkback functionality: If your audio interface has a built-in talkback microphone or an external talkback system, consider using DIM in conjunction with the talkback functionality. This allows you to lower the volume while activating the talkback feature, making it easier to communicate with musicians or clients in the recording environment.
- Pair with headphone cue mixes: If your audio interface supports multiple headphone outputs or cue mixes, you can use DIM in combination with different cue mixes. This allows you to lower the volume for the main mix while retaining separate levels for individual headphone mixes, catering to the needs of different performers or collaborators.
- Implement keyboard shortcuts or MIDI control: If you frequently adjust the volume and use the DIM feature during your workflow, consider setting up keyboard shortcuts or MIDI control for easy and quick access. This saves time and allows for seamless integration with your preferred workflow and DAW.
- Consult the user manual: Every audio interface is unique, so it’s always a good idea to refer to the user manual for specific instructions, tips, and additional features related to the DIM functionality. Manufacturers may provide further insights on optimizing the DIM feature for their particular interface.
By implementing these tips, you can use the DIM feature on your audio interface effectively, improving communication, monitor at comfortable levels, and streamline your workflow.
Now, let’s address common issues users may encounter with the DIM feature and how to troubleshoot them in the next section.
Troubleshooting common issues with DIM
While using the DIM feature on your audio interface, you may encounter certain issues that can impact its functionality. Here are some common problems users might face with DIM and how to troubleshoot them:
- No change in volume: If activating DIM does not result in any noticeable volume reduction, verify that the feature is properly enabled on your audio interface. Check the settings, buttons, or switches associated with DIM and ensure they are functioning correctly. Additionally, check for any conflicting settings or routing configurations that might affect the DIM functionality.
- Unexpected volume fluctuations: In some cases, activating DIM might cause unwanted volume fluctuations or uneven attenuation. This can be caused by various factors, such as improper gain staging, signal routing issues, or conflicts with other DSP (Digital Signal Processing) settings. Double-check your gain structure, signal flow, and DSP settings to ensure they are properly set up and not interfering with the DIM feature.
- Compatibility issues: If you are using third-party software or plugins alongside your audio interface, there is a possibility of compatibility issues with the DIM feature. Ensure that your audio interface drivers and software are up to date to address any potential compatibility problems. If issues persist, reach out to the manufacturer’s support team for assistance.
- Interference or noise: Some users may experience interference or added noise when activating DIM on their audio interfaces. This can be attributed to ground loops, improper wiring, or faulty cables. To troubleshoot this issue, try different audio cables, check the grounding of your equipment, and ensure all connections are secure and noise-free.
- Unresponsive DIM button: If the DIM button or switch on your audio interface becomes unresponsive, it could indicate a hardware issue. Check for any physical damage or loose connections and contact the manufacturer’s support for further assistance or to inquire about repairs or warranty options.
If you encounter any of these issues or face other problems with the DIM feature, always refer to the user manual provided with your audio interface as the first step. User manuals often contain troubleshooting guides specific to your device and can offer solutions tailored to your situation.
Remember, every audio interface is unique, so some issues may require contacting the manufacturer’s support team for advanced troubleshooting or technical assistance. They can provide personalized guidance to address any specific problems or concerns you may have.
With these troubleshooting tips in mind, you can overcome common issues and make the most of the DIM feature on your audio interface.
Now let’s wrap up our discussion on the DIM feature.
Conclusion
The DIM feature on audio interfaces provides a convenient and efficient way to lower the volume of your audio output, allowing for clear communication, comfortable monitoring, and enhanced workflow. By understanding how DIM works and utilizing it effectively, you can improve your audio production and monitoring experience.
We explored the purpose and functionality of DIM, understanding that it provides a volume reduction without altering the audio signal. We discussed the reasons why you might want to use DIM on your audio interface, including communication, mix evaluation, hearing protection, addressing room acoustics, and collaboration.
To activate DIM, we learned that different audio interfaces may have varying methods, such as software control panels, physical buttons, mixer-style interfaces, or control surface mappings. It is important to consult your specific audio interface’s user manual for detailed instructions on how to enable DIM.
We then provided tips for using DIM effectively, including setting a comfortable DIM level, assigning dedicated buttons, using it with talkback functionality or headphone cue mixes, implementing shortcuts or MIDI control, and referring to the user manual for specific guidance.
Lastly, we discussed common troubleshooting issues with DIM, such as no volume change, unexpected fluctuations, compatibility issues, interference, and unresponsiveness. We recommended checking settings, gain staging, signal flow, and contacting the manufacturer’s support if needed.
Understanding and utilizing the DIM feature on your audio interface provides you with greater control and flexibility, allowing for better communication, accurate monitoring, and improved overall audio production. Whether you’re in a recording studio, live performance setting, or simply enjoying your music, the DIM feature proves to be a valuable tool in your audio toolkit.
Now that you have a comprehensive understanding of DIM, go ahead and explore this feature on your audio interface, and unlock its potential in your audio journey!


