Home>Production & Technology>Audio Interface>How To Change Fl Studio 20 Audio To My Audio Interface
Audio Interface
How To Change Fl Studio 20 Audio To My Audio Interface
Published: February 4, 2024
Learn how to change the audio settings in FL Studio 20 to connect with your preferred audio interface for enhanced sound quality and performance.
(Many of the links in this article redirect to a specific reviewed product. Your purchase of these products through affiliate links helps to generate commission for AudioLover.com, at no extra cost. Learn more)
Table of Contents
- How To Change FL Studio 20 Audio To My Audio Interface
- Introduction
- Step 1: Connecting Your Audio Interface
- Step 2: Selecting Your Audio Interface in FL Studio
- Step 3: Configuring Audio Settings in FL Studio
- Step 4: Testing the Audio Interface
- Step 5: Adjusting Latency Settings
- Step 6: Troubleshooting Common Issues
- Conclusion
How To Change FL Studio 20 Audio To My Audio Interface
FL Studio 20 is a versatile and powerful digital audio workstation that is widely used by musicians and producers. While the software is capable of generating audio on its own, many users prefer to connect their audio interface to FL Studio for enhanced audio quality and flexibility. If you’re wondering how to change FL Studio 20 audio to your audio interface, follow these steps:
- Connecting Your Audio Interface: Start by connecting your audio interface to your computer via USB or other compatible connections. Ensure that your audio interface is properly powered and recognized by your computer.
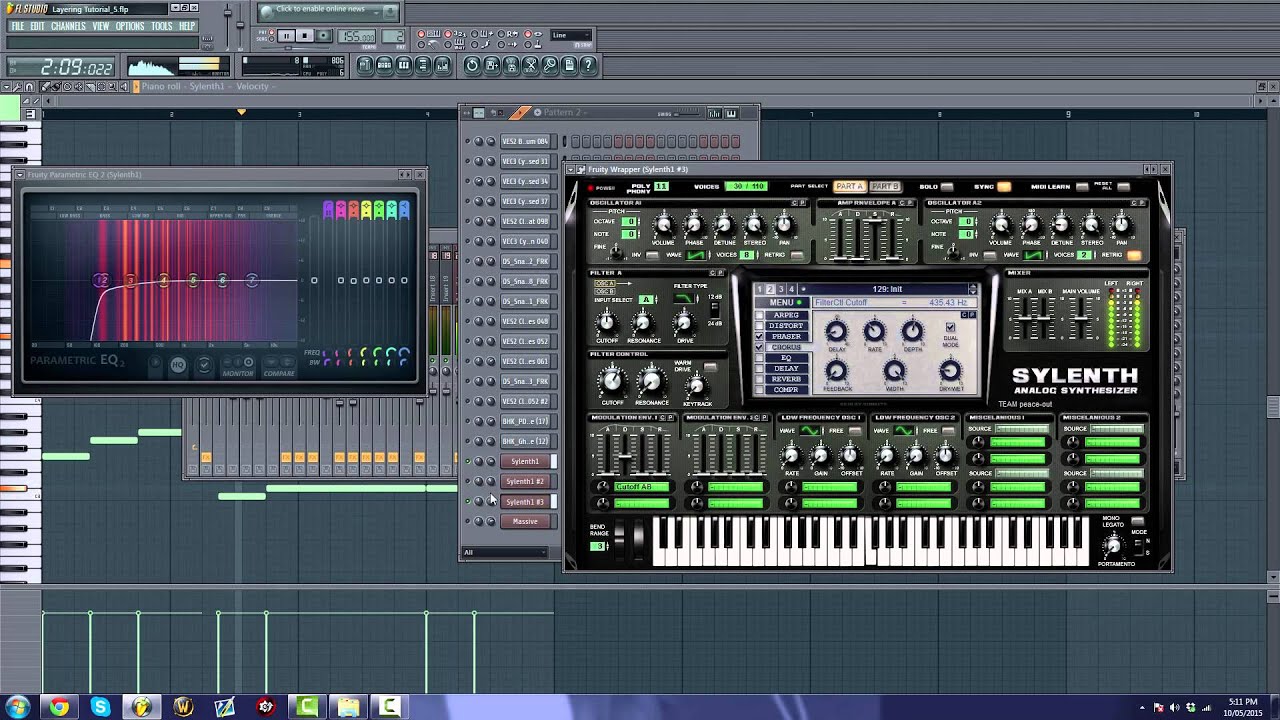
- Selecting Your Audio Interface in FL Studio: Launch FL Studio 20 and go to the “Options” menu. From there, select “Audio Settings” to open the audio preferences window. Under the “Device” section, choose your audio interface from the dropdown menu.
- Configuring Audio Settings in FL Studio: Once you have selected your audio interface, you can further customize your audio settings. Adjust the sample rate, buffer size, and audio input/output settings according to your preferences.
- Testing the Audio Interface: To ensure that your audio interface is working correctly, play some audio in FL Studio. If you can hear the sound through your audio interface, it means that the configuration was successful.
- Adjusting Latency Settings: Latency refers to the delay between when you play a sound and when you hear it. You may need to adjust the latency settings in FL Studio to achieve the desired playback response. In the audio preferences window, navigate to the “Buffering” tab and adjust the buffer length to minimize latency.
- Troubleshooting Common Issues: If you encounter any issues with your audio interface, make sure that you have the latest drivers installed. Additionally, check the cables and connections to ensure they are secure. You can also consult the user manual or visit the manufacturer’s website for troubleshooting tips specific to your audio interface.
Changing FL Studio 20 audio to your audio interface is a straightforward process that can greatly enhance your music production experience. By following these steps, you can enjoy improved audio quality and better control over your sound. Remember to experiment with different settings to find the configuration that best suits your needs.
Introduction
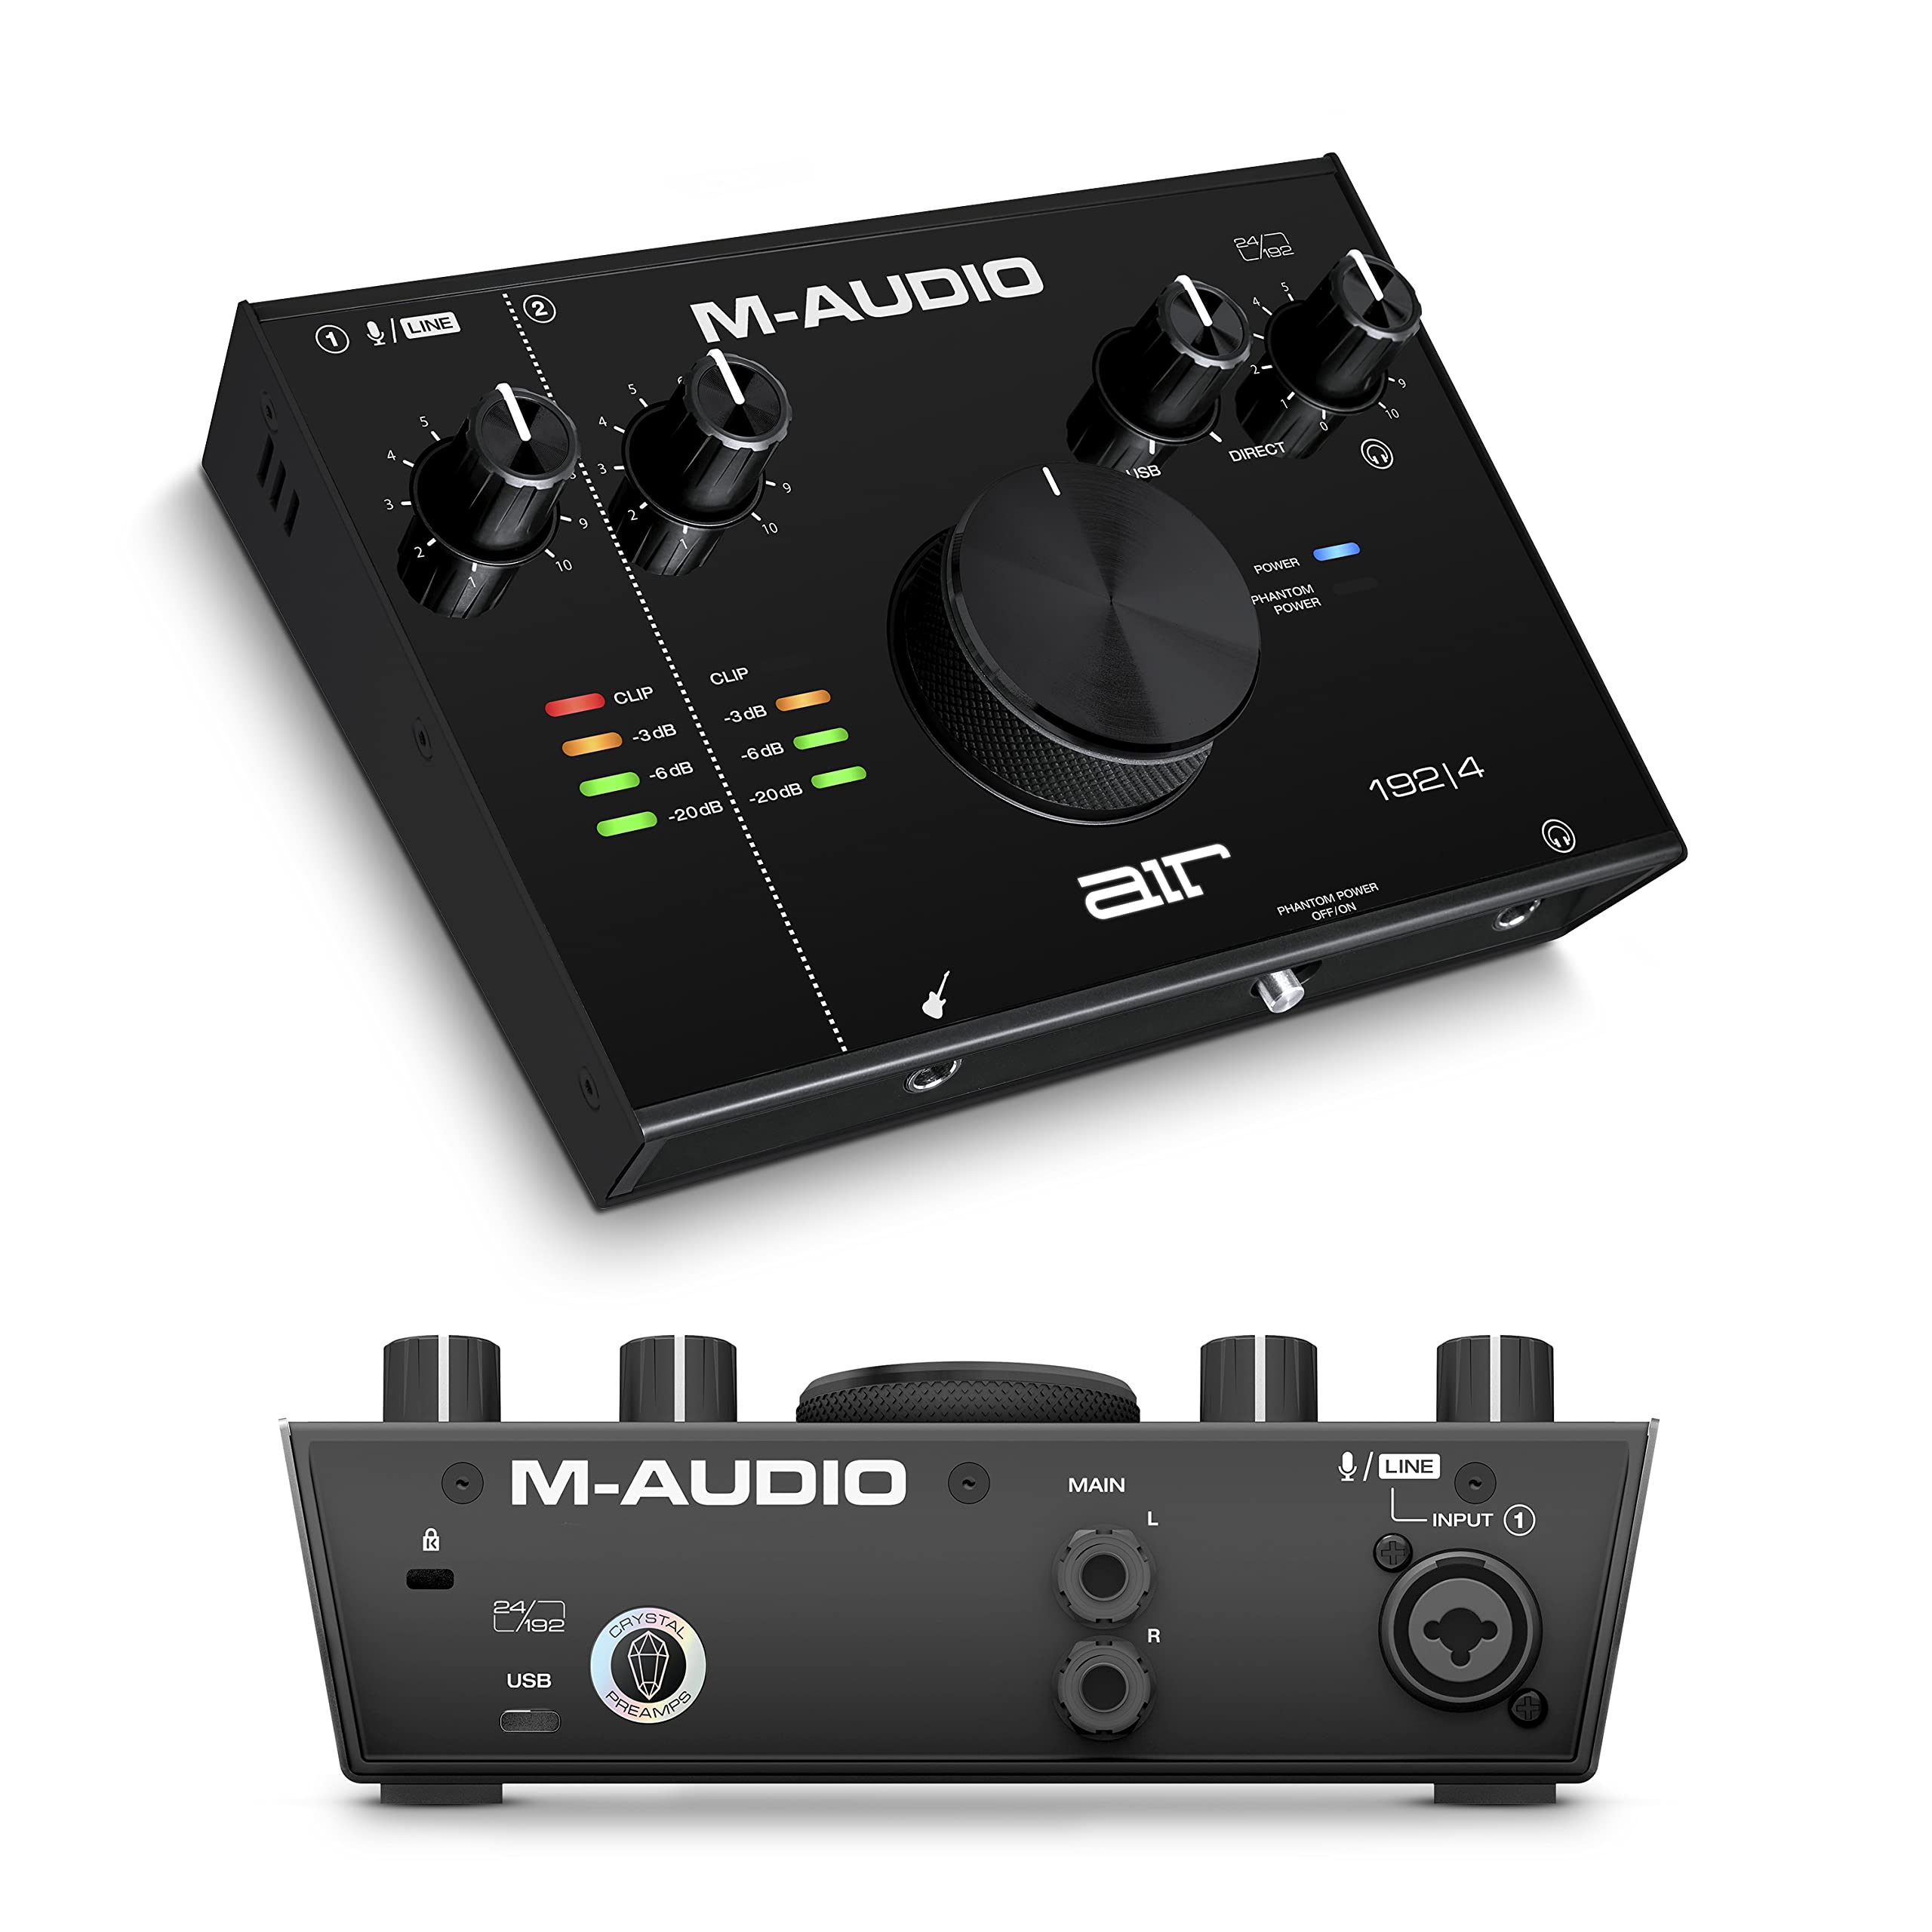
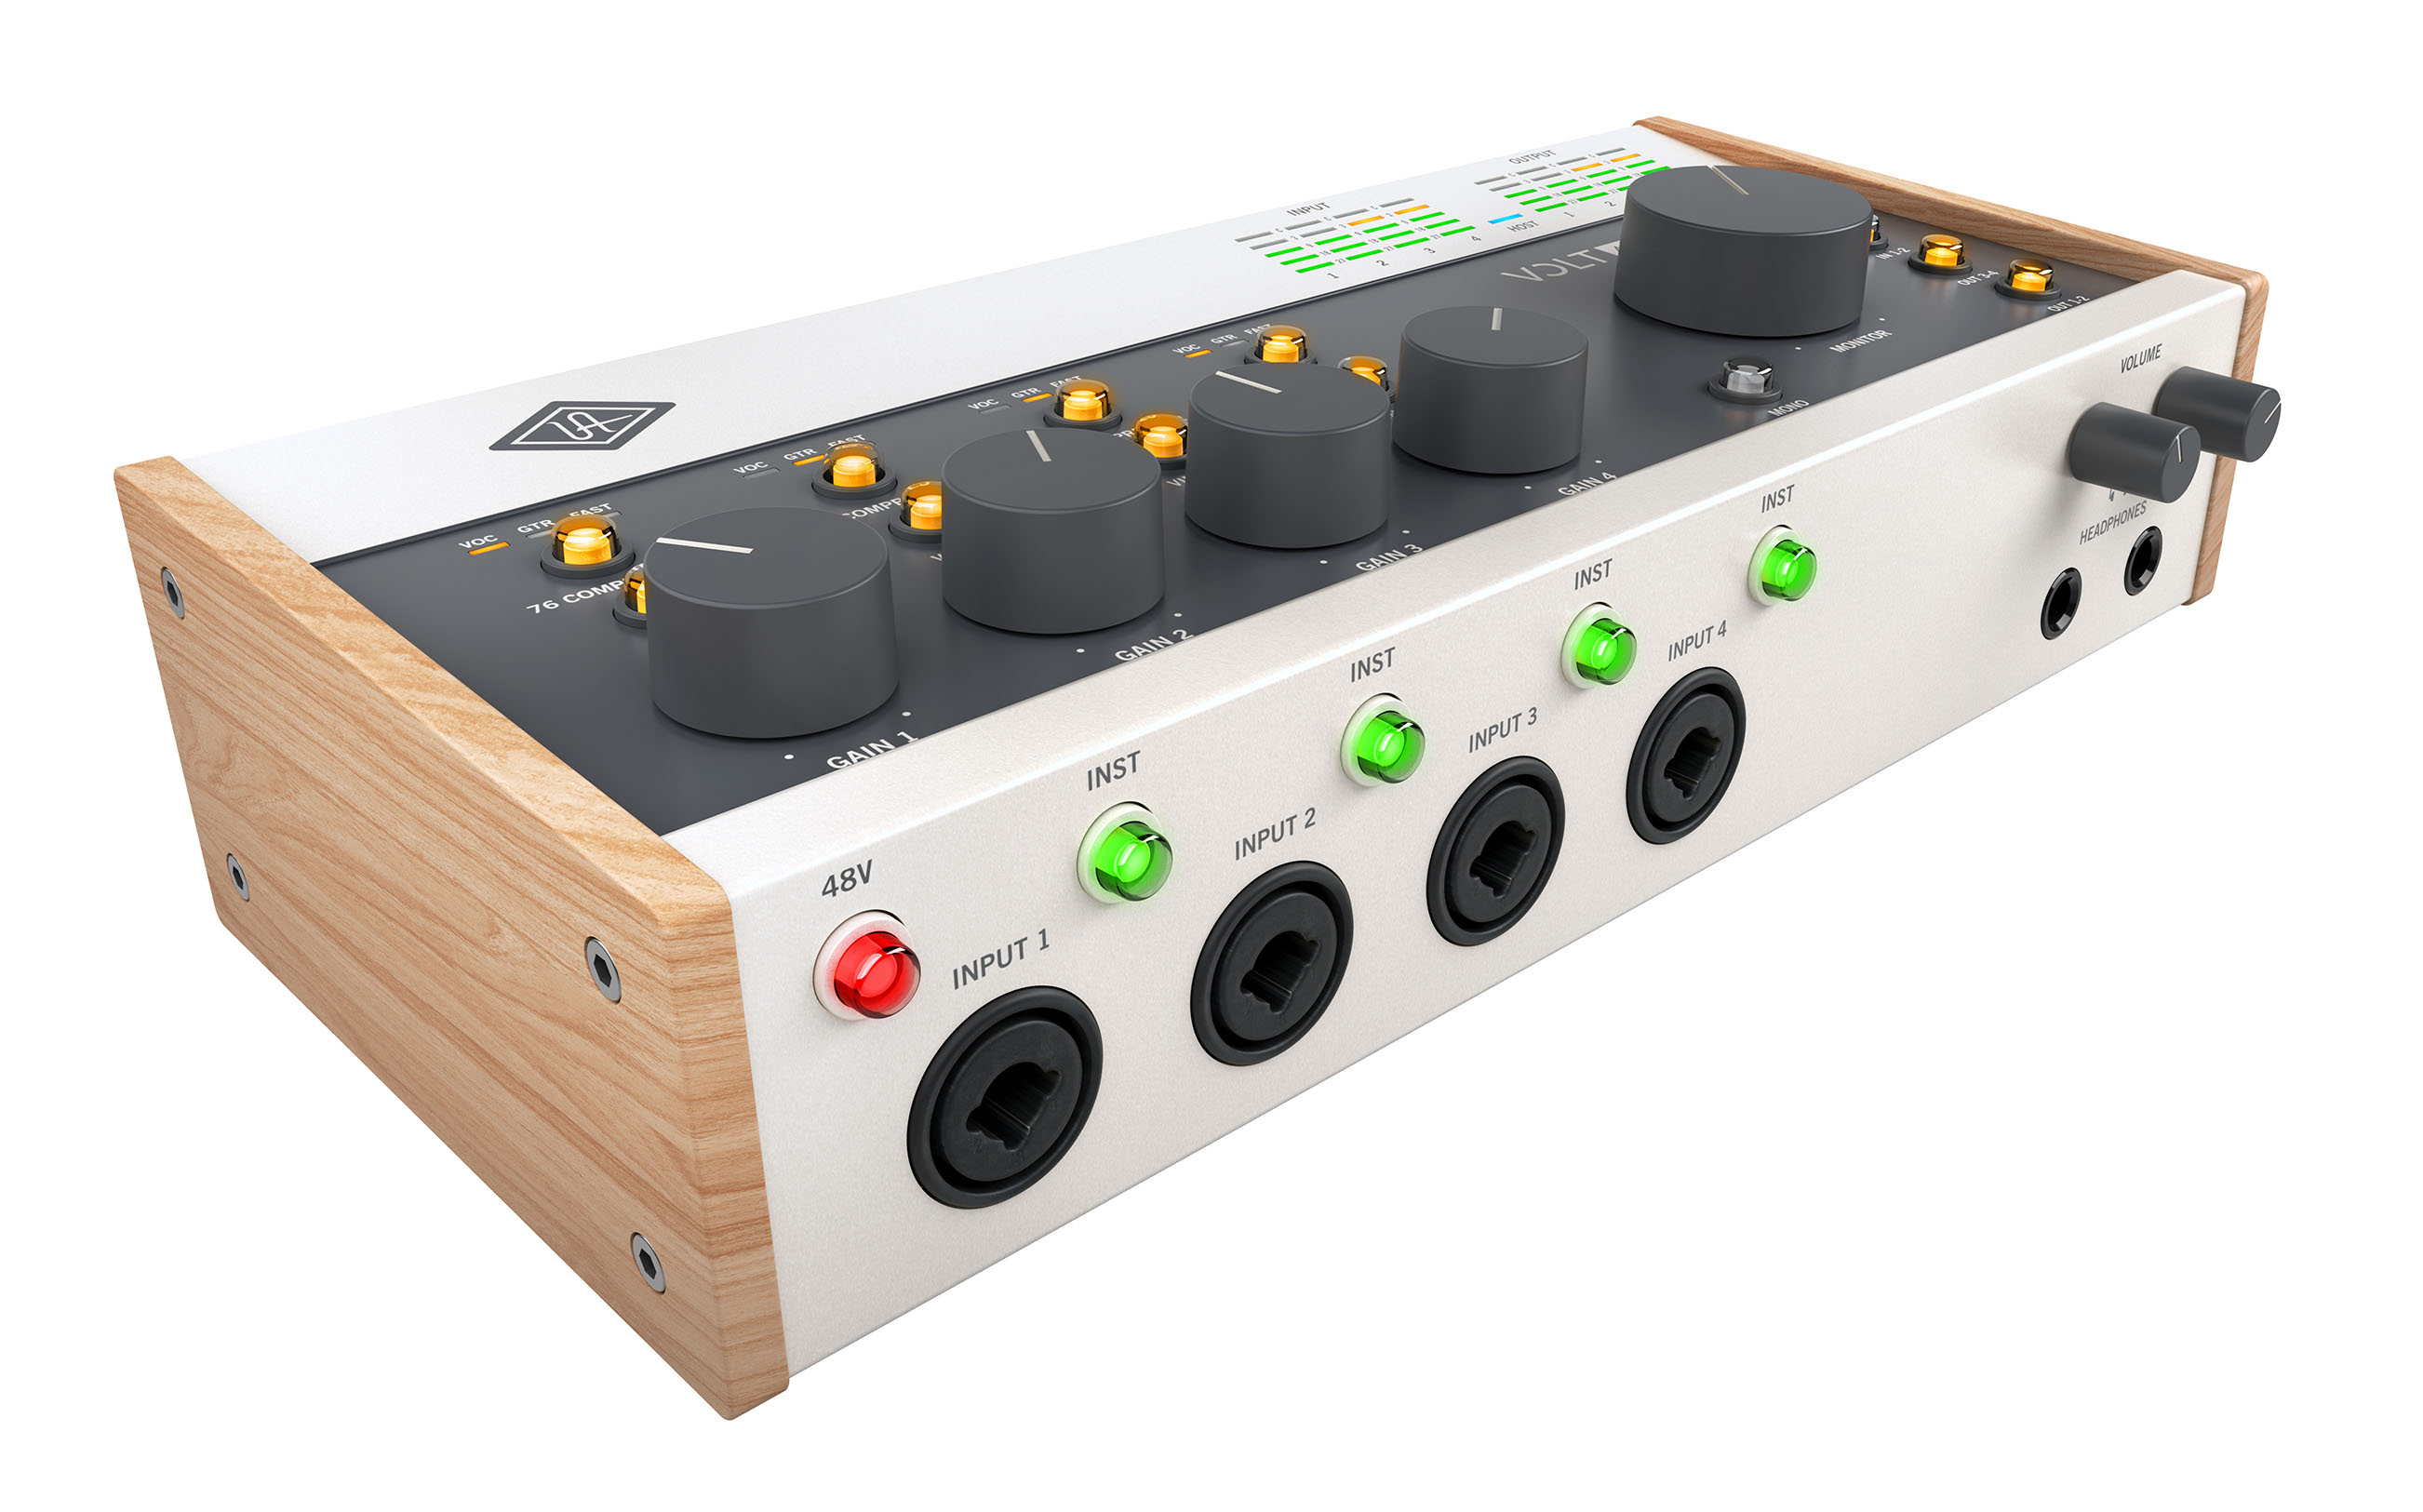
When it comes to recording and producing music, having a reliable audio interface is essential. An audio interface acts as the bridge between your computer and your audio equipment, allowing you to capture and manipulate sound with precision. FL Studio 20 is a popular digital audio workstation used by musicians and producers to create professional-grade music. While FL Studio has its own built-in audio capabilities, many users prefer to connect their audio interface to achieve higher audio quality and greater control over their recordings.
In this article, we will guide you through the process of changing FL Studio 20 audio to your audio interface. By following these steps, you’ll be able to harness the full potential of your audio interface and elevate your music production to new heights.
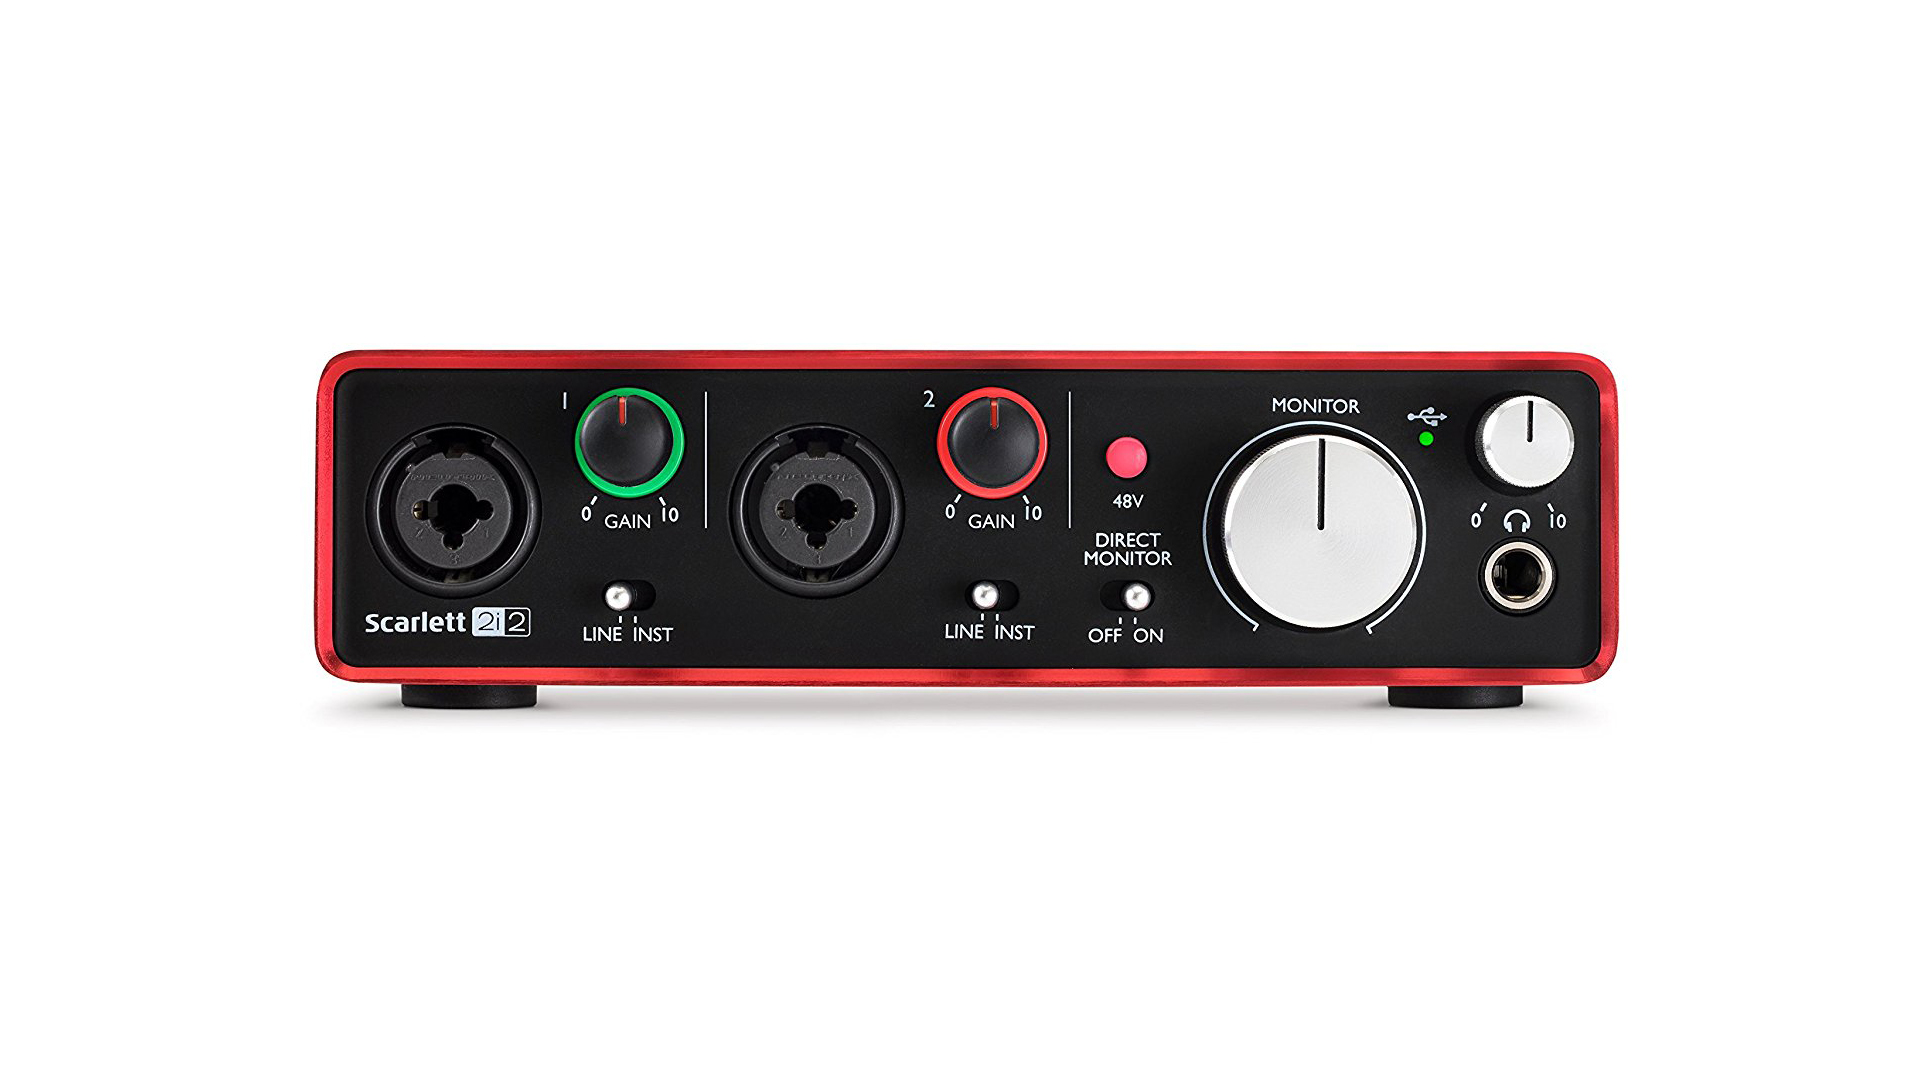
Whether you’re a professional musician or just starting out, using an audio interface with FL Studio can offer numerous benefits. With an audio interface, you can enjoy higher resolution audio, reduced latency, and the ability to connect multiple professional-grade microphones and instruments. This level of control and flexibility is crucial for achieving a polished and professional sound.
While FL Studio 20 is equipped with its own audio engine, connecting an audio interface allows you to enhance the audio quality and take advantage of the advanced features offered by external hardware. By following the steps outlined in this article, you’ll be able to seamlessly integrate your audio interface with FL Studio 20 and unlock a new level of audio production capabilities.
So, if you’re looking to maximize the potential of your audio recordings and take your musical creations to the next level, read on to learn how to change FL Studio 20 audio to your audio interface.
Step 1: Connecting Your Audio Interface
The first step in changing FL Studio 20 audio to your audio interface is to establish a physical connection between your computer and the audio interface itself. Most audio interfaces connect to your computer through a USB cable, although other connection options such as FireWire or Thunderbolt may be available depending on the model of your audio interface.
To connect your audio interface, follow these steps:
- Power off your computer and audio interface before making any connections.
- Locate the USB, FireWire, or Thunderbolt port on your computer and the corresponding port on your audio interface. Plug one end of the appropriate cable into your computer and the other end into your audio interface.
- Ensure that the connection is secure and that the cable is properly inserted into both your computer and the audio interface.
- Power on your audio interface.
- Power on your computer.
Once the physical connection is established, your computer should recognize the audio interface. It may prompt you to install any necessary drivers or software. Follow the on-screen instructions to complete the installation process.
It’s important to note that different audio interfaces may have specific instructions for connecting and powering on. Always refer to the user manual provided by the manufacturer for the most accurate and detailed instructions for your particular audio interface model.
With the physical connection in place, you’re now ready to move on to the next step: selecting your audio interface in FL Studio 20.
Step 2: Selecting Your Audio Interface in FL Studio
After connecting your audio interface to your computer, the next step in changing FL Studio 20 audio to your audio interface is to select it as the preferred device within the software. This allows FL Studio to recognize and utilize the audio interface for input and output purposes.
Follow these steps to select your audio interface in FL Studio 20:
- Launch FL Studio 20 on your computer.
- Click on the “Options” tab located in the top menu bar of FL Studio.
- From the dropdown menu, select “Audio Settings” to open the audio preferences window.
- In the audio preferences window, navigate to the “Device” section.
- In the “Device” section, you will see a dropdown menu labeled “ASIO.” Click on this menu to view the available audio devices.
- From the list of available devices, select your audio interface. The name of your audio interface should be displayed in the dropdown menu.
Once you have selected your audio interface, make sure to click the “Apply” button to save the changes. FL Studio will now recognize your audio interface as the default device for audio input and output.
If you don’t see your audio interface listed in the ASIO dropdown menu, make sure that your audio interface is properly connected and powered on. You may also need to install the necessary drivers for your audio interface if you haven’t done so already. Consult the user manual or the manufacturer’s website for more information on driver installation and any specific compatibility requirements.
With your audio interface selected in FL Studio 20, you can now proceed to the next step: configuring the audio settings.
Step 3: Configuring Audio Settings in FL Studio
Once you have selected your audio interface in FL Studio, the next step is to configure the audio settings to optimize the performance and functionality of your audio interface within the software.
Follow these steps to configure the audio settings in FL Studio 20:
- With FL Studio open, click on the “Options” tab at the top of the screen.
- Select “Audio Settings” from the dropdown menu to open the audio preferences window.
- In the audio preferences window, navigate to the “Input/Output” section.
- Here, you can adjust the sample rate, buffer length, and audio input/output settings according to your needs.
- The sample rate determines the number of samples per second that your audio interface processes. Higher sample rates generally result in better audio quality, but they may also require more processing power from your computer. Choose the sample rate that best suits your project requirements and computer capabilities.
- The buffer length (also known as the buffer size or latency) determines the delay between when you input sound and when you hear it through your audio interface. Lower buffer lengths reduce latency but may increase the strain on your computer’s processor. Experiment with different buffer lengths to find a balance between low latency and smooth performance.
- Under the “Audio Input/Output” section, select the appropriate inputs and outputs of your audio interface. This selection will allow you to route audio signals to and from your hardware devices within FL Studio.
- Once you have made your desired adjustments, click the “Apply” button to save the changes.
Keep in mind that the specific options and settings available in the audio preferences window may vary depending on your version of FL Studio and your audio interface. Refer to the user manual of your audio interface and the FL Studio documentation for more information on configuring audio settings specific to your setup.
With your audio settings configured, you are now ready to move on to the next step: testing the audio interface in FL Studio.
Step 4: Testing the Audio Interface
After connecting and configuring your audio interface in FL Studio, it’s important to test it to ensure that everything is functioning correctly. Testing the audio interface will allow you to verify that sound is being input and output through the interface, and that the settings you have configured in FL Studio are working as expected.
Here are the steps to test your audio interface in FL Studio:
- Open a project or create a new one in FL Studio.
- Import an audio file or create a simple sound using a virtual instrument.
- Play the audio or trigger the virtual instrument to generate sound.
- Listen for sound coming from your audio interface’s outputs, such as headphones or external speakers connected to the interface.
- If you can hear sound coming through your audio interface, it means that the configuration was successful, and you are now using your audio interface for audio input and output in FL Studio.
- Adjust the volume level on your audio interface and within FL Studio to ensure that the sound is at the desired level.
If you can’t hear any sound or if there are issues with the audio playback, double-check the following:
- Ensure that your audio interface is powered on and connected properly to your computer.
- Verify that the correct audio inputs and outputs of your audio interface are selected in FL Studio.
- Check if any additional software or drivers are required for your audio interface to work properly with FL Studio. Download and install them if necessary.
- Refer to the user manual or contact the manufacturer’s support if you encounter persistent issues or error messages.
By testing your audio interface in this way, you can confirm that it is functioning as expected and ready for use in your music production workflow. Once the audio interface is successfully tested, you can proceed to the next steps to further optimize your setup, such as adjusting latency settings and troubleshooting common issues, which will be covered in the subsequent sections.
Step 5: Adjusting Latency Settings
Latency refers to the delay between when you input a sound and when you hear it through your audio interface. It can be crucial to have low latency, especially when recording or performing live in FL Studio. Adjusting the latency settings allows you to minimize this delay and achieve more immediate audio response.
To adjust the latency settings in FL Studio, follow these steps:
- Open FL Studio and go to the “Options” tab in the top menu bar.
- Select “Audio Settings” from the dropdown menu to open the audio preferences window.
- In the audio preferences window, navigate to the “Buffering” tab.
- Here, you will find the buffer length or buffer size setting.
- To reduce latency, decrease the buffer length. Keep in mind that setting the buffer length too low may result in audio glitches or dropouts if your computer’s processor cannot handle the processing load in real-time.
- Experiment with different buffer lengths to find a balance between low latency and stable performance. It’s recommended to start with a higher buffer length and gradually decrease it until you find the lowest latency setting your system can handle without issues.
- After adjusting the buffer length, click the “Apply” button to save the changes.
It’s important to note that the optimal buffer length may vary depending on your specific computer system and the complexity of your project. Ideally, you should aim for a buffer length that provides a low enough latency for comfortable real-time playback and recording without causing audio glitches or dropouts.
If you encounter audio issues or dropouts after adjusting the buffer length, it may be necessary to increase the buffer length slightly to ensure uninterrupted playback and recording. Finding the right balance between low latency and stable performance can sometimes involve trial and error, so don’t hesitate to experiment with different settings until you find what works best for you.
By adjusting the latency settings in FL Studio, you can optimize the audio response and ensure a more immediate and seamless experience when recording and performing with your audio interface.
Step 6: Troubleshooting Common Issues
While connecting and configuring your audio interface in FL Studio is generally a straightforward process, you may encounter some common issues along the way. These issues can range from audio dropouts to connectivity problems. In this step, we’ll outline some troubleshooting steps to help you resolve these common issues and ensure smooth operation of your audio interface in FL Studio.
Here are some steps to troubleshoot common issues with your audio interface:
- Check Connections: Ensure that all cables are securely connected to the appropriate ports on your computer and audio interface. A loose or faulty connection can lead to audio problems.
- Update Drivers: Visit the manufacturer’s website for your audio interface and check for any available driver updates. Keeping your drivers up to date can resolve compatibility issues and improve performance.
- Restart FL Studio: Sometimes, simply restarting the software can resolve minor software glitches that may be interfering with your audio interface. Close FL Studio, reopen it, and test your setup again.
- Adjust Buffer Length: If you’re experiencing audio dropouts or glitches, try increasing the buffer length in the audio preferences. This can alleviate the strain on your computer’s processor and provide a more stable audio performance.
- Disable Conflicting Software: Some software applications, such as antivirus programs or system utilities, can interfere with audio interfaces. Temporarily disable any unnecessary software running in the background and test your audio interface again.
- Verify Audio Interface Compatibility: Ensure that your audio interface is compatible with FL Studio 20. Check the system requirements and compatibility list provided by the manufacturer.
- Consult the Manufacturer: If you have tried the above steps and are still experiencing issues, consult the user manual or visit the manufacturer’s website for more specific troubleshooting advice. They may have specific recommendations or firmware updates to resolve any known issues.
By following these troubleshooting steps, you can resolve common issues that may arise when using your audio interface with FL Studio. Remember to be patient and methodical when diagnosing and troubleshooting the problem, as sometimes the solution may be a simple adjustment or setting change.
If you continue to experience difficulties, it may be helpful to reach out to technical support from the manufacturer or consult the FL Studio community forums for additional assistance.
With these troubleshooting steps in mind, you should now be well-equipped to overcome any common issues that may arise and enjoy a seamless audio production experience with your audio interface in FL Studio.
Conclusion
Congratulations! You have successfully learned how to change FL Studio 20 audio to your audio interface. By following the steps outlined in this article, you can now enjoy the benefits of improved audio quality, lower latency, and increased control over your sound in FL Studio.
Connecting your audio interface, selecting it within FL Studio, and configuring the audio settings are the essential steps to ensure that your audio interface works seamlessly with the software. Testing the audio interface helps verify that the setup is functioning properly, while adjusting the latency settings allows you to minimize the delay between input and output.
Remember, troubleshooting common issues can be crucial in ensuring a smooth and uninterrupted workflow. By checking connections, updating drivers, and following other troubleshooting steps, you can quickly resolve any problems that may arise.
With a properly connected and configured audio interface, you can take advantage of the advanced features and enhanced audio quality that it brings to your music production. Whether you’re recording instruments, vocals, or MIDI controllers, your audio interface will provide you with greater control and flexibility over your sound.
As you continue your musical journey, don’t be afraid to experiment with different settings and explore the vast possibilities that FL Studio and your audio interface offer. With time and experience, you’ll develop your unique workflow and find the perfect configuration for your creative needs.
So go ahead, harness the power of your audio interface in FL Studio 20, and let your music come to life with exceptional audio quality and precision.