Home>Production & Technology>Audio Interface>What Is An Audio Interface
Audio Interface
What Is An Audio Interface
Modified: February 19, 2024
Learn what an audio interface is and how it enhances your music production. Discover the benefits of using an audio interface for recording and playback.
(Many of the links in this article redirect to a specific reviewed product. Your purchase of these products through affiliate links helps to generate commission for AudioLover.com, at no extra cost. Learn more)
Table of Contents
Introduction
Welcome to the world of audio interfaces, where sound is transformed from raw audio signals to crisp and clear recordings. Whether you’re a musician, podcaster, content creator, or a home studio enthusiast, an audio interface is an essential tool for capturing professional-quality audio.
At its core, an audio interface is a device that connects your instruments, microphones, and other audio sources to your computer, allowing you to record, edit, and process audio with utmost precision and clarity. It acts as the bridge between the analog and digital worlds, ensuring that your recordings are faithfully reproduced and free from unwanted noise or distortion.
While the internal soundcards of computers and laptops can handle basic audio tasks, they often fall short when it comes to delivering high-quality, low-latency audio recordings. This is where an audio interface comes into play, providing superior sound quality, versatile connectivity options, and powerful features that take your audio production to the next level.
With the rise of digital audio workstations (DAWs) and the increased demand for professional audio production, choosing the right audio interface has become paramount. In this comprehensive guide, we will explore the ins and outs of audio interfaces, helping you understand their functionality, benefits, and how to choose the best one for your needs.
So, whether you’re a seasoned audio engineer looking to upgrade your studio setup or a newbie diving into the realm of audio recording, this article will serve as your go-to resource for everything you need to know about audio interfaces.
Definition of an Audio Interface
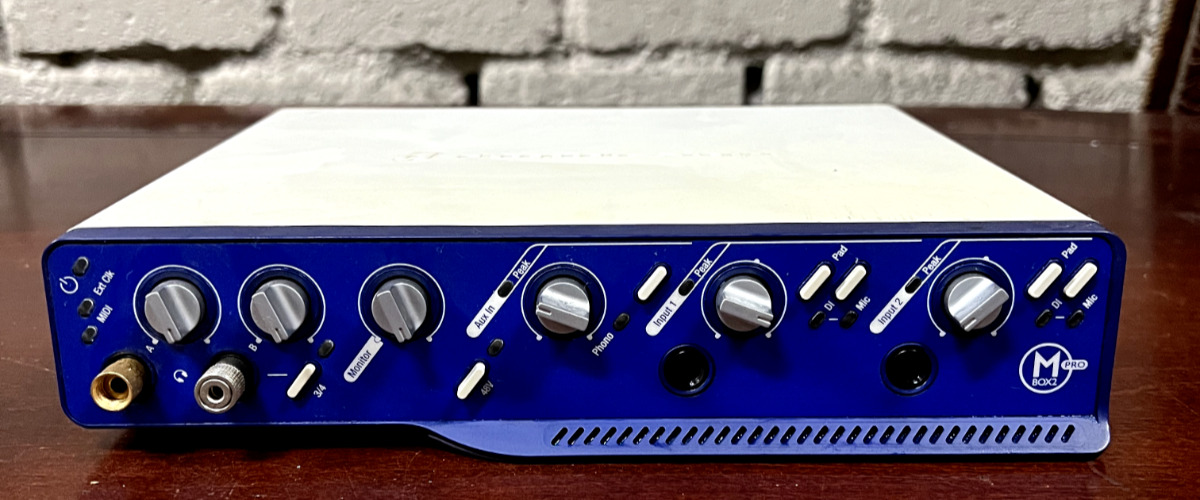
An audio interface, also known as a sound card or an external audio device, is a hardware device that connects your audio sources, such as microphones, instruments, and speakers, to your computer or recording equipment. Its primary function is to convert analog audio signals from your sources into digital data that can be manipulated, recorded, and played back on your computer.
Audio interfaces act as a translator between the analog world and the digital realm of your computer. They typically feature a variety of inputs and outputs, including XLR, TRS, and MIDI ports, allowing you to connect a range of audio equipment. These interfaces provide high-quality preamps, analog-to-digital converters (ADCs), and digital-to-analog converters (DACs) to ensure accurate sound reproduction with minimal latency and noise.
One of the key features of an audio interface is its ability to handle audio at different sample rates and bit depths. Sample rate refers to the number of audio samples captured per second, while bit depth determines the resolution and dynamic range of the audio. Higher sample rates and bit depths result in better audio quality, but they also require more processing power and storage space.
Audio interfaces also offer control over gain, phantom power, monitoring options, and sometimes built-in DSP (digital signal processing) effects. They can be connected to your computer via USB, Thunderbolt, FireWire, or PCIe, depending on the interface model and your computer’s available ports.
Whether you’re recording vocals, capturing the sound of your guitar, or mixing and mastering audio tracks, an audio interface is an essential tool that ensures professional-grade audio quality and seamless integration with your recording software.
In summary, an audio interface is a hardware device that connects your audio equipment to your computer, providing high-quality audio conversion, various input and output options, and advanced control features for recording, mixing, and editing audio.
Why Do You Need an Audio Interface?
At first glance, you might wonder why you would need an audio interface when your computer already has a built-in soundcard. While it’s true that internal soundcards can handle basic audio tasks, they often lack the necessary features and quality required for professional audio recording and production. Here are a few reasons why you need an audio interface:
- Improved Sound Quality: One of the primary reasons for investing in an audio interface is the significant improvement in sound quality. Audio interfaces are equipped with high-quality preamps, ADCs, and DACs, resulting in cleaner recordings with higher fidelity and clarity. They offer lower noise levels, wider frequency response, and better dynamic range when compared to built-in soundcards.
- Reduced Latency: Latency refers to the delay between when you play an audio signal and when you hear it through your speakers or headphones. Audio interfaces are designed to minimize latency, allowing you to monitor your recordings in real-time without any noticeable delay. This is crucial when recording vocals or playing virtual instruments with software synthesizers.
- Flexible Input and Output Options: Audio interfaces provide a wide range of input and output options to suit various recording needs. They typically offer multiple microphone inputs, instrument inputs, line inputs, and outputs for speakers or headphones. Whether you are recording a band, podcasting with multiple microphones, or connecting external outboard gear, an audio interface allows you to connect and manage multiple audio sources simultaneously.
- Phantom Power for Condenser Microphones: Condenser microphones, commonly used in professional recording, require phantom power to operate properly. An audio interface provides phantom power, usually selectable on specific inputs, allowing you to connect and use condenser microphones without the need for external power supplies.
- Compatibility with Recording Software: Audio interfaces are compatible with various recording software or digital audio workstations (DAWs), such as Pro Tools, Logic Pro, Ableton Live, and Cubase. They come with drivers and software control panels that allow seamless integration with your preferred recording software, providing additional functionality and control over your audio setup.
Overall, an audio interface is an essential tool for achieving professional audio recordings, whether you’re a musician, podcaster, content creator, or recording engineer. It enhances sound quality, reduces latency, and provides the necessary connectivity options and control features to take your audio production to the next level.
How Does an Audio Interface Work?
An audio interface acts as the intermediary between your analog audio sources and your digital recording setup. It converts analog audio signals into digital data that can be processed, recorded, and played back on your computer. Here’s a breakdown of how an audio interface works:
- Analog-to-Digital Conversion (ADC): When you connect a microphone, instrument, or any other analog audio source to an audio interface, the interface’s analog-to-digital converter (ADC) converts the electrical signals into a digital format. The ADC measures the voltage of the analog signal at regular intervals and assigns digital values to represent the amplitude of the signal.
- Sample Rate and Bit Depth: The digital audio is represented by a series of samples, which determine the quality and accuracy of the audio reproduction. The sample rate refers to the number of samples captured per second, typically measured in kilohertz (kHz). The higher the sample rate, the more accurately the audio is reproduced. Bit depth determines the resolution of each sample, representing the dynamic range and clarity of the audio signal. Popular bit depths are 16-bit and 24-bit, with 24-bit offering better quality and greater dynamic range.
- Transfer to Computer: Once the audio signal is converted into digital data, it is transferred to your computer through the interface’s USB, Thunderbolt, FireWire, or PCIe connection. The digital data is then processed by your computer’s processing unit and recorded or played back using recording software or a digital audio workstation (DAW).
- Digital-to-Analog Conversion (DAC): When playing back recorded audio or monitoring during recording, the audio interface’s digital-to-analog converter (DAC) converts the digital audio data into analog signals. The DAC reconstructs the digital data into an electrical waveform that can be amplified and sent to speakers or headphones for playback.
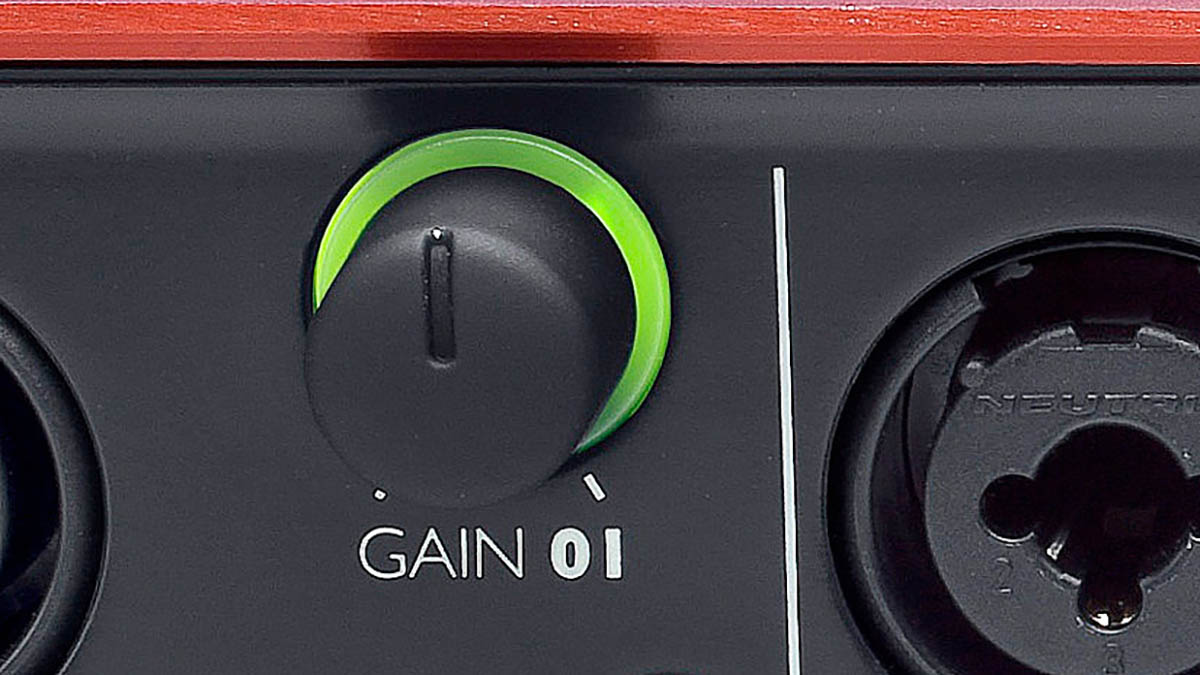
- Monitoring and Control: Most audio interfaces offer monitoring options, allowing you to hear the audio in real-time while recording or playing back. This can include headphone outputs with independent volume controls, direct monitoring of input signals with zero latency, and mix controls for blending the input and playback signals. Audio interfaces also provide other control features such as gain control, phantom power for condenser microphones, and individual input/output level adjustments.
By using high-quality analog-to-digital and digital-to-analog converters, as well as providing flexible connectivity options and control features, audio interfaces ensure accurate, low-latency, and high-quality audio reproduction. They serve as an essential tool for capturing and processing audio signals with professional-grade precision and clarity.
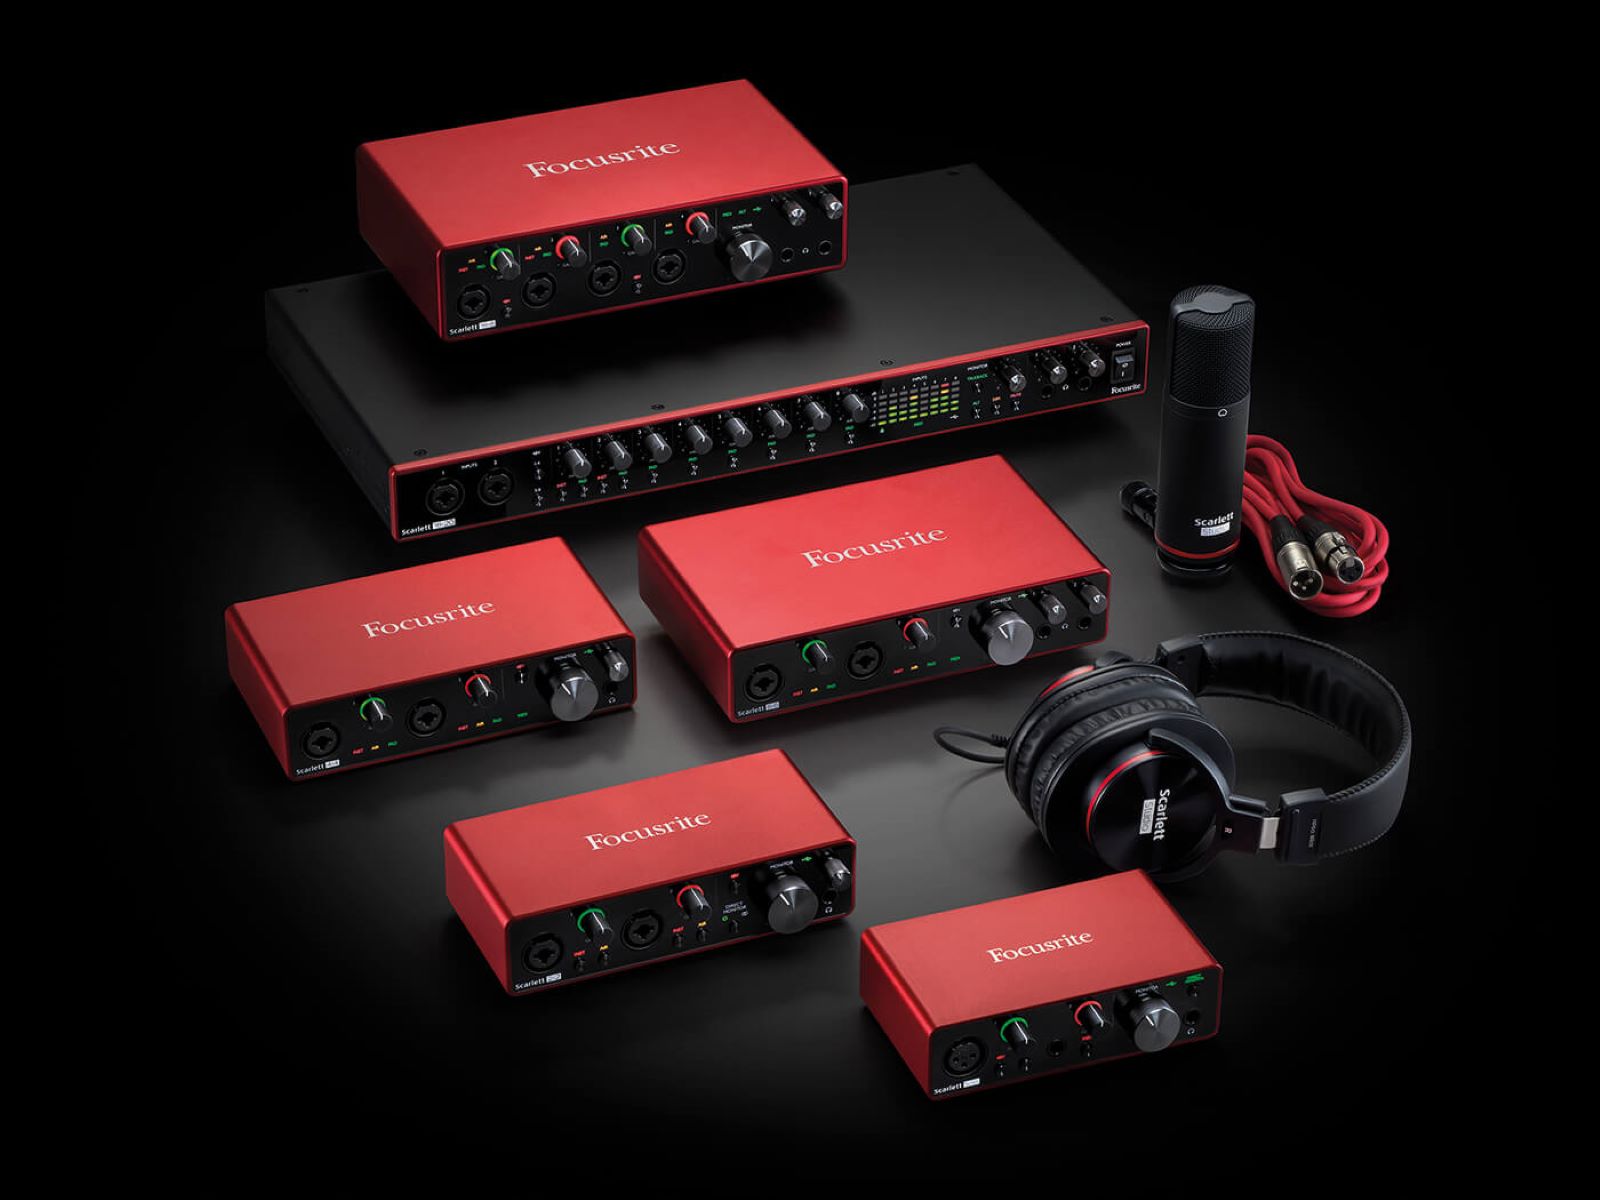
Types of Audio Interfaces
Audio interfaces come in various shapes, sizes, and configurations to accommodate different recording needs and setups. Here are the most common types of audio interfaces:
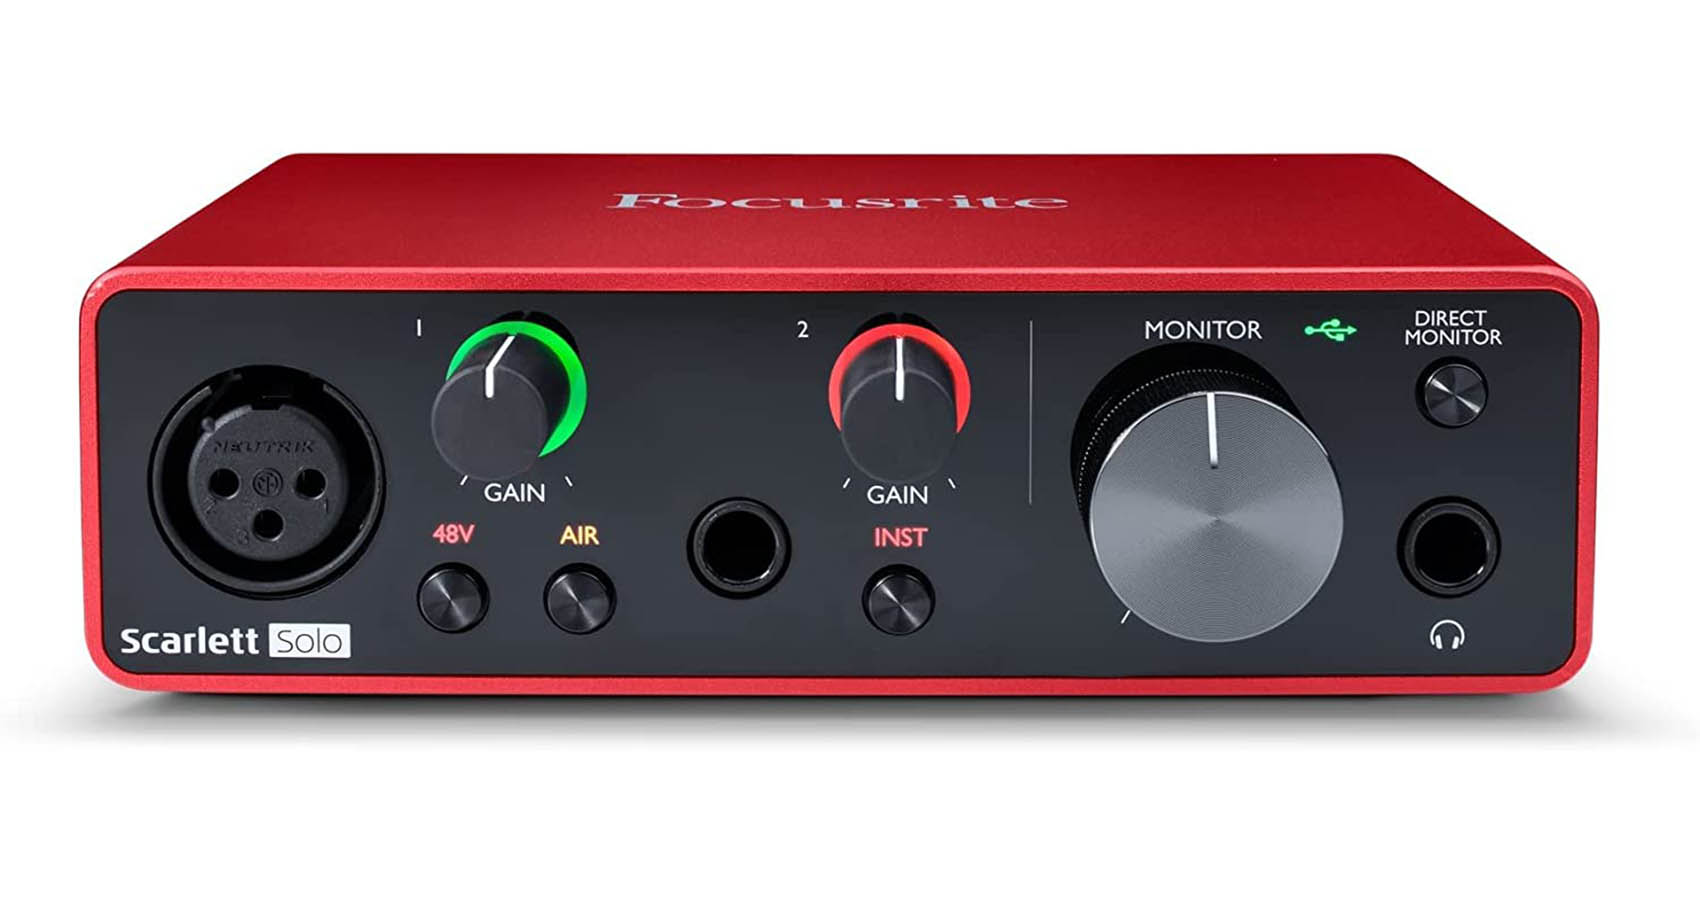
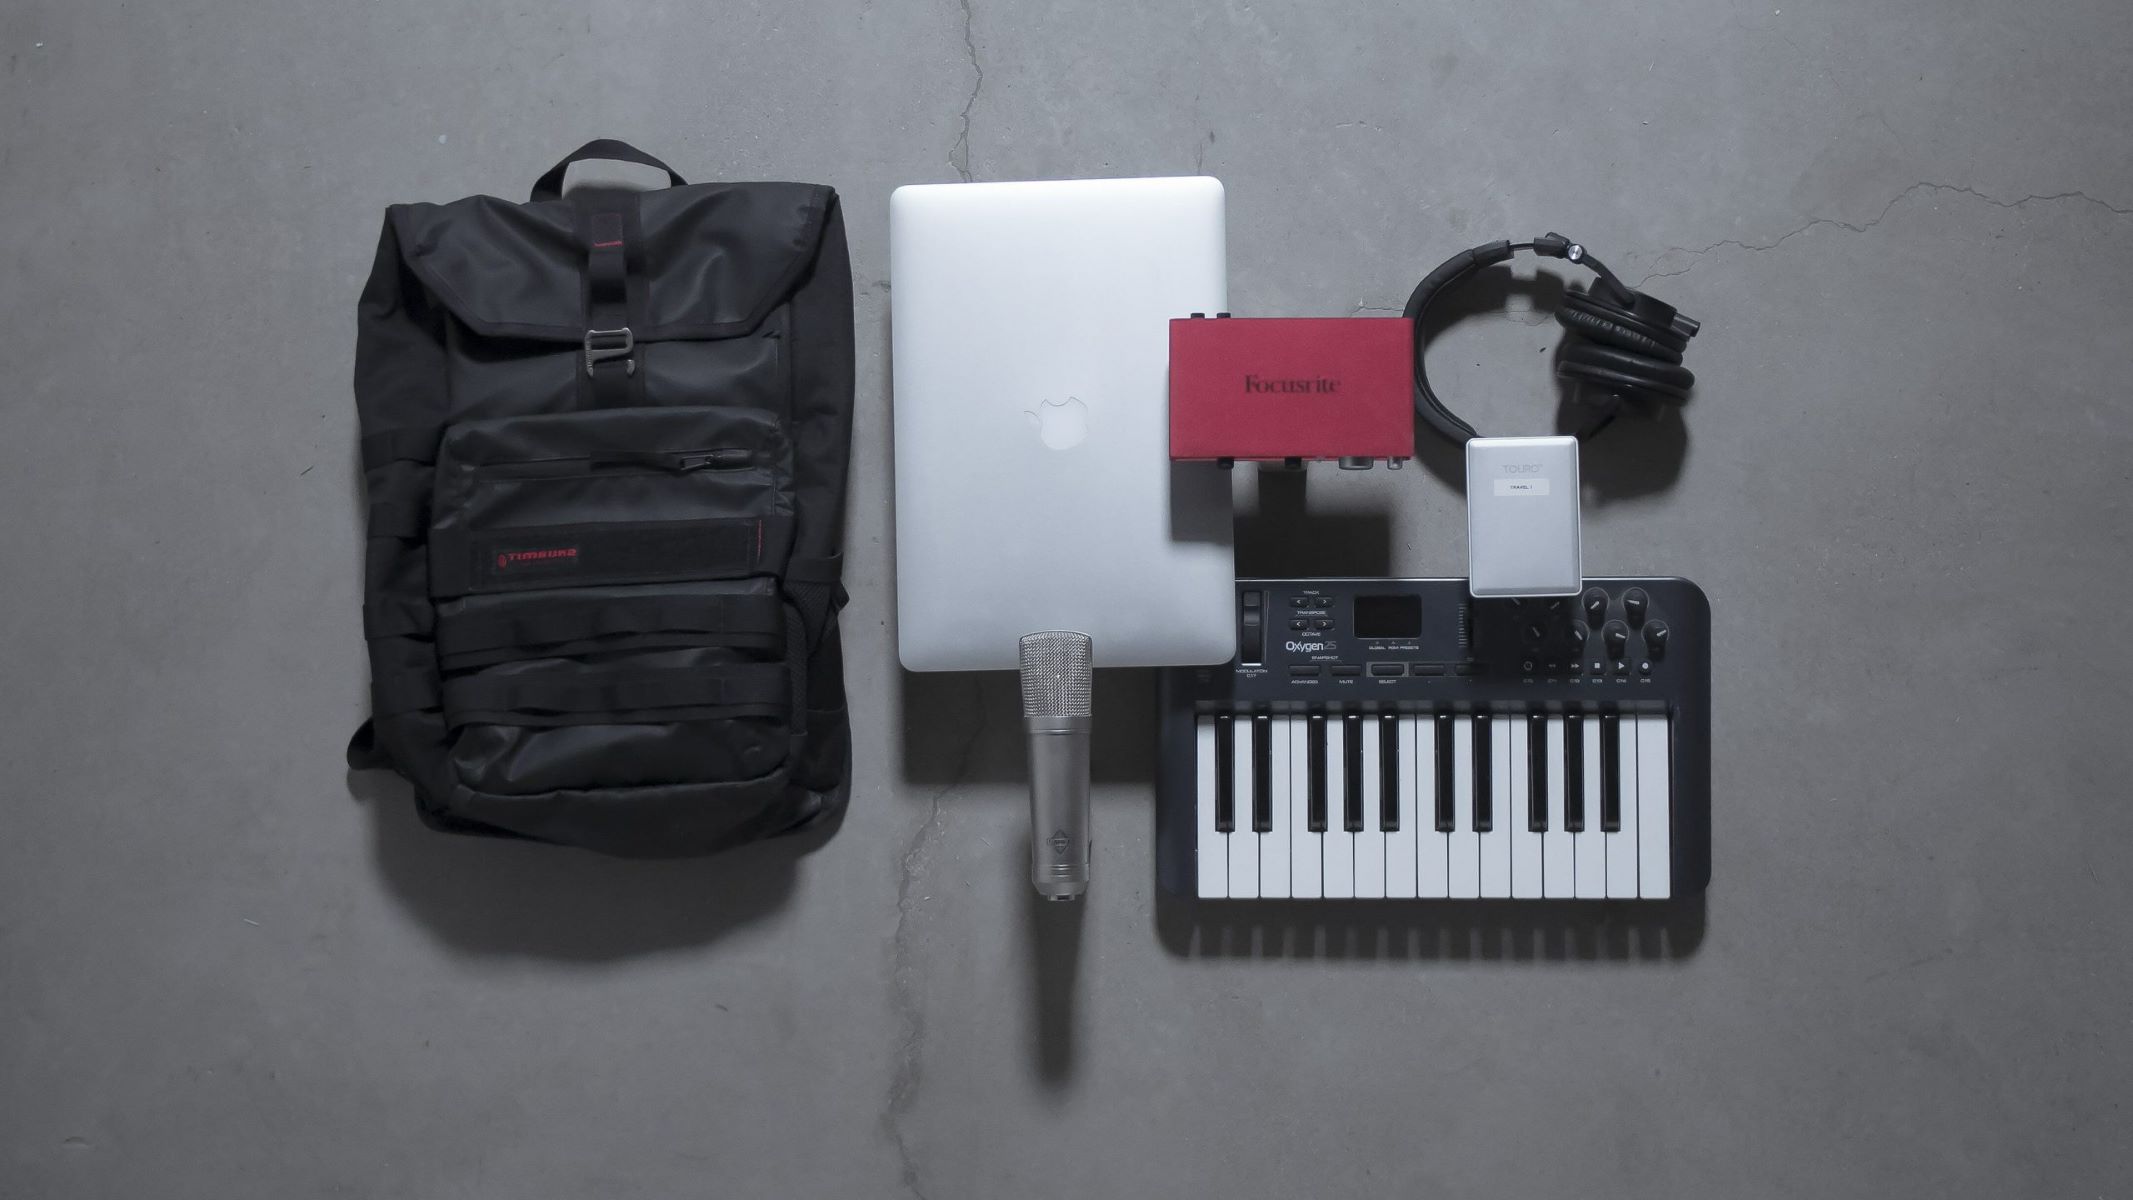
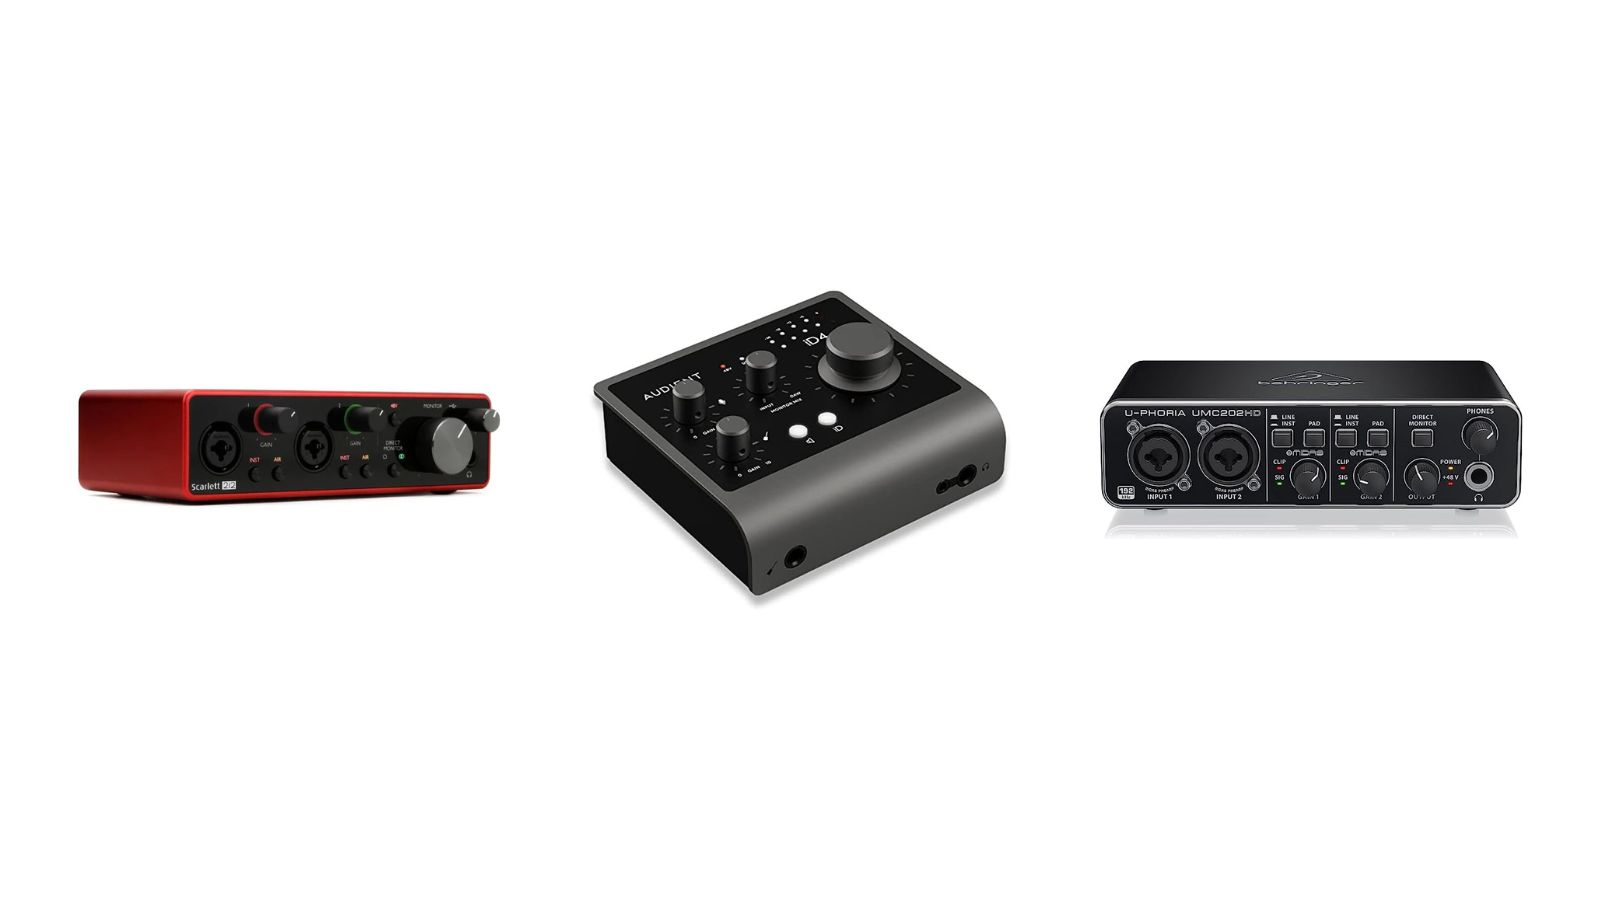
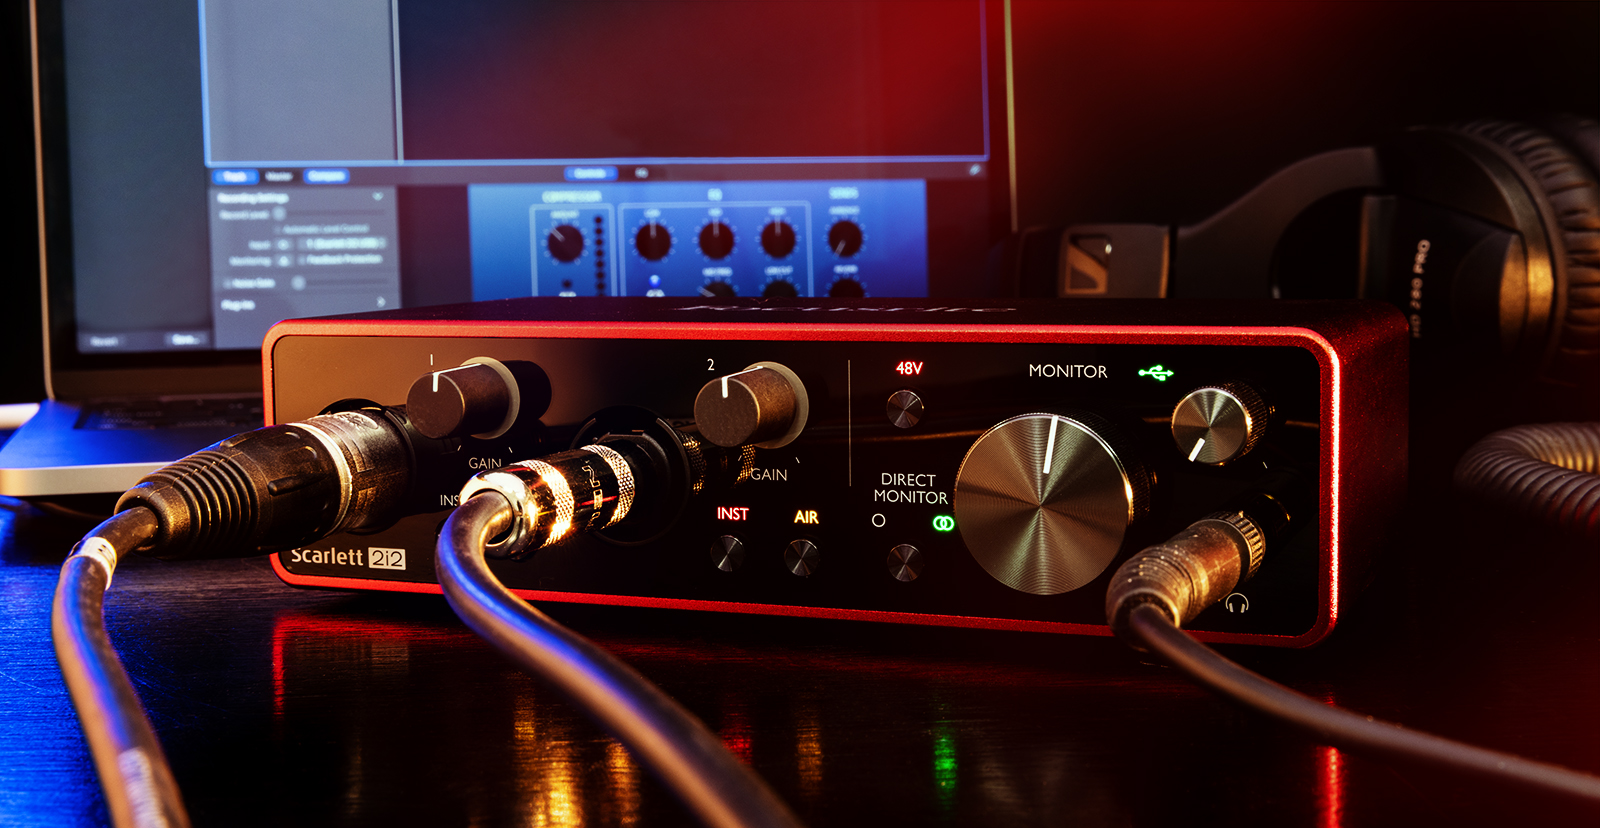
- USB Audio Interfaces: USB audio interfaces are the most popular and widely used type. They connect to your computer via a USB port and provide a simple and convenient solution for home studios, solo musicians, podcasters, and content creators. USB interfaces are typically bus-powered, meaning they draw power from the computer, eliminating the need for an external power supply.
- Thunderbolt Audio Interfaces: Thunderbolt interfaces offer faster data transfer speeds and lower latency compared to USB interfaces. They are a preferred choice for professional audio production and demanding recording setups. Thunderbolt connections are available in Thunderbolt 2 and Thunderbolt 3 versions, providing high bandwidth and compatibility with Mac computers and some PCs.
- PCIe Audio Interfaces: PCIe interfaces are installed directly into your computer using a PCI Express slot. They offer even lower latency and higher data transfer rates compared to USB or Thunderbolt interfaces. PCIe interfaces are commonly used in professional recording studios and setups where maximum performance and stability are required.
- FireWire Audio Interfaces: FireWire interfaces were popular in the past but have been largely replaced by USB and Thunderbolt interfaces. However, if you have a computer with FireWire ports, FireWire interfaces can still be a viable option for low-latency audio recording and playback.
- Ethernet Audio Interfaces: Ethernet interfaces use network cables to connect to your computer or network router. They are typically used in large-scale recording studios or audio over IP (AoIP) setups, providing high-channel count capabilities and flexible routing options.
In addition to the connection type, audio interfaces can vary based on their input and output configurations:
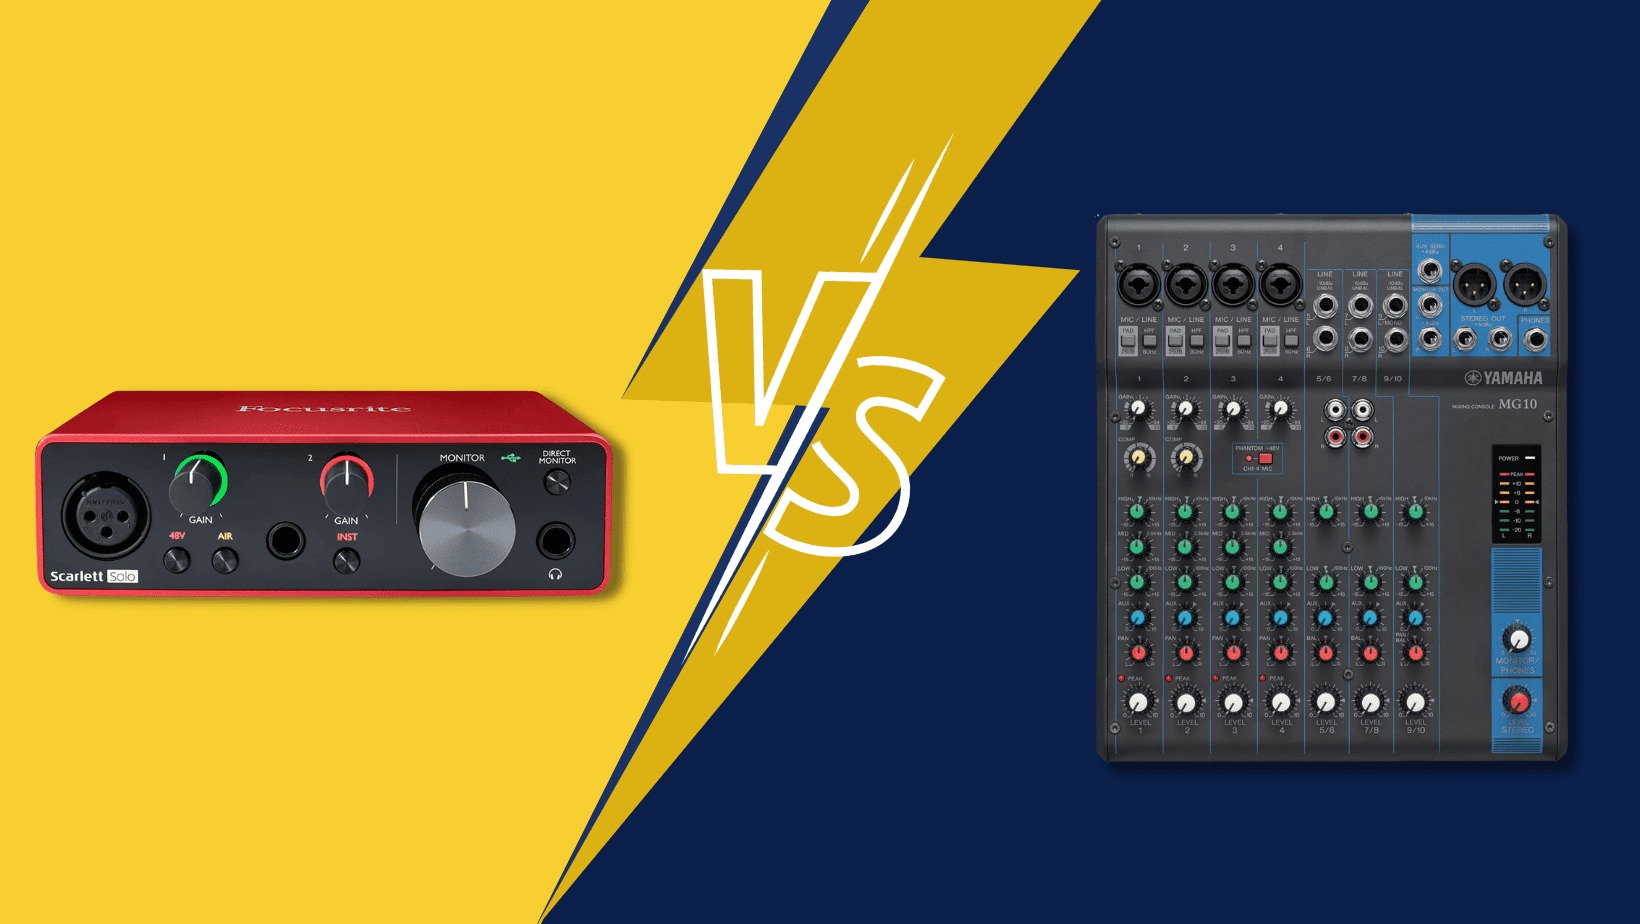
- Number of Inputs and Outputs: Audio interfaces can have varying numbers of inputs and outputs to accommodate different recording setups. This can range from a simple two-input/two-output interface for solo recording to interfaces with multiple inputs and outputs for recording bands or complex audio setups.
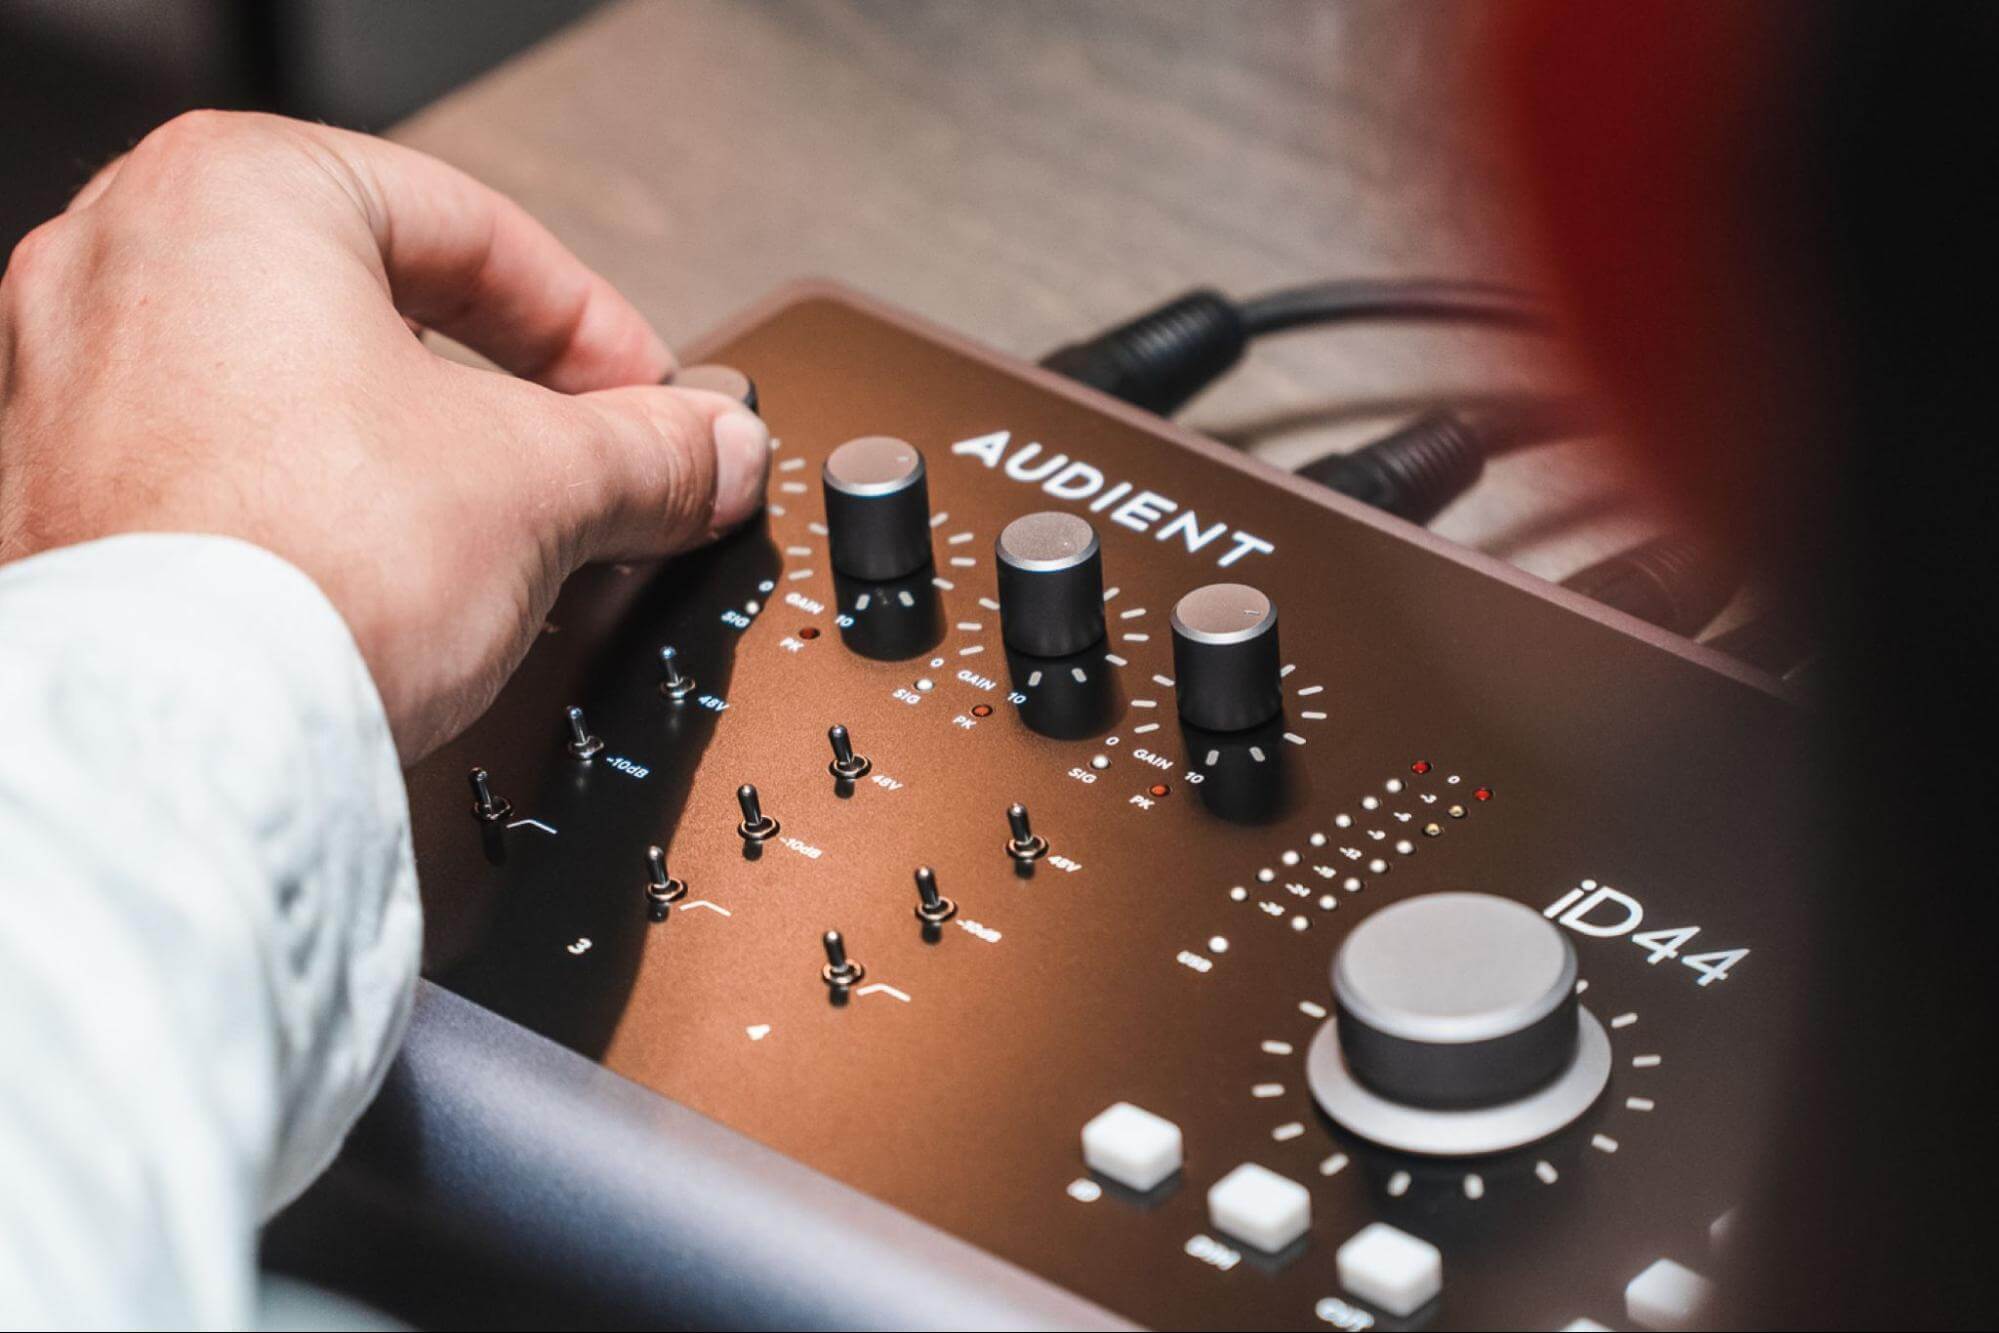
- Preamp Count and Type: Audio interfaces often come with built-in microphone preamps that provide gain control and phantom power for condenser microphones. Higher-end interfaces may offer higher-quality preamps and additional features like pad switches, phase inversion, and impedance control.
- Additional Features: Some audio interfaces may include additional features such as MIDI connectivity for connecting MIDI devices, digital inputs and outputs (SPDIF, ADAT) for expanding the number of audio channels, and built-in DSP for real-time processing and effects.
Choosing the right type and configuration of audio interface depends on your recording needs, budget, and the equipment you wish to connect. It’s essential to consider the number of inputs and outputs, connection type, preamp quality, and additional features that best suit your specific audio production requirements.
Key Features to Consider in an Audio Interface
When choosing an audio interface, there are several key features you should consider to ensure it meets your recording needs and provides the necessary functionality for your audio production setup. Here are some important features to keep in mind:
- Number and Types of Inputs and Outputs: Determine the number and types of inputs and outputs you require. Consider the number of microphones, instruments, and other audio sources you plan to connect, as well as the outputs for speakers or headphones.
- Preamp Quality: Look for an audio interface with high-quality microphone preamps if you plan to record vocals or use condenser microphones. Good preamp quality ensures clean, low-noise recordings and accurate sound reproduction.
- Sample Rate and Bit Depth: Consider the maximum sample rate and bit depth that the interface supports. Higher sample rates and bit depths allow for better audio quality and more accurate sound reproduction.
- Low Latency Performance: Low latency is crucial for real-time monitoring and recording, especially when using software instruments or effects. Look for an audio interface with low-latency performance to minimize the delay between playing or singing and hearing the sound.
- Compatibility: Ensure that the audio interface is compatible with your computer’s operating system and recording software. Check for driver availability and software compatibility to avoid any potential compatibility issues.
- Power Source: Consider whether you need a bus-powered interface that draws power from your computer’s USB or Thunderbolt connection, or if you prefer a powered interface with an external power supply. This depends on your mobility needs and the power requirements of your audio setup.
- Build Quality and Durability: Pay attention to the build quality and durability of the interface. Consider factors such as the material used, the layout of input/output connections, and the overall construction to ensure it can withstand regular use and transport.
- Budget: Set a budget based on your needs and the features you require. Audio interfaces come in various price ranges, so it’s important to find the right balance between your budget and the functionality you require.
Additionally, consider any specific features or connectivity options that may be essential for your recording setup. These could include MIDI input/output, digital inputs/outputs (SPDIF, ADAT), built-in DSP for real-time effects, or software control panels that provide additional functionality and customization options.
By assessing and considering these key features, you can narrow down your options and find an audio interface that suits your specific recording needs, delivers excellent audio quality, and offers the necessary connectivity and control features to enhance your audio production workflow.
Connecting and Setting Up an Audio Interface
Setting up an audio interface involves connecting it to your computer and configuring the necessary settings to ensure proper audio input and output. Here is a step-by-step guide to help you connect and set up your audio interface:
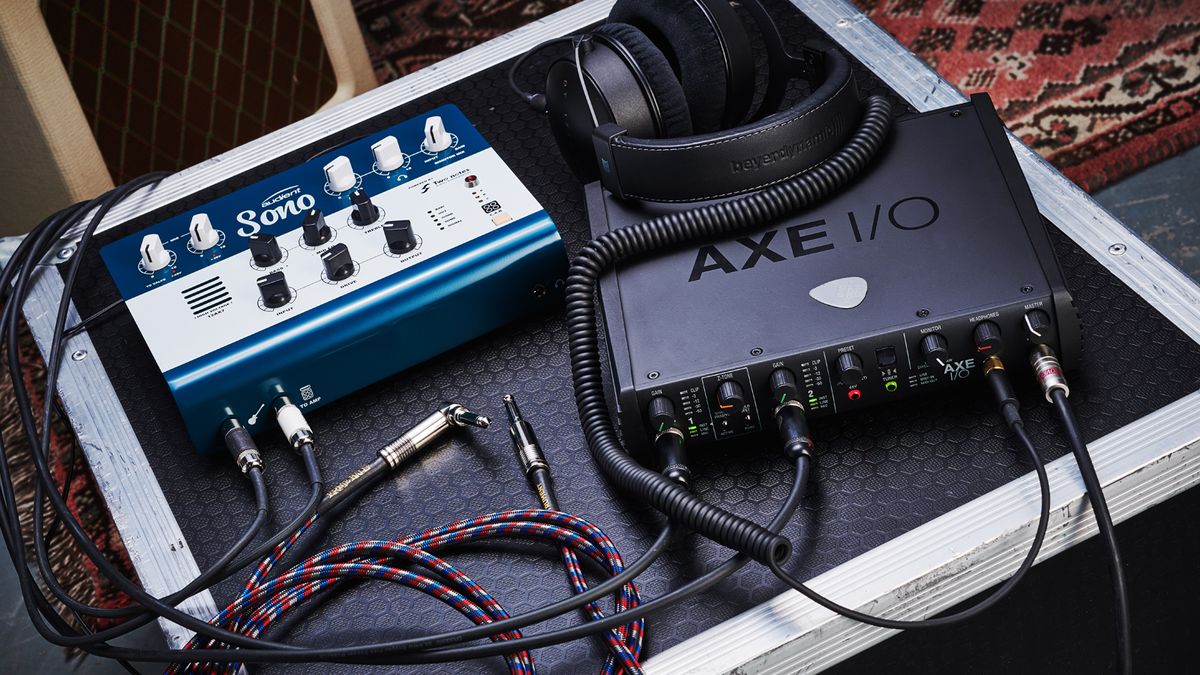
- Choose the Right Cables: Determine the cables you need based on the inputs and outputs of your audio interface. Common cables include XLR cables for microphones, TRS or TS cables for instruments, and USB or Thunderbolt cables for connecting to your computer.
- Connect Your Audio Sources: Connect your microphones, instruments, and other audio sources to the appropriate inputs on the audio interface. Use XLR cables for microphones, TRS or TS cables for instruments, and any other required cables for line-level or digital sources.
- Connect to Your Computer: Depending on the interface, connect it to your computer using the appropriate cable (USB, Thunderbolt, PCIe, etc.). Make sure the interface is securely connected to the computer’s port.
- Install Drivers and Software: If your audio interface requires specific drivers or software, follow the manufacturer’s instructions to install them on your computer. These drivers allow your computer to recognize and communicate with the audio interface.
- Configure Audio Settings: Open your computer’s audio settings or the settings within your recording software. Select the audio interface as the preferred input and output device. Adjust the sample rate, bit depth, and buffer size according to your recording needs and system capabilities.
- Phantom Power: If you are using condenser microphones that require phantom power, enable the phantom power switch on the interface for the corresponding inputs. Ensure that the microphones are connected to the correct inputs with phantom power enabled.
- Monitoring and Control: Set up your monitoring preferences. This can include enabling direct monitoring, adjusting headphone output levels, and configuring any other monitoring or control options available on your audio interface.
- Test and Adjust: Test your audio interface by performing a sound check or recording a short test audio clip. Listen for any unwanted noise, latency issues, or distortion. Make any necessary adjustments to the gain levels, input settings, or other parameters to achieve optimal sound quality.
Once everything is properly set up, you can start recording, mixing, or producing audio using your newly connected audio interface. Remember to refer to the user manual or online resources provided by the manufacturer for specific setup instructions and troubleshooting tips.
It’s worth noting that the setup process may vary slightly depending on your specific audio interface model and computer operating system. Always consult the documentation provided by the manufacturer for the most accurate and up-to-date instructions.
Troubleshooting Common Audio Interface Issues
While audio interfaces are reliable tools, occasional issues may arise during their usage. Here are some common audio interface issues and troubleshooting steps to help you resolve them:
- No Sound or Low Volume: If you’re not getting any sound or the volume is very low, check the following:
- Ensure that the audio interface is properly connected to your computer and powered on.
- Check the input and output levels on the interface and in your recording software to make sure they are set appropriately.
- Verify that the correct input and output channels are selected in your recording software or system audio settings.
- Test different cables and connections to rule out any faulty connections or cables.
- Latency Issues: If you’re experiencing latency (delay) between input and output, try the following:
- Adjust the buffer or latency settings in your recording software. Lower buffer settings may reduce latency but could increase the strain on your computer’s processor.
- Ensure that you’re using the latest drivers and firmware for your audio interface. Check the manufacturer’s website for any available updates.
- If your recording software provides direct monitoring options, enable them to monitor your audio inputs with zero latency.
- Consider optimizing your computer’s performance by closing unnecessary applications and processes that may be consuming system resources.
- Crackling or Popping Sounds: If you’re hearing crackling or popping sounds in your recordings or during playback, try these troubleshooting steps:
- Ensure that all cables are properly connected to the interface and audio sources.
- Check the sample rate and buffer settings in your recording software. In some cases, adjusting these settings can resolve crackling or popping issues.
- Test different USB or Thunderbolt ports on your computer to rule out any issues with specific ports.
- Verify that there are no background processes or applications causing excessive CPU usage, as high CPU usage may lead to audio glitches.
- Driver or Software Issues: If you’re experiencing driver or software-related problems, consider the following steps:
- Ensure that you have the latest drivers installed for your audio interface. Visit the manufacturer’s website to download and install the latest drivers specific to your operating system.
- Try disconnecting and reconnecting the audio interface, allowing your computer to detect and reinstall the drivers automatically.
- If issues persist, uninstall the audio interface drivers, restart your computer, and then reinstall the drivers following the manufacturer’s instructions.
- If you’re using recording software, check for any software updates and ensure it is compatible with your audio interface and operating system.
- Hardware Malfunction: If none of the above steps resolve the issue, it’s possible that your audio interface may have a hardware malfunction. In such cases, consider contacting the manufacturer’s customer support for further assistance, warranty information, or repair services.
Remember, these troubleshooting steps serve as general guidelines. The specific steps and solutions may vary depending on your audio interface model, recording software, and computer setup. Always refer to the manufacturer’s documentation, knowledge base, or customer support for more specific troubleshooting information.
By following these troubleshooting steps, you can address common audio interface issues and ensure smooth, uninterrupted audio recording and playback.
Conclusion
An audio interface is an indispensable tool for anyone involved in audio recording, production, or content creation. It bridges the gap between analog audio sources and digital recording systems, providing high-quality conversions, low latency, and versatile connectivity options. Investing in a quality audio interface can greatly enhance the sound quality and overall production value of your recordings.
In this comprehensive guide, we explored the definition and functionality of audio interfaces, highlighting their importance in achieving professional-grade audio recordings. We discussed key features to consider, such as the number of inputs and outputs, preamp quality, sample rate, and bit depth. We also covered various types of audio interfaces, including USB, Thunderbolt, PCIe, FireWire, and Ethernet interfaces, each offering unique advantages for different recording setups.
We delved into the step-by-step process of connecting and setting up an audio interface, guiding you through cable selection, audio source connections, driver installation, and software configuration. We also provided troubleshooting tips for common audio interface issues, including no sound, latency issues, crackling or popping sounds, driver or software problems, and hardware malfunctions.
By understanding the features, setup, and troubleshooting aspects of audio interfaces, you are now equipped to make informed decisions when selecting and utilizing an audio interface for your specific recording needs. Remember to consider factors such as sound quality, connectivity options, and compatibility with your computer and recording software.
Whether you’re a musician recording an album, a podcaster capturing crystal-clear audio, or a content creator producing professional videos, an audio interface is an essential tool that empowers you to achieve remarkable audio recordings. So, invest wisely, experiment, and enjoy the benefits of having a reliable audio interface as your recording companion.