Home>Production & Technology>Audio Interface>Why Is My Audio Interface Crackling
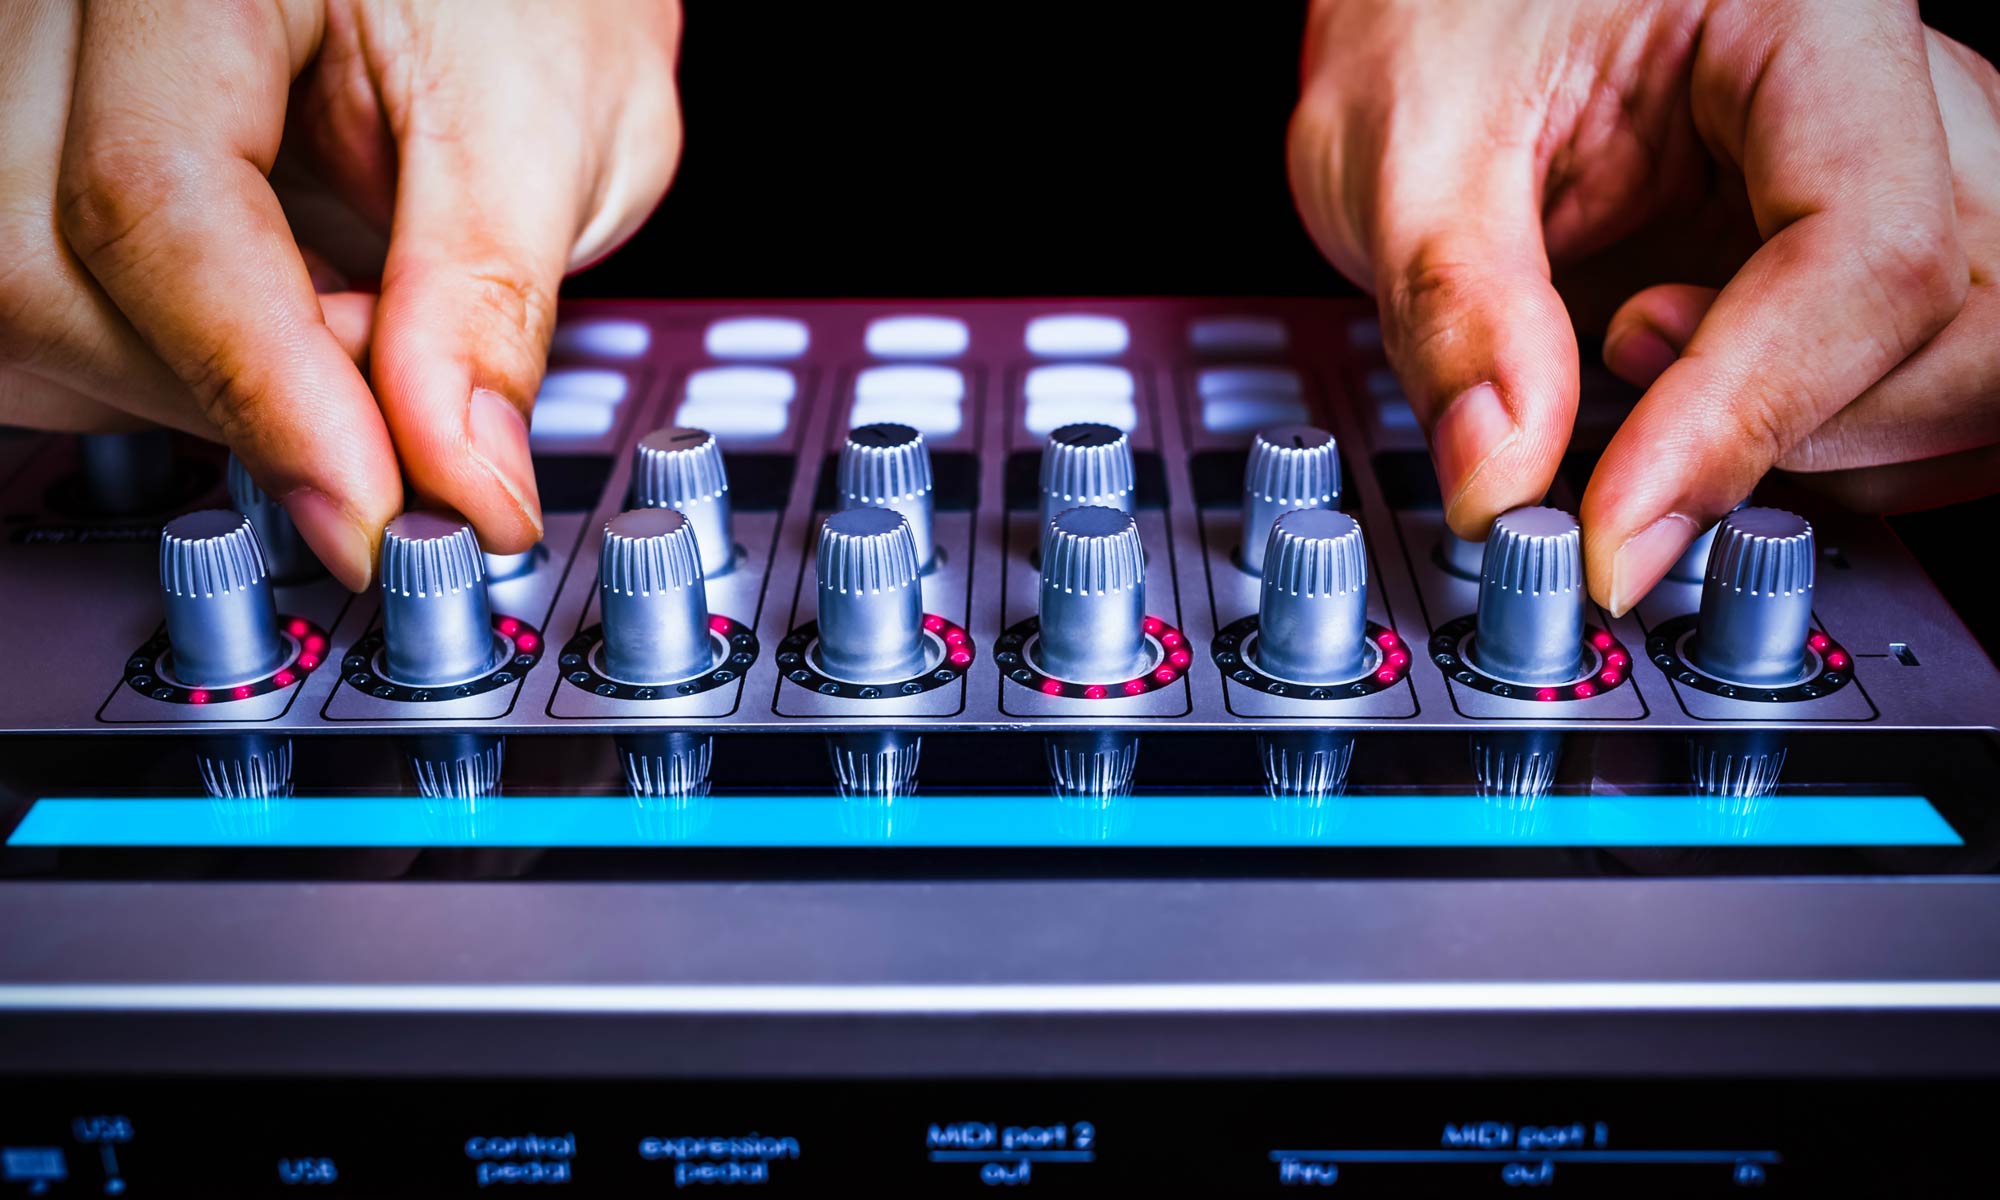
Audio Interface
Why Is My Audio Interface Crackling
Published: February 5, 2024
Experiencing crackling on your audio interface? Discover why your audio interface may be causing this issue and learn how to solve it.
(Many of the links in this article redirect to a specific reviewed product. Your purchase of these products through affiliate links helps to generate commission for AudioLover.com, at no extra cost. Learn more)
Table of Contents
- Introduction
- Understanding Audio Interface Crackling
- Common Causes of Audio Interface Crackling
- Insufficient Power Supply
- Inadequate Buffer Size
- Driver Compatibility Issues
- Faulty Cables and Connections
- CPU Overload
- Troubleshooting Audio Interface Crackling Issues
- Step 1: Check Power Supply
- Step 2: Adjust Buffer Size
- Step 3: Update Drivers
- Step 4: Check Cables and Connections
- Step 5: Manage CPU Load
- Conclusion
Introduction
An audio interface is an essential tool for recording and producing high-quality audio. It acts as the bridge between your computer and external audio devices such as microphones, instruments, and speakers. However, one common problem that many audio interface users encounter is crackling or distorted sound.
Crackling audio can be frustrating, especially when you are in the middle of a recording session or trying to enjoy your favorite music. It can significantly degrade the audio quality and make it unpleasant to listen to. Understanding the causes of audio interface crackling and learning how to troubleshoot the issue can help you get rid of this annoying problem.
In this article, we will dive into the world of audio interface crackling. We will explore the common causes of crackling sound and provide step-by-step troubleshooting tips to help you resolve the issue. Whether you are a musician, podcaster, or audio enthusiast, this guide will equip you with the knowledge to tackle audio interface crackling head-on.
Understanding Audio Interface Crackling
Before we delve into the various causes and troubleshooting methods, it’s important to understand what exactly audio interface crackling is and how it affects your audio experience.
Audio interface crackling refers to the intermittent or continuous popping, crackling, or distorted sound that occurs when using an audio interface. It can manifest in different forms, such as clicking noises, static bursts, or choppy audio playback. This issue can occur during recording, playback, or both.
Crackling sound can disrupt the clarity and accuracy of your audio recordings or listening experiences. It can be particularly frustrating for professionals who rely on their audio interface for music production, podcasting, or other multimedia projects.
Crackling sound is often a symptom of an underlying problem with your audio interface setup. It’s essential to identify the root cause to effectively troubleshoot and resolve the issue. Common causes of audio interface crackling include:
- Inadequate power supply
- Inadequate buffer size
- Driver compatibility issues
- Faulty cables and connections
- CPU overload
In the following sections, we’ll explore each of these causes in more detail and provide troubleshooting steps to help you resolve the audio interface crackling issue.
Common Causes of Audio Interface Crackling
When it comes to audio interface crackling, there are several common culprits that can be causing the issue. Understanding these causes can help you pinpoint the problem and take the necessary steps to resolve it. Let’s take a closer look at each of these causes:
1. Insufficient Power Supply
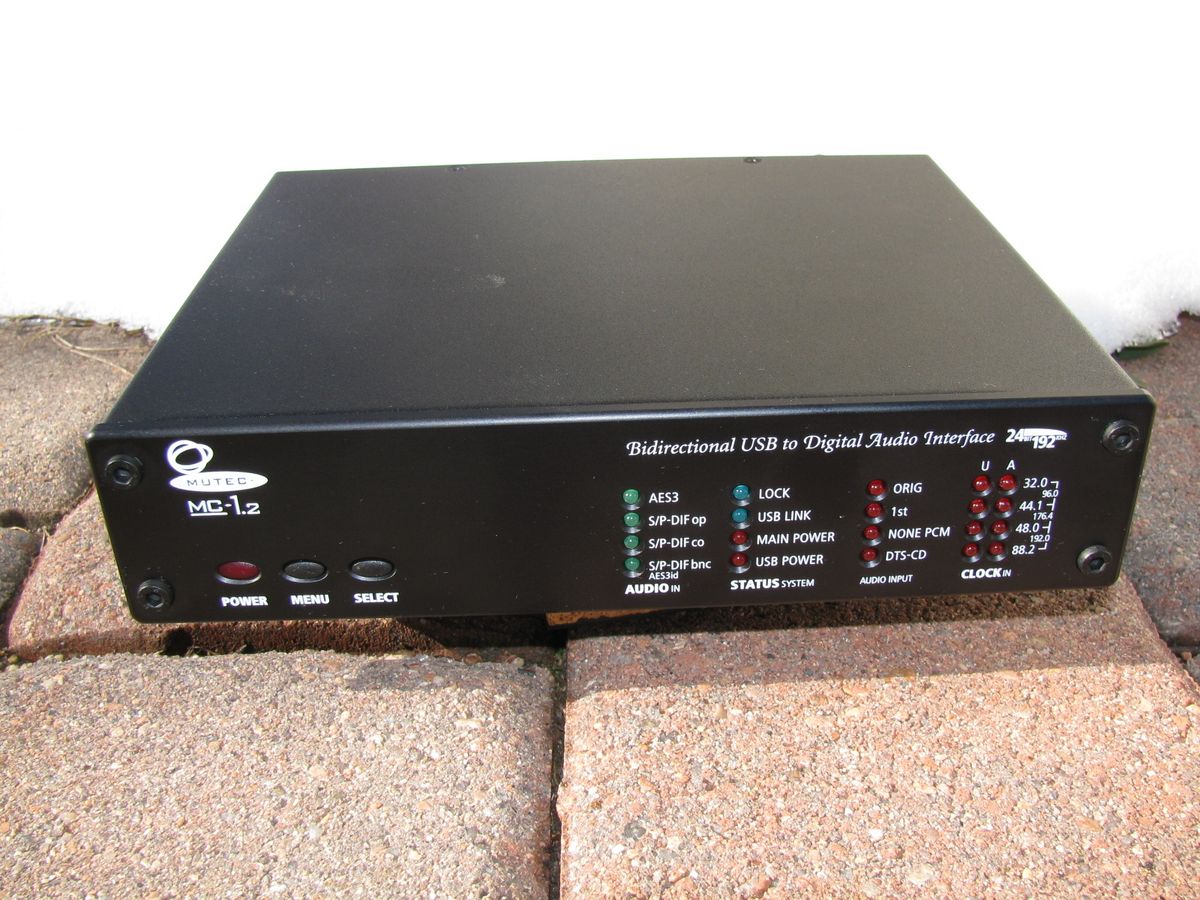
One possible cause of audio interface crackling is an insufficient power supply. If your audio interface doesn’t receive enough power, it may not function optimally, resulting in distorted or crackling sound. This is particularly common when using USB-powered audio interfaces or when multiple devices are drawing power from the same source.
2. Inadequate Buffer Size
Buffer size refers to the amount of audio data that is processed and stored in the audio interface’s buffer before being sent to your computer for playback. If the buffer size is set too low, your computer may struggle to process the audio data in real-time, causing crackling or dropout issues. On the other hand, setting the buffer size too high can introduce latency.
3. Driver Compatibility Issues
Outdated or incompatible drivers can also lead to audio interface crackling. Drivers are software components that enable communication between your audio interface and your computer’s operating system. If your drivers are not up to date or are incompatible with your system, it can result in performance issues and audio glitches.
4. Faulty Cables and Connections
Loose or faulty cables and connections can introduce interference and disrupt the audio signal, leading to crackling or distorted sound. It’s important to ensure that all cables are securely connected and in good condition. Additionally, using low-quality or damaged cables can also contribute to audio interface crackling.
5. CPU Overload
When your computer’s CPU is overloaded, it may struggle to process audio data in real-time, resulting in crackling or dropout issues. CPU overload can occur when running resource-intensive tasks simultaneously, such as running multiple plugins or recording/editing several tracks at once.
By understanding these common causes, you can now proceed to troubleshoot and resolve audio interface crackling issues. In the next section, we will provide step-by-step troubleshooting tips to help you get your audio interface back to optimal performance.
Insufficient Power Supply
An insufficient power supply is a common cause of audio interface crackling. When your audio interface doesn’t receive enough power, it can lead to performance issues and result in crackling or distorted sound. Here are some factors to consider when troubleshooting for power supply-related problems:
1. USB Power
If you’re using a USB-powered audio interface, it relies on the power provided by your computer’s USB port. However, some USB ports may not provide enough power to effectively support the audio interface’s operation. In such cases, try connecting the interface to a different USB port or consider using a powered USB hub, which can provide additional power for the interface.
2. Power Adapter
If your audio interface has a dedicated power adapter, make sure it is plugged in correctly and functioning properly. Check for any visible damage to the power cable or connectors. Additionally, ensure that you are using the correct power adapter for your audio interface model and that it meets the recommended power requirements.
3. Power Source
Consider the power source that your audio interface is connected to. Using multiple devices that draw power from the same source, such as a power strip or a USB hub, can lead to power fluctuations and inadequate power supply. Try connecting the audio interface directly to a wall outlet or a different power source to see if it resolves the crackling issue.
4. Power Management Settings
Check your computer’s power management settings, as they may affect the power output to USB ports. In some cases, power-saving modes or settings may limit the power supplied to USB devices. Adjust the power management settings to ensure maximum power output to the USB ports, particularly when using a USB-powered audio interface.
By addressing any power supply issues, you can ensure that your audio interface receives an adequate and stable power source, minimizing the chances of crackling or distorted sound.
In the next section, we’ll discuss another potential cause of audio interface crackling: inadequate buffer size. Understanding this factor is crucial for troubleshooting and resolving the issue.
Inadequate Buffer Size
The buffer size of your audio interface plays a crucial role in the real-time processing of audio data. If the buffer size is set too low, it can cause your computer’s CPU to struggle in processing the audio data in real-time, resulting in crackling or dropout issues. On the other hand, setting the buffer size too high can introduce latency, which can impact the timing of your audio recordings. Here are a few things to consider when dealing with inadequate buffer size:
1. Adjusting Buffer Size
Most audio interface software or driver control panels allow you to adjust the buffer size. Increasing the buffer size can ease the processing load on your computer’s CPU and potentially reduce crackling issues. However, keep in mind that increasing the buffer size will also introduce higher latency, which can affect real-time monitoring during recording sessions. Finding a balance between buffer size and latency is crucial to achieving optimal performance.
2. System and Software Requirements
Make sure that your computer meets the system requirements outlined by your audio interface manufacturer. Insufficient computing power or outdated operating systems may result in inadequate buffer performance. Check the official documentation or website of your audio interface to ensure compatibility and optimal performance.
3. Resource-Intensive Tasks
If you have multiple resource-intensive tasks running simultaneously, such as running numerous plugins or recording/editing multiple tracks at once, it can put a strain on your computer’s CPU and impact audio performance. Prioritize tasks and consider reducing the number of active plugins or tracks to alleviate CPU load and improve audio performance.
By adjusting buffer settings, ensuring system compatibility, and managing resource-intensive tasks, you can optimize the buffer performance of your audio interface and reduce crackling or dropout issues. In the next section, we’ll explore another potential cause of audio interface crackling: driver compatibility issues.
Driver Compatibility Issues
Driver compatibility issues can often be the culprit behind audio interface crackling. Drivers are software components that allow your audio interface to communicate effectively with your computer’s operating system. Outdated or incompatible drivers can result in performance issues, including crackling or distorted sound. Here’s what you should consider when addressing driver compatibility issues:
1. Check for Updates
Regularly check for driver updates from the manufacturer’s website. Newer driver versions often address compatibility issues and improve overall performance. Download and install the latest driver specifically designed for your audio interface model and computer’s operating system.
2. Remove Conflicting Drivers
Conflicting drivers can cause clashes and lead to audio interface crackling. If you have multiple audio interfaces or audio devices connected to your computer, ensure that only the necessary drivers are installed. Remove any outdated or unnecessary drivers to prevent potential conflicts.
3. Clean Installation
If you continue to experience crackling issues even after updating the drivers, consider performing a clean installation of the audio interface drivers. Uninstall the current drivers completely, restart your computer, and then install the latest version of the drivers from scratch.
4. System Compatibility
Verify that your audio interface is compatible with your computer’s operating system. Some audio interfaces may not have updated drivers available for newer operating systems, causing compatibility issues. Check the manufacturer’s website or contact their support to ensure compatibility and inquire about any known issues.
By addressing driver compatibility issues, you can ensure that your audio interface and computer work harmoniously, resulting in smooth and crackling-free audio performance. In the next section, we’ll discuss another possible cause of audio interface crackling: faulty cables and connections.
Faulty Cables and Connections
Faulty cables and connections can introduce interference and disrupt the audio signal, leading to crackling or distorted sound in your audio interface setup. It’s crucial to ensure that all cables and connections are in good condition and properly connected. Here are some steps to consider when dealing with faulty cables and connections:
1. Check Cable Integrity
Inspect all cables connected to your audio interface, including USB, XLR, and TRS cables. Look for any visible signs of damage, such as frayed wires or loose connectors. If you notice any issues, replace the faulty cables with new ones to ensure a clean and reliable audio signal.
2. Secure Connections
Make sure that all connections between your audio interface, microphones, instruments, and speakers are secure and tight. Sometimes, loose connections can cause intermittent crackling or audio dropouts. Detach and reattach the cables, ensuring a snug fit, to eliminate any loose connections that could potentially introduce interference.
3. Avoid Cable Interference
Keep audio cables away from power cables, transformers, Wi-Fi routers, or any other sources of electromagnetic interference. Crosstalk between cables can result in crackling or buzzing sounds. Try rearranging cables or positioning them away from potential sources of interference to minimize audio disruption.
4. Use Quality Cables
Using low-quality or damaged cables can contribute to audio interface crackling. Invest in high-quality cables that are specifically designed for audio applications. Shielded cables can provide better protection against interference, resulting in cleaner audio signals and reducing the chances of crackling.
By ensuring cable integrity, securing connections, avoiding interference, and using quality cables, you can minimize the risk of audio interface crackling caused by faulty cables and connections. In the next section, we’ll explore another potential cause: CPU overload.
CPU Overload
CPU overload can be a significant factor contributing to audio interface crackling. When your computer’s CPU is overwhelmed with resource-intensive tasks, such as running multiple plugins or recording and editing multiple tracks simultaneously, it can struggle to process the audio data in real-time. This can result in crackling or dropout issues. Here are some steps to address CPU overload:
1. Close Unnecessary Applications
Before using your audio interface, close any unnecessary applications running in the background. These applications consume CPU resources and can impact your computer’s ability to handle real-time audio processing. Closing non-essential applications helps free up CPU power for your audio production needs.
2. Disable Background Processes
In addition to closing applications, consider disabling any unnecessary background processes or services that may be running on your computer. These processes can consume valuable CPU power, potentially causing overload and audio interface crackling. Use a task manager or system monitor to identify and disable any resource-intensive background processes.
3. Manage Plugin Usage
If you’re experiencing CPU overload while using multiple plugins, try reducing their usage. Use only the necessary plugins for your project and consider freezing or bouncing tracks with heavy plugin chains to reduce CPU load. Additionally, consider using more CPU-efficient plugin alternatives or optimizing plugin settings to reduce CPU usage without compromising audio quality.
4. Increase Buffer Size
If CPU overload continues to be an issue, increasing the buffer size can help alleviate the strain on your computer’s CPU. A larger buffer size allows your computer more time to process audio data, reducing the likelihood of crackling or dropout issues. However, keep in mind that increasing buffer size also introduces latency, so finding the right balance is essential.
By closing unnecessary applications, disabling background processes, managing plugin usage, and adjusting the buffer size, you can effectively manage CPU overload and reduce the chances of audio interface crackling. In the next section, we will explore troubleshooting steps to help resolve audio interface crackling issues.
Troubleshooting Audio Interface Crackling Issues
When you encounter audio interface crackling, it’s essential to troubleshoot and identify the underlying cause to resolve the issue. Here are step-by-step troubleshooting tips to help you address and mitigate audio interface crackling:
Step 1: Check Power Supply
Ensure that your audio interface is receiving an adequate power supply. Consider using a powered USB hub or connecting the interface directly to a wall outlet. In addition, check the power adapter and cables for any visible damage or loose connections and ensure they are functioning properly.
Step 2: Adjust Buffer Size
Experiment with adjusting the buffer size settings on your audio interface. Increasing the buffer size can reduce the load on your computer’s CPU and potentially alleviate audio interface crackling. However, finding the right balance between buffer size and latency is crucial for optimal performance.
Step 3: Update Drivers
Regularly check for driver updates from the manufacturer’s website. Outdated or incompatible drivers can cause audio interface crackling. Download and install the latest drivers specifically designed for your audio interface model and your computer’s operating system. Consider performing a clean installation if issues persist after updating the drivers.
Step 4: Check Cables and Connections
Inspect all cables and connections between your audio interface, microphones, instruments, and speakers. Ensure that they are securely connected, and there are no visible signs of damage or loose connections. Replace any faulty cables and position them away from potential sources of interference.
Step 5: Manage CPU Load
Avoid CPU overload by closing unnecessary applications and disabling background processes. If you experience excessive CPU usage due to multiple plugins, consider reducing their usage or optimizing their settings. Increasing the buffer size can also help manage CPU load, but be mindful of latency.
By following these troubleshooting steps, you can identify and address the underlying causes of audio interface crackling. Remember to test your audio interface after each step to determine if the issue has been resolved. If problems persist, consider reaching out to the manufacturer’s support for further assistance.
Step 1: Check Power Supply
The power supply is a crucial factor in the proper functioning of your audio interface. Inadequate power supply can lead to various issues, including audio interface crackling. To troubleshoot power supply-related problems, follow these steps:
1. Use a Dedicated Power Outlet
Connect your audio interface directly to a dedicated power outlet rather than using power strips or extension cords. This ensures a stable power source and reduces the chances of power fluctuations that can contribute to crackling sound.
2. Verify Power Adapter Stability
If your audio interface requires a power adapter, ensure that it is properly connected and functioning correctly. Check for any physical damage to the power cable or the adapter itself. If you suspect the power adapter is faulty, consider purchasing a replacement from the manufacturer.
3. USB Power Considerations
If you are using a USB-powered audio interface, verify that the USB port can provide sufficient power. Some USB ports on computers and laptops may not deliver ample power to support the audio interface’s operation. In such cases, try connecting the interface to a different USB port or consider using a powered USB hub.
4. Avoid Power Overload
Avoid overloading power outlets or USB ports by connecting too many devices. Excessive power draw from multiple devices can lead to voltage drops and inadequate power supply to your audio interface. Consider disconnecting unnecessary devices or using separate power sources for high-power devices to prevent power overload.
5. Power Management Settings
Check your computer’s power management settings, as they can affect the power output to USB ports. Sometimes, power-saving modes or settings can limit the power supplied to USB devices, causing issues with your audio interface. Adjust the power management settings to ensure maximum power output to USB ports.
By checking the power supply and ensuring a stable and adequate power source for your audio interface, you can eliminate power-related issues and reduce the chances of audio interface crackling. If the problem persists, proceed to the next troubleshooting step.
Step 2: Adjust Buffer Size
The buffer size is a critical setting in your audio interface that determines the amount of audio data processed and stored before it is transferred to your computer for playback. Adjusting the buffer size can help address audio interface crackling caused by CPU overload. Follow these steps to optimize your buffer size:
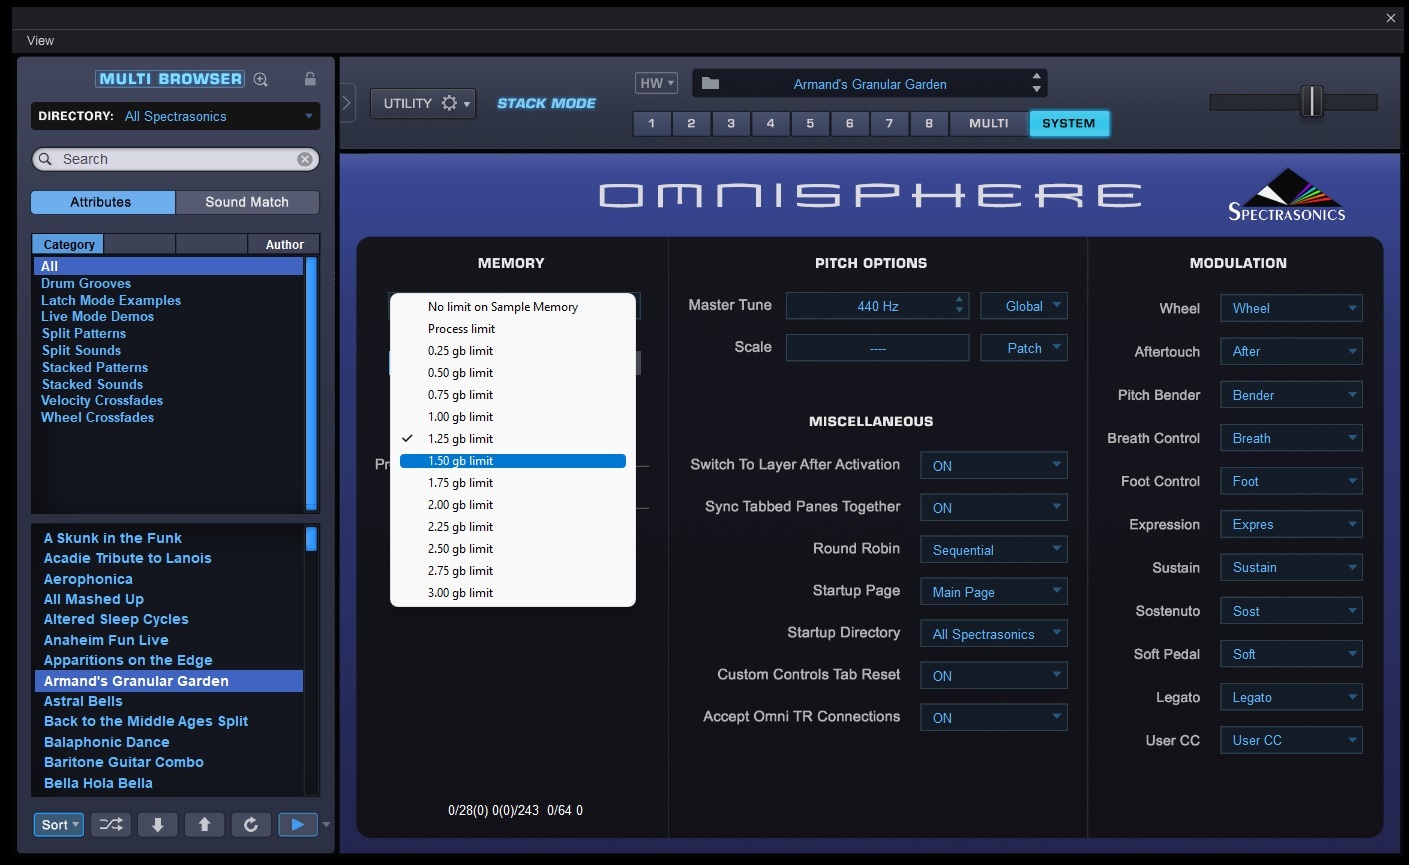
1. Understand Buffer Size
Buffer size refers to the amount of audio data stored in the buffer at a given time. A smaller buffer size allows for lower latency but increases the workload on your computer’s CPU, which can lead to crackling or dropouts. A larger buffer size reduces the workload on the CPU but increases latency.
2. Increase Buffer Size
If you’re experiencing audio interface crackling, try increasing the buffer size. This setting can be adjusted in your audio interface’s control panel or software. Increasing the buffer size gives your computer more time to process the audio data, reducing the strain on the CPU and minimizing crackling issues. However, larger buffer sizes do introduce additional latency, which may affect real-time monitoring during recording sessions.
3. Test Different Buffer Sizes
Experiment with different buffer sizes to find the optimal setting for your audio workflow. Start with a larger buffer size, such as 512 or 1024 samples, and gradually decrease it while monitoring for any audio crackling. Find the lowest buffer size that avoids audio issues while maintaining an acceptable level of latency for your specific needs.
4. Consider System Performance
Take into account the performance capabilities of your computer when adjusting the buffer size. Lower-performance systems may struggle with smaller buffer sizes, leading to audio interface crackling. If you’re working with resource-intensive projects or running many plugins simultaneously, a larger buffer size may be necessary to prevent CPU overload.
By adjusting the buffer size appropriately, you can alleviate CPU strain and minimize the chances of audio interface crackling. Find the right balance between buffer size and latency to achieve smooth, glitch-free audio performance. If adjusting the buffer size doesn’t resolve the issue, proceed to the next troubleshooting step.
Step 3: Update Drivers
Updating your audio interface drivers is essential for keeping your system up to date and resolving compatibility issues that may cause audio interface crackling. Follow these steps to ensure your drivers are up to date:
1. Check Manufacturer’s Website
Visit the manufacturer’s website of your audio interface to check for any available driver updates. Look for a “Support” or “Downloads” section on their website. Locate the specific driver for your audio interface model and ensure it is compatible with your operating system.
2. Download and Install Latest Driver
Download the latest driver from the manufacturer’s website. Follow the installation instructions provided by the manufacturer to install the driver on your computer. This typically involves running an installer file and following the on-screen prompts.
3. Clean Installation
If you continue to experience audio interface crackling after updating the drivers, consider performing a clean installation. Start by uninstalling the current audio interface drivers from your computer. Access the Control Panel or Settings and navigate to the “Programs” or “Apps” section to uninstall the drivers. Restart your computer after the uninstallation process is complete.
Once your computer has restarted, install the latest driver you downloaded from the manufacturer’s website. Follow the installation instructions provided by the manufacturer, ensuring you are using the correct driver for your audio interface model and operating system.
4. Verify Driver Compatibility
Ensure the driver you installed is compatible with your operating system. Some audio interface models may not have updated drivers available for newer operating systems. Check the manufacturer’s website or support documentation to verify compatibility and inquire about any known issues specific to your operating system.
Regularly updating your audio interface drivers will ensure optimal functionality and reduce the chances of audio interface crackling. If the issue persists after updating the drivers, proceed to the next troubleshooting step.
Step 4: Check Cables and Connections
Faulty cables and connections are common culprits of audio interface crackling. To rule out any issues in this area, follow these steps to check your cables and connections:
1. Inspect the Cables
Visually examine all cables connected to your audio interface, including USB, XLR, and TRS cables. Look for any signs of physical damage, such as frayed wires or bent connectors. Damaged cables can cause interference and result in crackling or distorted sound. Replace any cables that show visible signs of wear and tear.
2. Ensure Proper Connection
Ensure that all cables are securely and properly connected to their respective ports. Verify that the connectors are fully inserted and firmly attached. Loose connections can lead to intermittent signal disruptions and cause audio interface crackling. Reconnect any loose cables, making sure they are snugly fitted into their respective ports.
3. Position Cables Properly
Position your cables away from potential sources of interference. Keep audio cables separate from power cables, Wi-Fi routers, or any other devices that emit electromagnetic signals. Interference from nearby devices can introduce noise and contribute to audio interface crackling. Route cables in a way that minimizes contact or proximity to other cables or electronic equipment.
4. Test with Different Cables
If you suspect that a particular cable may be causing audio interface crackling, try replacing it with a known working cable. Use high-quality cables specifically designed for audio applications. Faulty cables or cables of lower quality can introduce signal degradation and result in audio issues.
By ensuring cable integrity, proper connection, and minimizing interference, you can eliminate cable-related issues that may lead to audio interface crackling. If the issue persists, proceed to the next troubleshooting step.
Step 5: Manage CPU Load
High CPU load can be a significant factor contributing to audio interface crackling. To address CPU overload issues, follow these steps to manage your CPU load effectively:
1. Close Unnecessary Applications
Before using your audio interface, close any unnecessary applications running in the background. Applications that consume CPU resources can impact your computer’s ability to handle real-time audio processing. Shutting down non-essential applications frees up CPU power for your audio production needs.
2. Disable Background Processes
Disable any unnecessary background processes or services that may be consuming CPU resources. Use a task manager or system monitor to identify resource-intensive processes and disable them temporarily. This helps reduce CPU load and alleviates the chances of audio interface crackling.
3. Optimize Plugin Usage
If you experience CPU overload caused by running multiple plugins, optimize their usage. Use only the necessary plugins for your project and consider freezing or bouncing tracks with heavy plugin chains to reduce CPU load. Additionally, some plugins offer low CPU mode options or optimization settings that can help reduce CPU usage without sacrificing audio quality.
4. Increase Buffer Size
Increase the buffer size if your CPU is struggling to handle real-time audio processing, even after optimizing other aspects. A larger buffer size eases the processing load on the CPU, reducing the likelihood of crackling or dropout issues. However, keep in mind that larger buffer sizes introduce additional latency, which may impact real-time monitoring during recording sessions.
5. Upgrade Your CPU or System
If you consistently encounter CPU overload issues despite optimizations, you may need to consider upgrading your CPU or system. Audio production software and plugins place demanding requirements on the CPU, and an older or less powerful CPU may struggle to handle the load. Consult with a professional or IT expert to determine the most suitable upgrades for your specific needs.
By managing CPU load effectively, you can minimize the chances of audio interface crackling and ensure smooth, uninterrupted audio performance. If the issue persists, it may be helpful to consult with technical support or an audio professional for further assistance.
Conclusion
Audio interface crackling can be a frustrating issue that disrupts your recording or listening experience. However, by understanding the common causes and following the appropriate troubleshooting steps, you can address this problem effectively. Here’s a recap of the steps we discussed:
Step 1: Check Power Supply – Ensure your audio interface receives an adequate and stable power supply, considering USB power, dedicated power outlets, and power management settings.
Step 2: Adjust Buffer Size – Experiment with different buffer sizes to find the optimal setting that balances CPU load and latency, reducing the chances of audio interface crackling caused by CPU overload.
Step 3: Update Drivers – regularly update your audio interface drivers to resolve compatibility issues and ensure optimal performance.
Step 4: Check Cables and Connections – Inspect cables for damage, ensure secure connections, and minimize interference to eliminate crackling caused by faulty cables or connections.
Step 5: Manage CPU Load – Close unnecessary applications, disable background processes, optimize plugin usage, and adjust buffer size to manage CPU load effectively and prevent crackling issues.
By following these troubleshooting steps, you can identify and resolve the specific issue causing audio interface crackling. It’s important to note that each troubleshooting step builds upon the previous ones, so it’s recommended to go through them in order.
If you’ve exhausted all troubleshooting steps and the problem persists, consider seeking assistance from technical support or consulting an audio professional for further guidance.
Remember, a well-maintained and optimized audio interface setup will ensure smooth and uninterrupted audio performance, allowing you to focus on your creative endeavors. Happy recording and listening!