Home>Production & Technology>Background Music>How To Make A Photo Album With Background Music


Background Music
How To Make A Photo Album With Background Music
Published: October 27, 2023
Learn how to create a stunning photo album with the perfect background music to enhance your memories. Step-by-step guide to add background music to your photo album.
(Many of the links in this article redirect to a specific reviewed product. Your purchase of these products through affiliate links helps to generate commission for AudioLover.com, at no extra cost. Learn more)
Table of Contents
Introduction
Welcome to the digital era where capturing and preserving memories has become easier than ever. Gone are the days of bulky physical photo albums. With the advancement of technology, you can now create stunning digital photo albums with the added touch of background music. Adding background music to your photo album not only enhances the viewing experience but also helps evoke emotions and create a memorable atmosphere.
In this article, we will guide you through the process of making a photo album with background music. Whether it’s for a special occasion like a wedding, anniversary, or vacation memories, or simply a collection of your favorite photos, customizing your photo album with background music will take it to the next level.
Before we dive into the step-by-step process, let’s briefly discuss the materials you will need. Firstly, ensure you have a computer or laptop with photo editing software installed. There are many options available, ranging from basic editing tools to advanced software with extensive features. Choose one that suits your level of expertise and budget. Additionally, gather the photos you want to include in your album. It is recommended to select high-quality images to ensure the best visual experience.
Once you have all the necessary materials, follow the steps outlined in this article to create a captivating photo album with background music. So, get ready to showcase your cherished moments in a personalized and dynamic way!
Step 1: Gathering Materials
Before you begin creating your photo album with background music, it’s important to gather all the necessary materials. To ensure a smooth and efficient process, make sure you have the following:
- Computer or Laptop: You will need a computer or laptop with sufficient processing power to handle the photo editing software and the rendering of your final photo album.
- Photo Editing Software: Choose a photo editing software that suits your needs and level of expertise. Popular options include Adobe Photoshop, Lightroom, or even free alternatives like GIMP or Canva.
- High-Quality Photos: Select the photos you want to include in your album. Make sure they are high in resolution and capture the essence of the memories you want to showcase.
- Background Music: Choose the background music that will accompany your photo album. Consider the mood and theme you want to convey and select music that complements it. You can choose from your personal library or explore royalty-free music websites.
- Internet Connection: A stable internet connection is necessary for downloading software, accessing music libraries, and sharing your final photo album online.
- Storage Space: Ensure you have enough storage space on your computer or an external hard drive to store all the photos, music, and the final photo album itself.
Gathering these materials beforehand will save you time and allow you to focus on the creative aspects of making your photo album. Once you have everything in place, you’re ready to move on to the next step: selecting and organizing your photos!
Step 2: Selecting and Organizing Photos
Now that you have all your materials ready, it’s time to start selecting and organizing the photos you want to include in your photo album. This step is crucial as it sets the foundation for your album’s storytelling and overall aesthetic. Follow these guidelines to make the process smooth and enjoyable:
- Choose high-quality photos: Select photos that are clear, well-lit, and evoke the emotions and memories you want to preserve. High-resolution images will ensure that your photo album looks professional and visually appealing.
- Variety and storytelling: Aim for a mix of candid shots, posed pictures, and details that capture the essence of the moment or event. This variety will add depth and visual interest to your photo album. Moreover, try to organize the photos in a way that tells a story or highlights a specific theme.
- Consider the album’s size: Depending on the purpose of your album, decide on the number of photos you want to include. Avoid overcrowding the album with too many images, as it can be overwhelming for the viewer. Select a manageable number of photos to ensure that each one gets the attention it deserves.
- Create subfolders: To keep your photos organized, create subfolders for each section or theme within your photo album. This will make it easier to locate specific images during the editing process.
- Edit and enhance: Before finalizing your photo selection, consider editing and enhancing your photos for optimal results. Adjust the brightness, contrast, and color balance if necessary. You can also crop or resize the images to ensure consistency throughout the album.
By following these steps, you will have a well-curated collection of photos that take your viewers on a memorable journey. Once you have selected and organized your photos, it’s time to move on to the next step: choosing the perfect background music for your album!
Step 3: Choosing Background Music
Now that you have your photos organized, it’s time to choose the perfect background music for your photo album. The right music can elevate the viewing experience, evoke emotions, and create a cohesive atmosphere. Here’s how you can choose the ideal background music:
- Consider the mood: Think about the overall mood you want to convey through your photo album. Is it joyful, romantic, or nostalgic? Choose music that aligns with the emotions and theme of your photos. For example, if you’re creating a photo album of a wedding, you might choose romantic and uplifting music.
- Explore different genres: Don’t be afraid to explore different genres of music to find the one that resonates with your photos. Whether it’s classical, pop, jazz, or ambient, the genre you choose should enhance the storytelling and bring out the desired emotions.
- Match the tempo: Consider the tempo of your chosen background music. If your photo album consists of fast-paced and lively moments, opt for music with a faster tempo. For more serene and reflective moments, choose slower-paced music. The tempo should complement the energy and mood of your photos.
- Avoid copyrighted music: If you plan to share your photo album online or use it for commercial purposes, it’s important to use royalty-free or licensed music to avoid copyright infringement. There are numerous platforms that offer royalty-free music libraries where you can find a wide range of options to suit your needs.
- Preview and test: Before finalizing your background music, listen to different tracks and see how they fit with your photos. Pay attention to the timing and transitions between photos to ensure a seamless flow. You can even create a short preview of your photo album with different music options to see which one works best.
By considering the mood, exploring different genres, matching the tempo, and being mindful of copyright regulations, you can select the perfect background music that complements your photo album. Once you have chosen your music, it’s time to move on to the next step: editing your photos to enhance their visual appeal!
Step 4: Editing Photos
After selecting your background music, it’s time to enhance and polish your photos through editing. Editing your photos will help you achieve a consistent and professional look across your entire photo album. Follow these steps to edit your photos:
- Adjust the exposure: Ensure that the exposure of your photos is balanced. Increase or decrease the brightness, contrast, and shadows if necessary to bring out the details and make your photos visually appealing.
- Crop and straighten: Crop your photos to remove any unnecessary elements and focus on the main subject. Use the rule of thirds to guide your compositions. Additionally, straighten any tilted photos to create a more visually pleasing presentation.
- Enhance colors: Adjust the saturation and vibrance to make the colors pop. You can also fine-tune individual colors to achieve the desired look. Be mindful of preserving the natural tones of your photos while enhancing their overall appeal.
- Remove distractions: Use the cloning or healing tools to remove any distracting elements from your photos. This could include blemishes, objects, or people that take away from the main focus of the image.
- Add filters or presets: Experiment with different filters or presets to give your photos a unique and consistent look. This can help tie all the photos together and create a cohesive aesthetic throughout the photo album.
- Save both edited and original versions: It is important to keep the original versions of your photos untouched to maintain their authenticity. Save a copy of the edited photos separately to ensure that you have both options available.
Remember to strike a balance while editing your photos. While it’s important to enhance their visual appeal, avoid over-processing them to the point where they appear unnatural. The goal is to showcase the beauty of the captured moments.
Once you have completed the editing process for all your photos, it’s time to move on to the next step: adding the carefully chosen background music to your photo album!
Step 5: Adding Background Music
With your edited photos ready, it’s time to add the carefully chosen background music to your photo album. Adding background music will enhance the overall experience and create an emotional connection with your viewers. Follow these steps to seamlessly integrate the music:
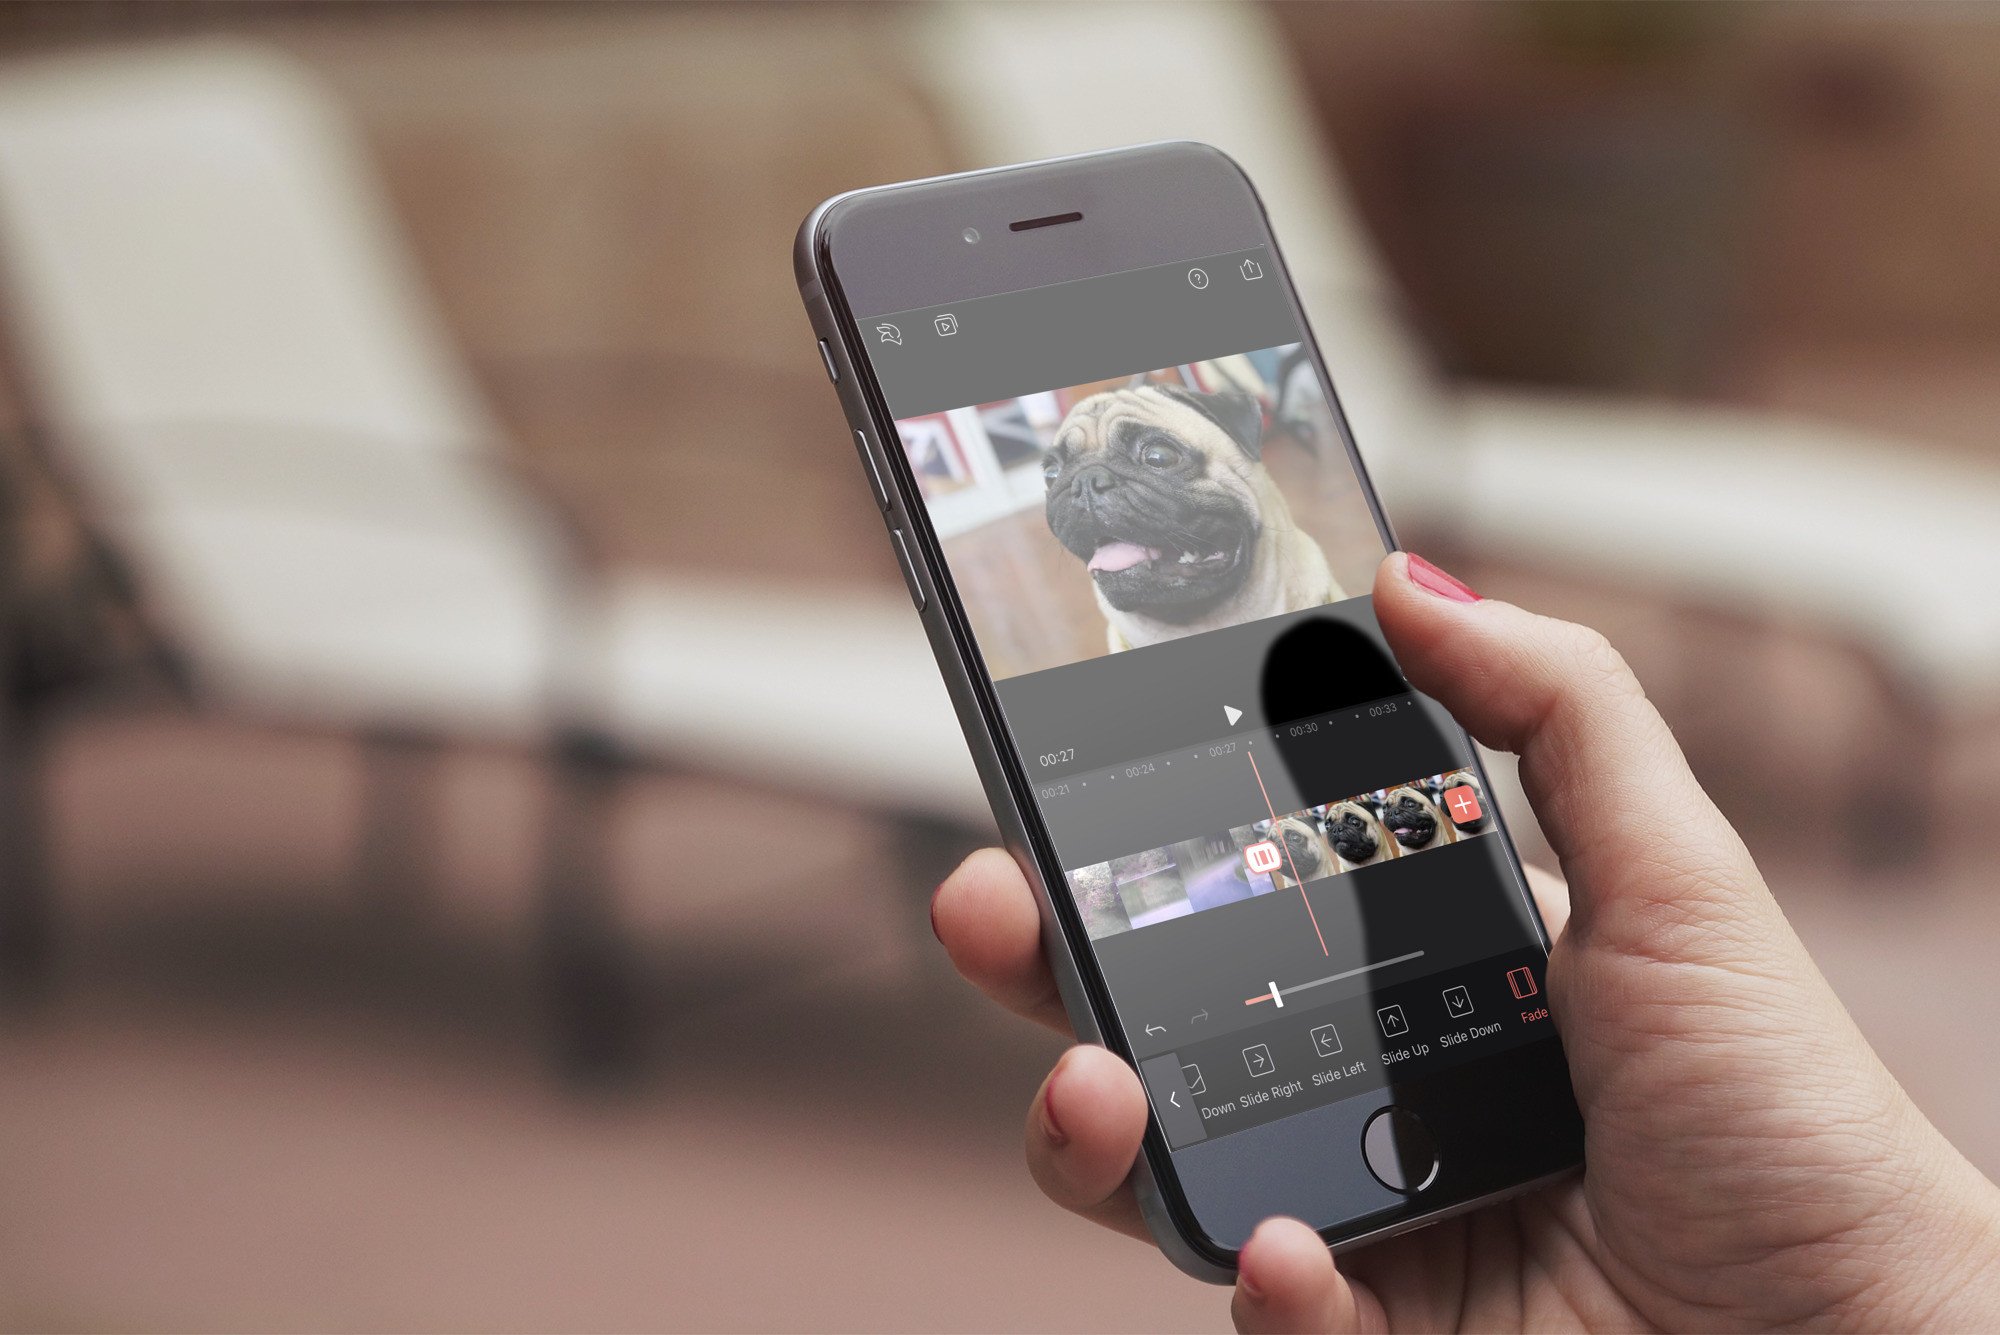
- Choose a video editing software: Select a video editing software that allows you to combine your photos and background music. Popular options include Adobe Premiere Pro, iMovie, or Windows Movie Maker. Make sure the software supports audio integration.
- Import your photos: Import your edited photos into the video editing software. Arrange them in the desired order, keeping in mind the flow of the storytelling and the rhythm of the music.
- Import the background music: Import the selected background music into the video editing software. Trim the music to fit the length of your photo album or adjust its duration to align with the timing of each photo.
- Adjust audio levels: Balance the audio levels between the background music and any audio captured alongside your photos (such as voice recordings or ambient sounds). Ensure that the music is audible but not overpowering.
- Add transitions: Add smooth transitions between each photo to create a seamless visual flow. Options like fade-ins, fade-outs, or cross dissolve can help blend the images together and make the viewing experience more engaging.
- Sync photos with music: Time your photos with the music to create a cohesive and synchronized experience. Try to match the pacing of the photos with the rhythm and mood of the music.
- Preview and fine-tune: Take a preview of your photo album with the background music and make any necessary adjustments. Pay attention to the overall flow, timing, and synchronization between the visuals and the music.
By following these steps, you will be able to seamlessly integrate your chosen background music into your photo album, enhancing the emotional impact and engagement for viewers. Once you are satisfied with the timing and overall presentation, it’s time to move on to the next step: creating the final photo album!
Step 6: Creating the Photo Album
After adding the background music, it’s time to bring all the elements together and create the final photo album. This step involves compiling your edited photos, synchronized with the chosen music, into a cohesive and visually pleasing presentation. Here’s how you can create your photo album:
- Export the video: Export the project from your video editing software as a video file. Choose the appropriate settings for resolution, format, and quality based on your intended use. Common formats include MP4 or MOV.
- Consider slideshow software: If you prefer a slideshow format, consider using dedicated slideshow software. These tools offer various templates, transitions, and effects to enhance your photo album. Import your exported video or individual photos and customize the settings to match your vision.
- Add captions or titles: Consider adding captions or titles to your photos to provide context or highlight special moments. This can further enhance the storytelling aspect of your photo album.
- Choose a format: Decide on the format and layout for your photo album. You can opt for a digital format, such as a video file or a slideshow, or choose to create a physical photo album by printing the photos and arranging them in an album or scrapbook.
- Personalize the design: If creating a physical album, explore different design options to personalize it. Consider adding stickers, labels, or handwritten notes to make it even more special and unique.
- Arrange the photos: Arrange the photos in a logical and visually appealing order, ensuring a smooth flow. Consider adding dividers or decorative elements to separate different sections or themes within the album.
Whether you choose a digital format or a physical album, the process of creating the final photo album involves curating and arranging your photos in a way that tells a story and captures the essence of the memories. Once you have created the album, it’s time to move on to the next step: personalizing it to add your own touch!
Step 7: Personalizing the Album
Now that you have created the photo album, it’s time to add your personal touch and make it truly unique. Personalizing the album allows you to infuse your own creativity and style into the final product. Here are some ideas to personalize your photo album:
- Write captions or stories: Add captions or write stories for each photo to provide additional context or share the emotions and memories associated with them. This will give the viewer a deeper understanding of the moments captured in the album.
- Include handwritten notes: Consider adding handwritten notes throughout the album. These can be thoughtful messages or reflections that further personalize the album and add a meaningful touch.
- Decorate the album: Use stickers, decorative borders, and other embellishments to decorate the album pages. This will add visual interest and make the album visually appealing.
- Share additional mementos: Include additional mementos such as ticket stubs, postcards, or small souvenirs that are relevant to the events or moments captured in the album. These items will enhance the overall storytelling and create a more immersive experience.
- Try different layouts: Explore different page layouts to showcase your photos in interesting and creative ways. Consider using collages, overlapping photos, or varying the size and orientation of the images for a dynamic and visually appealing layout.
- Experiment with different materials: If creating a physical photo album, choose unique materials for the cover and pages. Consider using high-quality paper, fabric, or leather to create a luxurious look and feel.
- Add personal artwork or drawings: If you’re feeling particularly creative, include your own artwork or drawings alongside the photos. This personal artistic touch will make the album even more special and unique.
By personalizing your photo album, you are transforming it into a true reflection of your personality and the memories captured within. These personal touches will not only enhance your enjoyment of the album but also make it an unforgettable gift for yourself or your loved ones.
Once you have personalized your album, it’s time to move on to the final step: saving and sharing your masterpiece!
Step 8: Saving and Sharing the Album
Congratulations! You’ve successfully created a personalized photo album with background music. Now, it’s time to save and share your masterpiece with others. Follow these steps to ensure that your album is preserved and enjoyed by the intended audience:
- Save a digital copy: If you created a digital photo album, save a copy of the final video file or slideshow on your computer or external storage device. This will allow you to access and share it easily in the future.
- Create physical copies: If you opted for a physical photo album, consider making multiple copies to share with family and friends. Use a reputable printing service or print the photos yourself on high-quality paper for the best results.
- Share online: Share your photo album on social media platforms or dedicated photo sharing websites. This will allow you to reach a wider audience and receive feedback and appreciation for your creative work. Make sure to respect privacy settings and ensure the album is shared with the intended audience.
- Gift to loved ones: A personalized photo album makes for a thoughtful and meaningful gift. Consider gifting it to family members, friends, or loved ones to help them cherish the shared memories and create a lasting keepsake.
- Backup your files: To ensure that your photo album is preserved for the long term, create backups of your digital files. Store them on cloud storage platforms or external hard drives to safeguard against accidental loss or damage.
- Request feedback: Seek feedback from others who have seen your photo album. Their input can help you improve your skills and gain new perspectives on your creative work.
Remember, sharing your photo album is an opportunity to celebrate the moments captured within and connect with others through shared experiences. Whether it’s through digital platforms or physical copies, sharing your creation will bring joy to those who see it.
By completing these steps, you have successfully crafted and shared a photo album with background music. Your effort and creativity have resulted in a unique and memorable keepsake. Now, it’s time to cherish the memories and embark on future creative projects!
Conclusion
Creating a photo album with background music is a fantastic way to preserve and showcase your cherished memories. Through careful selection of photos, choosing the right background music, and adding personal touches, you can transform a simple collection of pictures into a captivating visual and auditory experience.
By following the step-by-step guide outlined in this article, you have learned how to gather the necessary materials, select and organize your photos, choose the perfect background music, and edit your photos to enhance their visual appeal. You have also discovered how to seamlessly integrate the background music into your photo album, personalize the album to add your own creative touch, and finally save and share your creation with others.
Remember, the key to a successful photo album lies in the storytelling and emotional connection it creates. Take the time to curate your photos, select music that resonates, and personalize the album to reflect your unique style and memories. Whether you choose a digital format or a physical album – or even both – your creation will be a lasting keepsake for yourself and a meaningful gift for others.
So, unleash your creativity, let the music set the mood, and embark on the journey of creating a photo album with background music that will be cherished for years to come. Start gathering your materials, select your favorite photos, and let the magic of music and visuals come together to tell your unique story.


