Home>Production & Technology>Background Music>How To Make Background Music For A Song On Garageband
Background Music
How To Make Background Music For A Song On Garageband
Modified: February 20, 2024
Learn how to create background music for your song using Garageband. Step-by-step guide to adding captivating melodies and harmonies.
(Many of the links in this article redirect to a specific reviewed product. Your purchase of these products through affiliate links helps to generate commission for AudioLover.com, at no extra cost. Learn more)
Table of Contents
- Introduction
- Step 1: Opening Garageband
- Step 2: Creating a New Project
- Step 3: Selecting a Musical Instrument
- Step 4: Choosing the Tempo and Key
- Step 5: Selecting a Drum Track
- Step 6: Adding a Bassline
- Step 7: Adding Melodic Elements
- Step 8: Adjusting the Volume and Panning
- Step 9: Adding Effects
- Step 10: Finalizing the Background Music
- Conclusion
Introduction
Background music plays a crucial role in enhancing the overall experience of a song or any audiovisual project. It sets the mood, adds depth, and creates a captivating atmosphere that draws listeners in. Whether you’re a musician, filmmaker, or content creator, knowing how to create background music can elevate your work to new heights.
In this article, we will explore how to make background music for a song using Garageband, a popular digital audio workstation for Mac. With its user-friendly interface and vast array of virtual instruments and effects, Garageband provides a perfect platform for musicians and producers to craft professional-quality background music.
We will walk you through the step-by-step process of creating background music, from opening Garageband to finalizing your composition. Whether you’re looking to create a soothing ambient backdrop or a catchy rhythmic groove, Garageband offers a range of tools and features to bring your musical ideas to life.
Even if you have limited musical knowledge or experience, Garageband’s intuitive design and built-in features will empower you to explore your creativity and experiment with different sounds and styles. So, let’s dive in and learn how to make background music that enhances your songs and projects!
Step 1: Opening Garageband
The first step in creating background music on Garageband is to open the application. If you haven’t already installed Garageband on your Mac, you can find it on the App Store or download it from the official Apple website.
Once you have Garageband installed, simply locate the application in your Applications folder or search for it using Spotlight. Double-click on the Garageband icon to launch the program.
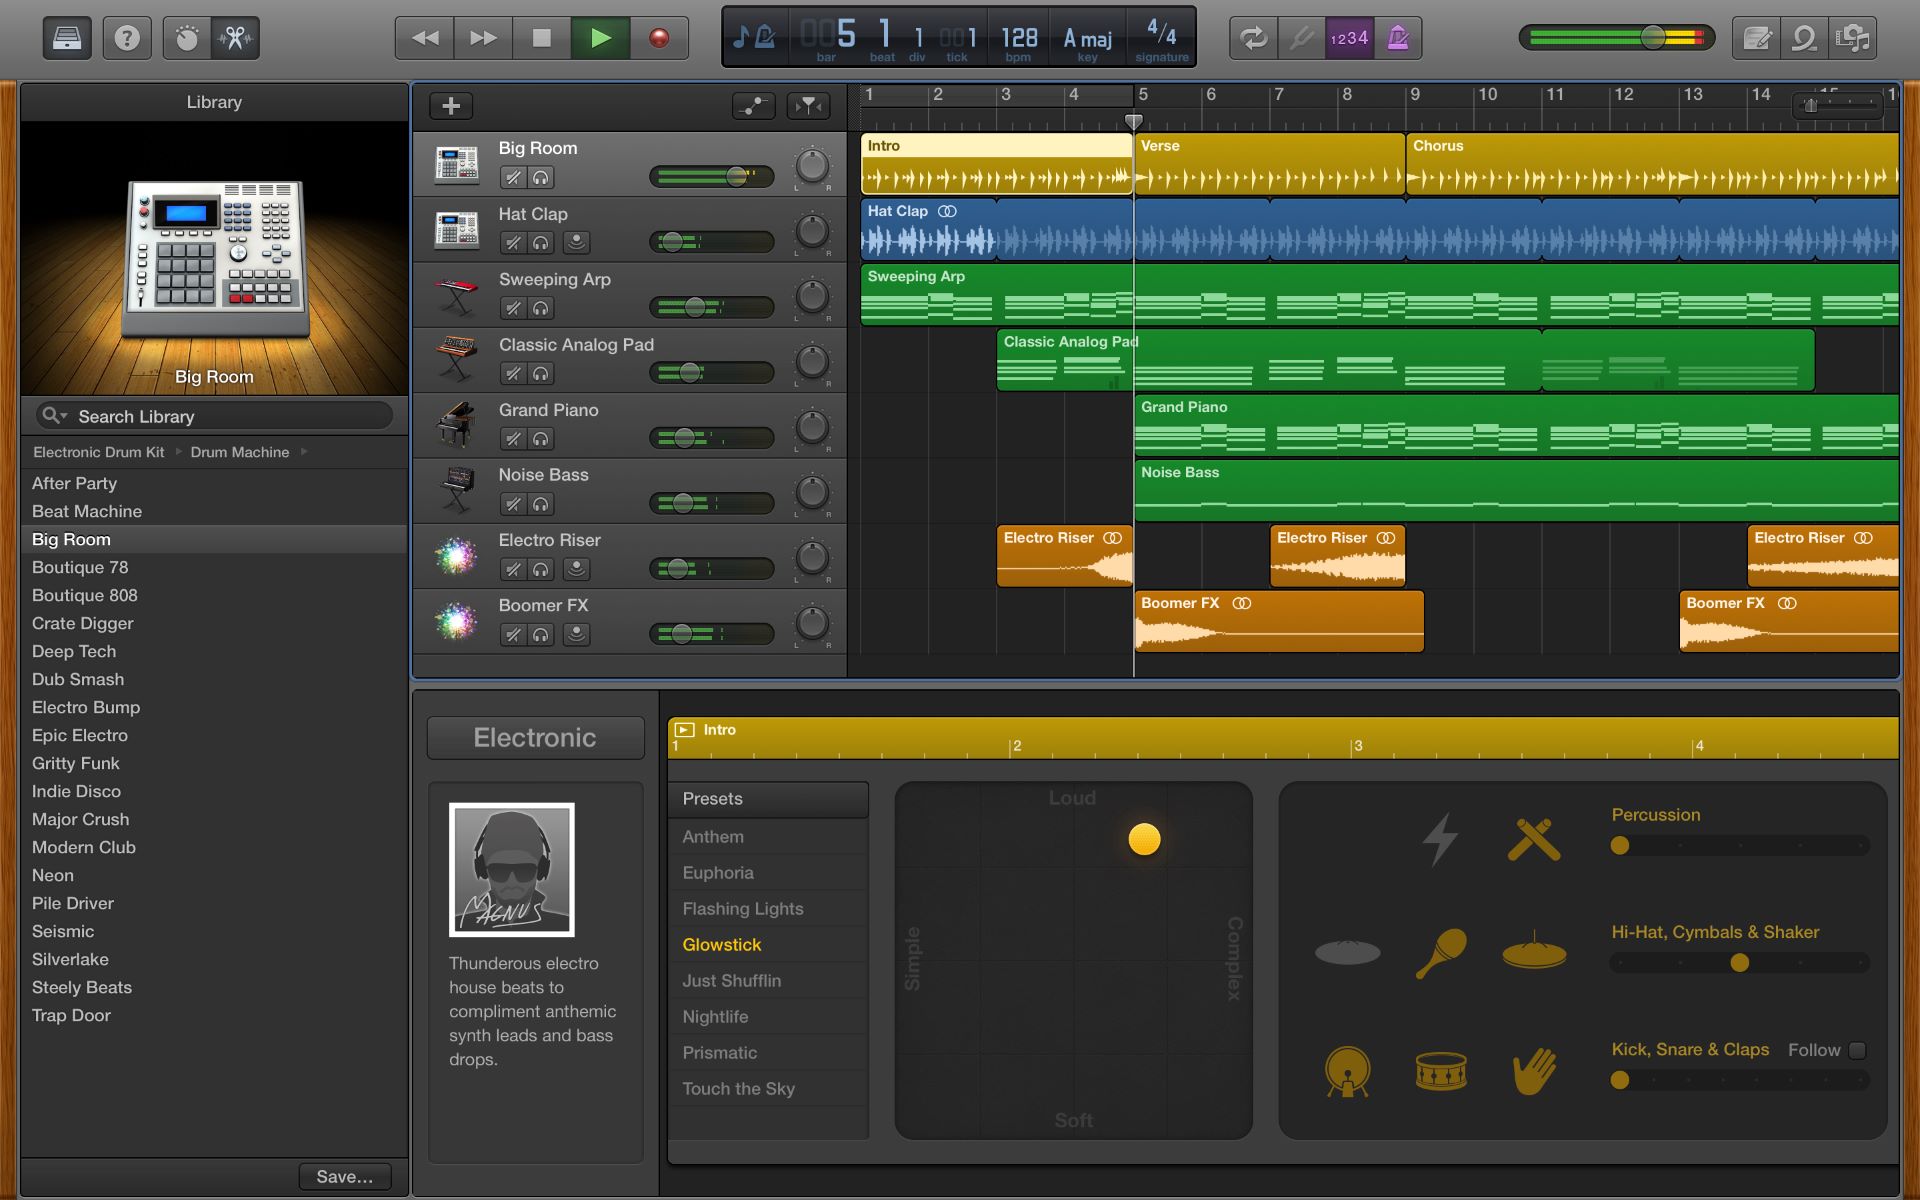
As Garageband opens, you’ll be greeted with the main window, which serves as the central hub for your music production activities. Here, you’ll find a range of options and tools to help you create your background music.
Take a moment to familiarize yourself with the various elements of the Garageband interface. At the top of the window, you’ll find the toolbar, which contains controls for playback, recording, and other essential functions.
Below the toolbar, you’ll see the track headers, where you can add and organize your musical elements. Each track represents a specific instrument or sound in your composition.
On the left side of the window, you’ll find the library, which houses a vast collection of virtual instruments, loops, and presets. This is where you’ll browse and choose the sounds you want to include in your background music.
Garageband also provides a range of options for customizing your tracks, such as adjusting volume levels, applying effects, and adding automation. These features can be accessed through the smart controls and the inspector panel on the right side of the window.
Now that you have Garageband open and have gotten acquainted with its interface, you’re ready to move on to the next step: creating a new project.
Step 2: Creating a New Project
Once Garageband is open, the next step is to create a new project to start building your background music. To create a new project, follow these simple steps:
- Click on the “New Project” button or go to “File” in the menu bar and select “New Project”.
- A dialog box will appear, prompting you to choose the type of project you want to create. Garageband offers various project templates, including “Electronic,” “Hip Hop,” “Rock,” and “Film Score.” Select the template that best suits the style and genre of your background music, or choose “Empty Project” for a blank canvas.
- Next, you’ll be prompted to name your project and select the location on your Mac where you want to save it. Choose a descriptive name that reflects the purpose or theme of your background music, and select a convenient location to store your project files.
- Once you’ve named and saved your project, click on “Create” to proceed.
After creating your project, Garageband will open a new timeline window, where you’ll begin building your background music composition. The timeline is where you arrange and edit your musical elements, such as tracks, loops, and MIDI regions.
Garageband provides a flexible and intuitive workspace, allowing you to easily build your background music piece by piece. You can add multiple tracks, including virtual instruments, audio recordings, and MIDI sequences, to create a rich and layered composition.
Remember to save your project regularly to avoid losing any progress. Use the “Save” option under the “File” menu or the keyboard shortcut Command+S to save your work.
Now that you have created a new project, it’s time to move on to the next step: selecting a musical instrument for your background music.
Step 3: Selecting a Musical Instrument
Choosing the right musical instrument is essential in creating the perfect background music for your song. Garageband offers a wide range of virtual instruments that allow you to explore different sounds and textures. Here’s how you can select a musical instrument for your background music:
- Click on the “Library” button on the left side of the Garageband window to open the library.
- In the library, you’ll find various categories of instruments, such as keyboards, guitars, bass, drums, strings, and more. You can browse through these categories to find the instrument that fits the mood and style of your background music.
- Click on the desired instrument category to expand it. You’ll see a list of available instrument options within that category.
- Explore the different instruments by selecting and previewing them. Garageband allows you to listen to each instrument before adding it to your project. Click on an instrument to hear how it sounds.
- Once you’ve found the instrument you want to use, simply drag it onto a new track in the timeline. A new track will be created, specifically dedicated to that instrument.
Garageband also provides various customization options for each instrument. You can adjust parameters such as the attack, decay, sustain, and release to further shape the sound of the instrument. Experiment with these settings to achieve the desired tone and feel for your background music.
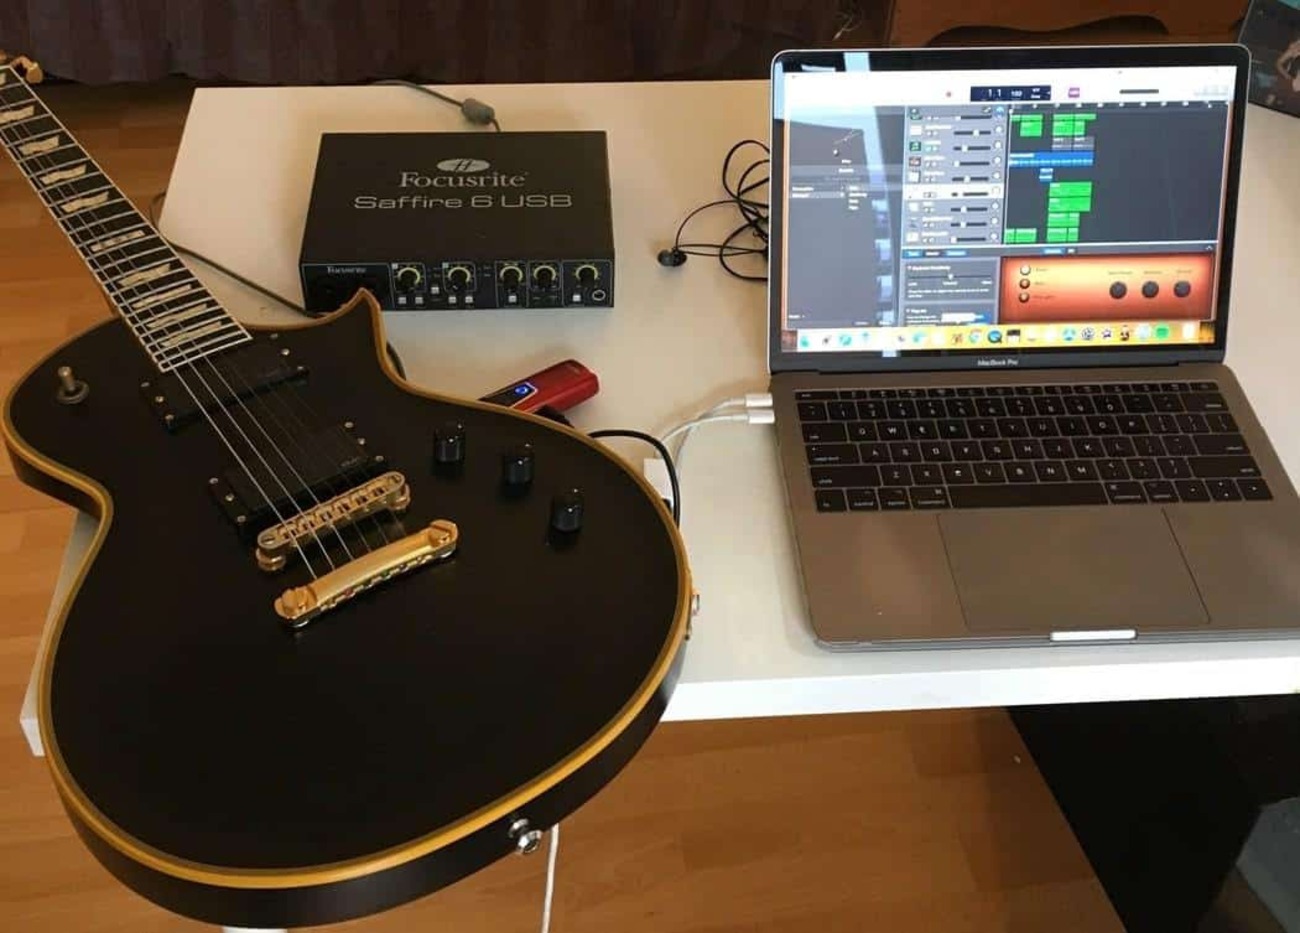
If you prefer using external MIDI devices or controllers, Garageband seamlessly integrates with them. Simply connect your MIDI device to your Mac, and Garageband will detect and configure it automatically. You can then use your MIDI controller to play and record the selected instrument.
Remember that the choice of instrument greatly influences the mood and character of your background music. Experiment with different instruments to find the perfect match for your song or project. Whether it’s a soft piano, a gritty electric guitar, or a lush string ensemble, Garageband offers a diverse selection to bring your background music to life.
Once you have selected your musical instrument, it’s time to move on to the next step: choosing the tempo and key for your background music.
Step 4: Choosing the Tempo and Key
The tempo and key of your background music play a vital role in setting the overall vibe and mood of your composition. Garageband allows you to easily adjust these parameters to match your desired style. Here’s how you can choose the tempo and key for your background music:
- In Garageband, locate the control bar at the top of the main window. This bar displays important information about your project, including the tempo and key.
- Click on the tempo indicator to activate it. You can then use your keyboard’s arrow keys or type in the desired tempo manually. Alternatively, you can tap the tempo by clicking the “Tap Tempo” button and tapping along to the rhythm.
- Next, click on the key indicator to adjust the key of your background music. A drop-down menu will appear, allowing you to choose from a selection of keys and scales. Select the key that best complements your composition.
- If you’re unsure about the key or want to experiment, Garageband offers the “Flex Time” and “Flex Pitch” features. These tools allow you to automatically adjust the pitch and timing of your recorded or imported audio to match the desired key and tempo. It’s a handy feature for making quick adjustments or exploring different musical possibilities.
Choosing the right tempo and key is crucial for creating a cohesive and harmonious background music composition. The tempo determines the speed at which your music will be played, while the key sets the tonal center and serves as the foundation for the melodic and harmonic elements.
Consider the mood and style you want to convey through your background music. A faster tempo can evoke energy and excitement, while a slower tempo can create a calming and relaxing ambiance.
Similarly, the choice of key can greatly influence the emotional impact of your composition. Experiment with different keys to find the one that resonates with your desired mood and complements the chosen musical instrument.
Once you have set the tempo and key for your background music, it’s time to move on to the next step: selecting a drum track to establish the rhythm.
Step 5: Selecting a Drum Track
The drum track is a fundamental element that provides the rhythmic foundation for your background music. Garageband offers a wide range of drum tracks and loops, allowing you to add a dynamic and groovy beat to your composition. Follow these steps to select a drum track for your background music:
- Click on the “Library” button on the left side of the Garageband window to open the library.
- In the library, select the “Drummer” category. This category provides a variety of drummers and drum kits that offer different playing styles and genres.
- Choose the drummer and drum kit that best suits the vibe and genre of your background music. You can preview the drummers by clicking on them and listening to their individual styles.
- Once you’ve selected a drummer, drag and drop it onto a new track in the timeline. Garageband will automatically create a drum track and load the corresponding drum kit.
- Adjust the settings of the drum track if needed. You can customize the complexity, swing, and other parameters to match the desired rhythm and feel.
Garageband’s drummers are virtual drum performers that provide realistic and dynamic drum patterns. Each drummer has its unique style and can adapt to changes in intensity and complexity, making them a versatile tool for creating compelling background music.
For more flexibility and control, Garageband also offers a Drum Kit Designer feature. This feature allows you to create custom drum kits by selecting different drums and adjusting their individual settings.
Once you have selected and customized your drum track, it’s time to move on to the next step: adding a bassline to enhance the rhythmic foundation of your background music.
Step 6: Adding a Bassline
Adding a bassline to your background music is crucial for enhancing the rhythmic foundation and adding depth to your composition. The bass provides a powerful low-end presence that complements the drum track and adds a sense of movement. Here’s how you can add a bassline in Garageband:
- Click on the “Library” button on the left side of the Garageband window to open the library.
- In the library, select the “Bass” category. Here, you’ll find a variety of bass sounds and styles to choose from.
- Browse through the different bass options and listen to their previews by clicking on them. Select the bass sound that fits well with the genre and mood of your background music.
- Once you’ve chosen a bass sound, drag and drop it onto a new track in the timeline. Garageband will create a new bass track and load the selected bass sound.
- Now you can start programming or playing the bassline. If you have a MIDI controller connected to your computer, you can use it to record your bassline by simply playing the desired notes. Alternatively, you can manually program the bassline using Garageband’s built-in piano roll editor.
- Experiment with different rhythms, note progressions, and techniques to create a bassline that complements your background music. Pay attention to the interaction between the bassline and the drum track, ensuring they work together seamlessly.
When adding a bassline, consider the role it plays in the overall musical arrangement. The bassline can provide a solid foundation, add melodic elements, or create rhythmic interest. Experiment with different approaches to find the best way to enhance your background music.
Garageband offers various tools and effects to further shape and sculpt your bass sound. You can adjust parameters such as EQ, compression, and distortion to fine-tune the tone and character of the bassline. Take your time to experiment and find the right balance for your composition.
Now that you’ve added a bassline, it’s time to move on to the next step: adding melodic elements to enrich your background music.
Step 7: Adding Melodic Elements
Adding melodic elements to your background music can bring an additional layer of interest and emotion to your composition. Whether it’s a catchy synth melody, a beautiful piano riff, or a soaring guitar line, Garageband provides a range of instruments and sounds to help you create captivating melodies. Follow these steps to add melodic elements to your background music:
- Click on the “Library” button on the left side of the Garageband window to open the library.
- Browse through the available instrument categories or use the search bar to find the desired melodic instrument. Garageband offers a variety of options, including keyboards, guitars, strings, synths, and more.
- Select the instrument that fits well with the mood and genre of your background music. Preview the sound by clicking on it and listening to its tone.
- Drag and drop the selected instrument onto a new track in the timeline. Garageband will create a new track and load the chosen instrument sound.
- Depending on your preference and skill level, you can play or program the melodic elements. Use a MIDI controller to record your performance or use the piano roll editor to input notes manually.
- Experiment with different melodies, note progressions, and rhythms to find a melodic line that complements your background music. Consider the interaction between the melodic elements, the bassline, and the drum track to create a cohesive and balanced composition.
Garageband’s vast selection of melodic instruments allows you to explore different styles and textures. Whether you prefer a classic piano sound, a dreamy synth, or an expressive guitar, Garageband has the tools to help you bring your melodic ideas to life.
Don’t be afraid to experiment with different effects and techniques to enhance the melodic elements. Garageband provides various presets and customization options for each instrument, allowing you to shape the sound according to your creative vision.
Remember to consider the dynamics and phrasing of your melodic lines. Adding variations in intensity, tempo, and articulation can add depth and emotion to your background music.
Now that you’ve added melodic elements, it’s time to move on to the next step: adjusting the volume and panning to create a balanced mix.
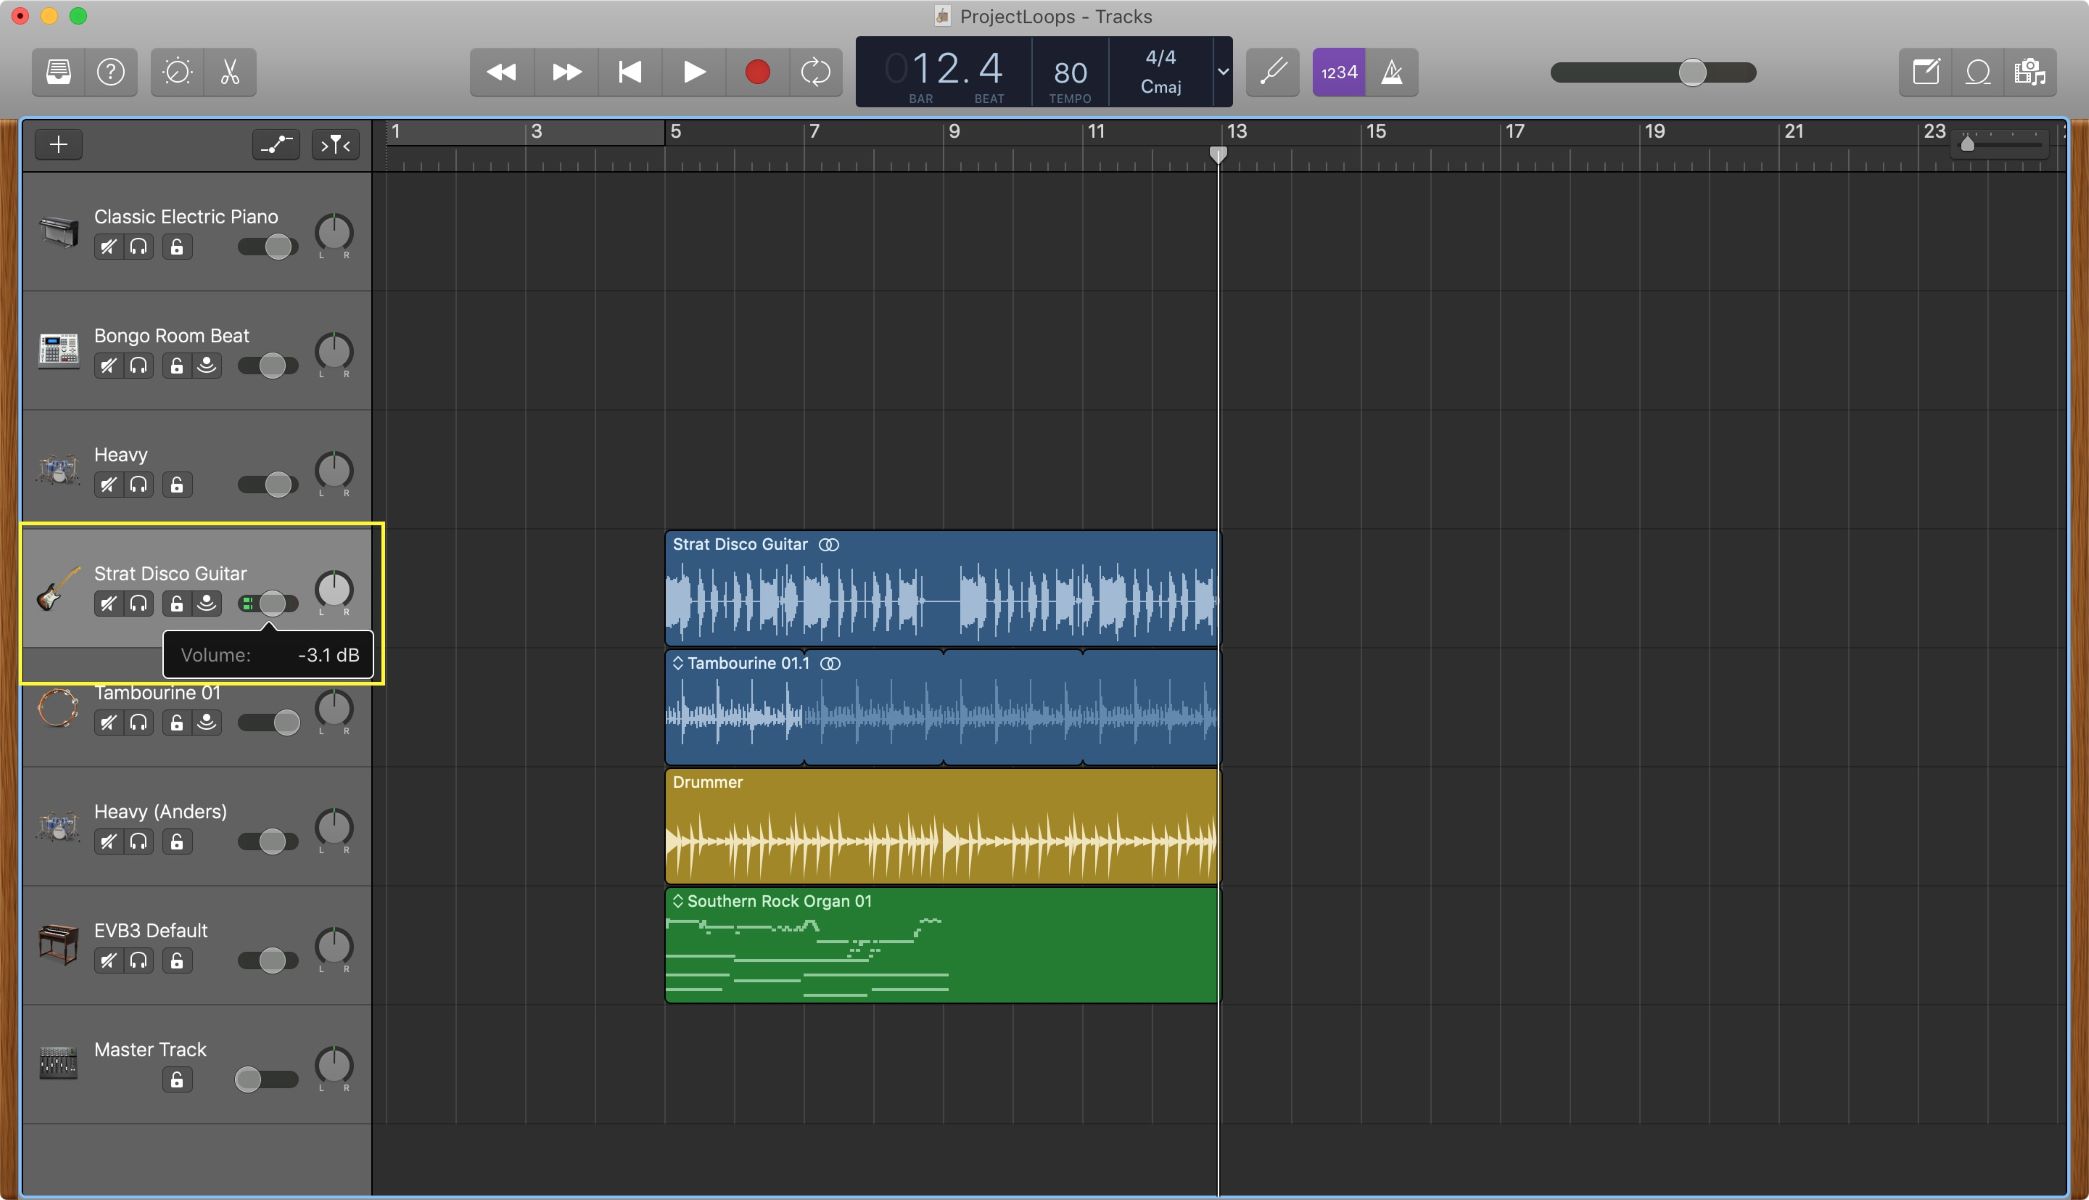
Step 8: Adjusting the Volume and Panning
Adjusting the volume and panning of the different elements in your composition is essential for creating a balanced mix and ensuring that each instrument is heard clearly in your background music. Garageband provides intuitive controls for adjusting the volume and panning of individual tracks. Follow these steps to achieve the desired balance:
- In the timeline, locate the track headers for each instrument or sound element.
- To adjust the volume of a track, move the fader up or down. Moving the fader higher increases the volume, while moving it lower decreases the volume.
- To set the panning of a track, adjust the pan knob. Moving the pan knob to the left directs the sound more towards the left speaker, while moving it to the right directs the sound more towards the right speaker. Keeping it centered creates an equal balance between both speakers.
- As you adjust the volume and panning for each track, listen carefully to how the different elements interact. Strive for a balanced mix where each instrument or element can be heard distinctly without overpowering one another.
- Consider the role of each instrument in your composition and make adjustments accordingly. For example, you may want the lead vocals or melody to be more prominent in the mix, while the background instruments provide subtle support.
- Pay attention to the stereo image of your mix. By strategically panning tracks, you can create a wider and more immersive soundstage. Experiment with panning to find the most pleasing placement for each element.
Garageband also offers additional tools for refining the balance and spatial placement of your mix. You can use EQ (equalization) to adjust the frequency balance of individual instrument tracks, and apply effects like reverb and delay to add depth and ambience.
Continuously listen to your mix as you make adjustments to ensure that all elements blend together harmoniously. Trust your ears and make subjective decisions based on what sounds best to you.
Keep in mind that mixing is a creative process, and there are no strict rules. The goal is to achieve a mix that serves the overall vision and feel of your background music.
Once you are satisfied with the volume and panning adjustments, it’s time to move on to the next step: adding effects to enhance your background music.
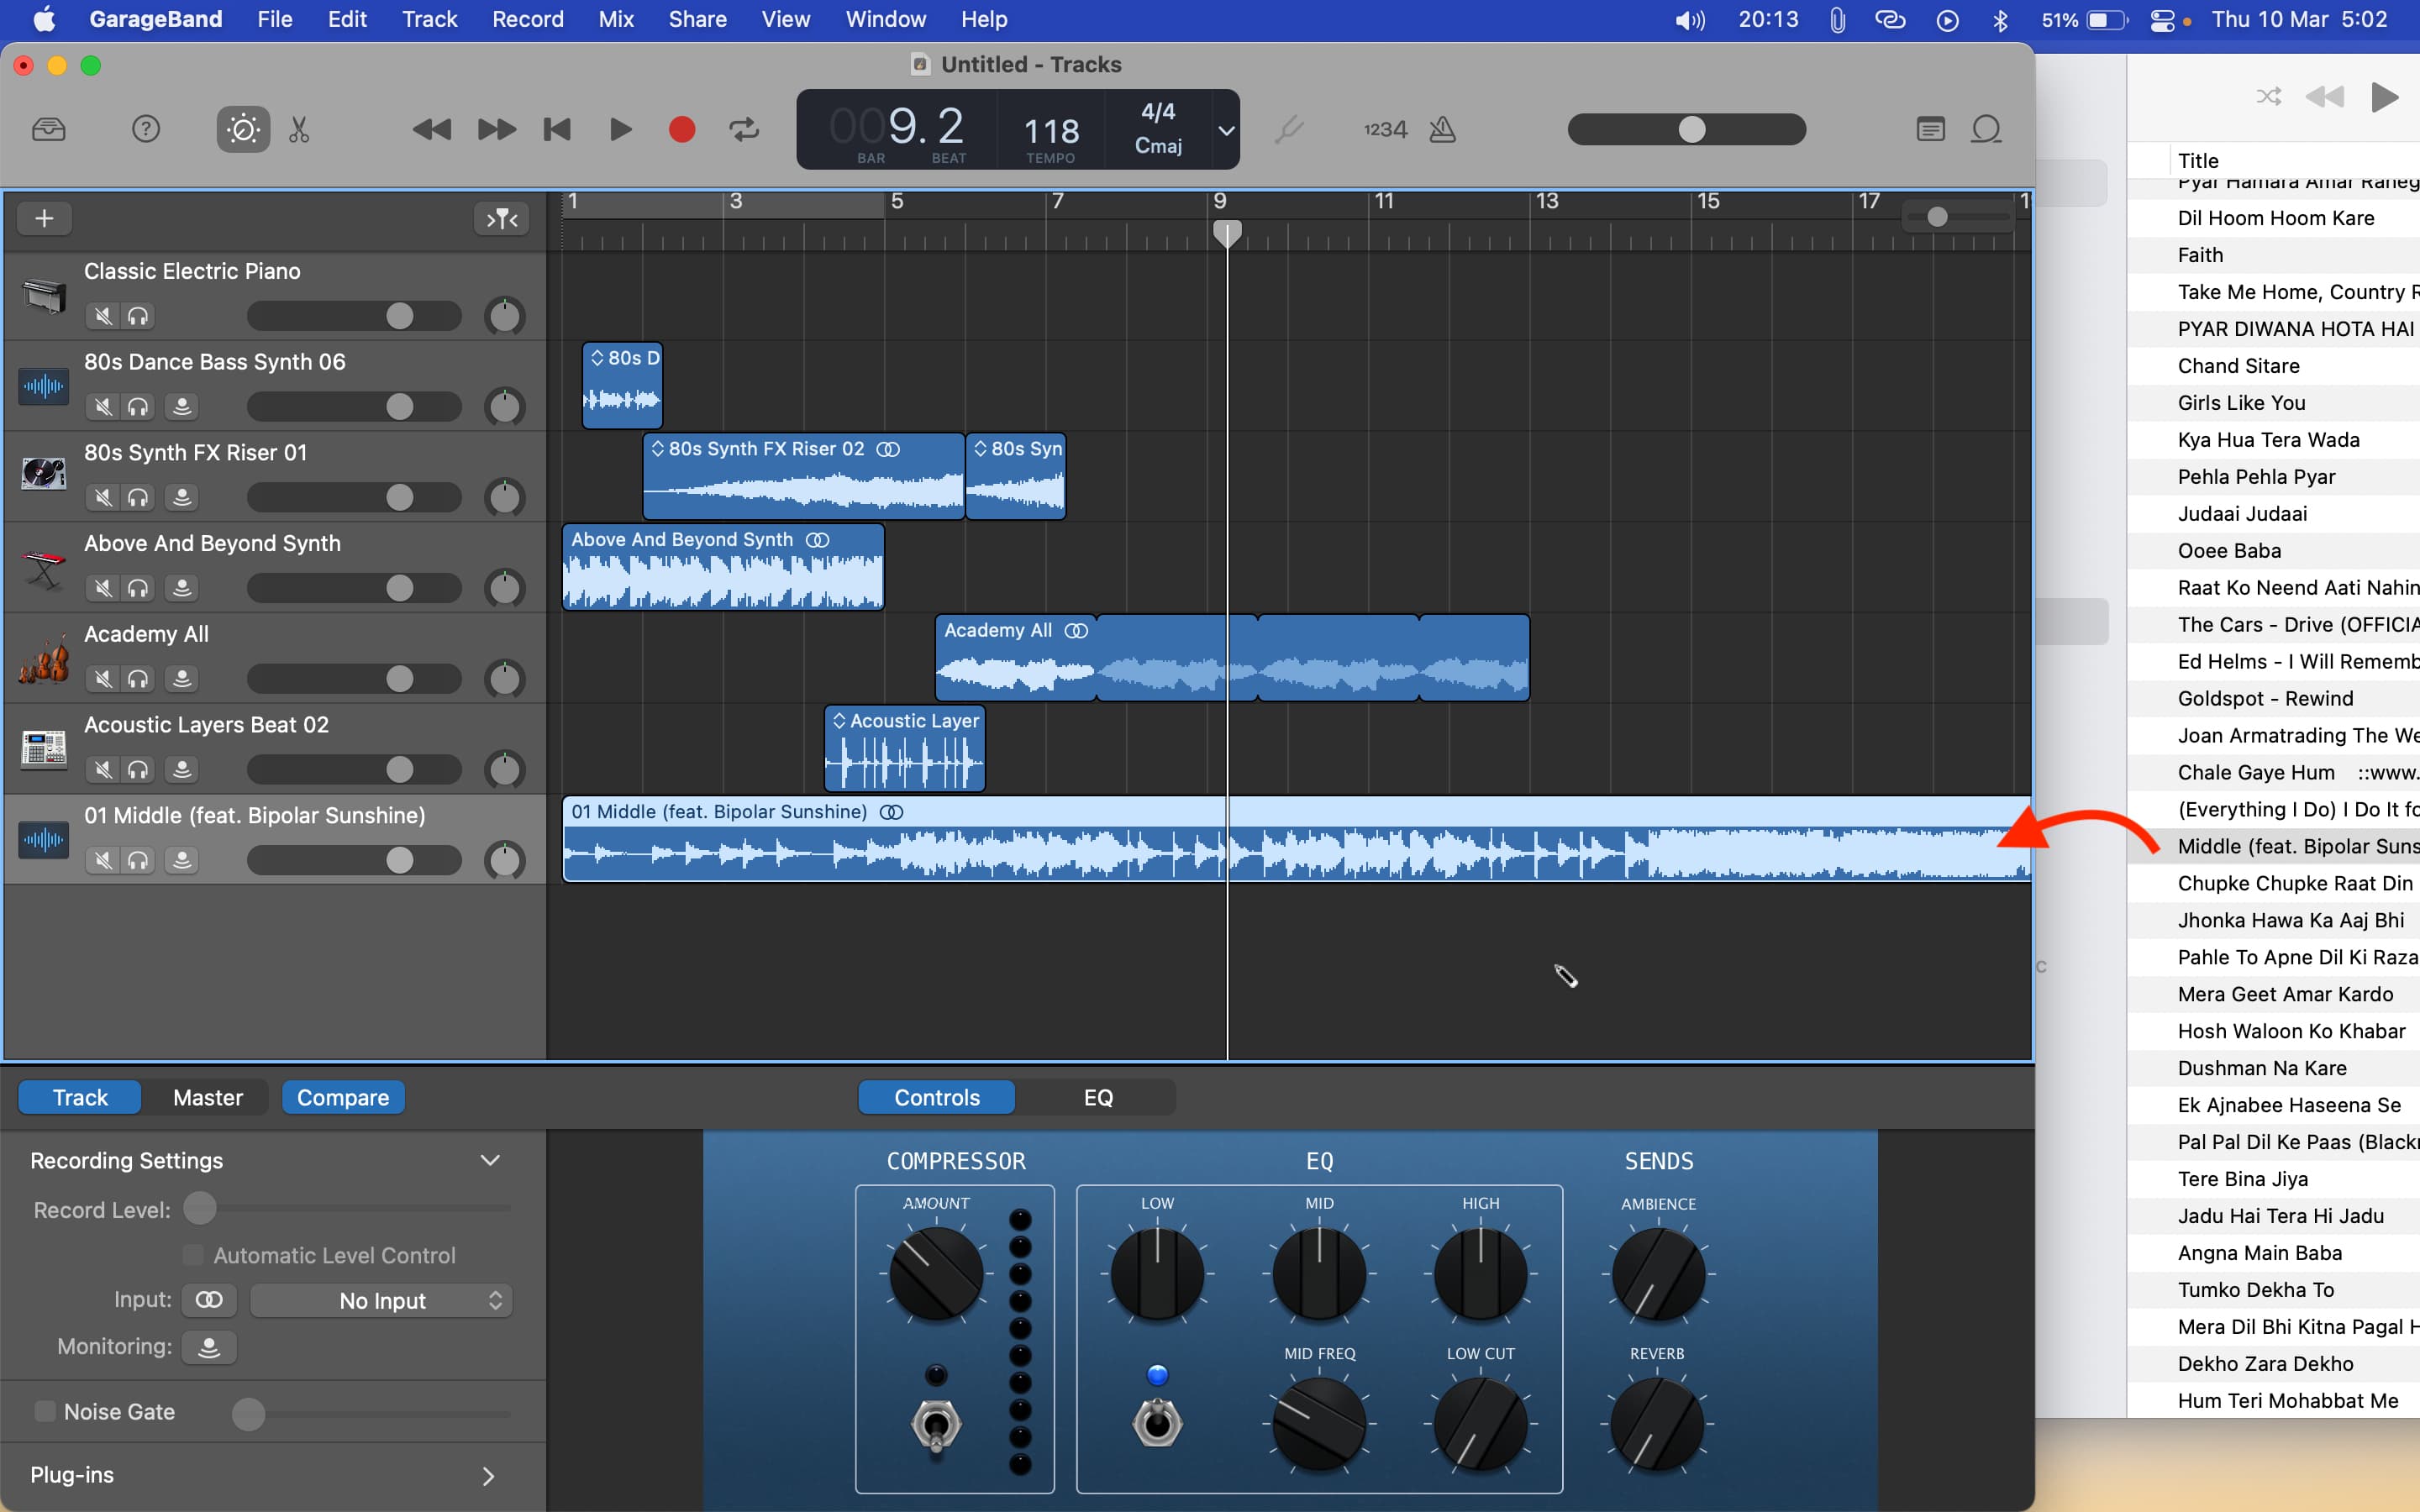
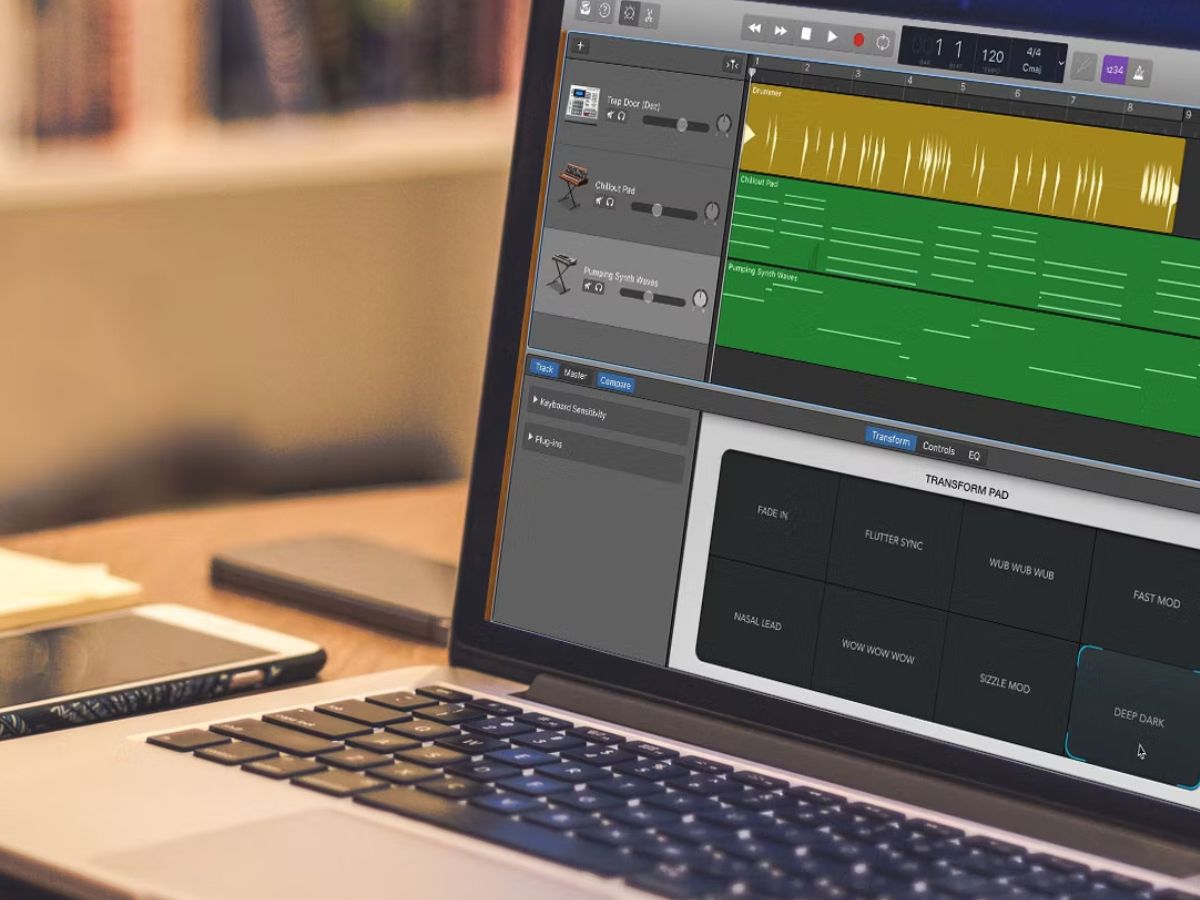
Step 9: Adding Effects
Adding effects to your background music can elevate its overall sound, add depth, and create a sense of ambiance. Garageband offers a wide range of built-in effects that you can apply to individual tracks or the overall mix. Here’s how you can add effects to your background music:
- In the Garageband main window, select the track or tracks to which you want to apply effects. You can choose individual instrument tracks, such as vocals, guitar, or drums, or apply effects to the master track for a global effect on the entire mix.
- Click on the “Smart Controls” button to open the smart controls panel, located on the right side of the Garageband window.
- In the smart controls panel, you’ll find various parameters and settings specific to the selected track. Scroll down to the “Plug-ins and EQ” section.
- Click on the “Edit” button within the “Plug-ins and EQ” section to access the available effects.
- Browse through the different effect categories, such as reverb, delay, compression, modulation, and EQ. Select an effect that fits the desired sound or atmosphere for your background music.
- Adjust the parameters of the selected effect to fine-tune its settings. Each effect will have various controls that allow you to shape and customize the sound to your liking.
- Experiment with different effects and combinations to create the desired sonic landscape for your background music. Don’t be afraid to be creative and explore different possibilities.
Effects can be subtle enhancements or dramatic transformations, depending on your artistic vision. They can help create a sense of space, add texture, or emphasize certain elements in your composition.
It’s important to use effects judiciously and in a way that enhances the overall mix. Avoid excessive or unnecessary use of effects that may muddy the mix or distract from the intended focus of the background music.
As you apply effects, constantly listen to the result in the context of your composition. Make adjustments as needed to strike the right balance and achieve the desired sonic impact.
Once you are satisfied with the effects you’ve added, it’s time to move on to the final step: finalizing your background music.
Step 10: Finalizing the Background Music
Finalizing your background music involves polishing and refining your composition to ensure it sounds professional and cohesive. This step is crucial before sharing or using your music in any project. Follow these steps to finalize your background music in Garageband:
- Listen to your background music as a whole and make note of any areas that need adjustment or improvement. Pay attention to the overall balance, dynamics, and coherence of the composition.
- Make any necessary edits to the arrangement. Trim or delete unnecessary sections, refine transitions between different parts, and ensure the overall structure flows smoothly.
- Consider incorporating automation to add movement and dynamics to your background music. Use automation to control volume changes, introduce filter sweeps, or modulate the effect parameters over time.
- Pay attention to the overall frequency balance of your mix. Use EQ to shape the tonal balance and ensure that all instruments have their sonic space without clashing or overpowering each other.
- Use compression to tame any inconsistencies in volume levels and add punch to your mix. Apply compression to individual tracks or the master track, depending on your desired effect.
- Take the time to fine-tune the levels of each track, adjusting volumes where needed to achieve a balanced and cohesive mix.
- Consider mastering your background music to optimize its overall sound quality and loudness. Garageband offers mastering presets that can enhance the audio clarity and cohesiveness of your composition.
- Export your background music as a high-quality audio file. Choose an appropriate file format (such as WAV or MP3) and a desired bitrate to preserve the fidelity of your mix.
- Save and back up your Garageband project file, along with all associated audio files, to ensure you can revisit and make future changes if needed.
Once you have finalized your background music, take the time to listen to it in different playback systems and environments. This will help you ensure that it translates well across various devices and maintains its intended impact.
Remember, the process of finalizing your background music is subjective, and may require multiple iterations. Trust your ears, take breaks when needed, and seek feedback from others to gain different perspectives on your composition.
Now that you have completed the final step, your background music is ready to be used in your song, film, video, or any other creative project!
Congratulations on creating your own unique background music using Garageband.
Conclusion
Creating background music for a song or any audiovisual project is an exciting and rewarding process. With Garageband, you have a powerful tool at your fingertips that enables you to unleash your creativity and produce professional-quality compositions. By following the step-by-step guide outlined in this article, you have learned how to make background music using Garageband.
From opening Garageband and creating a new project to selecting musical instruments, choosing the tempo and key, adding drum tracks, basslines, melodic elements, adjusting volume and panning, applying effects, and finalizing the composition, you have gained the knowledge and skills necessary to craft captivating background music.
Remember that the key to creating compelling background music lies in experimentation and exploration. Don’t be afraid to try new sounds, techniques, and combinations to bring your musical ideas to life.
Additionally, consider the mood, style, and context of your project when choosing instruments, adjusting volume levels, applying effects, and making overall mix decisions. These considerations will help you create background music that perfectly complements and enhances the desired atmosphere or emotional impact.
Whether you’re a musician, filmmaker, content creator, or simply someone interested in music production, Garageband offers a user-friendly platform to dive into the world of background music creation. Let your imagination soar and use the tools and features provided by Garageband to transform your musical ideas into reality.
So, what are you waiting for? Start creating your own captivating background music using Garageband, and let your compositions leave a lasting impression on your audience.