Home>Production & Technology>Background Music>How To Add Background Music To Streamlabs
Background Music
How To Add Background Music To Streamlabs
Published: October 27, 2023
Learn how to enhance your Streamlabs livestreams with background music. Our simple guide will show you how to add captivating tunes to engage your audience.
(Many of the links in this article redirect to a specific reviewed product. Your purchase of these products through affiliate links helps to generate commission for AudioLover.com, at no extra cost. Learn more)
Table of Contents
- Introduction
- Step 1: Downloading and Installing Streamlabs
- Step 2: Choosing Background Music
- Step 3: Preparing the Audio File
- Step 4: Setting Up Streamlabs Audio Settings
- Step 5: Adding the Background Music to Streamlabs
- Step 6: Adjusting Volume and Mixing Options
- Step 7: Testing the Background Music
- Step 8: Troubleshooting Common Issues
- Conclusion
Introduction
Adding background music to your Streamlabs streams can elevate the overall experience for your viewers and create a more immersive atmosphere. Whether you’re a gamer, a content creator, or a streamer, background music can enhance the mood, set the tone, and make your streams more engaging.
Streamlabs is a popular streaming platform that offers a variety of features, including the ability to incorporate background music into your streams. In this article, we’ll walk you through the step-by-step process of how to add background music to Streamlabs.
Before we dive into the details, it’s important to note that when using background music, it’s essential to respect copyright laws and ensure you have the necessary permissions for the music you use. There are several platforms and services that offer royalty-free and creative commons music that you can safely incorporate into your streams.
Now, let’s get started and learn how to add background music to Streamlabs to enhance your streaming experience.
Step 1: Downloading and Installing Streamlabs
The first step in adding background music to Streamlabs is to download and install the Streamlabs software on your computer. Follow these simple instructions:
- Go to the Streamlabs website (https://streamlabs.com/) and click on the “Download” button.
- Choose the appropriate version of Streamlabs for your operating system (Windows or macOS) and click on the download link.
- Once the download is complete, locate the installation file and double-click on it to begin the installation process.
- Follow the on-screen instructions to complete the installation. Make sure to select any additional features or plugins that you may need for your streaming setup.
- Once the installation is complete, launch Streamlabs and sign in with your Twitch, YouTube, or Facebook account. If you don’t have an account, you can create one for free.
After successfully installing Streamlabs and signing in, you’ll be ready to proceed to the next step of adding background music to your streams.
Note: Streamlabs offers both a cloud-based version and a downloadable application. While the process is similar for both, it’s recommended to use the downloadable application for better performance and functionality.
Step 2: Choosing Background Music
Choosing the right background music is crucial in creating the desired ambiance for your streams. It sets the tone, enhances the viewer experience, and keeps your audience engaged throughout your stream. Here are some tips to help you choose the perfect background music:
- Consider the theme or genre of your stream: Think about the type of content you are streaming and the atmosphere you want to create. If you are playing an intense action game, you may want to select high-energy, fast-paced music. For a relaxing stream, you might opt for soothing melodies.
- Match the mood: The background music should align with the mood and emotions you want to convey. If you’re aiming for excitement and energy, choose tracks with a lively beat. For more calming streams, look for tracks with a softer and more ambient feel.
- Use royalty-free music: To avoid copyright issues, it’s best to use royalty-free or licensed music. There are numerous platforms available like Epidemic Sound, Artlist, and NCS that offer a wide range of royalty-free music suitable for streaming. Make sure to review their licensing terms and choose music that permits streaming usage.
- Consider the volume and prominence: The background music should be subtle enough to enhance the stream but not overpower your voice or other audio elements. Strike a balance by adjusting the volume of your background music relative to the other audio sources in your stream.
- Experiment and personalize: Don’t be afraid to experiment with different genres and styles of music. Find what works best for your content and audience. You can tailor your music selection to specific moments during your stream, like intense battles, downtime, or transitions.
Remember, the right background music can significantly enhance your viewers’ overall experience and make your streams more enjoyable. Take some time to explore different options and find the perfect soundtrack for your streams.
Step 3: Preparing the Audio File
Now that you have chosen the background music for your Streamlabs stream, it’s time to prepare the audio file to ensure it seamlessly integrates with your stream. Follow these steps to prepare the audio file:
- Ensure the audio file is in a compatible format: Streamlabs supports various audio formats such as MP3, WAV, and OGG. Make sure your chosen background music is in one of these formats. If not, you can use audio conversion software to convert it to the appropriate format.
- Trim the audio file if needed: If there are specific parts of the music you want to use, you can trim the audio file using audio editing software. This allows you to remove any unwanted sections and create a shorter loop or clip that fits your stream’s duration.
- Pay attention to the audio quality: Check the audio quality of the background music file. Make sure it sounds clear and free from any distortion or noise. Poor audio quality can negatively impact your stream’s overall experience, so choose high-quality audio files.
- Organize your music files: Create a dedicated folder on your computer where you can store and access your background music files easily. This helps you stay organized and easily switch between different tracks during your streams.
By taking the time to prepare your audio file, you can ensure that the background music seamlessly integrates into your Streamlabs stream and enhances the viewer experience.
Step 4: Setting Up Streamlabs Audio Settings
Before you can add background music to your Streamlabs stream, you need to configure the audio settings within the Streamlabs software. Follow these steps to set up your Streamlabs audio settings:
- Open the Streamlabs application on your computer.
- Click on the gear icon at the top right corner of the Streamlabs window to access the settings menu.
- In the settings menu, click on the “Audio” tab.
- Under the “Desktop Audio Device” section, select the audio device that you want Streamlabs to capture the background music from. This could be your computer’s sound card or any external audio device you may be using.
- Under the “Mic/Auxiliary Audio Device” section, select the audio device that you use for your microphone or any other auxiliary audio source that you want to include in your stream.
- Adjust the volume levels of the desktop audio and mic/auxiliary audio to ensure a proper balance. You can do this by dragging the volume sliders or by clicking on the “+” or “-” buttons.
- Click on the “Apply” button to save your audio settings.
Configuring the audio settings in Streamlabs is crucial to ensure that your background music and other audio sources are correctly captured and balanced in your stream. Take the time to check and adjust these settings before proceeding to the next step.
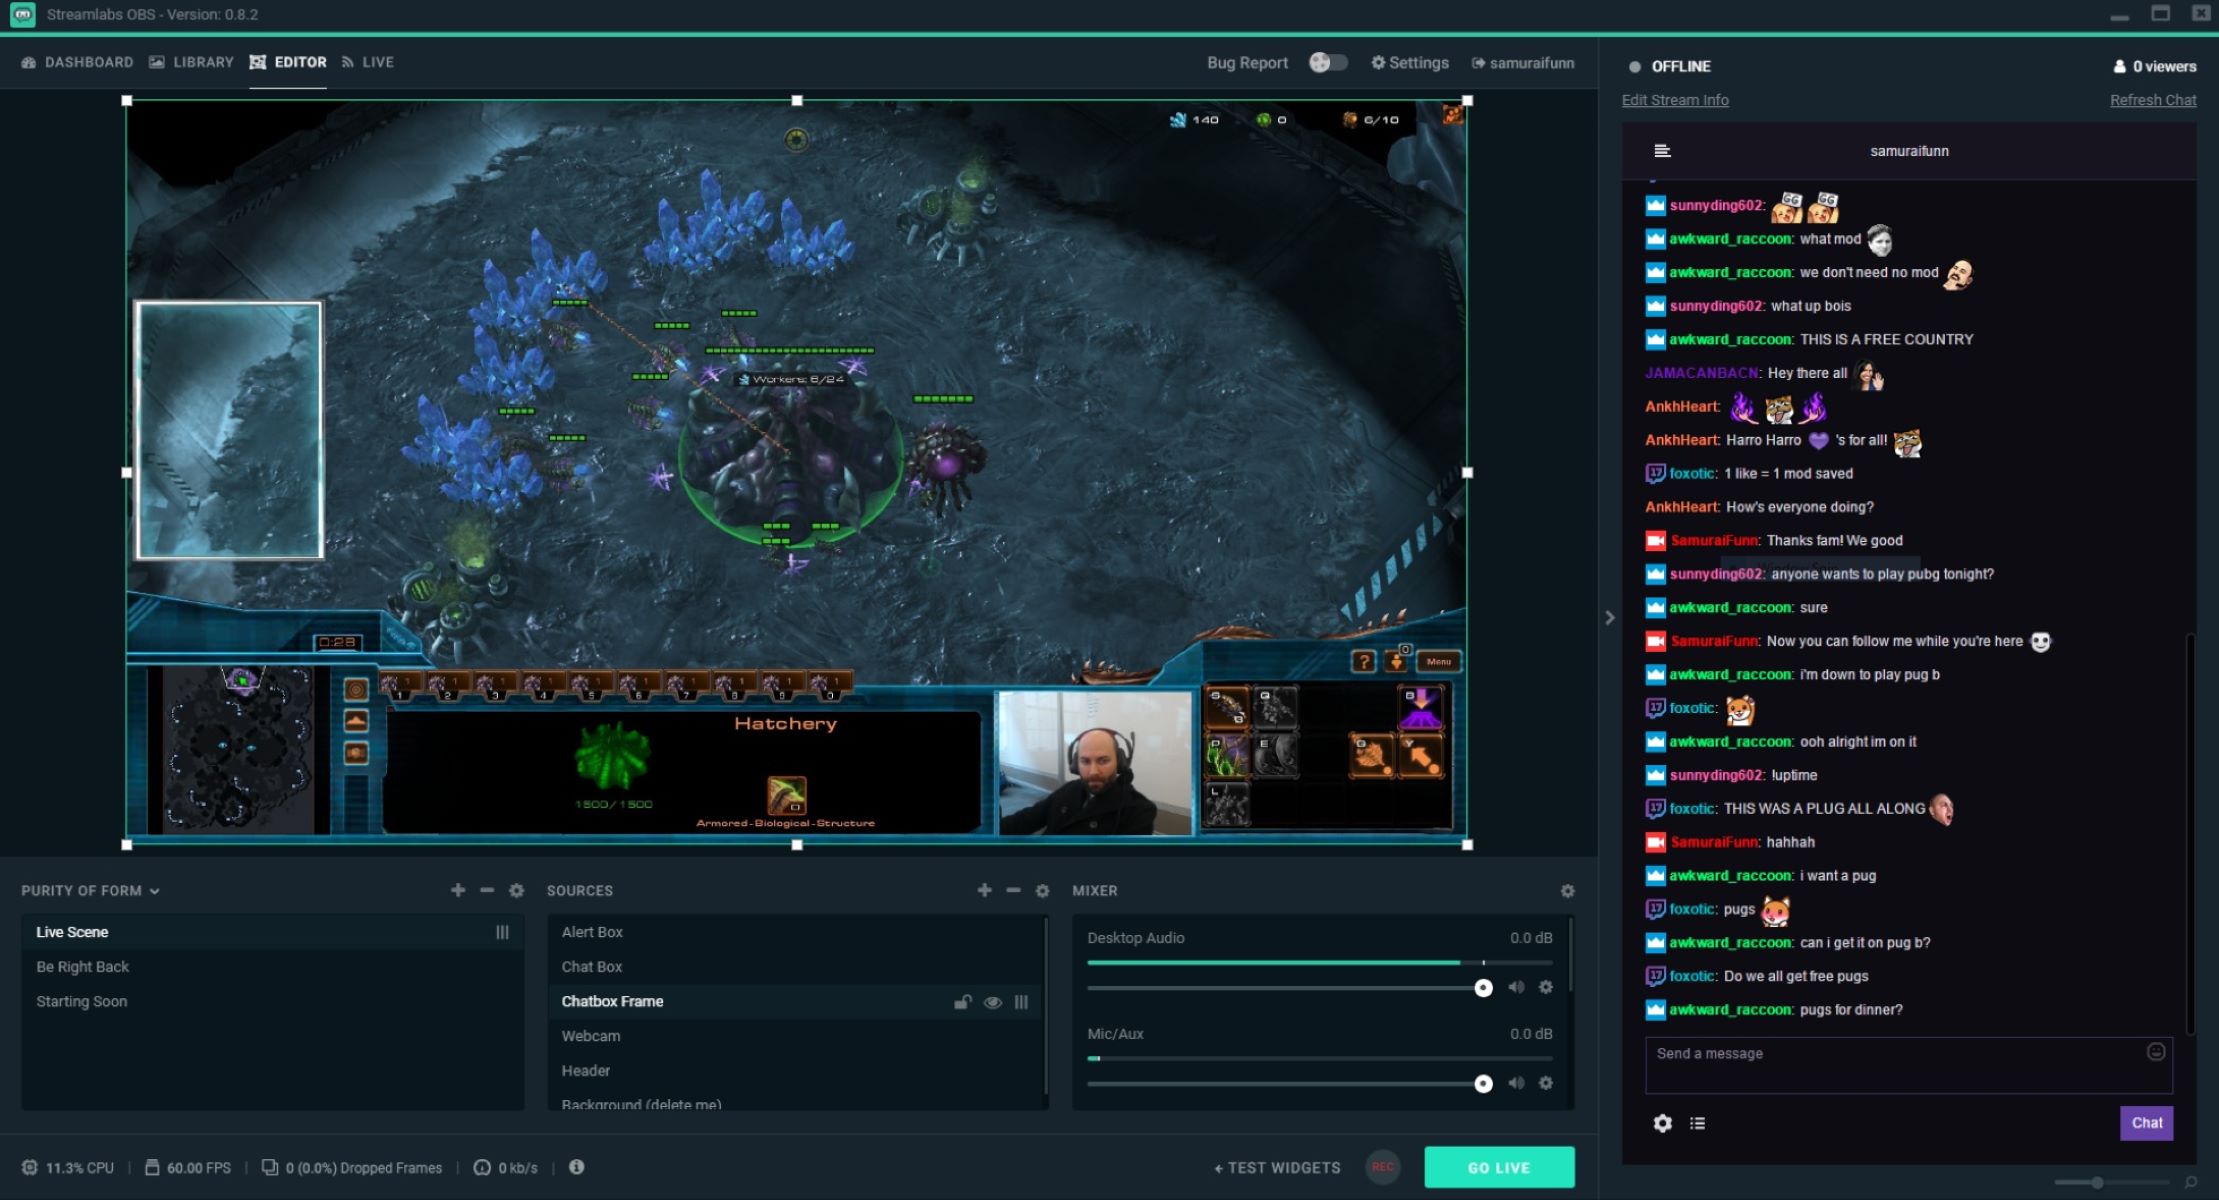
Step 5: Adding the Background Music to Streamlabs
Now that you have prepared your audio file and set up the audio settings in Streamlabs, it’s time to add the background music to your stream. Follow these steps:
- Open the Streamlabs application and go to the main dashboard.
- Click on the “Sources” tab at the bottom of the screen.
- Click on the “+” icon to add a new source.
- Select “Audio Output Capture” from the list of source options.
- In the “Create/Select Source” window, give your audio source a descriptive name. For example, you can name it “Background Music.”
- Click on the “OK” button.
- In the “Properties” window, select the audio device you want Streamlabs to capture the background music from. This should be the same device you configured in the audio settings.
- Click on the “OK” button to save the changes.
By following these steps, you have successfully added the background music as an audio source in Streamlabs. This means that the software will now capture the audio from the designated device and include it in your streaming setup.
It’s important to note that you can have multiple audio sources in Streamlabs, including microphone input, game audio, and other audio sources. By arranging and adjusting the volume levels of these sources, you can create a balanced and immersive audio experience for your viewers.
Step 6: Adjusting Volume and Mixing Options
Once you have added the background music as an audio source in Streamlabs, it’s time to fine-tune the volume levels and mixing options to ensure a seamless integration of the music with your stream. Follow these steps:
- Select the “Mixer” tab in the Streamlabs application.
- Locate the audio source for your background music in the mixer section.
- Adjust the volume slider for the background music source to control its overall volume level. Move the slider to the left to decrease the volume, or to the right to increase it.
- Pay attention to the relative volume levels of your background music and other audio sources, such as your microphone or game audio. Ensure that the background music isn’t overpowering the other audio elements in your stream.
- Consider adjusting any additional mixing options available in Streamlabs, such as panning or stereo settings, to achieve the desired audio effect.
- Test the audio balance and mixing by previewing your stream or recording a short segment to ensure everything sounds cohesive and balanced.
By adjusting the volume and mixing options in Streamlabs, you can create a professional and polished sound for your stream. Finding the right balance between background music and other audio sources is essential to provide an enjoyable experience for your viewers.
Remember to periodically monitor and adjust the volume levels during your streams, especially if your background music varies in intensity or if you switch between different tracks. This will help maintain a consistent audio experience for your audience.
Step 7: Testing the Background Music
Before you go live with your stream, it’s crucial to test the background music to ensure it’s playing correctly and that the audio levels are balanced. Here’s how you can test the background music in Streamlabs:
- Open the Streamlabs application and navigate to the main dashboard.
- Start a test stream by clicking on the “Go Live” button at the bottom right corner of the screen.
- Monitor the audio levels in the Streamlabs mixer section to ensure the background music is playing at the desired volume level.
- Listen to the stream output, either through headphones or speakers, to assess the overall sound quality and balance of your audio sources.
- If necessary, make adjustments to the volume levels or mixing options in Streamlabs to achieve the desired sound.
- Check if the background music complements your stream’s content and atmosphere effectively. Assess whether it enhances the viewer experience and contributes to the overall ambiance.
- Continue testing by performing actions or transitions that reflect your typical streaming style to see how the background music blends in and enhances those moments.
- Make any necessary adjustments based on your observations during the test stream until you are satisfied with the background music’s integration.
Regularly testing the background music during your stream preparations allows you to identify and address any audio issues before going live. It also gives you the opportunity to fine-tune your settings, ensuring a seamless and enjoyable audio experience for your viewers.
Step 8: Troubleshooting Common Issues
While adding background music to Streamlabs can enhance your streaming experience, you may encounter some common issues along the way. Here are some troubleshooting tips to help you overcome these challenges:
- If the background music is not playing or is too quiet:
- Ensure that the audio device selected in the Streamlabs audio settings is correctly connected and functioning.
- Check the volume sliders in the Streamlabs mixer and make sure the background music’s volume is not turned down or muted.
- Verify that the audio file format is compatible with Streamlabs (e.g., MP3, WAV, or OGG).
- Confirm that the audio file is not corrupted or damaged. Try using a different audio file to see if the issue persists.
- If the background music is too loud or overpowering:
- Lower the volume slider for the background music source in the Streamlabs mixer.
- Check the relative volume levels of other audio sources, such as your microphone or game audio, and adjust them accordingly to maintain a balanced sound.
- Consider using audio filters or effects within Streamlabs to further control the background music’s volume and impact.
- If you experience audio latency or synchronization issues:
- Ensure that your audio drivers and streaming software are up to date.
- Try adjusting the audio buffer size in the Streamlabs audio settings to minimize latency.
- Check your computer’s processing power and available resources, as insufficient hardware may contribute to audio synchronization issues.
- If you encounter copyright claims or issues with your background music:
- Make sure the background music you’re using is royalty-free or properly licensed for streaming purposes.
- Consider using music libraries that offer specifically curated royalty-free or creative commons music.
- Review the licensing terms and permissions of the music you intend to use and adhere to any necessary attribution requirements.
Remember that troubleshooting may require some trial and error, and it’s important to be patient and proactive in finding solutions. Utilize the support resources provided by Streamlabs and consult online communities or forums for further assistance if needed.
By taking the time to troubleshoot and resolve any audio issues, you can ensure a smooth and enjoyable streaming experience for both yourself and your viewers.
Conclusion
Adding background music to your Streamlabs streams is a great way to enhance the overall experience for your viewers. By following the step-by-step process outlined in this guide, you can seamlessly incorporate background music into your streams and create a more immersive atmosphere.
Remember to choose background music that aligns with the theme and mood of your stream, and ensure that you have proper permissions or use royalty-free music to avoid copyright issues. Take the time to prepare and organize your audio files, and configure the audio settings in Streamlabs to capture the background music properly.
Adjusting the volume levels and mixing options in Streamlabs will allow you to find the right balance for your background music and other audio sources. Remember to regularly test the background music during your stream preparations to ensure everything sounds cohesive and balanced.
In case you encounter any issues, refer to the troubleshooting tips provided to overcome common challenges. Be patient and proactive in finding solutions to maintain a high-quality audio experience for your viewers.
By incorporating background music into your Streamlabs streams, you can create a more engaging and immersive environment for your audience, enhancing their overall enjoyment and making your streams more memorable.