Home>Production & Technology>Digital>How To Get Digital Music From DS115 NAS To Stereo Amplifier
Digital
How To Get Digital Music From DS115 NAS To Stereo Amplifier
Published: March 10, 2024
Learn how to easily stream digital music from your DS115 NAS to your stereo amplifier. Follow our step-by-step guide for seamless audio enjoyment.
(Many of the links in this article redirect to a specific reviewed product. Your purchase of these products through affiliate links helps to generate commission for AudioLover.com, at no extra cost. Learn more)
Table of Contents
Introduction
In the digital age, music enthusiasts have embraced the convenience and flexibility of storing their music collections on network-attached storage (NAS) devices. These devices, such as the DS115 NAS, provide a centralized and accessible repository for digital music files, allowing users to stream their favorite tunes to various devices within their home network. One common scenario involves transmitting digital music from a DS115 NAS to a stereo amplifier, enabling the enjoyment of high-quality audio through a sound system.
This article will guide you through the process of setting up your DS115 NAS, establishing a connection to your stereo amplifier, accessing your digital music library, and ultimately playing your favorite tracks on your sound system. Whether you're a seasoned audiophile or a tech-savvy music enthusiast, this comprehensive walkthrough will equip you with the knowledge and skills to seamlessly integrate your digital music collection with your stereo amplifier.
By following the steps outlined in this guide, you'll be able to harness the power of your DS115 NAS to unlock a world of musical enjoyment, all while leveraging the capabilities of your stereo amplifier to deliver an immersive audio experience. Let's embark on this journey to bridge the digital realm of your NAS with the analog beauty of your stereo amplifier, creating a harmonious fusion of technology and music in your living space.
Step 1: Setting up the DS115 NAS
Setting up the DS115 NAS is the foundational step in integrating your digital music library with your stereo amplifier. This process involves configuring the NAS device to store and organize your music files, ensuring seamless access and transmission to your audio system. Here's a detailed walkthrough to guide you through the setup process:
-
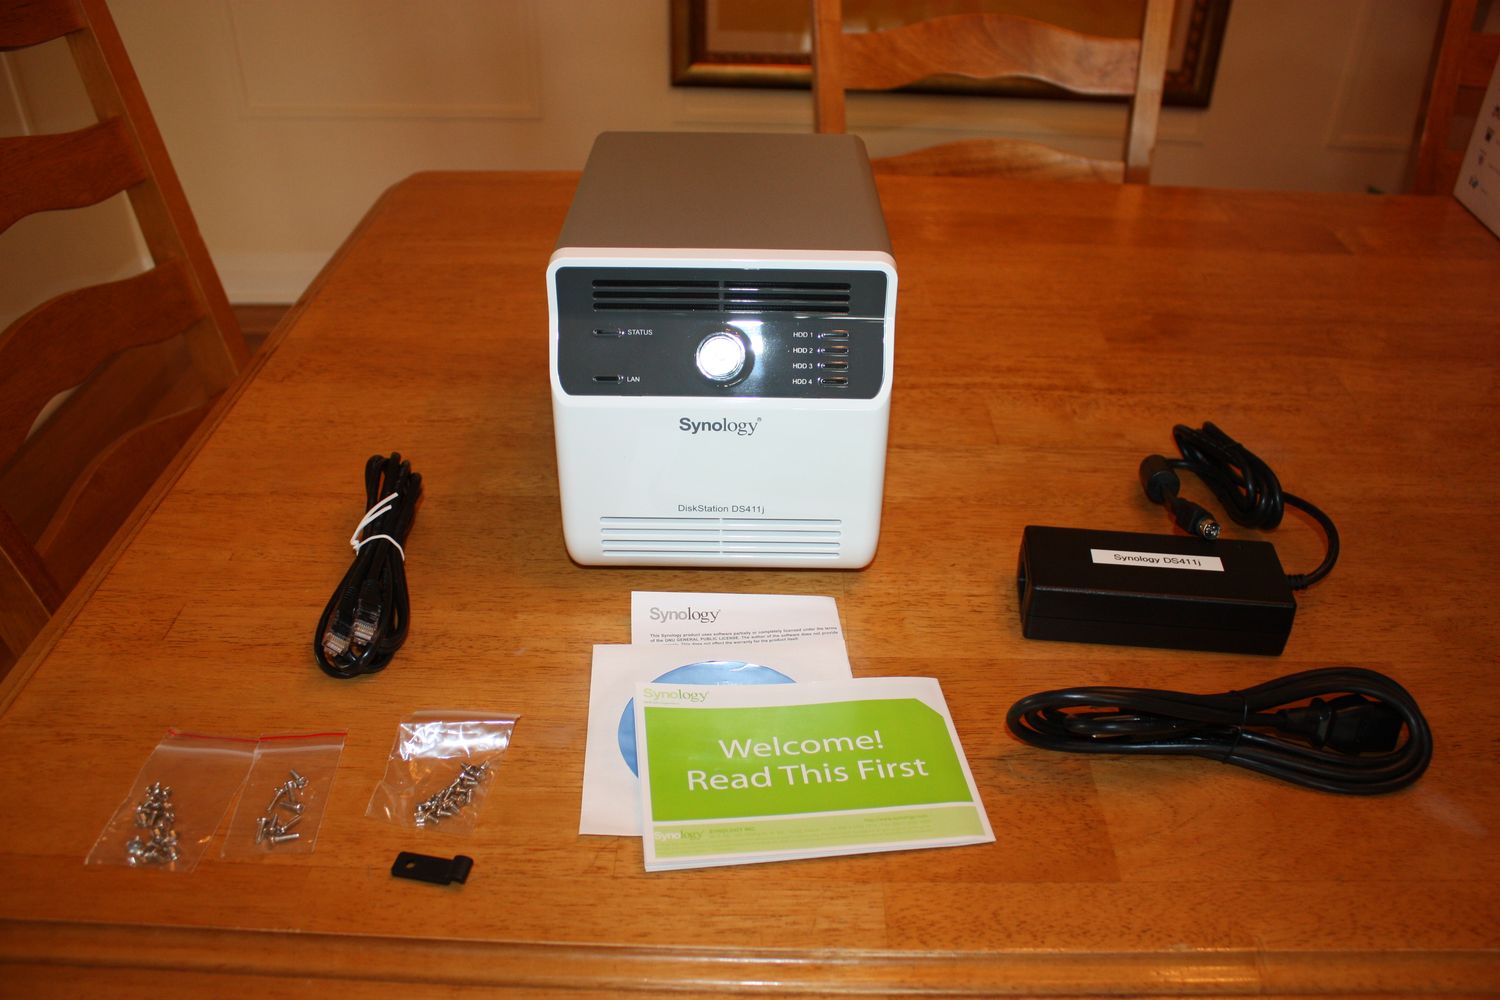
Unboxing and Physical Setup: Upon unboxing the DS115 NAS, carefully inspect the contents to ensure all components are present. The package typically includes the NAS unit, power adapter, Ethernet cable, and any accompanying documentation. Begin by connecting the NAS to a power source using the provided adapter. Then, use the Ethernet cable to establish a connection between the NAS and your home router or network switch.
-
Initial Configuration: Once the physical connections are in place, power on the DS115 NAS. Access the NAS management interface through a web browser by entering the default IP address or hostname provided in the user manual. Follow the on-screen instructions to initialize the NAS and set up administrative credentials, including a secure username and password.
-
Storage Configuration: After the initial setup, configure the storage settings to create a dedicated location for your digital music library. This may involve creating a specific folder or directory within the NAS to store your music files. Consider organizing your music collection into subfolders based on genres, artists, or albums to facilitate easy navigation and retrieval.
-
Network Settings: Verify that the DS115 NAS is properly connected to your home network. Access the network settings within the NAS management interface to ensure that the device has obtained a valid IP address and is accessible within your local network environment.
-
Security and Access Control: Implement security measures to safeguard your digital music library. Set access permissions and user privileges to control who can view, modify, or delete files within the NAS. This step is crucial for protecting your music collection from unauthorized access or tampering.
-
Firmware Updates: Check for and install any available firmware updates for the DS115 NAS. Keeping the device's firmware up to date ensures optimal performance, security, and compatibility with other devices on your network.
By meticulously following these steps, you will successfully set up your DS115 NAS, laying the groundwork for seamless integration with your stereo amplifier. With the NAS configured and ready to host your digital music library, you are now prepared to proceed to the next step of connecting the NAS to your stereo amplifier.
Step 2: Connecting the DS115 NAS to the Stereo Amplifier
Connecting the DS115 NAS to the stereo amplifier is a pivotal step in bridging the digital music stored on the NAS with the analog audio capabilities of the amplifier. This process involves establishing a seamless link between the two devices, enabling the transmission of digital audio signals from the NAS to the amplifier for playback. Here's a detailed guide to walk you through the process of connecting your DS115 NAS to the stereo amplifier:
-
Identify Audio Output Options: Begin by identifying the available audio output options on the DS115 NAS. Depending on the NAS model, you may have various output interfaces such as a 3.5mm audio jack, digital optical output, or HDMI port. Refer to the NAS documentation or user manual to determine the specific audio output interfaces supported by your device.
-
Select Compatible Connection Method: Choose a connection method that is compatible with both the DS115 NAS and the stereo amplifier. Common options include using a digital optical cable, RCA cables, HDMI cable, or a network audio streaming protocol such as DLNA or UPnP. Ensure that the selected connection method aligns with the input options available on your stereo amplifier.
-
Establish Physical Connection: With the appropriate cable or interface selected, physically connect the DS115 NAS to the stereo amplifier. If using a digital optical cable, insert one end into the optical output port on the NAS and the other end into the corresponding optical input on the amplifier. For RCA or HDMI connections, follow a similar approach based on the available interfaces.
-
Configure Audio Output Settings: Access the NAS management interface to configure the audio output settings. Depending on the NAS model and software interface, you may need to specify the audio output format, channel configuration, and volume levels. Ensure that the audio output settings are optimized for compatibility with the stereo amplifier to deliver high-quality audio playback.
-
Verify Signal Transmission: Once the physical connection and audio settings are configured, verify the signal transmission from the DS115 NAS to the stereo amplifier. Power on both devices and select the appropriate input source on the amplifier to receive the audio signal from the NAS. Play a sample music track from the NAS to confirm that the audio signal is successfully transmitted and received by the amplifier.
By following these steps, you will effectively connect your DS115 NAS to the stereo amplifier, establishing a direct pathway for transmitting digital music from the NAS to the amplifier for immersive audio playback. With the connection established, you are now ready to proceed to the next step of accessing your digital music library from the DS115 NAS.
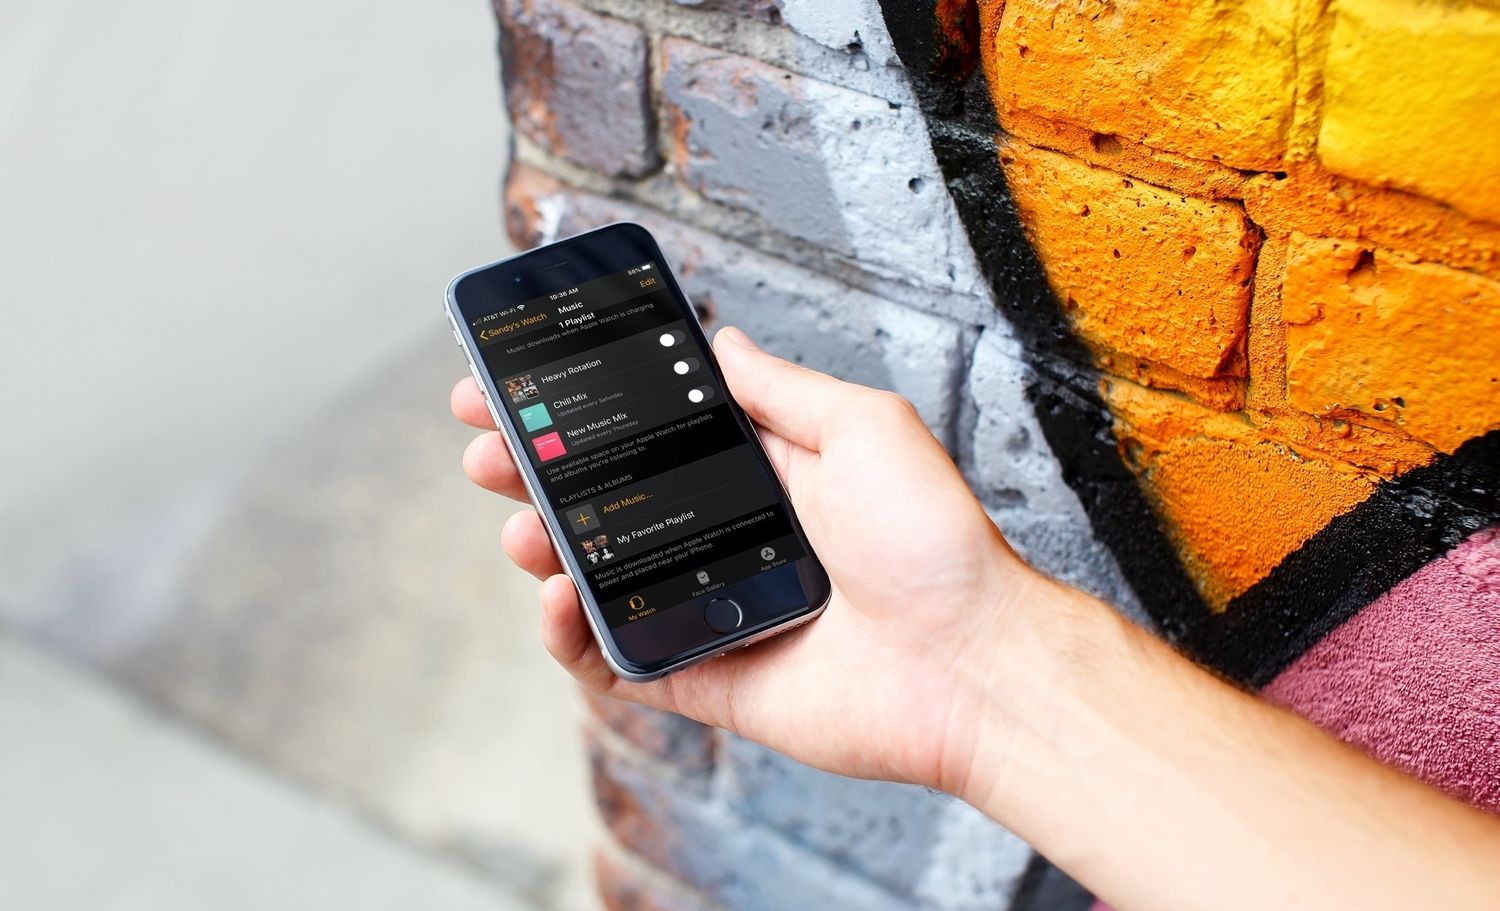
Step 3: Accessing Digital Music from the DS115 NAS
Accessing digital music from the DS115 NAS is a pivotal stage in leveraging the capabilities of your network-attached storage device to enjoy your music collection through your stereo amplifier. This step involves establishing a seamless method to retrieve and stream your digital music files from the NAS to your audio system. Here's a comprehensive guide to assist you in accessing your digital music library from the DS115 NAS:
-
Network Accessibility: Ensure that the DS115 NAS is accessible within your home network. Verify that the NAS is powered on and connected to your local network, allowing other devices, including your stereo amplifier, to communicate with the NAS over the network.
-
Network Sharing Settings: Access the NAS management interface to configure network sharing settings for your music library. Create a shared folder specifically designated for your digital music collection, and adjust the sharing permissions to enable authorized devices, such as your stereo amplifier, to access the music files within the designated folder.
-
Media Server Configuration: If your DS115 NAS supports media server functionality, configure the media server settings to index and serve your digital music library to compatible devices on the network. This step may involve enabling DLNA (Digital Living Network Alliance) or UPnP (Universal Plug and Play) server capabilities within the NAS settings.
-
Remote Access (Optional): If you desire remote access to your music library, consider configuring remote access settings on the DS115 NAS. This feature allows you to access your digital music collection from external locations, providing flexibility and convenience in managing and streaming your music files.
-
Device Compatibility: Ensure that your stereo amplifier is compatible with the network protocols and file formats supported by the DS115 NAS. Verify that the amplifier can access and play music files shared by the NAS, taking into account compatibility factors such as file formats (e.g., MP3, FLAC, WAV) and network streaming protocols (e.g., DLNA, UPnP).
-
Testing Accessibility: Once the network sharing and media server settings are configured, test the accessibility of your digital music library from the DS115 NAS. Use a compatible device, such as a computer or smartphone, to access the shared music folder on the NAS and verify that the music files are accessible and playable.
By following these steps, you will successfully establish a method to access your digital music library from the DS115 NAS, paving the way for seamless integration with your stereo amplifier. With the accessibility of your music collection ensured, you are now prepared to proceed to the final step of playing your favorite digital music on the stereo amplifier.
Step 4: Playing Digital Music on the Stereo Amplifier
Playing digital music on the stereo amplifier marks the culmination of the integration process, bringing your carefully curated music collection to life through the immersive audio capabilities of your sound system. This step involves leveraging the connection between your DS115 NAS and the stereo amplifier to initiate playback of your favorite tracks. Here's a detailed guide to seamlessly play digital music on your stereo amplifier:
-
Amplifier Input Selection: Begin by selecting the appropriate input source on your stereo amplifier to receive the audio signal from the DS115 NAS. Depending on the connection method used in Step 2, such as digital optical, RCA, or HDMI, ensure that the amplifier is set to receive audio from the corresponding input source where the NAS is connected.
-
Audio Control Settings: Verify the audio control settings on the stereo amplifier to ensure optimal playback quality. Adjust the volume, tone controls, and any audio enhancement features based on your listening preferences. Fine-tune the amplifier settings to deliver an immersive and balanced audio experience tailored to your music genre and personal preferences.
-
NAS Navigation: Access the music navigation interface on the DS115 NAS to browse and select the desired music tracks for playback. Depending on the NAS software interface, you may utilize a web-based interface, dedicated mobile app, or desktop application to navigate your music library. Choose individual tracks, albums, or playlists to initiate playback.
-
Initiating Playback: Once you've selected the desired music content, initiate playback from the DS115 NAS. Depending on the NAS interface and playback options, you may have the flexibility to queue multiple tracks, create playlists, or shuffle your music library for a dynamic listening experience. Start playback to transmit the audio signal from the NAS to the stereo amplifier.
-
Audio Monitoring: Monitor the audio playback on the stereo amplifier to ensure that the transmitted audio signal from the DS115 NAS is received and played back accurately. Verify the audio output levels, stereo imaging, and overall sound quality to confirm that the amplifier faithfully reproduces the digital music from the NAS without any distortion or signal degradation.
By following these steps, you will successfully play digital music from your DS115 NAS on the stereo amplifier, immersing yourself in the captivating sounds of your favorite music tracks. The seamless integration of your digital music library with the audio capabilities of your stereo amplifier unlocks a world of musical enjoyment, allowing you to savor the nuances and richness of your music collection in a truly immersive listening environment.
Conclusion
In conclusion, the seamless integration of your DS115 NAS with your stereo amplifier has unlocked a realm of musical enjoyment within your living space. By following the comprehensive steps outlined in this guide, you have successfully bridged the digital domain of your music collection with the analog beauty of your sound system, creating a harmonious fusion of technology and music.
The process began with the meticulous setup of the DS115 NAS, where you established a dedicated storage space for your digital music library and configured network accessibility and security measures. This foundational step laid the groundwork for the subsequent stages, ensuring that your music collection is organized, protected, and readily accessible within your home network.
Connecting the DS115 NAS to the stereo amplifier was a pivotal moment, as you established a direct pathway for transmitting digital audio signals from the NAS to the amplifier. By selecting compatible connection methods and configuring audio output settings, you ensured a seamless and high-fidelity transmission of your favorite music tracks to the amplifier, setting the stage for immersive audio playback.
Accessing your digital music library from the DS115 NAS further enhanced the integration, allowing you to retrieve and stream your music files with ease. By configuring network sharing settings, media server capabilities, and testing accessibility, you ensured that your music collection is readily available for playback, whether you're enjoying a solo listening session or entertaining guests in your home.
Finally, playing digital music on the stereo amplifier brought your music collection to life, delivering an immersive and captivating audio experience. By navigating your music library, initiating playback, and monitoring the audio output, you were able to savor the nuances and richness of your favorite tracks, all amplified through the capabilities of your sound system.
As you embark on this journey of integrating your digital music with your stereo amplifier, remember that the possibilities are endless. Whether you're exploring new genres, rediscovering classic albums, or curating personalized playlists, the seamless integration of your DS115 NAS with your stereo amplifier empowers you to immerse yourself in the captivating sounds of your music collection.
In the end, the harmonious fusion of technology and music within your living space reflects the convergence of innovation and artistry, creating an environment where the digital and analog worlds coexist to elevate your listening experience. Embrace the power of integration, and let the melodies of your digital music resonate through the immersive audio capabilities of your stereo amplifier, enriching your daily life with the timeless magic of music.