Home>Production & Technology>Digital>How To Rip Music From Digital Movie On Windows 10
Digital
How To Rip Music From Digital Movie On Windows 10
Published: March 9, 2024
Learn how to easily rip music from digital movies on Windows 10. Follow our step-by-step guide to extract audio from digital films with ease.
(Many of the links in this article redirect to a specific reviewed product. Your purchase of these products through affiliate links helps to generate commission for AudioLover.com, at no extra cost. Learn more)
Table of Contents
Introduction
Ripping music from a digital movie can be a rewarding endeavor, allowing you to extract your favorite soundtracks and create a personalized music collection. Whether you want to capture the stirring score of an epic film or the catchy tunes from a musical, the process of extracting music from a digital movie on Windows 10 is relatively straightforward. By following a few simple steps, you can transform the audio from your favorite movies into standalone music files that you can enjoy anytime, anywhere.
In this comprehensive guide, we will walk you through the process of ripping music from a digital movie on Windows 10. We will explore the necessary steps and provide valuable insights to ensure a seamless and efficient music extraction experience. By the end of this tutorial, you will have the knowledge and tools to extract music from digital movies with ease, allowing you to build a personalized music library filled with your favorite cinematic soundtracks.
So, if you've ever found yourself captivated by the music in a movie and wished to have it as a standalone audio file, you're in the right place. Whether it's the haunting melody of a film's theme or the energetic beats of a musical number, the ability to extract and preserve these musical moments is within your reach. With the right software and a bit of guidance, you can unlock the audio treasures hidden within your digital movie collection.
Now, let's embark on this exciting journey of music extraction from digital movies on Windows 10. Get ready to uncover the magic of cinematic soundtracks and bring them to life in your personal music library.
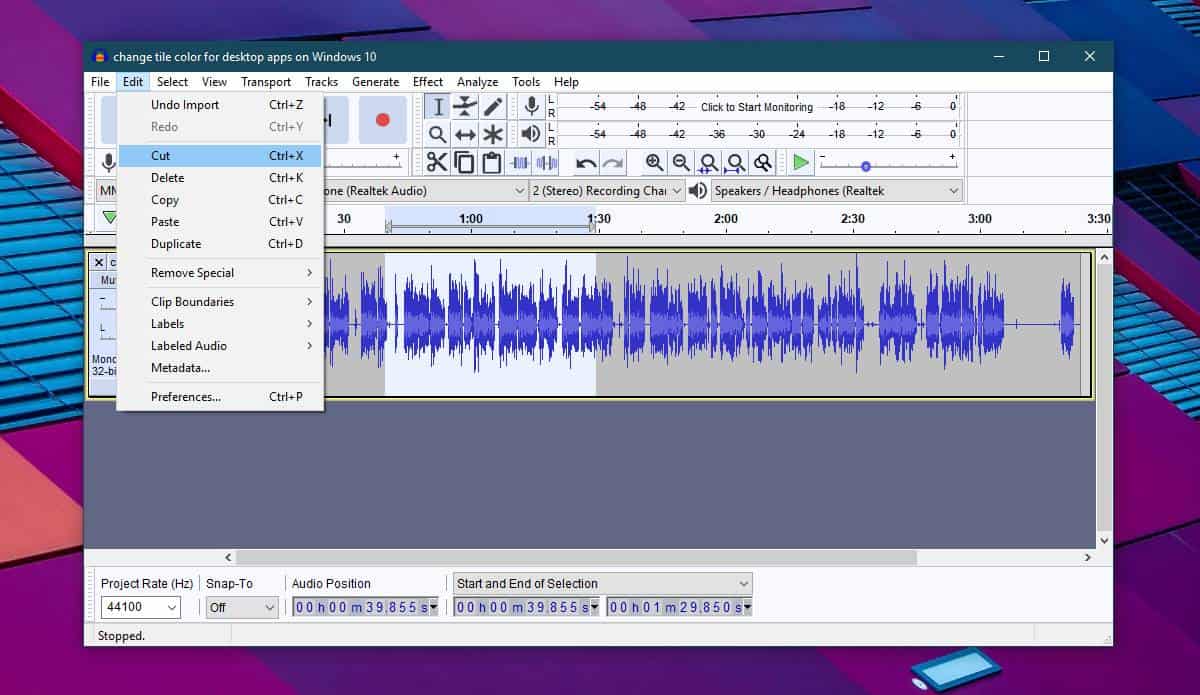
Step 1: Download and Install a Video Converter
The first step in the process of extracting music from a digital movie on Windows 10 is to acquire a reliable video converter software. A video converter is a versatile tool that allows you to convert video files into various formats, including extracting audio tracks from movies. When selecting a video converter for music extraction, it's essential to choose a reputable and user-friendly software that is compatible with Windows 10.
To begin, you can explore popular video converter options such as HandBrake, Freemake Video Converter, or Any Video Converter. These software solutions offer intuitive interfaces and a wide range of features, making them suitable for extracting music from digital movies. Once you have identified a video converter that meets your requirements, proceed to download the software from the official website or a trusted software repository.
After downloading the video converter installation file, navigate to the designated location on your Windows 10 computer and initiate the installation process. Double-click on the installation file to launch the setup wizard, which will guide you through the installation steps. Follow the on-screen instructions to install the video converter on your system, ensuring that you select the appropriate installation settings and destination folder.
Once the installation is complete, launch the video converter software to familiarize yourself with its interface and features. Take some time to explore the various options and settings available within the software, as this will prepare you for the subsequent steps in the music extraction process. Additionally, ensure that the video converter is up to date by checking for any available software updates, as this will optimize its performance and compatibility with Windows 10.
By downloading and installing a reliable video converter on your Windows 10 computer, you have taken the crucial first step towards extracting music from digital movies. With the software in place, you are now ready to proceed to the next step and import the digital movie file into the video converter, setting the stage for the music extraction process to unfold seamlessly.
Step 2: Import the Digital Movie File
With the video converter software successfully installed on your Windows 10 computer, the next step in the music extraction process is to import the digital movie file into the software interface. This pivotal step sets the stage for the extraction of the desired music from the movie's soundtrack.
Upon launching the video converter, you will typically encounter a user-friendly interface with intuitive navigation options. Look for the "Import" or "Add File" button, which is commonly located prominently within the software's interface. Click on this button to initiate the file selection process.
A file explorer window will appear, allowing you to navigate to the location where the digital movie file is stored on your Windows 10 computer. Once you have located the digital movie file, select it and click "Open" or "Import" within the file explorer window to import the movie into the video converter.
As the digital movie file is imported into the software, you may have the opportunity to preview the video content to ensure that you have selected the correct file. This preview feature can be valuable in confirming that the right movie is loaded into the video converter, preventing any potential errors in the music extraction process.
Additionally, some video converter software may provide options to select specific segments of the digital movie for extraction. This feature enables you to pinpoint the exact scenes or sequences from which you wish to extract the music, offering a level of precision and customization in the music extraction process.
Once the digital movie file is successfully imported into the video converter, it will be ready for the subsequent steps in the music extraction process. With the movie file loaded into the software's interface, you are now poised to proceed to the next step and select the music extraction option, bringing you closer to capturing the captivating soundtracks from your favorite digital movies.
Step 3: Select the Music Extraction Option
After successfully importing the digital movie file into the video converter software on your Windows 10 computer, the next crucial step in the music extraction process is to select the music extraction option. This pivotal stage empowers you to specify the audio tracks or soundscapes within the digital movie that you wish to extract and convert into standalone music files.
Within the video converter's interface, navigate to the section or menu that pertains to audio extraction or conversion. This may be labeled as "Audio Extraction," "Convert to Audio," or a similar designation, depending on the specific features and layout of the software. Once you have located the relevant option, proceed to select it to initiate the music extraction configuration.
Upon selecting the music extraction option, you will typically encounter a series of settings and parameters that allow you to customize the audio extraction process according to your preferences. One of the primary settings you may encounter is the choice of audio format for the extracted music. Common audio formats include MP3, WAV, FLAC, and AAC, among others. Select the desired audio format based on your intended use and compatibility with your music playback devices.
Furthermore, some video converter software provides advanced settings for audio extraction, enabling you to adjust parameters such as bitrate, sample rate, and audio channels. These settings can influence the quality and file size of the extracted music, allowing you to tailor the output to meet your specific requirements. Take the time to explore these advanced settings and make adjustments as needed to achieve the desired audio quality and file characteristics.
In addition to format and quality settings, you may have the option to specify the exact segments or timeframes from which you wish to extract the music. This feature is particularly valuable when you want to capture specific musical cues or compositions within the digital movie, allowing for precise extraction of your favorite soundtracks.
Once you have configured the music extraction settings to your satisfaction, proceed to initiate the extraction process within the video converter software. Depending on the length of the digital movie and the selected extraction parameters, the software will commence the extraction process, converting the audio from the movie into standalone music files based on your specified settings.
By selecting the music extraction option and customizing the relevant settings within the video converter software, you are one step closer to capturing the captivating soundtracks and musical moments from your digital movie collection. With the extraction process underway, the software will diligently convert the audio from the movie into standalone music files, preserving the cinematic magic in a format that can be enjoyed independently.
As the music extraction process unfolds, you are poised to witness the transformation of movie soundscapes into standalone musical treasures, ready to enrich your personal music library with the captivating melodies and compositions that have captured your imagination within the realm of cinema.
Step 4: Choose the Output Format and Quality
Selecting the output format and quality is a pivotal stage in the music extraction process, as it directly influences the characteristics and usability of the extracted music files. Upon reaching this step within the video converter software on your Windows 10 computer, you are presented with a range of options to tailor the output to your preferences and requirements.
One of the primary considerations when choosing the output format is the intended use of the extracted music files. Common audio formats such as MP3, WAV, FLAC, and AAC offer varying levels of compatibility and quality, catering to different playback devices and preferences. MP3, known for its widespread compatibility and relatively small file sizes, is a popular choice for creating a portable music collection. On the other hand, formats like FLAC and WAV are revered for their lossless audio quality, making them ideal for audiophiles and high-fidelity audio systems.
In addition to format selection, the quality settings play a crucial role in determining the audio fidelity and file size of the extracted music. Parameters such as bitrate, sample rate, and audio channels offer opportunities to customize the output according to your preferences. Bitrate, measured in kilobits per second (kbps), directly impacts the audio quality and file size, with higher bitrates translating to better fidelity but larger file sizes. Sample rate, measured in Hertz (Hz), determines the frequency at which audio samples are captured, influencing the overall audio reproduction. Furthermore, the choice of audio channels, such as stereo or mono, can affect the spatial perception and compatibility of the extracted music files.
When choosing the output format and quality, it's essential to strike a balance between audio fidelity and file size, aligning the settings with your intended use and playback devices. For instance, if you aim to create a portable music collection for everyday listening, a standard MP3 format with a moderate bitrate may suffice, offering a balance between quality and file size. Conversely, if you seek to preserve the utmost audio fidelity and detail, opting for a lossless format such as FLAC with higher bitrate and sample rate settings can deliver an uncompromising listening experience.
By carefully selecting the output format and quality settings within the video converter software, you are poised to customize the extracted music files to align with your preferences and usage scenarios. With the chosen settings in place, the software will proceed to convert the audio from the digital movie into standalone music files, reflecting the specified format and quality characteristics. As the extraction process unfolds, you can anticipate the creation of music files that encapsulate the captivating soundtracks and musical moments from your favorite digital movies, ready to enrich your personal music collection with cinematic allure.
Step 5: Start the Music Extraction Process
With the digital movie file imported into the video converter software and the music extraction settings configured to your preferences, you are now poised to initiate the music extraction process. This pivotal step sets the software in motion, prompting it to diligently convert the audio from the digital movie into standalone music files based on your specified parameters.
To commence the music extraction process, locate the designated button or option within the video converter software that initiates the conversion or extraction. This may be labeled as "Start," "Convert," or a similar indication, depending on the specific interface and features of the software. Click on this button to trigger the commencement of the music extraction process, signaling the software to begin converting the audio from the digital movie into standalone music files.
As the extraction process unfolds, the video converter software will diligently process the audio from the digital movie, adhering to the specified format, quality, and segment settings. Depending on the length of the movie and the complexity of the extraction parameters, the software may take some time to complete the extraction process. During this time, you can monitor the progress within the software interface, which may display a progress bar, percentage completion, or estimated time remaining to provide insights into the extraction duration.
Throughout the extraction process, the software will work tirelessly to transform the audio from the digital movie into individual music files, preserving the captivating soundtracks and musical moments that have captured your imagination. As the extraction nears completion, you can anticipate the emergence of standalone music files that encapsulate the essence of the original movie's audio, ready to be enjoyed independently in your personal music library.
Upon the successful completion of the music extraction process, the video converter software will typically prompt you to specify the destination folder for the extracted music files. Choose a location on your Windows 10 computer where you intend to store the music files, ensuring that it is easily accessible and organized within your music library.
With the music extraction process concluded, you have successfully transformed the audio from the digital movie into standalone music files, ready to enrich your music collection with the captivating melodies and compositions that have resonated with you within the realm of cinema. As you navigate to the designated destination folder, you will encounter the extracted music files, each representing a musical treasure extracted from your favorite digital movies, awaiting to accompany you on your auditory journeys.
In summary, by initiating the music extraction process within the video converter software, you have unlocked the ability to preserve and cherish the cinematic soundscapes and musical moments that have left an indelible impression. The extracted music files stand as a testament to the transformative power of audio extraction, allowing you to relive the magic of movie soundtracks in a standalone and immersive musical experience.
Conclusion
In conclusion, the process of ripping music from a digital movie on Windows 10 is a rewarding endeavor that empowers you to capture the captivating soundtracks and musical moments from your favorite cinematic experiences. By following the comprehensive steps outlined in this guide, you have gained the knowledge and tools to extract music from digital movies with ease, creating a personalized music collection that resonates with the allure of cinema.
Through the journey of music extraction, you have embarked on a transformative experience, witnessing the seamless conversion of movie soundscapes into standalone musical treasures. The utilization of a reliable video converter software has been instrumental in facilitating this process, providing a user-friendly interface and a range of customization options to tailor the music extraction to your preferences.
From the initial step of downloading and installing a video converter to the meticulous selection of music extraction settings and the commencement of the extraction process, you have navigated through the intricacies of capturing the essence of cinematic audio. The ability to import digital movie files, specify extraction parameters, and witness the creation of individual music files has empowered you to curate a music library enriched with the evocative melodies and compositions that have left an indelible impression.
As you reflect on the culmination of the music extraction process, you are presented with a collection of standalone music files, each encapsulating the essence of the original movie's audio. These extracted music files stand as testament to the transformative power of audio extraction, offering a gateway to relive the magic of movie soundtracks in a standalone and immersive musical experience.
Furthermore, the extracted music files are poised to accompany you on your auditory journeys, enriching your everyday experiences with the evocative melodies and stirring compositions that have resonated with you within the realm of cinema. Whether it's the haunting theme of a dramatic film or the lively tunes of a musical, the extracted music files serve as a testament to the enduring impact of cinematic soundscapes.
In essence, the process of ripping music from digital movies on Windows 10 transcends the mere extraction of audio; it embodies the preservation of cherished memories and the celebration of the transformative power of music. As you integrate the extracted music files into your personal collection, you are poised to embark on auditory adventures that evoke the magic of cinema, perpetuating the timeless allure of cinematic soundtracks in your everyday life.