Home>Production & Technology>Stereo>How To Hook Up An Amplifier To Home Stereo
Stereo
How To Hook Up An Amplifier To Home Stereo
Modified: January 22, 2024
Learn how to connect an amplifier to your home stereo system and enhance your audio experience. Get step-by-step instructions and expert tips for optimizing your stereo setup.
(Many of the links in this article redirect to a specific reviewed product. Your purchase of these products through affiliate links helps to generate commission for AudioLover.com, at no extra cost. Learn more)
Table of Contents
Introduction
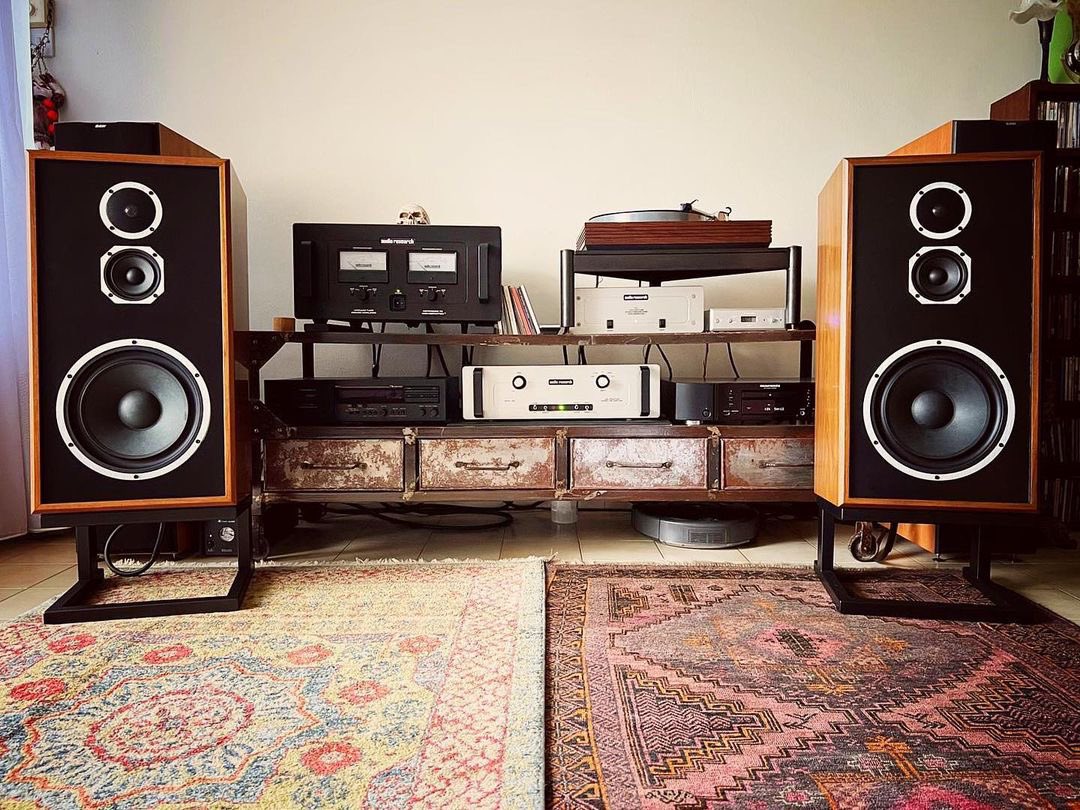
Are you looking to amplify the sound of your home stereo system? Adding an amplifier to your setup can significantly enhance the audio quality and overall experience. Whether you’re a music enthusiast or a movie lover, a well-connected amplifier can bring your favorite media to life with powerful and crisp sound.
In this guide, we will walk you through the process of hooking up an amplifier to your home stereo system. We will go step by step, explaining the necessary equipment, identifying the audio output on your stereo, connecting the amplifier, setting it up, and testing the audio connection.
Before we dive into the details, it’s essential to mention that many modern home stereo systems already have built-in amplifiers. However, if you want to enhance the power and sound quality further, you can connect an external amplifier to your existing setup.
By following the steps outlined in this guide, you can achieve a seamless connection between your home stereo system and the amplifier, ensuring a stunning audio experience for all your entertainment needs.
So let’s get started with the first step: gathering the necessary equipment to begin the setup process.
Step 1: Gather the necessary equipment
Before you begin hooking up an amplifier to your home stereo, it’s important to ensure that you have all the necessary equipment. Here are the items you will need:
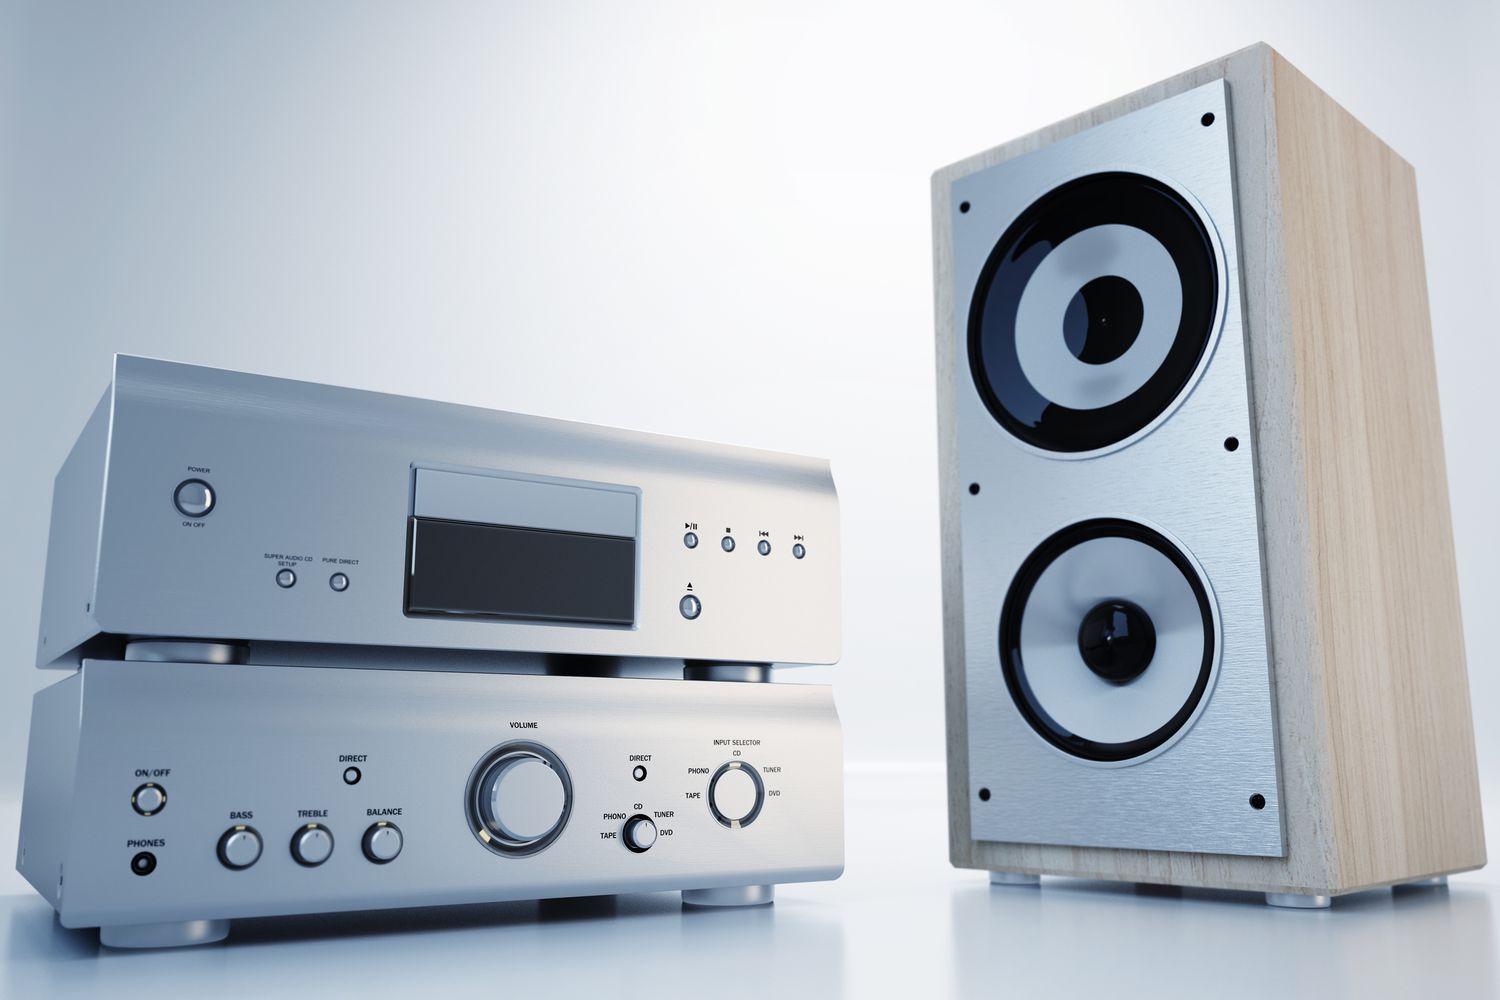
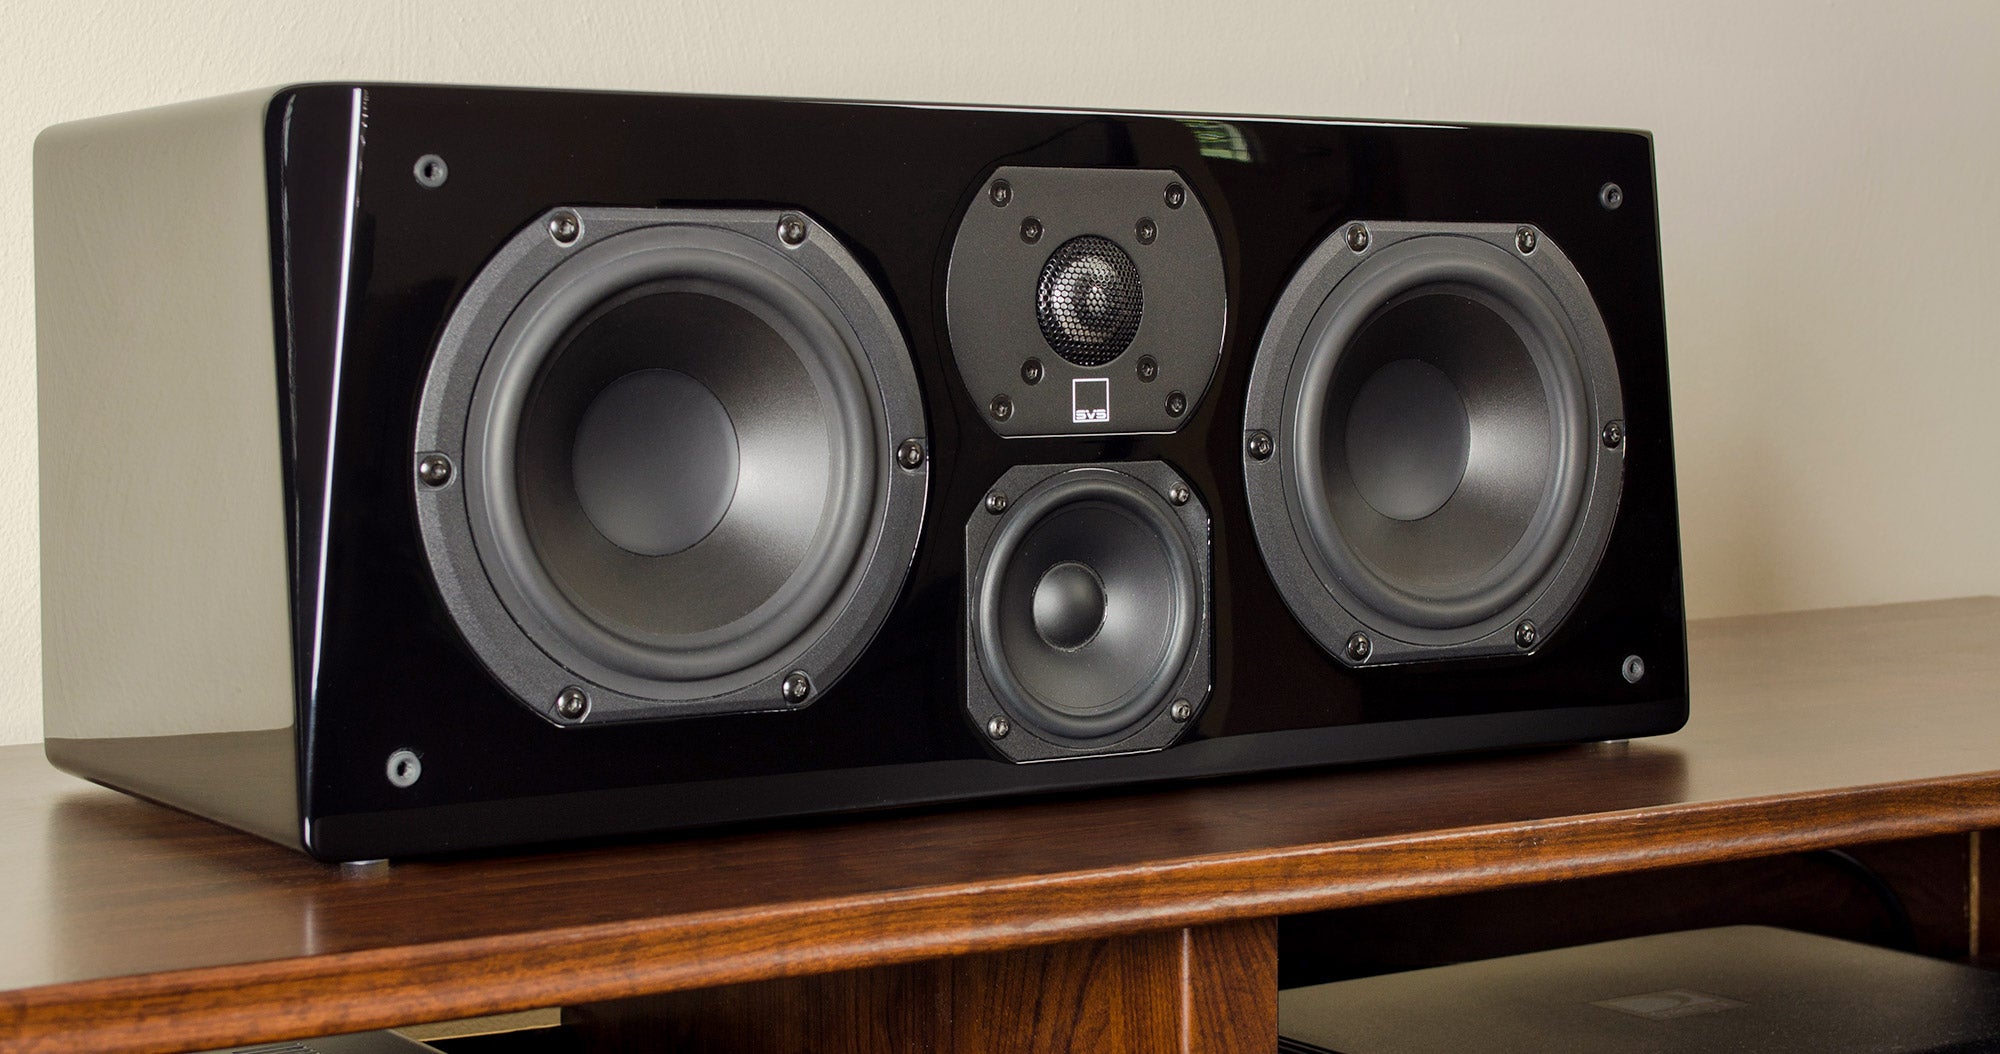
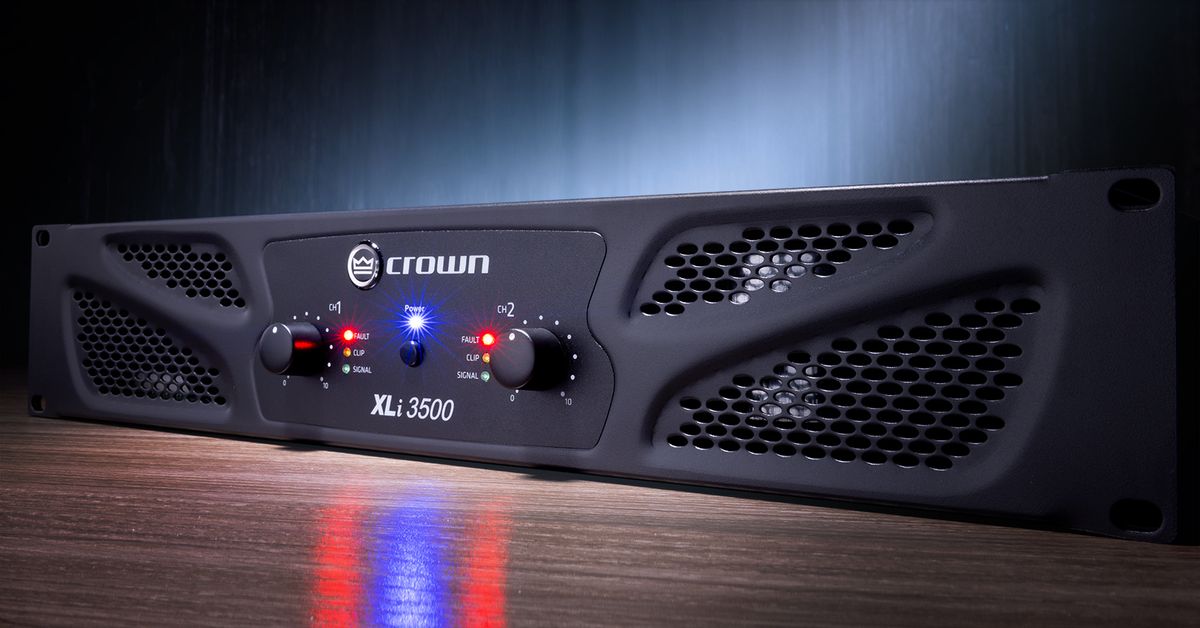
- An amplifier: Choose an amplifier that suits your needs and budget. Consider factors like power output, compatibility with your stereo system, and any specific features you require.
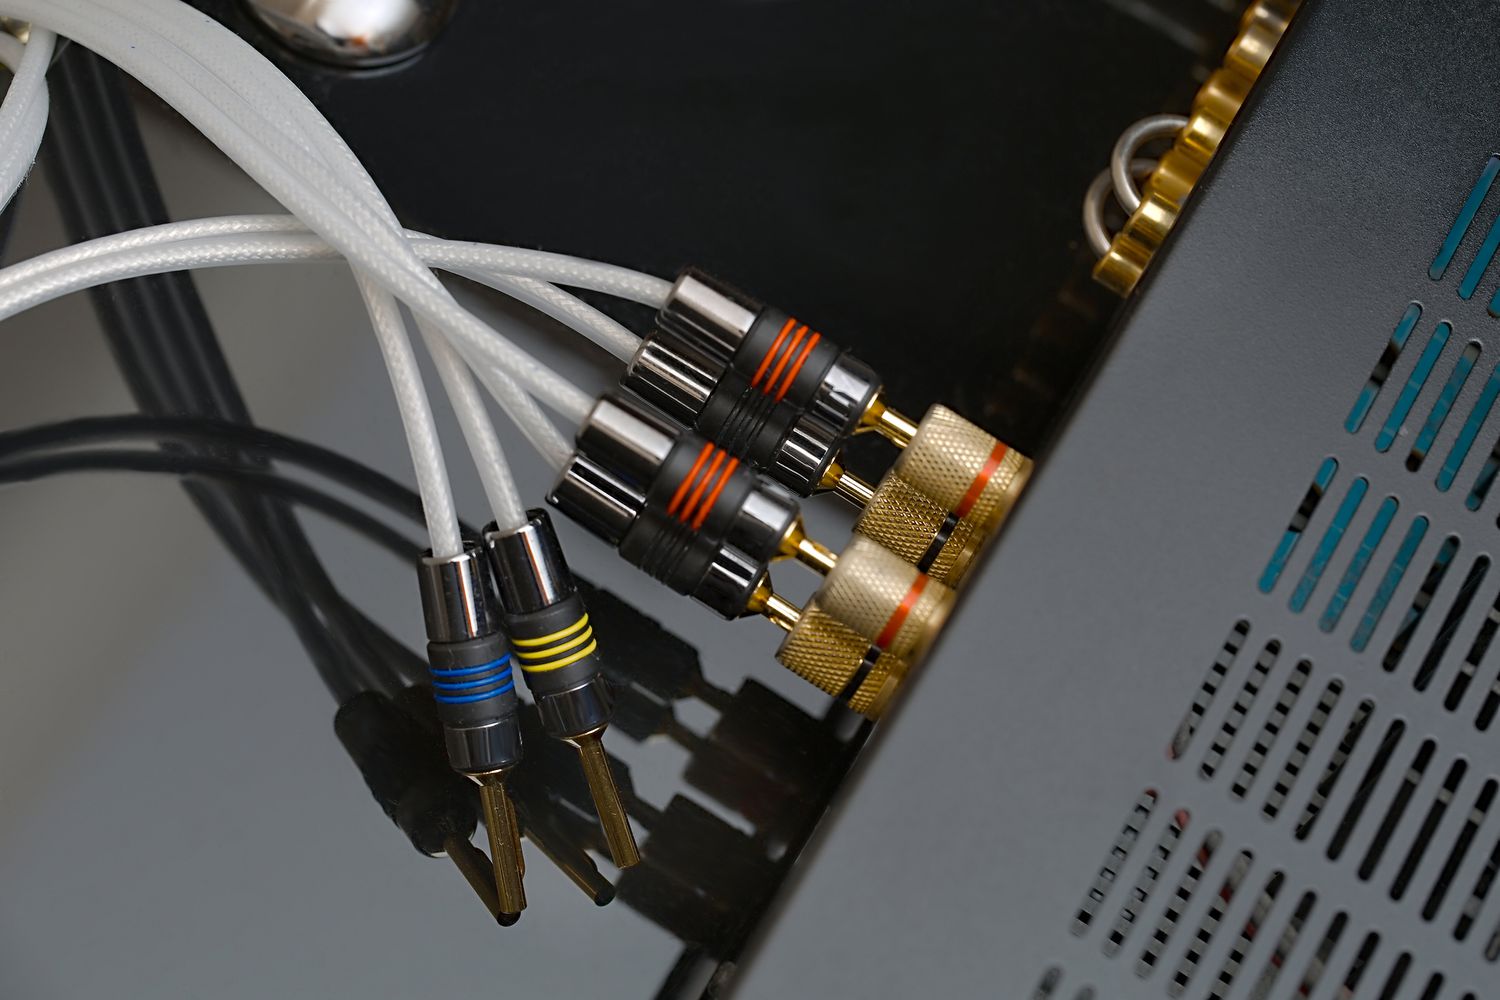
- Audio cables: You will need audio cables to connect the amplifier to your home stereo. The type of cable you need will depend on the audio outputs and inputs available on both your stereo and amplifier. Common options include RCA cables, 3.5mm audio cables, or optical cables.
- Speaker wires: If you plan on connecting external speakers to your amplifier, make sure you have enough speaker wires. Ensure the gauge of the wires is suitable for the power output of your amplifier and the distance between the amplifier and the speakers.
- Power cables: Your amplifier will require a power source, so ensure that you have the appropriate power cables and extension cords if needed.
- A screwdriver and other tools: Depending on the amplifier and your stereo system, you might need a screwdriver or other tools to make the necessary connections.
Once you have gathered all the necessary equipment, you’re ready to move on to the next step: identifying the audio output on your home stereo.
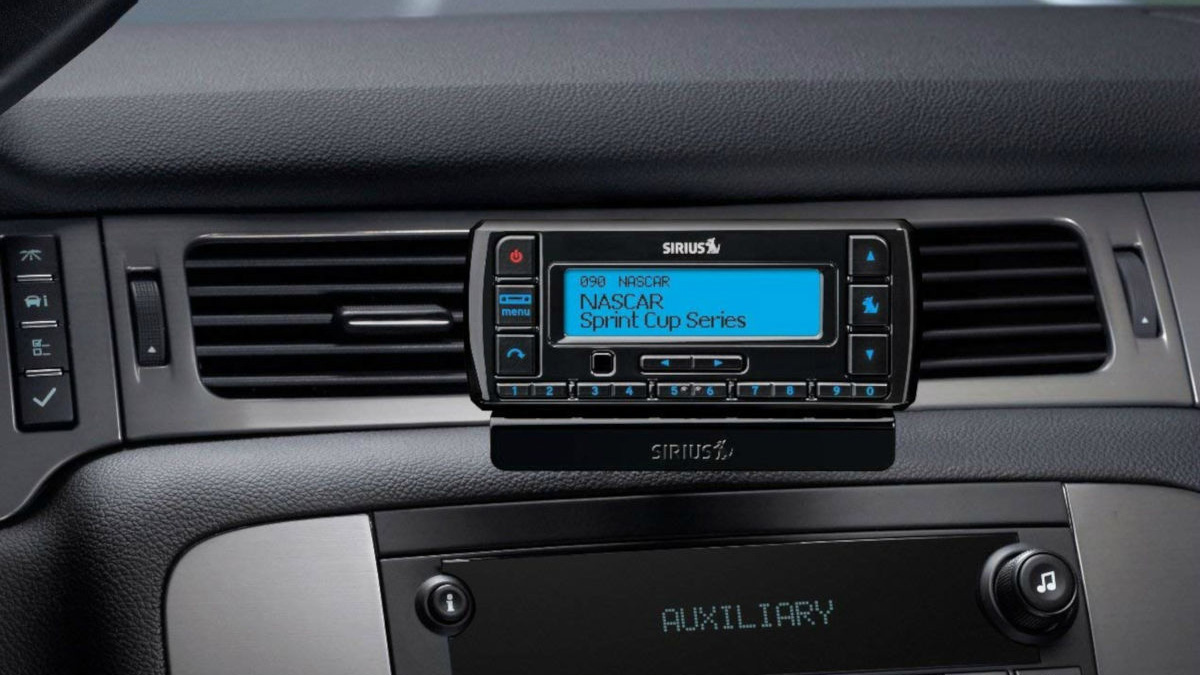
Step 2: Identify the audio output on your home stereo
Before you can connect the amplifier to your home stereo, it’s important to identify the audio output on your stereo. This will vary depending on the make and model of your stereo system.
Typically, home stereos have several audio output options, such as RCA outputs, speaker terminals, or 3.5mm headphone jacks. Some modern stereo systems may also have optical or HDMI ARC (Audio Return Channel) outputs.
To identify the audio output on your home stereo, check the back or sides of the unit. Look for labels such as “Audio Out,” “Line Out,” or specific colors like red and white for RCA outputs. If you are unsure, consult the user manual of your stereo system or search online for specific instructions related to your model.
Once you have identified the audio output, you can proceed to the next step: connecting the amplifier to your home stereo.
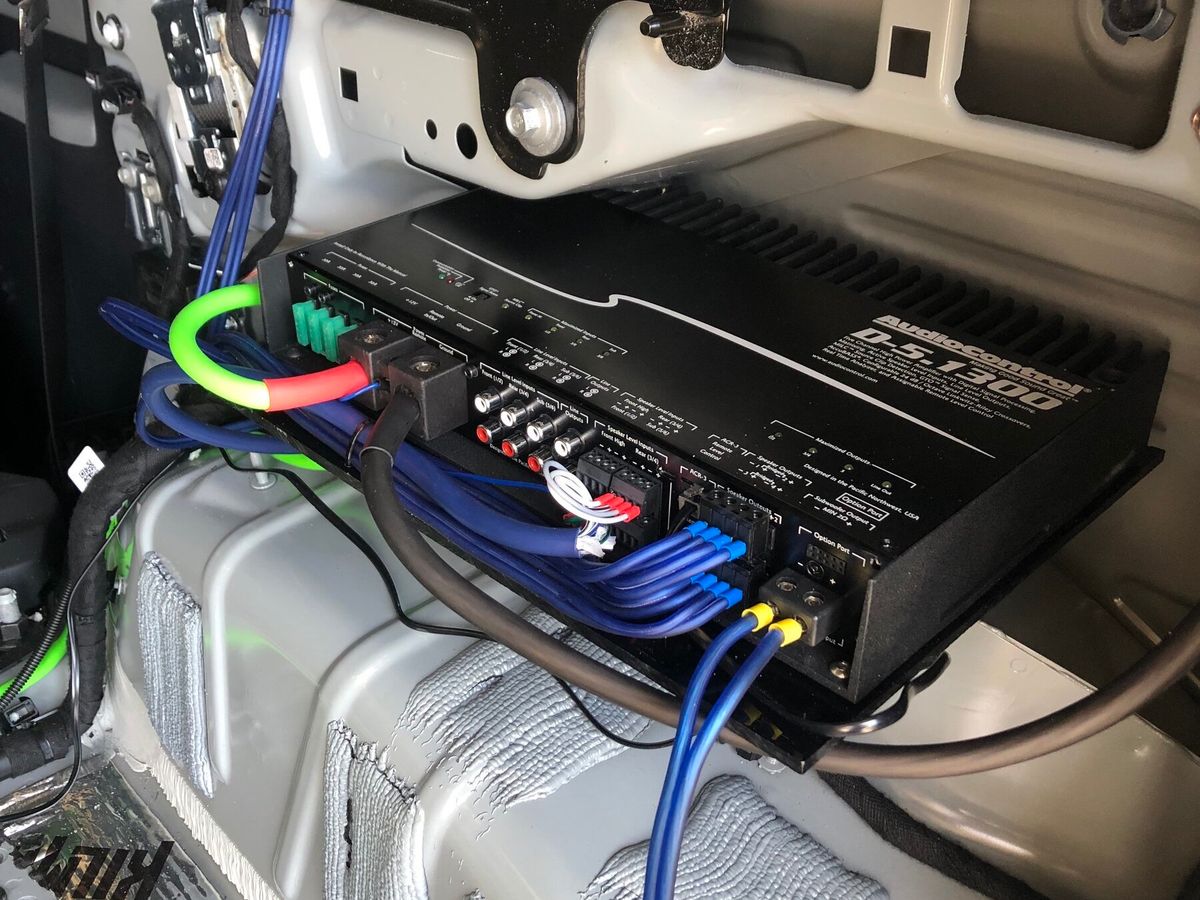
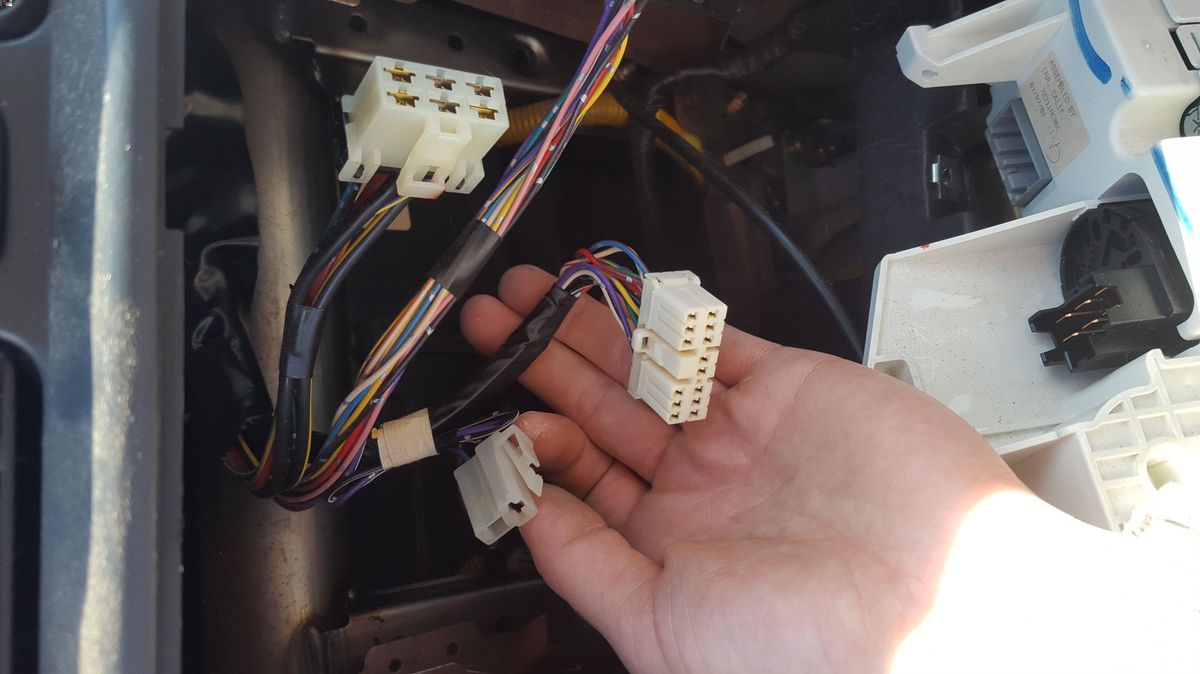
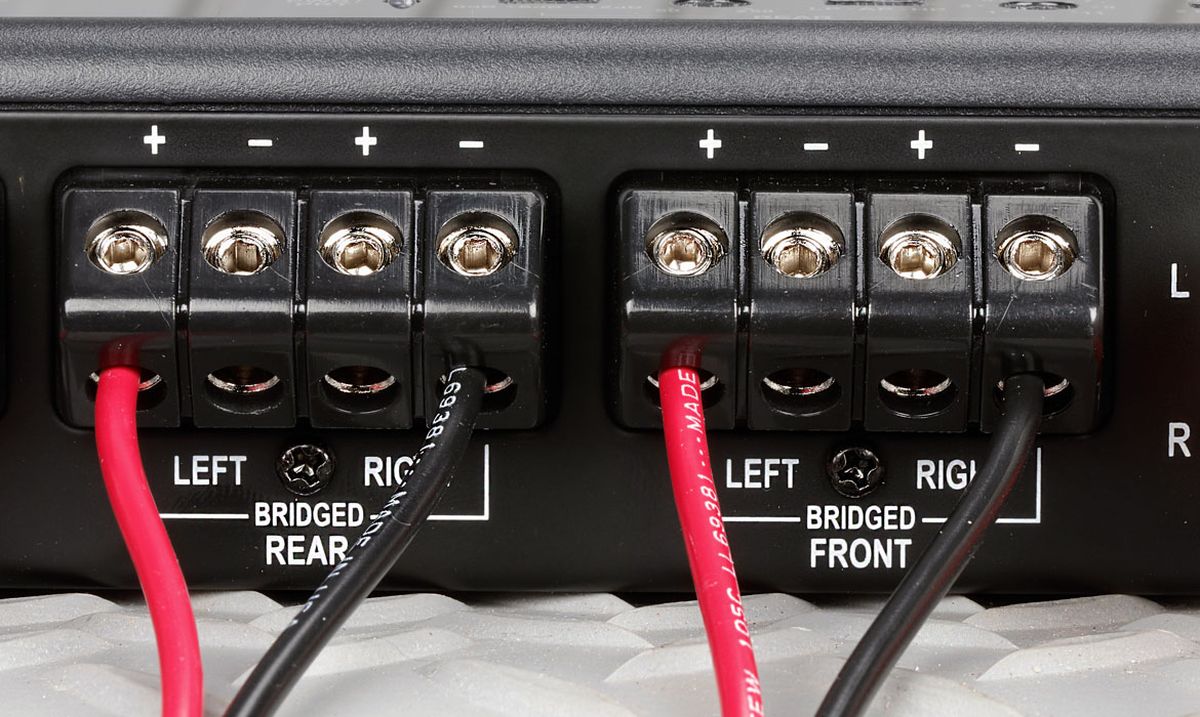
Step 3: Connect the amplifier to the home stereo
Now that you have identified the audio output on your home stereo, it’s time to connect the amplifier. Follow these steps to make the necessary connections:
- Turn off your home stereo and amplifier, and unplug them from the power source.
- Take the audio cables and connect one end to the audio output on your home stereo. Ensure you match the appropriate cables to the corresponding outputs (e.g., RCA to RCA, 3.5mm to 3.5mm).
- Connect the other end of the audio cables to the corresponding audio inputs on your amplifier. Again, ensure you match the cables to the correct inputs.
- If you plan on connecting external speakers to your amplifier, use the speaker wires to make the necessary connections. Connect one end of the speaker wire to the speaker output terminals on your amplifier and the other end to the corresponding terminals on your speakers.
- Double-check all the connections to ensure they are secure and properly inserted.
Once you have successfully connected the amplifier to your home stereo, you can move on to the next step: setting up the amplifier.
Step 4: Set up the amplifier
Setting up the amplifier is crucial to ensure optimal performance and compatibility with your home stereo system. Follow these steps to properly set up your amplifier:
- Refer to the user manual of your amplifier to understand its specific setup requirements and features.
- Position the amplifier in a well-ventilated area with proper airflow to prevent overheating.
- Plug in the power cable of the amplifier to a power outlet and ensure it is securely connected.
- Turn on the amplifier and adjust the volume settings to a low level.
- Access the amplifier’s settings, either through a control panel or a remote control, to adjust the equalizer, tone controls, and any other audio settings to your preference. Experiment with these settings to achieve the desired audio quality.
- If your amplifier has multiple input options, set the input selector switch or button to the appropriate input channel that you’ve connected your home stereo to.
Once you have completed the setup process, you’re almost ready to enjoy the enhanced audio experience. However, there’s one more step left: testing the audio connection.
Step 5: Test the audio connection
After connecting and setting up the amplifier, it’s crucial to test the audio connection to ensure everything is working correctly. Follow these steps to test the audio connection:
- Turn on your home stereo and amplifier.
- Play a test sound or audio track on your preferred media source, such as a CD, streaming service, or DVD player.
- Gradually increase the volume on both your stereo and amplifier to a comfortable listening level.
- Listen for clear and balanced audio output from your speakers. Ensure that there are no distortions, crackling sounds, or irregularities in the sound.
- If there are any issues with the audio quality, check all the connections again and make sure they are tight and secure. Additionally, verify that the amplifier and stereo settings are properly configured.
- Make any necessary adjustments to the equalizer, tone controls, and other settings on your amplifier to tailor the audio output to your preference.
Once you are satisfied with the audio quality and there are no issues with the sound, congratulations! You have successfully hooked up an amplifier to your home stereo system. Now you can sit back, relax, and enjoy an enhanced audio experience for all your favorite music, movies, and more.
By following these steps, you can connect an amplifier to your home stereo system and unlock its full potential in delivering immersive and high-quality sound.
Remember, always consult the user manuals and guidelines provided with your specific amplifier and home stereo system to ensure proper compatibility and safe installation.
Enjoy the enhanced audio experience!
Conclusion
Adding an amplifier to your home stereo system can greatly enhance the audio quality and overall experience of your favorite media. By following the step-by-step guide we have provided, you can successfully hook up an amplifier to your home stereo and enjoy a powerful and immersive sound.
Throughout this guide, we covered the essentials, including gathering the necessary equipment, identifying the audio output on your home stereo, connecting the amplifier, setting it up, and testing the audio connection. Each step is crucial in ensuring a seamless and optimized audio experience.
Remember to choose an amplifier that suits your needs and budget, and be mindful of the types of audio cables and speaker wires you use for the connections. Take your time to properly set up and configure the amplifier, adjusting the volume settings and any additional audio features to your liking.
Once everything is connected and set up, it’s important to test the audio connection and make any necessary adjustments to achieve the best sound quality. If any issues arise, revisit the connections and settings to ensure everything is properly configured.
With the amplifier properly connected and set up, you can now enjoy a truly immersive audio experience. Whether you’re watching movies, listening to music, or playing video games, the enhanced sound quality provided by the amplifier will make a noticeable difference.
Remember to consult the user manuals and guidelines provided with your specific amplifier and home stereo system for detailed instructions and safety precautions. Following the manufacturer’s recommendations will ensure proper compatibility and reduce the risk of any damage.
Now that you have the knowledge to hook up an amplifier to your home stereo, what are you waiting for? Go ahead and take your audio experience to the next level!