Home>Production & Technology>Stereo>How To Connect DVD Player To Stereo Amplifier
Stereo
How To Connect DVD Player To Stereo Amplifier
Modified: January 22, 2024
Learn how to easily connect your DVD player to a stereo amplifier with our step-by-step guide. Enhance your audio experience with seamless integration of your stereo system.
(Many of the links in this article redirect to a specific reviewed product. Your purchase of these products through affiliate links helps to generate commission for AudioLover.com, at no extra cost. Learn more)
Table of Contents
- Introduction
- Step 1: Gather the necessary cables and equipment
- Step 2: Identify the audio output options on your DVD player
- Step 3: Choose the appropriate audio cable
- Step 4: Connect the audio cable from the DVD player to the stereo amplifier
- Step 5: Adjust the audio settings on the DVD player and stereo amplifier
- Step 6: Test the connection and ensure proper audio playback
- Conclusion
Introduction
Welcome to this comprehensive guide on how to connect a DVD player to a stereo amplifier. If you’re looking to enhance your audio experience and enjoy movies with immersive sound quality, connecting your DVD player to a stereo amplifier is a great way to achieve that.
A stereo amplifier is designed to amplify audio signals and distribute them to speakers, ensuring clear and powerful sound reproduction. By connecting your DVD player to a stereo amplifier, you can take advantage of its superior audio performance and enjoy your favorite movies, TV shows, and music with enhanced sound quality.
In this guide, we’ll walk you through the step-by-step process of connecting your DVD player to a stereo amplifier. Whether you’re a beginner or have some experience with audio setups, this guide will help you navigate through the process smoothly and efficiently.
We’ll cover everything from gathering the necessary cables and equipment to adjusting the audio settings on both the DVD player and stereo amplifier. By following these steps, you’ll be able to establish a seamless connection and ensure optimal audio playback.
Before we dive into the step-by-step instructions, it’s important to note that the specific setup and connections may vary depending on the make and model of your DVD player and stereo amplifier. It’s always a good idea to consult the user manuals for your devices for any specific instructions or recommendations.
Now, let’s get started with the first step: gathering the necessary cables and equipment.
Step 1: Gather the necessary cables and equipment
Before you can connect your DVD player to a stereo amplifier, you’ll need to gather the necessary cables and equipment. Here’s a list of what you’ll need:
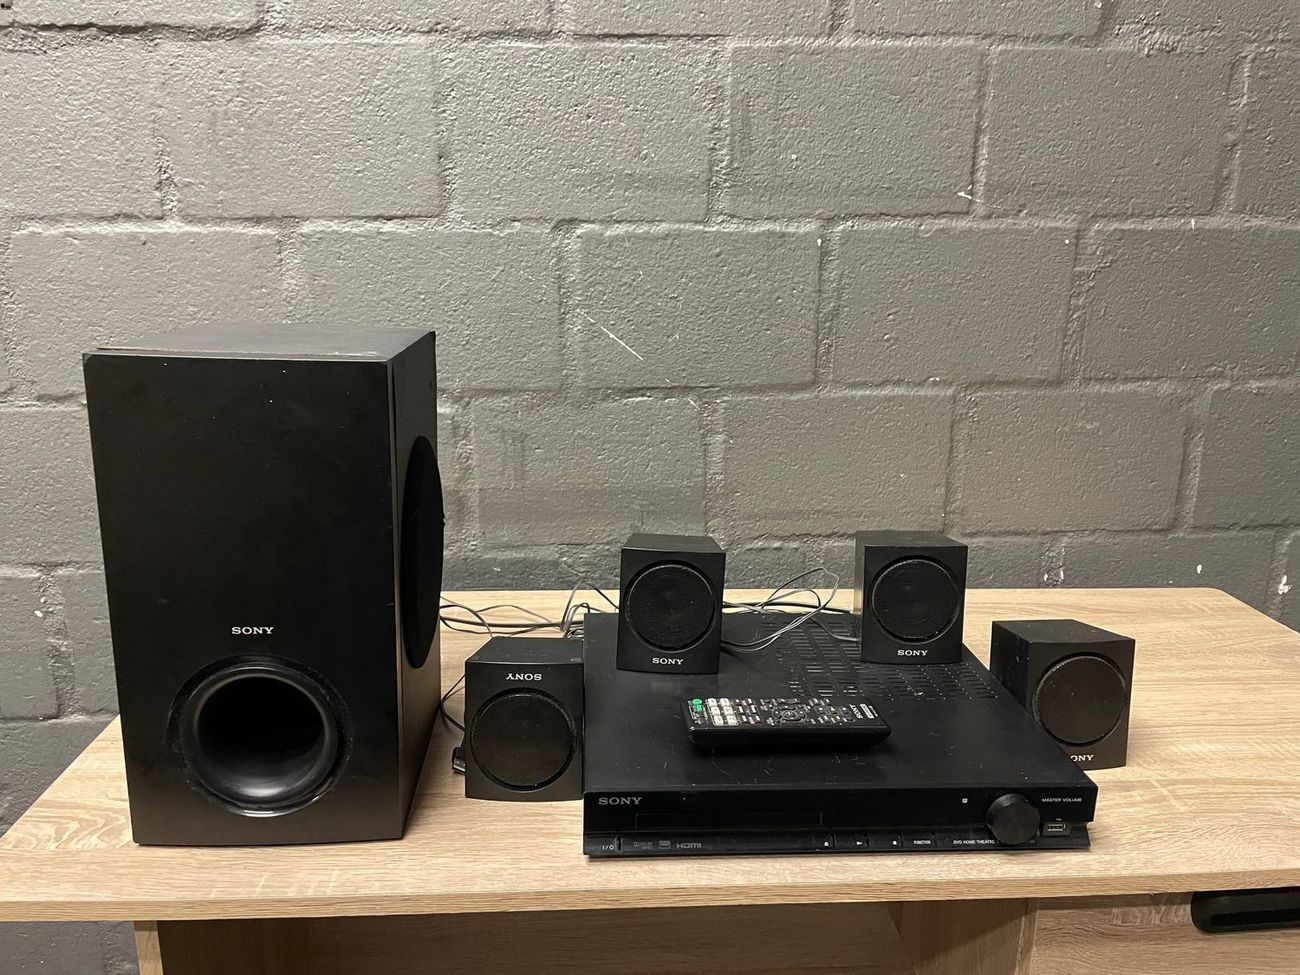
- DVD Player: This is the device that plays DVDs and contains the audio and video outputs.
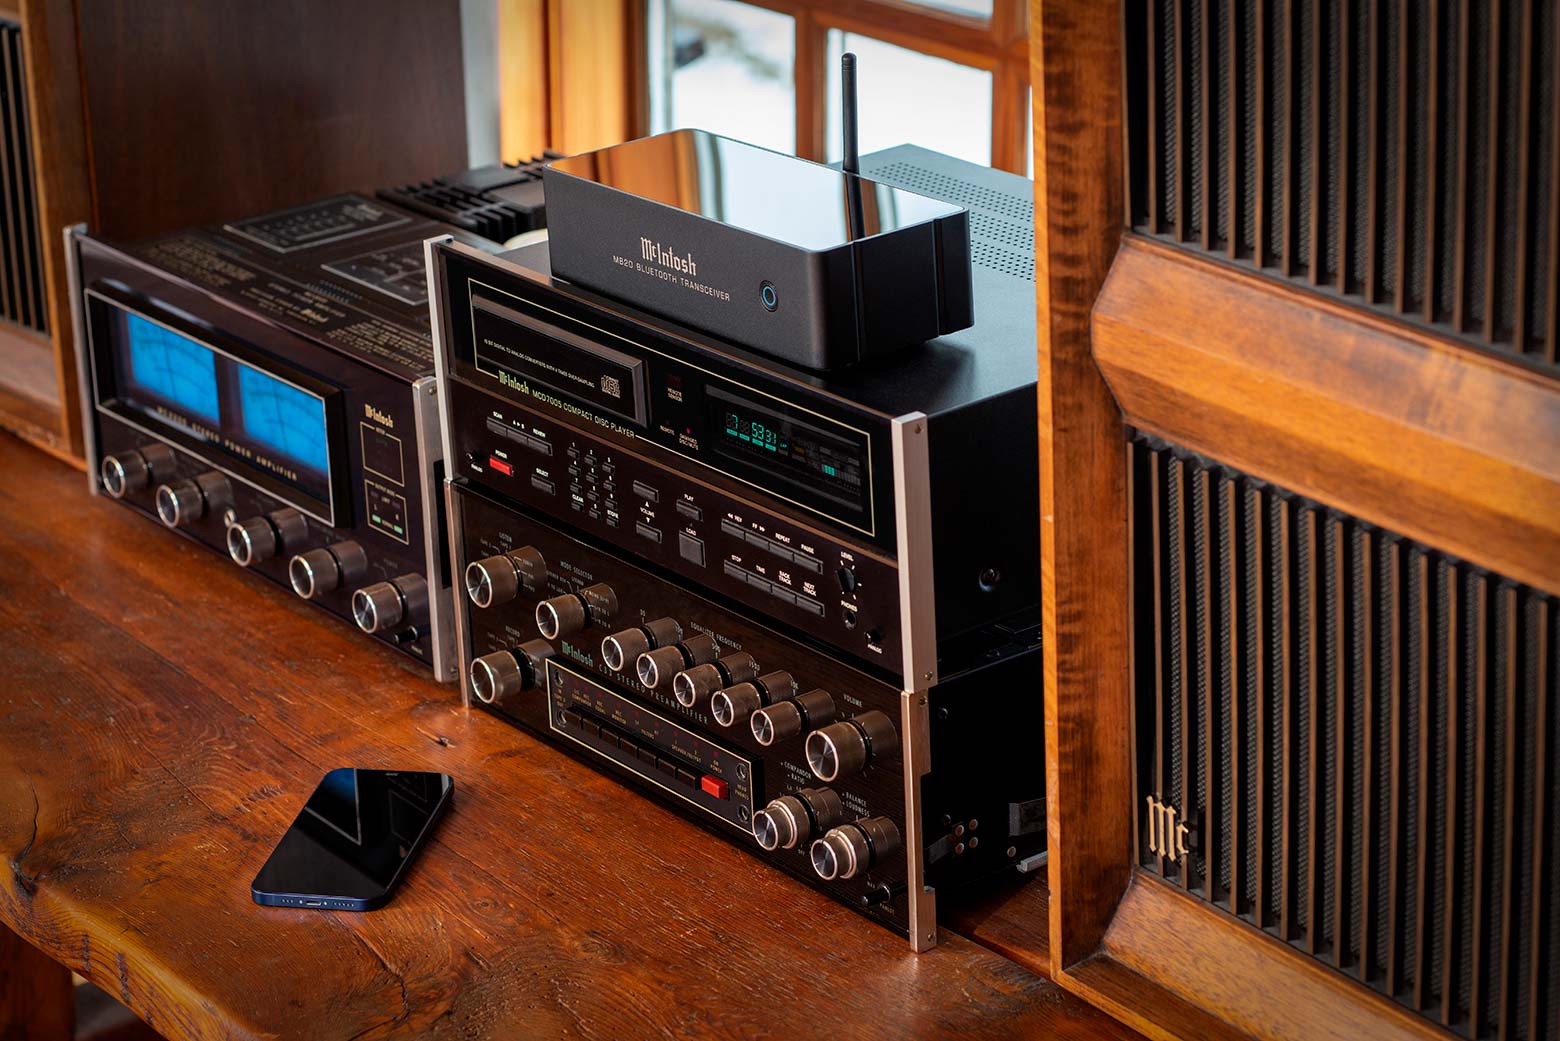
- Stereo Amplifier: This is the device that amplifies audio signals and connects to your speakers.
- Audio Cable: You’ll need an appropriate audio cable to connect the audio output of the DVD player to the input of the stereo amplifier.
- Power Cables: Make sure you have the necessary power cables to connect both the DVD player and stereo amplifier to a power source.
- Remote Control: Ensure that you have the remote control for both the DVD player and stereo amplifier, as you may need to adjust settings during the setup process.
It’s essential to ensure that you have the correct cables for your specific devices. The type of audio cable you’ll need depends on the available audio output options on your DVD player and the input options on your stereo amplifier. The most common types of audio cables used for connecting DVD players to stereo amplifiers are RCA cables and HDMI cables.
RCA cables are typically color-coded with red and white connectors, representing the right and left audio channels respectively. HDMI cables, on the other hand, transmit both audio and video signals in a single cable. Check the available ports on your DVD player and stereo amplifier to determine which type of cable is compatible.
Once you have gathered all the necessary cables and equipment, you’re ready to move on to the next step: identifying the audio output options on your DVD player.
Step 2: Identify the audio output options on your DVD player
Before you can connect your DVD player to a stereo amplifier, it’s essential to identify the audio output options available on your DVD player. This will help you determine which audio cable to use for the connection.
Most DVD players offer multiple audio output options, including RCA, HDMI, and digital audio outputs such as optical or coaxial audio. The location and type of audio outputs may vary depending on the make and model of your DVD player.
Here are the common types of audio output options you may find on your DVD player:
- RCA Audio Outputs: Look for a pair of red and white RCA connectors labeled as ‘audio out’ or ‘line out.’ These RCA outputs transmit analog audio signals and are compatible with RCA audio cables.
- HDMI Output: If your DVD player has an HDMI output, it can transmit both audio and video signals in a single cable. HDMI is a convenient option for connecting to a stereo amplifier that supports HDMI input.
- Digital Audio Outputs: Some DVD players have digital audio outputs, such as optical (TOSLINK) or coaxial (RCA) connectors. These outputs transmit digital audio signals that can provide enhanced audio quality, especially for surround sound systems.
Take a close look at the back panel of your DVD player and refer to the user manual if needed to locate and identify the audio output options. Once you have identified the available options, you can determine which type of audio cable to use for the connection.
Now that you have identified the audio output options on your DVD player, it’s time to move on to the next step: choosing the appropriate audio cable to connect the DVD player to the stereo amplifier.
Step 3: Choose the appropriate audio cable
Now that you have identified the audio output options on your DVD player, it’s time to choose the appropriate audio cable to connect it to the stereo amplifier. The type of audio cable you need will depend on the available outputs on your DVD player and the inputs on your stereo amplifier.
Here are the most common types of audio cables used for connecting DVD players to stereo amplifiers:
- RCA Cable: If your DVD player has RCA audio outputs, you can use an RCA cable for the connection. RCA cables are typically color-coded with red and white connectors, representing the right and left audio channels respectively. Make sure the length of the cable is sufficient to reach from the DVD player to the stereo amplifier.
- HDMI Cable: If your DVD player and stereo amplifier both support HDMI, using an HDMI cable is a convenient option. HDMI cables transmit both audio and video signals in a single cable, eliminating the need for separate audio connections. Ensure that your HDMI cable is of high quality and capable of transmitting audio signals.
- Digital Audio Cable: If your DVD player has a digital audio output, such as an optical (TOSLINK) or coaxial (RCA) connector, you can use a digital audio cable for the connection. These cables transmit digital audio signals and are capable of providing enhanced audio quality, especially for surround sound systems.
When choosing the appropriate audio cable, make sure to consider the compatibility of the cable with both your DVD player and stereo amplifier. Check the available inputs on the stereo amplifier and choose a cable that matches the output on your DVD player.
Keep in mind that the quality of the audio cable can impact the audio performance. It’s recommended to choose high-quality cables that are shielded to minimize interference and ensure optimal audio signal transfer.
Once you have chosen the appropriate audio cable, you’re ready to move on to the next step: connecting the audio cable from the DVD player to the stereo amplifier.
Step 4: Connect the audio cable from the DVD player to the stereo amplifier
Now that you have the appropriate audio cable, it’s time to connect it from the DVD player to the stereo amplifier. Follow these steps to establish a connection:
- Locate the audio output on your DVD player. Depending on the type of cable you’re using, it may be labeled as ‘audio out’ or ‘line out.’
- Take one end of the audio cable and plug it into the corresponding audio output on the DVD player. Ensure a secure connection by aligning the connector properly and gently pushing it in until it clicks into place.
- Next, locate the audio input on your stereo amplifier. This is often labeled as ‘audio in’ or ‘line in.’
- Take the other end of the audio cable and connect it to the audio input on the stereo amplifier. Again, ensure a secure connection by aligning the connector properly and gently pushing it in until it clicks into place.
- If you’re using RCA cables, connect the red connector to the red (right) audio input on the stereo amplifier and the white connector to the white (left) audio input. If you’re using an HDMI cable or a digital audio cable, simply connect it to the corresponding input on the stereo amplifier.
Once you have connected the audio cable from the DVD player to the stereo amplifier, double-check all connections to ensure they are secure. Make sure the cables are not tangled or strained, as this can affect the audio quality.
Now that the audio cable is connected, you can move on to the next step: adjusting the audio settings on both the DVD player and stereo amplifier to ensure optimal audio playback.
Step 5: Adjust the audio settings on the DVD player and stereo amplifier
Once you have connected the audio cable from your DVD player to the stereo amplifier, it’s important to adjust the audio settings on both devices to ensure optimal audio playback. This step will help you optimize the sound output and tailor it to your preferences.
Here’s what you need to do:
- Turn on your DVD player and stereo amplifier. Use the power buttons or remote controls for each respective device.
- On the DVD player, navigate to the audio settings menu. The location and terminology may vary depending on the make and model of your DVD player. Look for options such as “audio setup” or “audio output.”
- Select the appropriate audio output setting. If you are using RCA cables, choose “analog” or “RCA” as the audio output. If you are using an HDMI cable or a digital audio cable, select the corresponding digital audio output option.
- Adjust the audio settings on the stereo amplifier. This can usually be done using the amplifier’s remote control or front panel controls. Look for options such as “input select” or “source.” Select the input source that corresponds to the audio input you connected the DVD player to.
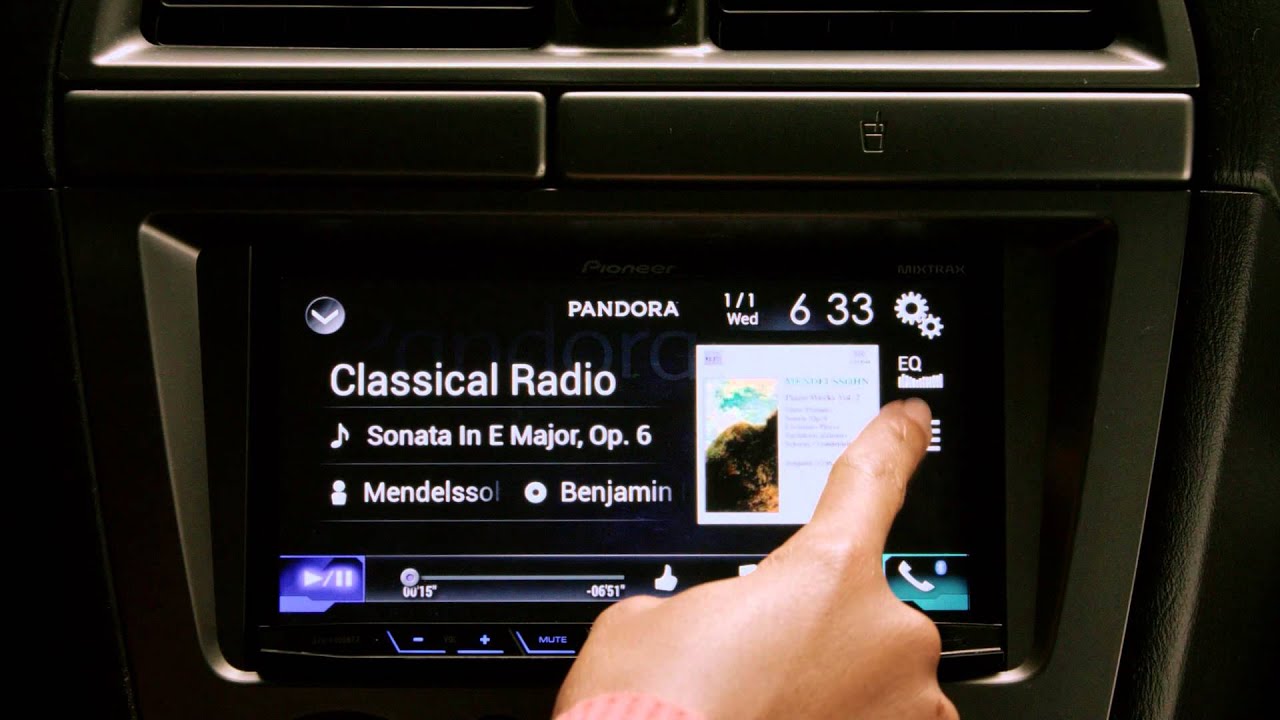
- Additionally, you may have options to adjust sound modes, equalizer settings, or audio enhancements on the stereo amplifier. Experiment with these settings to find a sound profile that suits your preferences and enhances your audio experience.
It’s important to note that the specific audio settings and options may vary depending on the DVD player and stereo amplifier you are using. Refer to the user manuals for both devices for more detailed instructions.
Once you have adjusted the audio settings on both the DVD player and stereo amplifier, you’re ready to move on to the final step: testing the connection and ensuring proper audio playback.
Step 6: Test the connection and ensure proper audio playback
After completing the previous steps, it’s time to test the connection between your DVD player and stereo amplifier to ensure proper audio playback. This step will help you confirm that the audio is being routed correctly and that the sound quality is satisfactory.
Here’s what you need to do:
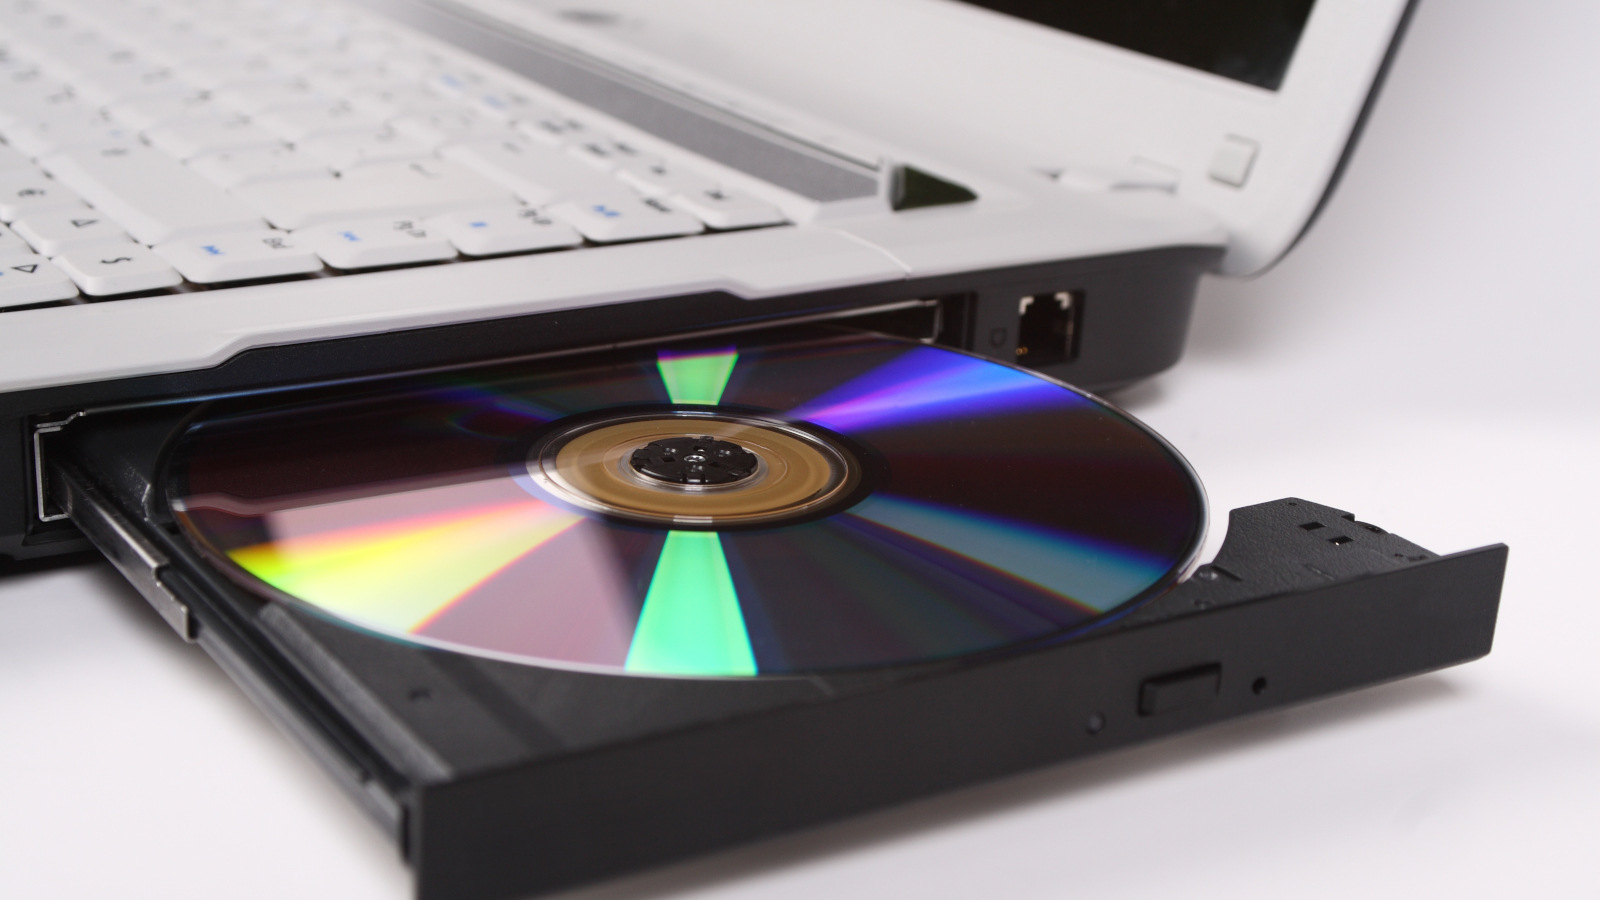
- Insert a DVD into your DVD player. Ensure that the disc is in good condition and free from any scratches or damage.
- Select the desired audio input source on your stereo amplifier. Use the remote control or front panel controls to switch to the input source you connected the DVD player to.
- Play the DVD on your DVD player and listen for audio playback through your stereo amplifier. Make sure the volume is set to an appropriate level.
- Pay attention to the sound quality and ensure that it is clear and balanced. If you notice any distortion, unusual noises, or imbalanced audio, double-check the connections and adjust the audio settings on both the DVD player and stereo amplifier accordingly.
- Test different DVDs and audio tracks to ensure consistent and reliable playback. This will help you identify any potential issues and ensure that the connection is stable across different content.
If you encounter any issues with the audio playback, double-check the connections, ensure that the cables are securely plugged in, and verify that the audio settings on both devices are correct. Consult the user manuals for your DVD player and stereo amplifier for troubleshooting guidance if necessary.
Congratulations! You have successfully connected your DVD player to a stereo amplifier and tested the audio playback. Now you can enjoy your favorite movies, TV shows, and music with enhanced sound quality and immerse yourself in a rich audio experience.
Remember, if you ever need to make changes to your setup or connect additional devices, you can follow these steps as a general guide. Each device may have its own specific connections and settings, so always refer to the user manuals provided by the manufacturers for precise instructions.
Enjoy your newly connected audio setup and elevate your audio entertainment to a whole new level!
Conclusion
Connecting a DVD player to a stereo amplifier is a fantastic way to enhance your audio experience and enjoy immersive sound quality while watching movies, TV shows, or listening to music. By following the step-by-step guide outlined in this article, you can easily establish a seamless connection and optimize the audio playback.
We started by gathering the necessary cables and equipment, including the DVD player, stereo amplifier, audio cables, power cables, and remote controls. It’s crucial to ensure you have the right cables for your specific devices and that they are of high quality to ensure optimal audio performance.
We then identified the audio output options on the DVD player, such as RCA, HDMI, or digital audio outputs. Understanding the available options is essential to choose the appropriate audio cable for the connection.
Next, we chose the right audio cable based on the available outputs on the DVD player and inputs on the stereo amplifier. This could include RCA cables, HDMI cables, or digital audio cables like optical or coaxial cables.
We proceeded to establish the connection by plugging one end of the audio cable into the audio output on the DVD player and the other end into the audio input on the stereo amplifier. Ensuring secure and proper connections is vital for optimal audio transfer.
After connecting the devices, we adjusted the audio settings on both the DVD player and stereo amplifier. This involved selecting the appropriate audio outputs and input sources to ensure synchronization and proper audio playback.
Finally, we tested the connection and ensured proper audio playback by inserting a DVD and playing it through the stereo amplifier. We paid attention to sound quality, balanced audio, and any potential issues that needed resolving.
By following these steps and testing your setup, you can enjoy a superior audio experience with your DVD player connected to a stereo amplifier. Remember to consult the user manuals for your specific devices if you encounter any difficulties or require additional assistance.
Now, sit back, relax, and immerse yourself in enhanced audio as you watch movies, enjoy TV shows, or listen to music with your newly connected DVD player and stereo amplifier setup!