Home>Production & Technology>DJ>How To Set Up DJ Equipment
DJ
How To Set Up DJ Equipment
Published: March 3, 2024
Learn how to set up DJ equipment and create an unforgettable experience for your audience. Discover essential tips and techniques for beginners and professionals.
(Many of the links in this article redirect to a specific reviewed product. Your purchase of these products through affiliate links helps to generate commission for AudioLover.com, at no extra cost. Learn more)
Table of Contents
Introduction
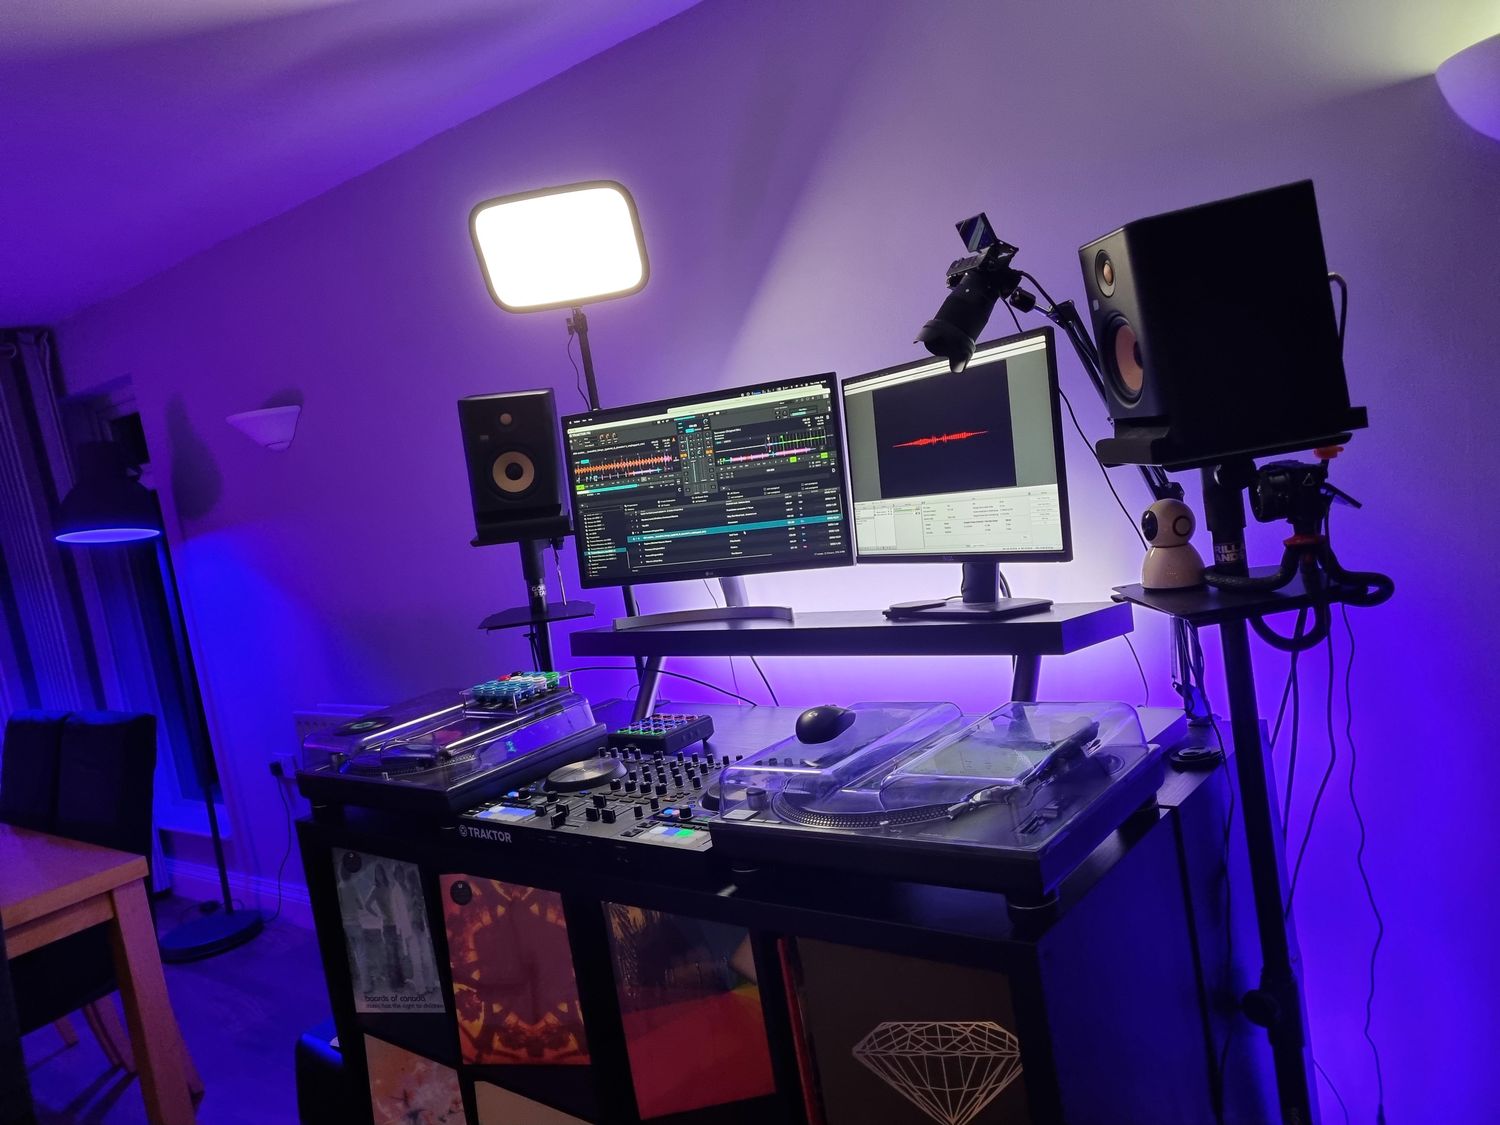
Setting up DJ equipment is an essential skill for anyone aspiring to become a DJ. Whether you're a beginner or a seasoned pro, understanding how to properly set up your equipment is crucial for delivering a seamless and electrifying performance. From selecting the right gear to connecting everything together and troubleshooting any issues, this guide will walk you through the essential steps to ensure your DJ setup is ready to rock the dance floor.
As a DJ, your equipment is your arsenal, and knowing how to set it up effectively can make all the difference in delivering a memorable experience for your audience. From turntables and mixers to speakers and amplifiers, each component plays a vital role in creating the perfect soundscape. Additionally, integrating a laptop and DJ software into your setup opens up a world of creative possibilities, allowing you to craft and mix tracks with precision and finesse.
In this comprehensive guide, we'll delve into the intricacies of setting up DJ equipment, providing you with practical insights and expert tips to streamline the process. Whether you're preparing for a live performance or setting up a home studio, mastering the art of equipment setup will empower you to unleash your creativity and captivate your audience with an unforgettable auditory journey.
So, let's embark on this enlightening journey into the realm of DJ equipment setup, where we'll explore the nuances of selecting the right gear, connecting the components, and troubleshooting potential issues. By the end of this guide, you'll be equipped with the knowledge and expertise to set up your DJ equipment like a seasoned professional, ready to immerse yourself in the exhilarating world of DJing.
Choosing the Right Equipment
When it comes to setting up a DJ rig, selecting the right equipment is the foundational step that sets the stage for a stellar performance. The key to making informed choices lies in understanding the unique requirements of your DJing style, venue, and audience. Here's a detailed breakdown of the essential components to consider when choosing your DJ equipment:
-
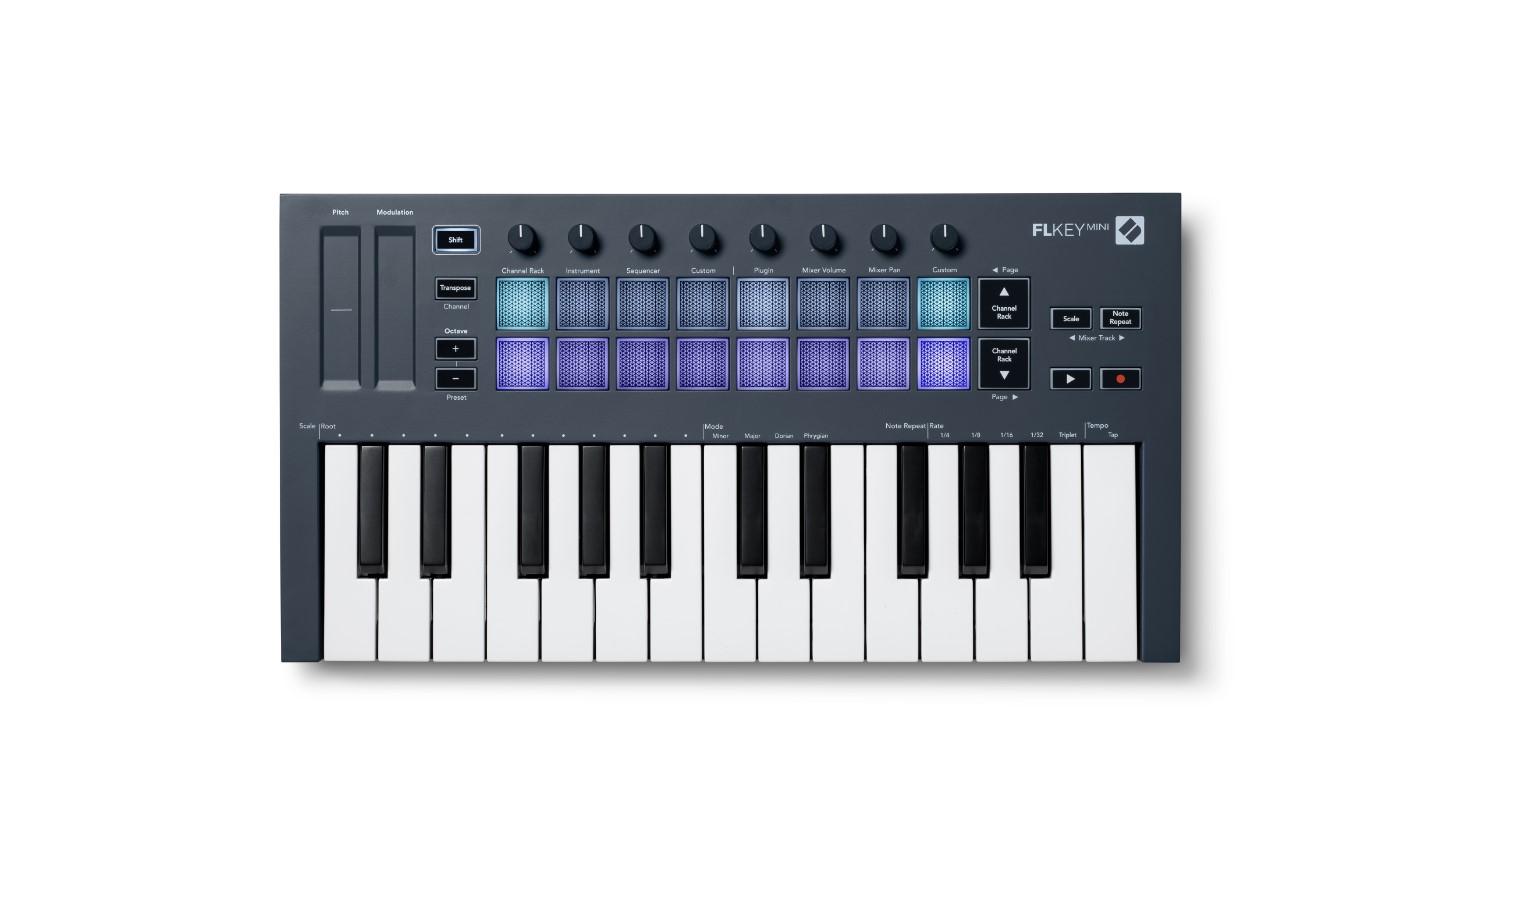
Turntables or DJ Controllers: The choice between traditional turntables and modern DJ controllers hinges on your preferred mixing style. Turntables offer a tactile and authentic vinyl DJing experience, while DJ controllers provide a compact and versatile platform for digital mixing. Consider factors such as your familiarity with vinyl manipulation, space constraints, and the specific features offered by each option.
-
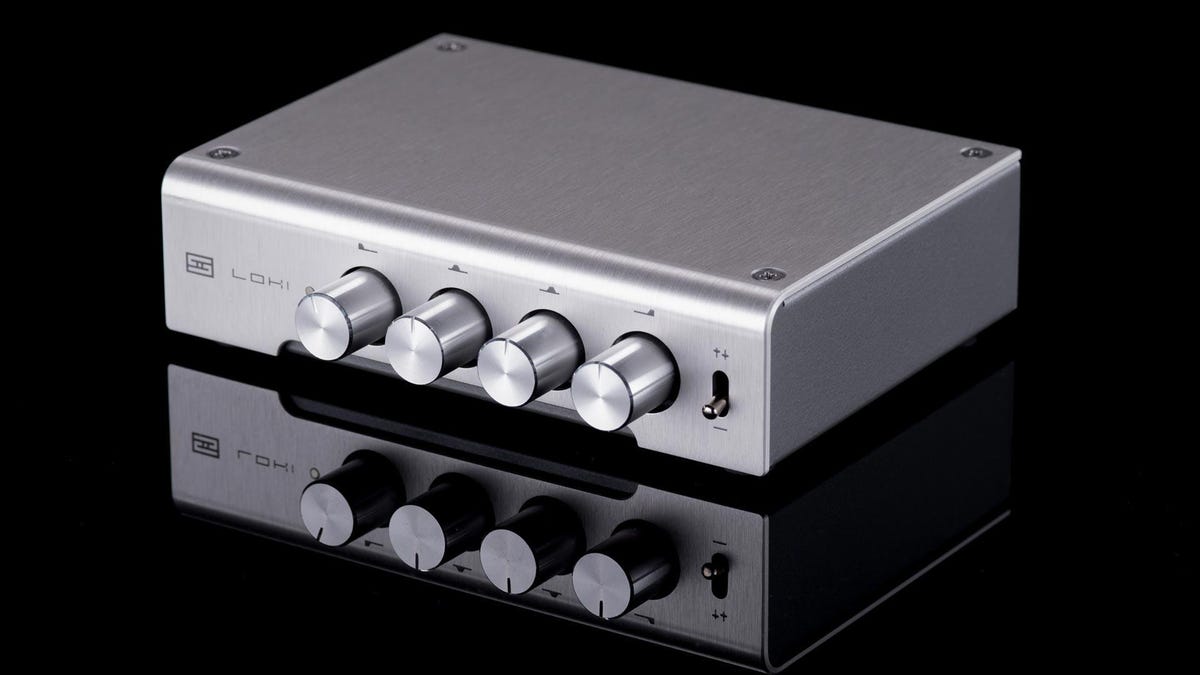
Mixer: A crucial element in the setup, the mixer serves as the central hub for blending and transitioning between tracks. When selecting a mixer, factors such as the number of channels, built-in effects, and connectivity options should be carefully evaluated to ensure compatibility with your DJing setup and performance requirements.
-
Speakers and Amplifiers: The choice of speakers and amplifiers significantly influences the overall sound quality and coverage of your performance. Factors such as power handling, dispersion characteristics, and portability should be taken into account based on the size of the venue and the desired audio fidelity.
-
Laptop and DJ Software: For DJs incorporating digital music libraries and advanced mixing capabilities, a reliable laptop and compatible DJ software are indispensable. Consider the processing power, storage capacity, and compatibility of the laptop with your preferred DJ software to ensure seamless integration and optimal performance.
-
Headphones: Often overlooked but crucial for cueing and monitoring, a pair of high-quality DJ headphones is essential for beatmatching and previewing tracks. Look for features such as noise isolation, comfort, and accurate sound reproduction to facilitate precise mixing and seamless transitions.
By carefully assessing these components and aligning them with your unique DJing requirements, you can curate a setup that empowers you to unleash your creativity and deliver an electrifying performance. The right equipment not only enhances your capabilities but also ensures a seamless and immersive experience for your audience, setting the stage for an unforgettable musical journey.
Setting Up Turntables and Mixer
Setting up turntables and a mixer forms the core of a traditional DJ setup, offering a tactile and authentic platform for crafting seamless mixes. Whether you're drawn to the nostalgic charm of vinyl records or the precision of digital control, mastering the setup process is essential for unleashing your creative prowess.
Turntable Setup
-
Placement: Begin by positioning the turntables on a stable surface, ensuring they are level and secure to prevent unwanted vibrations during playback.
-
Calibration: Calibrate the tonearm and ensure the cartridge is aligned correctly to guarantee optimal tracking and sound quality. This step is crucial for maintaining the integrity of your vinyl collection and delivering pristine audio output.
-
Anti-Skate and Tracking Force: Adjust the anti-skate and tracking force settings according to the specifications of your cartridge and the manufacturer's recommendations. Achieving the right balance is essential for minimizing distortion and preserving the longevity of your records.
-
Grounding: If your turntable requires grounding, connect the grounding wire to the designated terminal on the mixer or a grounding lug to mitigate potential audio interference.
Mixer Setup
-
Connection: Establish the audio connections between the turntables and the mixer, ensuring that each turntable is linked to the designated phono input on the mixer. Verify the grounding connections to eliminate unwanted hum or noise.
-
Level Adjustment: Set the input gain levels on the mixer to accommodate the output levels of the turntables, ensuring a balanced and consistent audio signal without distortion.
-
Crossfader Configuration: Customize the crossfader settings based on your preferred mixing style, adjusting the curve and assignment to suit smooth transitions and precise control over the audio blend.
-
Equalization and Effects: Familiarize yourself with the equalization and effects controls on the mixer, allowing you to sculpt the sound and add creative embellishments to your mixes.
By meticulously setting up your turntables and mixer, you lay the foundation for a captivating DJ performance, where the synergy between tactile manipulation and technical finesse converges to create an immersive sonic experience. Embrace the nuances of vinyl manipulation or revel in the precision of digital control, and let your creativity flourish as you embark on an exhilarating journey through the art of DJing.
Connecting Speakers and Amplifiers
The process of connecting speakers and amplifiers is a pivotal aspect of setting up a DJ rig, as it directly influences the sonic impact and coverage of your performance. By seamlessly integrating these components, you can ensure that your audience is enveloped in a rich and immersive auditory experience, characterized by clarity, depth, and impactful sound reproduction.
Speaker Selection
Before delving into the connection process, it's imperative to consider the selection of speakers that align with your performance requirements. Factors such as power handling, dispersion characteristics, and portability should be evaluated based on the venue size and acoustic considerations. Whether you opt for passive or active speakers, each type presents distinct advantages, with passive speakers offering flexibility in amplifier selection and active speakers integrating built-in amplification for a streamlined setup.
Amplifier Configuration
When connecting speakers to amplifiers, it's essential to adhere to the manufacturer's guidelines and specifications to ensure optimal performance and safeguard the integrity of the equipment. Start by verifying the impedance rating and power handling capabilities of both the speakers and the amplifier, ensuring compatibility to prevent potential damage or compromised audio quality.
Connection Process
-
Matching Impedance: Verify that the impedance rating of the speakers aligns with the output impedance of the amplifier to prevent impedance mismatch, which can lead to inefficient power transfer and potential damage to the equipment.
-
Speaker Connections: Utilize high-quality speaker cables to establish the connection between the amplifier and the speakers, ensuring a secure and reliable link. Pay attention to the polarity of the connections, maintaining consistency to avoid phase issues and ensure coherent sound reproduction.
-
Bi-Amping and Tri-Amping: For advanced setups utilizing bi-amping or tri-amping configurations, where separate amplifier channels are dedicated to specific frequency ranges, ensure precise calibration and crossover settings to optimize the performance and fidelity of the speakers.
-
Amplifier Settings: Familiarize yourself with the amplifier's settings, including gain, EQ, and protection features, to tailor the output to suit the acoustic characteristics of the venue and the sonic requirements of your performance.
By meticulously executing the connection process and adhering to best practices, you establish the groundwork for a captivating auditory journey, where the seamless integration of speakers and amplifiers culminates in a sonic tapestry that captivates and energizes your audience. Embrace the intricacies of speaker and amplifier configuration, and let the power of sound elevate your DJ performance to new heights.
Setting Up Laptop and DJ Software
Setting up a laptop and DJ software is a pivotal step that empowers DJs to harness the full potential of digital music manipulation and mixing. By seamlessly integrating these components into the DJ setup, you gain access to a wealth of creative tools and capabilities, allowing you to craft intricate mixes and unleash your artistic vision with precision and finesse.
Laptop Selection
The process begins with the selection of a reliable laptop that aligns with the demands of DJing. Factors such as processing power, storage capacity, and connectivity options should be carefully evaluated to ensure seamless operation and optimal performance. Additionally, prioritizing a robust and dependable operating system, such as macOS or Windows, is essential for compatibility with a wide range of DJ software and hardware interfaces.
DJ Software Installation
Once the laptop is secured, the next step involves installing and configuring the preferred DJ software. Whether you opt for industry-standard platforms like Serato DJ, Traktor Pro, or rekordbox, or explore niche software tailored to specific genres and performance styles, the installation process should be meticulously executed to ensure a stable and efficient workflow. Familiarize yourself with the software's system requirements and compatibility with your laptop to mitigate potential compatibility issues and optimize performance.
Hardware Integration
Integrating the laptop with the DJ hardware interface forms the cornerstone of the setup, facilitating seamless communication between the software and external controllers, mixers, and audio interfaces. Ensure that the hardware drivers are installed and updated to establish a reliable and responsive connection, enabling tactile control over the software's features and functions. Additionally, configuring the audio and MIDI settings within the software to correspond with the hardware interface is crucial for ensuring accurate signal routing and responsive performance.
Performance Setup
Customizing the software settings to align with your performance requirements is paramount for a tailored and intuitive DJing experience. This includes mapping MIDI controllers, configuring audio inputs and outputs, setting up cue points and loops, and fine-tuning the interface layout to streamline your workflow and enhance creative expression. Embrace the depth of customization offered by the software, allowing you to personalize the interface and functionality to suit your unique DJing style and preferences.
By meticulously setting up the laptop and DJ software, you unlock a realm of creative possibilities, where the fusion of digital innovation and artistic ingenuity converges to elevate your DJ performances. Embrace the versatility and precision offered by digital platforms, and let your imagination soar as you embark on a captivating sonic odyssey, fueled by the seamless integration of technology and artistry.
Testing and Troubleshooting
Ensuring the seamless operation and reliability of your DJ setup hinges on rigorous testing and adept troubleshooting, allowing you to preemptively address potential issues and fine-tune the system for optimal performance. By methodically conducting tests and implementing troubleshooting strategies, you can fortify your confidence and readiness to deliver a captivating DJ experience.
Sound Check
Initiate the testing phase by conducting a comprehensive sound check, verifying the functionality and balance of each component within your setup. This entails playing a diverse range of tracks and meticulously assessing the audio output, ensuring clarity, fidelity, and uniform coverage across the venue. Pay close attention to the frequency response, stereo imaging, and overall sonic coherence, making adjustments as necessary to achieve an immersive and balanced sound environment.
Signal Path Validation
Validate the signal path from the turntables or DJ controller to the mixer, ensuring that each connection is secure and free from interference. Scrutinize the audio routing within the mixer, confirming that the input channels, EQ settings, and effects processing align with your intended mixing configuration. Additionally, verify the signal flow from the mixer to the speakers, affirming that the amplifiers and speaker connections are optimized for efficient power delivery and faithful sound reproduction.
Software Calibration
For DJs incorporating digital platforms, meticulous calibration of the DJ software is imperative to ascertain seamless integration with the hardware interface and precise control over the mixing parameters. Test the responsiveness of the MIDI controllers, jog wheels, and performance pads, ensuring that each element functions as intended and facilitates fluid interaction with the software. Validate the stability of the software, preempting potential latency or compatibility issues that may impede the seamless execution of your performance.
Troubleshooting Strategies
In the event of unforeseen challenges or technical hiccups, having a repertoire of troubleshooting strategies at your disposal is pivotal for swiftly addressing and resolving issues. Familiarize yourself with common troubleshooting techniques, such as isolating and mitigating audio feedback, resolving connectivity issues, and recalibrating equipment settings to restore optimal functionality. Additionally, maintaining a contingency plan, including backup cables, adapters, and spare components, fortifies your preparedness to tackle unexpected setbacks with agility and composure.
Iterative Refinement
Embrace the iterative nature of testing and troubleshooting, recognizing that refinement is an ongoing process that fosters continuous improvement and adaptability. As you navigate through the testing phase and encounter potential challenges, leverage each experience as an opportunity to refine your setup, expand your technical acumen, and fortify your proficiency in diagnosing and resolving issues. By embracing a mindset of iterative refinement, you cultivate resilience and expertise, empowering you to navigate the complexities of DJ equipment setup with unwavering confidence and competence.
Incorporating thorough testing and astute troubleshooting into your DJ equipment setup regimen equips you with the acumen and resilience to navigate the intricacies of live performances and studio sessions. By honing your ability to validate the integrity of your setup and swiftly address technical impediments, you fortify your readiness to deliver a seamless and electrifying DJ experience, captivating your audience with a sonic journey characterized by precision, innovation, and unwavering reliability.