Home>Production & Technology>MIDI>How To Set Up A MIDI Keyboard
MIDI
How To Set Up A MIDI Keyboard
Modified: February 22, 2024
Learn how to set up a MIDI keyboard and start creating music with ease. Follow our step-by-step guide to connect your MIDI device and get started.
(Many of the links in this article redirect to a specific reviewed product. Your purchase of these products through affiliate links helps to generate commission for AudioLover.com, at no extra cost. Learn more)
Table of Contents
Introduction
Setting up a MIDI keyboard can open up a world of musical possibilities, allowing you to unleash your creativity and produce high-quality music right from your computer. Whether you're a seasoned musician or a budding producer, understanding how to set up a MIDI keyboard is a crucial step in your musical journey.
In this comprehensive guide, we will walk you through the process of unboxing and setting up your MIDI keyboard, connecting it to your computer, installing and configuring MIDI software, and testing the keyboard to ensure everything is functioning as it should. By the end of this tutorial, you'll be ready to dive into the exciting realm of MIDI music production with confidence.
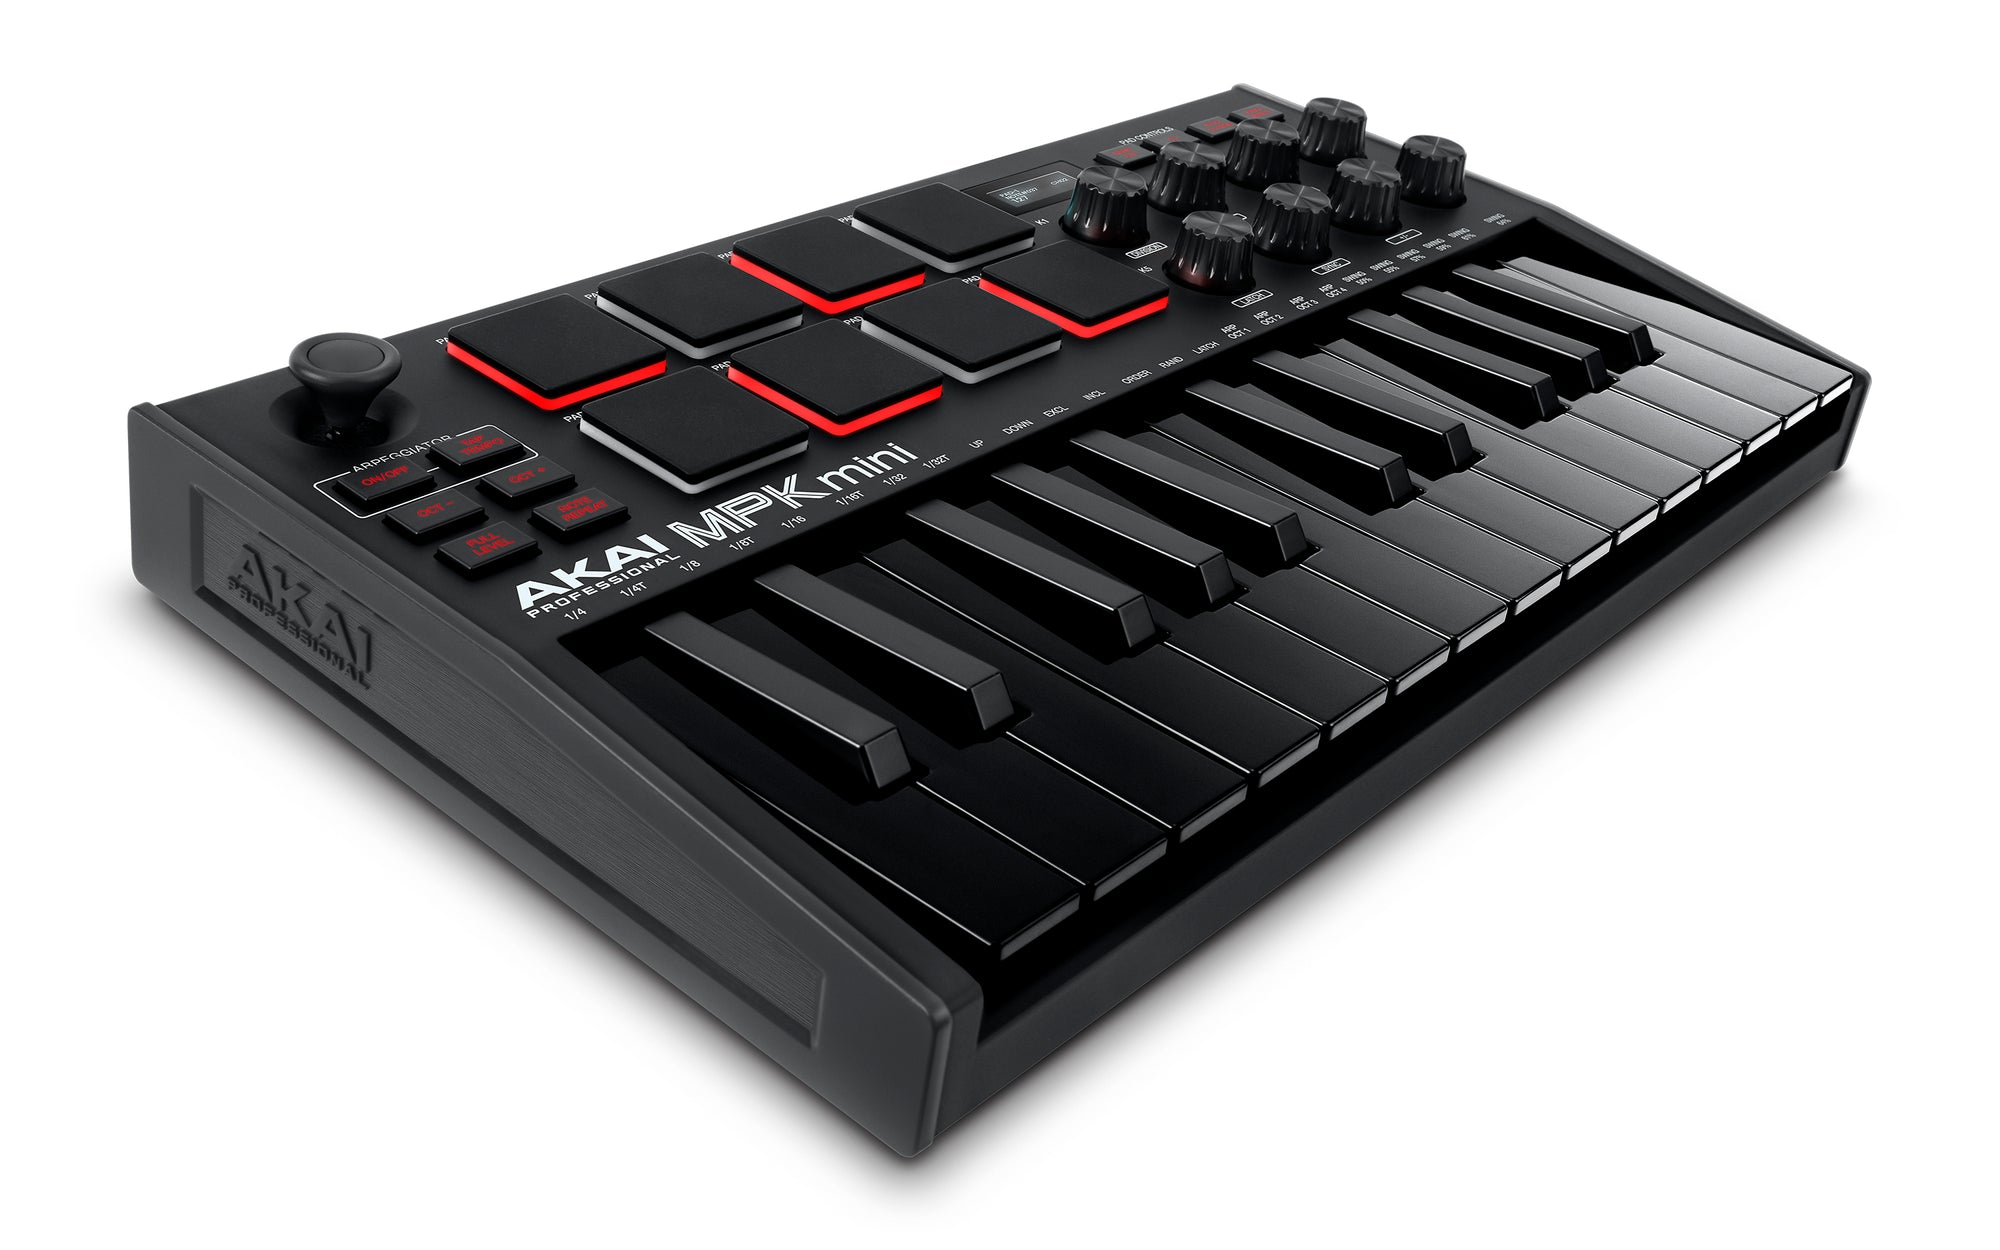
A MIDI keyboard, short for Musical Instrument Digital Interface, is a versatile tool that translates your musical input into digital data, allowing you to control and manipulate various software instruments and digital audio workstations (DAWs). Whether you're a pianist, a composer, or a producer, a MIDI keyboard serves as a bridge between your musical ideas and the digital realm, offering a tactile and expressive way to interact with music production software.
The beauty of MIDI keyboards lies in their ability to capture the nuances of your playing, including velocity, pitch bends, and modulation, and translate them into precise digital commands. This level of control and expression empowers you to infuse your music with emotion and character, making the MIDI keyboard an indispensable tool for music creators across genres.
As we embark on this journey to set up a MIDI keyboard, it's important to approach the process with a curious and adventurous mindset. Embrace the learning experience, and don't hesitate to experiment and explore the creative possibilities that await you. Whether you're aiming to record intricate piano compositions, craft electronic music, or enhance your studio setup, mastering the art of setting up a MIDI keyboard is a rewarding endeavor that will enrich your musical endeavors.
Now, let's dive into the exciting world of MIDI as we embark on the step-by-step process of setting up your MIDI keyboard and unleashing its full potential.
Step 1: Unboxing and Setting Up the MIDI Keyboard
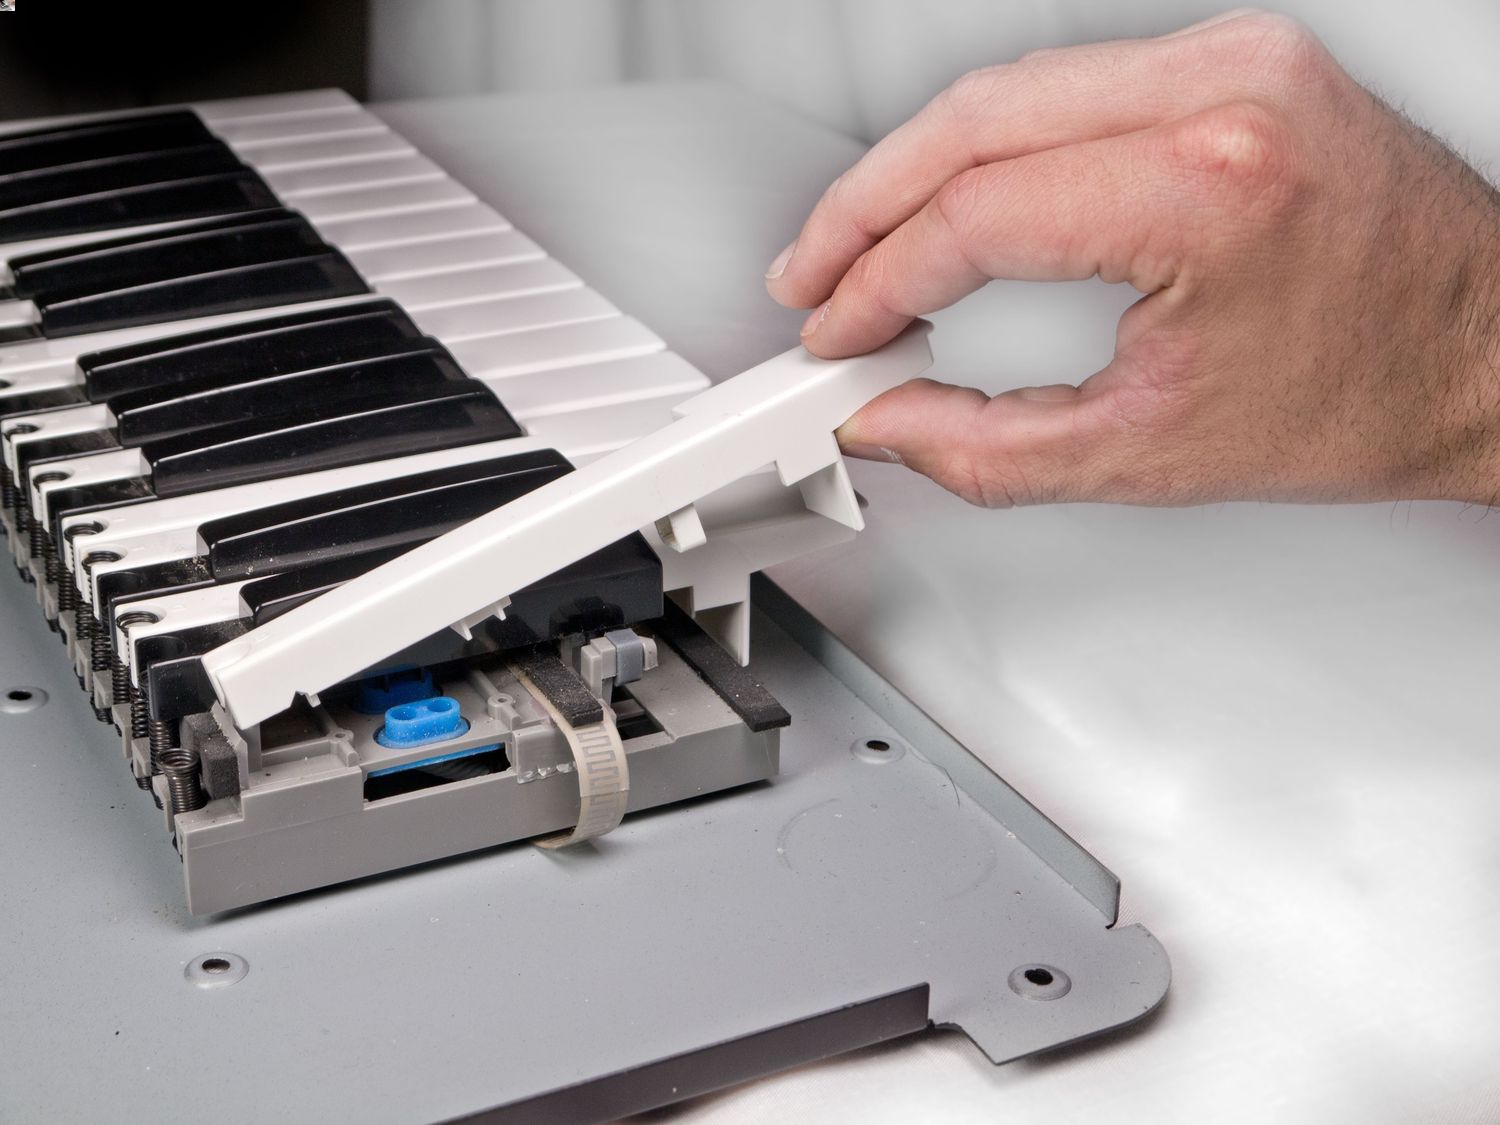
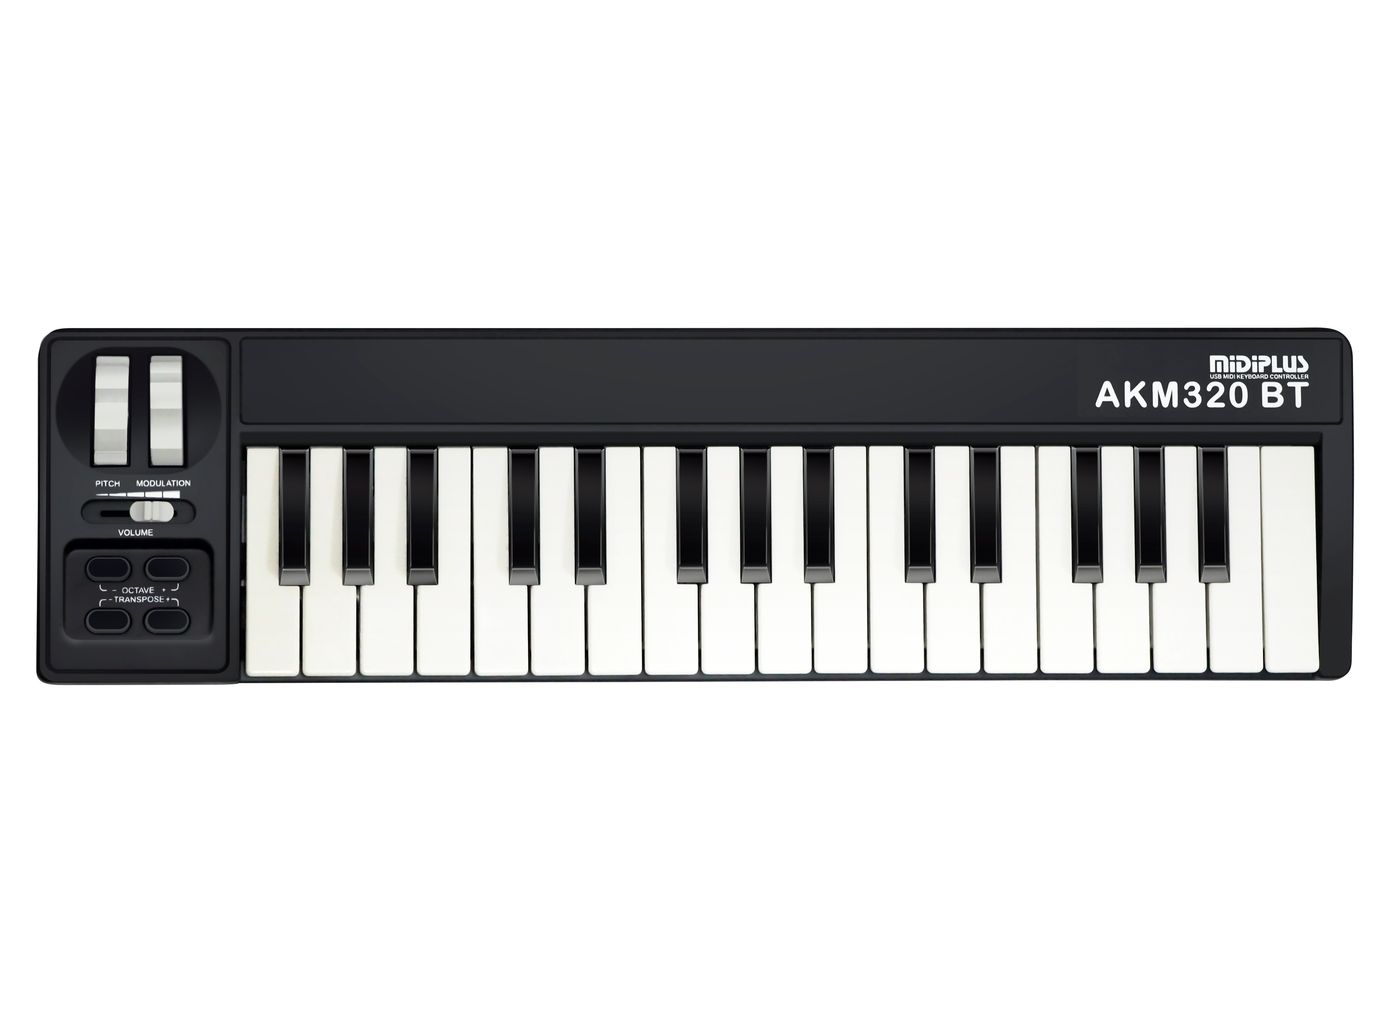
Unboxing a new MIDI keyboard is an exciting moment for any music enthusiast. As you carefully remove the packaging, you're greeted with a sleek and versatile instrument that holds the promise of endless musical creativity. Before diving into the setup process, take a moment to admire the design and build quality of your new MIDI keyboard. Feel the keys beneath your fingertips and envision the musical masterpieces that will soon flow from this instrument.
Once you've appreciated the aesthetics, it's time to set up your MIDI keyboard for action. Begin by placing the keyboard on a stable surface within reach of your computer. Ensure that the keyboard is positioned comfortably for playing, with ample space for your hands to move freely across the keys. If your MIDI keyboard comes with a stand or adjustable legs, take the time to adjust it to your preferred playing height and angle.
Next, locate the USB cable or MIDI cables that came with your keyboard. These cables are essential for establishing a connection between the keyboard and your computer. If your MIDI keyboard utilizes USB connectivity, simply plug one end of the USB cable into the appropriate port on the keyboard and the other end into an available USB port on your computer. If your keyboard uses MIDI cables, connect the MIDI Out port on the keyboard to the MIDI In port on your MIDI interface, and then connect the MIDI interface to your computer using a USB cable.
As you establish the physical connection, take a moment to ensure that the keyboard is powered on. Many MIDI keyboards are powered via USB, eliminating the need for an external power source. However, if your keyboard requires external power, connect it to a power outlet using the provided adapter.
With the physical setup complete, it's time to power on your MIDI keyboard and prepare for the next steps in the setup process. Take a deep breath and savor the anticipation of the musical journey that lies ahead. Your MIDI keyboard is now poised to become a conduit for your musical expression, bridging the gap between your creativity and the digital realm.
The initial setup phase is an exciting prelude to the immersive musical experiences that await you. As you prepare to move on to the next steps, take a moment to appreciate the seamless integration of technology and artistry that your MIDI keyboard represents. With the physical setup complete, you're now ready to embark on the next phase of this exhilarating journey – connecting your MIDI keyboard to your computer and unlocking its full potential.
Step 2: Connecting the MIDI Keyboard to a Computer
After unboxing and setting up your MIDI keyboard, the next crucial step is to establish a seamless connection between the keyboard and your computer. This pivotal link serves as the gateway through which your musical input will be transmitted to your digital audio workstation (DAW) or music production software.
If your MIDI keyboard features USB connectivity, connecting it to your computer is a straightforward process. Simply locate an available USB port on your computer and plug in the USB cable that is attached to your MIDI keyboard. As you insert the cable, you may hear a reassuring click, signaling that the connection has been securely established.
For MIDI keyboards that utilize MIDI cables, the connection process involves an additional step. Begin by connecting the MIDI Out port on your keyboard to the MIDI In port on your MIDI interface using a standard MIDI cable. Once this connection is in place, connect the MIDI interface to your computer using a USB cable, ensuring that both ends are securely plugged in.
As the physical connection is established, your MIDI keyboard becomes an extension of your creative vision, ready to transmit your musical expressions to the digital realm. This seamless integration of hardware and software empowers you to harness the full potential of your MIDI keyboard, leveraging its expressive capabilities to craft compelling musical compositions.
Upon completing the physical connection, it's essential to ensure that your computer recognizes the MIDI keyboard. In most cases, modern operating systems automatically detect and install the necessary drivers for MIDI keyboards, enabling seamless integration with music production software. However, if your computer prompts you to install specific drivers or software for the MIDI keyboard, follow the on-screen instructions to complete the installation process.
With the MIDI keyboard successfully connected to your computer, a sense of anticipation fills the air as you stand on the threshold of a boundless musical landscape. The digital synergy between your MIDI keyboard and computer sets the stage for an immersive creative journey, where your musical ideas will materialize with unparalleled depth and precision.
As the connection process draws to a close, take a moment to appreciate the harmonious fusion of technology and artistry that has brought you to this pivotal juncture. With the physical and digital realms seamlessly intertwined, your MIDI keyboard is poised to serve as a conduit for your musical aspirations, propelling you into a world of limitless sonic possibilities.
Step 3: Installing and Configuring MIDI Software
With your MIDI keyboard seamlessly connected to your computer, the next crucial step in the setup process involves installing and configuring MIDI software. This software serves as the bridge between your physical MIDI keyboard and the digital realm, enabling you to harness a diverse array of virtual instruments, effects, and music production tools.
Begin by identifying the MIDI software that best aligns with your musical aspirations. Whether you prefer a comprehensive digital audio workstation (DAW) such as Ableton Live, Logic Pro, or FL Studio, or specialized MIDI software like MIDI-OX or Bome's MIDI Translator, selecting the right software is pivotal to realizing your creative vision.
Once you've chosen the MIDI software that resonates with your musical workflow, proceed to download the software from the official website or a reputable digital marketplace. Ensure that you are obtaining the software from a trusted source to guarantee its authenticity and integrity.
After downloading the MIDI software, initiate the installation process by double-clicking the setup file. Follow the on-screen instructions to install the software on your computer, choosing the appropriate installation location and preferences as prompted. Upon completion of the installation, launch the MIDI software to begin the configuration process.
As you delve into the software's settings, take the time to configure the MIDI input and output settings to establish seamless communication with your MIDI keyboard. Depending on the software, this may involve selecting your MIDI keyboard as the input device and configuring the audio preferences to ensure low latency and optimal performance.
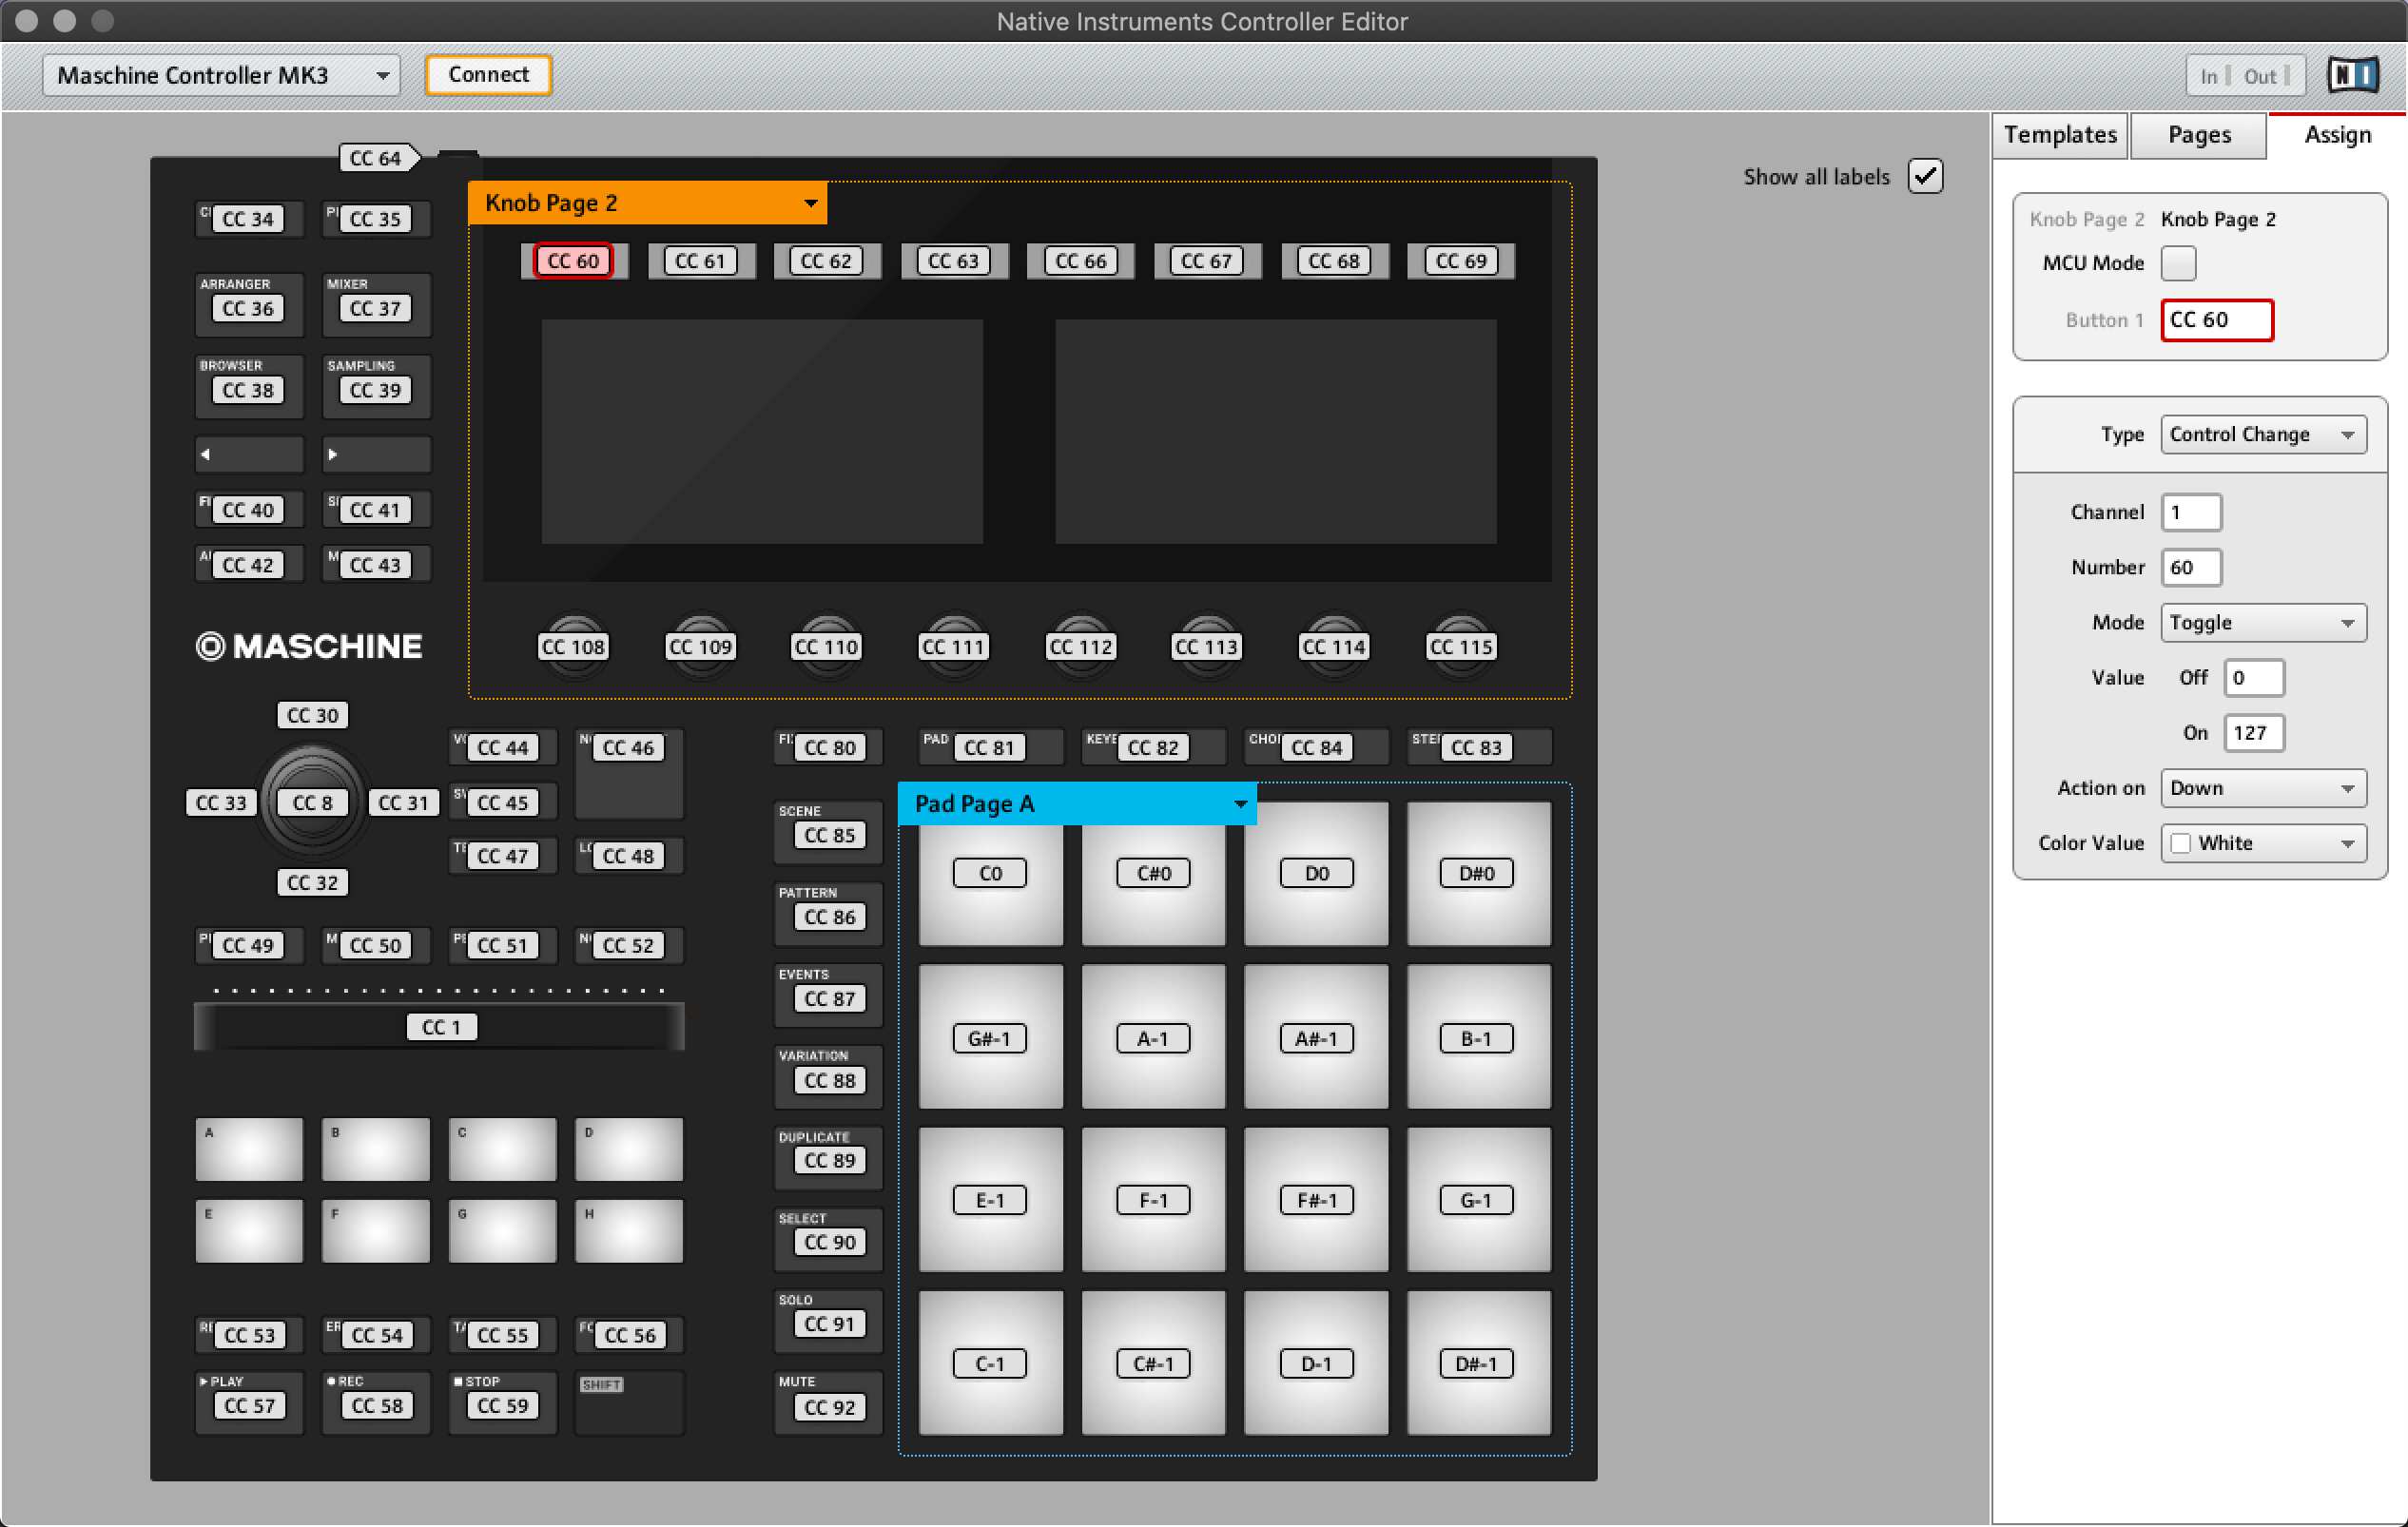
Furthermore, explore the software's MIDI mapping capabilities, which enable you to assign specific functions and parameters to various controls on your MIDI keyboard. This customization empowers you to tailor the keyboard's functionality to suit your unique musical workflow, enhancing efficiency and creative expression.
In addition to configuring MIDI input and mapping, familiarize yourself with the software's instrument and effect libraries, where you can access a rich palette of virtual instruments, synthesizers, and audio effects. Experiment with different sounds and textures, immersing yourself in the sonic possibilities that the MIDI software offers.
As you navigate through the installation and configuration process, maintain an open-minded and exploratory approach, embracing the learning curve as an opportunity to expand your musical horizons. The installation and configuration of MIDI software mark a pivotal stage in your journey, setting the stage for immersive music production experiences that are limited only by your creativity.
With the MIDI software installed and meticulously configured, your MIDI keyboard becomes a gateway to a boundless sonic universe, where your musical ideas will flourish and evolve with unparalleled depth and expression. Embrace this phase of the setup process with enthusiasm and curiosity, knowing that each configuration tweak brings you closer to unlocking the full potential of your MIDI keyboard and the software it harmoniously interfaces with.
Step 4: Testing the MIDI Keyboard
Testing the MIDI keyboard is a pivotal phase in the setup process, marking the moment when you bridge the gap between physical interaction and digital response. This crucial step allows you to verify that your MIDI keyboard is communicating effectively with the MIDI software, ensuring that your musical input translates seamlessly into digital commands.
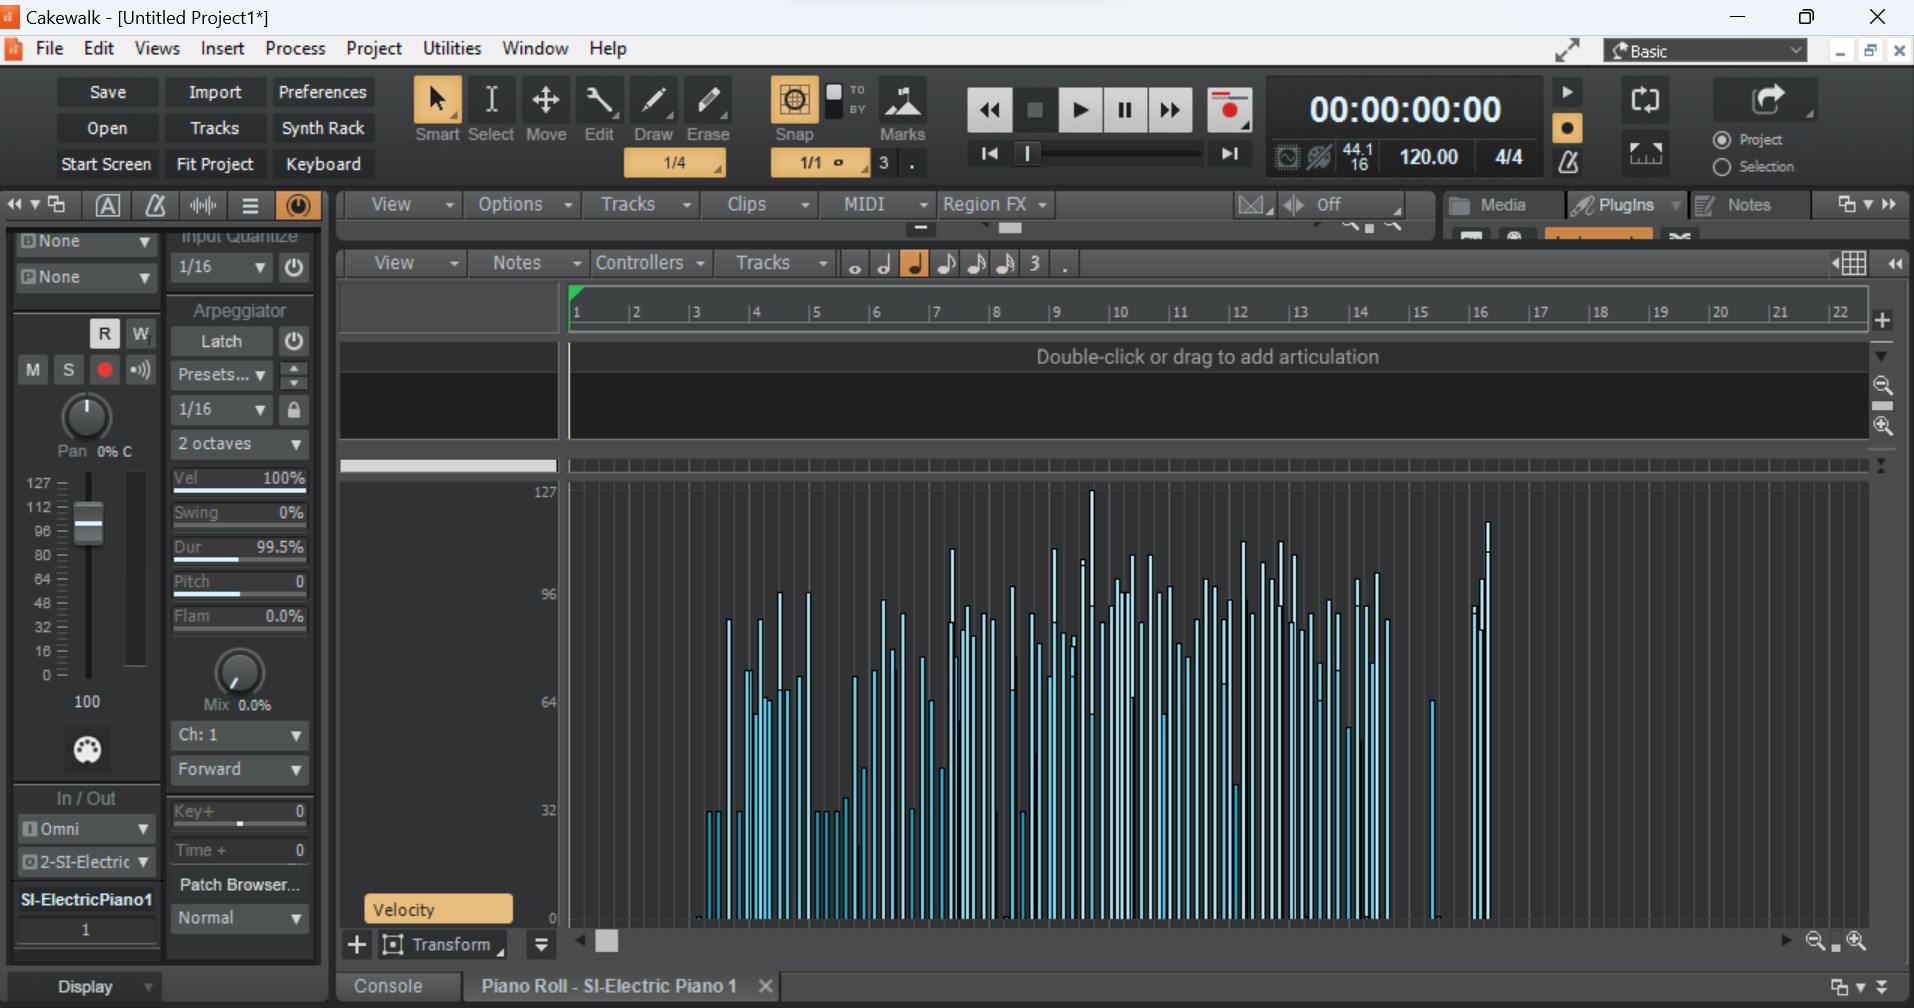
Begin the testing process by launching your preferred MIDI software and creating a new project or session. Once the software is ready, play a few notes on the MIDI keyboard to confirm that the software is receiving the MIDI data from your keyboard. As you strike the keys, observe the on-screen indicators within the MIDI software to ensure that they respond in real-time to your playing. The visual feedback serves as a reassuring confirmation that your MIDI keyboard and software are in sync, laying the foundation for expressive musical exploration.
Next, explore the full range of your MIDI keyboard's capabilities by experimenting with velocity-sensitive playing. Vary the intensity of your key presses to observe how the MIDI software captures and interprets the nuances of your playing. As you play softly and then with increased vigor, notice how the software translates these dynamics into varying levels of sound intensity, mirroring the subtleties of your performance.
In addition to testing note input and velocity sensitivity, engage with the modulation and pitch bend controls on your MIDI keyboard to assess their functionality within the MIDI software. By manipulating these controls, you can gauge how the software responds to these expressive gestures, allowing you to infuse your music with vibrato, pitch bends, and other dynamic articulations.
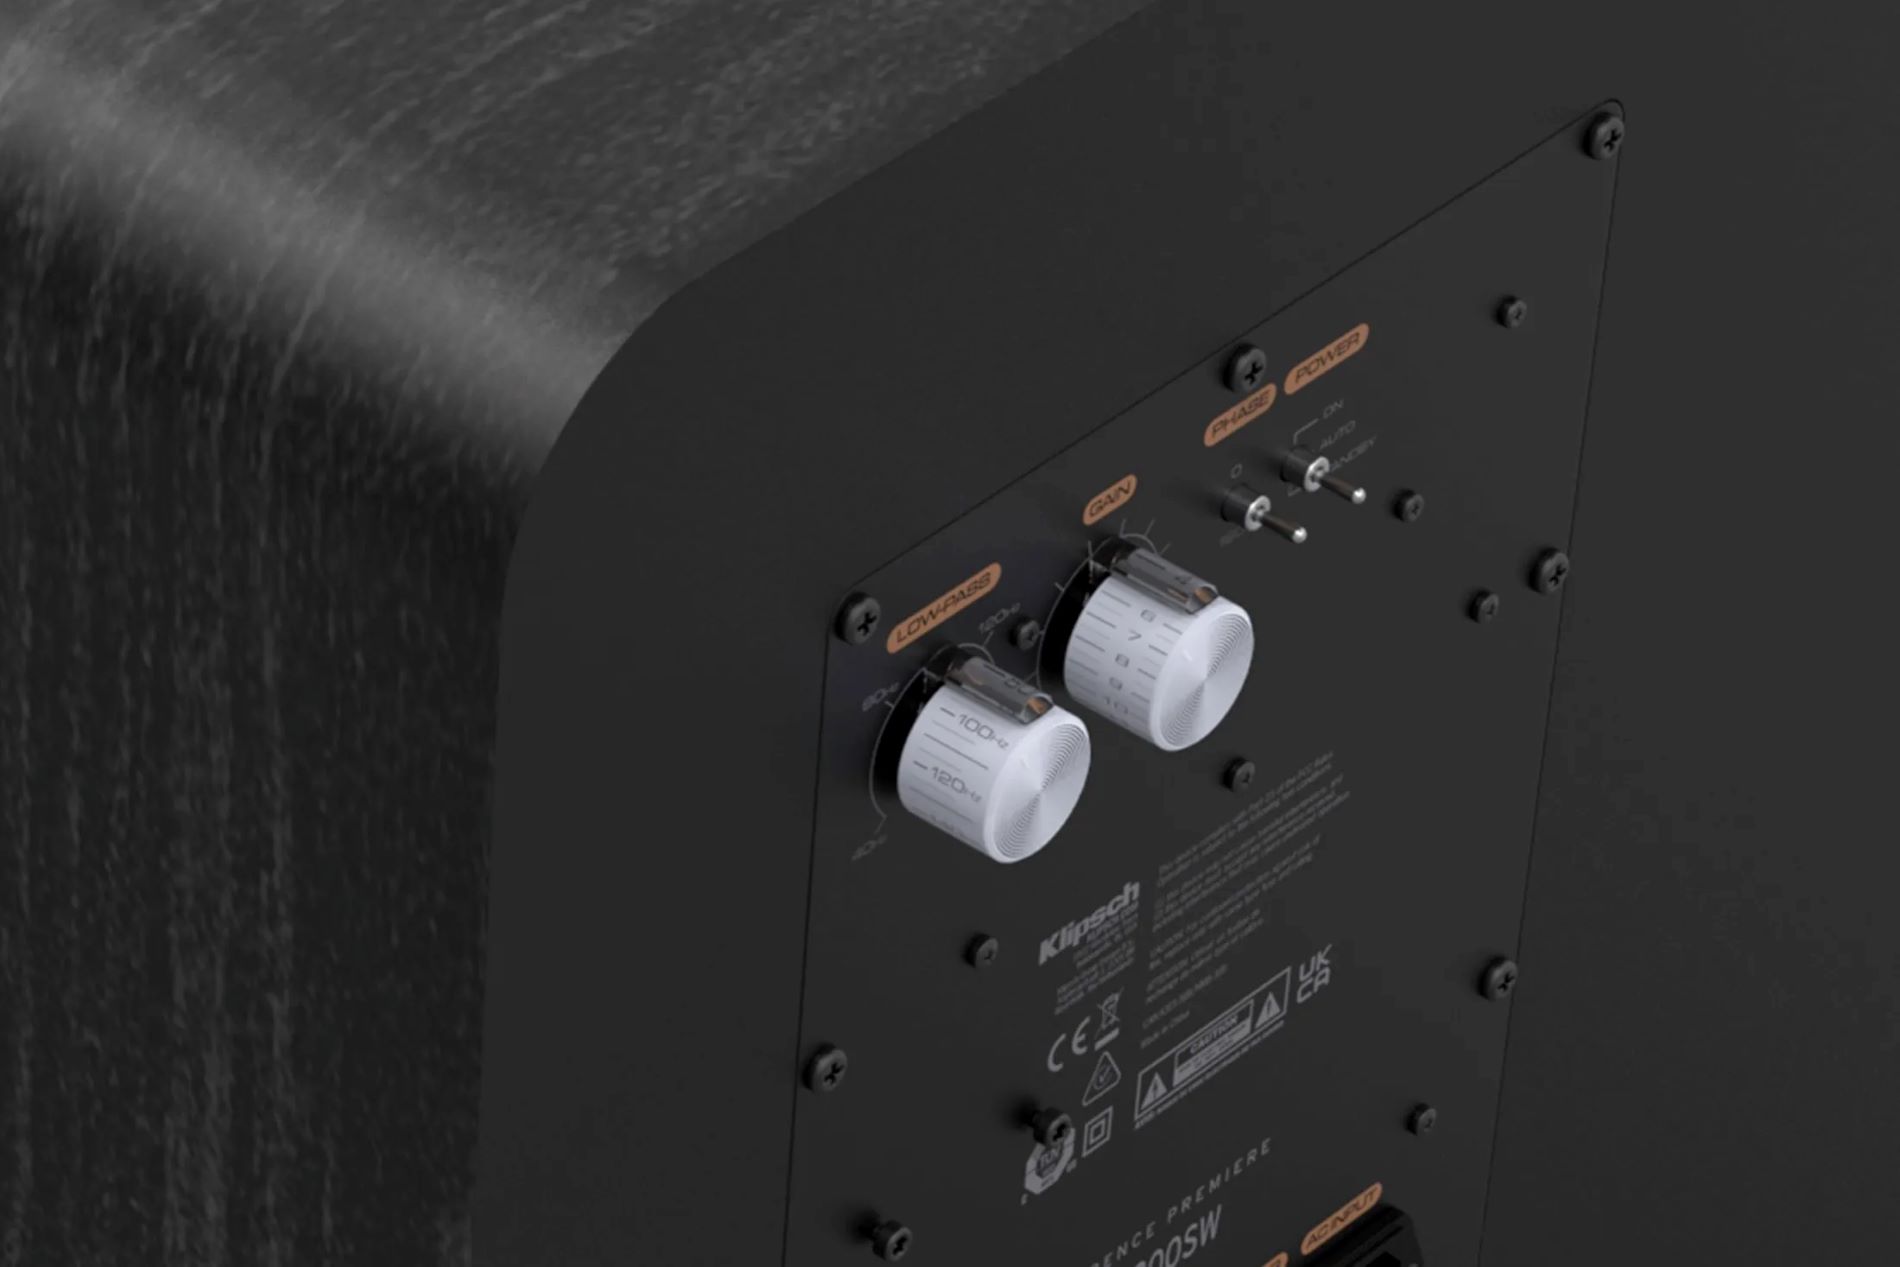
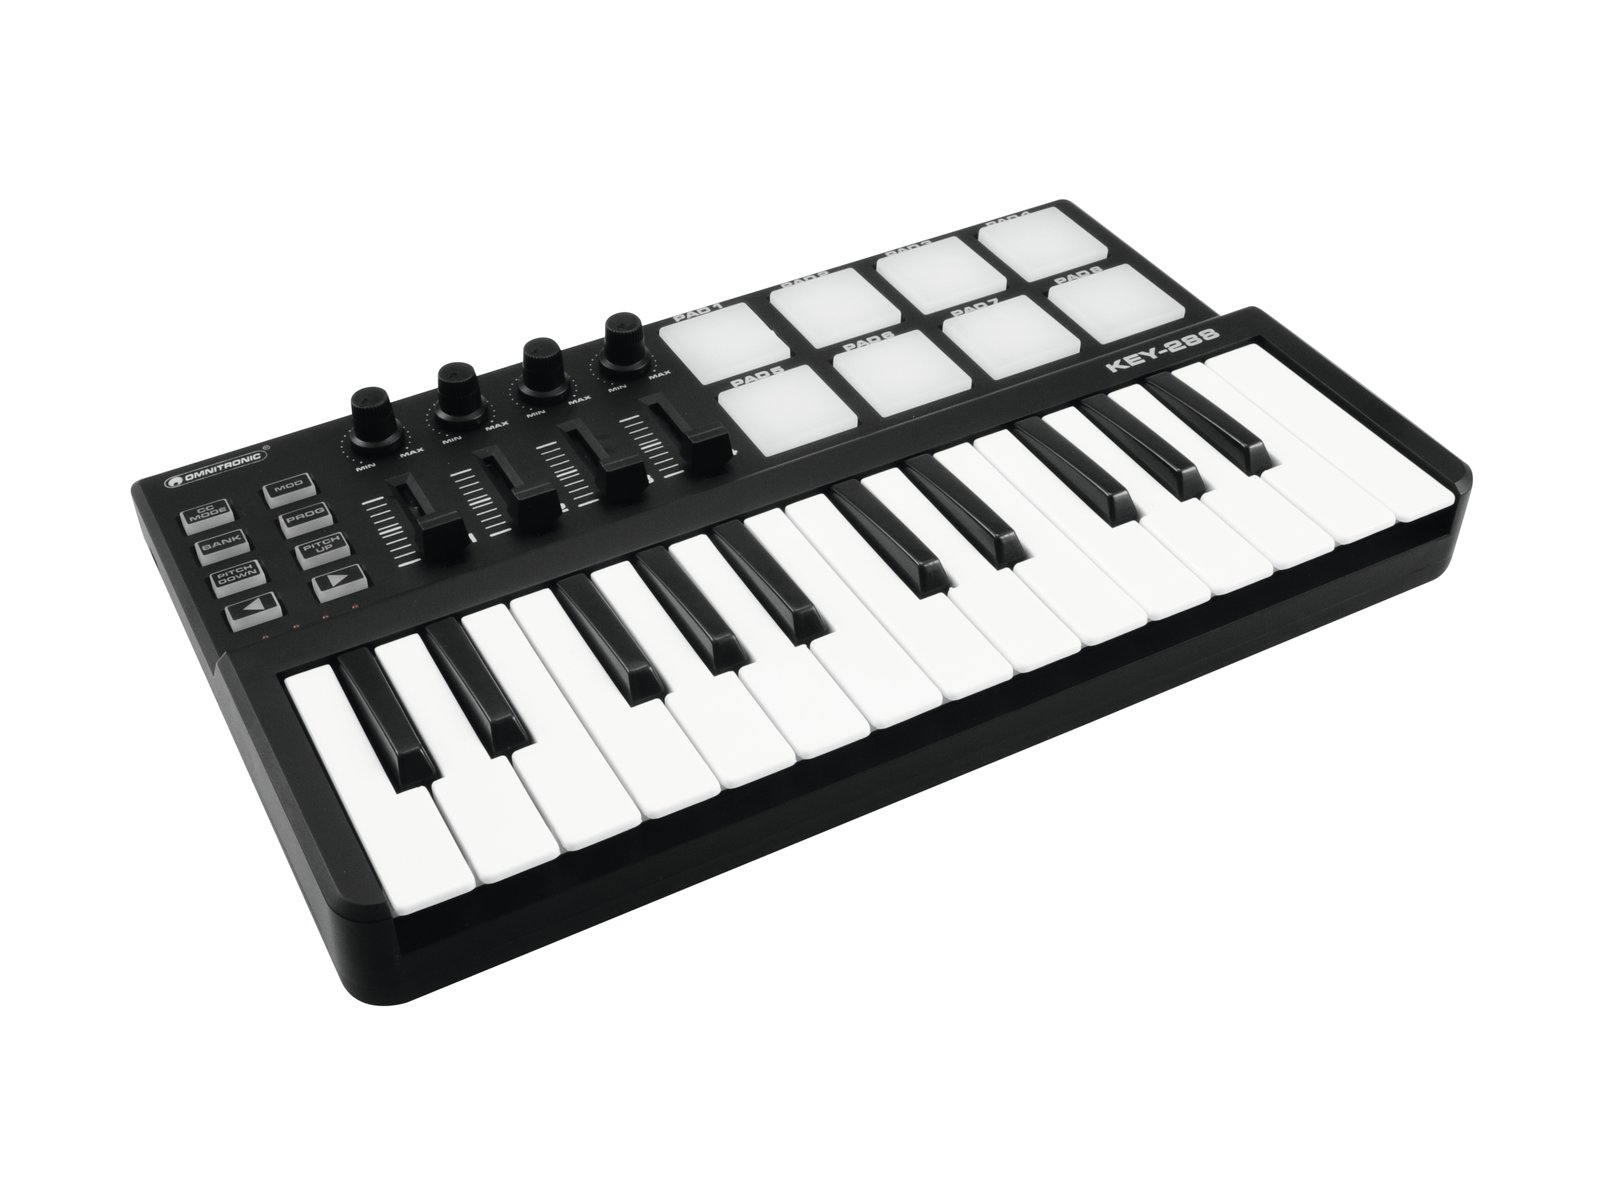
As you delve deeper into the testing phase, consider exploring the MIDI keyboard's additional controls, such as knobs, sliders, and buttons. These assignable controls offer a versatile means of shaping and manipulating sound within the MIDI software, empowering you to modulate parameters, trigger effects, and control various aspects of your musical composition.
Furthermore, consider experimenting with the MIDI keyboard's integration with virtual instruments and synthesizers within the MIDI software. Load a virtual instrument of your choice and explore its sonic palette by playing melodies, chords, and intricate passages on your MIDI keyboard. As the sounds emanate from your computer speakers or headphones, revel in the seamless fusion of physical performance and digital audio, knowing that your MIDI keyboard serves as the conduit for this immersive musical experience.
In the midst of testing, embrace the opportunity to fine-tune the MIDI keyboard's settings within the software, ensuring that it aligns with your musical preferences and workflow. Adjust the MIDI mapping, sensitivity curves, and other parameters to optimize the keyboard's responsiveness and functionality, tailoring it to suit your creative vision.
Ultimately, the testing phase serves as a dynamic dialogue between musician and technology, affirming the harmonious synergy between your musical expressions and the digital realm. As you navigate through the testing process, relish the sense of empowerment that comes from wielding a tool that translates your artistic intentions into tangible sonic manifestations.
With the MIDI keyboard successfully tested and integrated into your musical setup, you stand poised at the threshold of a captivating musical journey, where your creativity knows no bounds. The completion of the testing phase signifies the seamless fusion of your musical prowess and technological innovation, opening the door to a world of musical exploration and expression.
As you embark on this exhilarating musical odyssey, let the tested and trusted MIDI keyboard be your steadfast companion, empowering you to shape, sculpt, and breathe life into your musical visions with unparalleled depth and artistry.
Conclusion
In conclusion, the process of setting up a MIDI keyboard is a transformative journey that bridges the physical and digital realms of music creation. From the exhilarating unboxing of the keyboard to the seamless integration with MIDI software, each step serves as a testament to the harmonious synergy between artistic expression and technological innovation.
As you embark on this musical odyssey, remember that your MIDI keyboard is more than just a tool – it is a conduit for your creative vision, a vessel through which your musical ideas materialize with depth and precision. Embrace the learning curve, relish the moments of discovery, and allow your curiosity to guide you as you explore the boundless sonic possibilities that await.
With the MIDI keyboard set up and tested, you stand on the threshold of a captivating musical journey, where your creativity knows no bounds. Whether you're crafting intricate piano compositions, sculpting electronic soundscapes, or delving into experimental genres, your MIDI keyboard stands ready to amplify your musical prowess and elevate your artistic endeavors.
As you venture forth into the realm of MIDI music production, let the seamless fusion of technology and artistry propel you toward new horizons of sonic exploration. Embrace the expressive capabilities of your MIDI keyboard, experiment with diverse sounds and textures, and allow your musical instincts to guide you toward compositions that resonate with emotion and authenticity.
In the realm of MIDI music production, the journey is as enriching as the destination. Every keystroke, modulation, and expression becomes a brushstroke on the canvas of sound, shaping your musical narrative with finesse and ingenuity. With your MIDI keyboard as a trusted ally, you are poised to embark on a musical odyssey that transcends boundaries and unlocks the full spectrum of your creative potential.
So, as you take your first steps into this wondrous realm, remember that the setup process is merely the prelude to a symphony of artistic expression. Let the melodies flow, the rhythms pulse, and the harmonies resonate, for you are now equipped with the boundless capabilities of a MIDI keyboard, ready to infuse your musical tapestry with depth, emotion, and boundless creativity.