Home>Instruments>Guitar>How To Set Up An Acoustic Guitar

Guitar
How To Set Up An Acoustic Guitar
Modified: February 15, 2024
Learn how to set up your acoustic guitar for the best sound and playability. Our step-by-step guide covers everything you need to know about guitar setup.
(Many of the links in this article redirect to a specific reviewed product. Your purchase of these products through affiliate links helps to generate commission for AudioLover.com, at no extra cost. Learn more)
Table of Contents
Introduction
Setting up an acoustic guitar is a crucial step in ensuring optimal playability and sound quality. Whether you're a seasoned musician or a beginner, understanding the process of setting up your instrument can greatly enhance your playing experience. From choosing the right guitar to adjusting the action and intonation, each step plays a pivotal role in achieving the perfect setup.
In this comprehensive guide, we'll explore the essential steps to set up an acoustic guitar, covering everything from selecting the right instrument to fine-tuning its components. By the end of this article, you'll have a clear understanding of the tools and techniques required to set up your acoustic guitar, allowing you to personalize its playability and achieve the desired tone.
Embarking on the journey of setting up your acoustic guitar not only ensures that it feels comfortable to play but also guarantees that it produces the best possible sound. Whether you're aiming for a warm, mellow tone or a bright, crisp sound, the setup process can significantly impact the instrument's sonic characteristics. With the right knowledge and attention to detail, you can transform your acoustic guitar into a personalized extension of your musical expression.
Throughout this guide, we'll delve into the intricacies of adjusting the guitar's neck, fine-tuning the action and intonation, and maintaining its overall condition. Additionally, we'll explore the necessary tools and equipment to have on hand, ensuring that you're well-prepared to embark on this rewarding endeavor.
Whether you're preparing to perform on stage, record in the studio, or simply strum away in the comfort of your home, a well-set-up acoustic guitar can elevate your musical experience. So, let's dive into the world of guitar setup and unlock the potential of your instrument.
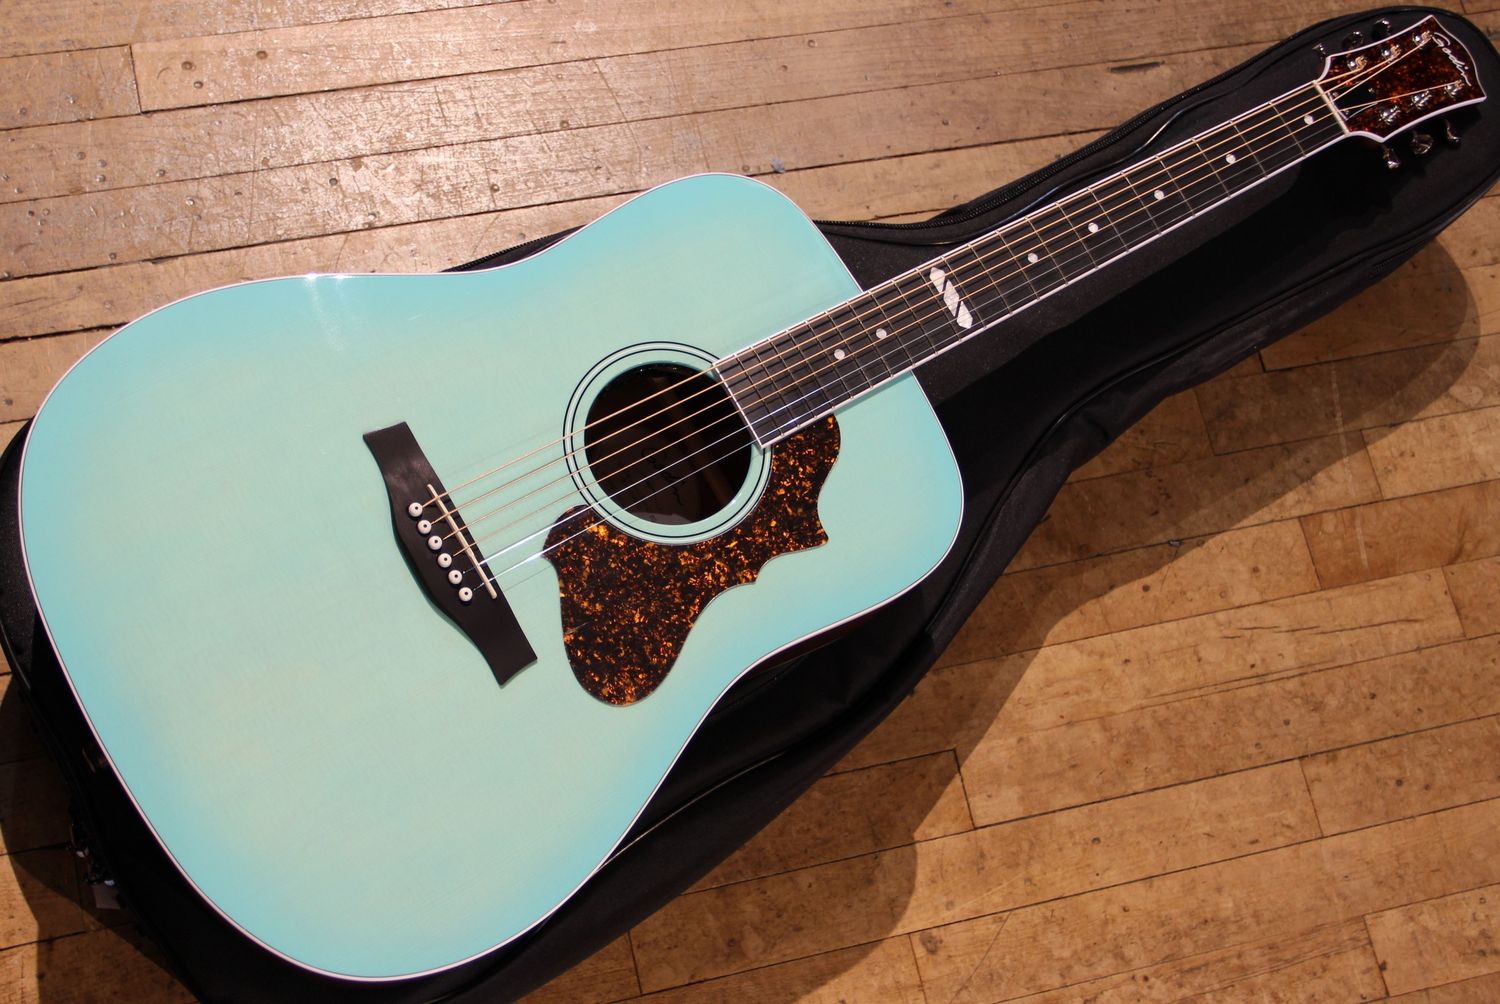
Choosing the Right Acoustic Guitar
Before delving into the setup process, it’s essential to start with the right acoustic guitar. The vast array of options available can be overwhelming, but understanding key factors can help you make an informed decision.
Consider the Body Style: Acoustic guitars come in various body styles, each offering distinct tonal qualities and ergonomic features. The most common styles include dreadnought, concert, parlor, and jumbo. Consider the sound projection, comfort, and playability associated with each style to determine the best fit for your musical preferences and physical stature.
Wood Selection: The choice of tonewoods significantly influences the guitar’s sound. Whether it’s the warm resonance of mahogany, the bright articulation of spruce, or the balanced tones of cedar, understanding the sonic characteristics of different woods can guide your selection process.
Budget and Quality: Set a realistic budget based on your commitment to playing and your long-term goals. While there are excellent options in every price range, investing in a quality instrument can enhance your playing experience and provide better sound and durability.
Playability and Comfort: When trying out guitars, pay attention to the action (string height), neck profile, and overall feel. A comfortable and playable guitar is essential for long practice sessions and live performances.
Acoustic-Electric Features: If you anticipate performing on stage or in amplified settings, consider an acoustic-electric guitar with built-in pickups. This feature allows for seamless amplification and opens up a world of sonic possibilities.
By carefully considering these factors, you can select an acoustic guitar that aligns with your musical aspirations and physical requirements. Once you’ve found the perfect instrument, you’ll be ready to embark on the setup journey, ensuring that your guitar is tailored to your playing style and sonic preferences.
Necessary Tools and Equipment
Before diving into the setup process, it’s essential to gather the necessary tools and equipment. Having the right items at your disposal will streamline the setup process and ensure that you can make precise adjustments to your acoustic guitar.
Truss Rod Wrench: This specialized wrench allows you to adjust the truss rod, which is crucial for controlling the guitar neck’s relief (the slight curvature along the fretboard). Truss rod adjustments can address issues such as fret buzzing and action height.
Capo: A capo is handy for various setup tasks, including adjusting the action and intonation. It allows you to simulate the pressure of the fretting hand, aiding in precise measurements and adjustments.
Feeler Gauges: These thin, precise measuring tools are used to assess the gap between the strings and the frets, aiding in setting the desired action height and ensuring consistent string clearance.
String Winder and Cutter: Changing strings is a fundamental part of guitar maintenance and setup. A string winder makes the process efficient, while a cutter ensures clean trims, preventing excess string length from interfering with the guitar’s performance.
Tuner: A reliable tuner is essential for achieving accurate intonation and ensuring that the guitar is perfectly in tune. Whether it’s a clip-on, pedal, or mobile app tuner, having this tool on hand is indispensable.
Microfiber Cloth and Guitar Polish: Keeping the guitar clean is an integral part of maintenance. A microfiber cloth and guitar polish help maintain the instrument’s finish, keeping it free from smudges and preserving its aesthetic appeal.
Measuring Ruler or Gauge: Precise measurements are crucial during the setup process. A ruler or gauge designed for guitar setups allows for accurate assessments of action height, string spacing, and other critical parameters.
By ensuring that you have these tools and equipment readily available, you’ll be well-equipped to undertake the setup process with confidence and precision. These items are not only essential for the initial setup but also for ongoing maintenance, allowing you to keep your acoustic guitar in optimal playing condition for years to come.
Setting Up the Guitar Neck
One of the fundamental aspects of setting up an acoustic guitar involves adjusting the neck to achieve the optimal relief, or curvature, along the fretboard. This adjustment directly impacts the playability and overall feel of the instrument. Here’s a step-by-step guide to setting up the guitar neck:
- Assess the Current Relief: Before making any adjustments, it’s essential to assess the guitar’s current neck relief. This can be done by fretting the first and last frets simultaneously and observing the gap between the frets and the strings around the 7th-9th frets. Ideally, there should be a slight clearance, typically around 0.010 to 0.012 inches for acoustic guitars.
- Adjusting the Truss Rod: Most acoustic guitars feature a truss rod, which allows for precise control over the neck’s relief. Using a truss rod wrench, make subtle adjustments to the truss rod, following the manufacturer’s recommendations. Clockwise turns typically increase relief, while counterclockwise turns reduce it. Exercise caution and make gradual adjustments, allowing the neck time to settle between turns.
- Check for Fret Buzz: After making truss rod adjustments, check for any fret buzz by playing each string across various frets. Fret buzz indicates that the strings are making contact with the frets, signaling a need for further truss rod adjustments.
- Allow for Settling Time: Once you’ve achieved the desired neck relief and addressed any fret buzz, allow the guitar to acclimate to the adjustments for a few hours or overnight. Changes in string tension and environmental factors can influence the neck’s response, so allowing for settling time is crucial.
By carefully adjusting the guitar’s neck, you can ensure that it offers optimal playability and minimizes the risk of fret buzz, allowing for comfortable and precise fretting across the fretboard. This foundational step sets the stage for further adjustments to fine-tune the guitar’s action and intonation, ultimately shaping its overall performance and feel.
Adjusting the Action and Intonation
Once the neck relief is set, the next crucial step in setting up an acoustic guitar involves adjusting the action and intonation. The action refers to the height of the strings above the fretboard, directly impacting playability, while intonation ensures accurate pitch across the fretboard. Here’s how to fine-tune these essential elements:
- Measuring the Action: Using a feeler gauge, measure the gap between the bottom of the strings and the top of the 12th fret. This measurement provides a baseline for assessing the action, which can be adjusted to suit your playing style. Recommended action heights for acoustic guitars typically range from 0.078 to 0.140 inches on the low E string and 0.062 to 0.120 inches on the high E string.
- Adjusting the Saddle: To modify the action, the saddle height can be adjusted by sanding its bottom. This delicate process requires precision to ensure uniform action across all strings. Alternatively, some acoustic guitars feature adjustable saddles, allowing for individual string height adjustments.
- Checking the Intonation: To assess the guitar’s intonation, tune the instrument to pitch and then compare the 12th fret harmonic note with the fretted 12th fret note. If the fretted note is sharp, the string length needs to be increased, while a flat note indicates the need for a shorter string length. This adjustment is typically made by repositioning the saddle to achieve accurate intonation across all strings.
- Fine-Tuning the Nut: The nut plays a crucial role in determining the string height at the lower end of the fretboard. Ensuring that the nut slots are properly filed and lubricated can contribute to consistent string action and smooth tuning stability.
By meticulously adjusting the action and intonation, you can tailor the guitar’s setup to your playing preferences, ensuring comfortable fretting and accurate pitch across the fretboard. These adjustments play a pivotal role in enhancing the instrument’s playability and sonic characteristics, setting the stage for an enjoyable and responsive playing experience.
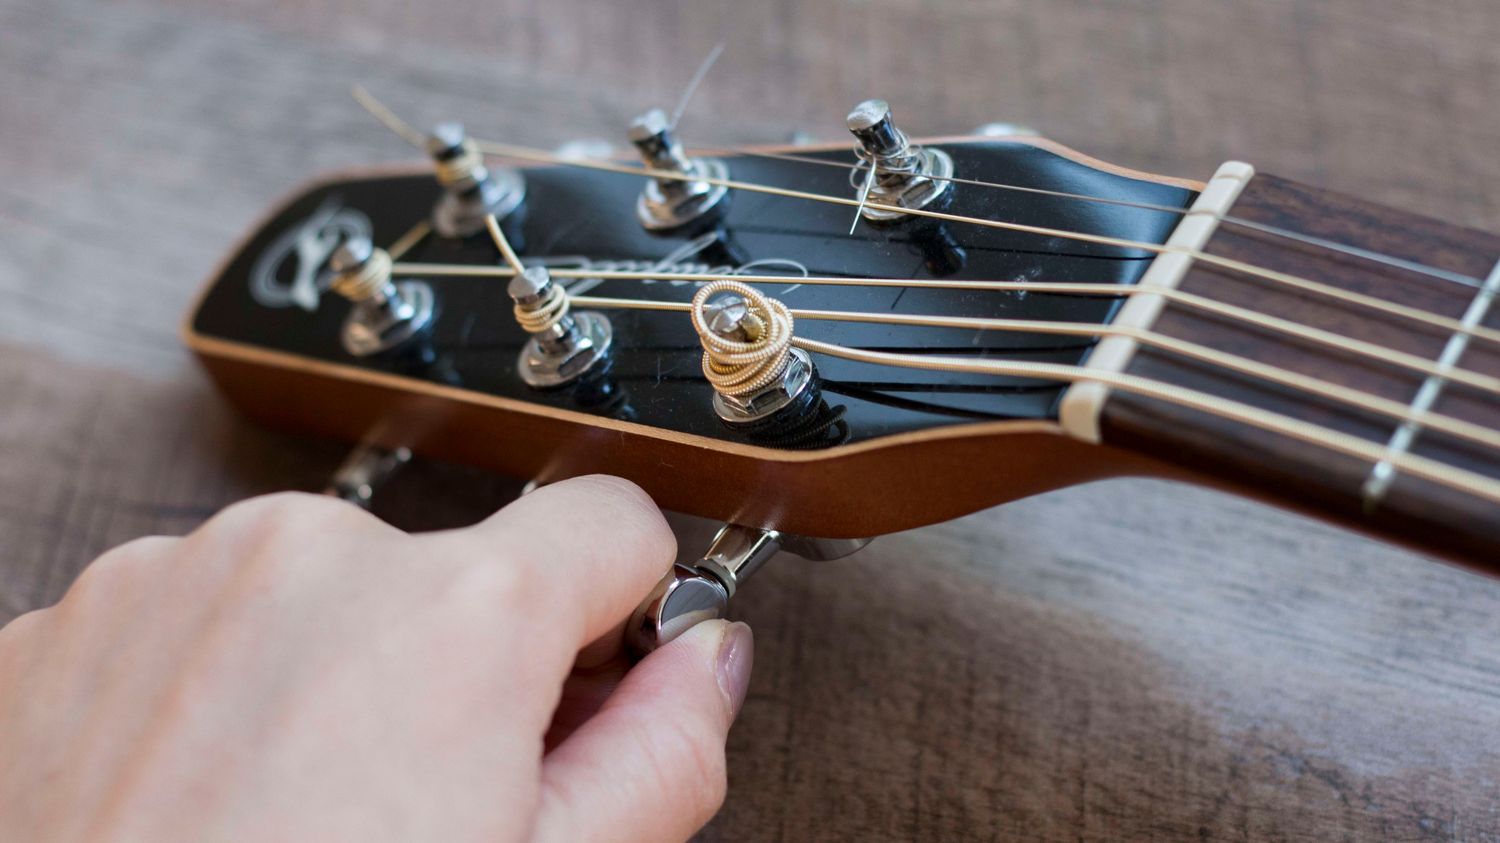
Tuning the Guitar
After making adjustments to the neck relief, action, and intonation, the next crucial step in setting up an acoustic guitar is tuning the instrument to ensure that it produces accurate and harmonious sounds across the fretboard. Tuning not only facilitates enjoyable playing but also contributes to the overall tonal quality of the guitar. Here’s a comprehensive guide to tuning an acoustic guitar:
- Standard Tuning: The standard tuning for an acoustic guitar, from the lowest (6th) string to the highest (1st) string, is E-A-D-G-B-E. Utilize a reliable tuner to ensure that each string is accurately tuned to its designated pitch.
- Utilizing Harmonics: Harmonics can be used to fine-tune the guitar’s tuning accuracy. By lightly resting your finger over the 5th, 7th, and 12th frets while plucking the strings, you can produce harmonic tones that aid in precise tuning adjustments.
- Checking for Consistency: After tuning each string, play various chords and intervals across the fretboard to ensure that the tuning remains consistent. Adjust any strings that deviate from the desired pitch, ensuring uniformity across all frets and positions.
- Alternate Tunings: Explore alternate tunings, such as open tunings or drop tunings, to expand the sonic possibilities of your acoustic guitar. Whether it’s achieving rich, resonant open chords or accessing lower, heavier tones, alternate tunings can unlock new creative avenues.
By meticulously tuning your acoustic guitar, you can ensure that it’s ready to deliver a harmonically rich and consistent sound, allowing you to explore a diverse range of musical styles and compositions. Whether you’re strumming gentle folk melodies or unleashing vibrant fingerstyle arrangements, a well-tuned guitar sets the stage for captivating musical expression.
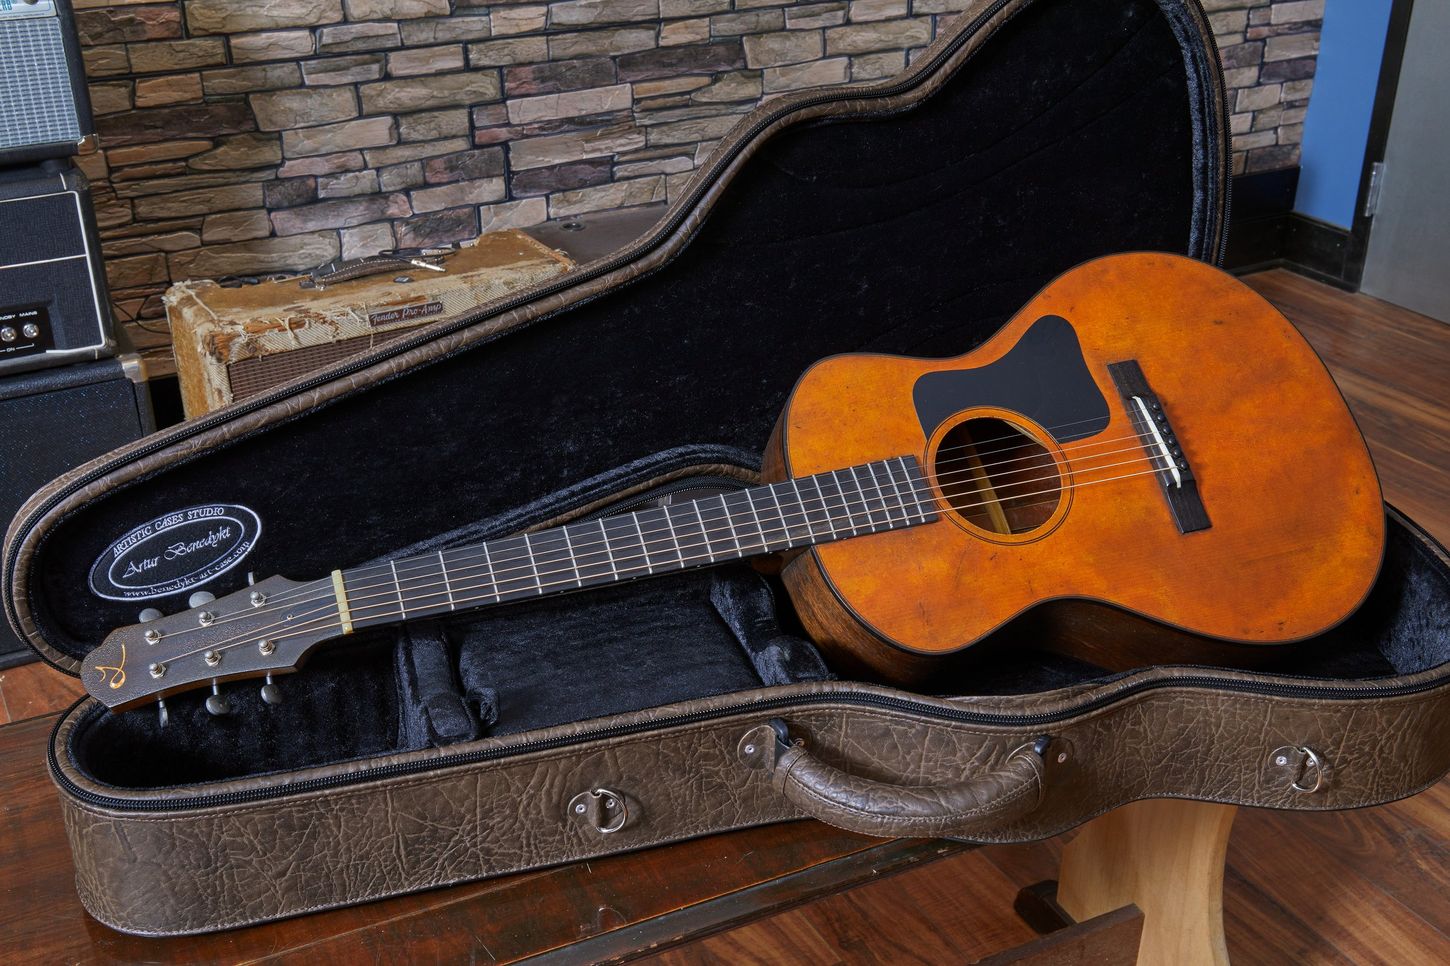
Final Checks and Maintenance
As you near the completion of the setup process for your acoustic guitar, it’s essential to conduct final checks and implement ongoing maintenance practices to ensure that your instrument remains in optimal playing condition. These steps contribute to the longevity, playability, and sonic performance of your guitar, allowing you to fully enjoy its musical potential. Here’s a comprehensive overview of the final checks and maintenance tasks:
- String Condition: Assess the condition of your guitar strings and replace them if necessary. Fresh strings not only enhance the guitar’s tone but also contribute to stable tuning and improved playability.
- Neck Relief Reassessment: After allowing the guitar to acclimate to the setup adjustments, reassess the neck relief to ensure that it remains within the desired parameters. This step accounts for any potential changes in string tension and environmental factors.
- Fretboard Conditioning: Clean and condition the fretboard using a suitable fretboard conditioner, ensuring that it remains free from dirt, grime, and excess moisture. This maintenance task contributes to the overall playability and longevity of the fretboard.
- Hardware Inspection: Inspect the guitar’s hardware, including tuning machines, strap buttons, and bridge pins, to ensure that they are secure and functioning correctly. Tighten any loose components and address any signs of wear or damage.
- Overall Cleaning: Clean the guitar’s body, neck, and headstock using a microfiber cloth and suitable guitar polish. This step maintains the instrument’s aesthetic appeal and safeguards its finish from smudges and blemishes.
- Humidity and Temperature Considerations: Monitor the environmental conditions in which the guitar is stored, aiming for stable humidity and temperature levels. Consider using a humidifier or dehumidifier to maintain an optimal environment, safeguarding the guitar against potential damage from extreme conditions.
By conducting these final checks and implementing ongoing maintenance practices, you can ensure that your acoustic guitar remains in peak playing condition, ready to inspire your musical endeavors. Regular maintenance, combined with attentive care, ensures that your instrument continues to deliver exceptional tone, playability, and reliability, allowing you to fully immerse yourself in the joy of playing and creating music.
Conclusion
Embarking on the journey of setting up an acoustic guitar is a gratifying endeavor that empowers you to personalize your instrument’s playability and sonic characteristics. By carefully selecting the right guitar, gathering the necessary tools, and meticulously adjusting its components, you can transform a standard acoustic guitar into a personalized extension of your musical expression.
Throughout this comprehensive guide, we’ve explored the essential steps involved in setting up an acoustic guitar, from adjusting the neck relief and fine-tuning the action and intonation to ensuring accurate tuning and conducting ongoing maintenance. Each step plays a pivotal role in shaping the guitar’s playability, tonal quality, and overall performance, allowing you to unlock its full potential.
As you immerse yourself in the process of setting up your acoustic guitar, remember that patience, attention to detail, and a willingness to experiment are key allies. Whether you’re striving for a low, comfortable action for intricate fingerstyle playing or aiming for precise intonation across the fretboard, the setup process offers a canvas for customization and sonic exploration.
Ultimately, a well-set-up acoustic guitar not only enhances your playing experience but also inspires creativity and musical discovery. Whether you’re strumming gentle chords, fingerpicking intricate melodies, or exploring diverse genres, a finely tuned and personalized instrument becomes a trusted companion on your musical journey.
So, as you set out to embark on the setup process for your acoustic guitar, embrace the opportunity to connect with your instrument on a deeper level. Through careful adjustments and ongoing maintenance, you’ll cultivate a harmonious partnership with your guitar, ensuring that it continues to resonate with your musical aspirations for years to come.