Home>Production & Technology>Metronome>How To Set Metronome On Casio Privia Px-160
Metronome
How To Set Metronome On Casio Privia Px-160
Published: January 14, 2024
Learn how to set the metronome on your Casio Privia PX-160 keyboard. Easily adjust the tempo and rhythm to enhance your practice sessions and performances.
(Many of the links in this article redirect to a specific reviewed product. Your purchase of these products through affiliate links helps to generate commission for AudioLover.com, at no extra cost. Learn more)
Table of Contents
Introduction
The Casio Privia Px-160 is a versatile digital piano that offers a wide range of features to enhance your playing experience. One of these features is the built-in metronome, which can be a valuable tool for musicians of all levels. Whether you’re a beginner just starting to learn rhythm or an advanced player looking to refine your timing, the metronome function on the Casio Privia Px-160 can help you stay on beat and improve your overall musicality.
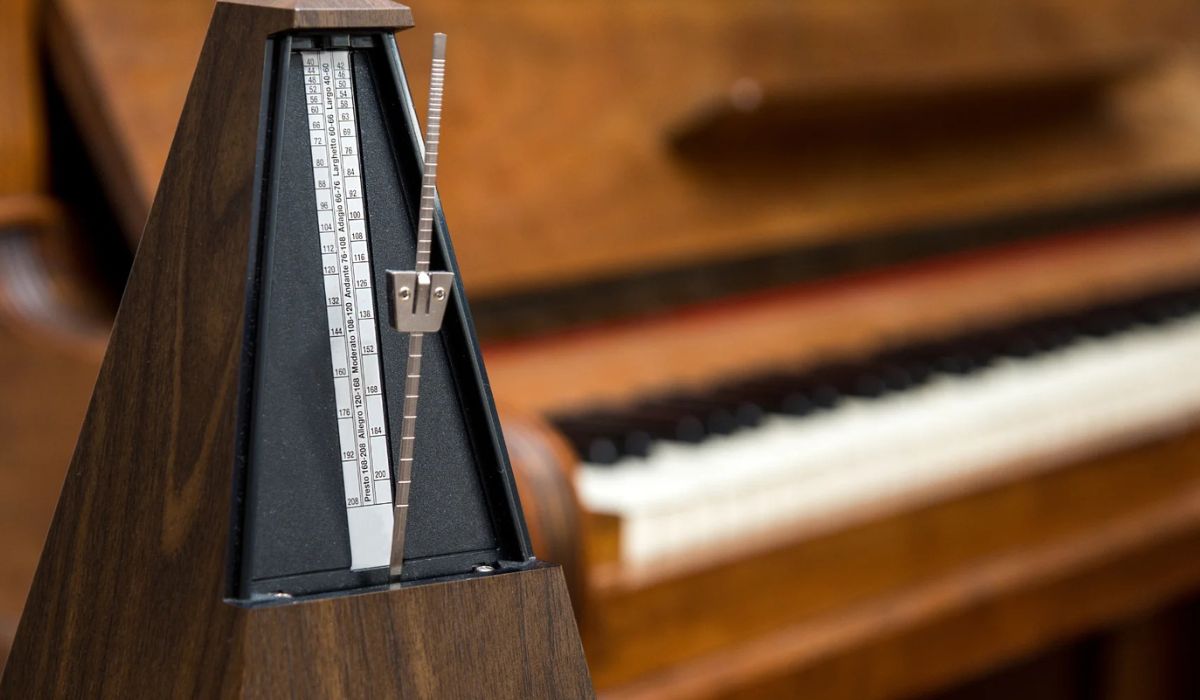
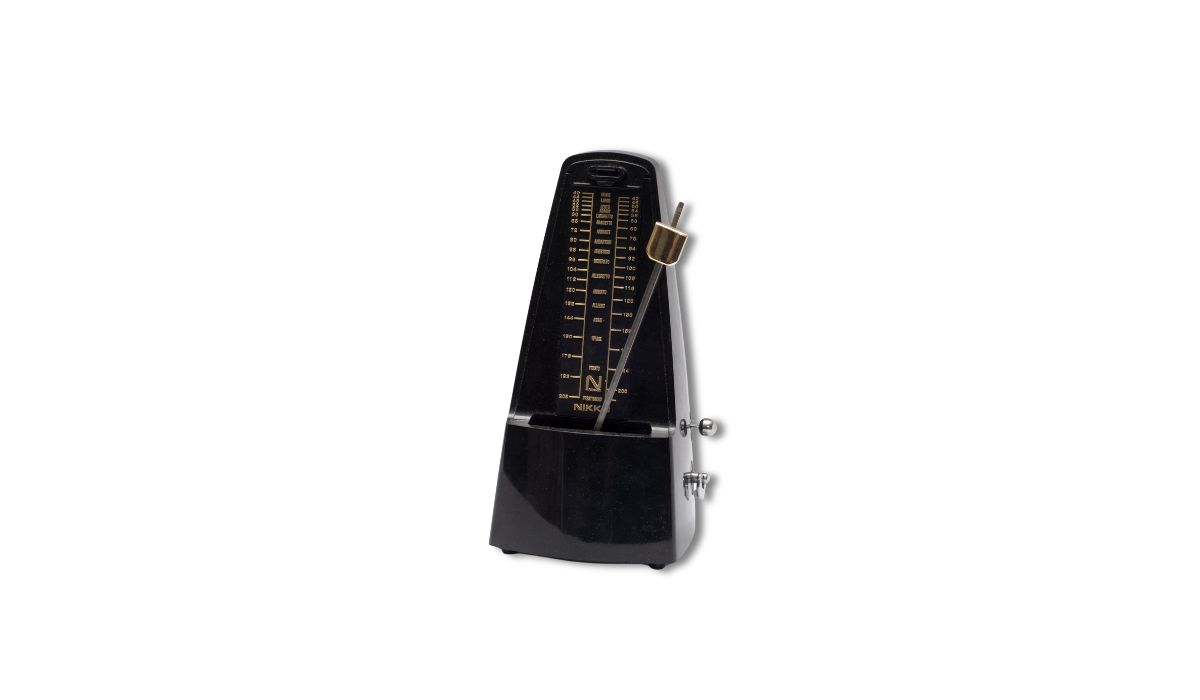
A metronome is a device that produces a steady and consistent beat, serving as a guide for musicians to maintain a steady tempo while playing. It can be used in a variety of musical contexts, from practicing scales and arpeggios to playing complex pieces of music. By incorporating the metronome into your practice routine, you can develop better timing, accuracy, and rhythm, which are crucial skills for any musician.
In this article, we will guide you through the step-by-step process of setting the metronome on your Casio Privia Px-160. Whether you’re a beginner or a seasoned player, this guide will help you make the most of this useful feature. So let’s dive in and discover how to set the metronome on your Casio Privia Px-160!
Step 1: Powering on the Casio Privia Px-160
Before we can start setting the metronome on the Casio Privia Px-160, we need to ensure that the piano is powered on. Locate the power button on the instrument. In most cases, the power button is located on the front panel or side of the piano.
Once you’ve located the power button, press it to turn on the Casio Privia Px-160. You should see the display screen light up, indicating that the instrument is powered on and ready to use. Give the piano a few moments to initialize and load the default settings.
It’s worth noting that the Casio Privia Px-160 is known for its quick startup time, so you won’t have to wait long before you can start using the metronome function.
Once the piano is powered on, you’re ready to move on to the next step and start exploring the metronome function on the Casio Privia Px-160.
Step 2: Locating the Metronome Function
Now that your Casio Privia Px-160 is powered on, it’s time to locate the metronome function on the instrument. The metronome function is usually accessible through the piano’s control panel or menu.
Take a look at the control panel or display screen of your Casio Privia Px-160. You should see various buttons and indicators that control different functions of the piano. Look for a button or icon that represents the metronome. It is often depicted as a symbol that resembles a small clock or metronome.
Once you have located the metronome button or icon, press it to access the metronome settings. This will bring up the metronome menu on the display screen of the piano.
If your Casio Privia Px-160 has a touch screen display, you can simply tap on the metronome icon to access the metronome settings.
Congratulations! You have successfully located the metronome function on your Casio Privia Px-160. In the next step, we will explore how to select the desired metronome sound.
Step 3: Selecting the Desired Metronome Sound
Now that you have accessed the metronome settings on your Casio Privia Px-160, it’s time to choose the desired metronome sound. The metronome sound can vary from a simple click to a more musical tone, depending on your preference and the type of music you are playing.
On the metronome menu, you will see different options for selecting the metronome sound. This may be represented by specific icons or text indicating the available sound options. Use the arrow buttons or touch screen display, if applicable, to navigate through the sound options.
Experiment with different metronome sounds to find the one that resonates with you. Some common choices include a traditional click sound, a digital beep, or even a musical instrument sound like a piano or drum.
As you explore the different sound options, pay attention to how they complement the music you are practicing. You may find that certain sounds help you stay in rhythm better or enhance your overall playing experience.
Once you have selected the desired metronome sound, confirm your selection by pressing the corresponding button or icon on the piano’s control panel. The selected sound will now be associated with the metronome function on your Casio Privia Px-160.
Congratulations! You have successfully selected the desired metronome sound. In the next step, we will learn how to adjust the metronome tempo to match your desired pace.
Step 4: Adjusting the Metronome Tempo
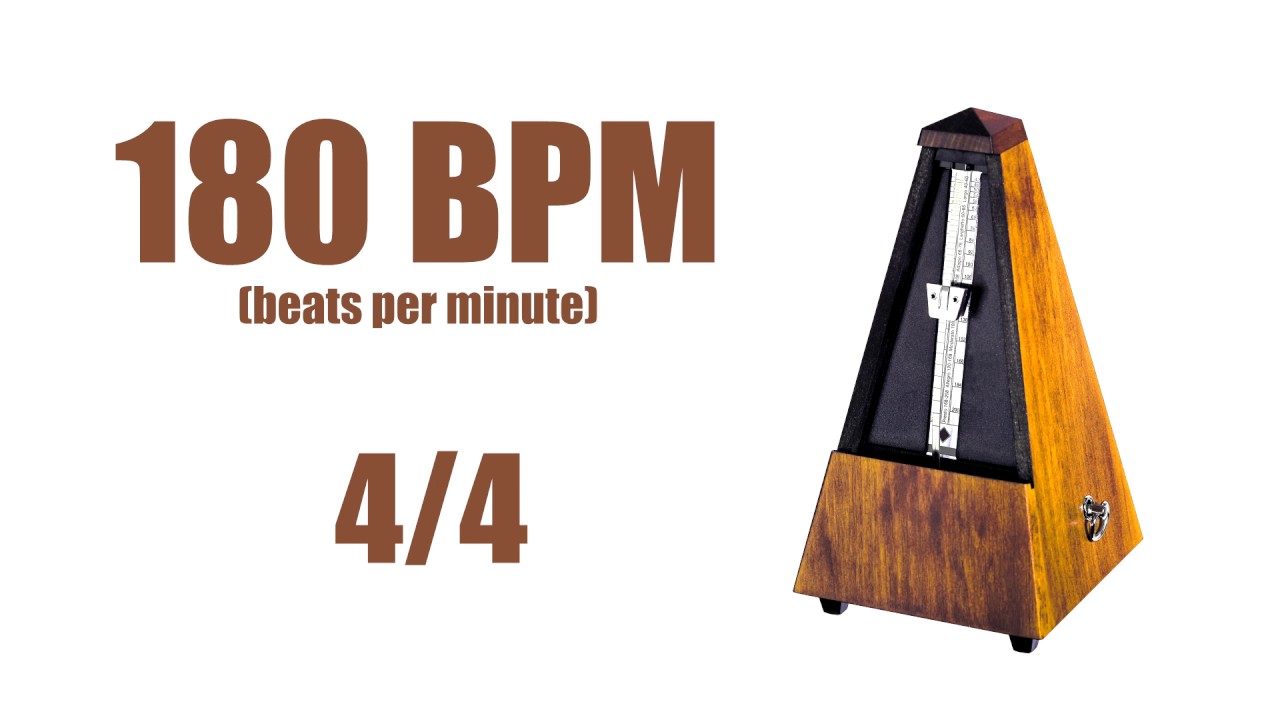
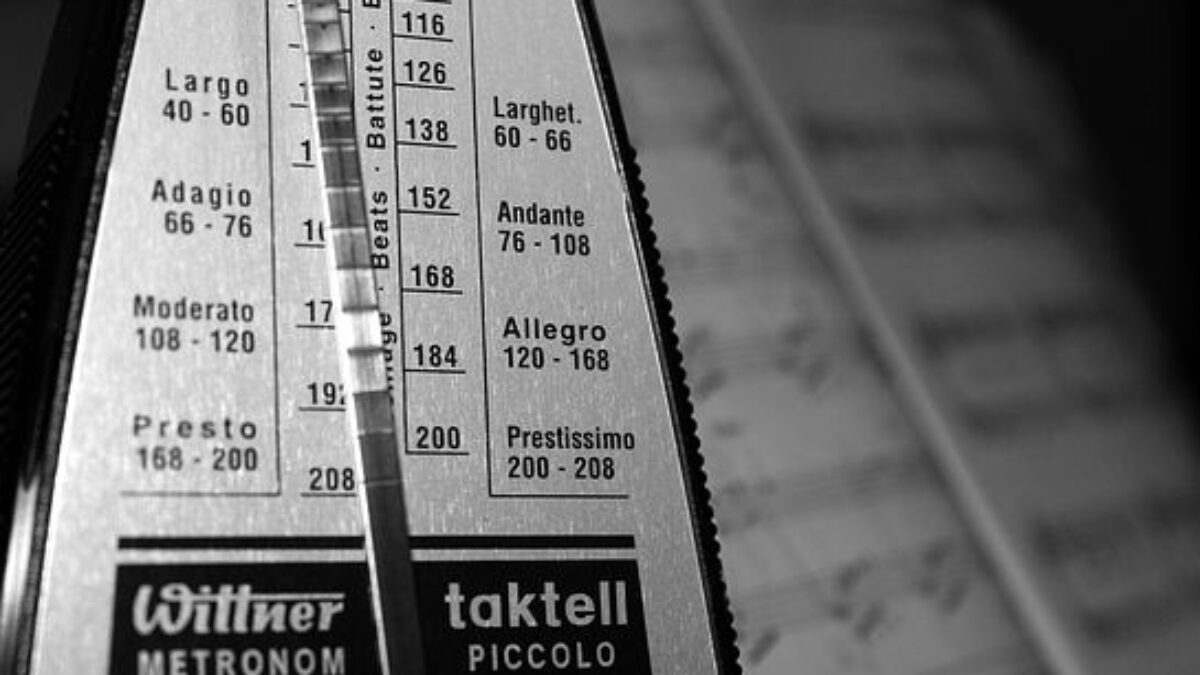
Once you have selected the desired metronome sound on your Casio Privia Px-160, it’s time to adjust the tempo. The tempo is the speed at which the metronome will produce the beats. It is measured in beats per minute (BPM) and can greatly influence the feel and rhythm of your music.
On the metronome menu, you will find a tempo setting option. This can be adjusted using the arrow buttons or touch screen display, if applicable. Use the up and down arrows to increase or decrease the tempo to your desired BPM.
Experiment with different tempos to find the right pace for your practice session or performance. If you are a beginner, it’s recommended to start at a slower tempo and gradually increase the speed as you become more comfortable.
Keep in mind that different music styles and genres have different recommended tempos. For example, classical music may require a slower and more precise tempo, while pop or rock music might call for a faster tempo to maintain a lively feel.
As you adjust the tempo, listen carefully to the metronome clicks or tones and try to synchronize your playing with the beats. The metronome will serve as a steady guide, helping you stay in time and improve your rhythm.
Once you have set the desired tempo, confirm your selection by pressing the corresponding button or icon on the piano’s control panel. The metronome will now produce beats at the adjusted tempo.
Great job! You have successfully adjusted the metronome tempo. In the next step, we will explore how to set the time signature on your Casio Privia Px-160.
Step 5: Setting the Time Signature
Setting the time signature on your Casio Privia Px-160 is an important step to ensure that the metronome is synchronized with the rhythm of the music you are playing. The time signature represents the organization of beats within a measure and is displayed as two numbers stacked vertically.
To set the time signature, navigate to the time signature option in the metronome menu. Use the arrow buttons or touch screen display, if applicable, to select the appropriate time signature for your music.
The top number of the time signature indicates the number of beats in each measure, while the bottom number represents the type of note that receives one beat. For example, a time signature of 4/4 indicates that there are four beats in each measure, and the quarter note receives one beat.
Different musical styles and genres may have different time signatures. For example, 4/4 is commonly used in pop and rock music, while 3/4 is associated with waltz or classical pieces. Explore different time signatures to match the rhythm and structure of the music you are practicing.
Once you have selected the appropriate time signature, confirm your selection by pressing the corresponding button or icon on the piano’s control panel. The metronome will now align its beats according to the set time signature.
Remember, the time signature is an essential aspect of maintaining proper rhythm and musicality. Make sure to set it correctly to effectively use the metronome as a guide for your playing.
Well done! You have successfully set the time signature on your Casio Privia Px-160. In the next step, we will learn how to activate the metronome and start using it for practice.
Step 6: Activating the Metronome
Now that you have set the metronome sound, adjusted the tempo, and set the time signature on your Casio Privia Px-160, it’s time to activate the metronome and start using it for practice or performance.
On the metronome menu, you will find an option to activate or toggle on the metronome function. This can typically be done by pressing a designated button or icon on the piano’s control panel.
Once you have activated the metronome, you will start hearing the clicks or tones according to the selected metronome sound, tempo, and time signature. Take a moment to listen to the metronome and ensure that it is functioning as expected.
The metronome will provide a steady beat, acting as your rhythmic guide as you play or practice. It will help you maintain a consistent tempo, improve your timing, and develop a solid sense of rhythm in your music.
Keep in mind that the metronome can be turned on or off at any time during your practice session. If you want to play a certain section without the metronome, simply deactivate it temporarily. You can always reactivate it when you’re ready to resume your rhythmic practice.
Congratulations! You have successfully activated the metronome on your Casio Privia Px-160. In the next step, we will explore some tips on how to effectively use the metronome for practice.
Step 7: Using the Metronome for Practice
Now that you have activated the metronome on your Casio Privia Px-160, let’s delve into some tips on how to effectively use it for practice. The metronome can be an invaluable tool to improve your timing, rhythm, and overall musicality.
1. Start Slow: When practicing with the metronome, it’s important to start at a comfortable tempo. Begin with a slower pace that allows you to play each note or beat accurately. As you become more proficient, gradually increase the tempo to challenge yourself.
2. Focus on Accuracy: Use the metronome to develop precision in your playing. Aim to hit each beat precisely in sync with the metronome’s clicks or tones. This will help you develop better control over your timing and avoid rushing or dragging during performances.
3. Vary the Subdivisions: Experiment with different subdivisions of the beat. For example, if the metronome is set to quarter notes, try playing eighth notes or sixteenth notes in between the clicks. This will help you develop a sense of internal groove and improve your overall rhythmic feel.
4. Play with Dynamics: Don’t be afraid to experiment with dynamics while practicing with the metronome. Vary the volume and intensity of your playing, keeping in mind that the metronome is there to guide your timing, regardless of the dynamic level.
5. Use it for Specific Sections: If there are challenging sections or measures in a piece of music, isolate them and practice them with the metronome. Breaking down difficult passages and gradually increasing the tempo will help you master them effectively.
6. Record Yourself: Consider recording your practice sessions with the metronome to listen back and evaluate your progress. This will allow you to identify areas that need improvement and help you refine your timing and rhythm.
Remember, the metronome is a tool to assist you in developing a solid sense of timing and rhythm. Embrace it as a helpful guide and use it as a practice companion to enhance your musical skills.
With these tips in mind, you are now equipped to make the most of the metronome function on your Casio Privia Px-160. Happy practicing!
Conclusion
In this guide, we have explored the step-by-step process of setting the metronome on your Casio Privia Px-160. The metronome function serves as a valuable tool for musicians of all levels, helping to improve timing, precision, and overall musicality.
By following the steps outlined in this article, you have learned how to power on the Casio Privia Px-160, locate the metronome function, select the desired metronome sound, adjust the tempo, set the time signature, activate the metronome, and use it effectively for practice.
Remember to start at a comfortable tempo and gradually increase the speed as you become more proficient. Focus on accuracy, experiment with different subdivisions, and vary dynamics to develop a well-rounded sense of rhythm and timing.
Recording yourself and practicing specific sections with the metronome will help you master challenging passages and refine your playing. Embrace the metronome as a helpful guide and practice companion to enhance your musical skills.
The Casio Privia Px-160, with its built-in metronome function, offers a versatile and user-friendly tool to enhance your music practice and performance. Whether you’re a beginner or an advanced player, incorporating the metronome into your routine can greatly contribute to your growth as a musician.
So, power on your Casio Privia Px-160, set the metronome, and let the steady beats guide you to become a more rhythmically precise and captivating performer. Happy practicing!