Home>Production & Technology>Metronome>How To Set Up A Metronome For 4/4 Time
Metronome
How To Set Up A Metronome For 4/4 Time
Modified: January 22, 2024
Learn how to set up a metronome for 4/4 time and improve your rhythm and timing. Discover the benefits of using a metronome in your practice sessions.
(Many of the links in this article redirect to a specific reviewed product. Your purchase of these products through affiliate links helps to generate commission for AudioLover.com, at no extra cost. Learn more)
Table of Contents
Introduction
In the world of music, timing and rhythm are crucial elements that can make or break a performance. Whether you’re a professional musician, a student learning an instrument, or simply someone who enjoys playing music as a hobby, having a solid sense of timing is essential. This is where a metronome comes into play.
A metronome is a device that helps musicians keep time by producing a steady and consistent beat. It provides a reliable reference point for maintaining a consistent tempo and staying in sync with the music. Metronomes are widely used in various musical genres, from classical to rock, and are regarded as invaluable tools for developing precision and accuracy in playing.
In this article, we will focus specifically on setting up a metronome for 4/4 time. 4/4 time is the most common time signature in music and is often referred to as “common time.” Understanding how to set up a metronome for this time signature is a fundamental skill for musicians of all levels.
Whether you’re a beginner just starting to learn about time signatures or an experienced musician looking for a refresher, this guide will help you get started. We will delve into the intricacies of 4/4 time, guide you in choosing the right metronome, and walk you through the process of setting it up effectively.
So, let’s strap on our musical gear and dive into the world of metronomes and 4/4 time!
Understanding 4/4 Time Signature
Before we delve into setting up a metronome for 4/4 time, it’s important to have a solid understanding of what 4/4 time actually means. In music notation, the time signature is represented by two numbers stacked on top of each other. The top number indicates the number of beats in each measure, while the bottom number represents the note value that receives one beat.
In the case of 4/4 time, the top number ‘4’ signifies that there are four beats in each measure. The bottom number ‘4’ indicates that a quarter note receives one beat. Therefore, in each measure of 4/4 time, you will count four beats, and each beat is represented by a quarter note.
4/4 time is often referred to as “common time” because of its prevalence in various musical genres. It provides a steady and consistent rhythmic foundation and is commonly used in music styles such as pop, rock, jazz, and classical music.
To better understand 4/4 time, think of it as a musical sentence with four equally timed beats. Each beat can be further divided into smaller note values, such as eighth notes, sixteenth notes, and so on, depending on the desired rhythmic complexity of the music.
Let’s break down the counting for 4/4 time:
- Count 1: This is the downbeat or the strong beat of the measure. It sets the rhythmic foundation for the rest of the bar.
- Count 2: This is the second beat of the measure, which falls between the strong beats.
- Count 3: This is the third beat, which also falls between the strong beats.
- Count 4: This is the final beat of the measure before returning to count 1, creating a cyclical pattern.
By understanding the structure and counting of 4/4 time, you will be able to develop a strong sense of rhythm and play in sync with other musicians or music tracks.
Now that we have a clear understanding of 4/4 time, let’s explore the various types of metronomes available and how to choose the best one for your needs.
Choosing and Acquiring a Metronome
Now that you understand the concept of 4/4 time, it’s time to choose and acquire a metronome that will assist you in staying in rhythm. When it comes to selecting a metronome, there are several factors to consider.
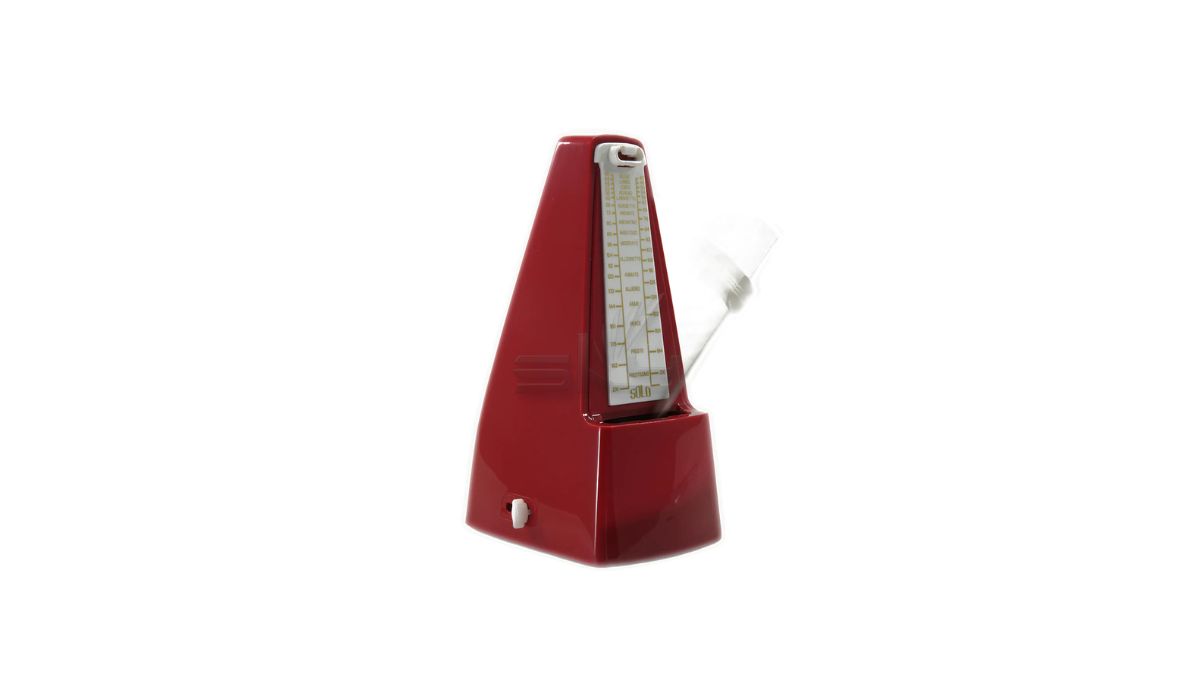
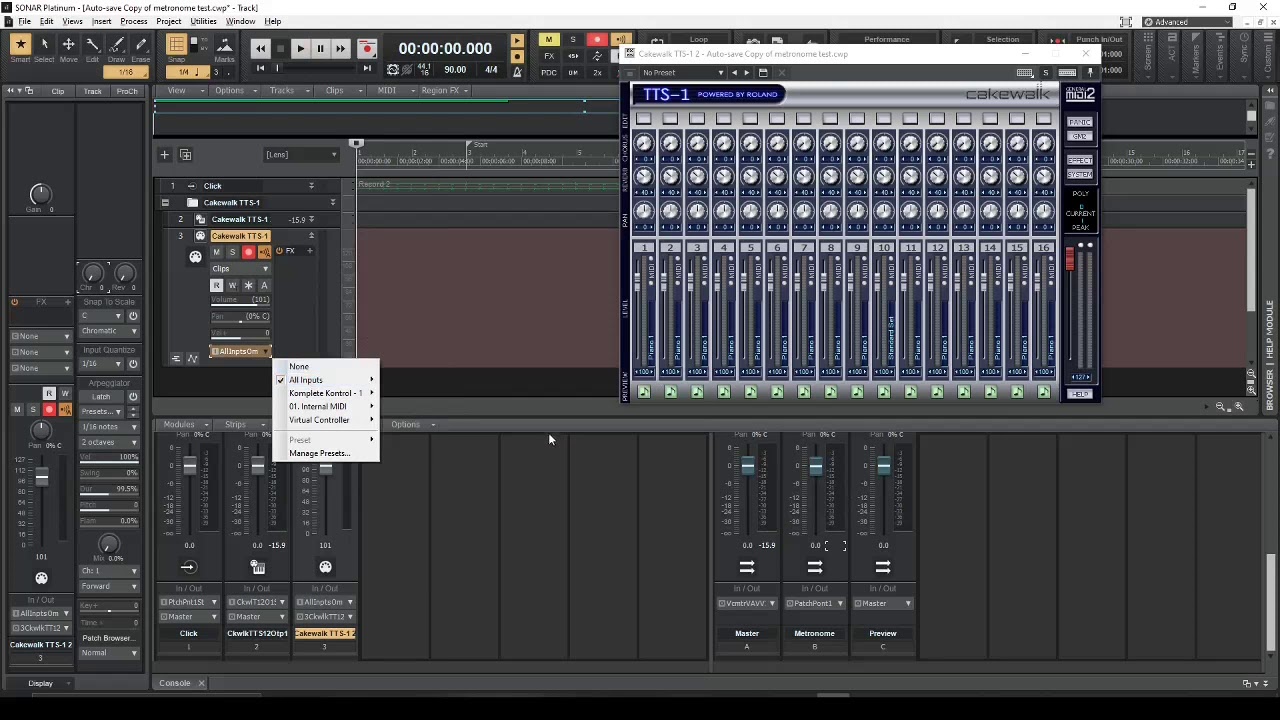
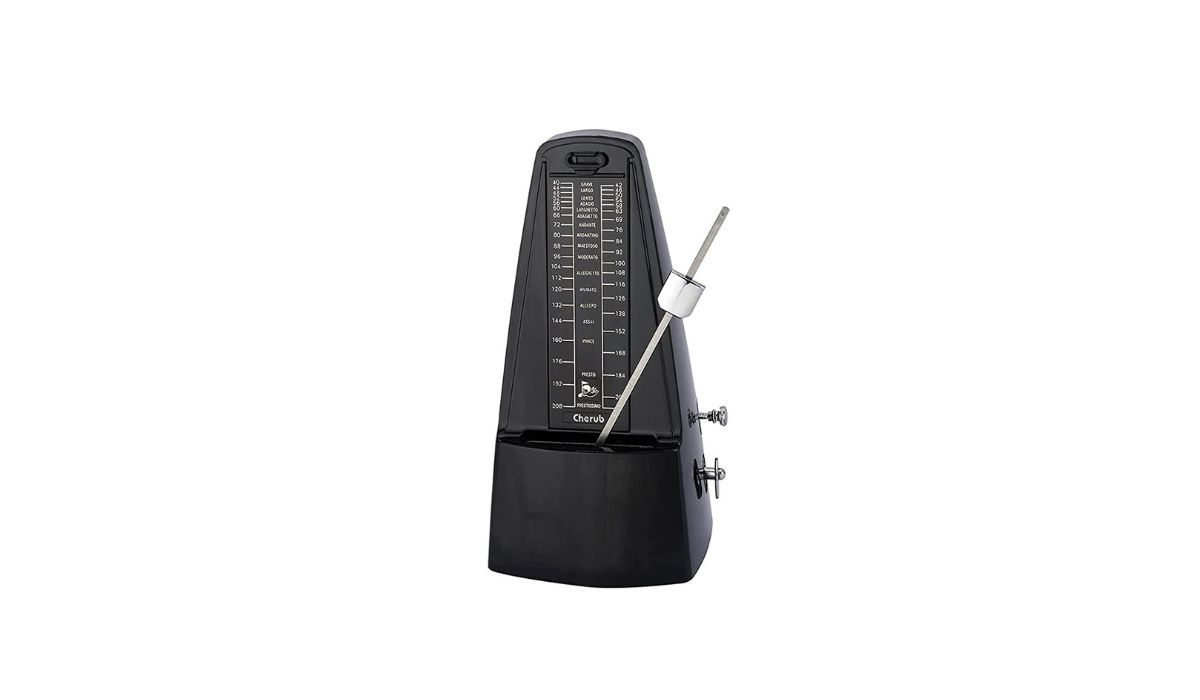
Type of Metronome: Metronomes come in various forms, including mechanical, digital, and app-based. Mechanical metronomes feature a pendulum that swings back and forth to indicate the tempo, while digital metronomes use electronic displays. App-based metronomes can be downloaded onto your smartphone or tablet. Consider your preferences and needs to decide which type suits you best.
Features and Functions: Different metronomes offer various features and functions. Some may have built-in audio options, allowing you to choose from different sounds for the beat. Others may offer additional rhythmic patterns or the ability to program complex rhythm sequences. Determine which features are important to you and ensure the metronome you choose has them.
Tempo Range: Check the tempo range of the metronome. Make sure it covers the desired range for your musical needs. Most metronomes offer a wide range of tempos, from slow to fast, allowing you to adapt to different musical genres and styles.
Portability: Consider how portable you need your metronome to be. If you plan on practicing and performing on the go, a compact and lightweight metronome that easily fits into your instrument case or pocket may be more convenient for you.
Budget: Determine your budget for a metronome. Metronomes come in a wide price range, so it’s important to find one that fits your financial constraints. Research different options and read reviews to find a metronome that offers good value for its price.
Once you’ve identified your preferences and requirements, it’s time to acquire your metronome. Visit a local music store to see and try out different models in person. This will allow you to assess their features, sound quality, and user-friendliness. If you prefer the convenience of online shopping, browse reputable music retail websites that offer a wide selection of metronomes and read customer reviews to make an informed decision.
Investing in a quality metronome is a wise choice for musicians of all levels. It will serve as a valuable tool in your practice sessions and performances, helping you develop a strong sense of timing and rhythm.
Now that you have your metronome, let’s move on to setting it up for 4/4 time.
Setting Up the Metronome for 4/4 Time
Now that you have acquired a metronome, it’s time to set it up for 4/4 time. Follow these steps to ensure you’re using your metronome effectively:
- Familiarize Yourself with the Controls: Take a few moments to understand the various controls on your metronome. This may include buttons for power, tempo adjustment, and sound selection. Read the user manual if needed to ensure you know how to navigate the settings.
- Set the Time Signature: Look for the setting that allows you to input the time signature. In this case, set it to 4/4. Some metronomes may have a dedicated button for selecting the time signature, while others may require you to navigate through menus. Consult the user manual if you’re unsure.
- Select the Tempo: Determine the desired tempo for your practice or performance. This can vary depending on the song or piece you’re working on. Use the tempo adjustment feature on your metronome to set the desired speed in beats per minute (BPM). Start with a moderate tempo and gradually increase it as you become more comfortable.
- Choose the Beat Sound: Most metronomes offer different sound options for the beat. Explore the available options and choose a sound that is clear and distinct to you. Some common choices include clicks, beeps, or even musical instrument sounds.
- Start the Metronome: Once you have set the time signature, tempo, and beat sound, start the metronome and listen to the steady beats. Focus on internalizing the tempo and syncing your playing or practicing with the metronome.
- Play Along: Begin playing your instrument or practicing your musical piece in time with the metronome. Pay close attention to staying in sync with the pulses and maintaining a consistent rhythm. This will help develop your sense of time and precision in playing.
Remember, setting up the metronome is just the first step. The real value comes from consistently practicing and playing along with it. Make it a habit to incorporate the metronome into your practice routine to develop a strong sense of timing and improve your overall musicality.
Now that you have set up the metronome for 4/4 time, let’s discuss some additional tips for testing and adjusting the metronome’s settings.
Testing and Adjusting the Metronome
Once you have set up your metronome for 4/4 time, it’s essential to test and make any necessary adjustments to ensure it is functioning correctly. Here are some tips for testing and fine-tuning your metronome:
- Check for Accuracy: Verify that the metronome is producing an accurate tempo. Use a reliable external reference, such as a digital metronome app or an online metronome, to compare the beats. If there is a discrepancy, adjust the tempo setting on your metronome accordingly.
- Listen for Clarity: Pay attention to the clarity and distinctness of the metronome’s beats. The sound should be clear and audibly separate from your playing. Adjust the volume or select a different beat sound if necessary to ensure clarity.
- Experiment with Different Beat Subdivisions: In addition to the main beats, many metronomes allow you to set subdivisions, such as eighth notes or sixteenth notes. Experiment with different subdivisions to challenge yourself and improve your timing accuracy.
- Practice with Accentuations: Some metronomes offer the option to accentuate certain beats within each measure. This feature can be useful for practicing syncopated rhythms or emphasizing specific notes. Explore this function and adjust it according to your musical needs.
- Use Visual Cues (if available): If your metronome has a visual display, take advantage of it. Visual cues, such as flashing lights or moving indicators, can provide an additional layer of guidance and help you internalize the rhythm more effectively.
- Record Yourself: As you practice with the metronome, consider recording your playing. By listening back, you can assess and refine your timing. Take note of any areas where you may need to adjust your playing to better align with the metronome’s beat.
Remember, setting up and using a metronome is an ongoing process of refinement. Regularly testing and adjusting its settings will ensure its accuracy and effectiveness in improving your timing and rhythm.
Finally, I encourage you to embrace the metronome as a valuable practice tool rather than a strict taskmaster. It is there to support your musical growth and development. With consistent practice and a disciplined approach, you will soon see significant improvements in your timing and overall musical performance.
Now that you have learned how to test and adjust your metronome, let’s conclude our guide with a brief summary and some final thoughts.
Conclusion
Understanding and utilizing a metronome is a valuable skill for any musician. In this article, we explored the importance of timing in music and how a metronome can help you develop a strong sense of rhythm. Specifically, we focused on setting up a metronome for 4/4 time, the most common time signature in music.
We began by gaining a clear understanding of 4/4 time and its rhythmic structure. Counting beats and recognizing the strong beats in each measure is crucial to maintaining a steady tempo. With this foundation, we moved on to choosing and acquiring a metronome that fits your needs and budget.
Setting up a metronome for 4/4 time involves familiarizing yourself with the controls, selecting the correct time signature and tempo, and choosing a suitable beat sound. Once set up, you can start practicing with the metronome, allowing it to guide and refine your timing and rhythm.
We also discussed the importance of testing and adjusting the metronome to ensure accuracy, clarity of beats, and exploration of additional features such as subdivisions and accentuations. Regularly testing and refining the metronome’s settings will enhance its effectiveness in aiding your musical development.
Remember, the metronome is a tool to support your musical growth, not to restrict or confine you. Embrace it as a companion in your practice sessions and performances, and allow it to enhance your musicality, precision, and overall performance.
Now armed with the knowledge and understanding of setting up a metronome for 4/4 time, I encourage you to incorporate this invaluable tool into your practice routine. Stay disciplined, focused, and consistent, and watch your timing and rhythm skills flourish.
Happy practicing and keep the beat!