Home>Production & Technology>Metronome>How To Add The Metronome To A Song
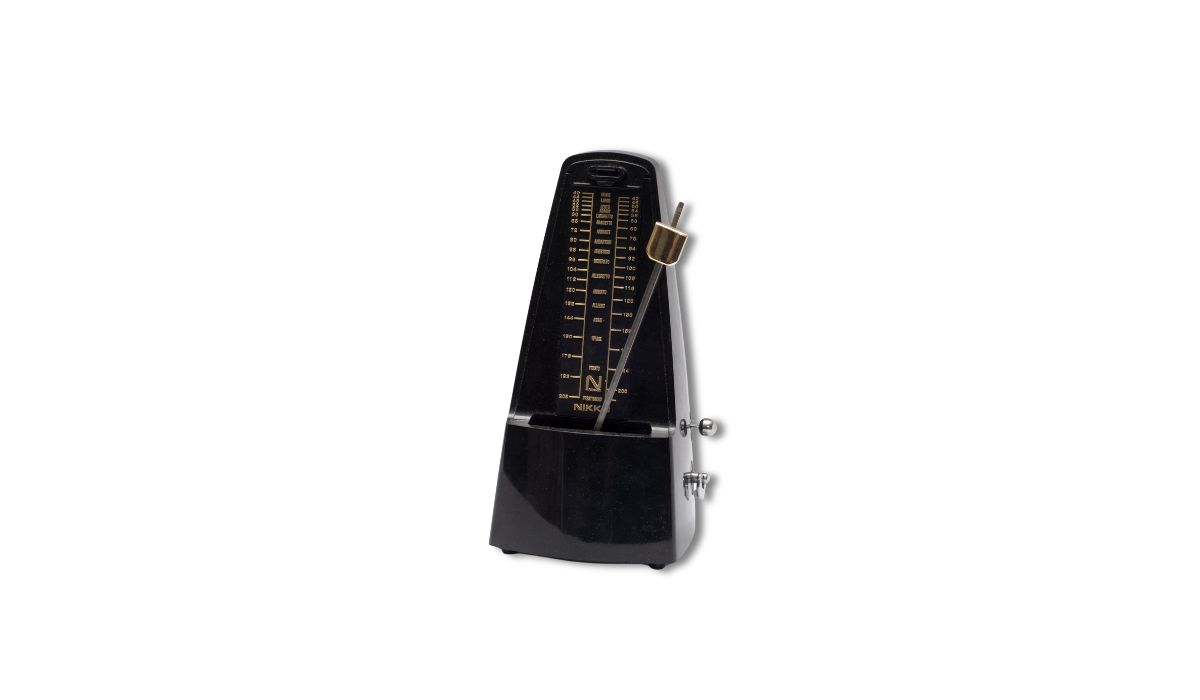
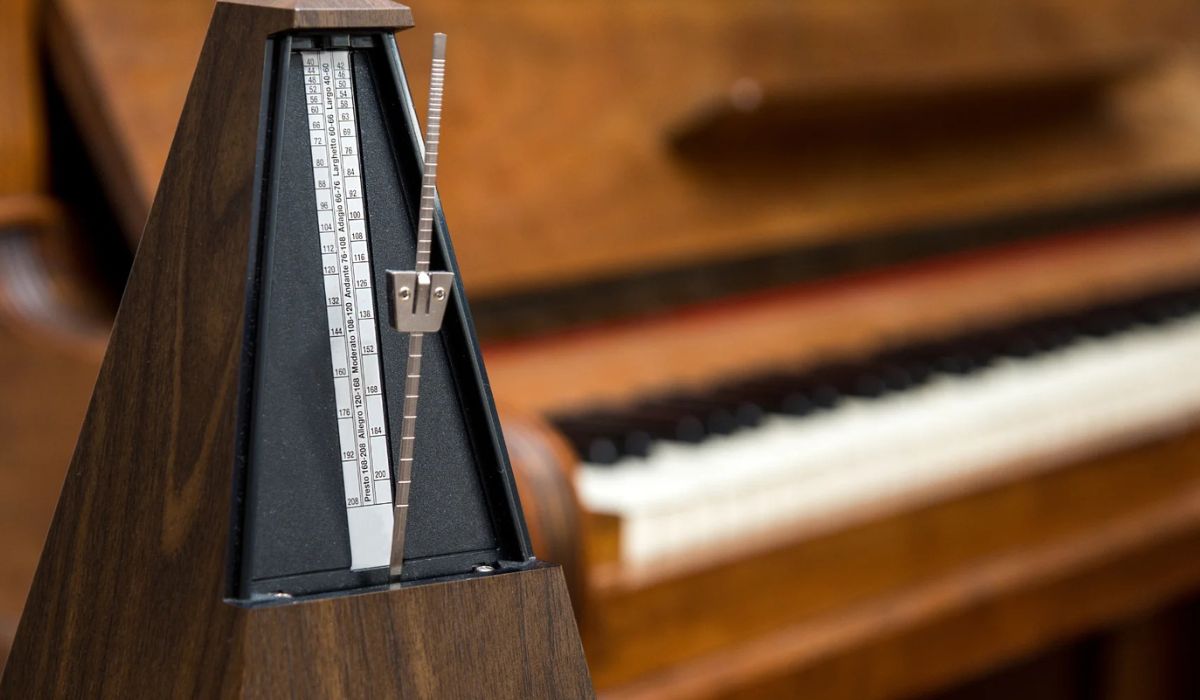
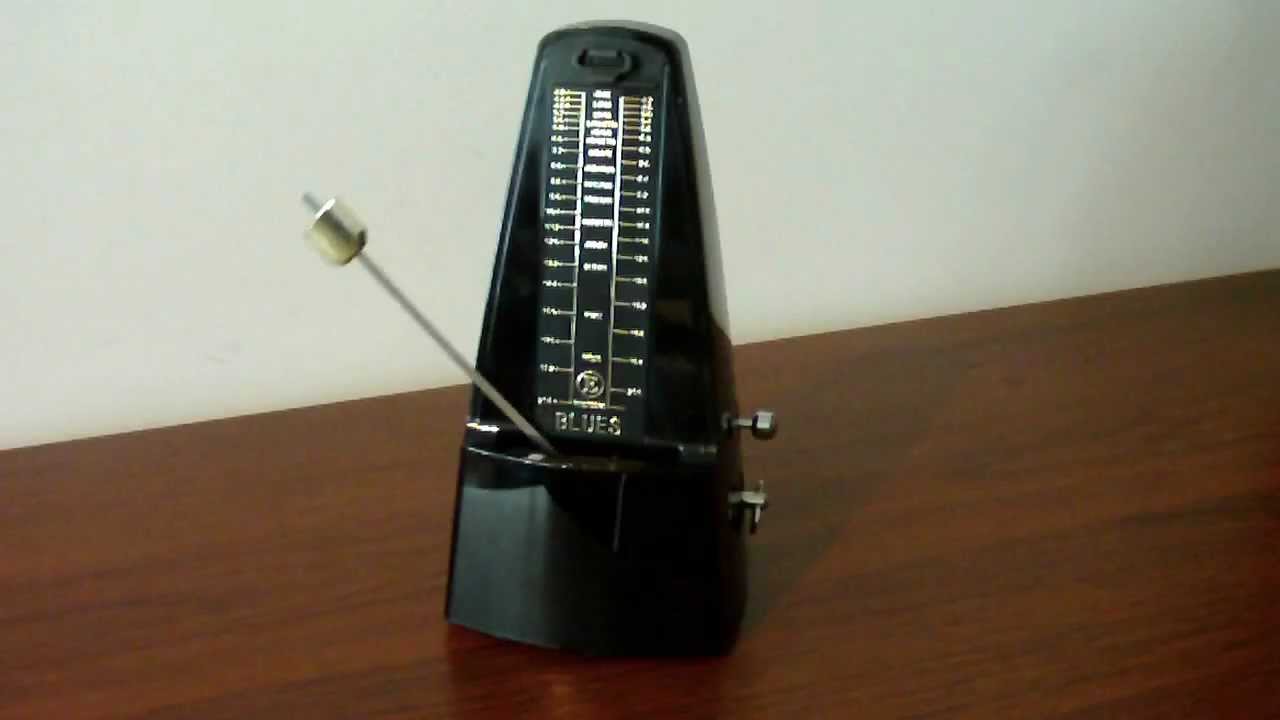
Metronome
How To Add The Metronome To A Song
Published: January 14, 2024
Learn how to easily add a metronome to your song for perfect timing and rhythm. Step-by-step guide to incorporate the metronome into your music creation process.
(Many of the links in this article redirect to a specific reviewed product. Your purchase of these products through affiliate links helps to generate commission for AudioLover.com, at no extra cost. Learn more)
Table of Contents
Introduction
A metronome is a valuable tool for musicians of all levels. It helps keep time and maintain a consistent rhythm while practicing or performing. Whether you’re a guitarist, pianist, drummer, or any other musician, incorporating a metronome into your practice routine can greatly improve your timing and overall musicality.
In this article, we will guide you through the process of adding a metronome to your songs. Whether you’re recording in a studio or playing live, having a metronome in your mix can be incredibly useful.
Adding a metronome to a song involves a few steps, from choosing the right metronome software to adjusting the settings to fit your preferences. We will break down each step and provide you with clear instructions so you can confidently incorporate a metronome into your songs.
By the end of this article, you will have the knowledge to effectively use a metronome and improve your timing and rhythm as a musician. So let’s dive in and get started!
Step 1: Choosing the Metronome Software
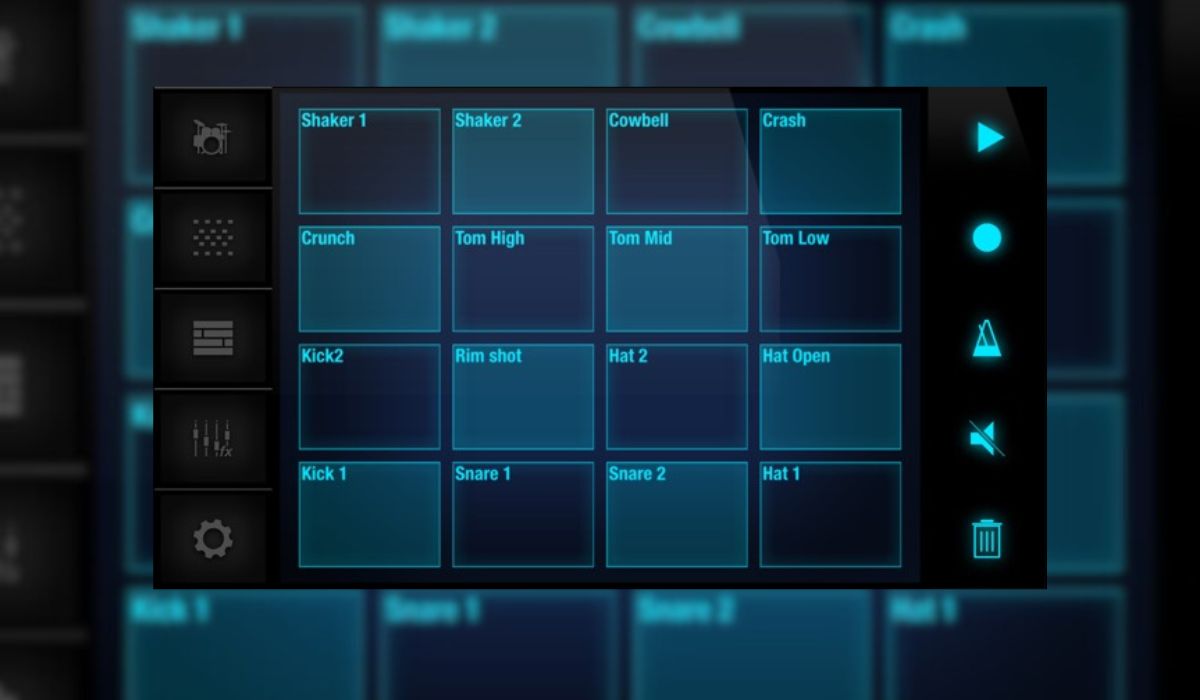
The first step in adding a metronome to your song is choosing the right metronome software. There are various options available, both free and paid, that offer different features and functionalities. Here are a few things to consider when selecting a metronome software:
- User-friendly interface: Look for software that has an intuitive and user-friendly interface. It should be easy to navigate and adjust settings without any hassle.
- Customization options: Check if the software allows you to customize the metronome sounds, tempo, time signatures, and other settings. This will allow you to tailor the metronome to your specific needs and musical style.
- Visual cues: Some metronome software offers visual cues, such as flashing lights or animated indicators, in addition to auditory cues. These visual cues can be helpful, especially for musicians who prefer to see the beats as well as hear them.
- Compatibility: Ensure that the metronome software you choose is compatible with your operating system and music production software, if applicable. This will ensure smooth integration and minimize any technical issues.
- Reviews and recommendations: Read reviews and seek recommendations from fellow musicians or music communities. Their insights can help you make an informed decision and choose a reliable metronome software.
Once you have considered these factors, research different metronome software options and compare their features. Some popular choices include “Pro Metronome,” “Tempo,” “Soundbrenner,” and “Dr. Beat.” Take your time to evaluate each option and find one that suits your needs and preferences.
Remember, the goal is to choose a metronome software that feels comfortable and offers the necessary features to enhance your practice or performance sessions. Let’s move on to the next step to learn how to install the chosen metronome software.
Step 2: Installing the Metronome Software
Once you have chosen the metronome software that best fits your needs, it’s time to install it on your device. The installation process may vary depending on the operating system you’re using, but the general steps are as follows:
- Download the software: Visit the official website or app store of the chosen metronome software and download the installation file.
- Run the installation file: Locate the downloaded file on your computer or mobile device and double-click to run the installation process.
- Follow the installation prompts: The installation wizard will guide you through the process. Read and accept the terms and conditions, choose the installation location if prompted, and click “Next” to proceed.
- Complete the installation: Once the installation is complete, you may be prompted to launch the software immediately or it may be accessible from your applications or programs menu.
It’s important to note that if you’re using a mobile device, you can install metronome apps directly from your device’s app store by searching for the chosen software name.
After the installation is complete, you can proceed to the next step to set up the metronome according to your preferences.
Step 3: Setting Up the Metronome
Now that you’ve installed the metronome software, it’s time to set it up according to your preferences. Here are the key settings you should consider adjusting:
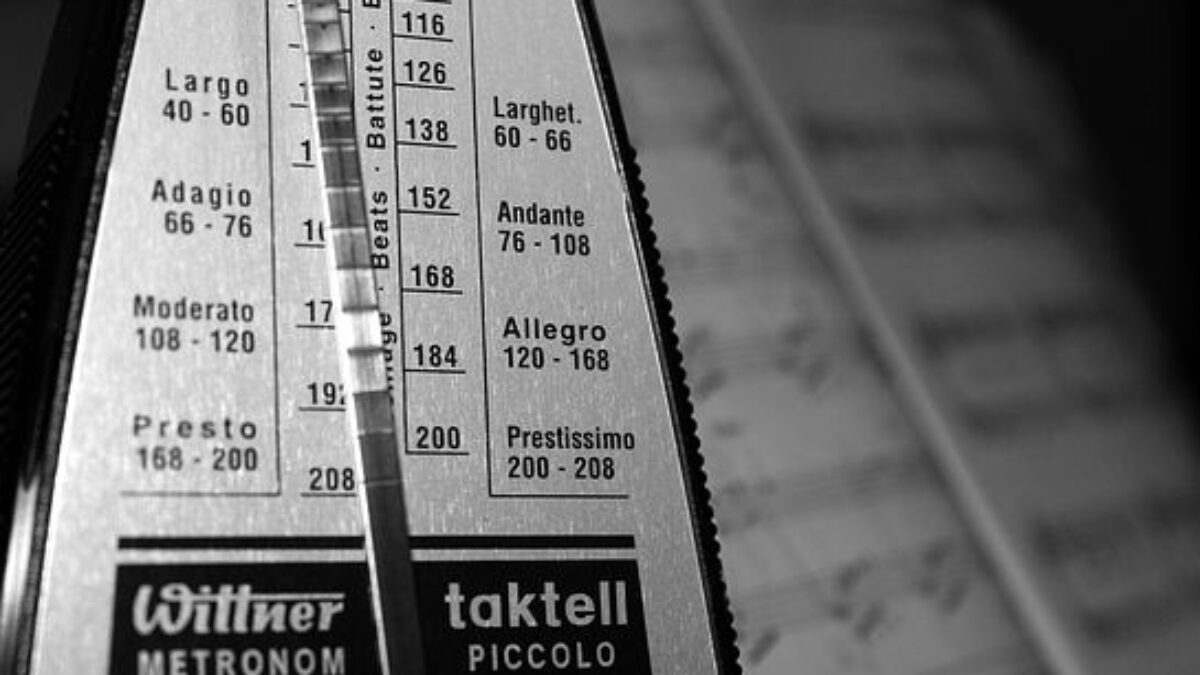
- Tempo: The tempo determines the speed of the metronome. Set it to the desired beats per minute (BPM) that aligns with the song or exercise you’ll be practicing. Start with a comfortable tempo and gradually increase it as you become more comfortable.
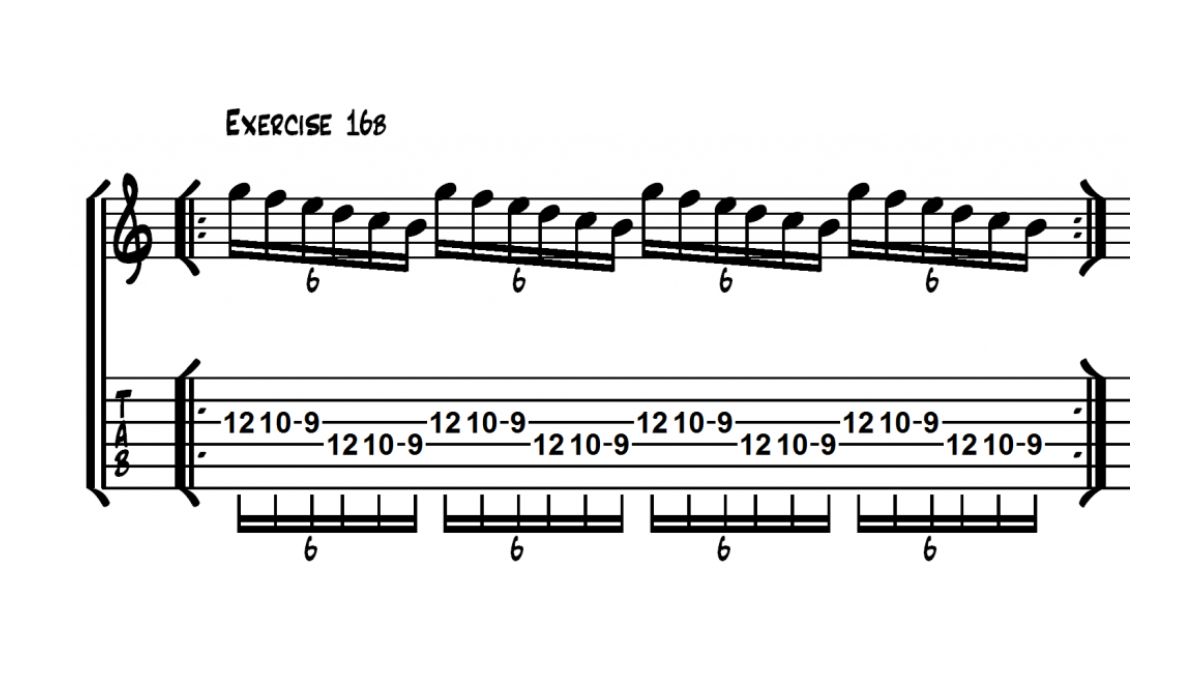
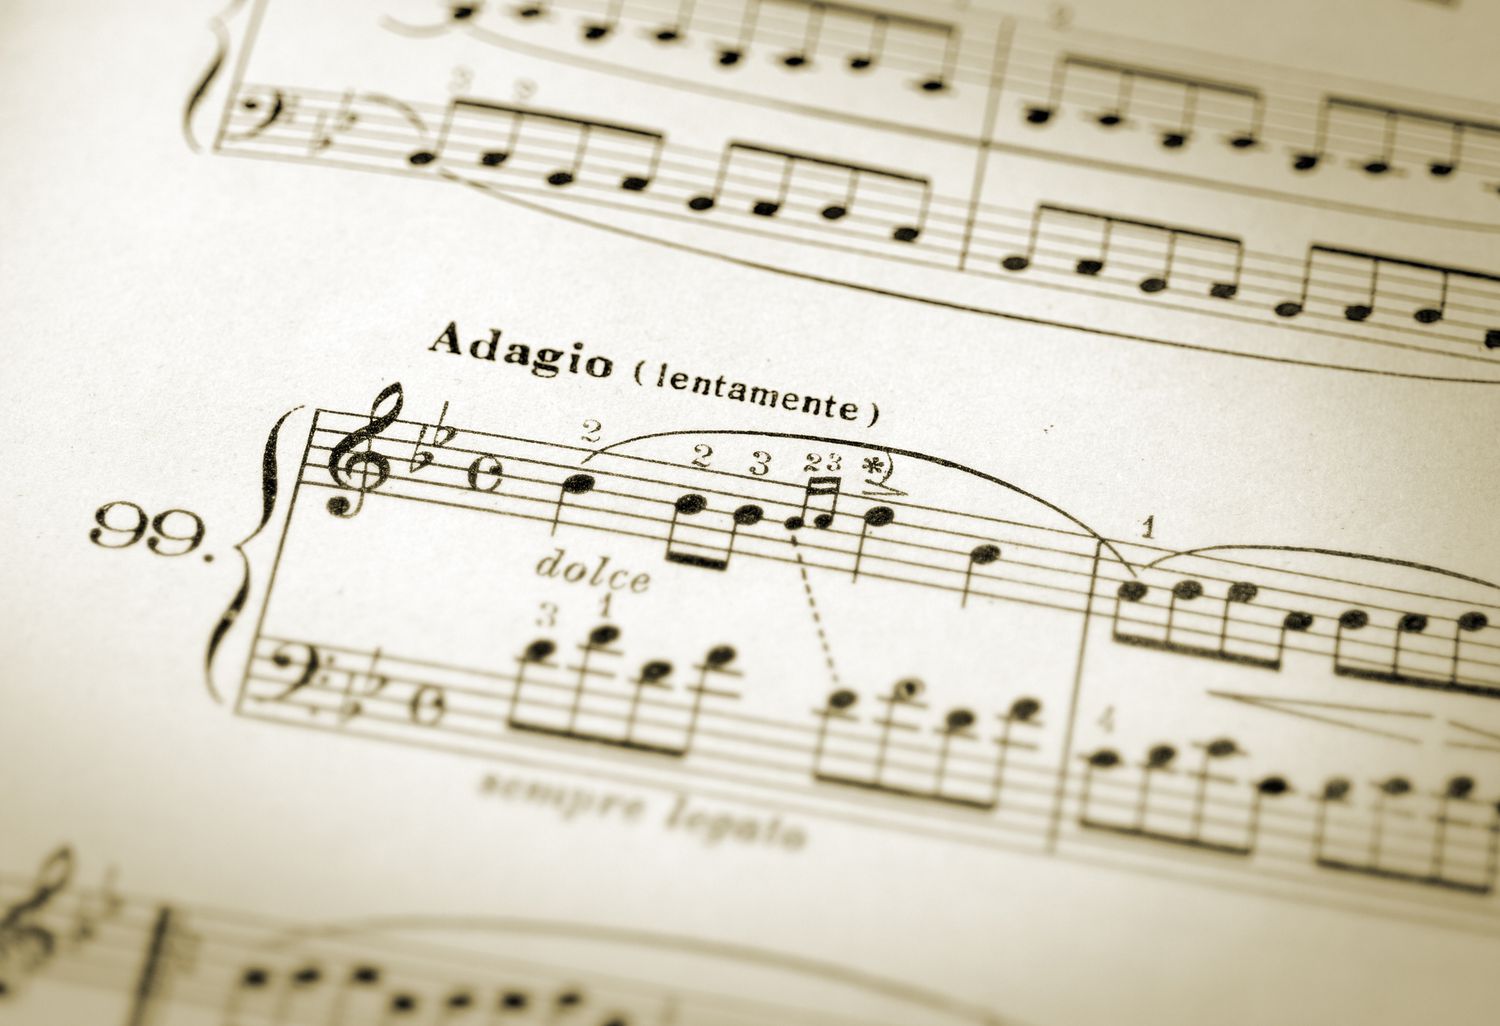
- Time signatures: Select the appropriate time signature for your song or exercise. Common time signatures include 4/4, 3/4, 6/8, and more. It defines the rhythmic structure of your music and helps the metronome maintain the correct beat division.
- Click sounds: Choose the type of sound that you find most suitable for your practice. Many metronome software options offer a variety of click sounds, including traditional metronome clicks, digital beeps, or even custom sound samples.
- Visual cues: If your metronome software provides visual cues, such as flashing lights or animated indicators, configure them to your liking. These visual cues can be helpful, especially for musicians who prefer a visual representation of the tempo.
- Accent beats: Some metronomes allow you to accent specific beats within the measure. This is useful for practicing complex rhythms or emphasizing certain notes in your music. Experiment with accent options and see how they enhance your practice sessions.
Take the time to explore the settings menu of your chosen metronome software and make adjustments as needed. Every software is different, so refer to the user manual or online resources for specific instructions on how to access and modify these settings.
By customizing the metronome settings to your preference, you’ll create an environment that facilitates effective practice and enhances your musical experience. Once you’re satisfied with the setup, move on to adding the metronome to your song in the next step.
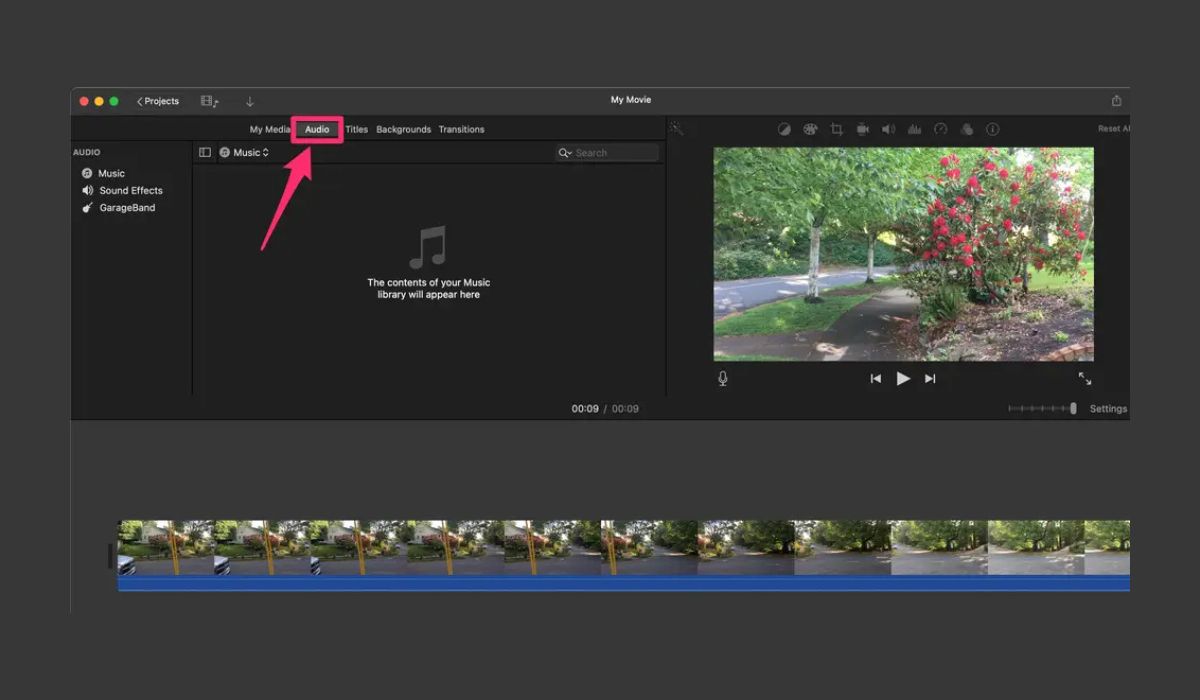
Step 4: Adding the Metronome to the Song
With your metronome software set up, it’s time to add the metronome to your song. The specific process may vary depending on your recording or performance setup, but here are some general methods to consider:
- Recording software integration: If you’re recording your song using digital audio workstation (DAW) software, most DAWs have a built-in metronome feature. Simply enable the metronome track and set the desired tempo and time signature in your DAW’s settings.
- Stand-alone metronome software: If you prefer to use a separate metronome software while recording, open the software simultaneously with your DAW. Set the metronome to the same tempo and time signature as your song, and adjust the volume to ensure it’s audible during recording.
- Live performance setup: If you’re adding the metronome to your live performance, there are a few options. You can play the metronome through a separate monitor or in-ear monitors, or use a metronome device that can be synchronized with your instrument or amplifier.
Regardless of the method you choose, it’s important to ensure that the metronome is audible to you and any other musicians involved. Adjust the volume and balance so that it blends well with the rest of the instruments and vocals without overpowering them.
By including the metronome in your song during recording or performance, you’ll be able to stay on beat and maintain a consistent rhythm. This is especially helpful when recording multiple tracks or performing with other musicians.
Once you’ve successfully added the metronome to your song, you can move on to the next step to fine-tune the metronome settings to better suit your needs.
Step 5: Adjusting the Metronome Settings
After adding the metronome to your song, it’s important to continuously evaluate and adjust the metronome settings to ensure optimal performance. Here are some key considerations for adjusting the metronome settings:
- Tempo variations: Experiment with different tempos to find the one that suits the mood and style of your song. Some songs may benefit from slight tempo variations or gradual changes throughout certain sections.
- Subdivisions: If your music has complex rhythms, you can set the metronome to play subdivisions of the beat. This will help you stay on track with intricate rhythms and syncopated patterns.
- Cue volume: Adjust the volume of the metronome so that it is audible enough to guide your playing or singing, but not overpowering. Find the balance that works best for your needs.
- Visual feedback: If your metronome software offers visual cues, pay attention to how they align with your playing. Ensure that the visual feedback matches your perception of the beat to maintain accuracy.
- Accent placement: Determine which beats or notes you want to emphasize in your music. Set the metronome to accentuate these points to enhance the dynamics and musicality of your performance.
As you make adjustments to the metronome settings, take the time to practice with it and evaluate how it affects your timing and overall musical performance. Don’t hesitate to experiment and fine-tune the settings until you achieve the desired results.
Remember, the metronome is a tool to help you develop a steady rhythm and improve your timing. It should enhance your musical experience rather than constrain it. With regular practice and attention to the metronome settings, you’ll be able to refine your performance skills and deliver a more polished sound.
Now that you’ve adjusted the metronome settings, you’re ready to record or perform your song with the metronome guiding you. Let’s move on to the final step.
Step 6: Recording or Playing the Song with Metronome
Now that you have set up and adjusted the metronome settings, it’s time to put it to use by recording or playing your song with the metronome. Follow these steps to ensure a smooth experience:
- Prepare your equipment: Set up your recording gear or performance equipment as necessary. Ensure that your instrument or microphone is in position and ready to go.
- Start the metronome: Launch your metronome software or activate the metronome feature in your recording software. Adjust the tempo and time signature to match your song’s requirements.
- Sync with the metronome: Take a moment to listen to the metronome and internalize its rhythm. Make sure you’re comfortable and in sync with the metronome’s beats before starting to play or sing.
- Record or perform: Begin recording your song or start performing live, keeping in time with the metronome. Focus on playing or singing with precision and maintaining a consistent rhythm throughout the song.
- Monitor the metronome: Stay attentive to the metronome while recording or performing. If you find yourself drifting off rhythm, subtly adjust your timing to realign with the metronome’s beats.
- Review and adjust: After recording or performing, listen back to your performance and evaluate how well you stayed in time with the metronome. If necessary, make adjustments to your playing or singing to improve timing and rhythmic accuracy.
Recording or performing with a metronome can be challenging at first, but with practice, it becomes a valuable tool for developing a solid sense of rhythm and timing. It helps you stay consistent and tight in your performance, contributing to a polished and professional sound.
Remember that using a metronome is not about rigidly adhering to its beat, but rather using it as a guide to develop your personal musical expression. As you become comfortable with the metronome, feel free to experiment with subtle variations and phrasing within the established tempo.
With practice and repetition, you will improve your ability to perform with precision and confidence while maintaining musicality. The metronome will become a trusted ally in your musical journey.
Congratulations! You have successfully completed the process of adding a metronome to your song. Keep practicing with the metronome regularly to refine your timing and take your musical skills to new heights.
Conclusion
Adding a metronome to your song can greatly enhance your musical abilities and performance. It provides the foundation for a solid rhythm and helps you stay in sync with the music. By following the steps outlined in this guide, you can seamlessly incorporate a metronome into your practice sessions, recordings, or live performances.
First, choose a metronome software that suits your needs and preferences. Look for user-friendly interfaces, customization options, and compatibility with your devices. Once you have the software, install it on your computer or mobile device, and familiarize yourself with its features and settings.
Next, set up the metronome according to your requirements. Adjust the tempo, time signatures, click sounds, and visual cues to create a personalized experience. Fine-tune these settings as needed to optimize your practice sessions and performances.
With the metronome ready, it’s time to add it to your song. Whether you’re recording in a studio or performing live, integrate the metronome into your setup, ensuring it is audible and balanced with the rest of your instruments.
Continuously evaluate and adjust the metronome settings to refine your timing and musical expression. Take advantage of features like tempo variations, subdivisions, and accent placements to enhance your performance and create dynamic musical experiences.
Finally, record or play your song with the metronome guiding you. Stay attentive to the metronome’s beats, ensuring that you maintain a consistent rhythm throughout the performance. Review your recordings and make adjustments if necessary to improve timing and rhythmic accuracy.
By incorporating a metronome into your music practice or performance routine, you’ll develop a strong sense of timing and rhythm, improving your overall musicality. It may require some practice and adjustment, but with dedication and patience, you’ll reap the rewards of a tighter and more polished sound.
So, embrace the metronome as a valuable tool in your musical journey. Let it be your constant guide, helping you maintain a steady rhythm and unlock your full musical potential.