Home>Production & Technology>Metronome>How To Wind Up A Metronome
Metronome
How To Wind Up A Metronome
Published: January 14, 2024
Discover the step-by-step process of winding up a metronome and ensure precision in your musical practice. Follow our guide to master the art of Metronome management.
(Many of the links in this article redirect to a specific reviewed product. Your purchase of these products through affiliate links helps to generate commission for AudioLover.com, at no extra cost. Learn more)
Table of Contents
Introduction
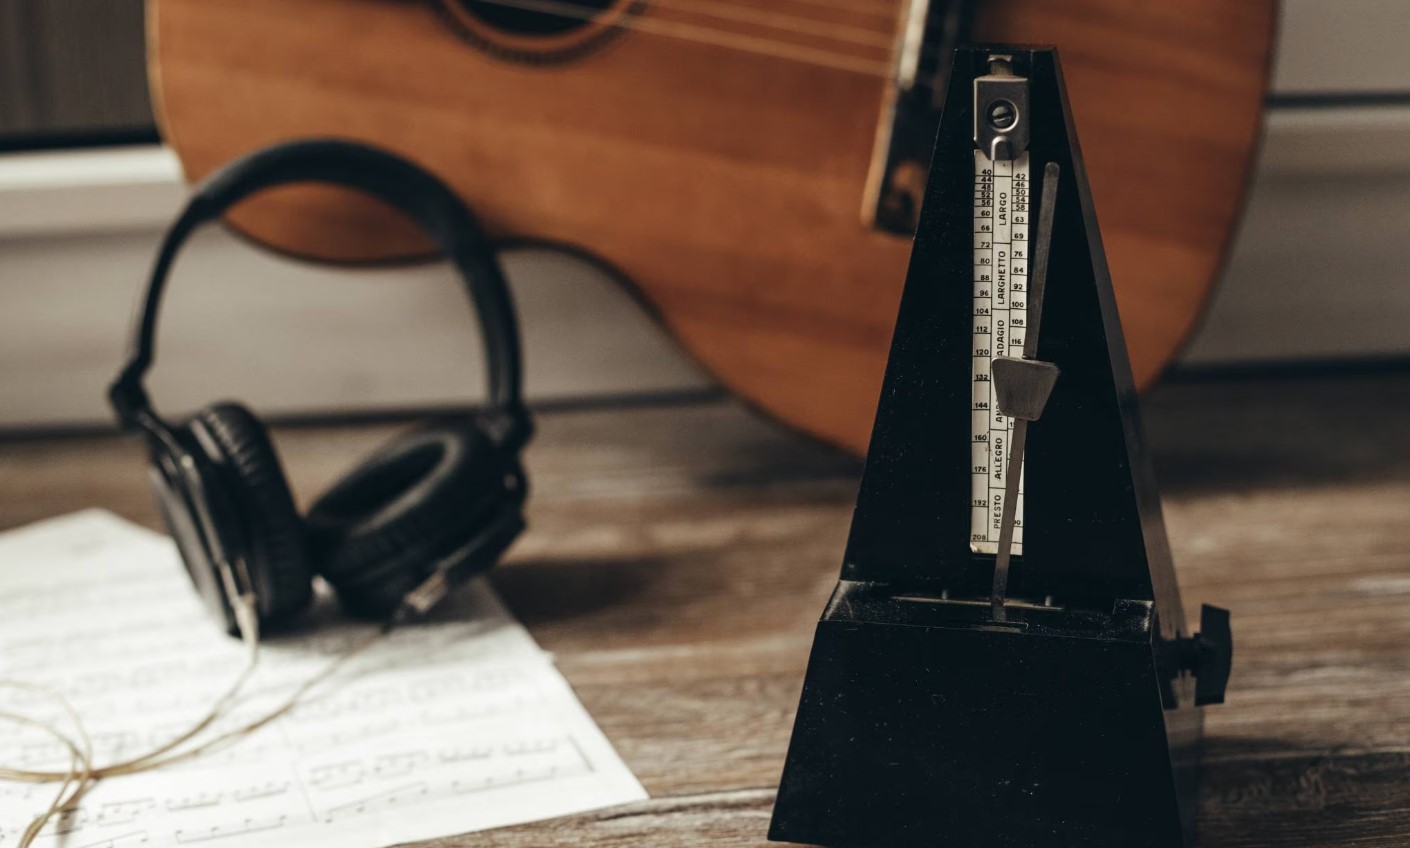
A metronome is a valuable tool for musicians, helping them maintain a consistent tempo while practicing and performing. Whether you’re a pianist, guitarist, drummer, or any other musician, having a well-functioning metronome is essential.
In this article, we will explore the process of winding up a metronome and guide you through each step to ensure smooth and accurate operation. We will also provide tips on setting the tempo and maintaining your metronome to ensure its longevity.
Before we delve into the specifics of winding up a metronome, let’s take a moment to understand the importance of tempo in music. Tempo refers to the speed at which a piece of music is played. It lays the foundation for rhythm and helps musicians stay in sync with each other.
Without a reliable metronome, it can be challenging to maintain a consistent tempo. That’s why it’s crucial to know how to properly wind up your metronome so that it functions optimally.
Now, let’s explore the components of a metronome to familiarize ourselves with its structure and understand how it works before we proceed with the winding process.
Understanding the Components of a Metronome
Before you begin using and winding up your metronome, it’s important to have a clear understanding of its various components. Familiarizing yourself with these parts will make it easier to follow the winding process and ensure that your metronome functions properly.
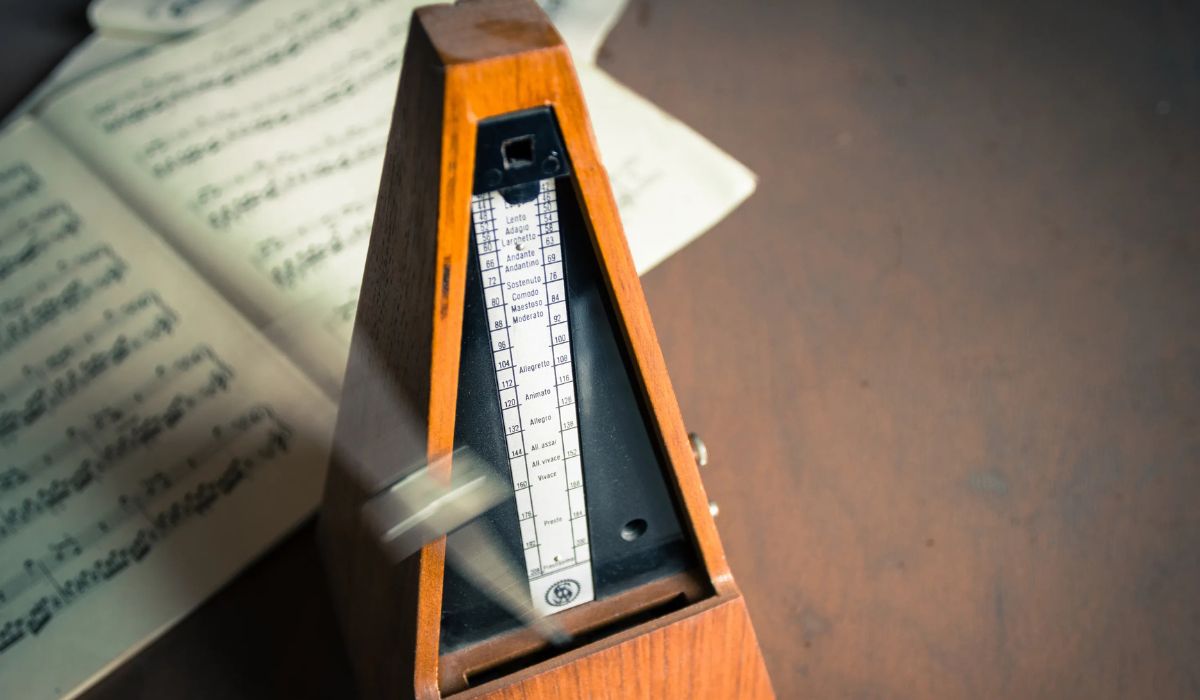
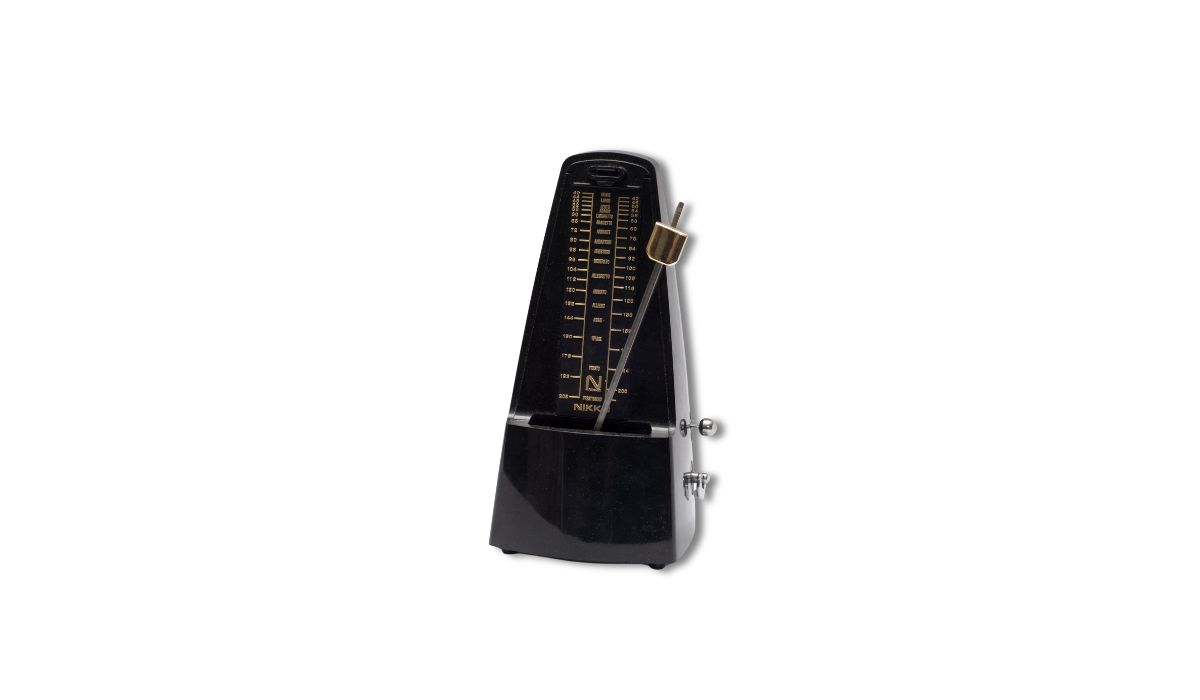
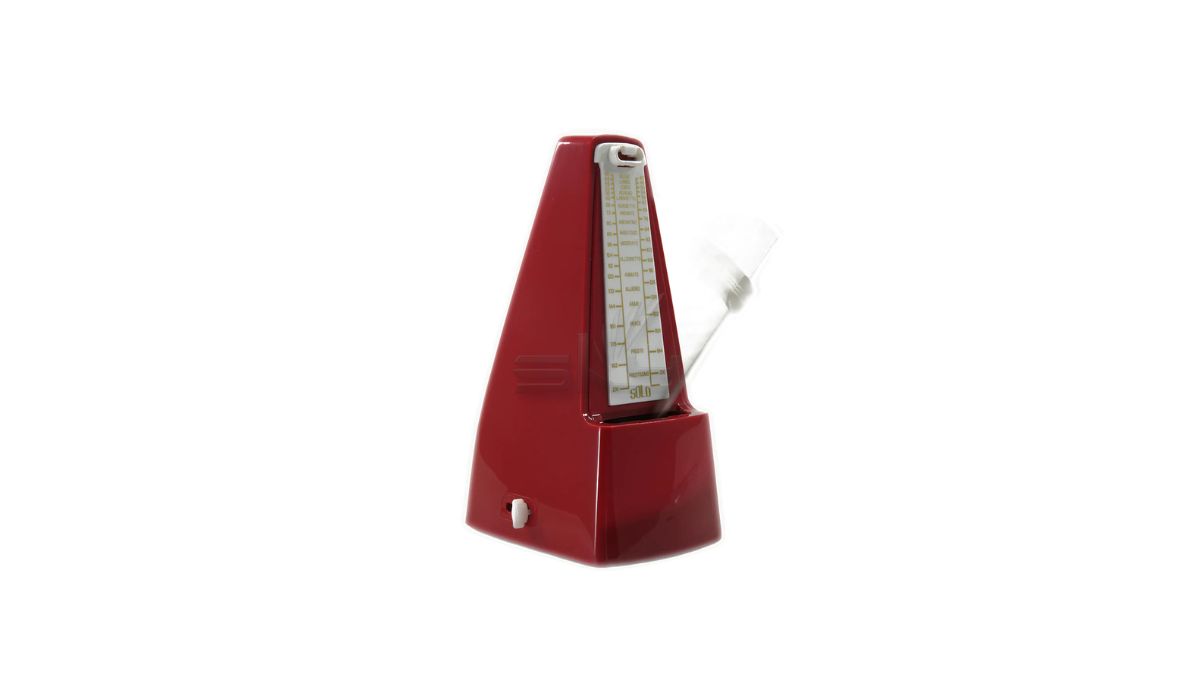
1. Pendulum: The pendulum is the swinging rod that serves as the main timekeeping element of the metronome. It swings back and forth, marking the beats of the music. The length of the pendulum determines the tempo, with a shorter length resulting in a faster tempo and a longer length resulting in a slower tempo.
2. Weight: The weight is attached to the bottom of the pendulum. It determines the length of the pendulum and can be moved up or down to adjust the tempo. Moving the weight higher up the pendulum will increase the tempo, while moving it lower will decrease the tempo.
3. Metronome Body: The body of the metronome holds all the internal mechanisms and is usually made of wood or plastic. It provides stability and support to the moving parts.
4. Wind-up Mechanism: The wind-up mechanism is a key component of the metronome that allows you to wind it up. It stores energy and releases it gradually to keep the pendulum swinging.
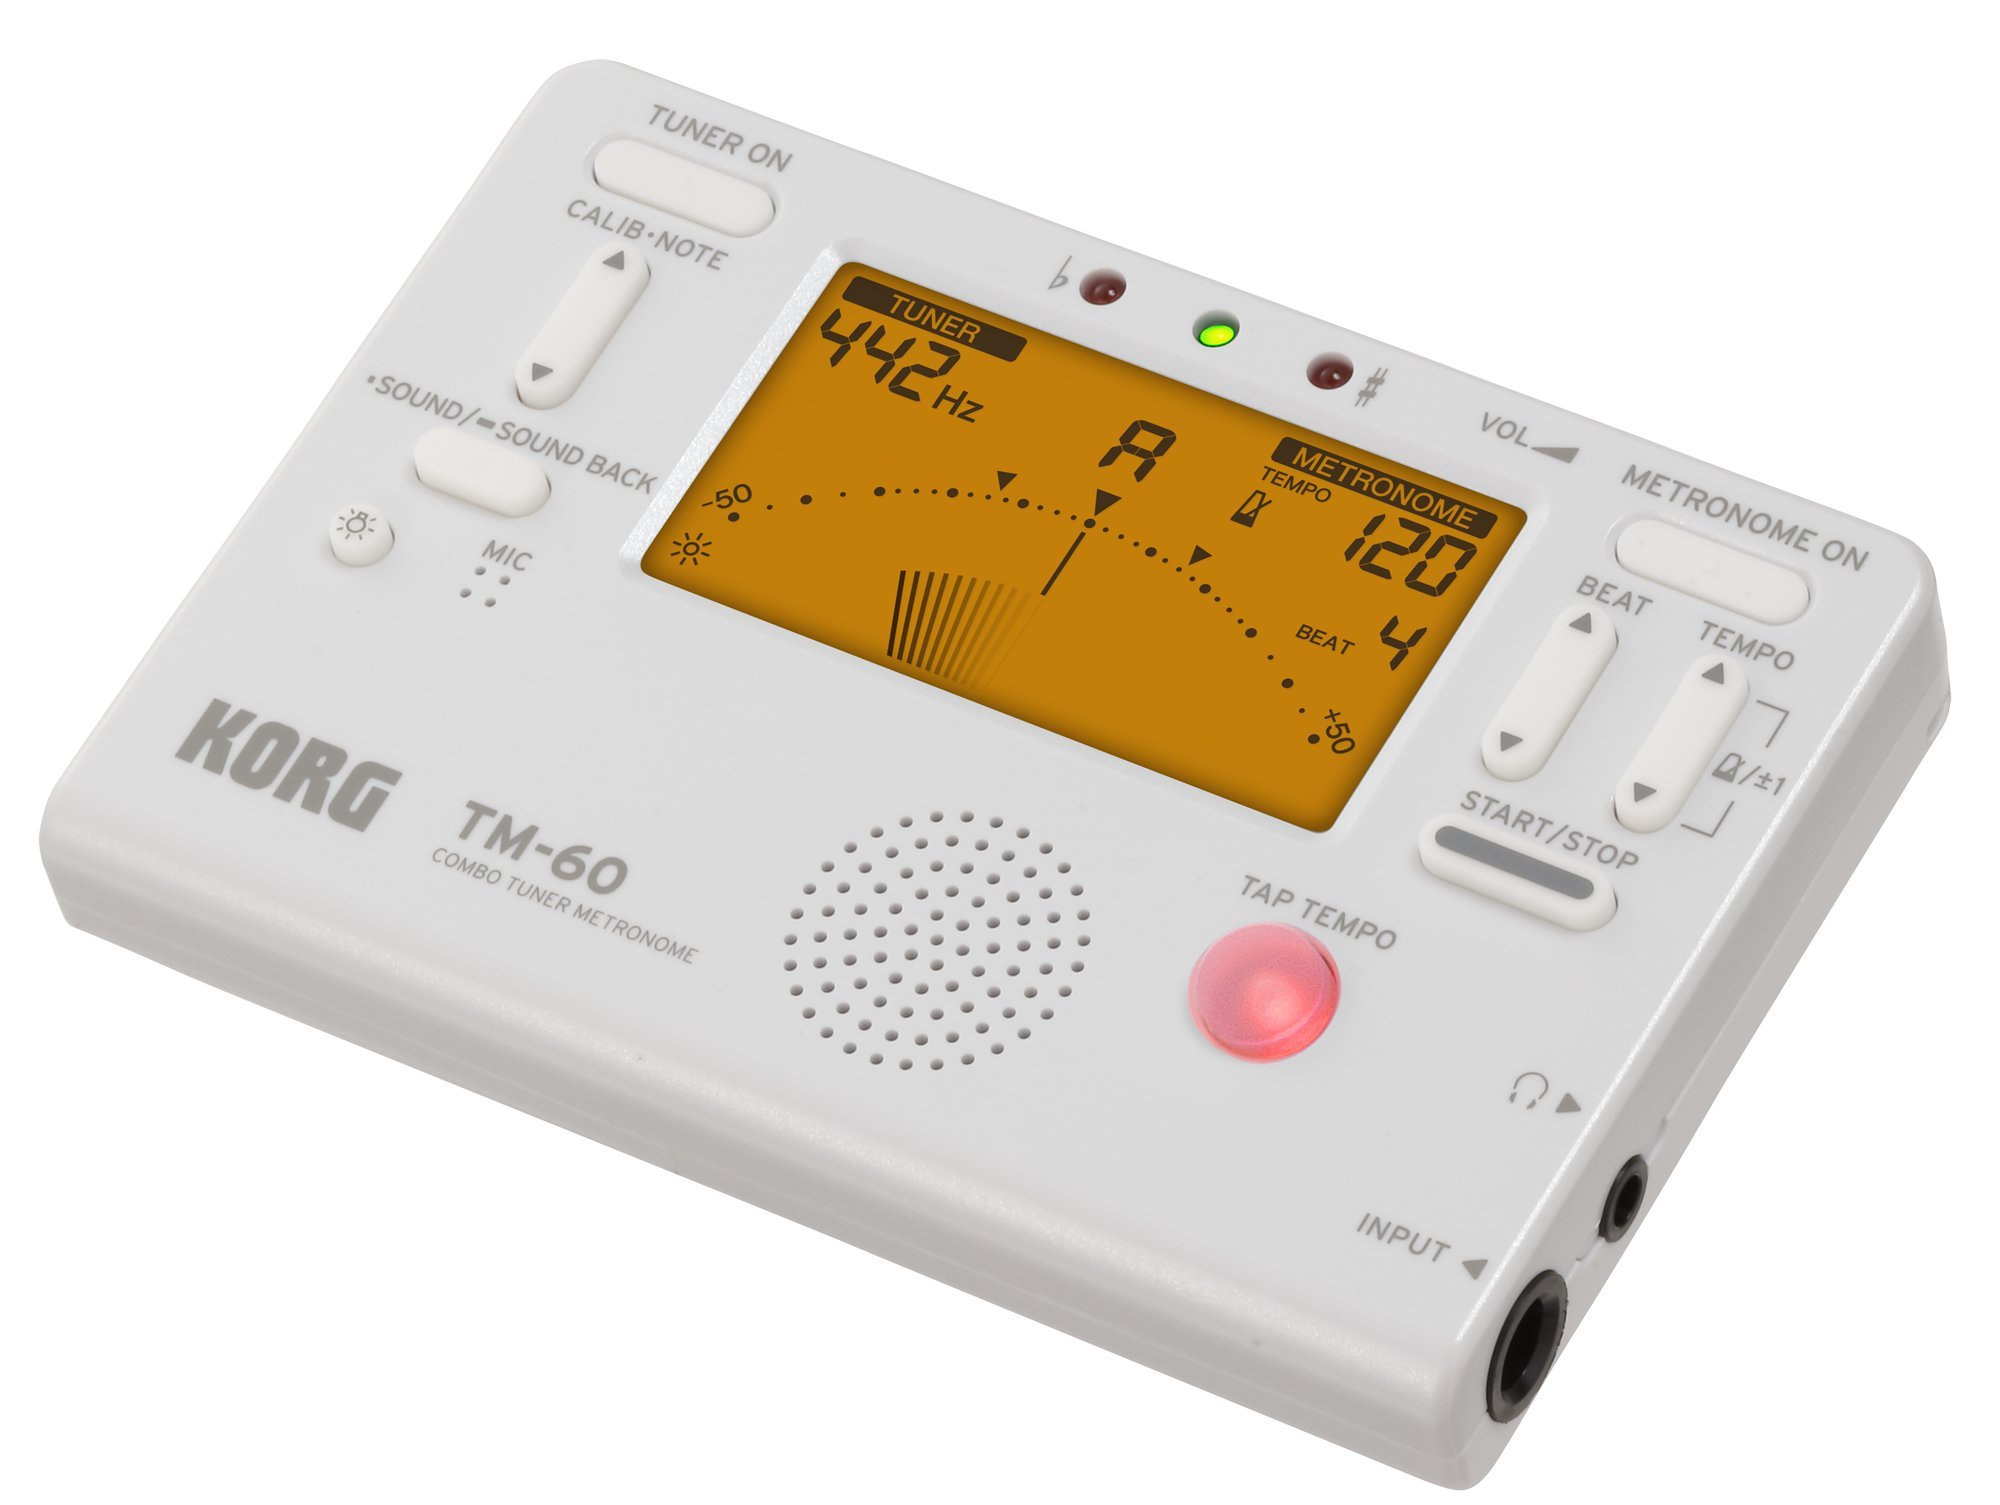
5. Tempo Markings: Some metronomes have tempo markings on their scale, indicating the beats per minute (BPM). These markings help you set the desired tempo accurately.
Now that we have a good understanding of the various components of a metronome, let’s move on to the next section to learn how to prepare your metronome for winding up.
Preparing the Metronome for Winding Up
Before you begin the process of winding up your metronome, there are a few essential steps to ensure that it is properly prepared. Taking these steps will help avoid any potential damage and ensure that the winding process goes smoothly.
1. Locate the key: Most metronomes come with a special key or handle that is used for winding. In some cases, the key might be built-in, while in others, it may be a separate accessory. Make sure you have the key readily available before proceeding.
2. Set the pendulum to the center: To prevent any interference while winding up the metronome, gently move the pendulum to the center position. This ensures that it is not swinging or obstructing the winding mechanism.
3. Secure the metronome: Place the metronome on a stable and flat surface. This prevents any accidental tipping or movement during the winding process.
4. Check for any obstructions: Before winding up the metronome, inspect the pendulum and its surrounding area for any obstructions. Ensure that there are no loose objects or debris that may hinder its movement or interfere with the winding process.
By following these simple steps, you are now ready to commence the winding process. Ensuring that the metronome is properly prepared and in good working condition will lead to a successful and hassle-free experience. Now, let’s move on to the next section to learn how to wind up your metronome properly.
Winding Up the Metronome Properly
Winding up a metronome is a straightforward process, but it requires careful attention to ensure that it is done correctly. Follow these steps to wind up your metronome properly:
1. Locate the winding mechanism: Look for the winding hole or slot on the side or back of your metronome. It is usually a small opening where the key or handle fits in.
2. Insert the key: Take the key and insert it into the winding hole. Make sure it is securely in place and aligned with the mechanism.
3. Begin winding: With a firm grip on the key, start turning it clockwise. Apply consistent and gentle pressure as you wind up the metronome. Avoid forcing or over-tightening to prevent any damage to the internal mechanisms.
4. Pay attention to resistance: As you wind up the metronome, you may feel some resistance. This is normal and indicates that the spring is being wound. Continue turning the key until you feel a slight increase in resistance, suggesting that the spring is fully wound.
5. Don’t overwind: It’s critical not to overwind the metronome. Once you feel the resistance mentioned above, stop winding immediately. Overwinding can strain the internal mechanisms and cause dysfunction. It is better to have a metronome that is slightly underwound than one that is overwound.
6. Remove the key: After winding, gently remove the key from the winding hole. Store it in a safe place where it won’t get lost or damaged.
Congratulations! You have successfully wound up your metronome. The winding process stores potential energy in the spring, which will be gradually released as you set the tempo and start the metronome. In the next section, we will learn how to set the tempo on your metronome.
Setting the Tempo on the Metronome
Once you’ve wound up your metronome, it’s time to set the desired tempo. The tempo is measured in beats per minute (BPM) and determines the speed at which the metronome will tick. Here are the steps to set the tempo on your metronome:
1. Consult the music sheet or desired tempo: If you are practicing a specific piece of music or following a sheet music, it usually indicates the recommended tempo. Look for the BPM marking or indications such as “Adagio,” “Moderato,” or “Allegro” to guide you in setting the tempo accordingly.
2. Locate the tempo scale: Many metronomes have a scale with numerical markings indicating the BPM range. Find the appropriate BPM range on the scale that aligns with your desired tempo.
3. Move the weight: If your metronome has a weight mechanism, adjust its position to set the desired tempo. Moving the weight up will increase the tempo, while moving it down will decrease it. Experiment with different positions until you find the desired tempo. If your metronome doesn’t have a weight mechanism, skip this step.
4. Close the metronome lid (if applicable): Some metronomes have a hinged lid that can be closed to create a muffled sound, making it ideal for silent practice. If you prefer the muffled sound, close the lid gently after setting the tempo.
5. Start the metronome: If your metronome has a start/stop button or switch, press it to start the metronome. If it doesn’t have a button, gently release the pendulum by giving it a slight push to start the ticking motion.
6. Adjust if necessary: Listen to the ticking sound and observe the swinging motion of the pendulum. If the tempo doesn’t match your desired speed, make slight adjustments to the weight or try a different BPM marking on the scale until you achieve the desired tempo.
By following these steps, you can easily set the tempo on your metronome and ensure that it accurately reflects the desired speed of the music you are practicing. In the next section, we will discuss essential tips for maintaining and caring for your metronome to prolong its lifespan.
Maintaining and Caring for Your Metronome
Proper maintenance and care are essential to ensure that your metronome remains in optimal condition and functions reliably. Here are some tips to help you maintain and care for your metronome:
1. Keep it in a safe and dust-free environment: Store your metronome in a dry and clean space, away from direct sunlight, extreme temperatures, and excessive humidity. Dust can accumulate on the mechanism and affect its performance, so regularly wipe it with a soft cloth.
2. Avoid dropping or mishandling: Handle your metronome with care and avoid dropping it or subjecting it to unnecessary impact. The intricate mechanisms inside can be delicate and easily damaged by rough handling.
3. Regularly lubricate the mechanism: Over time, the internal mechanism of your metronome may benefit from a bit of lubrication. Consult the manufacturer’s instructions or seek advice from a professional technician to determine the appropriate type and method of lubrication for your specific metronome model.
4. Check and replace the spring (if necessary): The spring is one of the critical components of a metronome, and over time it may lose its elasticity or get damaged. If you notice a significant decrease in the metronome’s accuracy or power reserve, it may be time to replace the spring. Consult a professional technician for spring replacement.
5. Avoid excessive winding: As mentioned earlier, overwinding your metronome can cause damage to the internal mechanisms. Avoid winding it too tightly or forcefully. If you encounter resistance while winding, stop immediately to prevent any potential damage.
6. Periodically test the accuracy: To ensure that your metronome is operating accurately, periodically test it against an external reference, such as a digital metronome or a reliable online metronome. Check if the beats produced by your metronome align with the desired tempo. If any inconsistencies arise, consider having your metronome inspected by a professional technician.
By following these maintenance and care tips, you can extend the lifespan of your metronome and ensure its consistent and accurate performance for years to come.
Now that we’ve covered the essential maintenance guidelines, let’s conclude our article on winding up a metronome.
Conclusion
A metronome is a valuable tool for musicians of all levels, helping them maintain a consistent tempo and improve their sense of rhythm. By properly winding up your metronome, you ensure its optimal functionality and accuracy, allowing you to practice with precision and perform with confidence.
In this article, we explored the process of winding up a metronome and discussed each step in detail. From understanding the components of a metronome to setting the tempo and maintaining it, we covered all the essential aspects of caring for this valuable musical device.
Remember to prepare your metronome by locating the winding mechanism and securing it on a stable surface. Wind up the metronome using the designated key, paying attention to the resistance and avoiding overwinding. Set the desired tempo by adjusting the weight or referring to the tempo scale, and start practicing to the rhythm set by your metronome.
Additionally, we emphasized the importance of maintaining and caring for your metronome to ensure its longevity. Keep it in a safe and clean environment, avoid mishandling, periodically lubricate the mechanism, and check for any potential issues that may require professional attention.
By following these guidelines, you can enjoy the consistent and reliable performance of your metronome for years to come, enhancing your musical practice and performances.
So, next time you sit down to practice, remember the importance of a well-wound metronome to keep you on tempo and in sync. Happy practicing!