Home>Production & Technology>MIDI>How To Set Sequence To Turn Off Effects With MIDI File On Kronos

MIDI
How To Set Sequence To Turn Off Effects With MIDI File On Kronos
Modified: February 22, 2024
Learn how to use MIDI files to set sequences and turn off effects on Kronos. Follow our step-by-step guide to optimize your music production workflow.
(Many of the links in this article redirect to a specific reviewed product. Your purchase of these products through affiliate links helps to generate commission for AudioLover.com, at no extra cost. Learn more)
Table of Contents
Introduction
MIDI, short for Musical Instrument Digital Interface, has revolutionized the way musicians create, record, and perform music. It serves as a universal language that allows electronic musical instruments, computers, and other devices to communicate with each other. One of the most powerful features of MIDI is its ability to control various parameters of musical instruments, including turning on and off effects within a performance or recording.
In this article, we will delve into the fascinating world of MIDI and explore how to set sequences to turn off effects using a MIDI file on the Korg Kronos, a renowned and versatile keyboard workstation. By understanding the intricacies of MIDI control and leveraging the capabilities of the Kronos, musicians and producers can elevate their musical productions to new heights.
The process of setting sequences to turn off effects with a MIDI file on the Kronos involves several steps, each of which plays a crucial role in achieving the desired outcome. From importing the MIDI file to assigning MIDI channels to effects and ultimately saving and testing the setup, we will guide you through the entire process, providing valuable insights and practical tips along the way.
Whether you are a seasoned musician, a budding producer, or simply an enthusiast eager to explore the endless possibilities of MIDI and the Kronos, this article is designed to equip you with the knowledge and skills to harness the full potential of these powerful tools. So, let's embark on this exciting journey and unlock the magic of MIDI-controlled effects on the Korg Kronos!
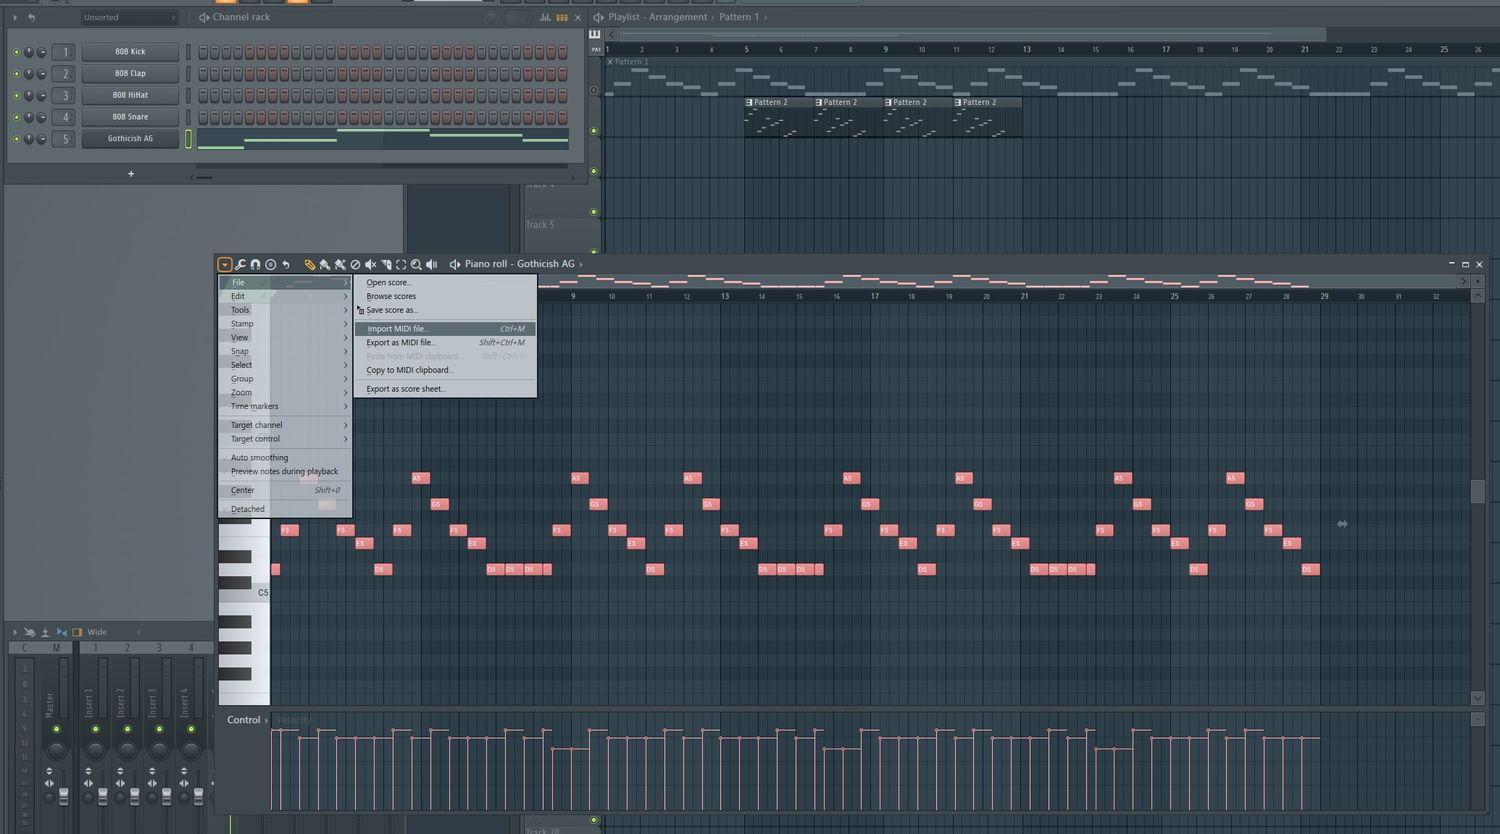
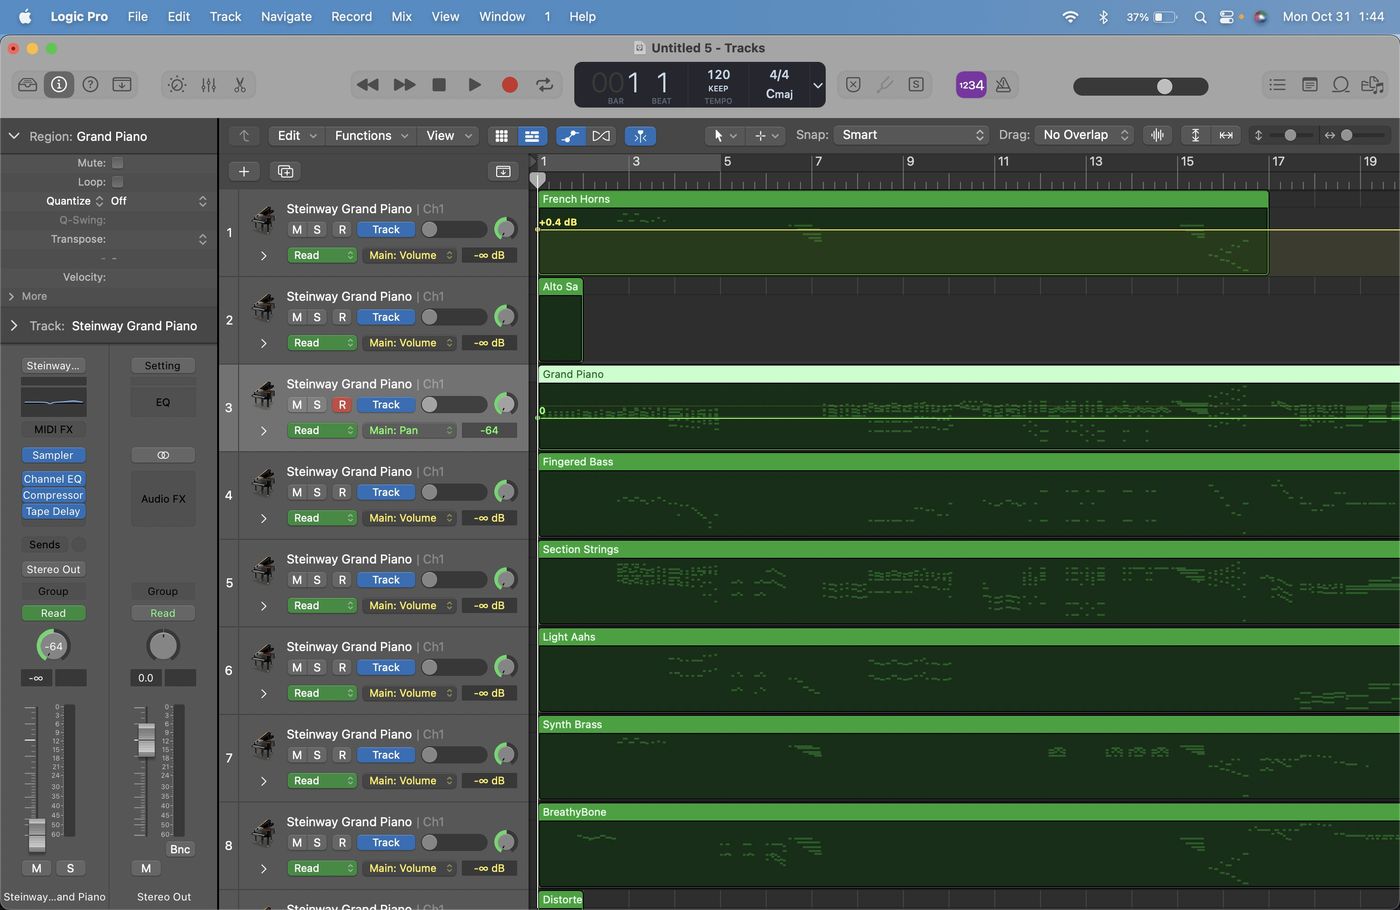
Step 1: Importing the MIDI File
Importing a MIDI file into the Korg Kronos is the initial step in the process of setting sequences to turn off effects. The MIDI file serves as the blueprint for the musical arrangement and contains valuable data that will be utilized to control the effects within the Kronos. Here's a detailed breakdown of the process:
-
Accessing the MIDI File Import Function: To begin, power on the Korg Kronos and navigate to the sequencer section. Locate the MIDI file import function, which is typically found within the menu options related to file management or MIDI operations.
-
Connecting External Devices: If the MIDI file is stored on an external device such as a USB flash drive or an SD card, ensure that the device is properly connected to the Kronos. This may involve inserting the USB drive into the designated port or slot on the keyboard.
-
Selecting the MIDI File: Once the external device is connected, access the file selection interface within the MIDI file import function. Navigate through the directory structure of the external device to locate and select the desired MIDI file for import.
-
Confirming Import Parameters: Before initiating the import process, the Kronos may prompt the user to confirm various parameters such as tempo mapping, track assignments, and other relevant settings. Carefully review and adjust these parameters as needed to ensure the MIDI file is imported accurately.
-
Initiating the Import: With the MIDI file selected and the import parameters configured, initiate the import process. The Kronos will read the MIDI data from the selected file and integrate it into the sequencer environment, making the musical arrangement accessible for further manipulation and control.
By successfully importing the MIDI file into the Korg Kronos, users lay the foundation for the subsequent steps in the process of setting sequences to turn off effects. The imported MIDI data will serve as the framework upon which MIDI-controlled effects can be precisely synchronized and orchestrated, showcasing the immense creative potential of the Kronos as a versatile and powerful musical instrument.
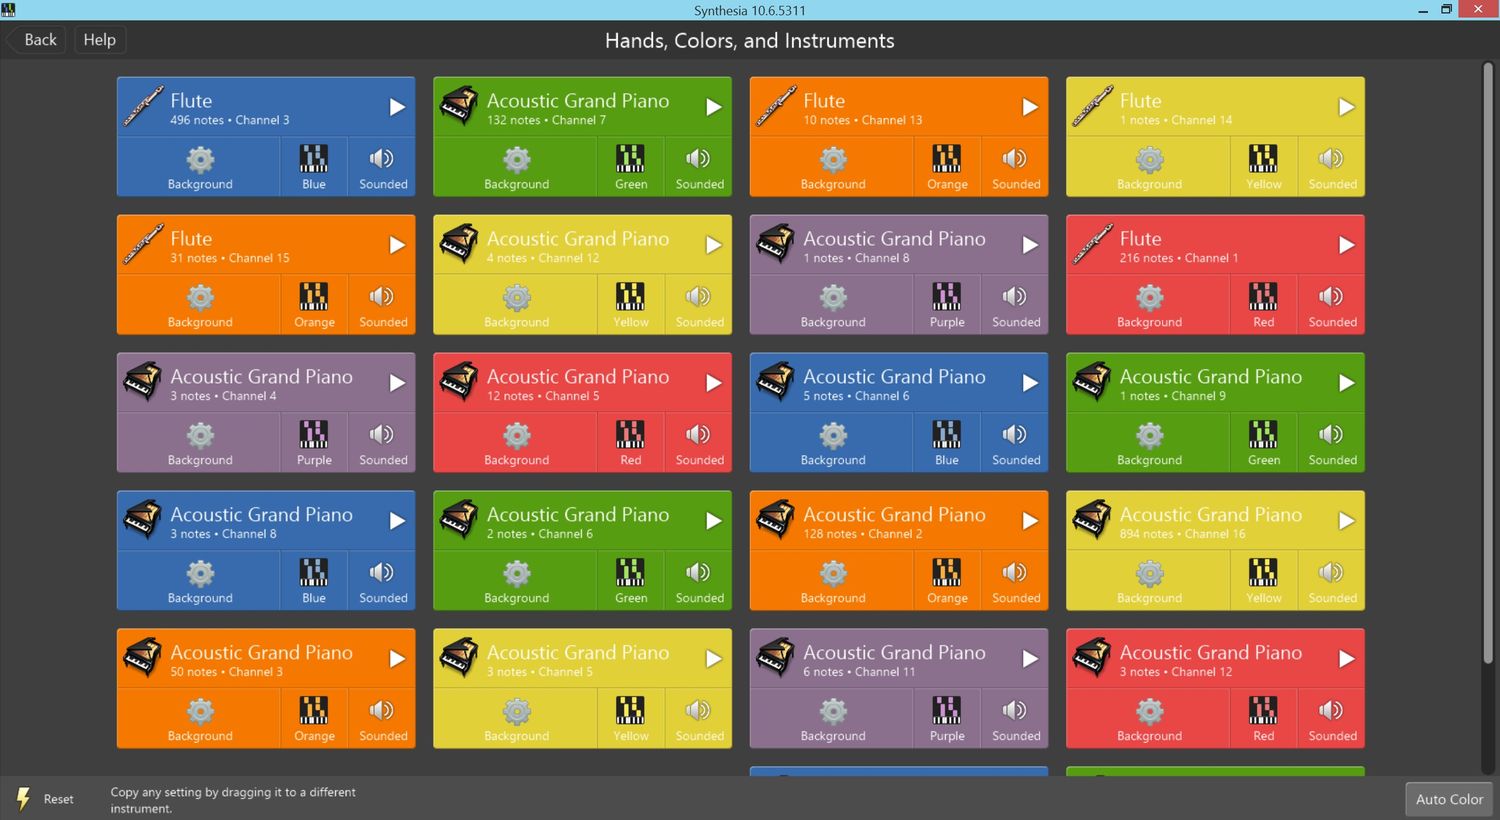
Step 2: Assigning MIDI Channels to Effects
Assigning MIDI channels to effects is a pivotal step in the process of configuring MIDI-controlled effects on the Korg Kronos. By establishing the correspondence between specific MIDI channels and the effects within the Kronos, users gain precise control over when and how these effects are activated or deactivated during playback or performance. Here's a comprehensive guide to navigating through this essential step:
-
Accessing the Effect Routing Interface: To begin, navigate to the effect routing section within the Kronos interface. This is where users can define the routing of MIDI signals to the various effects modules, ensuring that each effect is associated with a specific MIDI channel for control.
-
Selecting the Effects for MIDI Control: Within the effect routing interface, identify the effects that are intended to be controlled via MIDI. This may include a wide range of effects such as reverb, delay, modulation, and more, each contributing to the sonic landscape of the musical performance.
-
Assigning MIDI Channels: For each selected effect, assign a distinct MIDI channel that will be responsible for triggering the activation or deactivation of the effect. This allocation of MIDI channels creates a clear and organized framework for managing the effects via MIDI commands.
-
Configuring MIDI Control Parameters: Once the MIDI channels are assigned to the respective effects, users can delve into the specific MIDI control parameters for each effect. This may involve defining MIDI control change (CC) messages, note messages, or other MIDI data that will be interpreted by the Kronos to manipulate the corresponding effects.
-
Testing MIDI Control Signals: After configuring the MIDI channels and control parameters, it's essential to test the MIDI control signals to ensure that they accurately influence the assigned effects. This may involve sending MIDI commands from an external controller or sequencer to observe the real-time impact on the effects within the Kronos.
By meticulously assigning MIDI channels to effects and fine-tuning the associated control parameters, users empower themselves with the ability to dynamically manipulate the sonic characteristics of their musical compositions. This granular control over effects via MIDI adds a layer of expressiveness and creativity to performances, enabling musicians to craft immersive and captivating musical experiences. With this foundational step completed, the stage is set for the subsequent phase of setting sequences to turn off effects, further amplifying the potential for artistic expression and sonic innovation on the Korg Kronos.
Step 3: Setting the Sequence to Turn Off Effects
Setting the sequence to turn off effects represents a pivotal phase in the process of leveraging MIDI control to orchestrate the sonic dynamics of a musical performance on the Korg Kronos. This step involves integrating the imported MIDI data with the assigned MIDI channels and control parameters to precisely dictate when specific effects are deactivated within the musical arrangement. Here's a detailed exploration of this critical phase:
-
Sequencer Navigation: Begin by accessing the sequencer interface on the Korg Kronos, where the imported MIDI data resides. Navigate to the specific section of the sequence where the targeted effects are intended to be turned off. This may involve identifying key musical passages, transitions, or sections where the absence of certain effects enhances the overall sonic impact.
-
MIDI Event Insertion: Within the sequencer environment, locate the MIDI event insertion functionality. This feature allows users to insert MIDI commands at precise points in the sequence, effectively serving as the triggers for turning off designated effects. By strategically placing these MIDI events, users exert fine-grained control over the temporal activation and deactivation of effects within the musical composition.
-
Mapping MIDI Commands: With the MIDI event insertion interface active, map the appropriate MIDI commands to the specific MIDI channels and control parameters associated with the effects slated for deactivation. This mapping process establishes a direct correlation between the inserted MIDI events and the targeted effects, ensuring that the desired deactivation signals are accurately communicated to the Kronos.
-
Fine-Tuning Timing and Transitions: As the MIDI commands are integrated into the sequence, focus on fine-tuning the timing and transitions associated with the turning off of effects. This involves meticulous adjustments to the placement of MIDI events, aligning them with musical cues, beats, or phrases to achieve seamless and musically coherent effect deactivation.
-
Real-Time Monitoring and Adjustment: After mapping the MIDI commands and refining their temporal placement, engage in real-time monitoring and adjustment of the effect deactivation process. Playback the sequence while observing the impact of the inserted MIDI events, making any necessary refinements to ensure that the effects are turned off at the precise moments intended by the musical arrangement.
By methodically setting the sequence to turn off effects, users harness the full potential of MIDI control to sculpt the sonic landscape of their musical compositions. This level of precision and artistry in effect manipulation elevates the expressive capabilities of the Korg Kronos, enabling musicians and producers to craft immersive and dynamically engaging musical experiences. With this crucial step accomplished, the stage is set for the final phase of saving and testing the setup, culminating in the realization of a meticulously orchestrated MIDI-controlled effects system on the Korg Kronos.
Step 4: Saving and Testing the Setup
Saving and testing the setup represents the culminating phase in the process of configuring MIDI-controlled effects on the Korg Kronos. This pivotal step encompasses the preservation of the meticulously crafted MIDI control parameters and the validation of the entire setup through comprehensive testing. Let's delve into the intricacies of this crucial phase:
-
Preservation of MIDI Control Settings: Once the MIDI channels, control parameters, and effect deactivation sequences are meticulously configured, it is imperative to save these settings within the Kronos. This involves accessing the system or configuration menu, where users can store the MIDI control setups as presets or user-defined configurations. By saving the setup, users safeguard their intricate MIDI control configurations, ensuring that the painstakingly crafted parameters are preserved for future use without the need for reconfiguration.
-
Testing MIDI-Controlled Effects: With the setup saved, the next critical step involves comprehensive testing of the MIDI-controlled effects system. This testing phase encompasses playback of the sequenced musical arrangement while closely monitoring the behavior of the MIDI-controlled effects. By observing the real-time impact of the configured MIDI commands on the designated effects, users can validate the accuracy and musical coherence of the effect deactivation sequences. This testing process serves as a vital quality assurance measure, affirming that the MIDI-controlled effects operate in harmony with the musical arrangement, enhancing its sonic dynamics without disrupting the artistic integrity.
-
Refinement and Iteration: During the testing phase, users may identify areas for refinement or further iteration. This could involve fine-tuning the timing of effect deactivation, adjusting the intensity of MIDI control parameters, or optimizing the overall integration of MIDI-controlled effects within the musical composition. By iteratively refining the setup based on the insights gained from testing, users elevate the precision and effectiveness of MIDI control, ensuring that the configured effects seamlessly align with the artistic vision of the musical performance.
-
Documentation and Backup: Following the successful testing of the MIDI-controlled effects setup, it is prudent to document the intricacies of the configuration for future reference. This documentation may include detailed descriptions of the MIDI control parameters, effect routing assignments, and specific nuances of the effect deactivation sequences. Additionally, creating backups of the saved setup ensures that the meticulously crafted MIDI control configurations remain secure and accessible, mitigating the risk of potential data loss or inadvertent alterations.
By diligently saving and testing the setup, users solidify the foundation of MIDI-controlled effects integration on the Korg Kronos, affirming the seamless orchestration of sonic dynamics within their musical compositions. This comprehensive approach to preserving, validating, and refining the MIDI control parameters underscores the commitment to harnessing the full potential of MIDI and the Kronos, empowering users to craft captivating and dynamically expressive musical experiences.