Home>Devices & Equipment>Earbuds>How To Change Earbuds On AirPods Pro

Earbuds
How To Change Earbuds On AirPods Pro
Modified: January 22, 2024
Learn how to easily change the earbuds on your AirPods Pro and enjoy a comfortable and customized fit. Upgrade your audio experience with new earbuds today!
(Many of the links in this article redirect to a specific reviewed product. Your purchase of these products through affiliate links helps to generate commission for AudioLover.com, at no extra cost. Learn more)
Table of Contents
Introduction
Welcome to this comprehensive guide on how to change the earbuds on your AirPods Pro! Whether you are looking to replace your old earbuds or simply want to try out a different style or size, this article will provide you with step-by-step instructions to help you easily switch out the earbuds on your AirPods Pro.
The AirPods Pro, known for their superior sound quality and comfortable fit, have become a popular choice among music lovers and tech enthusiasts alike. However, over time, the earbuds may wear out or may not fit perfectly in everyone’s ears. That’s where the option to change earbuds comes in handy, allowing you to customize your listening experience.
Before we dive into the steps, it’s important to note that changing the earbuds on your AirPods Pro requires a bit of finesse and attention to detail. However, with the right tools and a careful approach, you can easily replace the earbuds and enjoy a comfortable and personalized fit.
In the following sections, we will guide you through the process of changing the earbuds on your AirPods Pro, from gathering the necessary tools to testing the new earbuds. So, if you’re ready to upgrade your listening experience, let’s get started!
Step 1: Gather necessary tools
Before you begin changing the earbuds on your AirPods Pro, it’s important to gather the necessary tools. Having these tools ready will ensure a smooth and hassle-free earbud replacement process. Here are the tools you will need:
- Replacement earbuds: Start by getting the new earbuds that you want to install on your AirPods Pro. These can be purchased from the official Apple store or from third-party vendors who offer compatible earbuds. Make sure to choose earbuds that are specifically designed for AirPods Pro, as they may not be interchangeable with other AirPods models.
- Clean cloth or microfiber cloth: It’s important to have a clean cloth or microfiber cloth to gently clean the AirPods Pro and remove any dirt or debris before removing the old earbuds. This will ensure that the earbuds fit properly and maintain good sound quality.
- Small pry tool: To safely remove the old earbuds, you may need a small pry tool such as a plastic or nylon spudger. This tool can help you carefully detach the earbuds without causing any damage to the AirPods Pro or the earbud connectors.
- Tweezers: Tweezers can be handy for handling small parts and connectors during the earbud replacement process. They can help you position the new earbuds correctly and ensure a secure fit.
- Cleaning solution: If you notice any build-up or residue on the earbuds connectors or inside the AirPods Pro, you can use a cleaning solution specifically designed for electronics or a mixture of isopropyl alcohol and distilled water. Make sure to follow the instructions and guidelines provided with the cleaning solution.
- Safety glasses (optional): While not necessary, wearing safety glasses can protect your eyes from any small debris or accidental sprays of cleaning solution during the earbud replacement process. It’s always better to err on the side of caution when working with small electronic devices.
Once you have gathered all these tools, you are ready to move on to the next step of removing the old earbuds from your AirPods Pro.
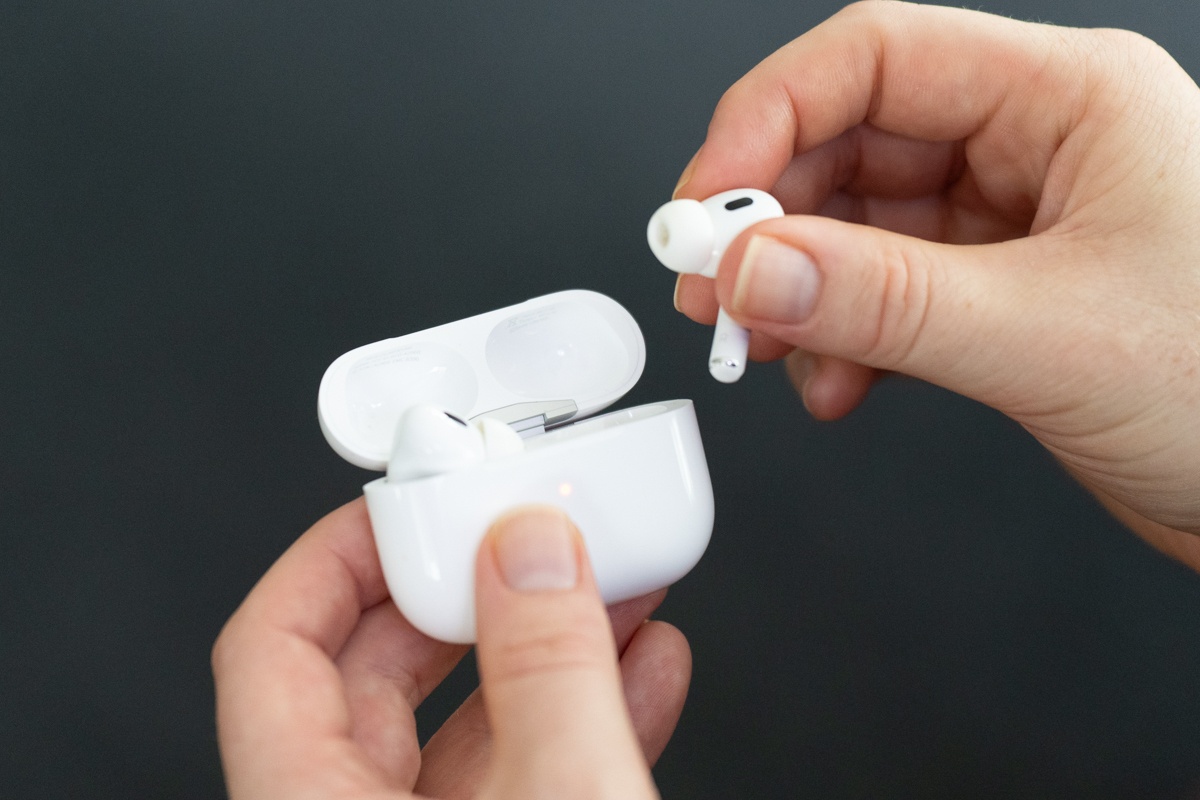
Step 2: Remove the current earbuds
Now that you have gathered all the necessary tools, it’s time to remove the current earbuds from your AirPods Pro. This step requires careful handling to avoid any damage to the AirPods or the earbud connectors. Follow these steps to remove the old earbuds:
- Ensure the AirPods Pro are powered off: Before you begin, make sure your AirPods Pro are turned off. This will prevent any accidental sounds or interruptions while you are working on them.
- Clean the AirPods Pro: Take the clean cloth or microfiber cloth and gently wipe the AirPods Pro, focusing on the areas around the earbud connectors. This will ensure there is no debris or dirt that could interfere with the earbud removal process.
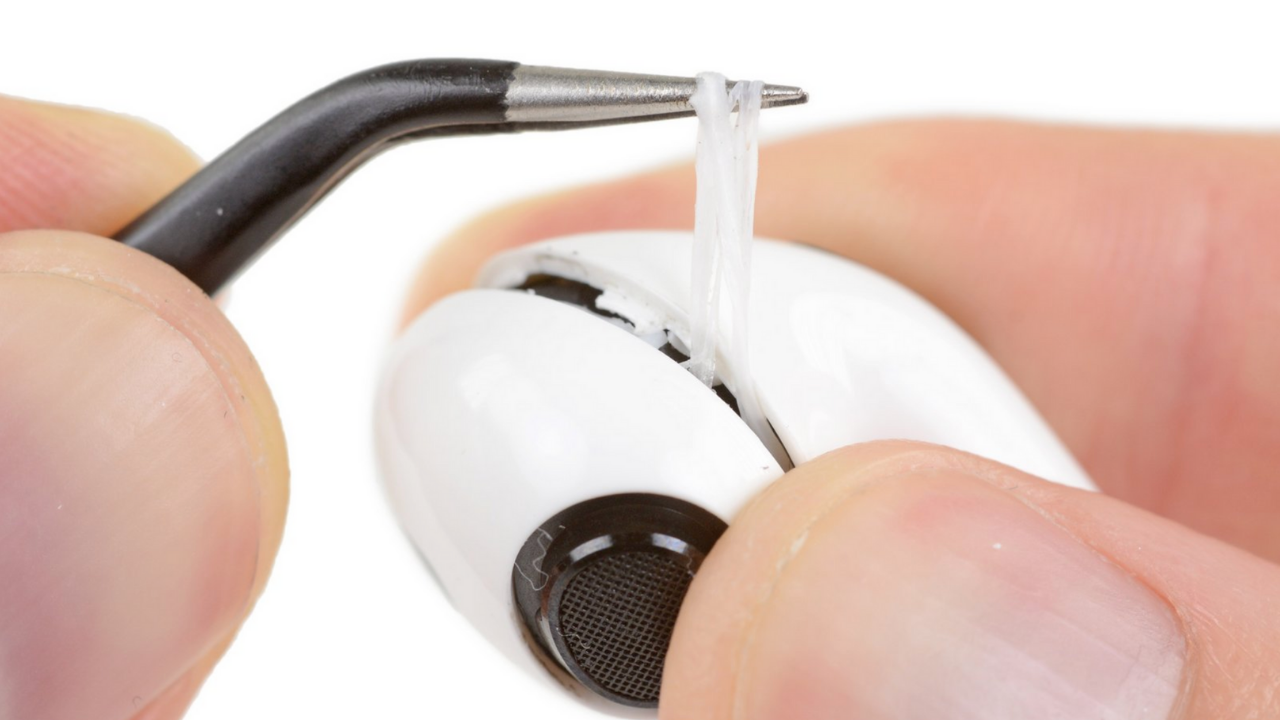
- Identify the release mechanism: Look closely at the earbud connectors on your AirPods Pro. You will notice a small release mechanism on each connector. This mechanism is used to secure the earbuds in place.
- Use the pry tool: Carefully insert the small pry tool, such as a plastic or nylon spudger, into the gap between the earbud connector and the AirPods Pro. Gently apply pressure and rotate the tool to release the earbud connector from its locked position. Repeat this step for both earbuds.
- Remove the earbuds: Once the earbud connectors are released, you can gently pull out the old earbuds from the AirPods Pro. Be cautious not to use excessive force, as this can damage the connectors.
- Inspect for damage: Take a moment to inspect the earbud connectors and the AirPods Pro for any signs of damage. If you notice any issues, such as bent or broken connectors, it may be best to consult a professional or contact Apple support for further assistance.
With the old earbuds removed, you’re ready to move on to the next step: preparing the replacement earbuds.
Step 3: Prepare the replacement earbuds
Now that you have successfully removed the old earbuds from your AirPods Pro, it’s time to prepare the replacement earbuds. This step involves ensuring that the new earbuds are clean and properly positioned before installing them on your AirPods Pro. Here’s how to prepare the replacement earbuds:
- Inspect the replacement earbuds: Carefully examine the new earbuds to ensure that they are in good condition and free from any defects or damage. Take note of the size and style of the earbuds to ensure a proper fit.
- Clean the replacement earbuds: If the new earbuds appear dirty or have any noticeable residue, clean them using a clean cloth or microfiber cloth. It’s important to start with clean earbuds to maintain good sound quality and to prevent any debris from affecting the fit and performance.
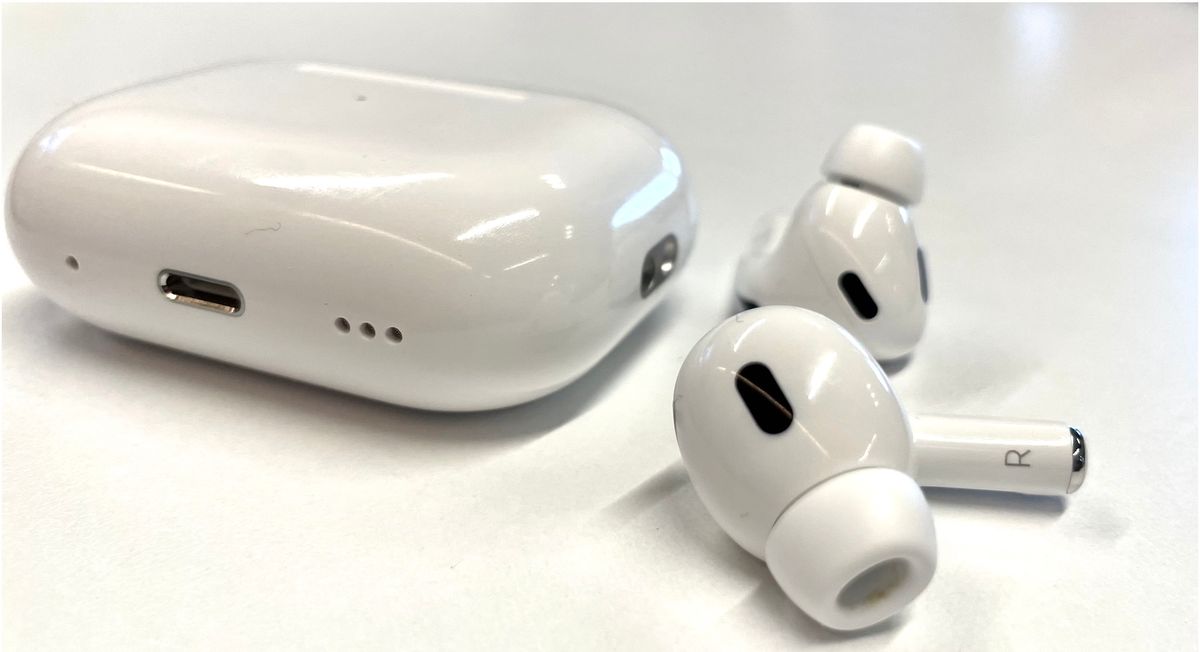
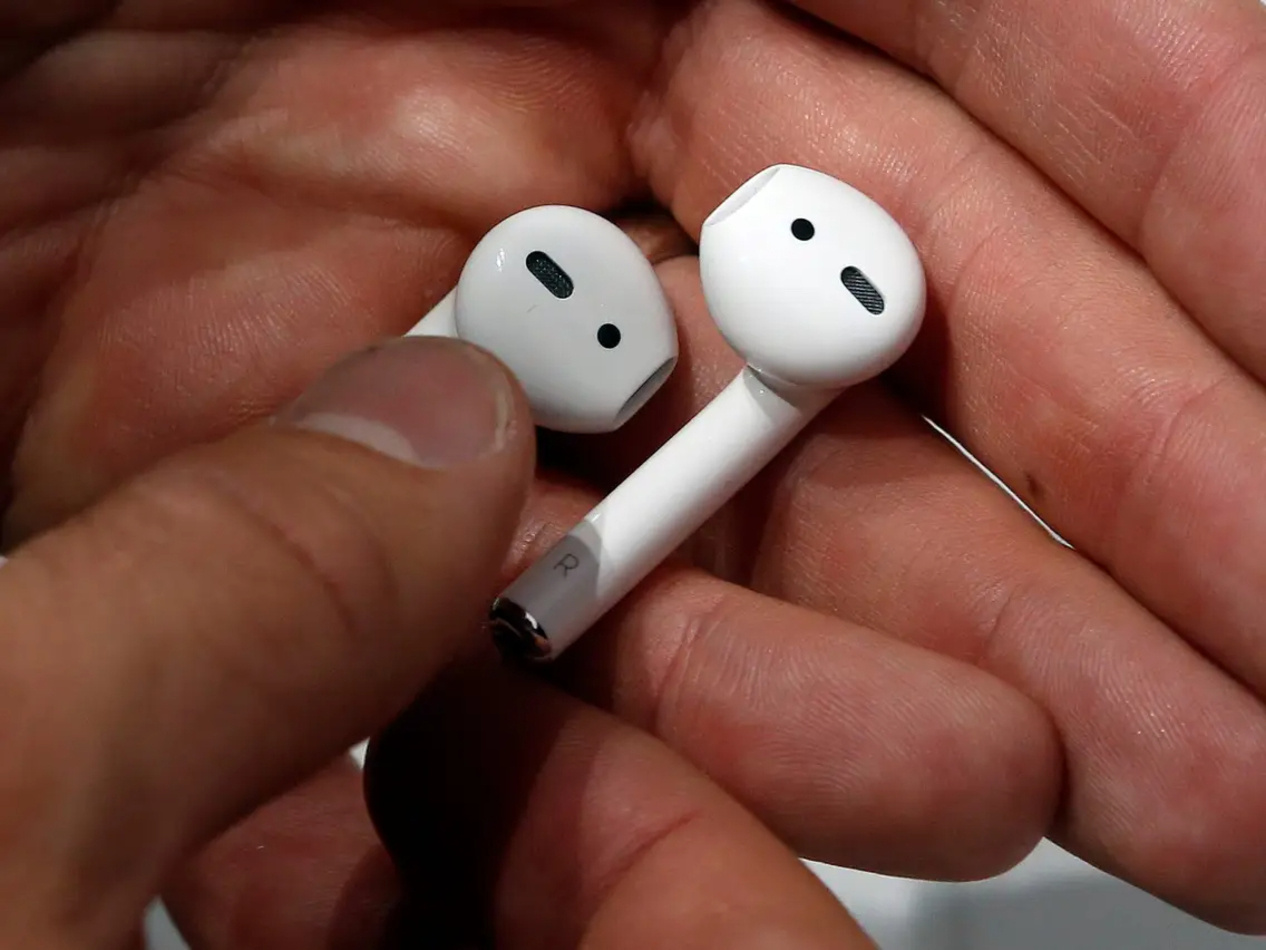
- Position the replacement earbuds: Take one of the replacement earbuds and examine its shape and size. Most replacement earbuds are labeled with either an ‘L’ or an ‘R’ to indicate which ear they should be used for. Ensure that you have the correct earbud for each side (left and right).
- Tips for a snug fit: If you find that the replacement earbuds are not fitting comfortably or securely in your ears, you can try using different eartips or sleeves. Many AirPods Pro come with multiple options for eartips, including small, medium, and large sizes. Experiment with different sizes to find the best fit for your ears.
- Sanitize the replacement earbuds (optional): If you prefer, you can sanitize the replacement earbuds before installing them on your AirPods Pro. You can use sanitizing wipes or a cleaning solution specifically designed for electronics. Be sure to follow the manufacturer’s instructions and guidelines for sanitizing.
Once you have inspected, cleaned, and prepared the replacement earbuds, it’s time to move on to the next step: installing the new earbuds on your AirPods Pro.
Step 4: Install the new earbuds
With the old earbuds removed and the replacement earbuds prepared, it’s time to install the new earbuds on your AirPods Pro. Follow these steps to ensure a proper and secure installation:
- Align the replacement earbuds: Take one of the replacement earbuds and align it with the corresponding earbud connector on your AirPods Pro. The ‘L’ or ‘R’ marking on the replacement earbud should match the side you are installing it on.
- Gently push the earbud connector into place: Using your fingertips or the tweezers, gently push the replacement earbud connector into the corresponding slot on your AirPods Pro. Apply gentle pressure until you hear or feel a click, indicating that the earbud is securely in place.
- Repeat for the other earbud: Repeat the alignment and installation process for the other replacement earbud, ensuring that it is correctly positioned and securely attached.
- Verify proper installation: Once both replacement earbuds are installed, visually inspect them to ensure they are sitting flush with the AirPods Pro and are securely attached. Gently tug on each earbud to confirm that they are properly seated and won’t easily come loose.
- Check the fit: Put on your AirPods Pro and test the fit of the new earbuds. They should feel comfortable and secure in your ears. If you experience any discomfort or looseness, you may need to try different eartips or adjust the position of the earbuds.
Once you have installed the new earbuds and confirmed a proper fit, you’re ready to move on to the final step: testing the new earbuds on your AirPods Pro.
Step 5: Test the new earbuds
After installing the new earbuds on your AirPods Pro, it’s important to test them to ensure they are functioning properly and providing the desired sound quality. Follow these steps to test the new earbuds:
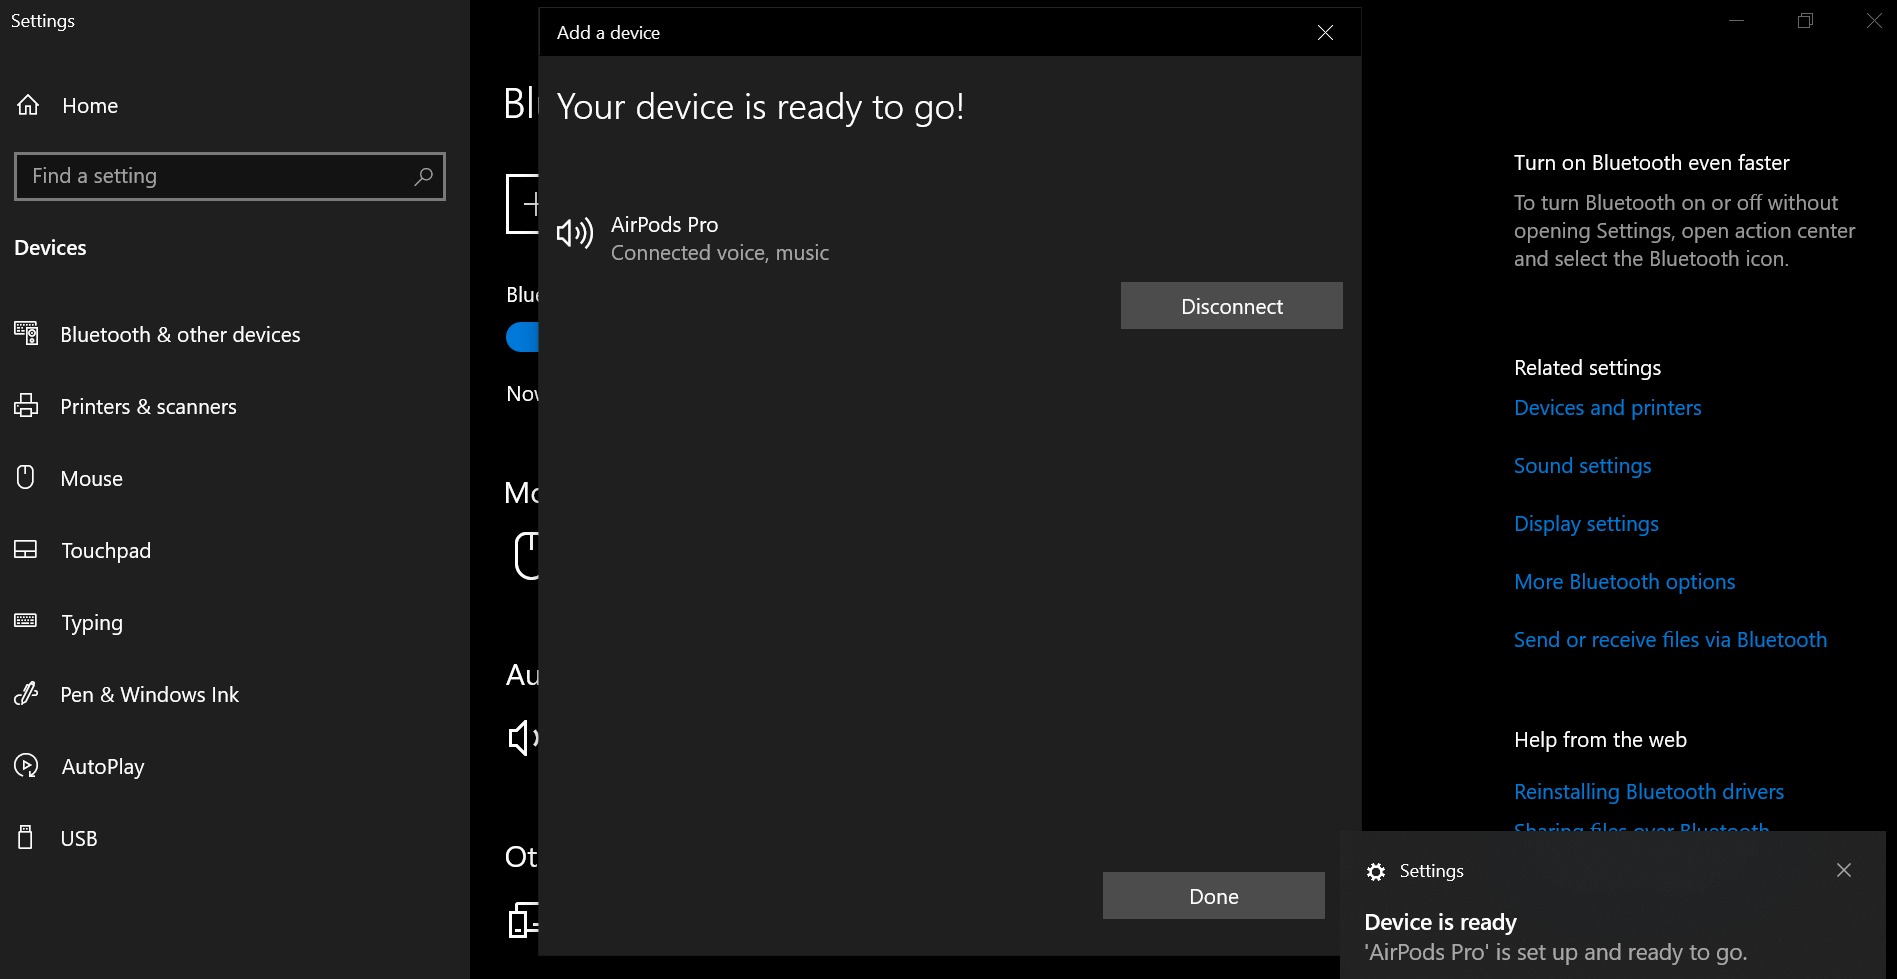
- Connect your AirPods Pro to a device: Connect your AirPods Pro to a compatible device, such as your smartphone, tablet, or computer. Make sure the device’s Bluetooth is turned on and paired with your AirPods Pro.
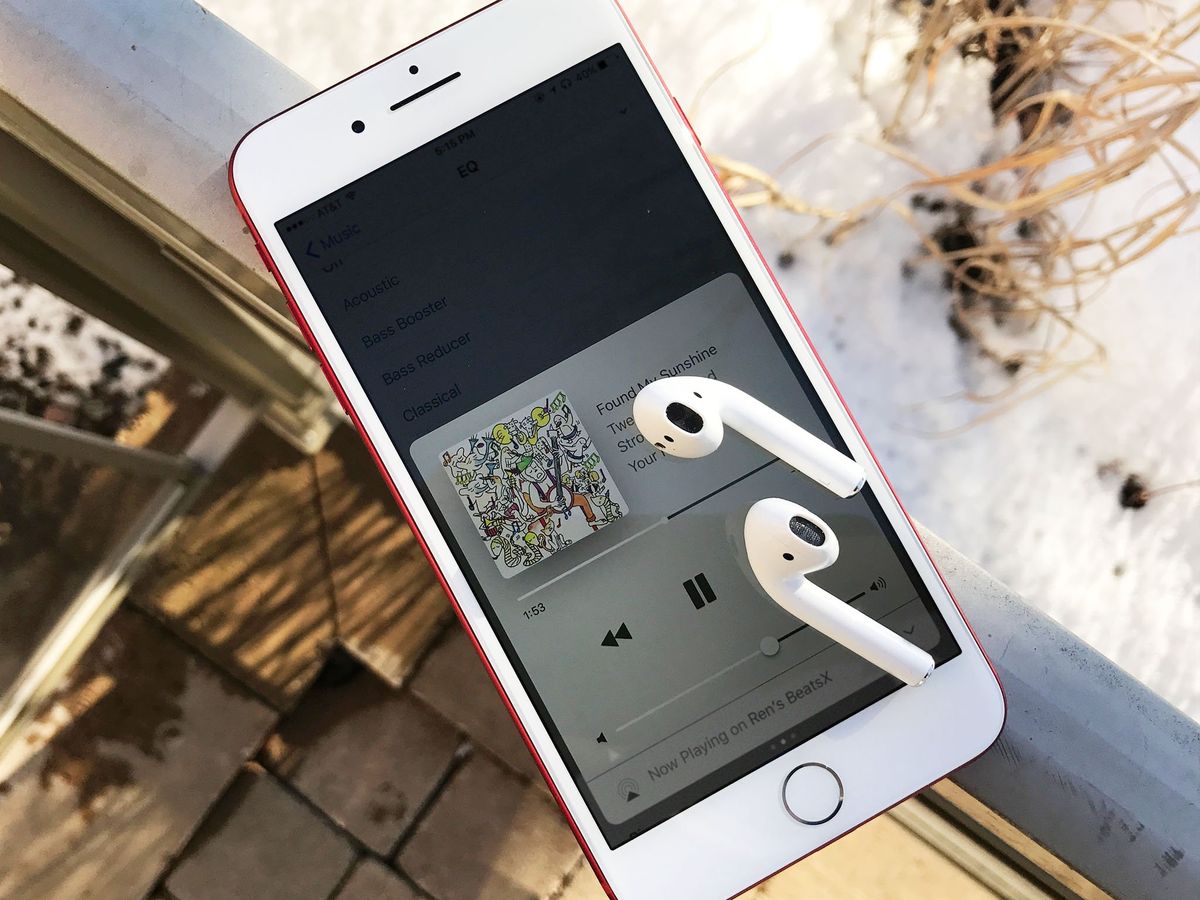
- Play audio content: Open a music app or play audio content on your device. Choose a song, podcast, or video with a variety of sound frequencies to properly evaluate the performance of the new earbuds. Ensure that the volume is set to a comfortable level.
- Listen for audio quality: Pay attention to the sound quality and clarity of the audio. Are the vocals crisp and clear? Do the bass and treble levels sound balanced? If you notice any distortion, imbalance, or muffled sounds, it may indicate an issue with the new earbuds or their installation.
- Check for proper functionality: Test the various features of your AirPods Pro, such as noise cancellation or transparency mode, if applicable. Make sure the touch controls on the AirPods Pro are working as intended.
- Adjust the fit if necessary: If you notice any discomfort or that the new earbuds are not staying securely in your ears, try adjusting the position of the earbuds or experimenting with different eartips to find the best fit.
- Make further adjustments: If you are not satisfied with the sound quality or fit of the new earbuds, you can perform additional adjustments, such as adjusting the equalizer settings on your device or experimenting with different types of eartips.
By thoroughly testing the new earbuds, you can ensure that they are functioning optimally and providing an enjoyable listening experience. If you encounter any issues or are not satisfied with the performance, it’s advisable to contact Apple support or the vendor you purchased the earbuds from for further assistance.
Congratulations! You have successfully changed the earbuds on your AirPods Pro and have customized them to your preference. Enjoy your enhanced listening experience with the new earbuds!
Conclusion
Changing the earbuds on your AirPods Pro can greatly enhance your listening experience by providing a comfortable and personalized fit. With the step-by-step instructions provided in this guide, you can easily replace the earbuds and enjoy your favorite music or podcasts with improved comfort and sound quality.
Remember, before you begin the process, gather all the necessary tools, including replacement earbuds, a clean cloth, a small pry tool, tweezers, and cleaning solution if needed. Take the time to remove the current earbuds carefully and inspect the AirPods Pro for any damage. Then, prepare the replacement earbuds by cleaning them and aligning them correctly with the designated earbud connectors.
Once the new earbuds are installed, take a moment to test them. Connect your AirPods Pro to a device and play audio content to check the sound quality and functionality. Adjust the fit if needed, ensuring a comfortable and secure experience.
Changing the earbuds on your AirPods Pro is a quick and straightforward process that can significantly enhance your overall listening experience. Whether you switch to a different size or style of earbuds, the result is a personalized fit that provides superior comfort and sound quality.
So, go ahead and give it a try! Upgrade your AirPods Pro with new earbuds, and enjoy your favorite songs, podcasts, and videos with the perfect fit and immersive sound.