Home>Production & Technology>Sound>How To Make A Sound

Sound
How To Make A Sound
Modified: February 18, 2024
Learn the step-by-step process of creating high-quality sound effects. Explore techniques, equipment, and software used to produce professional sound for films, music, and more.
(Many of the links in this article redirect to a specific reviewed product. Your purchase of these products through affiliate links helps to generate commission for AudioLover.com, at no extra cost. Learn more)
Table of Contents
Introduction
Welcome to the world of sound! From the gentle rustle of leaves to the powerful roar of a crowd, sound surrounds us in every aspect of our lives. Whether you’re a musician, filmmaker, podcaster, or simply a sound enthusiast, understanding how to make the most of sound is essential. The right combination of equipment, techniques, and editing can help you capture, enhance, and create amazing sonic experiences.
In this article, we will explore the fascinating world of sound and provide you with a comprehensive guide on how to make a sound that truly stands out. We will cover everything from understanding sound waves to choosing the right equipment, setting up the recording space, mic placement and technique, adjusting gain and levels, minimizing background noise, using effects and EQ, editing and mixing the sound, and finally exporting and saving your masterpiece.
Whether you’re just starting out or have some experience under your belt, this guide is designed to help you improve your sound recording and production skills. So, let’s dive in and unlock the secrets of creating captivating and professional-level sound!
Understanding Sound Waves
Before we delve into the technical aspects of capturing sound, it’s important to have a basic understanding of sound waves. Sound is a form of energy that travels through a medium, such as air or water, in the form of vibrations.
Sound waves consist of compressions and rarefactions. The compressions are regions where molecules are densely packed together, while the rarefactions are regions where molecules are spread out. These variations in pressure create the vibrations that our ears perceive as sound.
Sound waves can be characterized by several properties:
- Frequency: This refers to the number of vibrations per second and is measured in Hertz (Hz). Higher frequencies result in a higher-pitched sound, while lower frequencies produce a lower-pitched sound.
- Amplitude: This is the intensity or loudness of the sound wave and is measured in decibels (dB). Higher amplitudes correspond to a louder sound, while lower amplitudes result in a softer sound.
- Waveform: This refers to the shape of the sound wave and determines the character of the sound. Common waveforms include sine, square, triangle, and sawtooth.
Understanding these properties of sound waves is crucial when it comes to capturing and manipulating sound in a recording. By having a grasp of frequency, amplitude, and waveform, you can make informed decisions about microphone selection, gain settings, and post-processing techniques to achieve the desired sound.
Moreover, it’s worth noting that sound waves can interact with the environment they travel through, leading to phenomena such as reflection, absorption, and diffraction. These interactions can influence the quality and clarity of the recorded sound, so it’s important to consider the acoustic characteristics of the recording space.
Now that we have a foundational understanding of sound waves, let’s proceed to the next section, where we will explore the essential equipment needed to capture sound effectively.
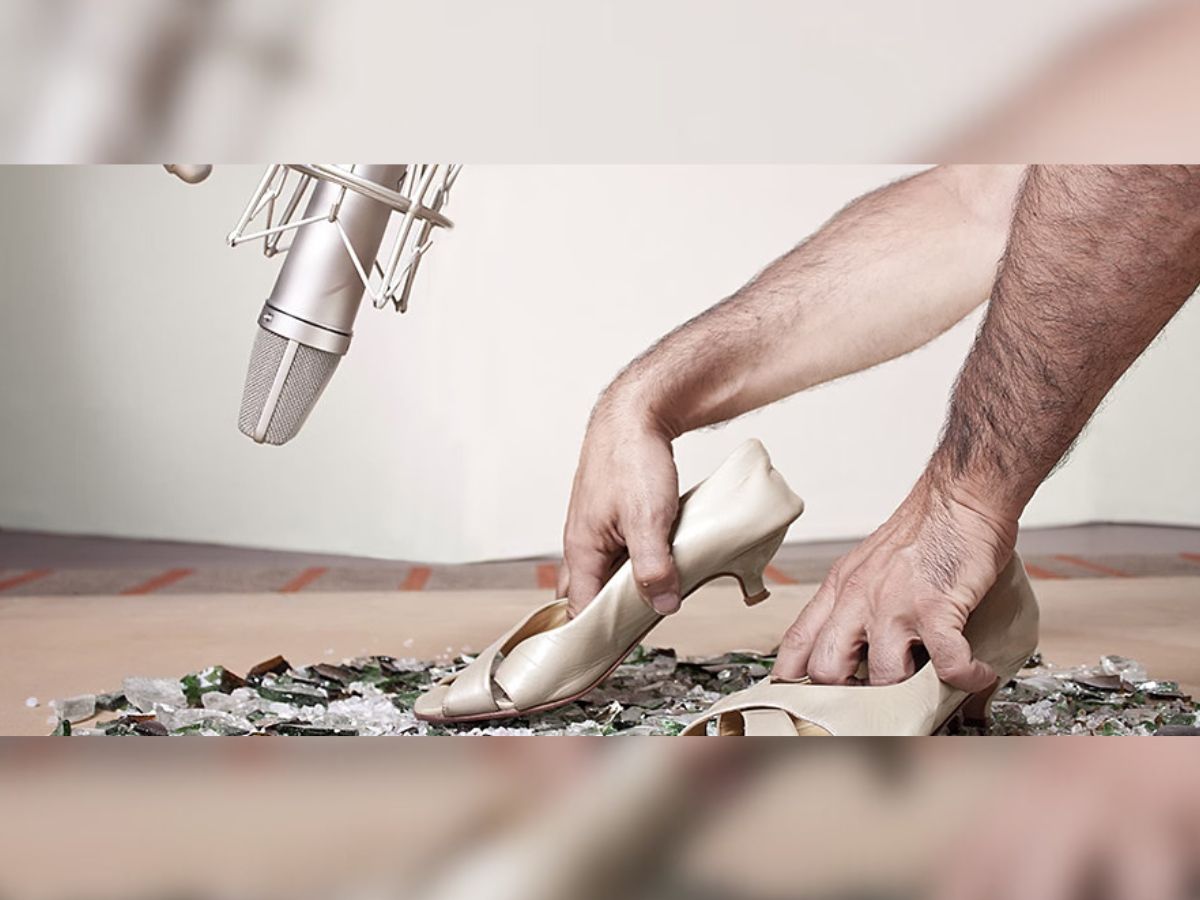
Choosing the Right Equipment
When it comes to capturing high-quality sound, choosing the right equipment is crucial. The choice of equipment will depend on the specific needs of your project and the desired sound you want to achieve. Here are some key pieces of equipment to consider:
- Microphones: Microphones are the primary tool for capturing sound. There are various types of microphones available, including dynamic, condenser, and ribbon. Dynamic microphones are durable and suitable for capturing loud sound sources, while condenser microphones are more sensitive and offer greater detail and clarity. Ribbon microphones are known for their warm and vintage sound. Consider the characteristics of each microphone type and choose one that best suits your recording needs.
- Audio Interface: An audio interface is essential for connecting your microphones to your computer or recording device. It converts analog audio signals into digital data that your computer can process. Look for an interface with good preamps, low latency, and adequate input and output options.
- Headphones: A good pair of headphones is crucial for monitoring the sound during recording and editing. Look for headphones that provide accurate sound reproduction and have a wide frequency response range.
- Pop Filter: A pop filter helps reduce plosive sounds (such as “p” and “b” sounds) that can cause distortion in recordings. It is placed in front of the microphone to prevent the bursts of air from hitting the microphone diaphragm directly.
- Boom Arm or Mic Stand: A boom arm or mic stand is used to position the microphone properly and securely. It allows for flexibility in adjusting the microphone’s height and angle to achieve the desired sound.
- Acoustic Treatment: Depending on your recording space, you may need to invest in some form of acoustic treatment to minimize reflections and unwanted background noise. This can include diffusers, absorbers, and bass traps.
Research and compare different brands and models to find equipment that fits your budget and meets your specific requirements. Reading product reviews and seeking recommendations from professionals or experienced sound engineers can also be helpful in making a well-informed decision.
Remember, the quality of your sound capture will greatly depend on the equipment you choose, so take the time to select the right tools for the job. In the next section, we will discuss how to set up the recording space to ensure optimal sound quality.
Setting Up the Recording Space
Creating an optimal recording space is essential for capturing clean and professional-quality sound. The environment in which you record can greatly impact the overall sound quality of your recordings. Here are some key factors to consider when setting up your recording space:
- Avoid Background Noise: Choose a space that is quiet and free from any background noise or distractions. This includes turning off appliances, fans, or any other sources of ambient noise. Consider using soundproofing materials or recording in a location with minimal external noise.
- Control Room Acoustics: Take into account the acoustic characteristics of the room. Rooms with hard surfaces like tiled floors and bare walls can create unwanted reflections and reverberations. Consider using acoustic treatment materials, such as diffusers and absorbers, to minimize these acoustic issues and create a more controlled recording environment.
- Size and Shape of the Room: The size and shape of the room can affect the sound characteristics. Larger rooms tend to have more natural reverb, while smaller rooms can create a tighter, more intimate sound. Experiment with different rooms or use portable acoustic panels to modify the characteristics of the space to suit your specific recording needs.
- Furniture and Room Layout: Consider the placement of furniture and equipment in the room. Avoid placing reflective surfaces, such as glass or metal, near the microphone to minimize unwanted reflections. Arrange the furniture and equipment in a way that allows for easy movement and accessibility during recording.
- Ventilation and Temperature Control: Ensure that your recording space is properly ventilated to prevent overheating of equipment and to maintain a comfortable environment. Install proper ventilation systems or use fans to regulate the temperature and ensure the air circulation is adequate.
Take the time to experiment and adjust the setup of your recording space to find the best configuration for optimal sound quality. Consider recording test samples in different areas of the room and listen carefully to the playback to identify any areas that may need improvement. Remember that a well-planned and acoustically treated recording space will contribute to the overall professional sound quality of your recordings.
Now that we have covered the basics of setting up the recording space, let’s move on to the next section, where we will explore mic placement and techniques for capturing the best sound.
Mic Placement and Technique
Proper microphone placement and technique are fundamental in capturing clear and balanced sound. The way you position the microphone and how you use it can greatly affect the quality and character of the sound you record. Here are some key considerations for mic placement and technique:
- Distance from the Source: The distance between the microphone and the sound source will greatly impact the tone and level of the recorded sound. For close-miking, where you want to capture more direct and focused sound, place the microphone within a few inches of the sound source. For a more ambient or room sound, you can position the microphone further away.
- Angle of the Microphone: The angle at which the microphone is positioned can influence the sound. Experiment with angling the microphone slightly off-axis to reduce plosive sounds and sibilance and achieve a more balanced sound. Tilt the microphone towards or away from the sound source to find the sweet spot with the desired sound quality.
- Polar Pattern Selection: Different microphones have different polar patterns, such as cardioid, omnidirectional, or figure-eight. Choose the appropriate polar pattern based on the sound source and the desired sound capture. Cardioid microphones are commonly used for capturing sound from a single direction while rejecting background noise.
- Consider Room Acoustics: Be mindful of the room acoustics when positioning the microphone. Take into account the reflections and reverberations in the room and adjust the microphone placement accordingly. For a direct and focused sound, position the microphone closer to the sound source and use acoustic treatment materials to minimize unwanted reflections.
- Handling Noise and Plosive Sounds: Use a shock mount or microphone stand to minimize handling noise. Additionally, a pop filter can help reduce plosive sounds caused by strong bursts of air hitting the microphone. Place the pop filter a few inches in front of the microphone to effectively mitigate these sounds.
It’s important to experiment and listen carefully to the sound when adjusting the microphone placement and technique. Take the time to test different positions and angles to find the optimal placement that captures the desired sound. Trust your ears and be open to making adjustments until you achieve the best sound possible.
Now that we have covered mic placement and technique, let’s move on to the next section, where we will explore adjusting the gain and levels to ensure a clean and balanced sound.
Adjusting the Gain and Levels
Properly adjusting the gain and levels is crucial in achieving a clean and balanced sound recording. The gain refers to the amount of amplification applied to the incoming sound signal, while the levels refer to the volume at which the sound is recorded. Here are some essential tips for adjusting the gain and levels:
- Set a Proper Initial Gain: Start by setting an appropriate initial gain level on your audio interface or mixer. It should be high enough to capture the sound clearly without introducing distortion or clipping. Aim for a strong signal without overloading the audio input.
- Monitor Input Levels: Keep a close eye on the input levels as you record. Use the meters on your audio interface or recording software to ensure that the input levels are consistently within a healthy range. Avoid recording with levels that are too low (which can result in excessive noise) or too high (which can cause distortion).
- Watch for Peaking: Avoid peaking, which occurs when the signal exceeds the maximum level and causes distortion. If you notice that the levels are consistently reaching the maximum, reduce the gain or distance the microphone slightly from the sound source. It’s better to have a slightly lower recording level and avoid clipping or distortion.
- Consider Dynamic Range: Pay attention to the dynamic range of the sound you are recording. The dynamic range represents the difference between the quietest and loudest parts of the audio. Adjust the gain and levels to ensure that the sound is captured within an appropriate dynamic range, preserving both the softest and loudest elements of the performance.
- Use Compression if Necessary: If you find that certain parts of the sound are too quiet or too loud, you can use compression to even out the levels. Compression helps to reduce the dynamic range by attenuating the louder parts and boosting the quieter parts. However, use compression sparingly and with caution to maintain a natural and transparent sound.
Always trust your ears when adjusting the gain and levels. Take the time to listen to the sound in real-time and make adjustments as necessary. Remember, it’s crucial to find the right balance between a strong signal and avoiding distortion to achieve a clean and professional sound recording.
In the next section, we will explore techniques for minimizing background noise, ensuring a clean and focused sound capture.
Minimizing Background Noise
Background noise can be a nuisance when recording sound, but there are several techniques you can employ to minimize it and achieve a clean and focused sound capture. Here are some effective strategies for reducing background noise:
- Select a Quiet Environment: Start by choosing a quiet location for your recording. Find a space away from external noise sources such as traffic, appliances, or construction. Turning off fans, air conditioners, and any other sources of ambient noise can also significantly help in reducing background noise.
- Use Soundproofing Materials: If you’re unable to find a completely noise-free environment, consider using soundproofing materials to minimize external noise. Acoustic panels, soundproof curtains, and foam insulation can help absorb and reduce unwanted noise reflections, creating a more controlled recording space.
- Close Windows and Doors: Ensure that all windows and doors are properly closed to prevent outside noise from entering your recording space. Check for any gaps or cracks that may allow sound to seep through and take steps to seal them if needed.
- Isolate Equipment: Keep your recording equipment away from sources of mechanical noise. Mounting your microphone on a shock mount or using a floating microphone stand can help reduce vibrations and handling noise, resulting in cleaner sound capture.
- Use Directional Microphones: Consider using directional microphones with tighter polar patterns, such as cardioid or supercardioid, to focus on capturing sound from the desired source while rejecting off-axis noise. This can help minimize background noise and improve the overall clarity of the recorded sound.
- Apply Noise Reduction Techniques: If you still have some residual background noise in your recordings, you can utilize noise reduction techniques during the editing process. Software tools and plugins offer features like noise gates and spectral noise reduction that can help reduce or eliminate unwanted background noise. However, use these tools judiciously to avoid compromising the quality of the desired audio.
Remember, eliminating background noise entirely may not always be possible, especially in certain environments. However, by utilizing these strategies, you can significantly minimize its impact and achieve a cleaner and more focused sound recording.
In the next section, we will dive into using effects and EQ to enhance and shape the sound to your liking.
Using Effects and EQ
Effects and equalization (EQ) are powerful tools that can enhance and shape the sound to your liking. They allow you to add depth, dimension, and character to your recordings. Here are some techniques for using effects and EQ effectively:
- Reverb: Reverb simulates the natural reflections and reverberations of sound in a space. It can add ambiance and depth to dry recordings and make them sound more spacious. Experiment with different reverb settings to find the right balance that complements the specific sound you are working with.
- Delay: Delay creates echoes and repeats of the sound, adding a sense of space and dimension. Use delay to achieve effects like slap-back echoes or create rhythmic patterns. Adjust the feedback, time, and mix controls to control the intensity and timing of the delay effect.
- EQ: Equalization allows you to shape the frequency balance of your sound. Use EQ to boost or cut specific frequencies to achieve a desired tonal balance. For example, you can boost the low frequencies to add warmth, cut frequencies that are causing harshness, or boost the high frequencies for added sparkle and clarity.
- Compression: Compression helps control the dynamic range of your sound by reducing the difference between the loudest and softest parts. It can add clarity and consistency to your recordings. Adjust the threshold, ratio, attack, and release settings to achieve the desired compression effect.
- Modulation Effects: Modulation effects like chorus, phaser, and flanger can add movement and depth to your sound. Experiment with these effects to create unique textures and enhance the character of your recordings.
- Use Effect Chains: Combine multiple effects in a chain to create complex and unique sounds. Experiment with different combinations and order of effects to achieve the desired result. Be careful not to overdo it, as excessive use of effects can result in a cluttered or unnatural sound.
When applying effects and EQ, trust your ears and make adjustments based on what sounds pleasing to you. Remember that the goal is to enhance and shape the sound to suit the specific style and intention of your project. Take the time to experiment, listen critically, and make subtle adjustments to achieve the desired result.
Now that you have learned about using effects and EQ, let’s move on to the next section, where we will discuss editing and mixing the sound to create a cohesive and polished final product.
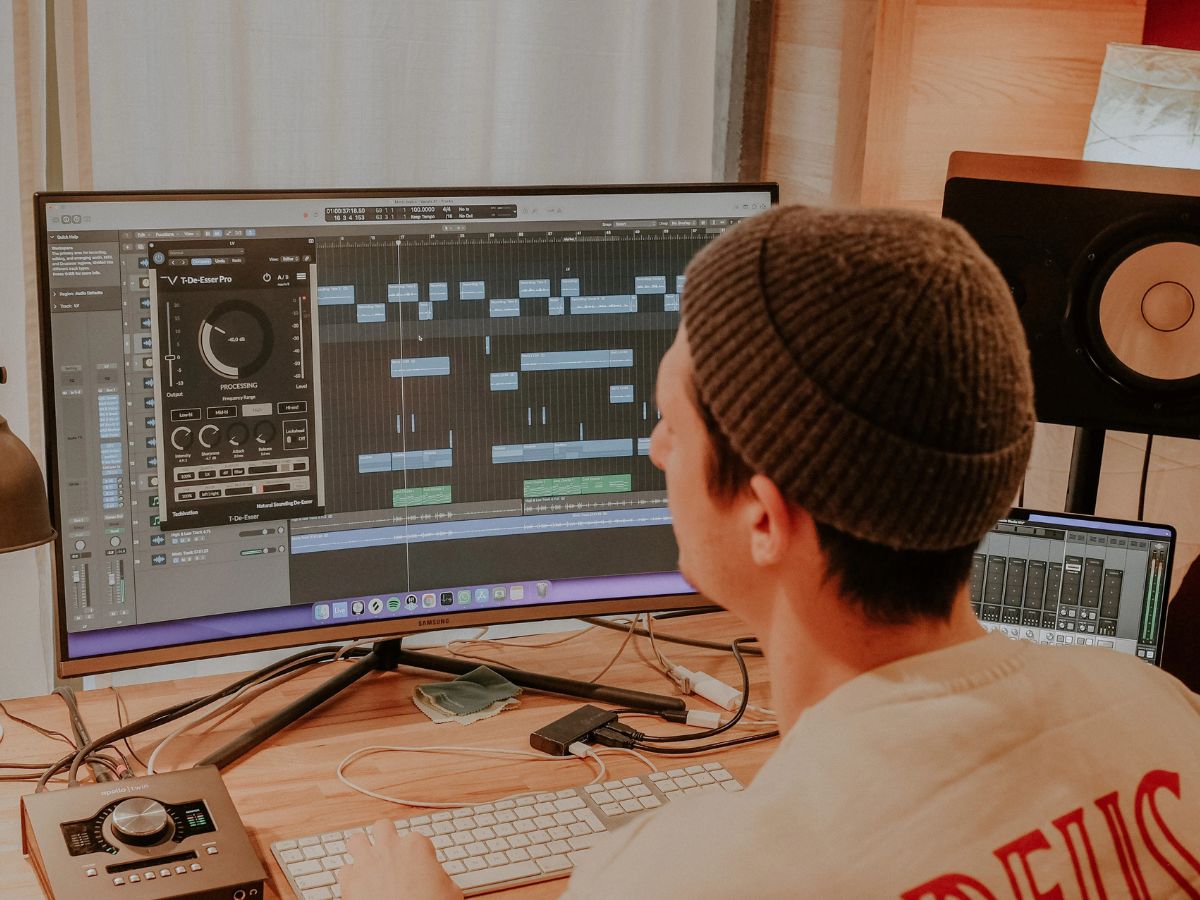
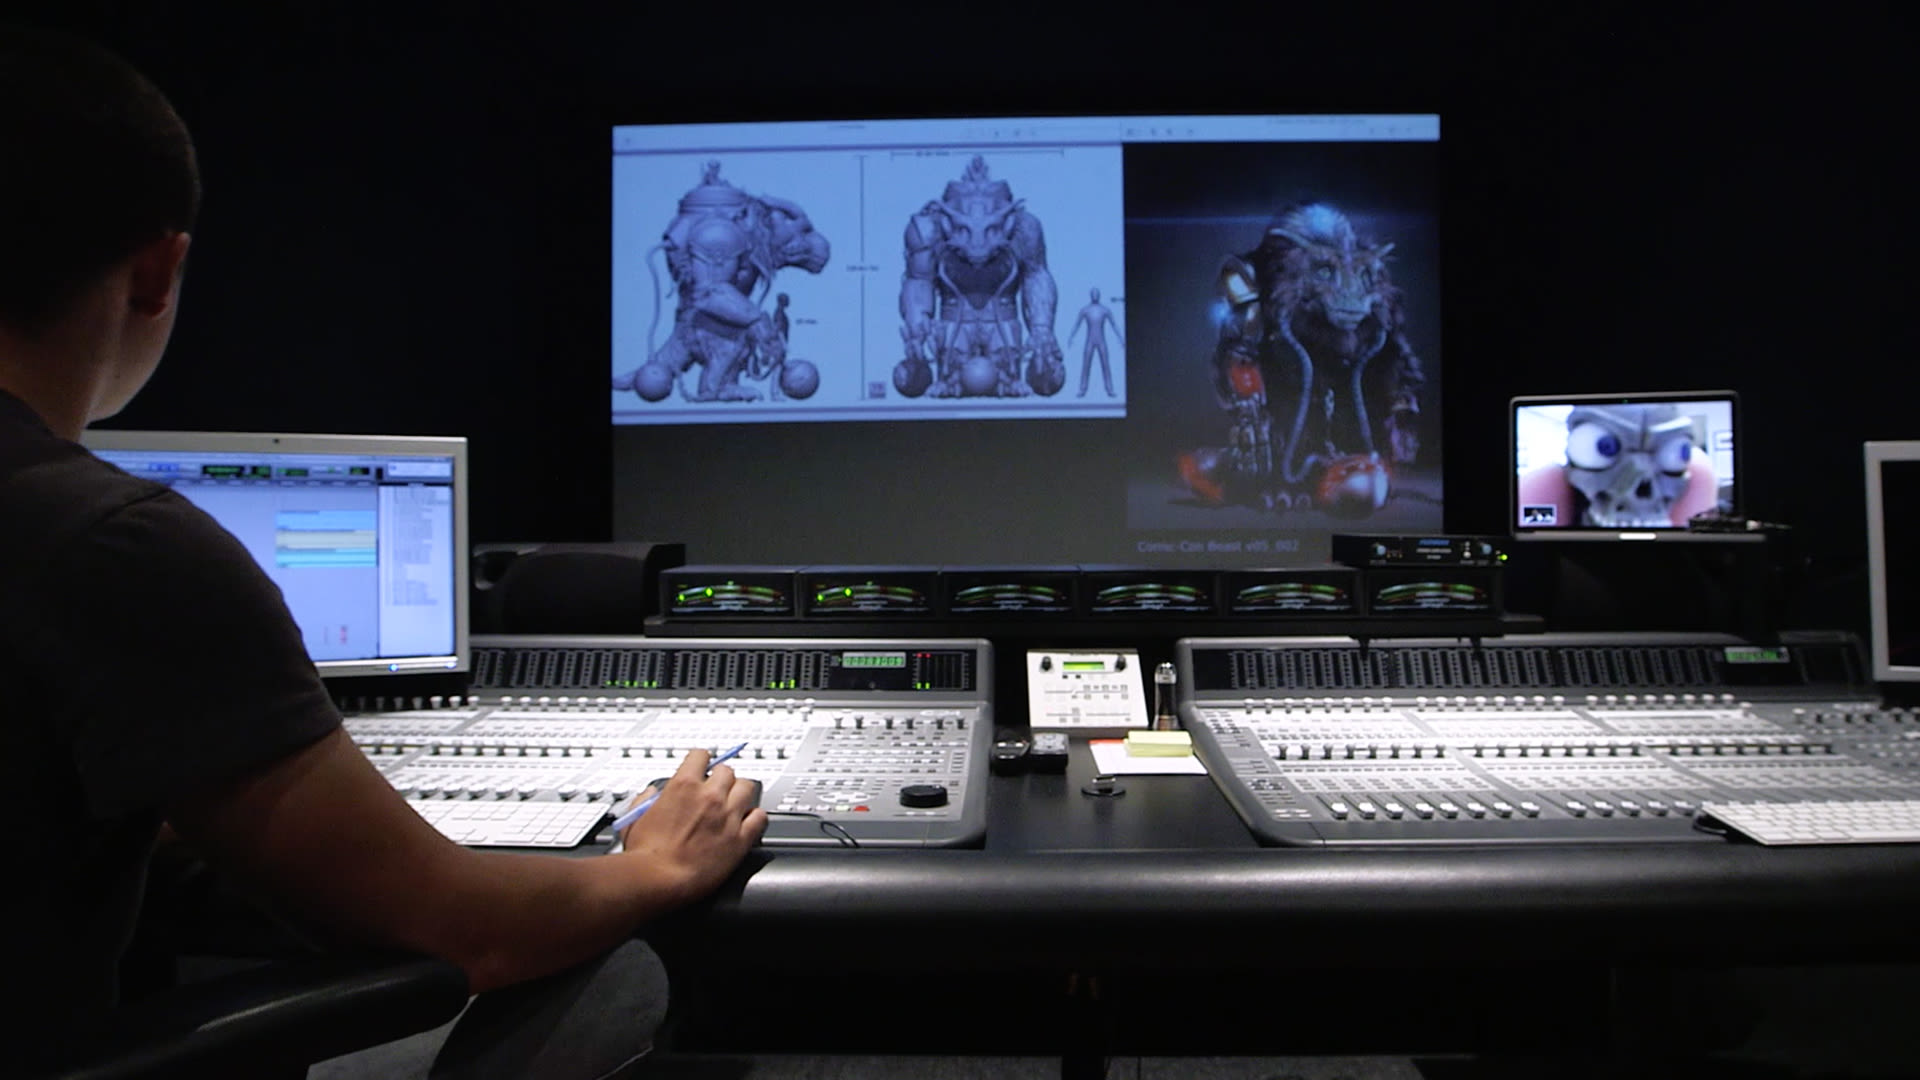
Editing and Mixing the Sound
Editing and mixing are essential steps in the sound production process that allow you to refine and polish your recordings. These techniques enable you to create a cohesive and balanced final product. Here are some key considerations when editing and mixing your sound:
- Trimming and Arranging: Start by trimming any unwanted sections and arranging the recorded audio clips in a logical sequence. This ensures a smooth and coherent flow of sound.
- Crossfades and Transitions: Use crossfades and transitions to smoothen out audio transitions between different sections or clips. This helps to avoid abrupt or jarring changes and creates a seamless blend in the sound.
- Level Balancing: Adjust the volume levels of individual tracks to achieve a balanced mix. Make sure that no track is overpowering or getting lost in the mix. Pay attention to the relative levels of different elements to create a cohesive and pleasing overall sound.
- Panning: Experiment with panning to position sounds across the stereo field. This can add depth and width to your mix. Pan different elements to different positions to create a sense of space and separation in the sound.
- Automation: Utilize automation to dynamically adjust the levels, panning, and other parameters over time. This gives you precise control over the changes in the sound throughout the duration of the recording.
- Editing Out Imperfections: Remove any unwanted noises, clicks, pops, breaths, or other imperfections in the sound using proper editing techniques. Use tools like spectral repair or noise reduction plugins to clean up the audio and ensure a polished final product.
- Blend Effects and EQ: Apply effects and EQ to individual tracks to enhance their sound. Ensure that the effects and EQ settings complement each other and contribute positively to the overall mix. Use your ears and make subtle adjustments to achieve a cohesive and balanced sound.
- Monitor on Different Playback Systems: Listen to your mix on different playback systems, such as speakers, headphones, and car audio systems, to ensure it translates well across various listening environments.
Take the time to critically listen to your mix, making adjustments as necessary to achieve the best possible sound. It’s a creative and iterative process, so be patient and trust your ears.
Once you are satisfied with the editing and mixing process, we can move on to the final section – exporting and saving your sound.
Exporting and Saving the Sound
After editing and mixing your sound to perfection, it’s time to export and save your final audio file. This step ensures that your sound is ready for distribution or further production. Here are some important considerations when exporting and saving your sound:
- File Format and Quality: Choose an appropriate file format that suits your needs. Common options include WAV, AIFF, and MP3. If you’re creating high-quality recordings for professional purposes, consider using lossless formats like WAV or AIFF. For web or streaming use, MP3 or other compressed formats may be more suitable.
- Bit Depth and Sample Rate: Select the appropriate bit depth and sample rate for your audio file. Higher bit depths and sample rates can preserve more details, but they also result in larger file sizes. 16-bit depth and 44.1 kHz sample rate are standard for most audio distribution purposes, but consider higher settings if you desire a higher fidelity sound.
- Normalize: Normalize the audio if needed to ensure consistent volume levels across different tracks or sections. This helps achieve a balanced and more professional-sounding final product.
- Metadata: If you’re distributing your sound online, consider adding metadata such as artist name, track title, album information, and copyright details. This information can help with organization, identification, and copyright protection.
- Backup and Storage: Ensure that you have a backup of your final audio file to prevent any loss or damage. Save the file in a secure storage location, such as a dedicated hard drive or cloud storage service, to maintain a reliable copy of your work.
When exporting and saving your sound, take the time to name the file appropriately and organize it in a logical manner. This will make it easier to locate and access your sound files in the future.
Finally, remember to keep a backup of your entire project, including the raw audio files, as well as any project files or session files associated with your recording software. This ensures that you can make further edits or changes if needed in the future.
Congratulations! You now have a comprehensive understanding of how to make a sound that stands out. By following these steps, you can capture, enhance, and create amazing sound experiences. So go ahead, put your newfound knowledge to use, and let your creativity take flight!
Conclusion
Creating high-quality sound recordings requires a combination of technical knowledge, creative decision-making, and attention to detail. By understanding sound waves, choosing the right equipment, setting up the recording space, employing proper mic placement and technique, adjusting the gain and levels, minimizing background noise, using effects and EQ, and editing and mixing the sound, you can achieve professional-level results.
Throughout this guide, we have explored the key factors and techniques involved in making a sound that captivates and engages the listener. From understanding the properties of sound waves to optimizing your recording environment, each step plays a vital role in capturing clean and true-to-life sound.
Remember to experiment, trust your ears, and be patient as you navigate the intricacies of sound production. Each project brings its own unique challenges and opportunities for creative expression.
Whether you’re recording music, producing podcasts, creating sound effects for film and games, or simply recording sound for personal enjoyment, the knowledge and techniques shared in this guide will empower you to take your sound recordings to the next level.
So go ahead, equip yourself with the right tools, explore different techniques, and let your creativity soar. With persistence, practice, and a keen ear, you have the power to create sound that captivates and resonates with your audience.
Embrace the world of sound and enjoy the journey of creating impactful audio experiences. Happy recording!