Home>Devices & Equipment>Music Box>How To Make The Sound Of A Music Box
Music Box
How To Make The Sound Of A Music Box
Modified: January 22, 2024
Learn how to make the enchanting sound of a music box with our step-by-step guide. Discover the secrets of creating your own melodies and melodies with a music box.
(Many of the links in this article redirect to a specific reviewed product. Your purchase of these products through affiliate links helps to generate commission for AudioLover.com, at no extra cost. Learn more)
Table of Contents
Introduction
Music boxes have a magical, nostalgic charm that has captivated people for centuries. The enchanting melody, delicate movements, and intricately designed boxes make them a sought-after collector’s item and a treasured gift for loved ones. But have you ever wondered how to create the sound of a music box on your own?
In this article, we will explore the step-by-step process of making the sound of a music box, allowing you to create your own mesmerizing tunes and share the joy of a music box with those around you. Whether you are a music enthusiast or simply looking for a unique DIY project, this guide will provide you with the necessary knowledge and tips.
To create the sound of a music box, you will need a few materials and the willingness to embark on a creative journey. Through careful selection of the box, preparation of the musical mechanism, adding the musical notes, securing the mechanism, and adding decorative touches, you can bring your own music box to life.
While making a music box from scratch might seem daunting, with the right guidance and a passion for music, you will find the process fulfilling and rewarding. So, let’s gather our materials and get started on this musical adventure!
Materials Needed
Before you embark on your music box-making journey, it’s essential to gather all the necessary materials. Here’s a list of items you’ll need:
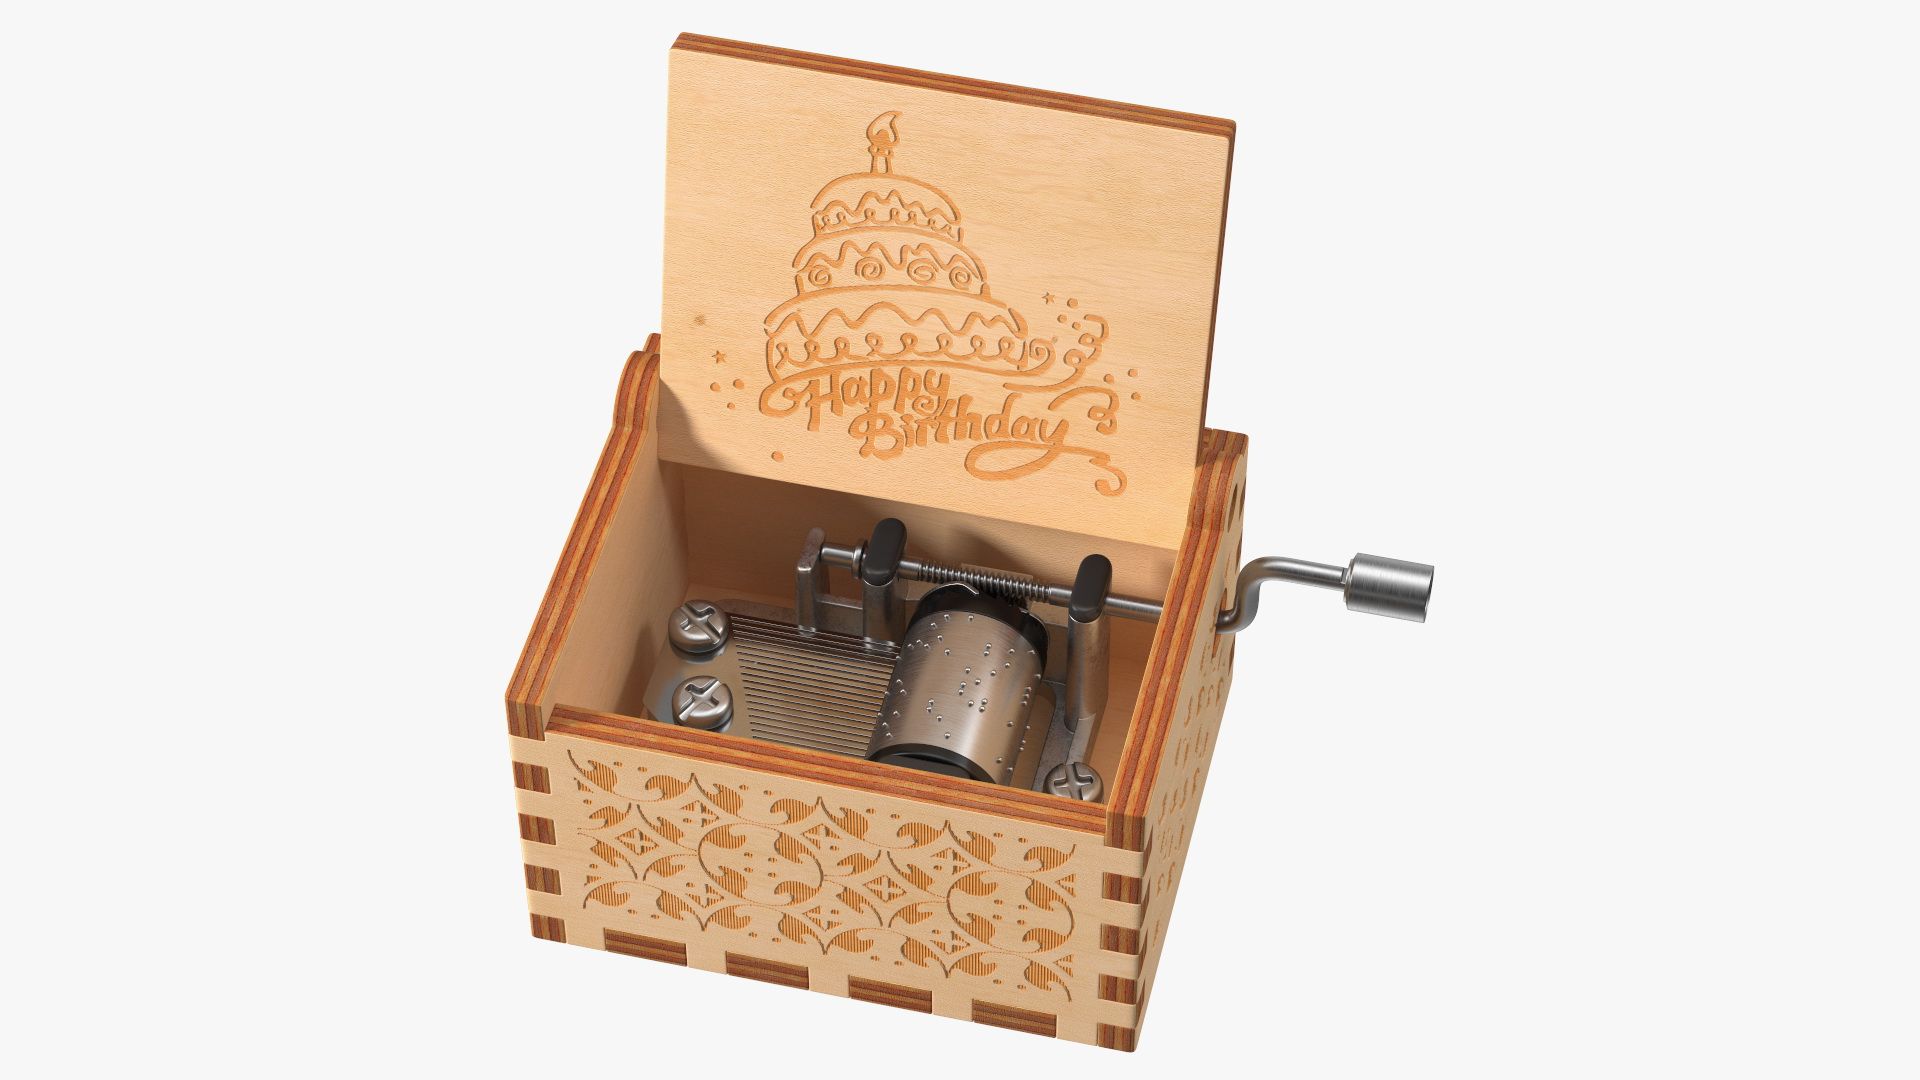
- A music box mechanism: This is the heart of your music box and is responsible for producing the melodic tunes. You can find a music box mechanism at craft stores or online retailers. Make sure to choose one that fits your desired tune and the size of the box you’re using.
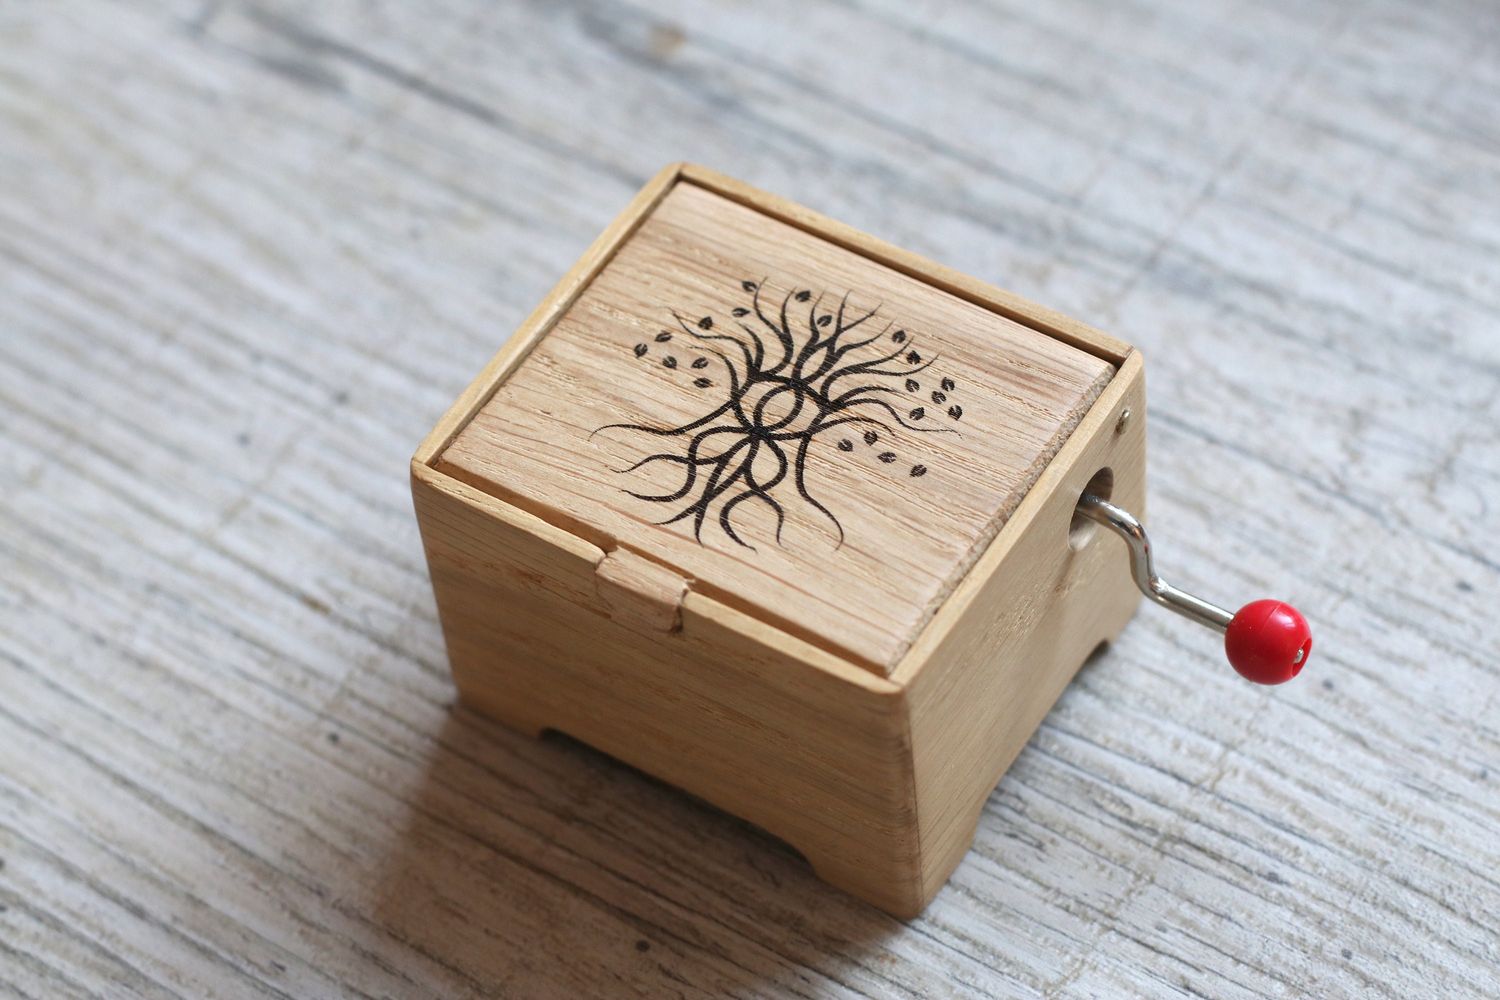
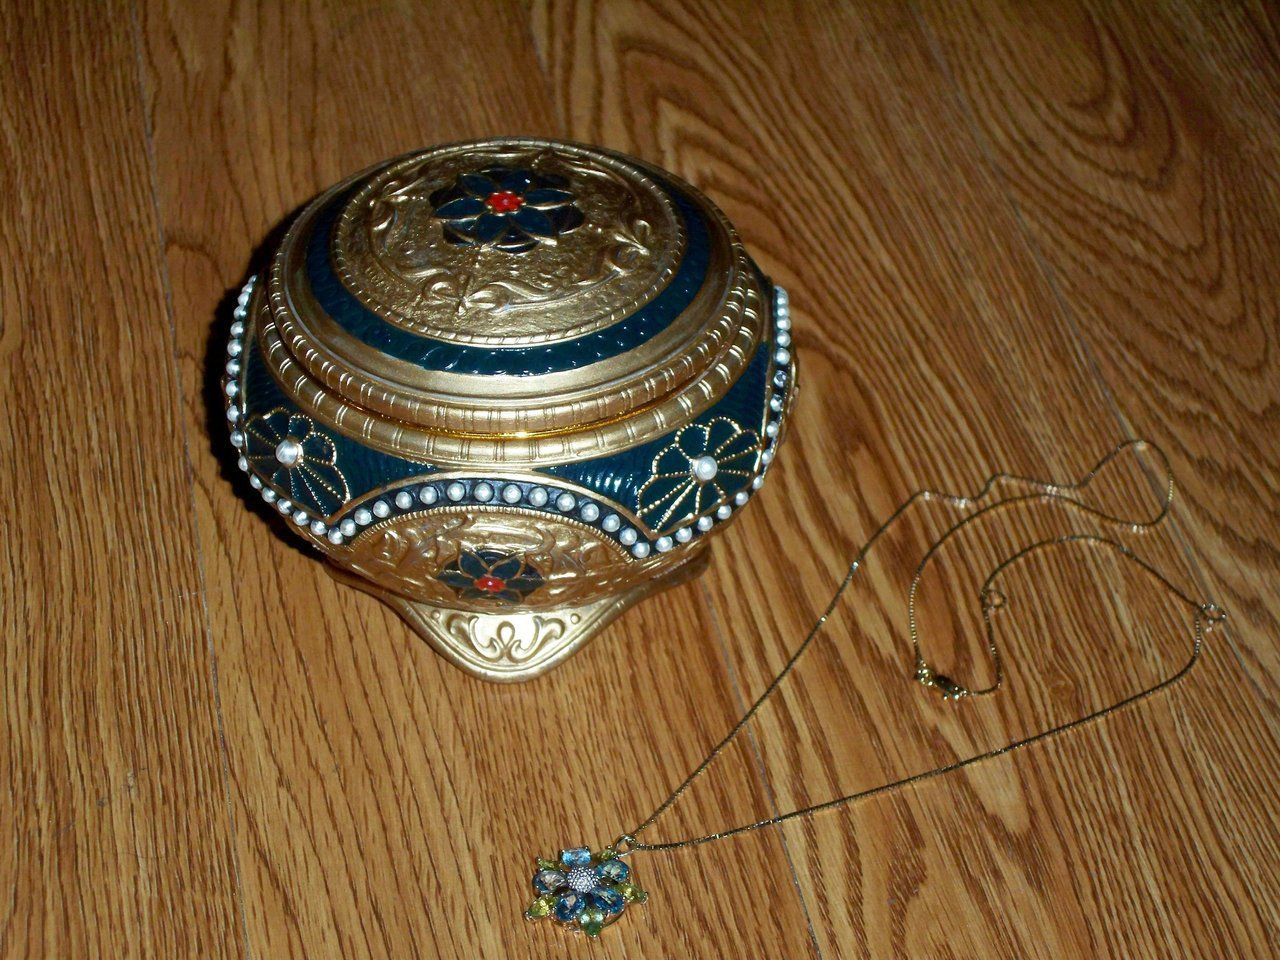
- A wooden box or container: The box will serve as the housing for your music box. You can choose a small wooden box, a vintage jewelry box, or any other container of your liking. Ensure it has enough space to accommodate the music box mechanism.
- Musical notes or punched paper strips: These are used to produce the specific tune you want. You can either purchase pre-made punched paper strips or create your own by using a music box puncher. Alternatively, some music box mechanisms come with pre-programmed tunes.
- Decorative materials: To add a personal touch and enhance the visual appeal of your music box, gather decorative materials such as paint, varnish, glitter, stickers, fabric, or any other embellishments you desire.
- Tools: You will need a few basic tools for the assembly process, including a screwdriver, scissors, glue, a ruler, and a pencil. These tools will come in handy for preparing the mechanism, securing it in the box, and making any necessary adjustments.
Once you have these materials ready, you’ll be well-prepared to start creating your own music box. Remember, you can always customize your materials based on your preferences and creativity. Now, it’s time to dive into the step-by-step process of making the sound of a music box!
Step 1: Choosing the Box
The first step in making the sound of a music box is choosing the perfect box or container to house your music box mechanism. This box will not only serve as a functional component but also contribute to the aesthetic appeal of your creation. Here’s how you can choose the ideal box:
- Select the right size: Consider the size of the music box mechanism you have and find a box that can accommodate it. Ensure that there is enough space for the mechanism to fit comfortably without any constraints. It’s also a good idea to choose a box that is deep enough to allow the mechanism to be properly secured.
- Consider the materials: The material of the box can significantly impact the sound produced. Wooden boxes tend to create a warm and resonant sound, while metal or plastic boxes may result in a brighter or sharper sound. Choose a material that matches your desired tone and aesthetic.
- Look for a visually appealing design: Consider the overall look of the box. Look for unique patterns, carvings, or engravings that can add charm to your music box. If you prefer a minimalist design, a simple and elegant box may be your best choice.
- Check for durability: Ensure that the box is sturdy and well-built. It should be able to withstand the weight and movement of the music box mechanism without any risk of damage. This will ensure that your music box lasts for a long time.
- Consider personalization options: If you want to add your personal touch, choose a box that allows for customization. Look for boxes with a smooth surface or space for painting, engraving, or attaching decorative elements like stickers or fabric.
Take your time in selecting the perfect box that aligns with your vision and preferences. Remember, the box you choose will not only house the mechanism but also contribute to the overall aesthetic appeal of your music box. Once you have chosen the box, you are ready to move on to the next step: preparing the music box mechanism.
Step 2: Preparing the Mechanism
Now that you have selected the perfect box for your music box, it’s time to prepare the music box mechanism. This critical step involves ensuring that the mechanism is properly set up and ready to produce the enchanting melodies. Here’s what you need to do:
- Read the instructions: Carefully read the instructions that come with the music box mechanism. Different mechanisms may have specific setup requirements, and it’s essential to understand them before proceeding.
- Make any necessary adjustments: Depending on the specific mechanism you have purchased, you may need to make certain adjustments to fit it into your chosen box. This can involve trimming or sanding down any excess parts or removing any obstacles that may hinder the movement of the mechanism.
- Secure the winding key: Most music box mechanisms have a winding key that you need to attach. Locate the winding key hole on the mechanism and carefully secure the winding key onto it. Ensure that it is properly fitted and won’t come loose during operation.
- Test the mechanism: Before proceeding further, it’s crucial to test the mechanism to ensure that it is functioning correctly. Wind up the mechanism using the winding key and listen for any unusual sounds or issues. If everything sounds smooth and the melodies are playing correctly, you can proceed to the next step.
Preparing the music box mechanism sets the foundation for a flawless musical experience. Taking the time to properly set up and adjust the mechanism ensures that it operates smoothly within your chosen box. Once you have completed this step, you are ready to move on to the next exciting phase: adding the musical notes to create your desired tune.
Step 3: Adding the Musical Notes
Adding the musical notes is a crucial step in creating the desired tune for your music box. Whether you choose pre-made punched paper strips or create your own, this step allows you to personalize the melodies that will fill the air. Here’s how you can add the musical notes to your music box:
- Pre-made punched paper strips: If you opt for pre-made punched paper strips, carefully follow the instructions provided with the strips. Align the holes in the strip with the pins or prongs on the music box mechanism. Gently insert the strip into the mechanism, ensuring it is centered and aligned properly. The mechanism will read the holes in the strip and play the corresponding notes.
- Creating your own punched paper strips: If you prefer a more hands-on approach, you can create your own punched paper strips. Using a music box puncher, mark and punch holes on a blank paper strip to represent the desired notes. Ensure that the holes align properly with the pins or prongs on the music box mechanism. Experiment with different hole placements to achieve your desired melody.
- Choosing or creating the tune: Whether you use pre-made paper strips or create your own, select or design a tune that resonates with you. Consider classic melodies, popular songs, or even compose your own tune. The possibilities are endless when it comes to creating a unique musical experience.
- Multiple paper strips: If you wish to play a variety of tunes on your music box, you can create multiple paper strips. This allows you to interchange the strips and switch between different melodies. Simply remove one strip and insert another to enjoy a new musical experience.
Adding the musical notes to your music box is a creative and personalized step that brings your creation to life. Whether you choose pre-made strips or create your own, experiment with different tunes and let your imagination run wild. Once you have added the musical notes, it’s time to secure the mechanism inside the chosen box.
Step 4: Securing the Mechanism
Securing the music box mechanism inside the chosen box is crucial to ensure its stability and functionality. It’s important to properly secure the mechanism to prevent any movement or damage while the music box is in use. Follow these steps to securely install the mechanism:
- Measure and mark: Measure the dimensions of the music box mechanism and mark the corresponding area on the inside of the box. This will ensure that you place the mechanism in the right position.
- Create support structures: Using small wooden blocks or pieces of foam, create support structures to hold the mechanism in place. Place the blocks or foam strategically around the mechanism to provide stability and prevent it from shifting or rattling inside the box.
- Glue or screw: Depending on the type of box and mechanism, you can choose to either glue or screw the mechanism and support structures into place. If using glue, apply a generous amount to the bottom of the mechanism and the support structures before placing them in the marked area. If using screws, drill small pilot holes into the box and then secure the mechanism and support structures with screws.
- Ensure proper alignment: Take care to align the winding key and other key components of the mechanism with the designated openings or slots in the box. This will ensure that the mechanism operates smoothly and without any obstructions.
- Test the mechanism: Once the mechanism is securely attached, carefully wind it up using the winding key and observe its movement. Check for any friction or misalignment that may affect the operation of the music box. Make any necessary adjustments to ensure smooth functioning.
Properly securing the music box mechanism is vital to maintain the structural integrity of your music box. Taking the time to measure, create support structures, and securely attach the mechanism will ensure that it remains stable and functional for years to come. With the mechanism securely in place, it’s time to move on to the next step: adding decorative touches to personalize your creation.
Step 5: Decorative Touches
Adding decorative touches to your music box not only enhances its visual appeal but also allows you to personalize and make it uniquely yours. Whether you want to create a vintage-inspired design, a whimsical theme, or a sleek modern aesthetic, this step is your opportunity to get creative. Here are some ideas to infuse your own style into the music box:
- Paint or stain: Consider painting or staining the exterior of the box to match your desired color scheme. Choose colors that complement the theme or décor of the room where the music box will be displayed.
- Add embellishments: Apply glitter, rhinestones, or decorative stickers to give your music box a touch of sparkle and elegance. You can also use fabric or lace to create a distinctive look, or apply small trinkets or charms that hold sentimental value.
- Customize the lid: If your music box has a lid, personalize it by engraving or painting a meaningful design, a quote, or even a monogram. This adds a personal touch and makes the box even more special.
- Include a photo: Consider attaching a small photo or a collage of pictures to the lid or inside the box to evoke special memories or capture the essence of a loved one. This can add an emotional connection to your music box.
- Experiment with different textures: Use textured paper or fabric to line the inside of the box, creating a visually appealing backdrop for your music box mechanism. You can choose materials like velvet, satin, or patterned paper to add a luxurious or artistic touch.
- Add finishing touches: Apply a layer of varnish or sealant to protect the painted or embellished surfaces and give the music box a polished finish. This will not only enhance its durability but also add a professional touch to your creation.
Let your creativity soar as you add decorative touches to your music box. The possibilities are endless, and each choice you make will contribute to the overall aesthetic and personalization of your creation. Once you are satisfied with the decorative elements, it’s time to move on to the final step: testing and making any necessary adjustments.
Step 6: Testing and Adjustments
After putting in all the hard work and creativity, it’s time to test your music box and make any necessary adjustments to ensure its perfect functionality and sound. Here’s what you should do in this final step:
- Wind up the mechanism: Using the winding key, wind up the music box mechanism fully. This will allow the spring inside the mechanism to store enough energy to play the melody.
- Listen for the sound: As the mechanism begins to play, listen carefully to the sound it produces. Pay attention to the clarity, volume, and overall quality of the music. If you notice any irregularities or issues, proceed to the next step.
- Make necessary adjustments: If the sound is not as desired, consider making adjustments to the musical notes, such as repositioning or replacing the paper strip. Alternatively, you may need to fine-tune the placement and alignment of the music box mechanism within the box for optimal sound quality.
- Check for smooth movement: Observe the movement of the music box mechanism as it plays. Ensure that it moves smoothly and without any obstructions or interferences. If you notice any resistance or hesitation, make the necessary adjustments to improve the movement.
- Test repeatedly: Repeat the testing and adjustment process as needed until you are fully satisfied with the sound and movement of your music box. Be patient and take your time to achieve the perfect result.
Testing and making adjustments are crucial in creating a music box that produces the desired sound and operates flawlessly. By fine-tuning the musical notes, mechanism placement, and movement, you can ensure an enchanting and immersive musical experience for yourself and others.
Once you are satisfied with the testing and adjustments, your custom music box is complete and ready to be enjoyed. Sit back and revel in the magical melodies that your DIY music box creates. It’s a testament to your creativity, craftsmanship, and the joy that music brings.
Conclusion
Congratulations on successfully creating your own music box and bringing the enchanting sound of a music box to life! By following the steps outlined in this guide, you have embarked on a creative journey that has allowed you to personalize every aspect of your music box, from the choice of the box itself to the selection of musical notes and decorative touches.
Along the way, you have learned how to choose the perfect box, prepare and securely install the music box mechanism, add your desired musical notes, and enhance the overall aesthetic with creative embellishments. Through testing and adjustments, you have fine-tuned the sound and movement of your music box to create a magical experience.
Your handcrafted music box is not only a beautiful work of art but also a unique expression of your creativity and love for music. It serves as a reminder of the joy that music can bring and a testament to your dedication in creating something special.
Remember, your music box can bring delight to not only yourself but also to others as a thoughtful gift or a cherished heirloom. Whether displayed in your home or given as a gift for a special occasion, it is sure to captivate the hearts of those who listen to its melodious tunes.
Now that you have mastered the art of making the sound of a music box, don’t hesitate to explore new tunes, experiment with different designs, and continue to unleash your creativity. With each music box you create, you have the opportunity to create a unique piece of art that reflects your own personal style and musical preferences.
So, embrace the magic of the music box and enjoy the soothing melodies that fill the air. Let your music box be a reminder of the beauty and joy that can be created with your own hands and the power that music has to touch the soul.