Home>Production & Technology>Soundproofing>How To Add Soundproofing Between Floors
Soundproofing
How To Add Soundproofing Between Floors
Published: January 27, 2024
Learn how to effectively add soundproofing between floors with our expert tips and techniques. Create a peaceful and quiet environment with our soundproofing solutions.
(Many of the links in this article redirect to a specific reviewed product. Your purchase of these products through affiliate links helps to generate commission for AudioLover.com, at no extra cost. Learn more)
Table of Contents
- Introduction
- Understanding the Need for Soundproofing Between Floors
- Identifying the Problem Areas
- Assessing Building Materials and Construction Techniques
- Choosing the Right Soundproofing Methods
- Soundproofing Techniques for Ceilings
- Soundproofing Techniques for Floors
- Installing Acoustic Underlays or Mats
- Sealing Gaps and Cracks
- Installing Resilient Channels
- Adding Mass to Existing Floors
- Soundproofing Techniques for Walls
- Soundproofing Techniques for Stairs
- Conclusion
Introduction
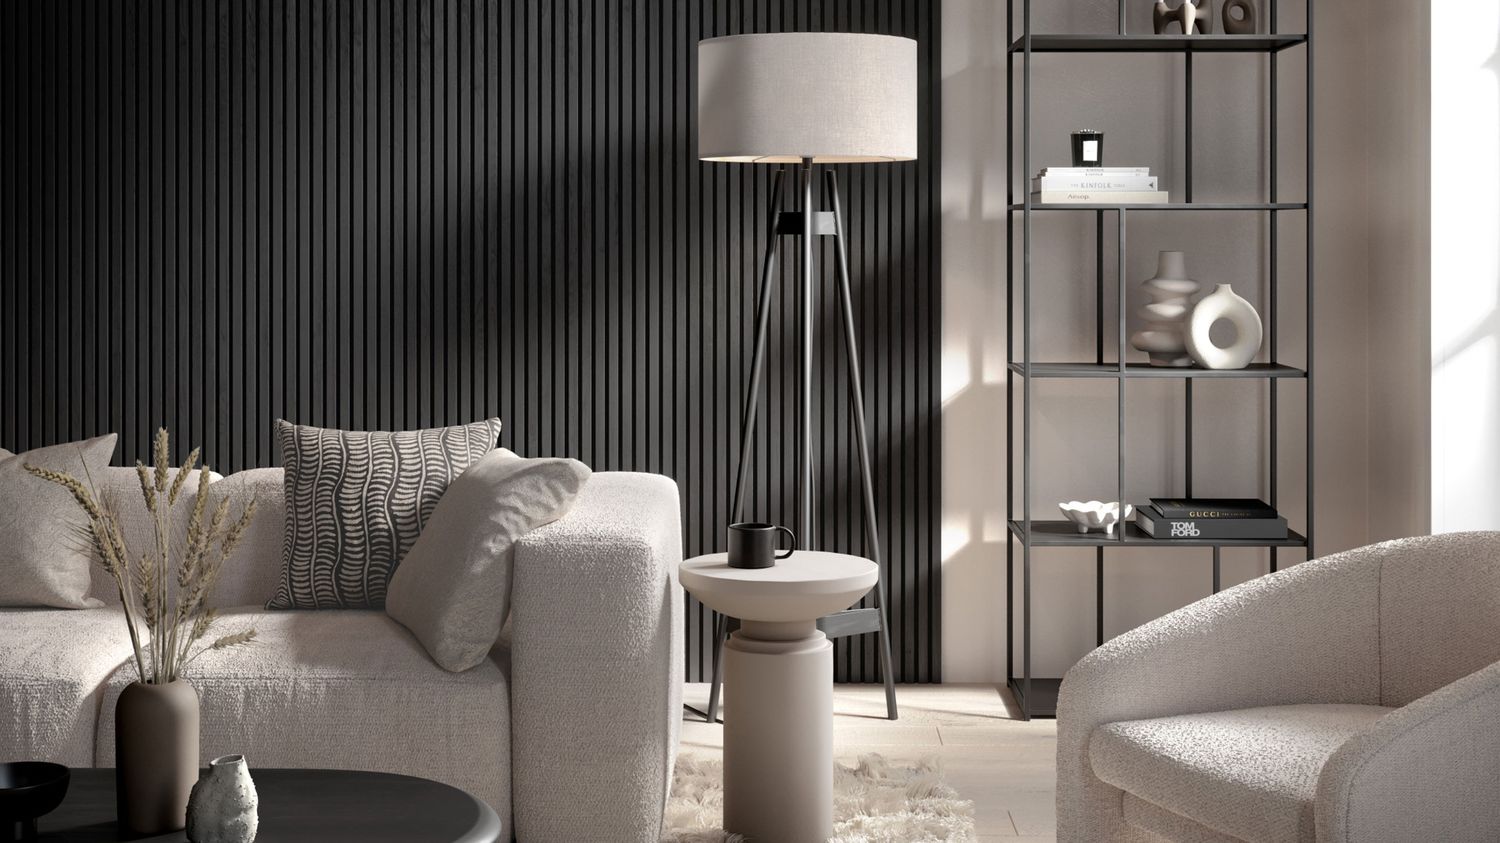
Soundproofing between floors is a crucial consideration for anyone looking to create a peaceful and quiet living or working environment. Whether you reside in an apartment building, a multi-story home, or an office space with multiple levels, sound transmission between floors can be a major issue. The last thing you want is to be disturbed by footsteps, conversations, or other noise from the floor above or below.
In this article, we will explore the various techniques and methods that can be employed to effectively soundproof between floors. By understanding the need for soundproofing, identifying problem areas, and implementing the right techniques, you can significantly reduce sound transmission and create a more peaceful and harmonious space.
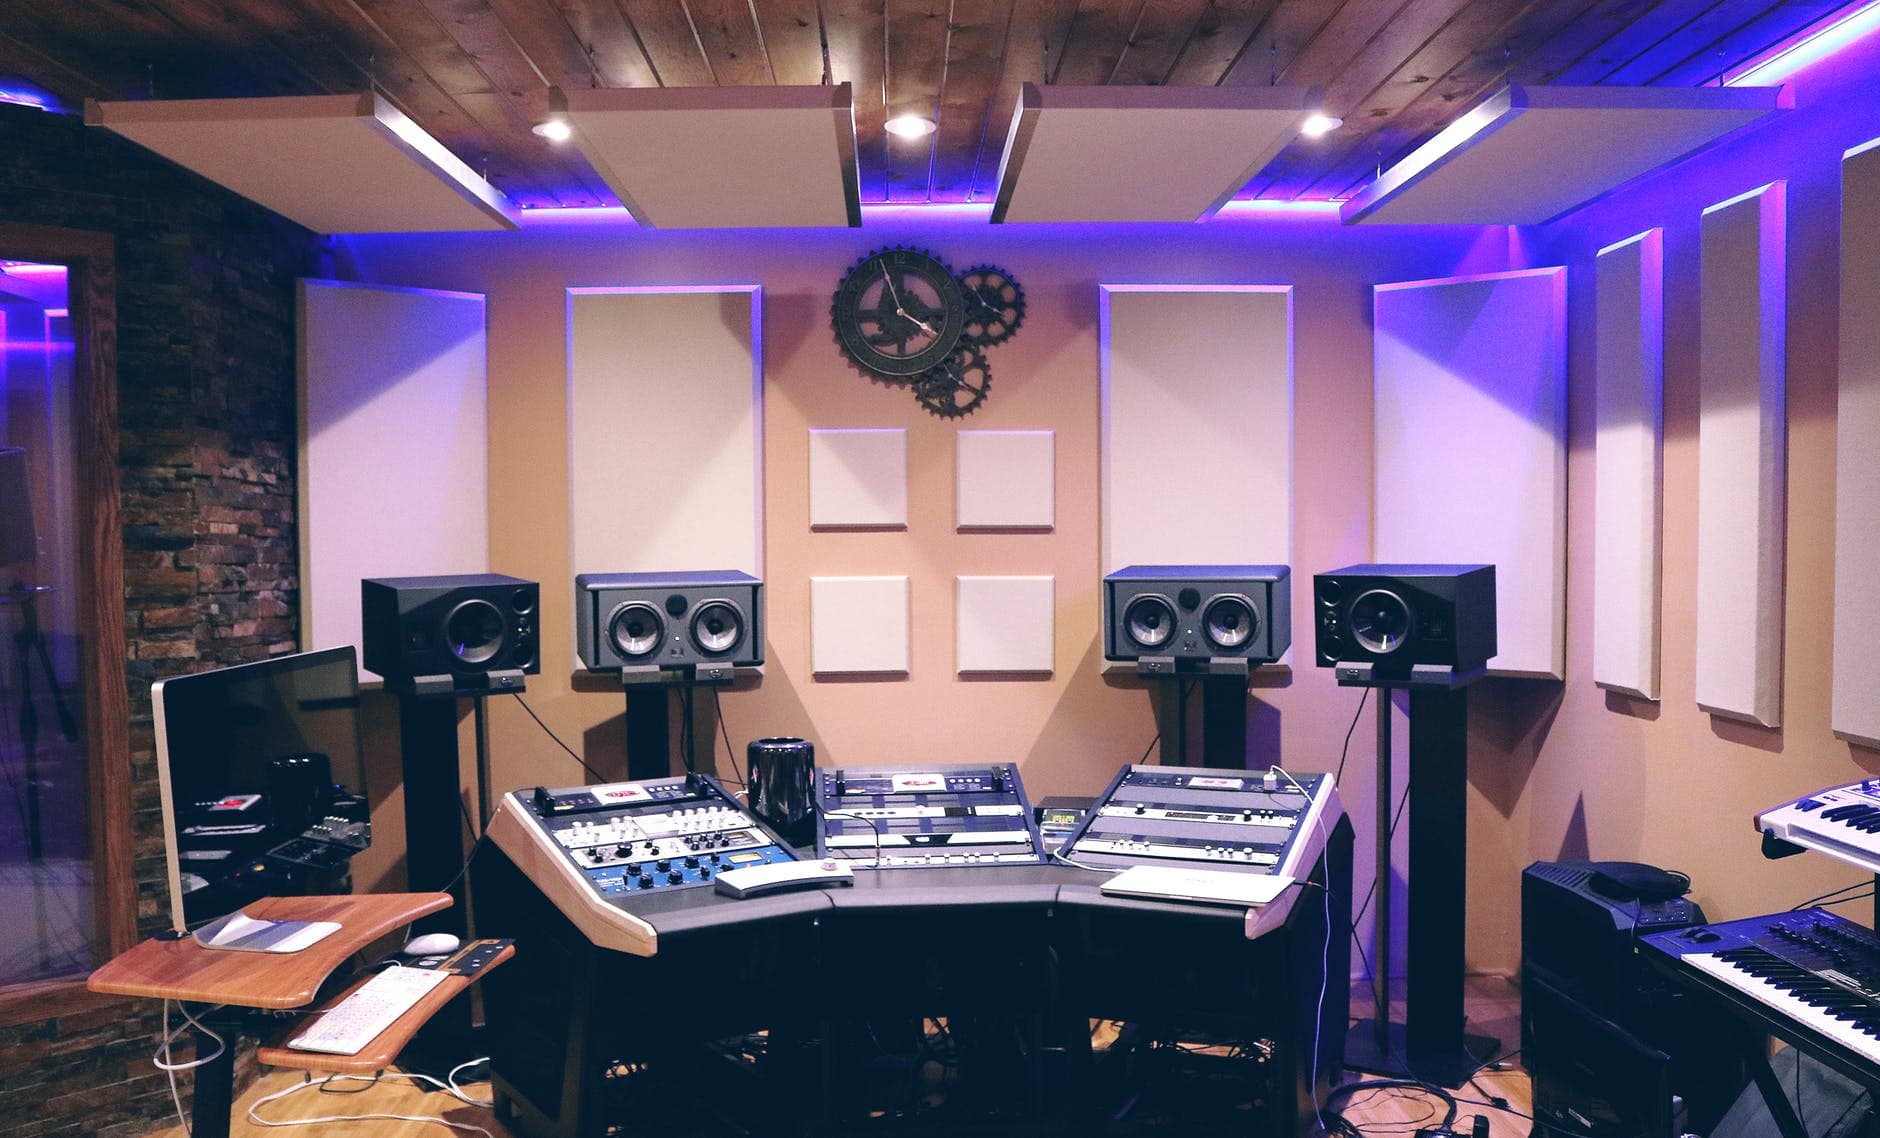
Soundproofing can be particularly important in shared living spaces such as apartment buildings, where noise from neighbors can easily disrupt your daily activities and affect your quality of life. It is also crucial in office buildings, where confidentiality and concentration are of utmost importance. Additionally, if you have a home recording studio or a personal gym, soundproofing between floors becomes even more essential.
Before we dive into the specific soundproofing techniques, it is important to understand the principles behind sound transmission. Sound can travel through various pathways, including through air, walls, floors, ceilings, and even vibrations that can transfer from one surface to another. To effectively soundproof between floors, you need to address these different pathways and employ appropriate soundproofing materials and techniques.
By understanding how sound travels and the specific challenges of your space, you can make informed decisions about the most suitable soundproofing methods to use. In the following sections, we will discuss these methods in more detail, providing you with practical insights and step-by-step instructions on how to soundproof between floors effectively.
Understanding the Need for Soundproofing Between Floors
There are several reasons why soundproofing between floors is essential. One of the primary reasons is to maintain privacy and tranquility within your living or working space. Whether it’s noisy upstairs neighbors, office conversations from the floor below, or even the pitter-patter of footsteps, unwanted noise can be highly disruptive and affect your overall well-being.
Sound, whether it’s airborne or structure-borne, has a tendency to travel and penetrate different surfaces. In the case of soundproofing between floors, the sound waves can easily pass through the ceiling of one level and permeate the floor of the level below or above. This can lead to constant disturbances, poor sleep quality, reduced productivity, and strained relationships with neighbors or colleagues.
Moreover, sound transmission can also create a significant impact on the overall acoustic environment. Uncontrolled sound wavelengths bouncing off surfaces can create echoes and reverberations, making it even more challenging to have clear conversations or enjoy peaceful moments in your space.
Another crucial reason for soundproofing between floors is to comply with local building codes and regulations. Many building codes require a certain level of sound insulation between floors, especially in multi-unit buildings, to ensure a minimum level of comfort and privacy for residents. Failing to soundproof between floors can result in violations and potential legal consequences.
By implementing soundproofing techniques between floors, you can drastically reduce the transmission of sound and create a more peaceful, private, and comfortable environment. Not only will this improve your quality of life, but it will also enhance your productivity, focus, and overall well-being.
In the following sections, we will explore the problem areas that contribute to sound transmission between floors and the different soundproofing techniques and materials you can utilize to effectively minimize and control noise.
Identifying the Problem Areas
Before implementing soundproofing measures between floors, it is crucial to identify the problem areas that contribute to sound transmission. Understanding where the sound is coming from and how it is entering your space will help you determine the most effective soundproofing techniques.
One common problem area is the ceiling. Sound can easily pass through the ceiling of one level and penetrate the floor of the level above or below. This is especially true if the ceiling has gaps, cracks, or weak insulation. Poorly insulated ceilings can allow airborne sound to travel freely, resulting in an increase in noise between floors.
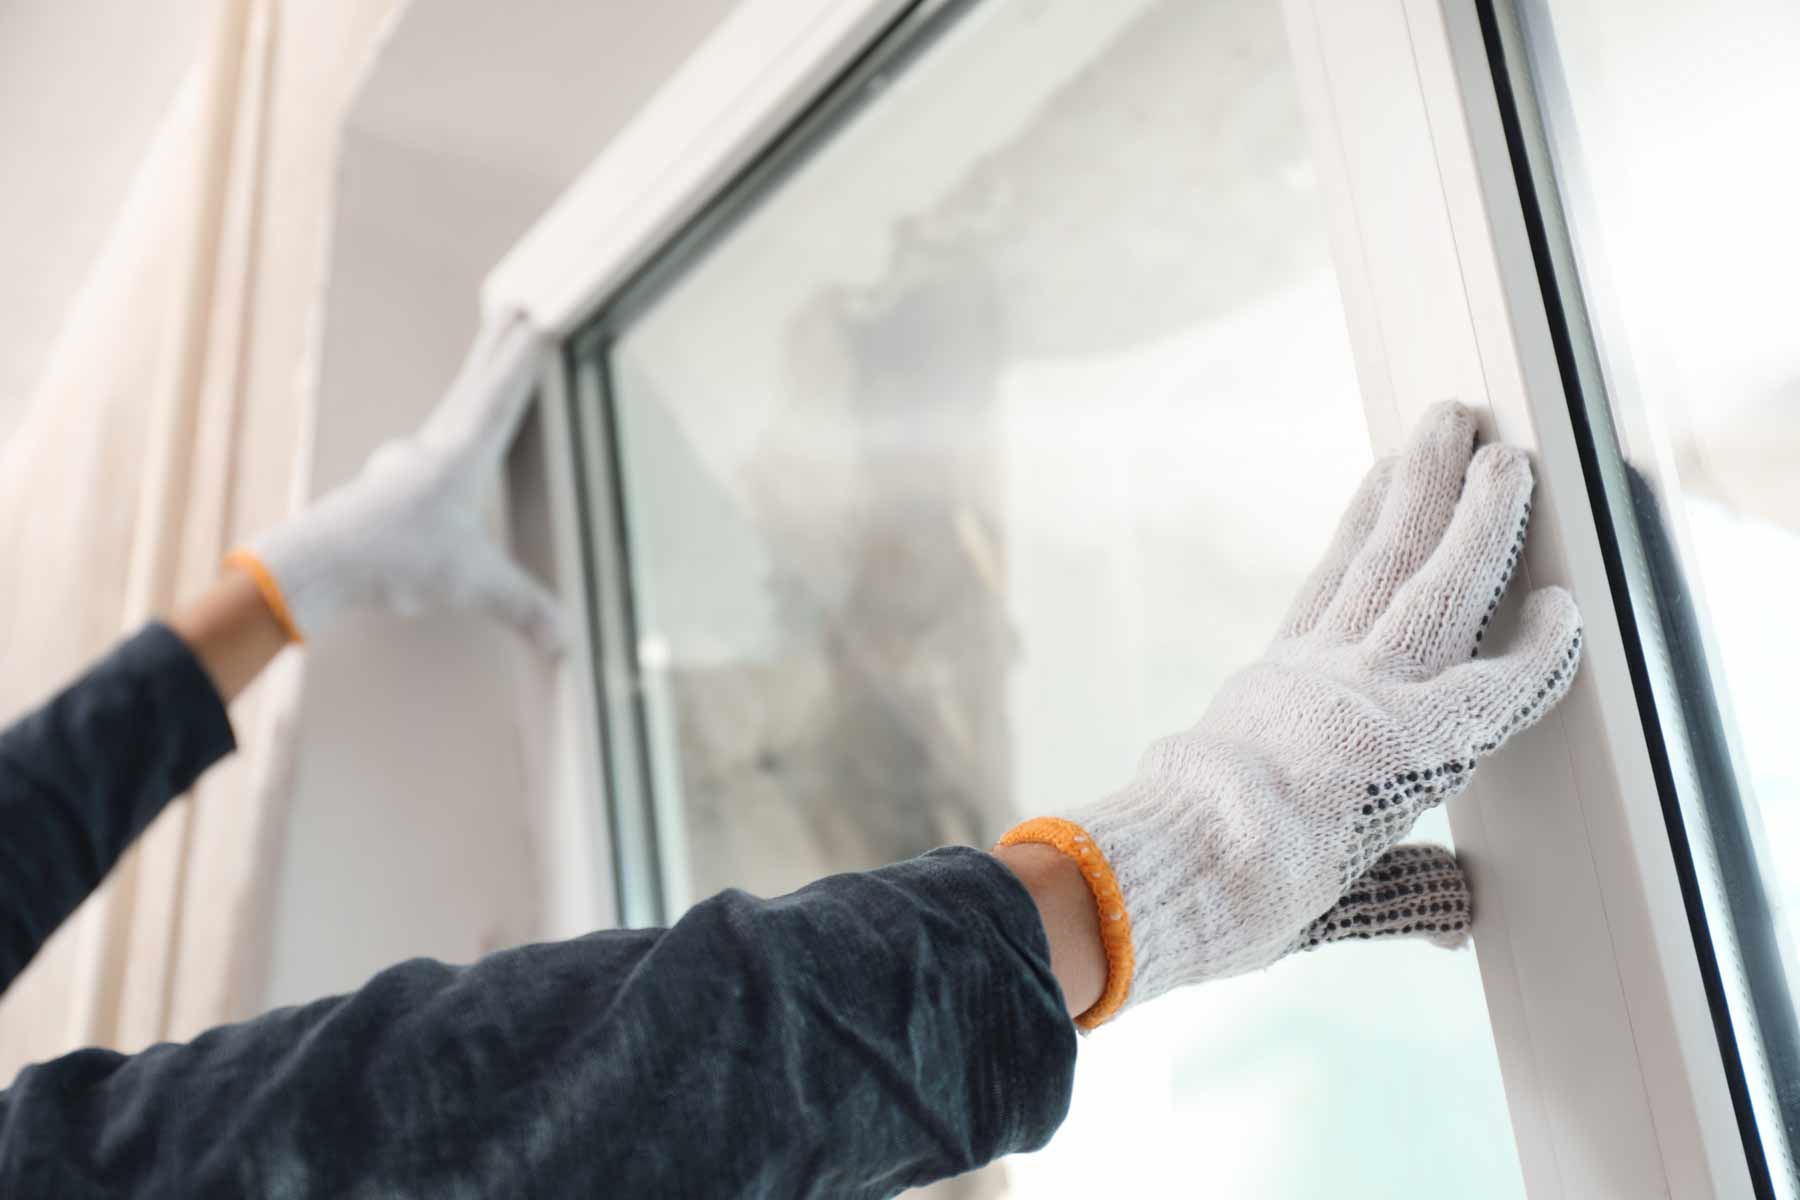
Another problem area is the walls. Sound can travel through walls, particularly if they are thin or lacking in soundproofing materials. Additionally, if there are openings such as windows or doors, sound can easily pass through these areas as well.
Stairs can also be a significant source of sound transmission. Footsteps on the stairs can create vibrations that travel through the structure of the building, resulting in noise being transferred between floors. Identifying the problem areas on the stairs will help you apply the appropriate soundproofing techniques to minimize this issue.
Lastly, it’s essential to consider any gaps or cracks in the floors themselves. These can provide pathways for sound to travel through and increase sound transmission between floors. Examining the flooring materials and their installation can help identify any weak points that need to be addressed.
By thoroughly inspecting your living or working space, you can identify the specific problem areas that contribute to sound transmission between floors. This knowledge will guide you in choosing the best soundproofing techniques for your situation, ensuring maximum effectiveness in reducing noise and creating a more peaceful environment.
In the next sections, we will discuss various soundproofing methods and techniques that can be applied to address these problem areas and minimize sound transmission between floors.
Assessing Building Materials and Construction Techniques
When it comes to soundproofing between floors, it is essential to assess the building materials and construction techniques used in your space. Different materials and construction methods have varying levels of sound insulation and can greatly impact the overall effectiveness of your soundproofing efforts.
Start by evaluating the existing floor and ceiling materials. If you have access to the ceiling from the floor above, check if there is any insulation present. Insulation materials such as mineral wool, fiberglass, or cellulose can help reduce sound transmission by absorbing sound waves. If the insulation is insufficient or nonexistent, consider adding insulation in the ceiling to improve soundproofing.
Next, assess the type of flooring used. The thickness and density of the flooring material can influence its ability to block sound. Carpeting tends to absorb and dampen sound better than hardwood or tile flooring. If you have hard surface flooring, using thick and dense area rugs can help reduce sound transmission between floors.
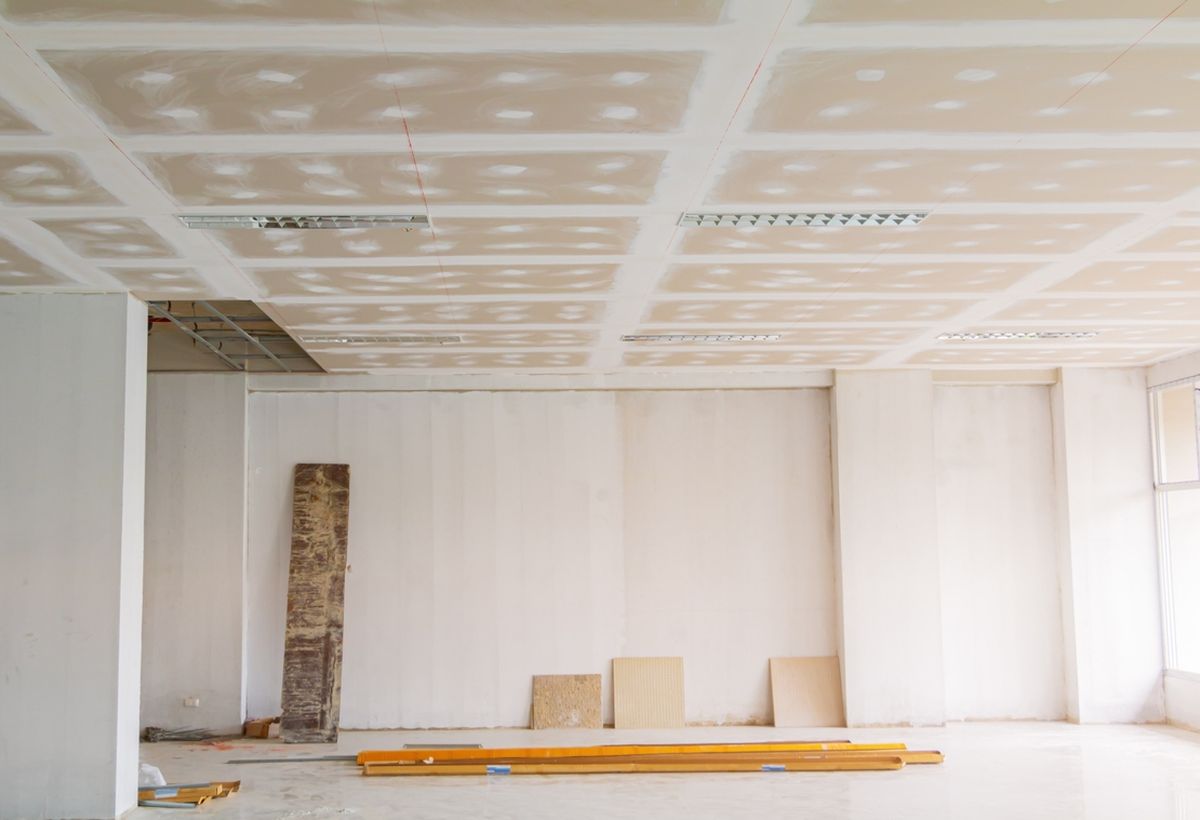
It is also essential to take into account the construction techniques used in your building. For example, if there are shared walls or floors made of lightweight materials such as drywall, sound can easily pass through. In such cases, additional soundproofing methods will be required to minimize noise transmission.
If you are in the process of building or renovating a space, consider incorporating soundproofing techniques from the start. Use resilient channels or double-layered drywall on the ceilings and walls to create an extra barrier against sound. These techniques can significantly reduce the transfer of sound vibrations between floors.
By assessing the building materials and construction techniques in your space, you can identify any weaknesses that may contribute to sound transmission between floors. This evaluation will guide you in selecting the most suitable soundproofing methods and materials for your specific situation. In the following sections, we will delve deeper into these techniques and explore how they can effectively reduce noise between floors.
Choosing the Right Soundproofing Methods
Choosing the right soundproofing methods is crucial for effectively reducing noise transmission between floors. There are various techniques and materials available, each with its own advantages and considerations. Here are some commonly used soundproofing methods:
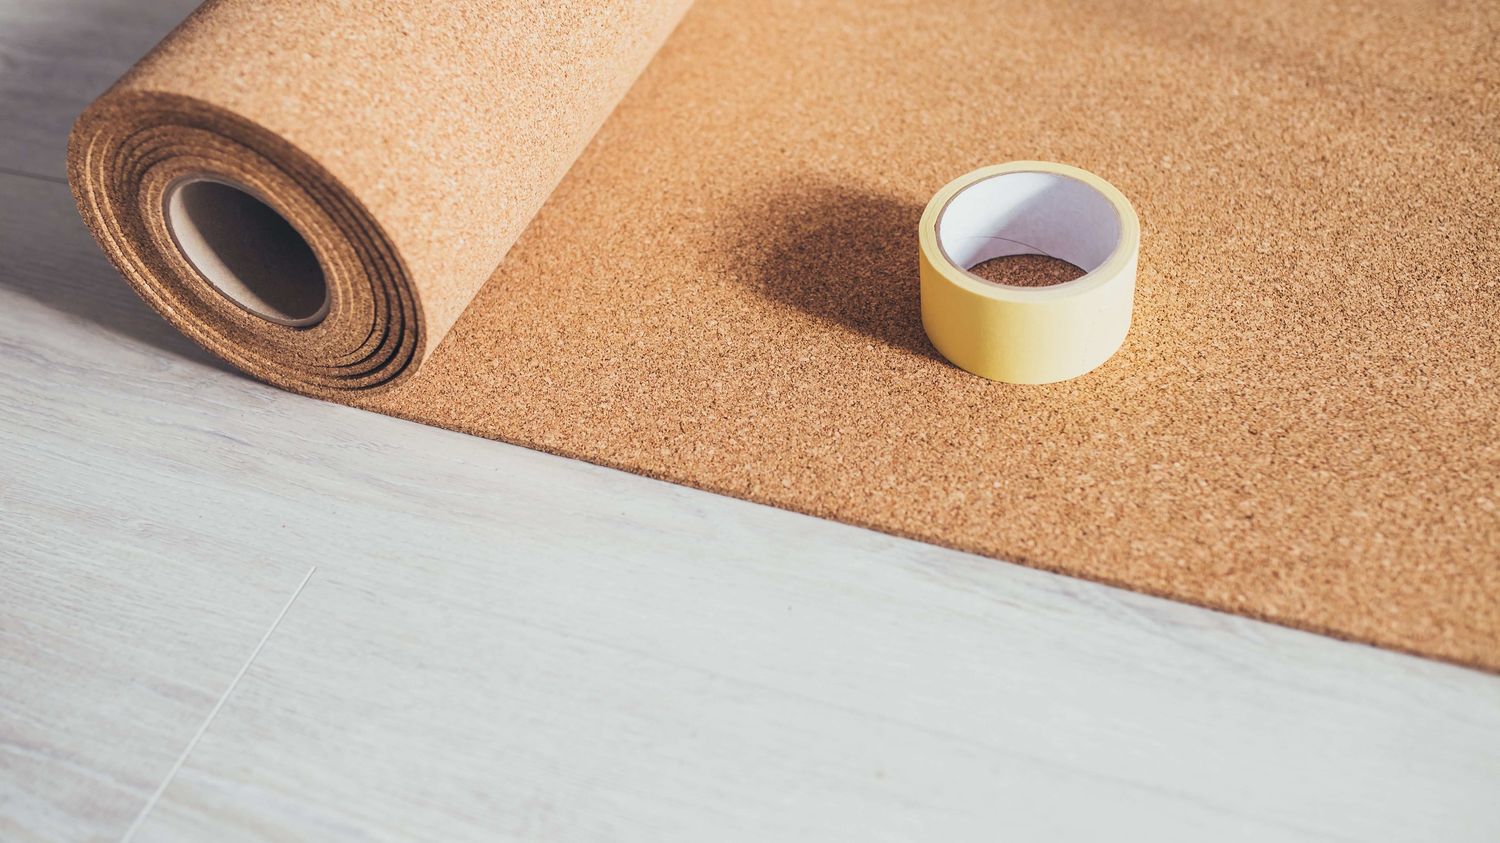
- Acoustic Underlays or Mats: Acoustic underlays or mats are thin layers of material that are placed between the existing floor and the new flooring material. These underlays help absorb and dampen sound vibrations, reducing the impact of footsteps and other noises. They are particularly effective in reducing impact noise between floors.
- Sealing Gaps and Cracks: Properly sealing gaps and cracks in floors and walls can significantly reduce sound transmission. Use acoustical sealant or weatherstripping to seal any openings that sound can pass through.
- Resilient Channels: Resilient channels are metal strips or bars that are attached to the ceiling or wall studs. They create a gap between the existing surface and the new finishing material, effectively isolating the two surfaces and reducing sound transmission.
- Adding Mass to Existing Floors: Increasing the mass of the existing floors can help block sound from traveling through. This can be done by adding additional layers of plywood or by using specialized soundproofing mats or flooring products.
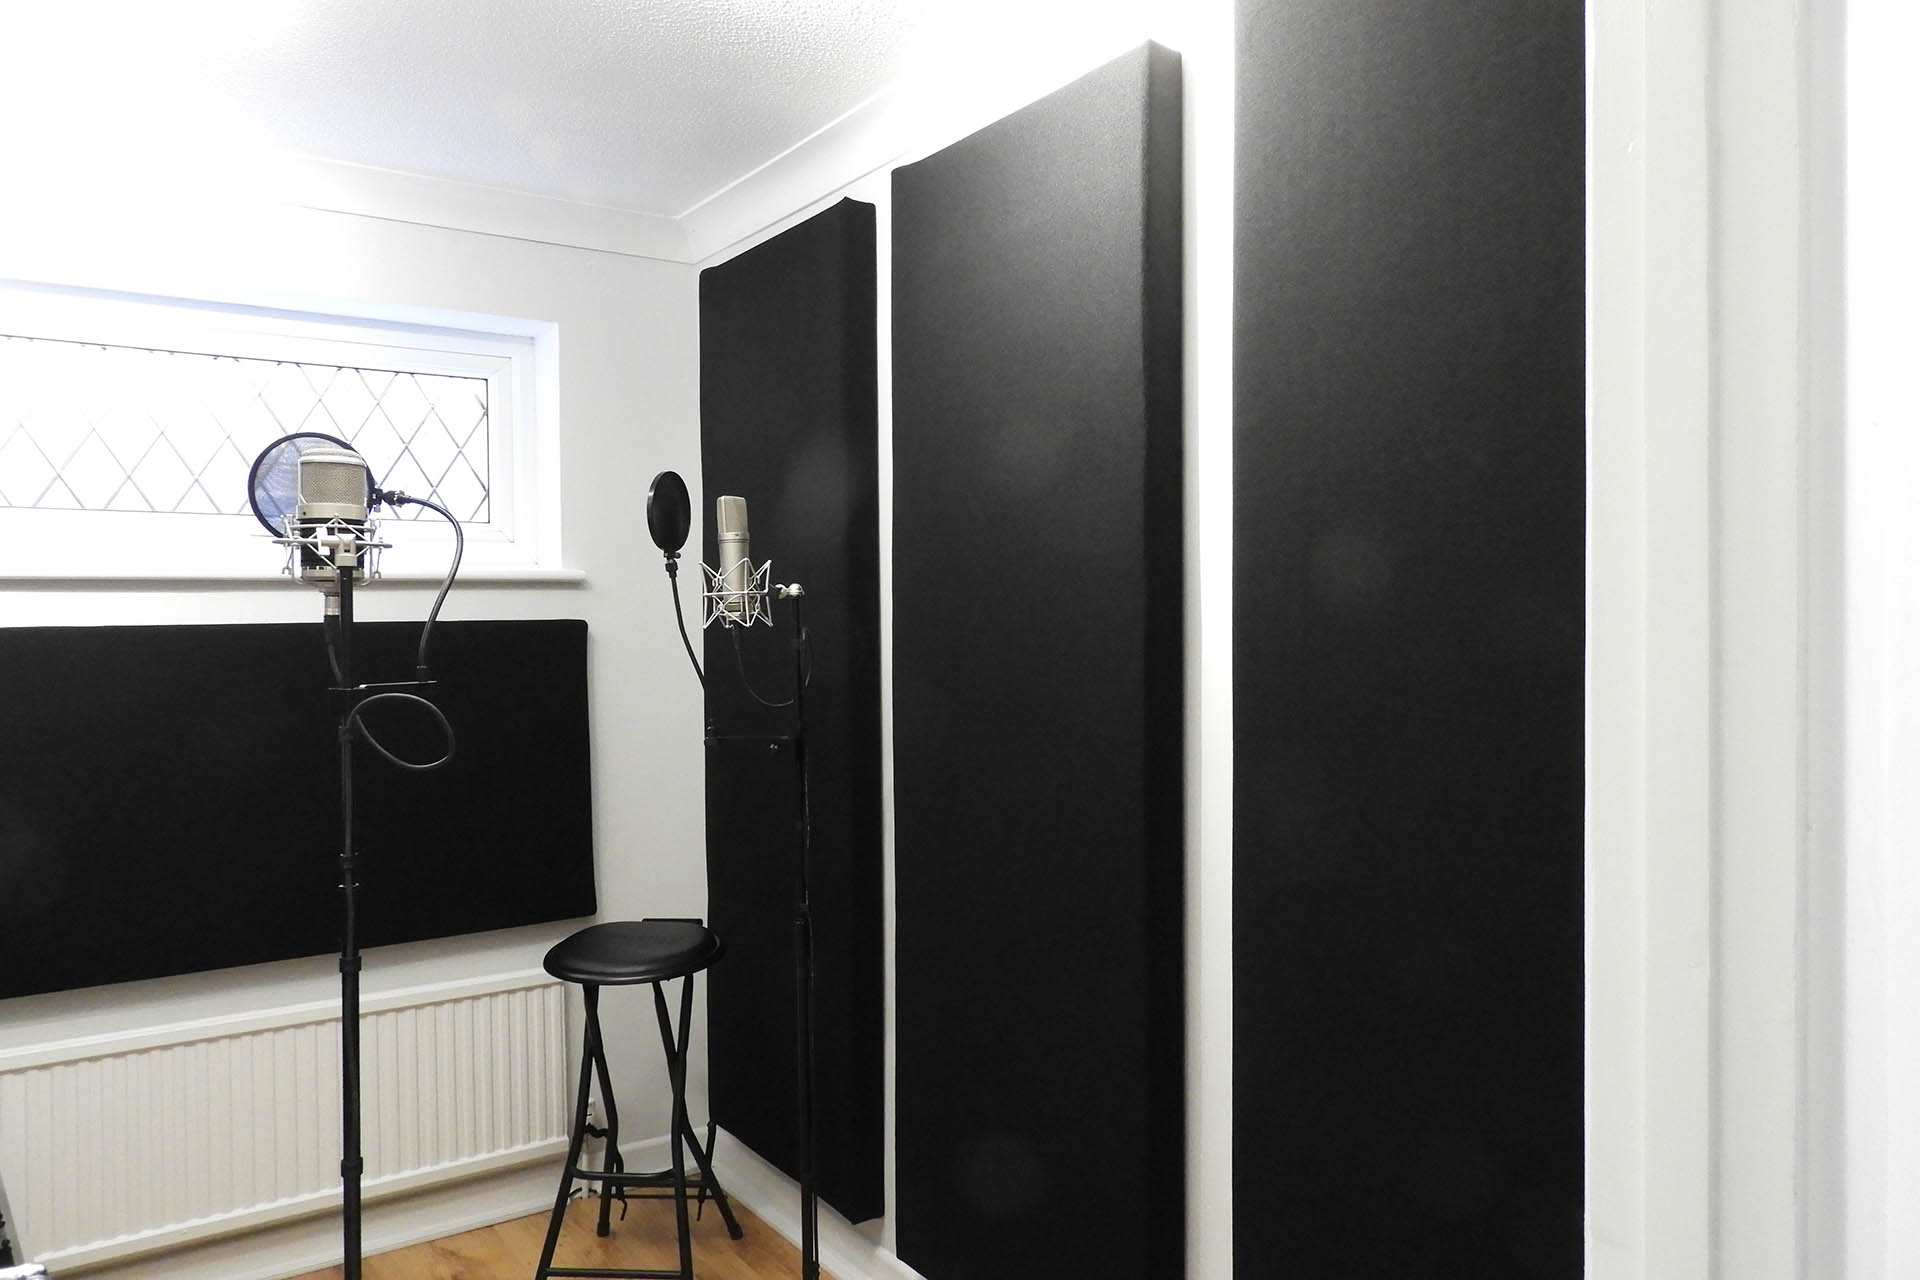
- Soundproofing Panels: Soundproofing panels, such as acoustic foam panels, can effectively absorb sound and reduce echo and reverberation. These panels can be installed on the walls or ceilings to improve overall sound insulation.
- Soundproofing Curtains: Soundproofing curtains are heavy-duty curtains made of thick, tightly woven materials. They are designed to block sound and can be used to cover windows or doorways to reduce external noise.
When choosing the right soundproofing methods, consider factors such as your budget, the severity of the sound issue, and the practicality of the installation. It’s also important to understand that combining multiple soundproofing techniques can result in better overall sound insulation.
Before starting any soundproofing project, it is advisable to consult with a professional soundproofing expert or contractor. They can assess your specific situation, provide personalized recommendations, and ensure that the chosen soundproofing methods are implemented correctly.
By carefully selecting the appropriate soundproofing methods, you can significantly reduce noise transmission between floors and enjoy a quieter and more peaceful living or working environment.
Soundproofing Techniques for Ceilings
The ceiling is one of the primary areas where sound transmission occurs between floors. Implementing soundproofing techniques for ceilings can greatly reduce the impact of airborne noise and create a more peaceful living or working environment. Here are some effective soundproofing techniques for ceilings:
- Insulation: Adding insulation in the ceiling cavity can significantly reduce sound transmission. Opt for high-density insulation materials such as mineral wool or fiberglass, which are excellent at absorbing sound waves.
- Resilient Channels: Use resilient channels, also known as sound isolation clips or sound clips, to create a gap between the ceiling joists and the finishing material. This helps to isolate vibrations and reduce sound transmission. Install the resilient channels perpendicular to the joists and attach the ceiling material to them.
- Mass-Loaded Vinyl (MLV): Mass-loaded vinyl is a dense and flexible material that can be installed between the ceiling joists. It acts as a barrier to block sound waves from passing through the ceiling. Install the MLV in multiple layers for better soundproofing.
- Double Drywall: Another effective technique is to install an additional layer of drywall to the existing ceiling. The gap between the two layers helps to trap and dampen sound vibrations. Use green glue or other sound-dampening compounds between the layers for improved soundproofing.
- Acoustic Panels: Installing acoustic panels on the ceiling can help absorb sound and reduce noise reflections. These panels are designed to enhance the acoustics of a space and can be a stylish and effective soundproofing solution.
When implementing these soundproofing techniques, it is essential to ensure proper installation and address any gaps or openings that might compromise the effectiveness of the soundproofing measures. Additionally, consider the aesthetic impact of the chosen soundproofing materials and techniques to maintain the overall design and ambiance of the room.
Remember that each space is unique, and the ideal combination of soundproofing techniques may vary. It is advisable to consult with a soundproofing professional to assess your specific situation, provide personalized recommendations, and ensure that the chosen techniques are implemented correctly.
By applying these soundproofing techniques, you can significantly reduce sound transmission through the ceiling, creating a more peaceful and quiet environment between floors.
Soundproofing Techniques for Floors
Soundproofing the floors is essential to reduce impact noise and vibrations that can travel between different levels of a building. By implementing effective soundproofing techniques, you can create a quieter and more peaceful environment. Here are some soundproofing techniques for floors:
- Acoustic Underlays or Mats: Install acoustic underlays or mats beneath the flooring material to absorb and reduce impact noise. These underlays act as a barrier between the floor and the subfloor, minimizing the transmission of footsteps and other impact sounds.
- Mass-Loaded Vinyl (MLV): Use mass-loaded vinyl, a heavy and dense material, to create a sound barrier between the flooring and the subfloor. Install it between the layers of the floor or beneath the flooring material to help block sound transmission.
- Resilient Isolation Clips: Install resilient isolation clips or sound isolation clips on the subfloor. These clips create a gap between the subfloor and the floor joists, reducing the transfer of vibrations and noise. Attach the floor to the clips to isolate it from the structure.
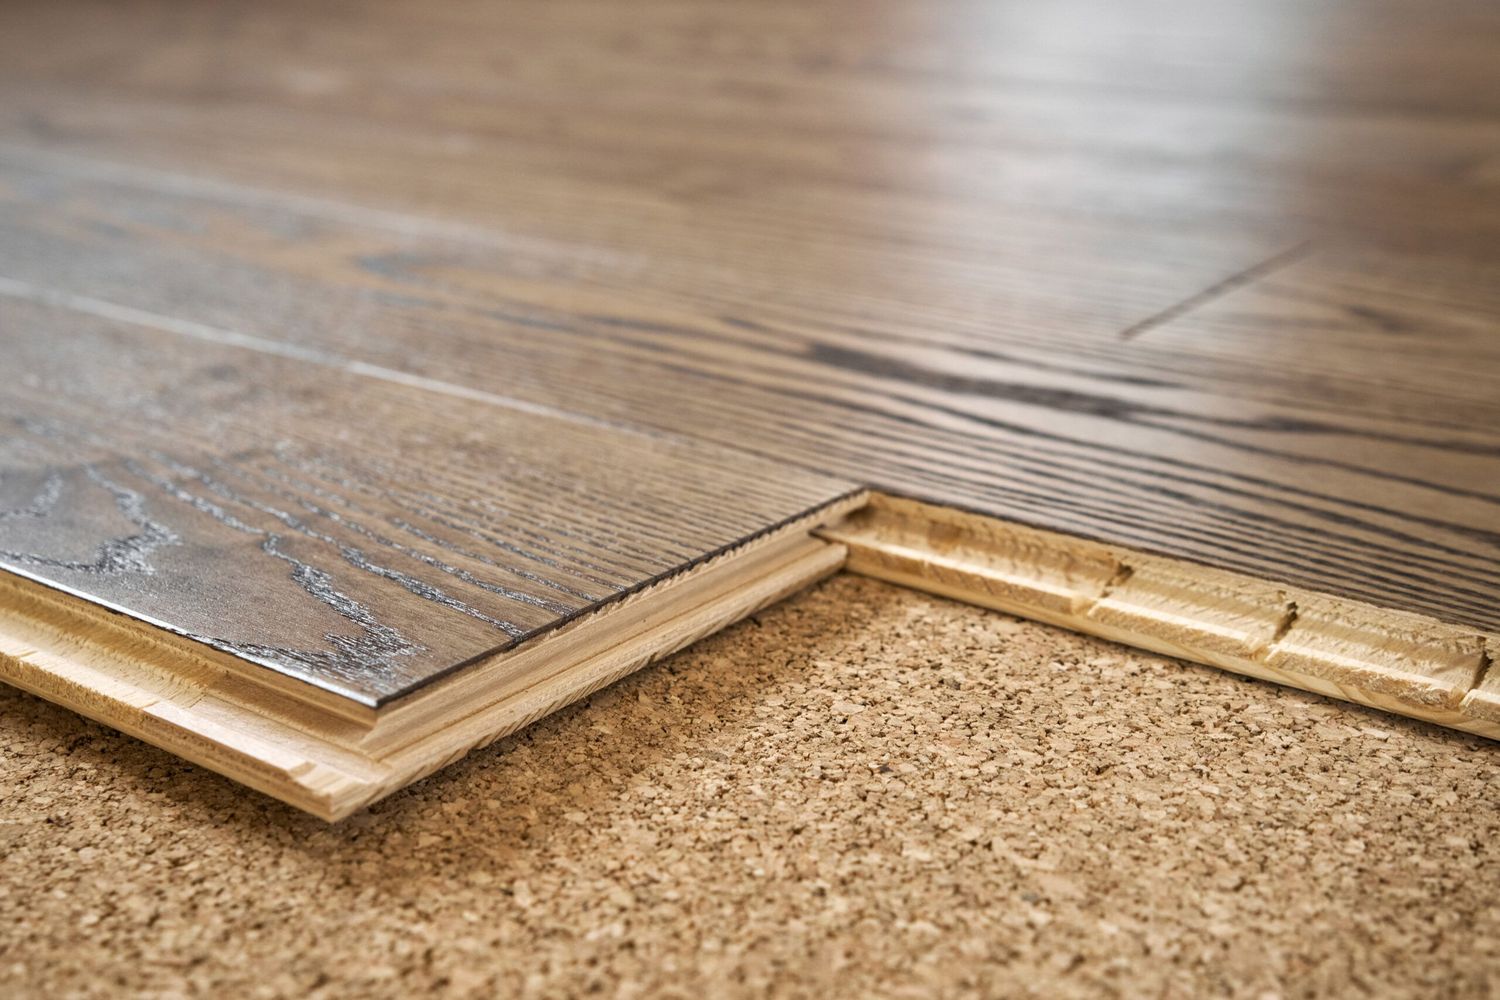
- Floating Floors: Floating floors are an effective soundproofing solution that involves installing a separate, detached layer of flooring on top of the existing floor. This layer reduces the transference of vibrations and impact noises. Popular floating floor options include cork, rubber, or foam underlayment.
- Carpets and Rugs: Using carpets or area rugs can help absorb sound and reduce impact noise. Opt for thicker and denser carpets or rugs to maximize their soundproofing properties. Adding a quality underpad beneath the carpet can further enhance the soundproofing effect.
In addition to these techniques, it is crucial to fill any gaps or cracks in the flooring to prevent sound leakage. Use acoustical sealant or a similar material to seal these openings.
When choosing a soundproofing technique for your floors, consider the specific needs of your space, budget, and the amount of soundproofing required. It is also essential to ensure proper installation and follow any manufacturer’s guidelines.
If you are unsure about which soundproofing techniques are suitable for your floors, consulting with a soundproofing professional can provide valuable guidance and ensure that you achieve the desired results in reducing noise transmission.
By implementing these soundproofing techniques for your floors, you can significantly minimize impact noise and vibrations, creating a more peaceful and enjoyable environment between floors.
Installing Acoustic Underlays or Mats
One effective soundproofing technique for floors is to install acoustic underlays or mats beneath the flooring material. These underlays act as a barrier, absorbing and reducing impact noise that can easily transmit between floors. Here’s a step-by-step guide on how to install acoustic underlays or mats:
- Prepare the floor: Start by ensuring that the subfloor is clean, dry, and free from any debris or imperfections. If necessary, repair any cracks or uneven areas in the subfloor.
- Measure and cut: Measure the dimensions of the room and the underlay material. Leave a small gap along the edges of the room to allow for expansion. Use a utility knife or scissors to cut the underlay or mat to the appropriate size.
- Lay the underlay: Begin by laying the first strip of underlay along one edge of the room. Make sure it is aligned properly and covers the entire length. Repeat the process, overlapping each strip slightly until the entire floor is covered.
- Secure the underlay: Use double-sided tape or adhesive to secure the underlay in place. Apply the tape or adhesive along the edges and seams of each strip. Press firmly to ensure a secure bond.
- Install the flooring: Once the underlay is in place, you can proceed with installing the flooring material of your choice. Follow the manufacturer’s instructions for installation, making sure to leave the appropriate expansion gaps around the perimeter of the room.
- Finish the installation: Once the flooring is installed, trim any excess underlay that may be visible along the edges of the room. Use a utility knife or scissors to carefully trim away the excess material.
Acoustic underlays or mats are available in various materials, such as rubber, cork, or foam. The specific type of underlay you choose will depend on factors such as the level of impact noise you need to reduce and your budget. It’s recommended to select underlays with a higher density and thickness for maximum soundproofing effectiveness.
Before proceeding with the installation, it’s important to read and follow the manufacturer’s instructions for the specific underlay or mat you’re using. Proper installation is key to ensuring the best soundproofing results.
Keep in mind that while acoustic underlays or mats can effectively reduce impact noise, they may not eliminate all sounds completely. For optimum soundproofing, consider combining multiple techniques and materials to create a comprehensive approach.
By installing acoustic underlays or mats, you can significantly reduce impact noise and create a quieter and more comfortable environment between floors. As with any soundproofing project, consulting with a professional can provide valuable advice and guidance to ensure you achieve the desired soundproofing results.
Sealing Gaps and Cracks
One effective soundproofing technique for floors and walls is to seal gaps and cracks. These openings can be pathways for sound to travel through, allowing noise to easily pass between floors. By sealing these gaps and cracks, you can minimize sound leakage and enhance the overall soundproofing of your space. Here’s how to seal gaps and cracks:
- Identify the gaps and cracks: Inspect the floors and walls carefully to identify any gaps, cracks, or openings where sound can pass through. Common problem areas include baseboards, window frames, doorframes, electrical outlets, and any other visible gaps.
- Clean the surfaces: Before applying any sealant, ensure the surfaces are clean and free of dust, debris, and loose material. Use a soft cloth or brush to remove any dirt or particles from the area you’ll be sealing.
- Select the appropriate sealant: Choose a suitable acoustical sealant or caulk that is designed for soundproofing applications. Look for a sealant that is flexible, durable, and has sound-dampening properties.
- Apply the sealant: Use a caulk gun or your preferred application method to apply the sealant into the gaps and cracks. Ensure that the sealant fills the entire opening, creating a complete seal. Smooth out the sealant with a caulk smoothing tool or your finger for a neat and finished appearance.
- Allow the sealant to dry: Follow the manufacturer’s instructions for drying time. It’s typically recommended to allow the sealant to cure completely before subjecting it to any stress or movement.
- Inspect and touch-up: Once the sealant is dry, inspect the sealed areas to ensure there are no gaps or areas that need touch-up. If necessary, apply additional sealant to any missed spots or areas that need reinforcement.
It’s important to note that not all gaps and cracks may be visible or easily accessible. In some cases, you may need to remove baseboards or trim to access hidden gaps behind walls. Additionally, consider sealing any air ducts or openings that connect different levels of the building to prevent sound transmission.
Sealing gaps and cracks helps create an airtight and soundproof barrier, ensuring that sound waves do not easily penetrate through openings. This technique not only reduces noise transmission but can also enhance the energy efficiency and insulation of your space.
Remember, utilizing the right sealant and proper application techniques are crucial for achieving effective soundproofing. If you’re unsure about the best sealant or technique to use, consulting a soundproofing professional can provide invaluable guidance and ensure optimal results.
By thoroughly sealing gaps and cracks, you can significantly improve the soundproofing of your floors and walls, creating a quieter and more peaceful environment between different levels of your space.
Installing Resilient Channels
One effective soundproofing technique for walls and ceilings is the installation of resilient channels. Resilient channels are metal strips or bars that are attached to the studs or joists, creating a gap between the existing surface and the finishing material. This gap helps to isolate vibrations and reduce sound transmission. Here’s a step-by-step guide on how to install resilient channels:
- Measure and plan: Determine the length and quantity of resilient channels needed for your project. Measure the dimensions of the walls or ceilings where the channels will be installed, and plan the installation layout accordingly.
- Locate the studs or joists: Use a stud finder or other appropriate tools to locate the studs or joists in the walls or ceilings where you’ll be installing the resilient channels. Mark their locations for reference.
- Attach the channels: Start at one end of the wall or ceiling and secure the first resilient channel horizontally to the studs or joists. Use screws designed for resilient channel installation, ensuring they are long enough to penetrate the studs or joists properly. Attach subsequent channels at regular intervals, following the manufacturer’s guidelines.
- Overlap the channels: Ensure that the resilient channels overlap each other at the ends to maintain continuity and structural stability. This overlap helps to distribute the weight and vibrations more evenly, reducing the possibility of sound transmission.
- Install the finishing material: Once the resilient channels are securely in place, you can proceed with installing the finishing material, such as drywall or ceiling panels. Attach the material directly to the resilient channels, following standard installation practices.
- Finish the installation: Once the finishing material is installed, finish the wall or ceiling as desired. Tape, mud, and sand the joints between the drywall panels, and finish with paint or other appropriate finishing techniques.
Resilient channels effectively decouple the finishing material from the structure of the wall or ceiling, reducing sound transmission through vibrations. This technique is particularly effective in controlling airborne sound that can penetrate through walls and ceilings.
Before installing resilient channels, it’s important to consult with a soundproofing professional or refer to the manufacturer’s instructions to ensure proper installation. Incorrect positioning or inadequate fixing of the resilient channels can diminish their soundproofing effectiveness.
Keep in mind that soundproofing projects can vary in complexity, and it’s crucial to assess the specific needs of your space and consider consulting with a professional for personalized recommendations and guidance.
By installing resilient channels, you can significantly enhance the soundproofing of your walls and ceilings, reducing the transmission of vibrations and creating a quieter and more peaceful environment.
Adding Mass to Existing Floors
One effective soundproofing technique for floors is to add mass to the existing structure. Increasing the mass of the floors helps to block sound transmission and reduce the impact of footsteps, vibrations, and other airborne noises. Here are some methods to consider when adding mass to existing floors:
- Add Additional Layers: One approach is to install additional layers of flooring material on top of the existing floor. For example, if you have hardwood or laminate flooring, adding a layer of carpet or thick rugs can significantly increase mass and improve soundproofing.
- Use Mass-Loaded Vinyl (MLV): Mass-loaded vinyl is a dense, flexible material that can be installed beneath the flooring or between layers of flooring. It acts as a sound barrier, reducing the transmission of airborne noise. Install MLV in multiple layers for better soundproofing.
- Apply Floor Underlayment: Floor underlayment materials, such as cork or rubber, can be installed between the existing floor and the new flooring material. These underlayments help to dampen vibrations and reduce sound transmission.
- Increase Subfloor Thickness: If possible, you can increase the thickness of the subfloor. This can be achieved by adding additional layers of plywood or OSB (oriented strand board) to the existing subfloor. Thicker subfloors provide more mass and better sound insulation.
- Use Soundproofing Compound: Soundproofing compounds, such as mass-loaded compounds or viscoelastic layers, can be applied to the subfloor or between layers of flooring. These compounds enhance the density and mass of the floor, reducing sound transmission.
Keep in mind that adding mass to existing floors may require adjustments to door clearances and transitions between rooms. It’s important to consider these factors and plan accordingly during the installation process.
When implementing these techniques, it’s recommended to consult with a soundproofing professional to ensure proper application and maximum effectiveness. They can provide guidance on the best materials and methods for your specific situation.
Adding mass to existing floors can significantly improve the soundproofing of your space by reducing airborne noise and vibrations. By increasing the density and mass of the floors, you can create a more peaceful and quiet environment between different levels of your building.
Soundproofing Techniques for Walls
Soundproofing walls is an essential aspect of creating a peaceful and quiet environment between rooms or different living spaces. By employing effective soundproofing techniques, you can greatly reduce the transmission of sound through walls. Here are some soundproofing techniques for walls:
- Insulation: Adding insulation to the walls is a simple yet effective method for soundproofing. Install sound-absorbing insulation materials, such as mineral wool or fiberglass, in the wall cavities to dampen sound vibrations and reduce noise transmission.
- Soundproofing Panels: Soundproofing panels, also known as acoustic panels, are designed to absorb sound waves and reduce echoes. Install these panels on the walls to improve overall sound insulation. They come in various sizes, shapes, and designs, allowing you to customize the look of your space while enhancing its acoustic properties.
- Double-Layered Drywall: Installing an additional layer of drywall to the existing wall can significantly improve soundproofing. Use green glue or other sound-dampening compounds between the layers to enhance their effectiveness. Ensure that the seams are properly taped and mudded to create a seamless surface.
- Resilient Channels: Resilient channels can also be used on walls to create a gap between the existing wall surface and the new finishing material. These channels help isolate vibrations and reduce sound transmission. Attach the wall material to the resilient channels, following proper installation techniques.
- Sealing Gaps and Cracks: Fill any gaps or cracks in the walls to prevent sound leakage. Use acoustical sealant or caulk to seal these openings, ensuring a tight and soundproof seal. Pay close attention to areas around outlets, windows, and doors.
- Soundproofing Wallpaper: Soundproofing wallpapers are designed to add mass and absorb sound waves. They can be applied directly to the existing wall surface, providing an extra layer of soundproofing. Soundproofing wallpapers come in various patterns and colors, allowing you to enhance both the acoustic properties and aesthetic appeal of your space.
When implementing these techniques, it’s important to follow proper installation procedures and consider the specific needs and requirements of your space. Consulting with a soundproofing professional can provide valuable insight and ensure optimal results.
Keep in mind that combining multiple soundproofing techniques may yield the best results. Each technique addresses different aspects of sound transmission, and a comprehensive approach can maximize the soundproofing capabilities of your walls.
By employing these soundproofing techniques for walls, you can greatly reduce the transmission of sound, creating a more peaceful and private environment. Enjoy enhanced privacy and tranquility between rooms or different living spaces in your home or office.
Soundproofing Techniques for Stairs
Soundproofing stairs is crucial to minimize the transmission of noise and vibrations throughout your home or building. Footsteps on the stairs can create significant noise that can travel between floors and disrupt the tranquility of your space. Implementing soundproofing techniques for stairs can greatly reduce these disturbances. Here are some effective methods to soundproof stairs:
- Carpeting: Covering your stairs with carpet or stair runners can help absorb sound and reduce noise caused by foot traffic. Choose dense and thick carpets or runners for better soundproofing results.
- Absorptive Underlayment: Installing an absorptive underlayment beneath the carpet or stair runners can further enhance soundproofing. These underlayments are specially designed to absorb impact noise and minimize vibrations.
- Adhesive Mats: Applying adhesive mats or pads to the underside of each step can help reduce noise caused by vibrations. These mats act as a cushion and absorb the impact, preventing it from radiating as sound.
- Fix Loose Or Creaky Steps: Creaking or loose steps can generate noise when stepped on. Fixing these issues by tightening loose steps or reinforcing them with additional screws can help reduce noise and vibrations.
- Install Acoustic Panels: Installing acoustic panels on the walls surrounding the stairs can help absorb sound and reduce echoes. The panels will not only improve soundproofing but also enhance the aesthetics of the stairwell.
- Seal Gaps and Cracks: Inspect the area around the stairs for any gaps or cracks that may allow sound to pass through. Seal these openings with acoustic sealant or caulk to prevent sound leakage.
- Consider Soundproofing the Ceiling below the Stairs: If you have a finished space below the stairs, soundproofing the ceiling can help reduce noise transmission. Implement insulation, resilient channels, or additional layers of drywall to create an effective sound barrier.
Each of these techniques can contribute to reducing noise and vibrations associated with stairs. You can choose one or combine multiple methods depending on the severity of the issue and your desired level of soundproofing.
When implementing these soundproofing techniques, remember to consider the aesthetics of your stairs and the overall design of your space. If needed, consult with a soundproofing professional to ensure proper installation and to explore other custom soundproofing options.
By applying these soundproofing techniques to your stairs, you can create a quieter and more peaceful environment, minimizing the disturbance caused by foot traffic and footsteps.
Conclusion
Soundproofing between floors is vital for creating a tranquil and harmonious living or working environment. By implementing the right soundproofing techniques, you can significantly reduce noise transmission and enjoy a quieter space.
Throughout this article, we have explored various soundproofing methods for different areas, including ceilings, floors, walls, stairs, and more. Understanding the need for soundproofing, identifying problem areas, and selecting the appropriate techniques are crucial steps in achieving effective noise reduction.
From adding acoustic underlays or mats to sealing gaps and cracks, each technique plays a significant role in improving sound insulation. Installing resilient channels, increasing the mass of existing floors, and using soundproofing materials like mass-loaded vinyl or soundproofing panels can further enhance the soundproofing capabilities of your space.
It’s important to remember that soundproofing is a customized process that depends on the specific needs and characteristics of your space. Consulting with a soundproofing professional can provide personalized recommendations and ensure optimal results.
Whether you live in an apartment building, a multi-story home, or work in an office space with multiple levels, soundproofing between floors is crucial for maintaining privacy, creating a peaceful atmosphere, and enhancing overall well-being.
By implementing the soundproofing techniques discussed in this article, you can enjoy a quieter and more comfortable environment, free from the disturbances of noise transmission between floors.
Take the time to assess your space, identify problem areas, and choose the right soundproofing methods for your unique situation. With proper installation and attention to detail, you can create a space that promotes tranquility, privacy, and productivity.
Investing in soundproofing not only improves your quality of life but also adds value to your property. So, start implementing these soundproofing techniques and transform your space into a haven of peace and quiet.