Home>Production & Technology>Soundproofing>How To Add Soundproofing To Existing Walls
Soundproofing
How To Add Soundproofing To Existing Walls
Published: January 26, 2024
Learn how to add soundproofing to your existing walls and enjoy a quieter and more peaceful environment. Discover effective techniques and materials for soundproofing your space.
(Many of the links in this article redirect to a specific reviewed product. Your purchase of these products through affiliate links helps to generate commission for AudioLover.com, at no extra cost. Learn more)
Table of Contents
Introduction
Are you tired of hearing unwanted noise from outside your home or office? Do you wish to create a quieter and more peaceful environment? Soundproofing is the answer! By adding soundproofing to your existing walls, you can significantly reduce the amount of noise that enters your space and enjoy a more tranquil atmosphere.
Whether you live in a noisy neighborhood, work in a bustling office, or simply want to create a private and serene space, soundproofing your walls can make a world of difference. Soundproofing involves the use of specialized materials and techniques to block, absorb, and dampen sound waves, minimizing their transfer from one space to another.
In this article, we will explore the process of adding soundproofing to existing walls and guide you through the necessary steps to achieve maximum noise reduction. By understanding the need for soundproofing, assessing your existing walls, choosing the right materials, and following proper installation techniques, you can transform your space into a peaceful oasis.
So, if you’re ready to take control of the noise levels in your home or office, let’s dive into the world of soundproofing and discover how to create a serene and quiet environment that you truly deserve.
Understanding the Need for Soundproofing
Before delving into the process of adding soundproofing to your existing walls, it’s essential to understand why soundproofing is necessary and the benefits it offers. Noise pollution has become a pervasive issue in our modern society, affecting our health, well-being, and overall quality of life.
Unwanted noise can be a major source of stress and frustration, disturbing our sleep, concentration, and peace of mind. Whether it’s the sound of traffic, noisy neighbors, construction work, or even internal sounds like air conditioning units, it can have a detrimental impact on our daily lives.
Adding soundproofing to your walls helps create a barrier that prevents sound waves from passing through. It effectively reduces the amount of noise that enters your space, ensuring a quieter and more peaceful environment. The benefits of soundproofing include:
- Noise reduction: Soundproofing eliminates or greatly reduces the amount of noise that enters your space, providing a peaceful and tranquil atmosphere.
- Better sleep: Soundproofing helps create a restful sleeping environment by blocking out external noises that can disrupt your sleep patterns.
- Improved focus: By reducing distractions from outside noises, soundproofing enhances your ability to concentrate on work or other activities that require focus and attention.
- Increased privacy: Soundproofing adds a layer of privacy by preventing sound from traveling between rooms, ensuring confidential conversations remain confidential.
- Enhanced productivity: A quieter space allows you to work more efficiently, leading to increased productivity and overall satisfaction.
- Reduced stress levels: Living in a quieter environment can have a positive impact on your mental and emotional well-being, reducing stress and promoting relaxation.
By understanding the need for soundproofing and recognizing its benefits, you can make an informed decision about investing in soundproofing materials and techniques to enhance your living or working space.
Assessing the Existing Walls
Before you begin the process of adding soundproofing to your walls, it’s important to assess the condition and structure of your existing walls. This step will help you determine the most effective soundproofing solutions and ensure proper installation.
Here are some key factors to consider when assessing your existing walls:
- Wall Material: Determine the type of material your walls are made of, such as drywall, concrete, or brick. Different materials have varying levels of soundproofing qualities, and certain soundproofing techniques may be more suitable for specific wall materials.
- Thickness: Measure the thickness of your walls. Thicker walls tend to provide better sound insulation than thinner ones.
- Existing Soundproofing: Check if any soundproofing measures were previously installed in your walls. This could include insulation or soundproofing panels. Understanding what is already in place will inform your further soundproofing efforts.
- Noise Sources: Identify the primary sources of noise that you are trying to block out. This could be external noise from traffic or neighbors, or internal noise from appliances or equipment. Understanding the source of the noise will help you target your soundproofing measures more effectively.
- Wall Condition: Assess the condition of your walls for any cracks, gaps, or holes. These can be potential points of sound leakage and should be addressed before implementing soundproofing solutions.
By conducting a thorough assessment of your existing walls, you will have a clearer understanding of the specific soundproofing needs and challenges you may encounter. This will enable you to select the most appropriate soundproofing materials and techniques for your space.
Choosing the Right Soundproofing Material
When it comes to soundproofing your existing walls, selecting the right materials is crucial for achieving optimal results. There are several soundproofing options available, each with its own unique properties and benefits. Consider the following factors when choosing the right soundproofing material:
- Noise Reduction Coefficient (NRC): The NRC rating measures the material’s ability to absorb sound. Look for materials with a high NRC rating, as they are more effective at reducing noise.
- Thickness: Thicker materials typically provide better sound insulation. Consider the available space in your walls and choose a material that fits within the existing structure without compromising stability.
- Density: Materials with higher density often offer better soundproofing capabilities. They can effectively block sound waves from passing through the walls.
- Ease of Installation: Consider the installation process for the chosen material. Some materials may require professional installation, while others can be easily implemented as a DIY project.
- Fire Resistance: Ensure that the soundproofing material you choose complies with fire safety regulations. Opt for materials that are fire-resistant to maintain a safe environment.
- Cost: Consider your budget and the overall cost of the soundproofing material. Balance affordability with effectiveness to choose the best option for your needs.
Common soundproofing materials include:
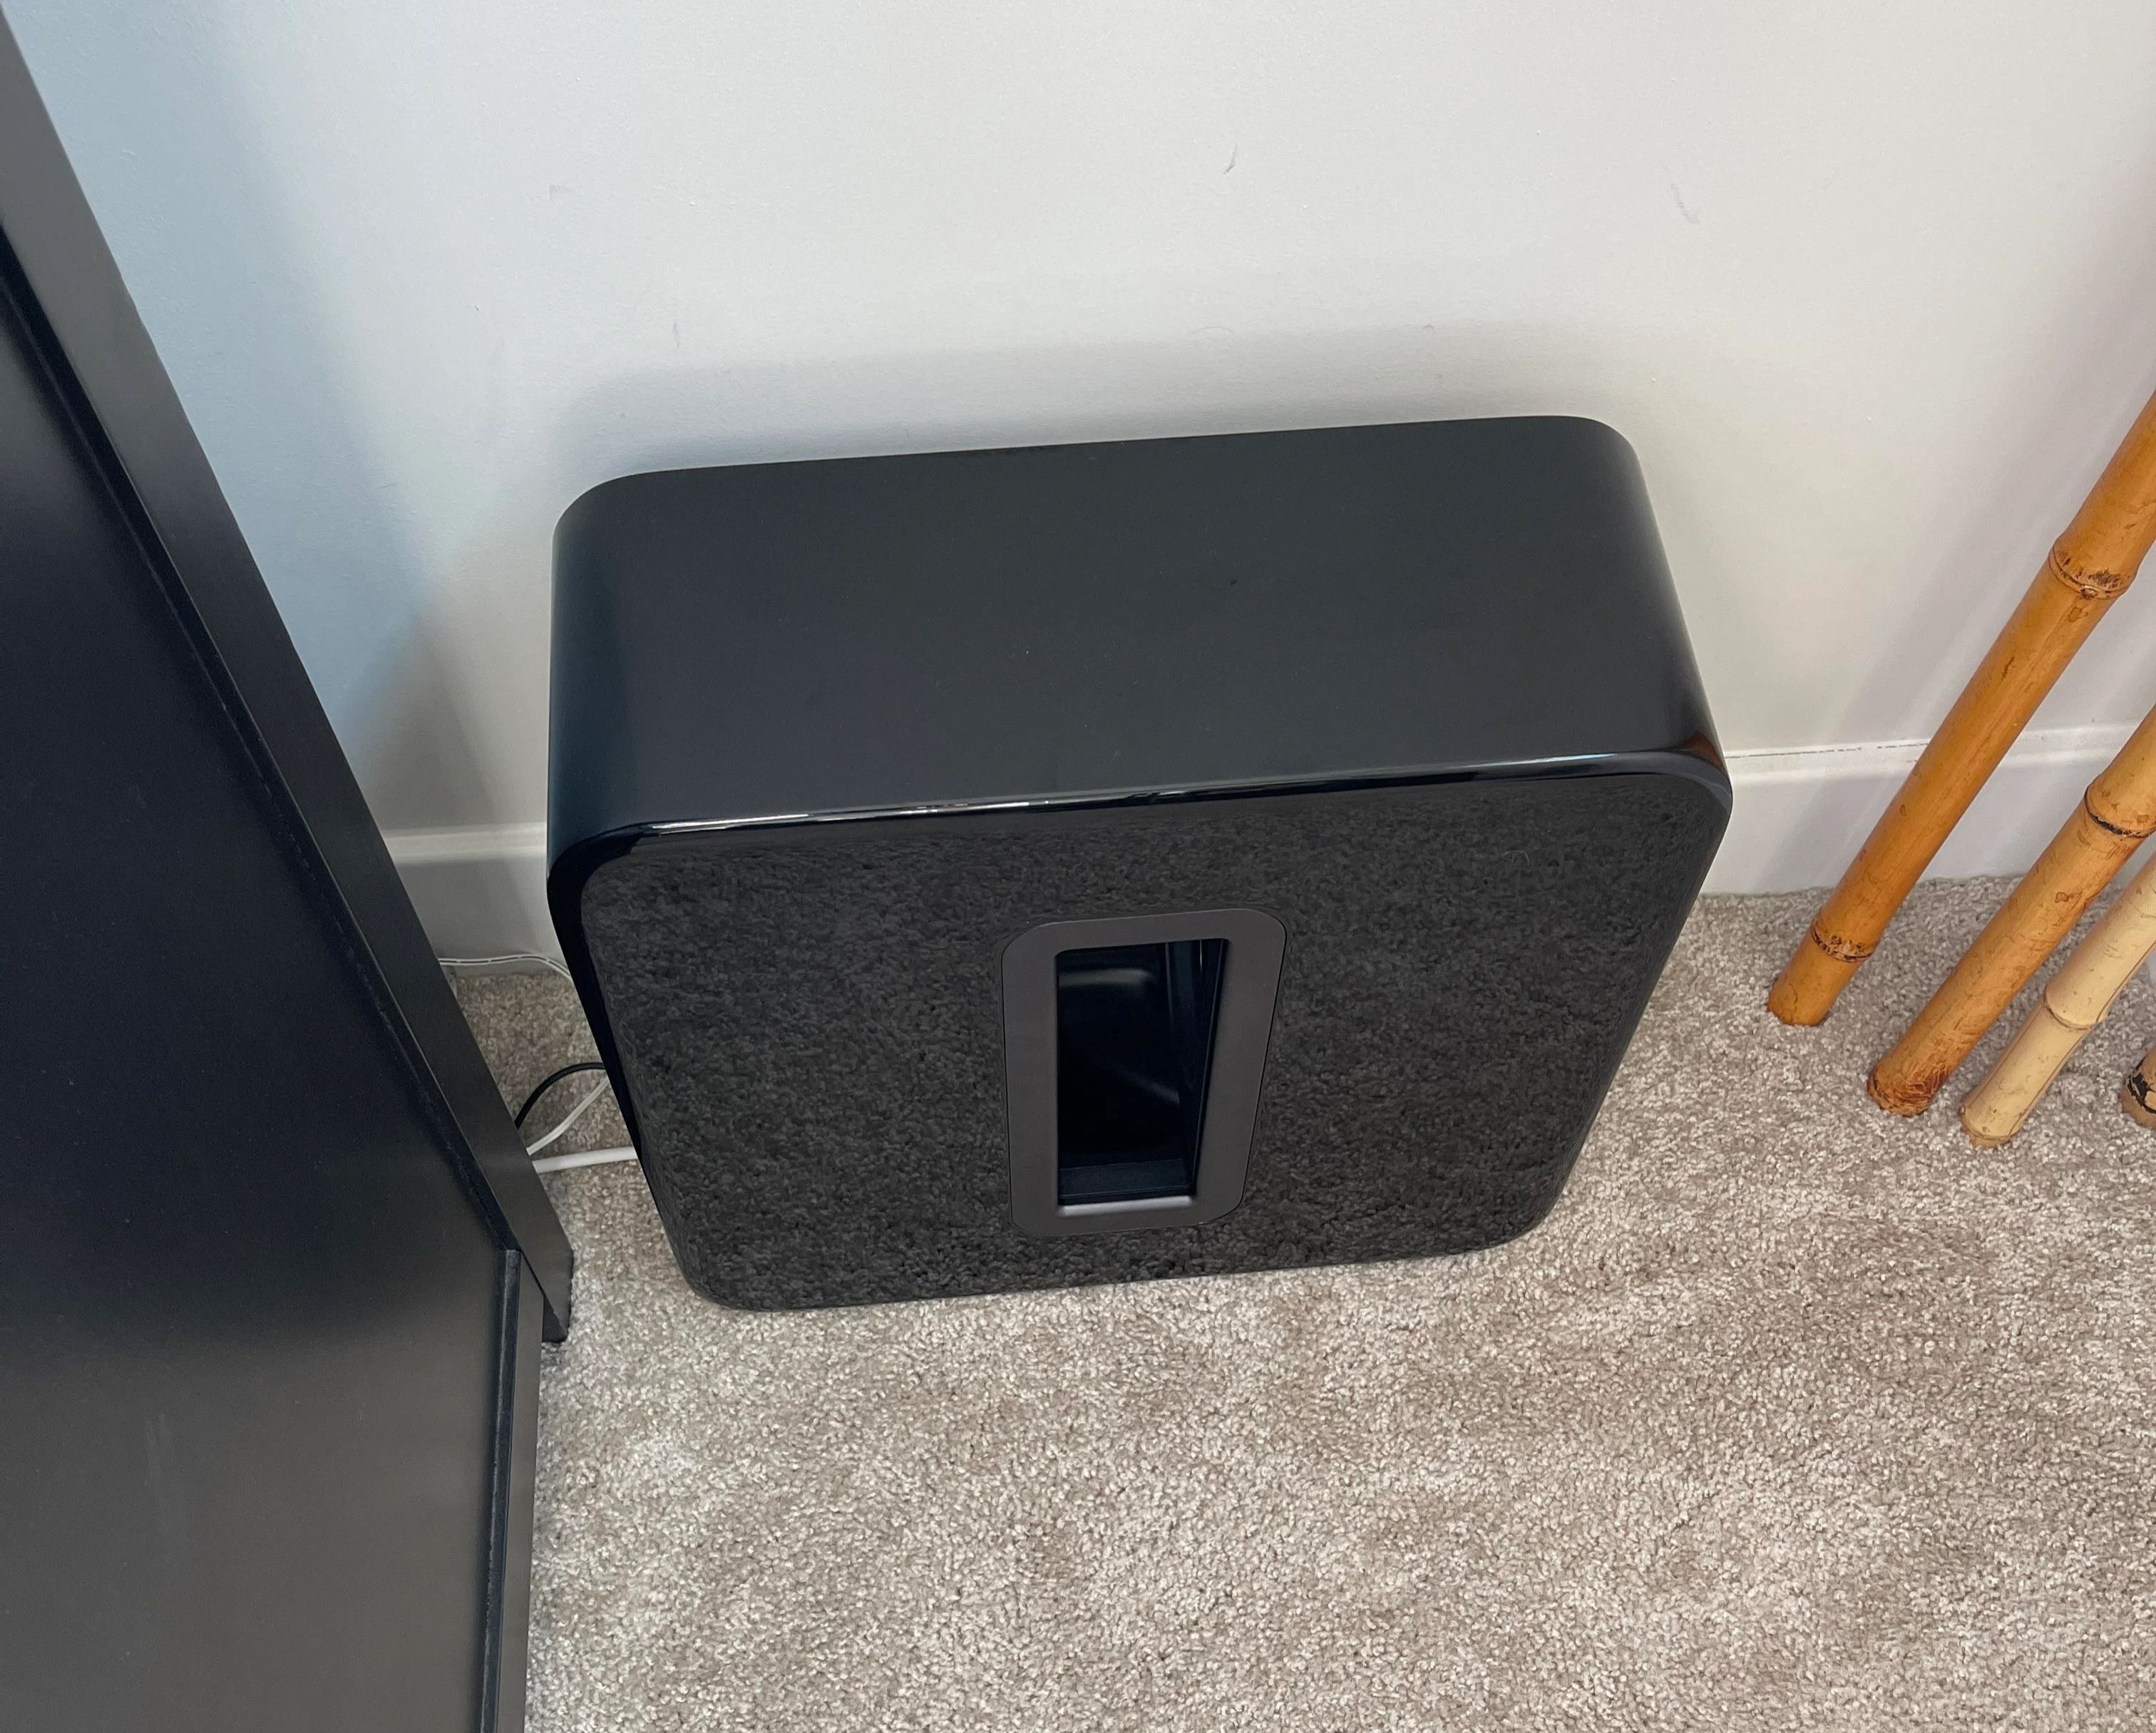
- Acoustic Insulation: Fiberglass or mineral wool insulation can be inserted between wall studs to absorb sound waves and reduce noise.
- Mass Loaded Vinyl (MLV): MLV is a dense vinyl material that can be applied to walls to provide an additional sound barrier. It is effective for blocking airborne noise.
- Soundproof Drywall: Specialty drywall that incorporates sound-dampening properties can be installed as a replacement for regular drywall to reduce noise transmission.
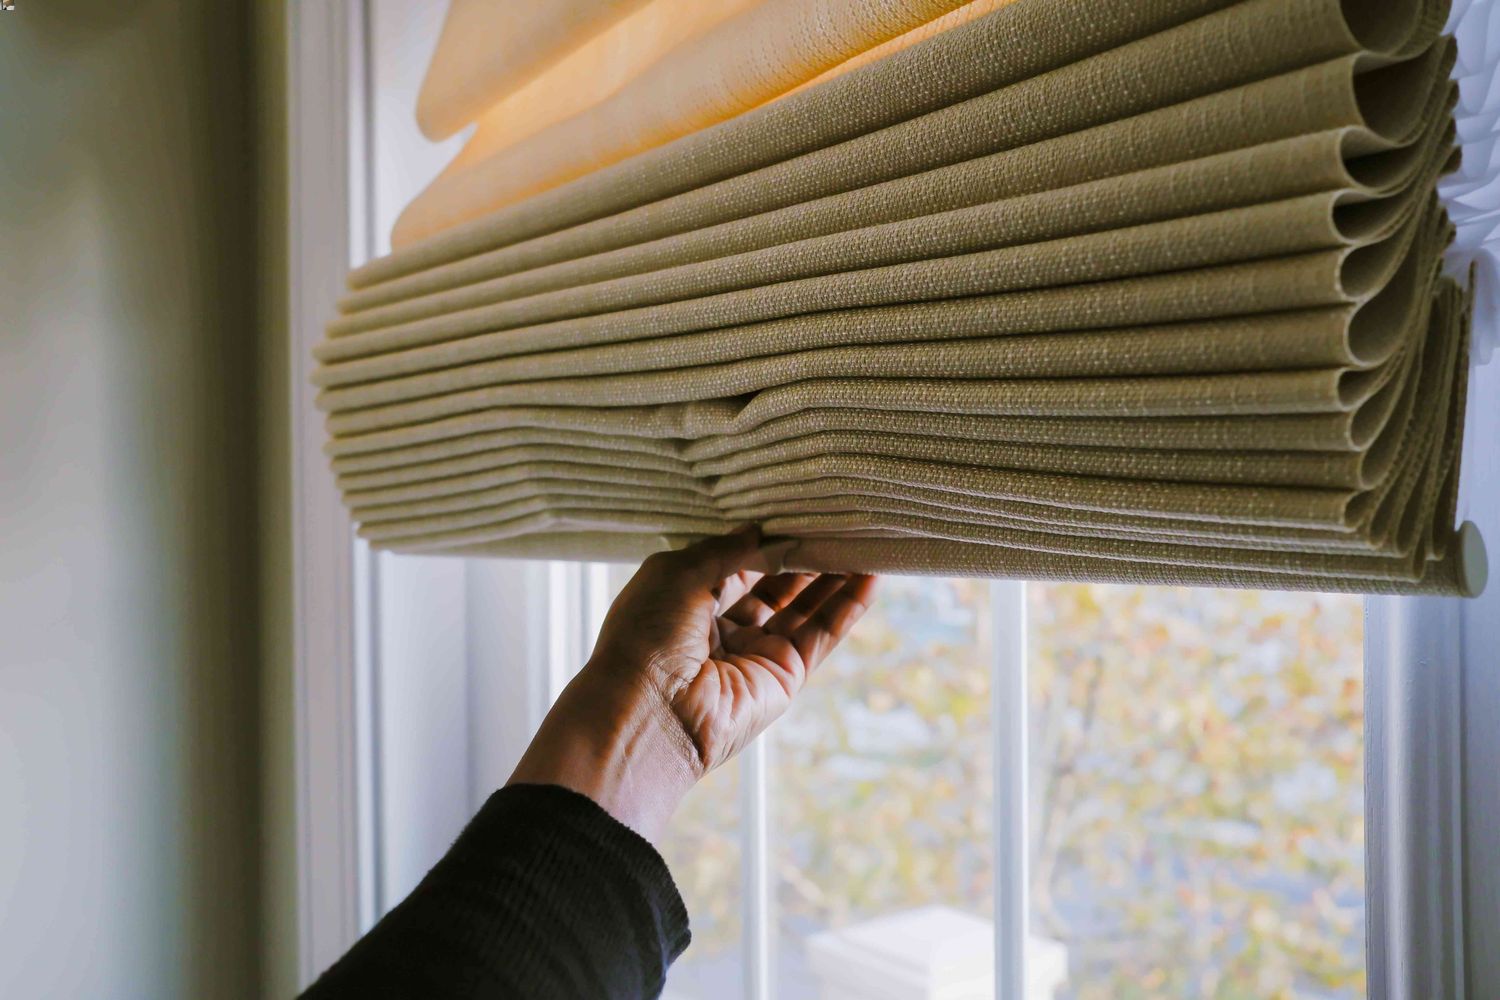
- Soundproofing Panels: These panels are designed to absorb and diffuse sound waves. They can be mounted on walls to enhance soundproofing and add aesthetic appeal.
- Green Glue Compound: This viscoelastic compound is sandwiched between layers of drywall to improve sound insulation. It converts sound energy into heat, effectively reducing noise.
Consider your specific soundproofing needs, budget, and installation requirements when selecting the right material. It may also be helpful to consult an expert or seek professional advice to ensure you choose the most suitable soundproofing solution for your existing walls.
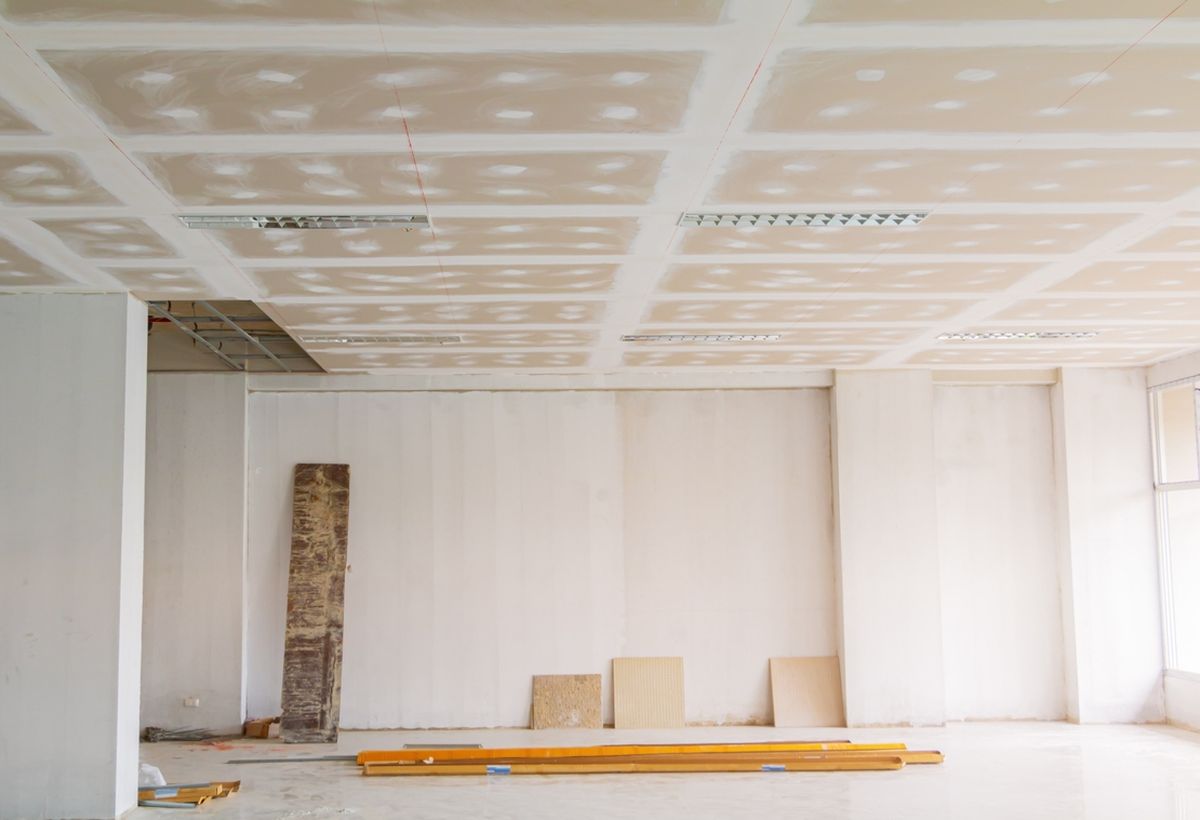
Preparing the Walls for Soundproofing
Before you start installing soundproofing materials in your walls, it is essential to properly prepare the walls to ensure optimal results. Preparing the walls involves a few key steps that will help create a clean and suitable surface for soundproofing. Here’s what you need to do:
- Clean the Walls: Begin by cleaning the walls thoroughly to remove any dust, dirt, or debris. Use a damp cloth or sponge to wipe the walls surface, paying attention to corners and crevices.
- Repair Cracks and Holes: Inspect the walls for any cracks, holes, or gaps. These can compromise the effectiveness of the soundproofing. Fill in any cracks or holes with an appropriate wall filler or sealant and allow it to dry completely.
- Remove Wall Fixtures: Take down any fixtures, such as artwork, shelves, or wall-mounted electronics, that may obstruct the soundproofing process. This will allow for a smooth installation of the soundproofing materials.
- Soundproof Outlet Boxes: Install soundproof outlet boxes if there are electrical outlets on the walls. These boxes are designed to prevent sound leakage through the outlets.
- Apply Acoustical Caulk: Apply acoustical caulk around the perimeters of the walls, as well as in any joints or gaps. This will help create an airtight seal and prevent sound from leaking through small openings.
- Protect Adjacent Surfaces: Cover any adjacent surfaces, such as floors or furniture, with protective sheets or drop cloths to prevent damage during the installation process.
By properly preparing your walls, you ensure a smooth and effective installation of the soundproofing materials. This not only enhances the soundproofing capabilities but also increases the longevity of the soundproofing system. Take the time to prepare your walls thoroughly, and you will reap the benefits of a quieter and more peaceful environment.
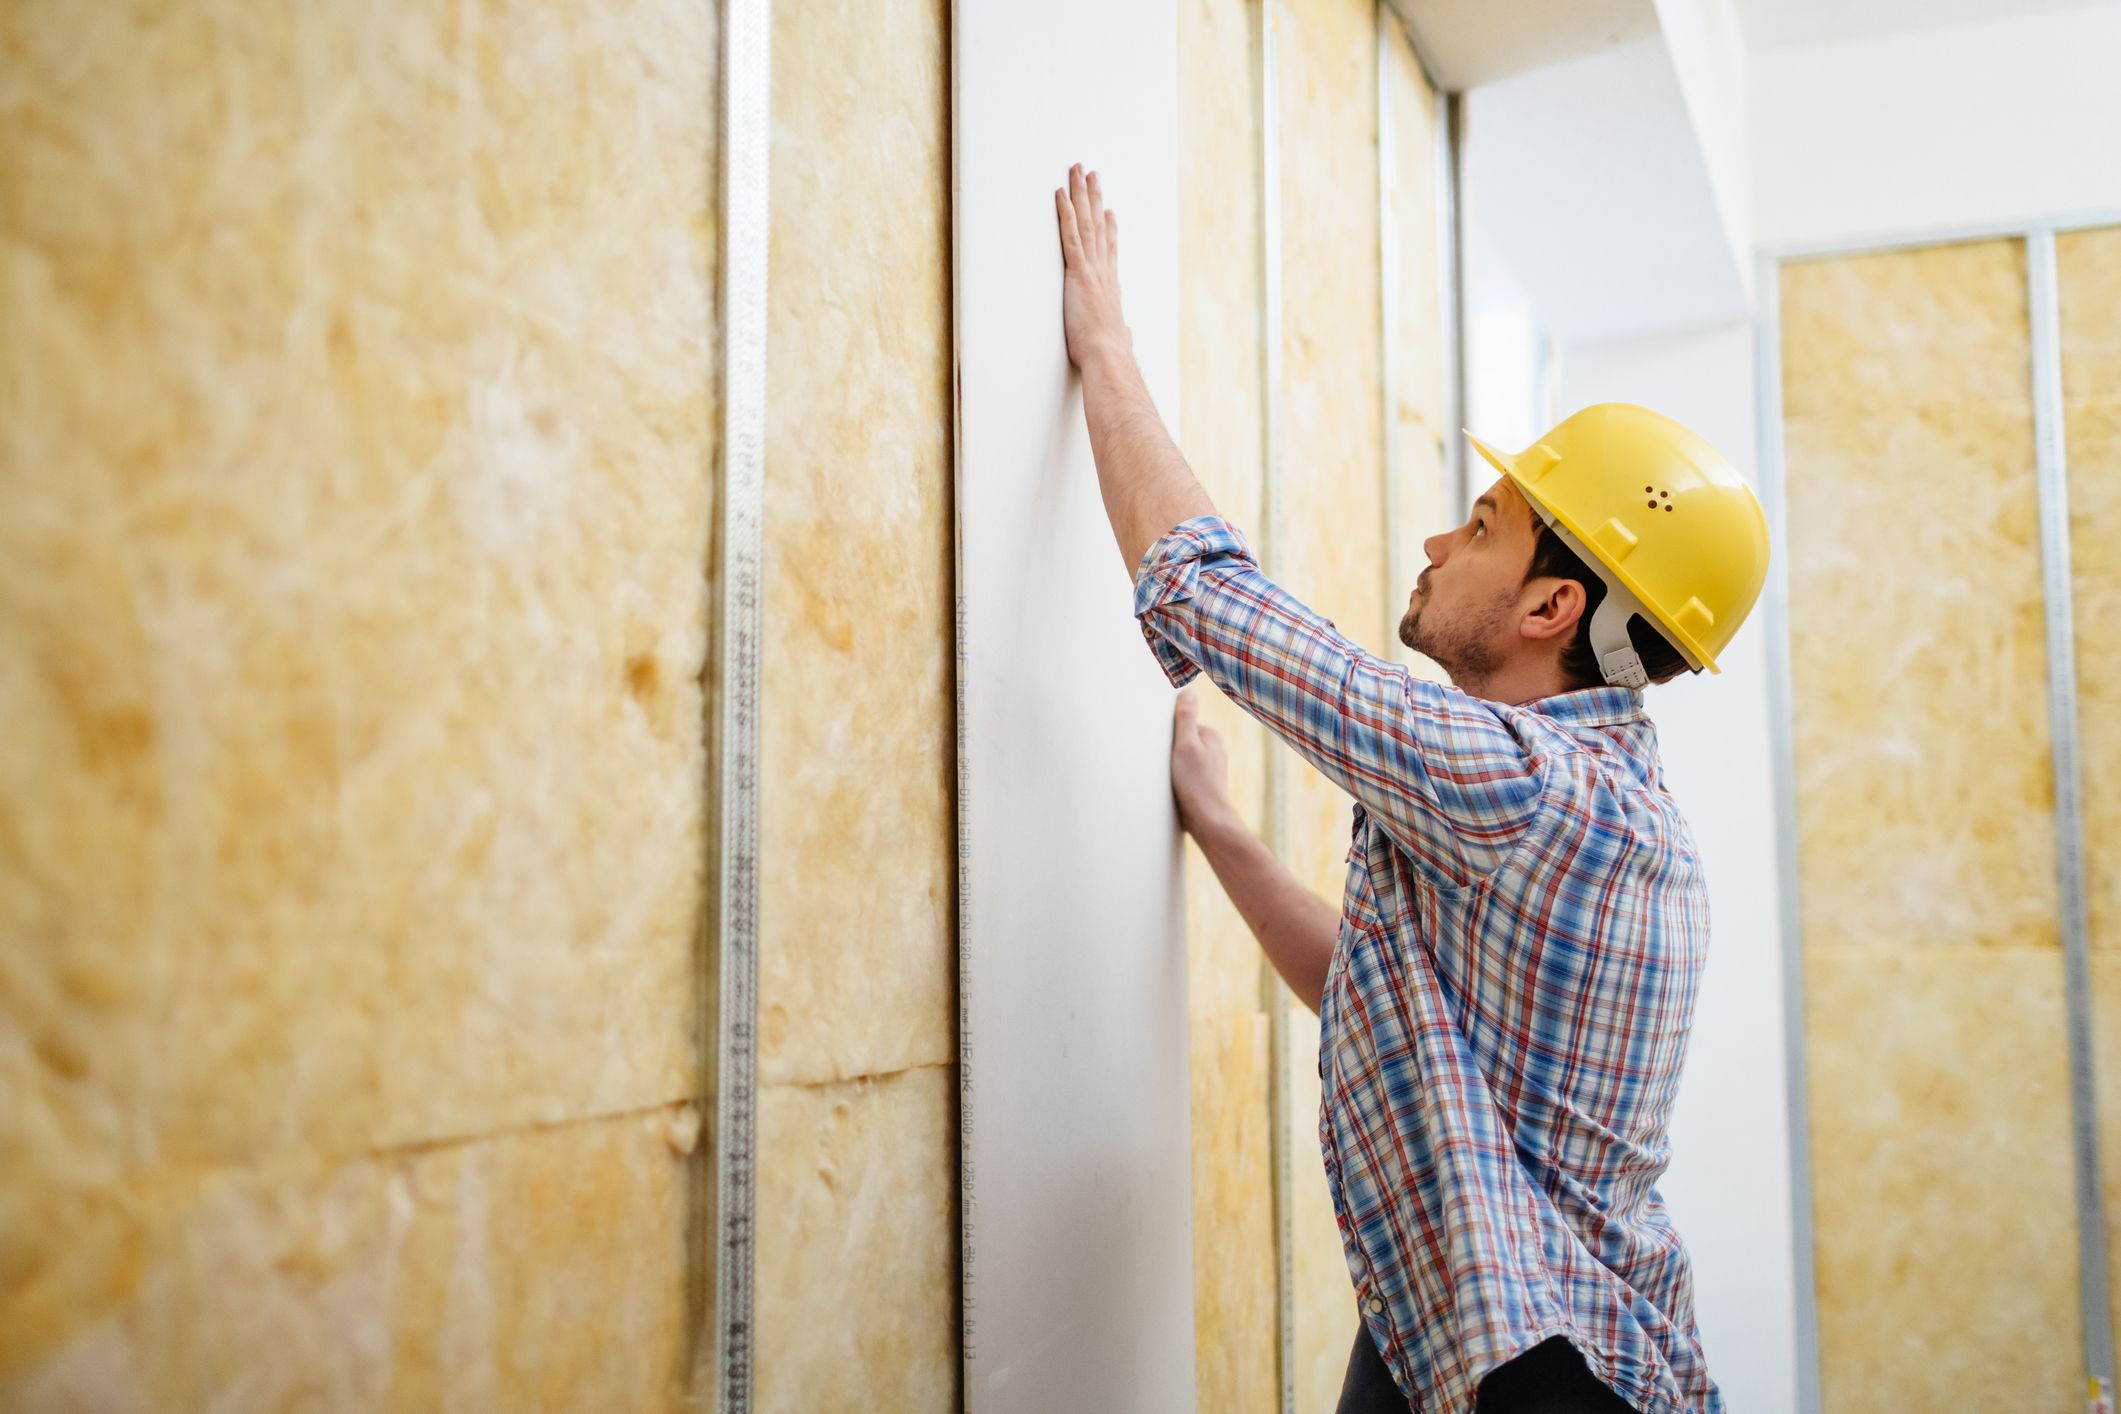
Installing Soundproofing Material in Walls
Once you have assessed your walls, chosen the right soundproofing material, and prepared the walls accordingly, it’s time to begin the installation process. Installing soundproofing material in your walls requires care and precision to ensure proper coverage and effectiveness. Here’s a step-by-step guide:
- Measure and Cut: Measure the dimensions of the wall areas where you will be installing the soundproofing material. Use these measurements to cut the material to the appropriate size, allowing for a snug fit.
- Apply Adhesive: Apply a high-quality adhesive to the back of the soundproofing material according to the manufacturer’s instructions. Ensure even coverage to promote proper adhesion to the wall.
- Press and Smooth: Press the soundproofing material firmly against the wall, starting from one corner and working your way across the entire area. Smooth out any wrinkles or air bubbles as you go to ensure a flat and secure application.
- Secure with Fasteners: If necessary, use fasteners such as screws or nails to secure the soundproofing material in place. This is particularly applicable for heavier materials or when additional stability is required.
- Repeat the Process: Continue measuring, cutting, applying adhesive, and installing the soundproofing material until you have covered the desired wall areas. Pay attention to corners, edges, and any other vulnerable points that may require extra soundproofing.
- Allow for Drying Time: If the adhesive used requires drying time, make sure to follow the instructions provided by the manufacturer. Allow the soundproofing material to fully adhere to the wall before proceeding with any other installation or finishing work.
It is important to note that the specific installation process may vary depending on the type of soundproofing material you have chosen. Always refer to the manufacturer’s guidelines, as they will provide detailed instructions tailored to the product’s unique characteristics.
By carefully following these installation steps, you can effectively add soundproofing material to your walls and create a more acoustically insulated space.
Sealing Gaps and Cracks in Walls
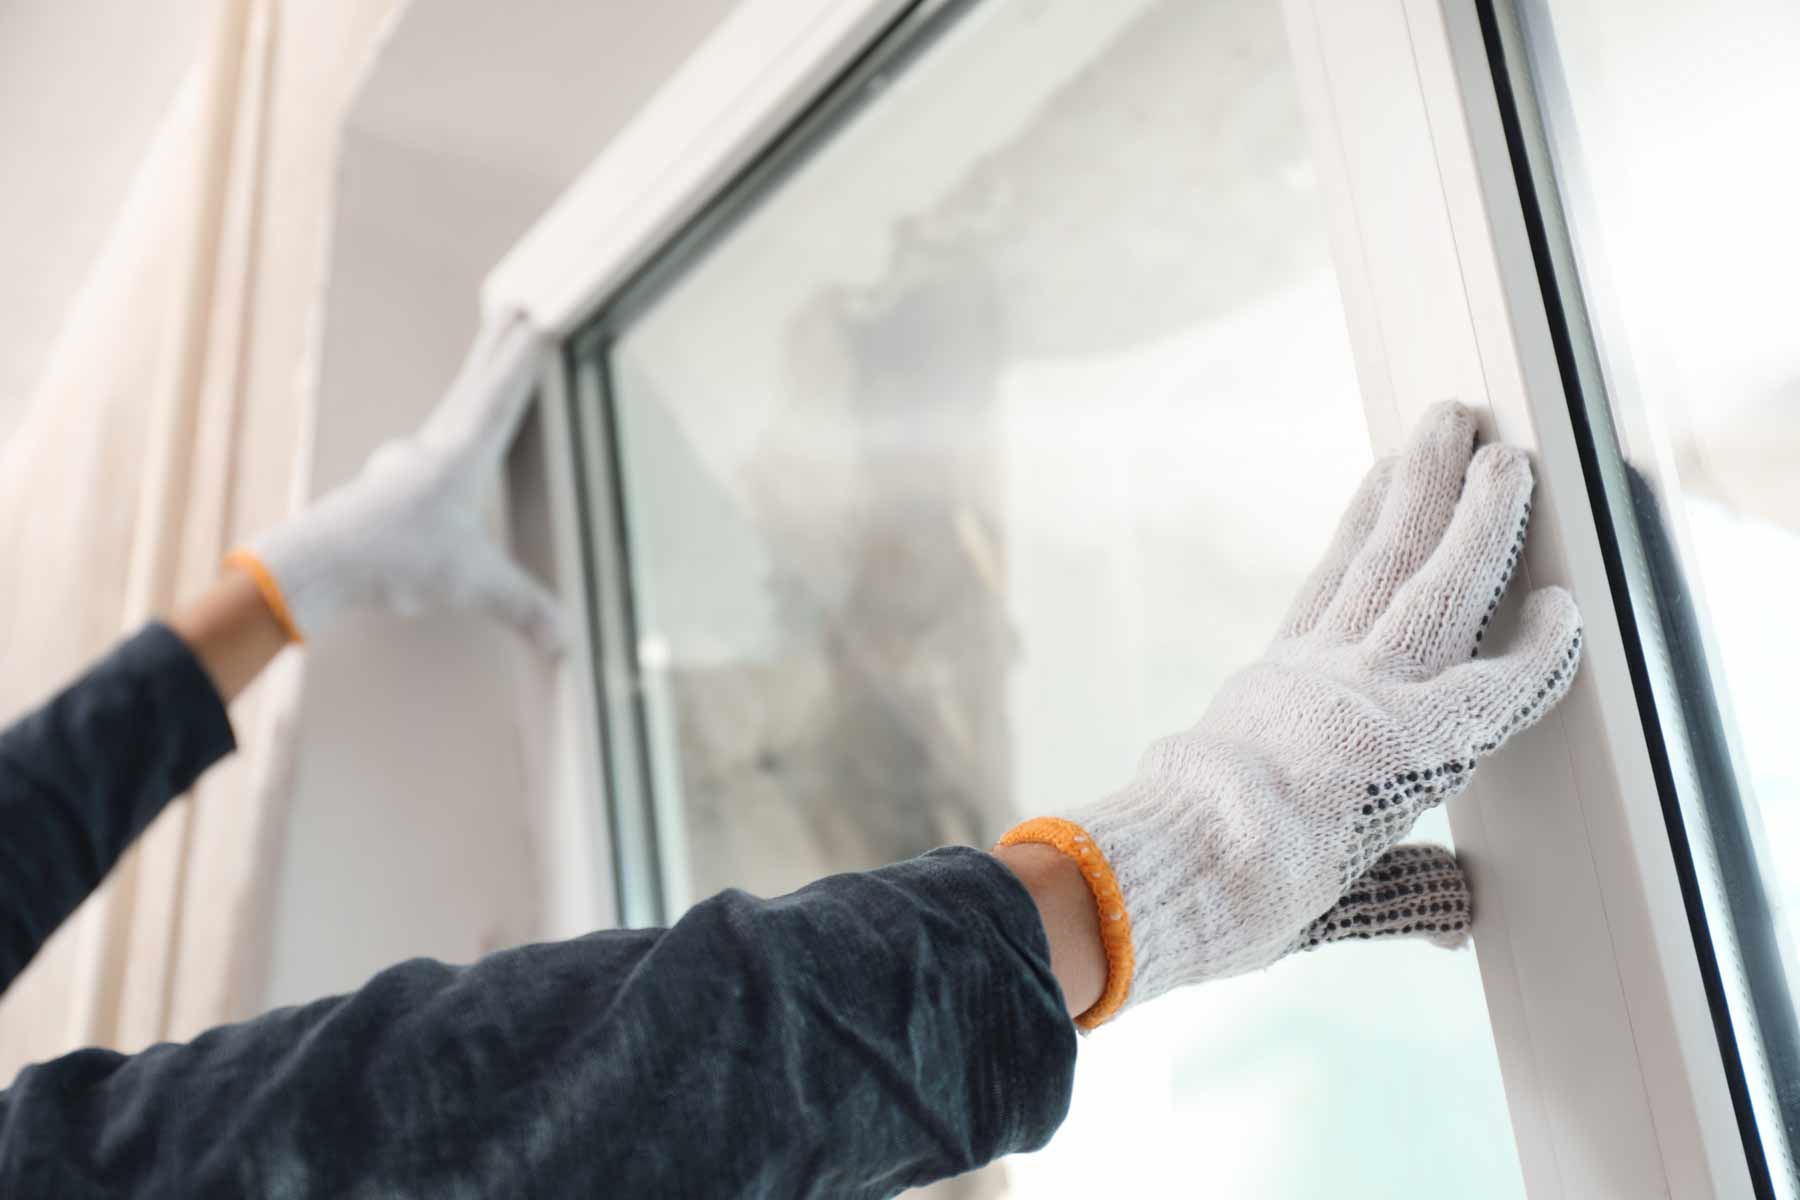
One important aspect of soundproofing your walls is ensuring that there are no gaps, cracks, or air leaks that can compromise the effectiveness of the soundproofing materials. Sealing these openings is crucial for preventing sound leakage and maximizing the soundproofing capabilities. Here’s how you can seal gaps and cracks in your walls:
- Identify the Gaps: Carefully inspect your walls for any visible gaps, cracks, or openings. Common areas where gaps may occur include around windows, doors, electrical outlets, and baseboards.
- Clean and Prepare: Clean the areas around the gaps to remove any debris or loose particles. Use a putty knife or sandpaper to smooth the edges of the gaps, ensuring a clean and even surface for sealing.
- Select a Sealant: Choose an appropriate sealant for the type of gap or crack you are sealing. Common options include silicone caulk, acrylic caulk, or expanding foam sealant. Refer to the manufacturer’s instructions for proper application and drying time.
- Apply the Sealant: Using a caulking gun or a specific applicator, carefully apply the sealant of your choice into the gaps or cracks. Ensure that the sealant fills the entire gap and creates a complete seal between the wall surfaces.
- Smooth the Sealant: Use a putty knife or a specialized tool to smooth the surface of the sealant, removing any excess and creating a clean finish. This will help the sealant blend in with the wall and improve the overall aesthetics.
- Allow for Drying Time: Follow the manufacturer’s instructions for drying time. Avoid disturbing or touching the sealed areas until the sealant has fully cured to ensure a proper seal.
- Inspect and Touch Up: Once the sealant has dried, inspect the sealed areas for any missed gaps or cracks. If necessary, apply additional sealant to ensure a complete and thorough seal.
Sealing gaps and cracks in your walls is a crucial step in the soundproofing process, as it helps eliminate potential weak points where sound can leak through. This additional layer of protection will enhance the overall soundproofing effectiveness and create a more insulated space.
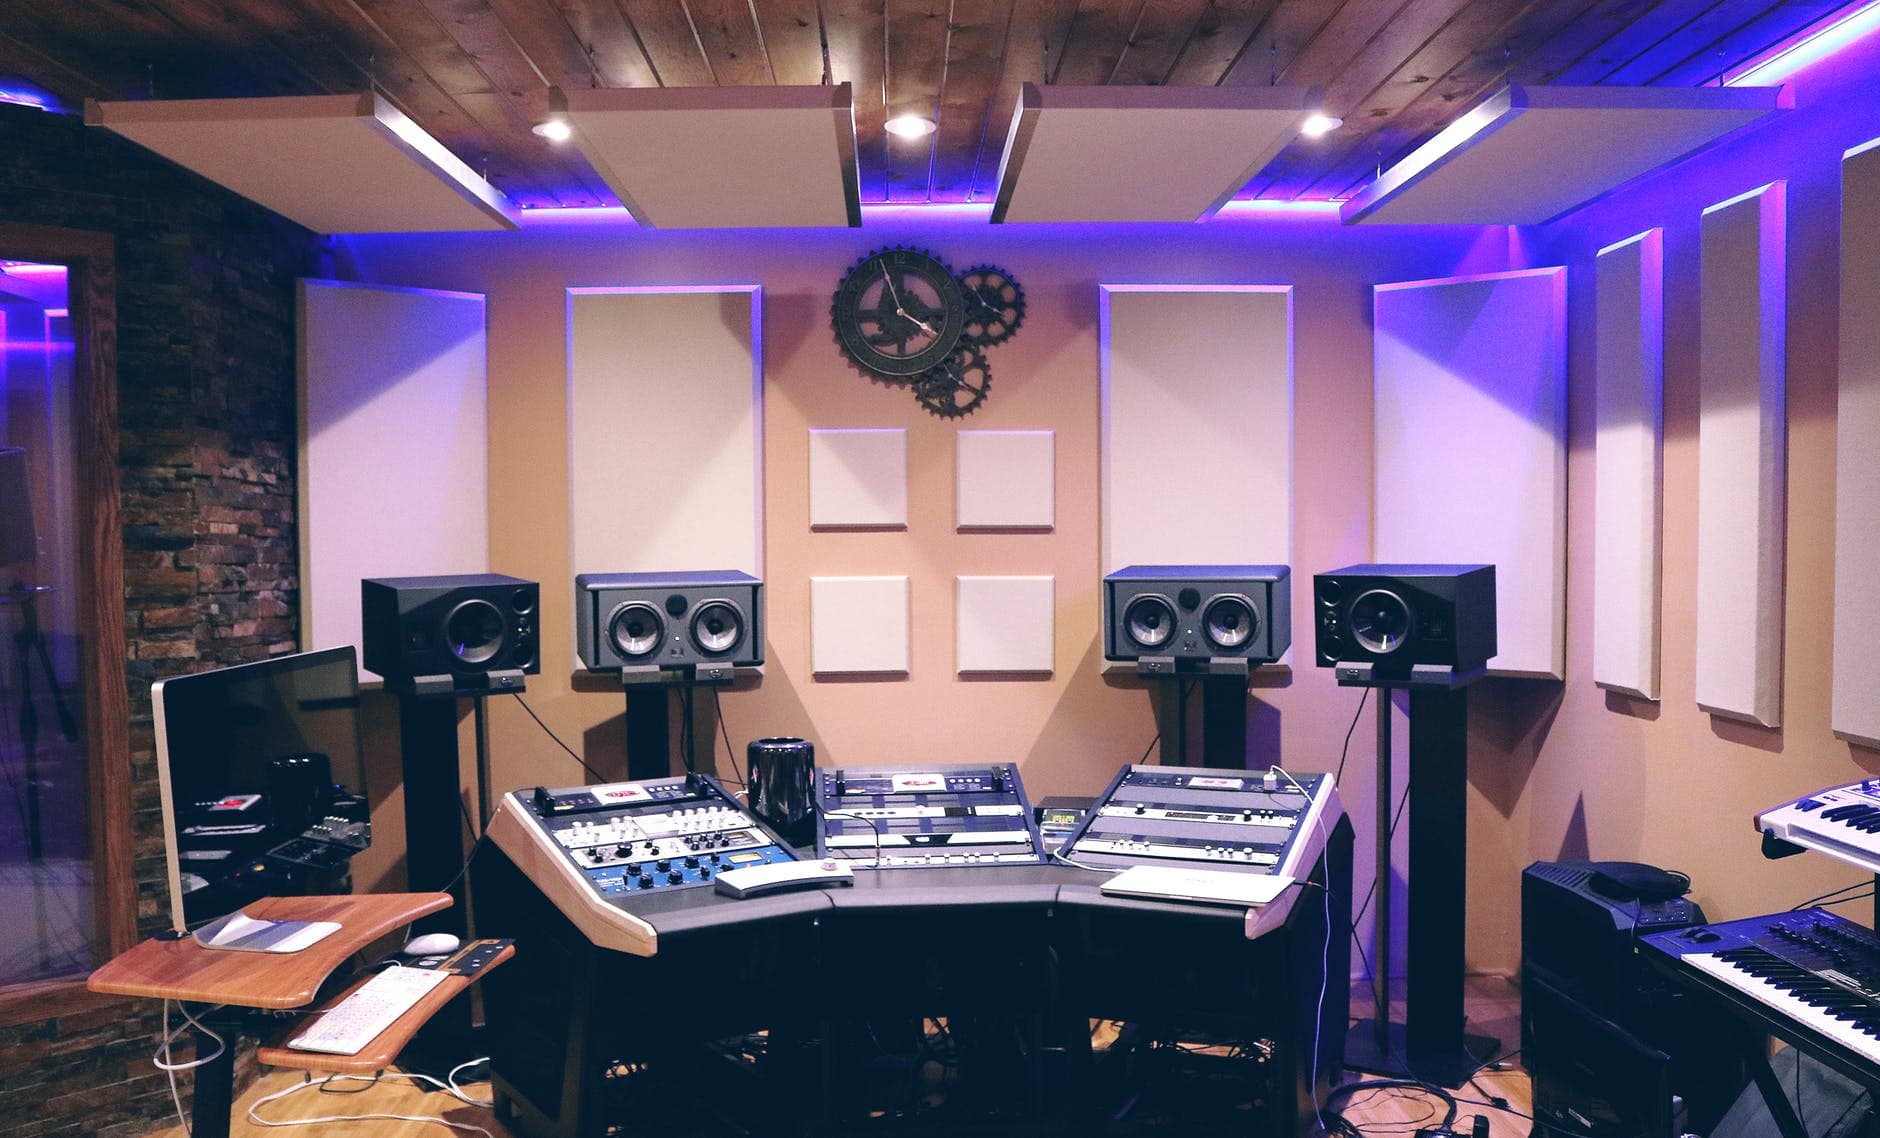
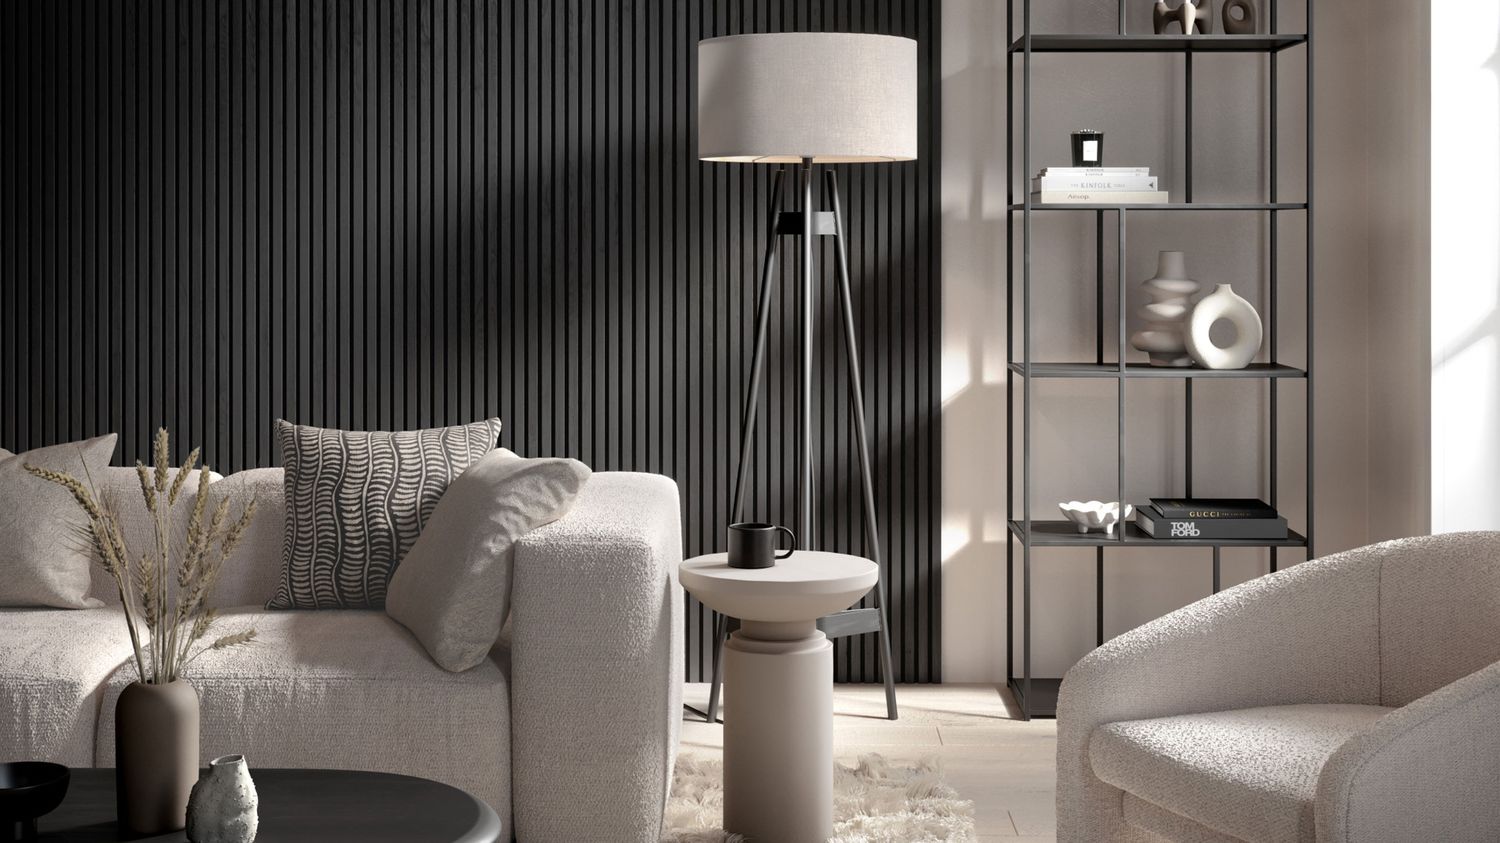
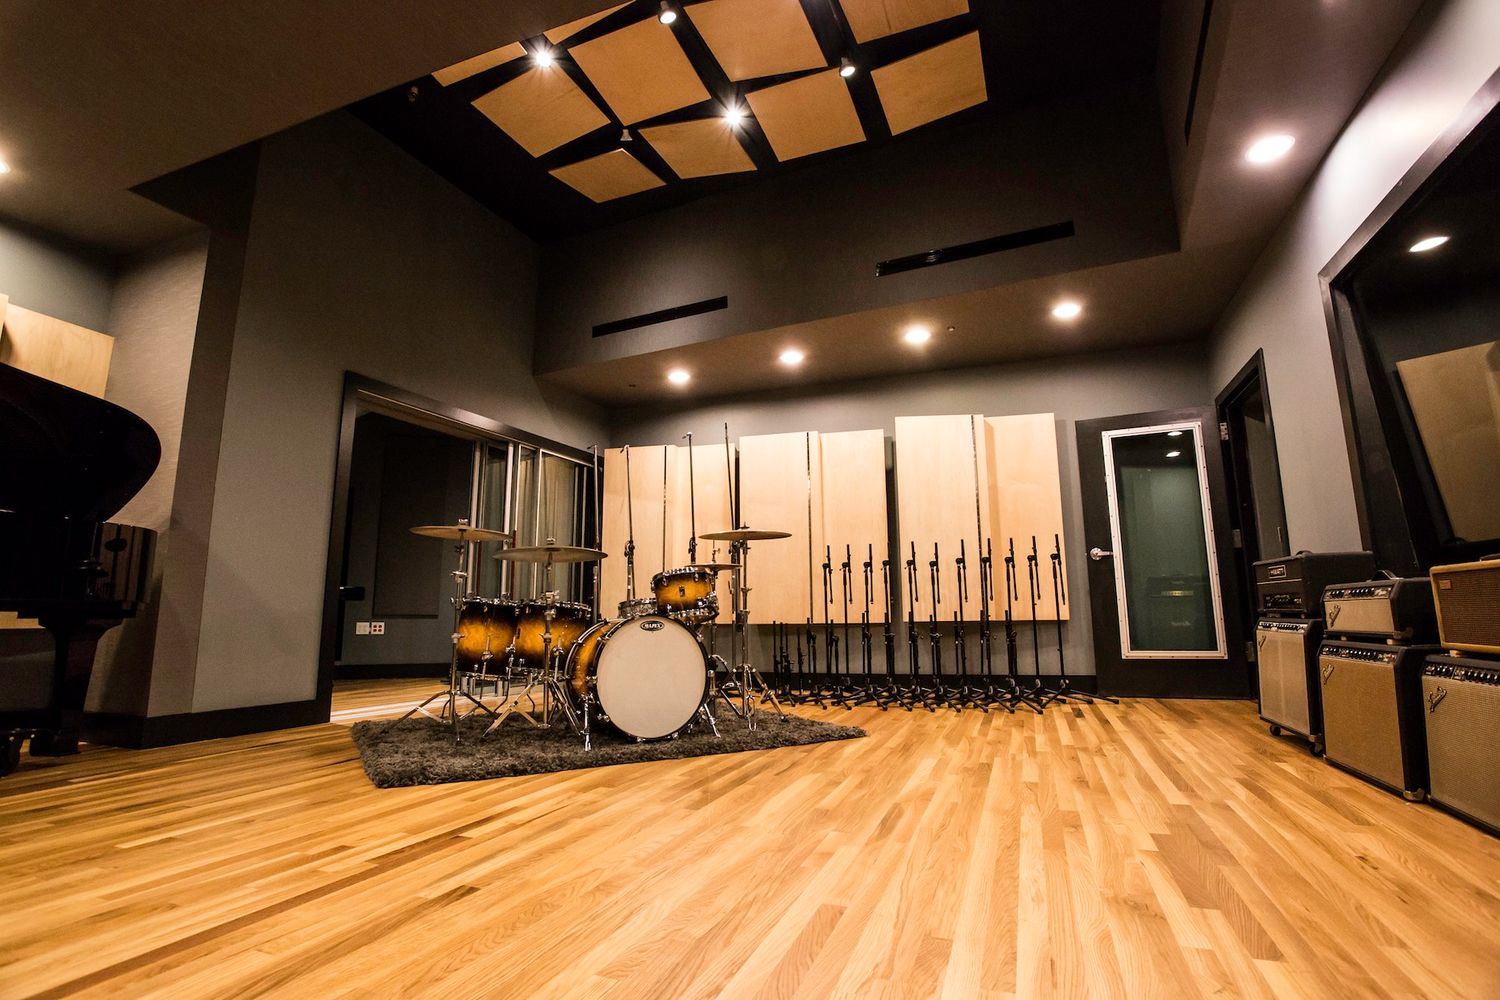
Enhancing Soundproofing with Acoustic Panels
In addition to the primary soundproofing materials installed within the walls, you can further enhance the sound insulation of your space by incorporating acoustic panels. Acoustic panels are specially designed to absorb sound waves, reducing echoes and reverberations within a room. Here’s how you can effectively use acoustic panels to enhance the soundproofing of your walls:
- Select the Right Acoustic Panels: There are various types of acoustic panels available, including fabric-wrapped panels, foam panels, and diffuser panels. Consider the specific needs of your space, such as the desired aesthetic, level of sound absorption, and overall effectiveness in reducing echoes and reverberations.
- Identify Placement Areas: Determine the areas where acoustic panels would provide the most benefit. Common placement areas include walls opposite noise sources, ceilings, and corners where sound tends to bounce and create echoes.
- Mounting Methods: Depending on the type of acoustic panels you choose, there are different mounting methods available. Some panels can be directly mounted onto the wall using screws or adhesive, while others may require a mounting frame or hardware. Follow the manufacturer’s instructions for proper installation.
- Proper Spacing: Consider the spacing between acoustic panels to ensure optimal sound absorption. Generally, spacing panels uniformly across the wall surface will provide even sound diffusion and absorption.
- Combine with Soundproofing Materials: Use acoustic panels in conjunction with the primary soundproofing materials within the walls. This combination will effectively reduce both the transmission and reflection of sound waves, resulting in a quieter and more controlled environment.
- Experiment and Adjust: Fine-tune the placement of the acoustic panels to achieve the desired soundproofing effect. You may need to experiment with different locations and arrangements to find the optimal configuration that best suits the acoustic properties of your space.
Acoustic panels not only enhance the soundproofing capabilities of your walls but also contribute to improving the overall acoustics of a room. They can significantly reduce echoes, improve speech intelligibility, and create a more balanced and pleasant sound environment.
Remember that every space is unique, and the effectiveness of acoustic panels may vary depending on factors such as room size, shape, and construction materials. Consider consulting with a professional or acoustic expert to ensure that you are using the most suitable acoustic panels and optimizing their placement for your specific soundproofing needs.
Conclusion
Soundproofing your existing walls is an effective solution for reducing unwanted noise and creating a more peaceful and enjoyable environment. By following the steps outlined in this guide, you can successfully add soundproofing to your walls and experience the numerous benefits it offers.
Understanding the need for soundproofing and assessing your existing walls are crucial initial steps. This allows for informed decision-making when it comes to choosing the right soundproofing materials and techniques for your specific space.
Properly preparing the walls, sealing gaps and cracks, and installing soundproofing material are essential for maximizing the effectiveness of the sound insulation. Taking the time to perform these steps accurately ensures a robust soundproofing system that minimizes sound transfer.
Additionally, integrating acoustic panels enhances the soundproofing capabilities of your walls and contributes to a more acoustically balanced space. By strategically placing these panels, you can further reduce echoes and reverberations, creating a more pleasant and controlled sound environment.
Remember to consult with professionals or experts if needed and follow the specific instructions provided by manufacturers for the soundproofing materials and acoustic panels you choose.
With the right approach and attention to detail, you can transform your living or working space into a haven of tranquility, free from the disturbances of external noise. Enjoy the benefits of soundproofed walls and revel in the peace and quiet that comes with it.