Home>Production & Technology>Stereo>How To Downmix 5.1 To Stereo
Stereo
How To Downmix 5.1 To Stereo
Modified: March 8, 2024
Learn how to downmix 5.1 surround sound to stereo for a richer audio experience. Enhance the stereo quality and enjoy your favorite content with our step-by-step guide.
(Many of the links in this article redirect to a specific reviewed product. Your purchase of these products through affiliate links helps to generate commission for AudioLover.com, at no extra cost. Learn more)
Table of Contents
- Introduction
- Understanding 5.1 Surround Sound
- Why Downmix 5.1 to Stereo?
- Tools and Equipment Needed
- Step 1: Setting Up Audio Software or Hardware
- Step 2: Adjusting Channel Levels
- Step 3: Panning and Balancing the Audio
- Step 4: Applying Spatial Effects
- Step 5: Exporting the Downmixed Stereo File
- Troubleshooting Tips
- Conclusion
Introduction
Welcome to the world of audio, where sound is transformed into an immersive experience. In this article, we will delve into the realm of 5.1 surround sound and learn how to downmix it to stereo. Whether you’re an audio enthusiast, a filmmaker, or a content creator, understanding the process of downmixing from 5.1 to stereo can be incredibly useful in various scenarios.
But before we dive into the technical aspects, let’s have a brief overview of what 5.1 surround sound entails. In a 5.1 setup, audio is divided into six channels: five main channels (front left, front center, front right, rear left, and rear right) and one subwoofer channel for low-frequency content. This arrangement creates a realistic and immersive soundstage, allowing listeners to feel as if they are in the midst of the action.
So, why would one want to downmix 5.1 surround sound to stereo? The answer lies in compatibility and convenience. While 5.1 surround sound is fantastic for a cinematic or home theater experience, it may not be suitable for all playback devices or situations. Stereo audio, on the other hand, is universally supported and can be enjoyed on a wide range of devices, such as smartphones, laptops, and portable speakers. By downmixing 5.1 surround sound to stereo, you can ensure that your audio sounds great regardless of the playback device or listening environment.
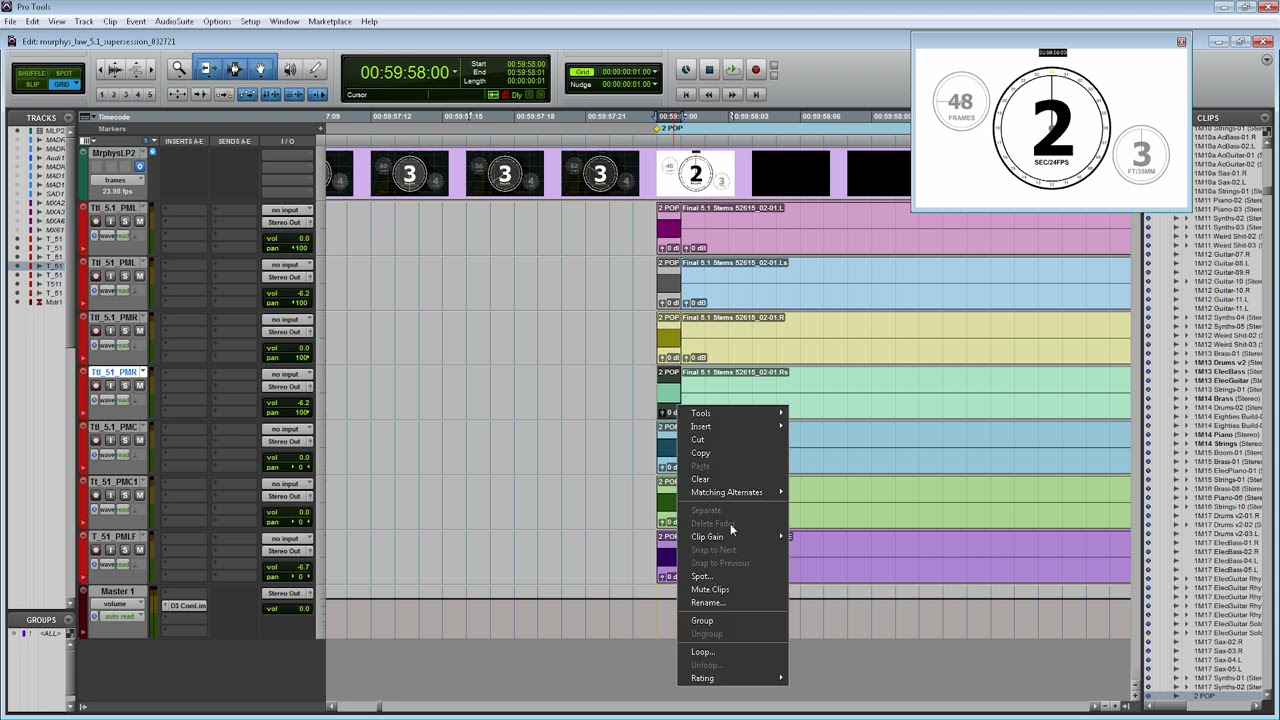
To accomplish this, you’ll need a few tools and equipment. Firstly, you’ll require audio editing software that supports 5.1 surround sound and offers downmixing capabilities. Popular options include Adobe Audition, Pro Tools, and Reaper. Alternatively, you can use dedicated hardware such as a surround sound processor or a digital-to-analog converter (DAC) with downmixing functionality.
In the upcoming sections, we will guide you through the process of downmixing 5.1 surround sound to stereo, step by step. We’ll cover everything from setting up your audio software or hardware to adjusting channel levels, panning, balancing, and applying spatial effects. By the end of this article, you’ll be equipped with the knowledge to transform your 5.1 surround sound into a stunning stereo mix.
So, let’s embark on this audio journey and unlock the power of downmixing 5.1 to stereo!
Understanding 5.1 Surround Sound
Before we dive into the process of downmixing 5.1 surround sound to stereo, it is important to have a solid understanding of what 5.1 surround sound entails. The term “5.1” refers to a multichannel audio format that incorporates five main channels and one subwoofer channel. Let’s break it down:
- Front Left (L) and Front Right (R): These two channels deliver the primary audio information and are responsible for reproducing the majority of the sound from the left and right directions.
- Center (C): The center channel carries dialogue and other important on-screen sounds, enhancing the clarity and intelligibility of the audio.
- Rear Left (SL) and Rear Right (SR): These two channels provide ambient and surround sound effects, creating a sense of immersion and envelopment for the listener.
- Subwoofer (LFE): The subwoofer channel is dedicated to reproducing low-frequency content, such as deep bass and rumbling effects, adding depth and impact to the audio.
By strategically distributing the audio across these channels, 5.1 surround sound creates a three-dimensional sonic experience. This format is widely used in home theaters, cinemas, and gaming setups, as it can greatly enhance the immersion and realism of the audio.
It’s important to note that while 5.1 surround sound offers an immersive auditory experience, not all audio sources or playback devices support this format. This is where downmixing becomes necessary. By downmixing from 5.1 surround sound to stereo, you can ensure that your audio can be enjoyed on a wider range of devices and platforms.
Downmixing involves taking the audio signals from all the 5.1 channels and combining them into a stereo mix. The challenge lies in preserving the clarity, spatiality, and balance of the original surround sound mix while accommodating the limitations of a stereo playback system.
Now that we have a good grasp of what 5.1 surround sound is and the purpose of downmixing, let’s move on to the tools and equipment needed for the downmixing process.
Why Downmix 5.1 to Stereo?
You might be wondering, why should I bother downmixing 5.1 surround sound to stereo when the former offers a more immersive audio experience? Well, downmixing has its own set of advantages and practical uses. Let’s explore them:
Compatibility: While 5.1 surround sound is great for home theaters or dedicated audio setups, not all playback devices or platforms support this format. By downmixing to stereo, you ensure that your audio can be enjoyed on a wider range of devices, including smartphones, tablets, laptops, and portable speakers. This allows your content to reach a larger audience and ensures a consistent listening experience across different platforms.
Convenience: Stereo audio is the standard for many everyday listening scenarios. Whether it’s streaming music, watching videos on social media, or listening to podcasts, most content is optimized for stereo playback. By downmixing, you can ensure that your audio seamlessly fits into these common formats and platforms, making it more accessible and convenient for your audience to enjoy.
Clarity and Focus: Downmixing from 5.1 to stereo allows you to create a more focused and direct audio presentation. By merging the surround channels into the stereo mix, you eliminate the diversion of audio information across multiple channels. This can improve the clarity and intelligibility of the audio, especially for dialogue-heavy content or music that relies on stereo imaging.
Spatial Adaptation: The process of downmixing involves redistributing the spatial positioning of audio elements to fit within a stereo field. This adaptation ensures that the spatial effects and ambiance of the original 5.1 mix are preserved in the stereo mix, albeit in a reduced form. While the immersive experience of 5.1 cannot be fully replicated in stereo, downmixing allows you to retain some sense of depth and spatiality in your audio.
Editing and Mixing Flexibility: Downmixing can be a valuable step in the post-production workflow. By downmixing 5.1 to stereo, you can have separate stereo mixes for different platforms or clients without the need for extensive remixing. This flexibility allows you to fine-tune the audio elements specifically for stereo playback, optimizing the overall listening experience for different scenarios.
In summary, downmixing 5.1 surround sound to stereo provides improved compatibility, convenience, clarity, and spatial adaptation. By downsizing the audio presentation, you can ensure broader accessibility and an enjoyable audio experience across various playback devices and platforms. Now that we understand the benefits of downmixing, let’s explore the tools and equipment needed to carry out the process effectively.
Tools and Equipment Needed
To downmix 5.1 surround sound to stereo, you will need a few essential tools and equipment. Here’s what you’ll need to get started:
1. Audio Editing Software: The primary tool you’ll need is audio editing software that supports 5.1 surround sound and has downmixing capabilities. There are several options available, both free and paid. Popular choices include Adobe Audition, Pro Tools, Reaper, Logic Pro, and Cubase. Make sure the software you choose allows you to work with multiple audio channels and has the ability to downmix to stereo.
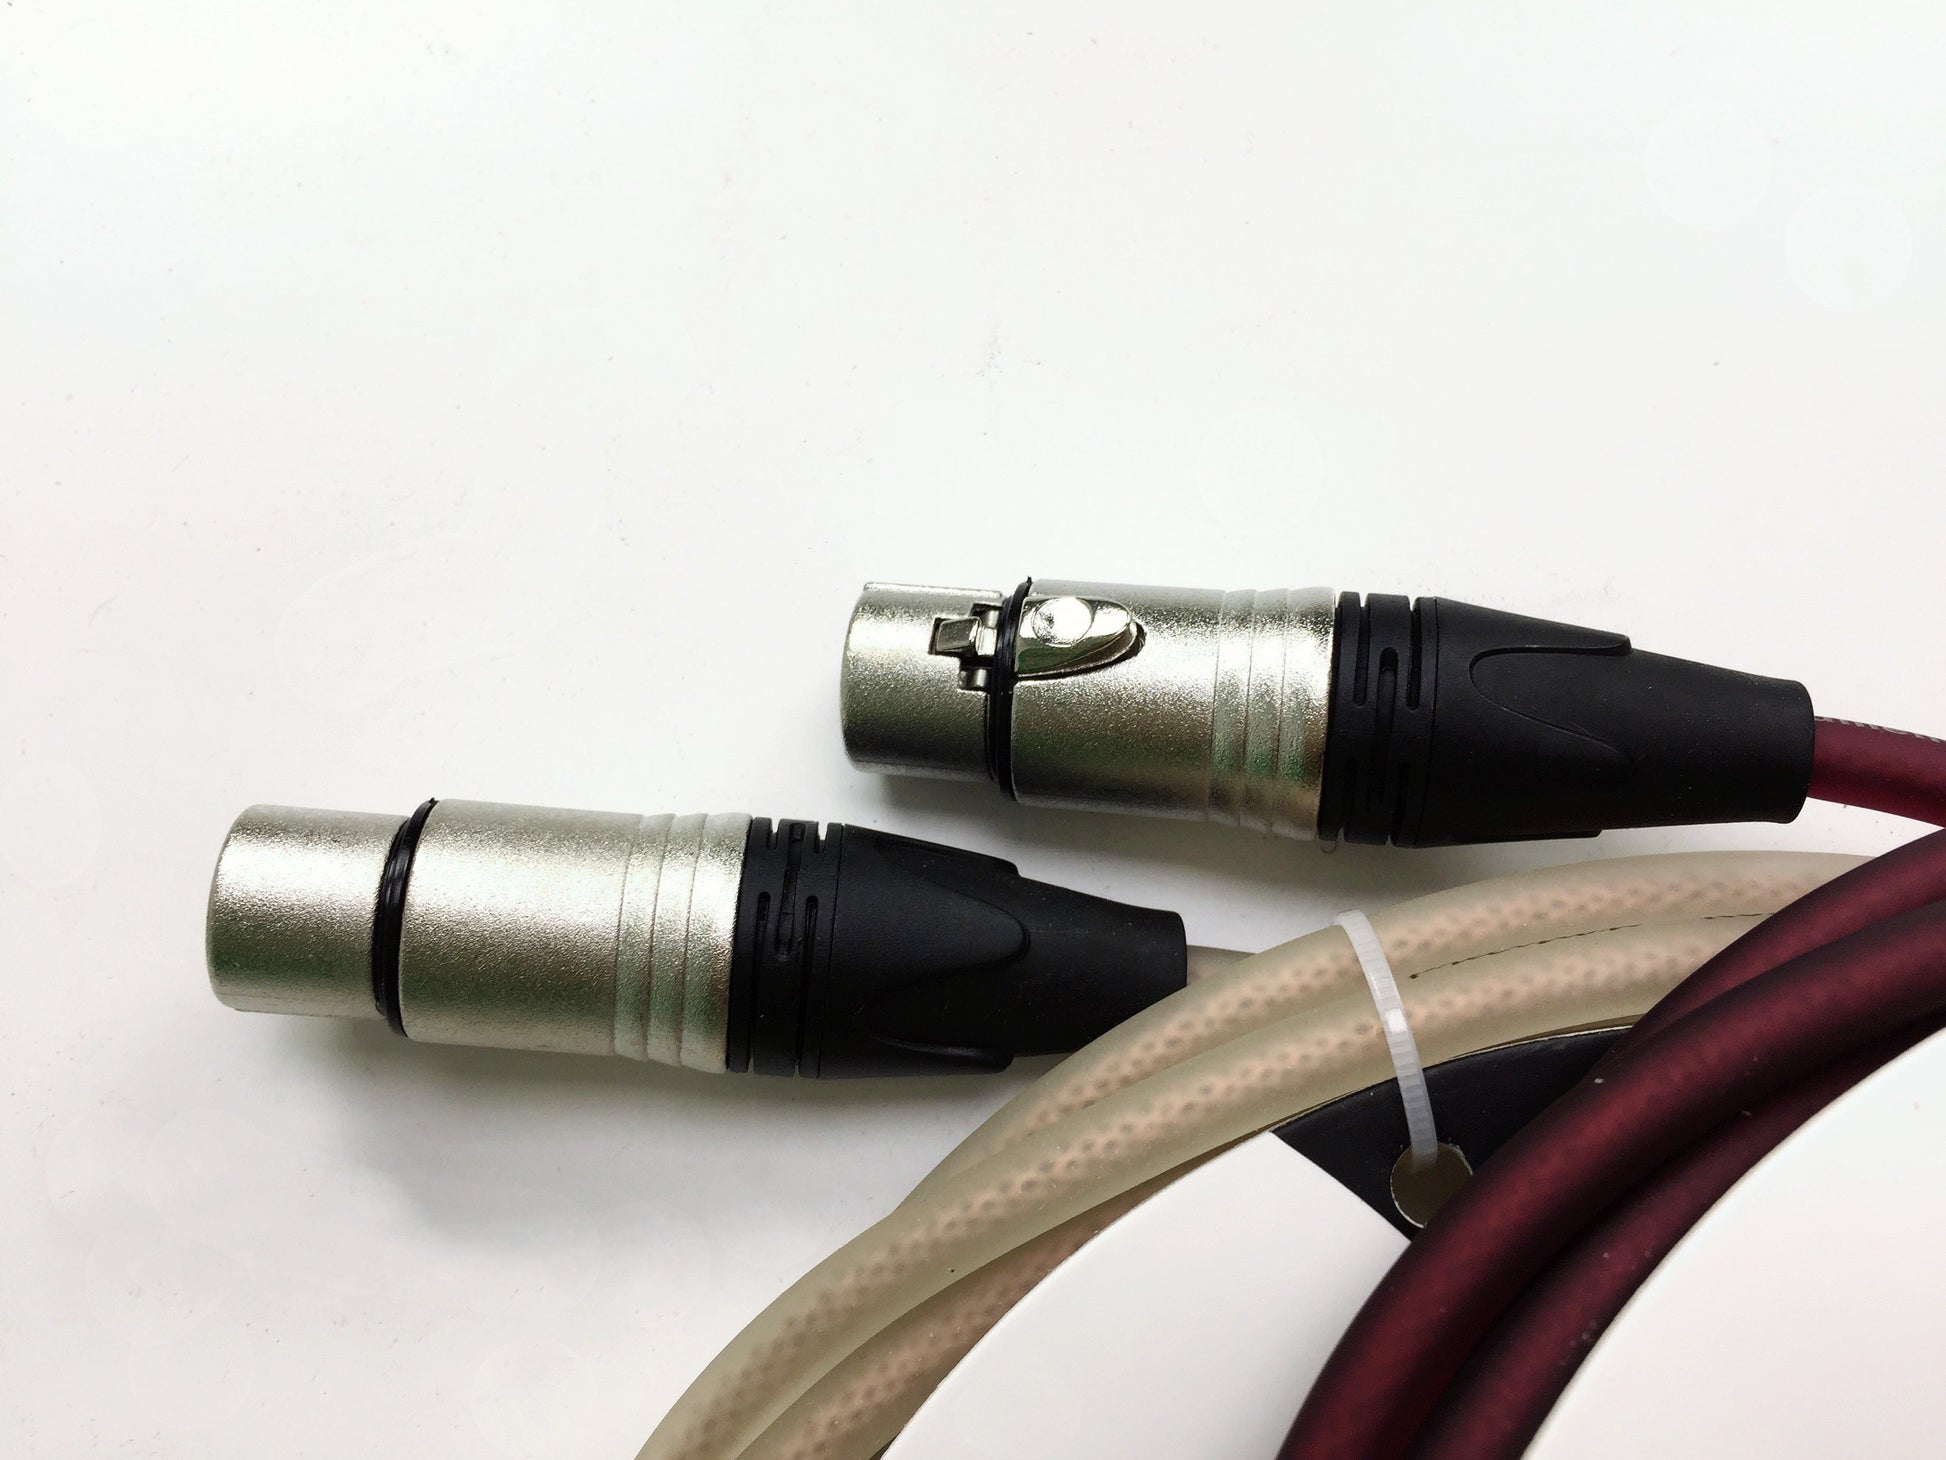
2. Surround Sound Processor or DAC: If you prefer hardware-based solutions, you can use a surround sound processor or a digital-to-analog converter (DAC) with downmixing functionality. These devices take the audio signals from your 5.1 surround sound source and generate a downmixed stereo output. Keep in mind that this option may require additional setup and connections, so make sure you have the necessary cables and adapters.
3. Playback Devices: It’s essential to have a variety of playback devices to test your downmixed stereo audio. This can include smartphones, tablets, laptops, desktop computers, and portable speakers. By listening to your downmixed audio on different devices, you can ensure that the stereo mix translates well across various playback systems.
4. High-Quality Headphones or Studio Monitors: To accurately monitor and evaluate your downmixed stereo audio, it’s crucial to have a reliable pair of headphones or studio monitors. These will help you identify any issues or inconsistencies in the stereo mix and allow for precise adjustments to achieve a balanced and pleasing audio output.
5. Audio Interface (optional): An audio interface can be useful if you are working with analog audio sources or need to connect multiple input/output devices. While not necessary for downmixing 5.1 to stereo, it can enhance your overall audio setup and offer more flexibility in capturing or routing audio signals.
6. Patience and a Critical Ear: Downmixing requires careful and attentive listening, as well as patience to fine-tune the balance, panning, and spatial effects in the stereo mix. Developing a critical ear and taking the time to optimize your downmixed audio will result in a more professional and enjoyable outcome.
Now that we have all the necessary tools and equipment, it’s time to move on to the step-by-step process of downmixing 5.1 surround sound to stereo.
Step 1: Setting Up Audio Software or Hardware
The first step in downmixing 5.1 surround sound to stereo is to set up your audio software or hardware. Whether you’re using audio editing software or a dedicated hardware device, proper configuration is essential for achieving the desired results. Here’s how to get started:
1. Software Setup:
- Choose Your Audio Editing Software: Select the audio editing software of your choice that supports 5.1 surround sound and downmixing capabilities. Some popular options include Adobe Audition, Pro Tools, and Reaper. Make sure you have the latest version installed on your computer.
- Create a New Project: Open your audio software and create a new project. Set the project settings to match your desired sampling rate and bit depth for the audio files you’ll be working with.
- Import Your 5.1 Audio: Import the 5.1 surround sound audio file or files into your project. Most audio software allows you to drag and drop the files directly into the workspace.
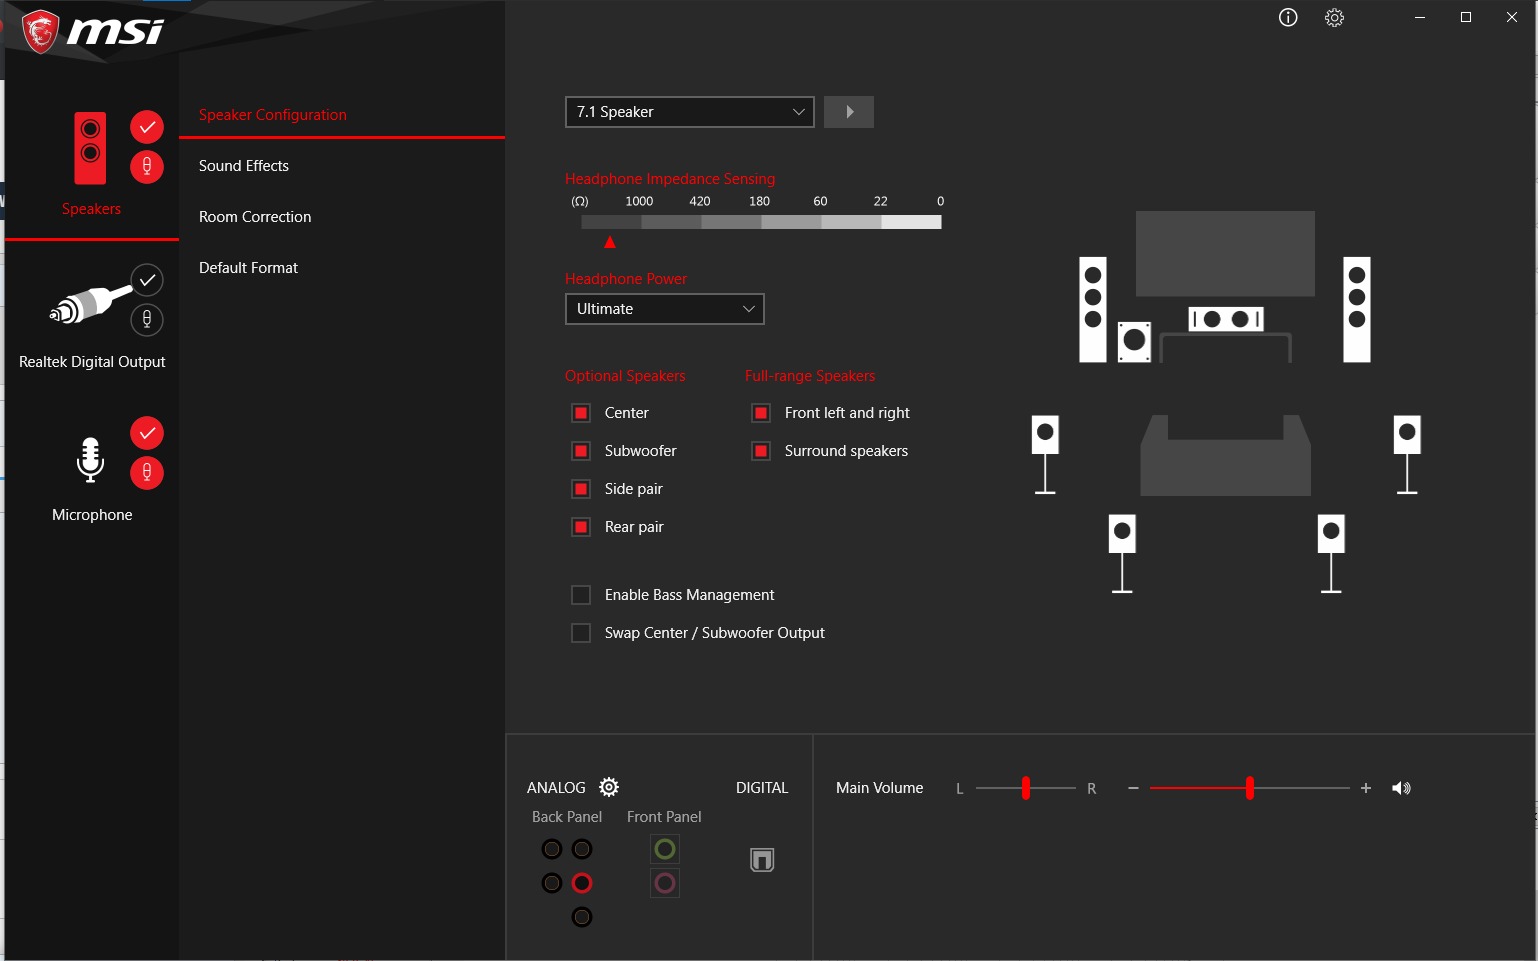
2. Hardware Setup:
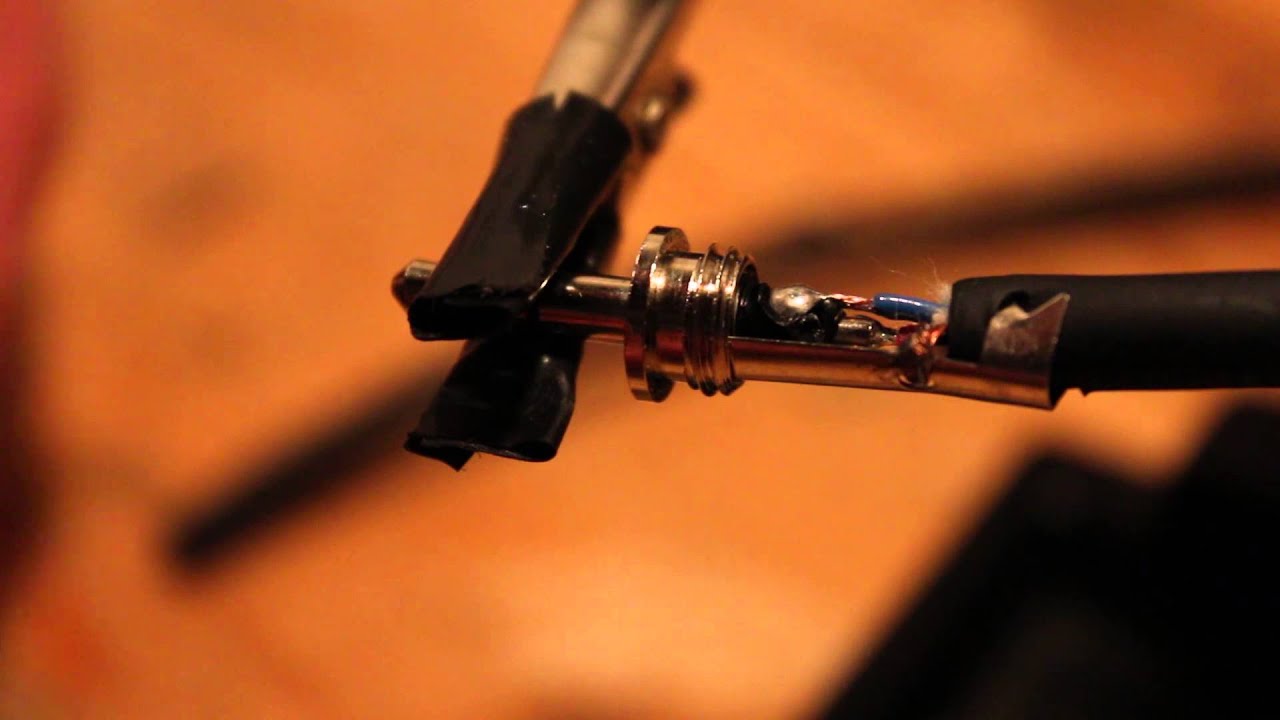
- Connect your Surround Sound Processor or DAC: If you’re using a surround sound processor or DAC with downmixing functionality, ensure that it is properly connected to your audio source. This may involve using HDMI or audio cables to connect your source device (such as a DVD player or audio interface) to the processor or DAC.
- Set Input and Output Configurations: In your audio software or on your hardware device, configure the input and output settings to properly route the 5.1 audio signals. This may involve selecting the appropriate channels and configuring the signal flow accordingly.
- Confirm Audio Device Settings: Make sure that your computer’s audio device settings are correctly configured to recognize the surround sound processor or DAC as the audio playback device. This typically involves accessing the audio settings in your computer’s control panel or system preferences.
Once your audio software or hardware is set up, you’re ready to move on to the next steps of adjusting channel levels, panning, balancing, and applying spatial effects to create a well-balanced downmixed stereo audio mix. Remember to refer to the documentation or user guides of your specific software or hardware for detailed instructions on setup and configuration.
Now that the initial setup is complete, let’s proceed to step 2: adjusting channel levels.
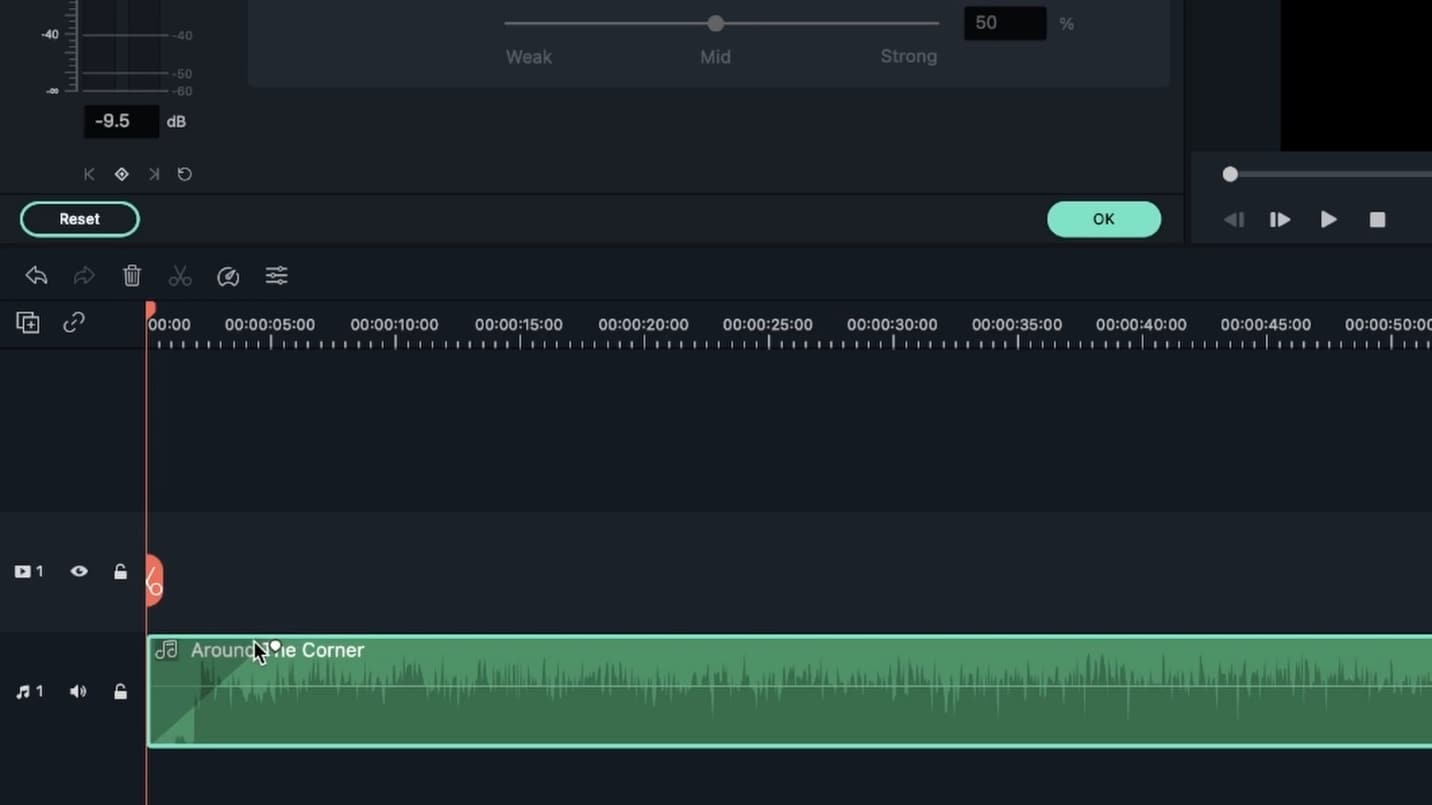
Step 2: Adjusting Channel Levels
After setting up your audio software or hardware, the next step in downmixing 5.1 surround sound to stereo is to adjust the channel levels. This step ensures that the audio from each channel is properly balanced and evenly distributed in the stereo mix. Here’s how to do it:
1. Identify Channel Levels:
Start by identifying the individual channel levels in your 5.1 surround sound mix. Most audio editing software will display the levels of each channel on a meter or a visual representation. Look for the front left (L), front right (R), center (C), rear left (SL), rear right (SR), and subwoofer (LFE) channels.
2. Adjust Channel Levels:
Using your audio editing software or hardware mixer, adjust the levels of each channel to achieve a balanced sound in the stereo mix. The goal is to ensure that no channel overpowers the others and that all the audio elements can be heard clearly.
3. Start with the Front Channels:
Begin by adjusting the levels of the front left (L) and front right (R) channels. These channels are responsible for delivering the primary audio information. Increase or decrease the levels until the audio sounds balanced and centered in the stereo field.
4. Balance the Center Channel:
Next, focus on the center (C) channel, which carries dialogue and other important on-screen sounds. Adjust its level so that the dialogue is clear and well-defined, while still blending seamlessly with the front left and right channels.
5. Enhance the Surround Channels:
Now, turn your attention to the rear left (SL) and rear right (SR) channels, which provide ambient and surround sound effects. Adjust their levels to create a sense of spaciousness and immersion without overpowering the main audio elements in the front channels.
6. Fine-tune the Subwoofer Channel:
Lastly, consider the subwoofer (LFE) channel, which handles low-frequency content. Adjust its level to ensure that the bass is present and impactful without overpowering the rest of the audio. Be mindful of maintaining a good balance between the subwoofer and the other channels.
Throughout this process, trust your ears and make small, incremental adjustments to achieve the desired balance. Regularly play back the stereo mix and listen for any inconsistencies or issues that may need further adjustment.
Once you’re satisfied with the channel levels, you can move on to the next step: panning and balancing the audio.
Step 3: Panning and Balancing the Audio
After adjusting the channel levels, the next step in downmixing 5.1 surround sound to stereo is to pan and balance the audio. This step involves distributing the audio elements across the stereo field, creating a sense of width and space in the mix. Here’s how to do it:
1. Understand Panning:
Panning refers to the placement of audio elements within the stereo field. In a stereo mix, the left and right channels provide a perception of directionality. Adjusting the panning allows you to position each audio element accordingly, creating a balanced and coherent soundscape.
2. Start with the Front Channels:
Begin by panning the front left (L) and front right (R) channels. These channels should be panned to the left and right, respectively, to maintain a strong stereo image. Aim for a wide, but not exaggerated, stereo spread.
3. Center Channel Placement:
The center (C) channel should be panned directly to the center, maintaining focus and clarity for dialogue or important audio elements that are primarily mono. This helps anchor the audio and provides a consistent center image in the stereo space.
4. Enhance Surround Channel Placement:
For the rear left (SL) and rear right (SR) channels, consider panning them slightly to the left and right, respectively, but not as extreme as the front channels. This placement adds depth and spaciousness without overshadowing the main audio elements in the front.
5. Subwoofer Channel Balance:
While the subwoofer (LFE) channel does not typically require panning, you can adjust its balance to ensure that the low-frequency content is evenly distributed and doesn’t overpower the rest of the audio. Aim for a good blend between the subwoofer and the other channels.
6. Regularly Listen and Fine-tune:
As with adjusting channel levels, it’s crucial to regularly listen to the stereo mix and make small adjustments to the panning and balance. Trust your ears and strive for a cohesive and immersive audio experience that maintains clarity and separation between the different audio elements.
Remember that panning and balancing are subjective, and the final placement will depend on the specific audio content and desired artistic intent. Experiment with different panning positions and listen critically to find the optimal balance for your downmixed stereo mix.
With the audio elements properly panned and balanced, you’re now ready to move on to the next step: applying spatial effects to enhance the stereo mix.
Step 4: Applying Spatial Effects
Once you have adjusted the channel levels and panning of your downmixed stereo audio, the next step is to apply spatial effects to enhance the immersive experience. Spatial effects help recreate the sense of depth and three-dimensional sound that is characteristic of 5.1 surround sound. Here’s how you can apply spatial effects:
1. Reverb:
Using a reverb effect, you can simulate the acoustic characteristics of different environments, such as rooms, halls, or outdoor spaces. Apply reverb to specific channels or a stereo bus to create a sense of space and depth, making the audio feel more natural and immersive.
2. Delay:
Consider using delay effects to create an enhanced sense of space and depth. By applying a short delay to specific channels, you can simulate reflections or echoes, adding a sense of spaciousness and realism to the audio mix.
3. Modulation Effects:
Modulation effects such as chorus, flanger, or phaser can be used to create movement, width, and dimension in the stereo mix. Apply these effects subtly to certain channels to add depth and interest to the audio.
4. EQ and Dynamics:
Use equalization (EQ) and dynamics processing to shape the tonal balance and dynamics of the audio. By applying EQ to individual channels or bus groups, you can optimize the frequency response and clarity of each element. Dynamics processing such as compression or limiting can help control the overall dynamic range of the mix and ensure a balanced and consistent audio level.
5. Spatial Imaging Tools:
Consider utilizing specialized spatial imaging tools that are specifically designed to enhance the stereo image and create a three-dimensional soundstage. These tools use advanced algorithms to widen and enhance the perceived width and spaciousness of the audio, giving a more immersive experience.
Experiment with various spatial effects and techniques to find the right balance for your downmixed stereo mix. Remember to regularly listen and fine-tune the settings to ensure a cohesive and immersive audio experience that complements your content.
Once you are satisfied with the spatial effects applied, it’s time to move on to the final step: exporting the downmixed stereo file.
Step 5: Exporting the Downmixed Stereo File
After you have adjusted the channel levels, panning, and applied spatial effects to your downmixed stereo audio, the final step is to export the file in the desired format. Here’s how to do it:
1. Set Export Parameters:
In your audio editing software, navigate to the export or render settings. Here, you can specify the desired file format, bit depth, sample rate, and other relevant parameters. It is recommended to choose a high-quality format like WAV or FLAC for the best audio fidelity.
2. Select Stereo Output:
Ensure that you have selected the stereo output as the destination for the exported file. If necessary, double-check the settings to make sure you are exporting the downmixed stereo mix and not the original 5.1 surround sound audio.
3. Specify File Name and Location:
Choose a descriptive file name for easy identification and select a location on your computer to save the exported stereo file. Consider organizing your files in a dedicated folder to keep them organized and easily accessible.
4. Export the File:
Once you have adjusted all the export settings, click the “Export” or “Render” button to start the exporting process. Depending on the length of your audio file and the processing power of your computer, this process may take some time. Be patient and allow the software to complete the export without interruption.
5. Verify the Exported File:
After the export is complete, take a moment to verify the exported stereo file. Listen to it on different playback devices to ensure that it sounds as intended. Check for any artifacts, distortion, or anomalies that may have occurred during the export process.
By following these steps, you will have successfully downmixed your 5.1 surround sound audio to a stereo mix. The exported stereo file is now ready to be utilized in various applications, such as online streaming, video editing, or distribution to different platforms.
Remember to keep a backup of your original 5.1 surround sound audio files in case you need to revisit them or create alternative mixes in the future.
Congratulations! You have now completed the process of downmixing 5.1 surround sound to stereo. Enjoy your optimized audio mix and share it with the world!
If you encounter any issues or inconsistencies during the downmixing process, refer to the troubleshooting tips in the next section for helpful guidance.
Troubleshooting Tips
While downmixing 5.1 surround sound to stereo can be a straightforward process, you may encounter some challenges along the way. Here are some troubleshooting tips to help you overcome any issues that may arise:
1. Imbalanced Channel Levels:
If you find that certain channels are overpowering or too weak in the stereo mix, go back to Step 2 and re-adjust their levels. Listen carefully and make subtle adjustments until you achieve a balanced sound where all elements can be heard clearly.
2. Inconsistent Panning:
If the panning feels unbalanced or unnatural, go back to Step 3 and revisit the panning positions of each channel. Experiment with different positions to find the optimal placement that creates a cohesive stereo image without any distractions.
3. Lack of Spatial Depth:
If you feel that the downmixed stereo mix lacks depth and doesn’t recreate the immersive experience of 5.1 surround sound, consider revisiting Step 4 and explore different spatial effects. Experiment with reverb, delay, modulation effects, and spatial imaging tools to add depth and dimension to the audio.
4. Artifacts or Distortion:
If you encounter any artifacts or distortion in the exported stereo file, ensure that your software settings are properly configured. Check the sample rate, bit depth, and export parameters to match the specifications of your audio files. It may also be worth checking your audio hardware and connections for any issues that could cause artifacts or distortion.
5. Compatibility Issues:
If the downmixed stereo file doesn’t play back correctly on certain devices or platforms, double-check the file format and compatibility requirements. Some devices may have limitations on the supported audio formats or channel configurations. Consider exporting the stereo file in multiple formats to ensure broader compatibility.
6. Trust Your Ears:
Throughout the downmixing process, trust your ears and listen critically to the results. Regularly reference the audio on different playback devices and in different listening environments to ensure that your mix translates well. Don’t be afraid to make adjustments and iterate until you’re satisfied with the final outcome.
If you’re still facing difficulties or have specific troubleshooting questions related to your software or hardware setup, consult the documentation or user forums for your specific audio editing software or equipment. These resources often provide valuable insights and solutions to common issues.
Remember, troubleshooting is a natural part of any audio production process. Persevere through any challenges, and with time and practice, you’ll become more proficient in downmixing 5.1 surround sound to stereo.
Now that you’re equipped with troubleshooting tips, you can confidently take on any hurdles you may encounter during the downmixing process.
Next, let’s conclude the article with a brief summary and closing thoughts.
Conclusion
Congratulations! You have reached the end of this comprehensive guide on downmixing 5.1 surround sound to stereo. Throughout this article, we have explored the process step by step, understanding the concepts, adjusting channel levels, panning and balancing, applying spatial effects, and finally exporting the downmixed stereo file. By following these steps, you can ensure that your audio sounds great across a wide range of devices and platforms.
Downmixing 5.1 surround sound to stereo offers compatibility, convenience, and improved accessibility for your audio content. By downsizing the complexity of the audio mix, you can reach a larger audience and provide a consistent listening experience on various playback devices.
Remember the importance of proper level adjustments, panning techniques, and the application of spatial effects to create an immersive stereo mix that captures the essence of the original 5.1 surround sound while maintaining optimal balance and clarity.
Throughout the process, trust your ears, experiment with different settings, and fine-tune the mix until you are satisfied with the results. Regularly listen to your downmixed audio on different playback devices to ensure that it translates well across various platforms and environments.
Downmixing is a skill that takes practice and experience to master. As you continue to refine your downmixing techniques, you will develop an understanding of how to manipulate and optimize the stereo soundstage to deliver a captivating audio experience to your listeners.
We hope that this guide has provided you with valuable insights and techniques to confidently downmix 5.1 surround sound to stereo. Whether you are creating content for film, music, or multimedia projects, the ability to downmix opens doors to wider distribution and increased audience reach.
So, embrace the power of downmixing, unleash your creativity, and captivate your listeners with high-quality stereo audio that leaves a lasting impression.
Happy downmixing!