Home>Production & Technology>Stereo>How To Wire 1 4, Stereo Jack
Stereo
How To Wire 1 4, Stereo Jack
Published: November 25, 2023
Learn how to wire a 1/4" stereo jack easily and efficiently. Perfect for any stereo audio setup.
(Many of the links in this article redirect to a specific reviewed product. Your purchase of these products through affiliate links helps to generate commission for AudioLover.com, at no extra cost. Learn more)
Table of Contents
Introduction
In the world of audio technology, the 1/4″ stereo jack is a vital component for connecting various audio devices. Whether you’re a musician, audio engineer, or simply a DIY enthusiast, knowing how to wire a 1/4″ stereo jack is a valuable skill that can save you time and money.
The 1/4″ stereo jack, also known as a TRS (Tip-Ring-Sleeve) connector, is commonly used for headphones, musical instruments, and audio equipment. It allows for the transmission of audio signals in stereo format, providing a left and right channel for richer and more immersive sound.
Wiring a 1/4″ stereo jack may seem daunting at first, but with the right tools and a little know-how, you can easily tackle this task. In this article, we will guide you through the step-by-step process of wiring a 1/4″ stereo jack, ensuring a reliable and high-quality audio connection.
Whether you’re repairing a broken cable, customizing your own audio cables, or simply trying to understand the inner workings of audio connectors, this article will equip you with the knowledge to confidently handle 1/4″ stereo jack wiring.
So, grab your tools and let’s dive into the world of wiring 1/4″ stereo jacks!
Tools and Materials Needed
Before you begin wiring a 1/4″ stereo jack, it’s important to gather the necessary tools and materials. This ensures that you have everything you need to successfully complete the project. Here’s a list of what you’ll need:
- 1/4″ Stereo Jack: This is the main component of the project. Make sure you have a high-quality 1/4″ stereo jack that matches your requirements.
- Wire: You’ll need a length of wire to connect the stereo jack to your audio source or device. It’s recommended to use shielded wire for better noise rejection.
- Wire Strippers: These tools are used to strip the insulation off the wire, exposing the conductive cores.
- Soldering Iron: A soldering iron is crucial for securely attaching the wires to the terminals of the stereo jack.
- Solder: High-quality solder is essential for creating a strong and reliable connection between the wires and the stereo jack.
- Heat Shrink Tubing: This tubing provides insulation for the soldered connection, protecting it from any potential damage.
- Heat Gun or Lighter: A heat source is required to shrink the heat shrink tubing and provide a professional and secure finish.
- Wire Cutters: These cutters are used to cut the wire to the desired length and remove any excess.
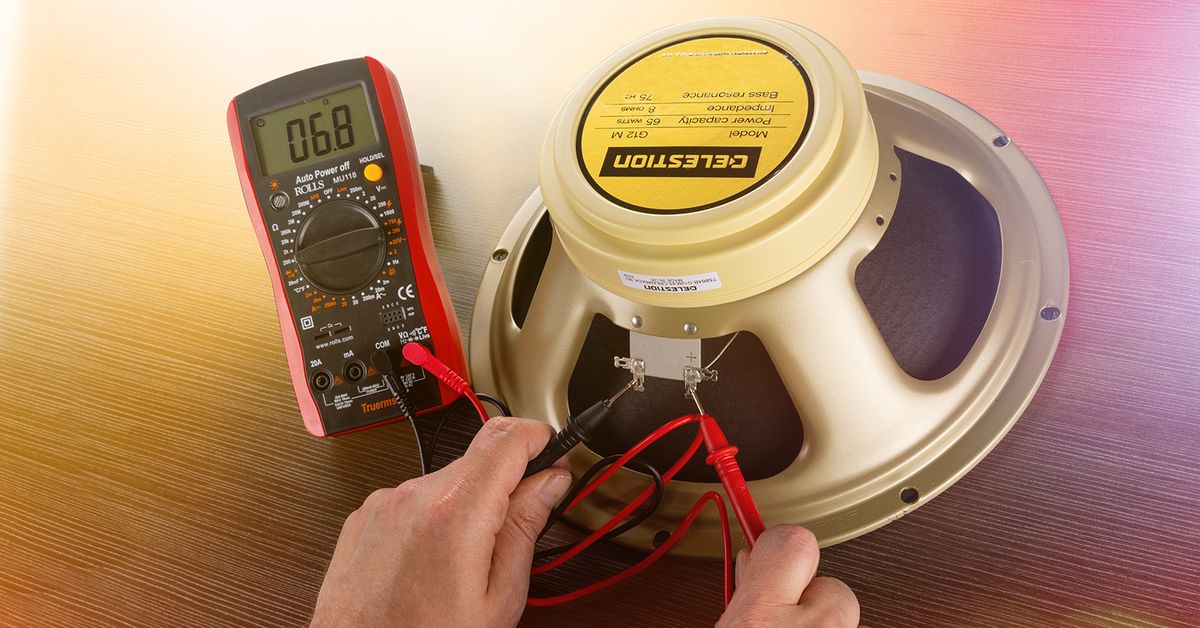
- Multimeter: A multimeter is an optional but useful tool for testing the continuity and proper functioning of the wired connection.
Having these tools and materials readily available will make the wiring process smoother and more efficient. Once you have everything gathered, you’re ready to move on to the next step: preparing the wires.
Step 1: Gathering the Materials
Before you dive into wiring the 1/4″ stereo jack, it’s important to gather all the necessary materials. This ensures that you have everything you need within arm’s reach, saving you time and allowing for a smoother workflow. Here’s what you’ll need:
- 1/4″ Stereo Jack: Make sure you have a high-quality 1/4″ stereo jack that matches your requirements. There are different types of stereo jacks available, so choose one that suits your specific needs.
- Wire: You’ll need a suitable length of wire to connect the stereo jack to your audio source or device. It’s recommended to use shielded wire, as it helps eliminate unwanted noise and interference.
- Wire Cutters: Wire cutters are essential for cutting the wire to the desired length and removing any excess. Choose a pair of wire cutters that are appropriate for the thickness of the wire you are working with.
- Wire Strippers: Wire strippers are used to remove the insulation from the ends of the wire, exposing the metal conductors. This allows for a clean and secure connection.
- Soldering Iron: A soldering iron is necessary for soldering the wires to the terminals of the stereo jack. Make sure you have a soldering iron that is in good working condition.
- Solder: High-quality solder is crucial for creating a strong and reliable connection. Choose solder that is specifically designed for electrical applications.
- Heat Shrink Tubing: Heat shrink tubing provides insulation and protection for the soldered connections. It shrinks when heat is applied, creating a tight and secure seal.
- Heat Gun or Lighter: A heat source is needed to shrink the heat shrink tubing. You can use a heat gun or a lighter, depending on what you have available.
- Multimeter (Optional): A multimeter can be handy for testing the continuity of your wired connections and ensuring they are functioning properly.
Having all these materials ready will streamline the wiring process and ensure that you have everything you need to complete the job efficiently. Once you have gathered all the materials, you’re ready to move on to preparing the wires.
Step 2: Preparing the Wires
Once you have gathered all the necessary materials, the next step in wiring a 1/4″ stereo jack is to prepare the wires. Here’s a step-by-step guide on how to do it:
- Measure and cut the wire: Start by measuring the length of wire you need for your specific application. Use wire cutters to cut the wire to the desired length. Make sure to leave some extra length for flexibility and ease of handling.
- Remove the insulation: Take your wire strippers and carefully strip away approximately 1 inch (2.5 cm) of the insulation from both ends of the wire. Be cautious not to damage the conductive cores inside.
- Separate the wires: Once the insulation is removed, you may find multiple smaller wires or conductive strands inside. If you have a stereo wire with two conductors, separate and twist each conductor together to keep them neat and organized.
- Tin the wire ends (optional): Tinning the wire ends by applying a small amount of solder will help improve the connection and make the soldering process easier. To tin the wire ends, simply heat the exposed conductive cores with the soldering iron and apply a small amount of solder.
By properly preparing the wires, you ensure a clean and reliable connection to the 1/4″ stereo jack. Remember to be careful when handling the wire and use caution when stripping the insulation to avoid damaging the conductive cores.
Once you have prepared the wires, you’re ready to move on to the next step: identifying the terminals of the 1/4″ stereo jack.
Step 3: Identifying the Terminals
Before wiring the 1/4″ stereo jack, it’s essential to identify the terminals properly. Understanding the terminals will ensure that you make the correct connections and avoid any potential issues. Here’s how you can identify the terminals:
- Inspect the stereo jack: Take a close look at your 1/4″ stereo jack. It should have three terminals: the Tip, the Ring, and the Sleeve. The Tip terminal typically corresponds to the left audio channel, the Ring terminal corresponds to the right audio channel, and the Sleeve terminal is the common ground.
- Refer to the manufacturer’s specifications: If you are unsure about the terminal configuration of your specific stereo jack, consult the manufacturer’s specifications or documentation. They usually provide clear guidelines on which terminal is which.
- Use a multimeter (optional): If you have a multimeter, you can use it to identify the terminals. Set the multimeter to continuity mode and touch the probes to different terminals of the stereo jack. The multimeter will indicate if there is continuity between the probes, helping you determine which terminal corresponds to which channel.
- Mark the terminals: Once you have identified which terminal is the Tip, the Ring, and the Sleeve, it’s a good idea to mark them for future reference. You can use a marker or adhesive labels to mark each terminal accordingly.
Properly identifying the terminals is crucial for wiring the 1/4″ stereo jack correctly. Once you have identified and marked the terminals, you’re ready to proceed with the next step: wiring the 1/4″ stereo jack.
Step 4: Wiring the 1/4″ Stereo Jack
Now that you have prepared the wires and identified the terminals, it’s time to wire the 1/4″ stereo jack. Follow these steps to ensure a proper and secure connection:
- Position the stereo jack: Hold the stereo jack with the terminals facing up and the prongs pointing towards you. The Tip terminal should be on the left, the Ring terminal in the middle, and the Sleeve terminal on the right.
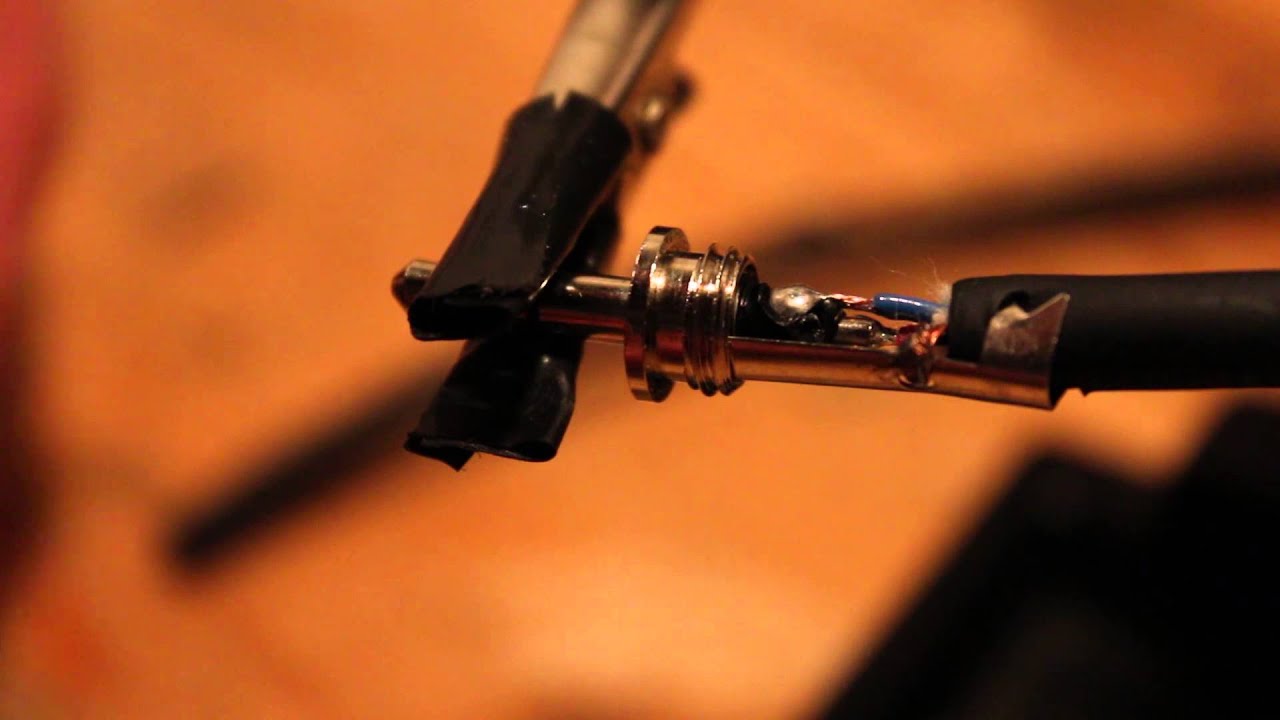
- Attach the wires to the terminals: Take one end of the wire and tin the exposed conductive core if you haven’t done so already. Carefully solder the Tip wire to the Tip terminal, the Ring wire to the Ring terminal, and the Sleeve wire to the Sleeve terminal. Ensuring a secure and neat solder joint is essential for a reliable connection.
- Apply heat shrink tubing: Slide a piece of heat shrink tubing onto each soldered connection. Make sure the tubing is long enough to cover the soldered area completely. Use a heat gun or a lighter to carefully apply heat to the tubing, shrinking it and providing insulation and protection for the soldered connections.
- Check for any loose connections: After the heat shrink tubing has cooled, give each connection a gentle tug to ensure they are secure. If any connection feels loose or comes off, re-solder it and apply new heat shrink tubing if necessary.
It’s important to take your time and be precise when wiring the 1/4″ stereo jack. A well-executed wiring job will ensure optimal audio performance and minimize the risk of signal loss or interference. Once you have completed wiring the stereo jack, it’s time to move on to the final step: testing the connection.
Step 5: Testing the Connection
After wiring the 1/4″ stereo jack, it’s crucial to test the connection to ensure everything is functioning properly. Follow these steps to test the integrity of your wired connection:
- Prepare the testing setup: Connect your 1/4″ stereo jack to the appropriate audio source or device. This could be a pair of headphones, an instrument, or an audio system.
- Play test audio: Use the audio source to play some test audio, such as a music track or a sound effect. Make sure the volume is set to an appropriate level.
- Check for audio output: Listen for audio output from the connected device. Ensure that the sound is clear and coming from both the left and right channels (if applicable).
- Test for mono compatibility (optional): If you have wired the stereo jack for mono compatibility, you can test it by connecting it to a mono audio source. Verify that the audio is still audible, even though it may be combined into a single channel.
- Inspect for loose wires or poor connections: While testing, visually inspect the wired connections and look for any signs of loose wires or poor solder joints. If you notice any issues, re-solder the connection and secure it properly.
Testing the connection is an essential step to ensure that your wired 1/4″ stereo jack is functioning as intended. It allows you to verify the quality of the audio output and identify any potential issues that may require additional attention.
If you encounter any problems during the testing phase, double-check your wiring and make any necessary adjustments or re-soldering. It’s important to strive for a solid and reliable connection to ensure optimal audio performance.
Once you have successfully tested the connection and confirmed everything is working correctly, congratulations! You have successfully wired a 1/4″ stereo jack.
Conclusion
Wiring a 1/4″ stereo jack may seem daunting at first, but with the right tools, materials, and knowledge, it can be a straightforward process. By following the step-by-step guide outlined in this article, you can confidently wire a 1/4″ stereo jack and ensure a reliable audio connection.
Throughout the process, it’s important to be meticulous in preparing the wires, identifying the terminals, and soldering the connections. Taking the time to do these steps correctly will result in a secure and long-lasting wiring job.
Remember to double-check your work, test the connection, and inspect for any loose wires or poor solder joints. This will help you catch any potential issues and make the necessary adjustments before finalizing the wiring.
Whether you’re a musician, audio enthusiast, or simply someone looking to enhance their DIY skills, learning how to wire a 1/4″ stereo jack opens up a world of audio possibilities. From creating custom audio cables to repairing damaged ones, having this knowledge empowers you to take control of your audio setup.
So, don’t hesitate to dive in, gather your tools, and put your newfound knowledge into practice. With a bit of patience and attention to detail, you’ll be well on your way to achieving high-quality audio connections with wired 1/4″ stereo jacks.
Happy wiring!