Home>Production & Technology>Stereo>How To Wire A 3.5Mm Stereo Plug
Stereo
How To Wire A 3.5Mm Stereo Plug
Published: November 25, 2023
Learn how to wire a 3.5mm stereo plug with our step-by-step guide. Perfect for connecting your stereo devices.
(Many of the links in this article redirect to a specific reviewed product. Your purchase of these products through affiliate links helps to generate commission for AudioLover.com, at no extra cost. Learn more)
Table of Contents
Introduction
Welcome to the world of stereo sound! Whether you’re an audiophile or simply enjoy listening to music with optimal sound quality, understanding how to wire a 3.5mm stereo plug is an essential skill. The 3.5mm stereo plug, also known as the headphone jack, is a widely used connector for audio devices such as headphones, speakers, and mobile devices.
In this article, we will guide you through the process of wiring a 3.5mm stereo plug step by step. By following these instructions, you’ll be able to connect your audio devices with confidence and ensure a seamless audio experience.
Before we dive into the details, it’s important to note that knowing how to wire a 3.5mm stereo plug can come in handy for various scenarios. Perhaps you need to repair a damaged plug, or maybe you want to create a custom cable to suit your specific audio setup. Whatever the reason, this knowledge will empower you to handle audio connections with convenience and flexibility.
So, gather your tools and let’s get started on this DIY audio adventure!
Materials Needed
Before you begin wiring a 3.5mm stereo plug, make sure you have the following materials:
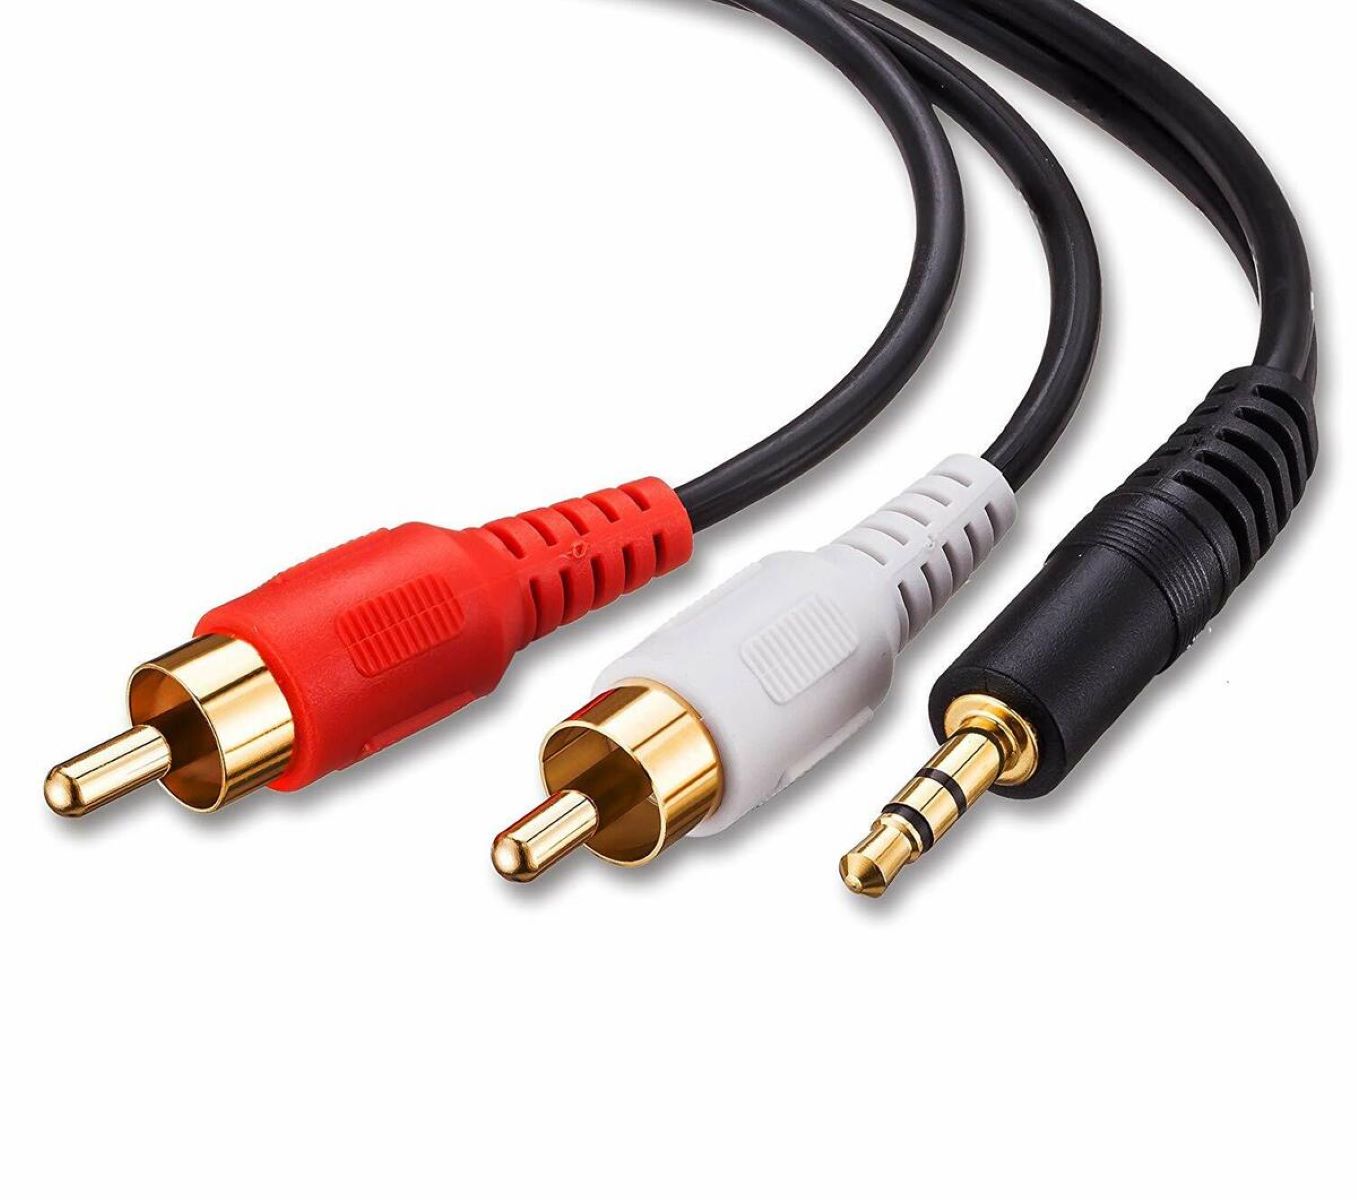
- A 3.5mm stereo plug
- Audio cable (with two or three conductors)
- Wire stripper
- Small screwdriver
- Soldering iron (optional)
- Solder and flux (optional)
- Heat shrink tubing (optional)
The 3.5mm stereo plug can be easily found at electronics stores or online. It typically has three different sections, known as contacts, that correspond to the left audio channel, right audio channel, and ground connection.
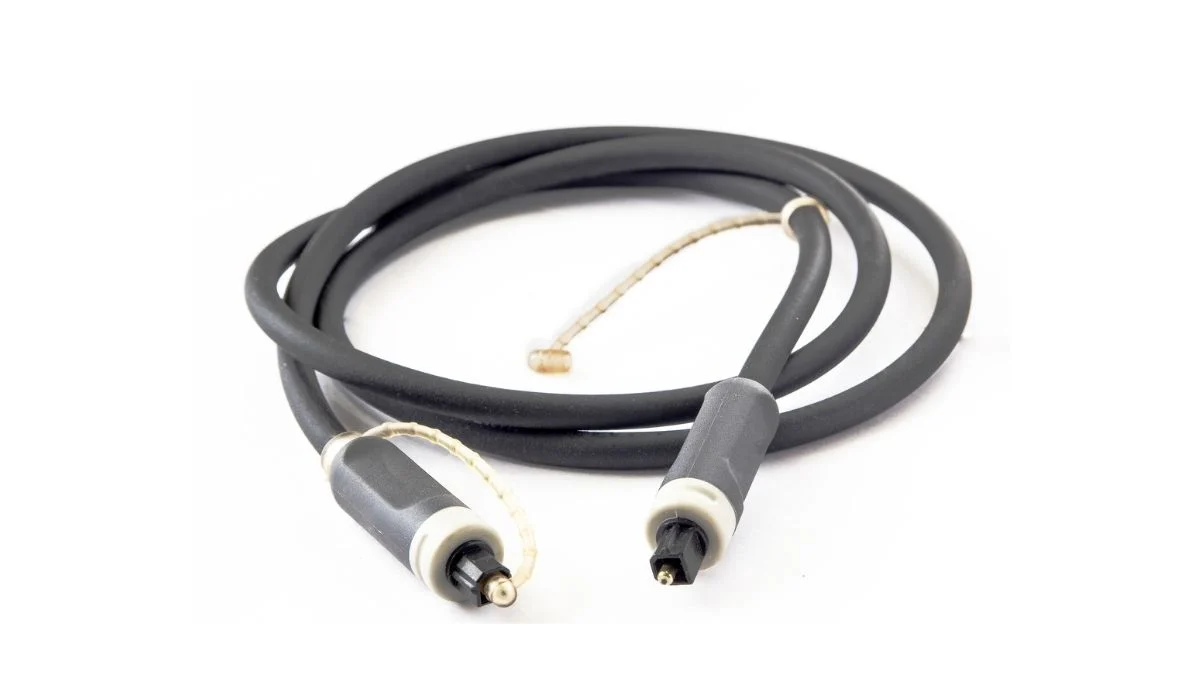
The audio cable you choose should match the requirements of your audio devices. Cables with two conductors (commonly referred to as TS cables) are suitable for mono audio signals, while cables with three conductors (known as TRS or TRRS cables) are necessary for stereo or multi-channel audio signals.
The wire stripper is used to remove the insulation from the audio cable, exposing the conductor wires. A small screwdriver is handy for attaching the wires to the contacts on the stereo plug.
Although optional, a soldering iron, solder, flux, and heat shrink tubing come in handy if you want to make a more secure and durable connection. Soldering prevents loose connections and enhances the overall stability of the wiring, while heat shrink tubing provides insulation and protection.
Now that you have all the necessary materials, let’s move on to the next step and gather our tools.
Step 1: Gather Your Tools
Before you begin wiring a 3.5mm stereo plug, it’s important to gather all the necessary tools. Having everything you need within reach will make the process more efficient. Here are the tools you’ll need:
- Wire stripper
- Small screwdriver
- Soldering iron (optional)
- Solder and flux (optional)
- Heat shrink tubing (optional)
The wire stripper is an essential tool for removing the insulation from the audio cable. It allows you to expose the conductor wires, which are necessary for making the connection to the stereo plug.
A small screwdriver is required to attach the wires to the contacts on the stereo plug. It helps secure the connection and ensures a stable audio signal transmission.
If you prefer a more secure and durable connection, using a soldering iron is recommended. Soldering creates a strong bond between the wires and the contacts, preventing any loose connections. Solder also improves the overall conductivity and reliability of the audio signal.
To solder the wires, you’ll need solder and flux. Flux is a compound that helps clean the surface of the wires and ensures a solid solder joint. It promotes better adhesion and reduces the chance of any potential signal degradation.
Lastly, heat shrink tubing provides insulation and protection for the wired connections. By applying heat, the tubing shrinks, creating a tight and secure seal around the soldered area. This adds an extra layer of durability and safeguards the wiring from any potential damage.
Once you have all these tools assembled, you’re ready to move on to the next step: preparing the wires for the wiring process.
Step 2: Prepare the Wires
Now that you have gathered your tools, it’s time to prepare the wires for wiring the 3.5mm stereo plug. Here’s how to do it:
- Start by identifying the audio cable you’ll be using. Make sure it matches the requirements of your audio devices.
- If your cable has a plastic covering, use the wire stripper to carefully remove it. Be sure to expose enough of the cable to work with, but not too much that it becomes difficult to handle.
- Once the plastic covering is removed, you’ll see individual wires inside. Depending on the type of cable, you’ll have either two or three conductors.
- Inspect the wires and check if there is any additional insulation around them. If there is, carefully strip away this insulation using the wire stripper. Be cautious not to damage the actual conductor wires.
- Once all the insulation is removed, visually inspect the conductor wires to ensure they are clean and free from any debris or damaged sections. If necessary, gently clean them using a small brush or cloth.
By preparing the wires in this way, you are ensuring that they are ready for the next steps of the wiring process. Having clean and exposed conductor wires will make it easier to attach them securely to the contacts on the 3.5mm stereo plug.
Now that the wires are prepared, it’s time to move on to the next step: stripping the wires to expose the necessary lengths.
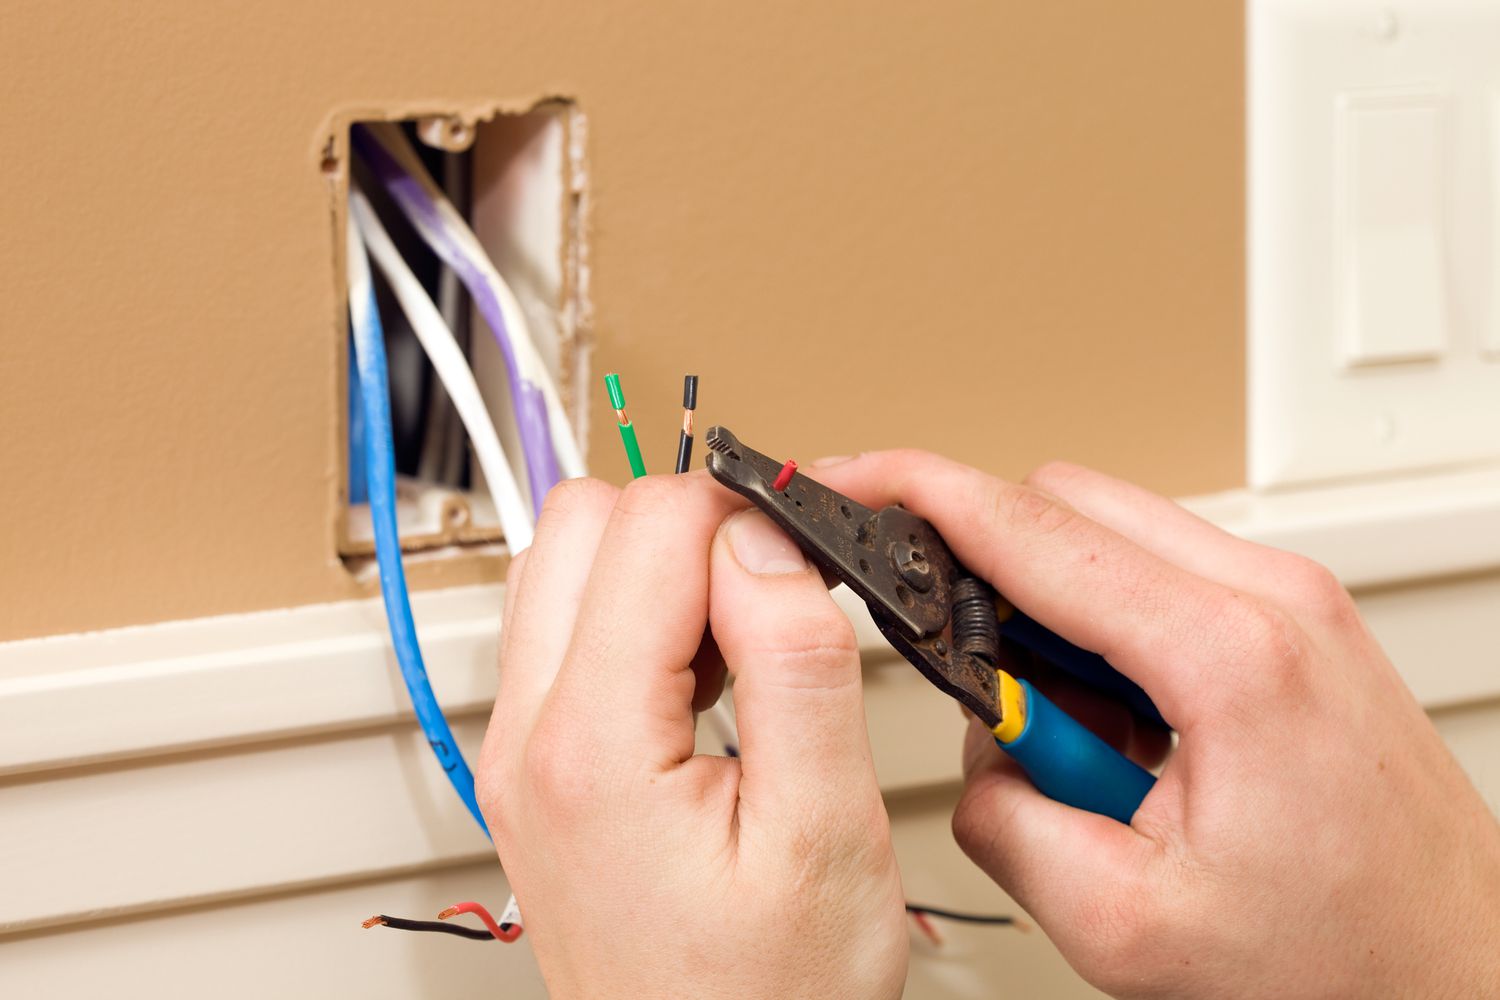
Step 3: Strip the Wires
Now that the wires are prepared, the next step in wiring a 3.5mm stereo plug is to strip the wires. Stripping the wires involves removing a small portion of the outer insulation to expose the bare conductor. Here’s how to do it:
- Take your wire stripper and select the appropriate size groove for the gauge of your wire. This ensures that you strip away just the right amount of insulation without damaging the conductor.
- Place the wire into the groove of the wire stripper, making sure it is sitting comfortably and centered.
- Squeeze the handles of the wire stripper firmly to cut through the insulation. Be careful not to apply too much force, as you don’t want to cut through the conductor inside the wire.
- Once the insulation is cut, gently twist the wire stripper to remove the cut portion of the insulation.
- Inspect the stripped end of the wire to ensure that the conductor is exposed and there is no remaining insulation that could interfere with the connection.
- Repeat this process for all the wires you’ll be connecting to the stereo plug.
Stripping the wires correctly is crucial for a reliable and secure connection. It ensures that the conductors make direct contact with the corresponding contacts on the stereo plug, allowing the audio signal to pass through without any interference.
With the wires stripped and ready, you’re now prepared to move on to the next step: identifying the wires and their corresponding contacts on the 3.5mm stereo plug.
Step 4: Identify the Wires
Now that you have stripped the wires, it’s time to identify each wire and determine its purpose in the wiring process. This step is particularly important for ensuring correct connections and proper audio channel assignments. Here’s how to identify the wires:
- Start by examining the color-coding or markings on the wires, if any. Many audio cables follow a standard color scheme, which can help you identify the different conductors.
- If there are no color-coded markings, identify the strands or twists in the wire. Typically, you’ll find either two or three conductors in an audio cable.
- Refer to the documentation or specifications of your audio devices to determine the purpose of each conductor. In a stereo setup, you will typically have wires for the left audio channel, right audio channel, and ground connection.
- If you are unsure about the purpose of the wires, you can use a multimeter to test for continuity between the conductors and the corresponding contacts on the audio devices. This will help you identify which wire corresponds to which audio channel.
Properly identifying the wires ensures that you make the correct connections, allowing for accurate stereo sound reproduction. Mixing up the wires could result in imbalanced audio or no audio output at all.
Once you have identified the wires and their corresponding purposes, you’re ready to move on to the next step: inserting the wires into the contacts of the 3.5mm stereo plug.
Step 5: Insert the Wires
Now that you have identified the wires and their corresponding purposes, it’s time to insert the wires into the contacts of the 3.5mm stereo plug. Follow these steps carefully to ensure a proper and secure connection:
- Hold the stereo plug with the contacts facing up and the connector facing away from you.
- Take the wire for the left audio channel and carefully insert the exposed conductor into the contact that corresponds to the left audio channel. Push the wire in until it is securely seated in the contact. Make sure no strands of wire are protruding outside the contact.
- Repeat the same process for the wire for the right audio channel, inserting it into the contact that corresponds to the right audio channel.
- If you have a wire for the ground connection, insert it into the contact that corresponds to the ground connection. This is usually a separate contact or the sleeve connection of the stereo plug.
- Ensure that all the wires are inserted securely and that they make proper contact with the contacts inside the stereo plug.
It’s essential to take your time during this step to ensure accurate connections. Double-check that each wire is inserted into the correct contact to avoid any audio signal interference or improper channel assignment.
Once the wires are securely inserted into the contacts, you’re almost done. The next step involves securing the wires in place to ensure a reliable and long-lasting connection.
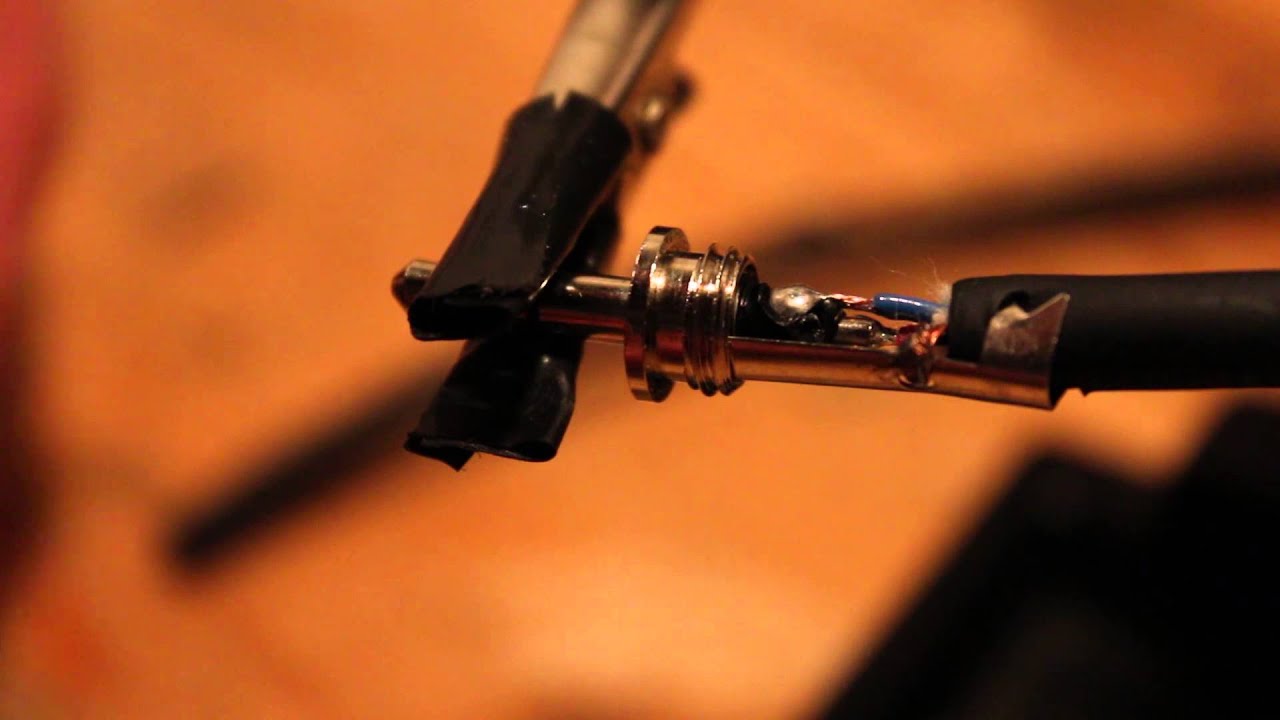
Step 6: Secure the Wires
After inserting the wires into the contacts of the 3.5mm stereo plug, it’s important to secure them properly to ensure a reliable connection. Follow these steps to secure the wires:
- If you’re using a soldering iron, apply a small amount of solder to each wire-contact connection. The solder creates a strong bond and helps prevent any loose connections. Be careful not to apply too much heat to the plastic components of the stereo plug.
- If you’re not soldering, you can use a small screwdriver to tighten any screws or clamps that may be present on the stereo plug. This will help hold the wires in place and maintain a tight connection.
- If you prefer added protection and durability, you can slide heat shrink tubing over each wire-contact connection before soldering or screwing it in place. Use a heat source, such as a heat gun or lighter, to shrink the tubing around the connection, creating a secure and insulated seal.
- Ensure that all connections are tight and secure, with no exposed wires or loose components.
Properly securing the wires reduces the risk of any accidental disconnections and ensures a strong and reliable audio signal transmission. It’s important to choose a method that suits your comfort level and resources, whether it’s soldering or using screws and clamps.
Once the wires are securely fastened, you’re almost done! The next step involves testing the connection to ensure everything is in working order.
Step 7: Test the Connection
After securing the wires in the 3.5mm stereo plug, it’s crucial to test the connection to ensure everything is working as intended. Follow these steps to test the connection:
- Plug the 3.5mm stereo plug into the corresponding audio device, such as headphones, speakers, or a mobile device.
- Play a test audio source, such as a music track or sound clip, on the connected device.
- Listen carefully for sound output through both the left and right audio channels.
- Avoid any background noise or distractions that may interfere with the audio test.
- If you experience issues, such as distorted sound, no sound at all, or unbalanced audio between the left and right channels, double-check your connections and ensure they are properly secured.
If the test reveals any issues with the audio output, it may be necessary to recheck your wiring or make adjustments to the connections. Ensure that each wire is in the correct contact and that there are no loose connections or damaged wires.
However, if the test is successful and you hear clear and balanced sound through both audio channels, congratulations! You have successfully wired the 3.5mm stereo plug.
Now, there’s just one final step to complete the process.
Step 8: The Final Touch
You’re almost done! The final step in wiring a 3.5mm stereo plug is to give it a final touch to ensure longevity and neatness. Follow these steps to complete the process:
- If you used heat shrink tubing to protect the wire-contact connections, use a heat source, such as a heat gun or lighter, to shrink the tubing completely. Ensure that it forms a snug and secure seal around the connections.
- If you didn’t use heat shrink tubing, you can use electrical tape or adhesive heat shrink to provide some extra insulation and protection. Wrap the tape or heat shrink around the wired section, ensuring there are no exposed contacts or wires.
- In some cases, the stereo plug may have a plastic or rubber housing that can be screwed or snapped shut. Ensure that it is securely closed to protect the internal components and maintain a neat appearance.
By adding these final touches, you are safeguarding the wiring and protecting it from any potential damage or wear over time. It also helps maintain a clean and professional-looking finished product.
Congratulations! You have successfully wired a 3.5mm stereo plug. Now, you can enjoy your audio devices with confidence, knowing that you have made a reliable and secure connection.
Remember, if you ever need to make adjustments or rewire the plug in the future, you can refer back to this guide as a reference.
Enjoy your enhanced audio experience!
Conclusion
Wiring a 3.5mm stereo plug allows you to connect your audio devices with ease and convenience, ensuring optimal sound quality and an enhanced audio experience. By following the step-by-step guide outlined in this article, you have learned how to wire a 3.5mm stereo plug with confidence.
Throughout the process, we covered important steps such as gathering the necessary tools, preparing the wires, stripping the insulation, identifying the wires, inserting them into the contacts, securing the connections, testing the audio output, and adding the final touches. Each of these steps is crucial for a successful wiring job.
Remember to double-check your connections and ensure that all wires are securely fastened to prevent any potential signal interference or loose connections. Taking the time to properly wire and secure the connections will result in a reliable and long-lasting audio setup.
Having the knowledge and ability to wire a 3.5mm stereo plug gives you the flexibility to repair damaged plugs, create custom cables that suit your specific audio setup, and even experiment with different audio configurations. It empowers you to take control of your audio experience.
So, whether you’re a music lover, audio enthusiast, or someone who simply wants to connect their headphones or speakers, knowing how to wire a 3.5mm stereo plug is a valuable skill that opens up a world of possibilities in audio connectivity.
Now, go ahead and enjoy crisp and immersive stereo sound with your newly wired connections!