Home>Production & Technology>Stereo>How To Change Realtek Settings From 7.1 To Stereo
Stereo
How To Change Realtek Settings From 7.1 To Stereo
Modified: January 22, 2024
Learn how to easily change Realtek audio settings from 7.1 surround sound to stereo for a better listening experience. Follow our step-by-step guide.
(Many of the links in this article redirect to a specific reviewed product. Your purchase of these products through affiliate links helps to generate commission for AudioLover.com, at no extra cost. Learn more)
Table of Contents
- Introduction
- Understanding Realtek 7.1 and Stereo Settings
- The Benefits of Switching from 7.1 to Stereo
- Step-by-Step Guide to Changing Realtek Settings from 7.1 to Stereo
- Method 1: Using Realtek Audio Manager
- Method 2: Using Windows Sound Settings
- Troubleshooting Common Issues
- Final Thoughts and Recommendations
Introduction
Welcome to the world of audio technology! Whether you are a music enthusiast or a gamer, having the right audio settings can significantly enhance your listening experience. Realtek, a leading brand in audio hardware and software solutions, offers a wide range of features to customize your sound preferences. One such feature is the ability to switch between different audio setups, such as 7.1 surround sound and stereo.
In this article, we will focus on changing Realtek settings from 7.1 to stereo. While 7.1 surround sound can provide an immersive audio experience, stereo is often preferred for its simplicity and compatibility. By switching to stereo, you can enjoy a more balanced and natural audio output, perfect for music listening or regular multimedia usage.
Whether you are using Realtek’s proprietary audio manager or the default sound settings in Windows, we will guide you through the step-by-step process of changing from 7.1 to stereo. Additionally, we will address common issues and provide troubleshooting tips to help you along the way.
So, if you’re ready to optimize your audio setup and enjoy crystal-clear sound, let’s dive into the world of Realtek settings and learn how to change from 7.1 to stereo!
Understanding Realtek 7.1 and Stereo Settings
Before we delve into the process of changing Realtek settings from 7.1 to stereo, it’s important to understand the difference between these two audio setups.
Realtek 7.1 is a surround sound setup that utilizes eight audio channels to create an immersive audio experience. With dedicated speakers for the front, rear, and center channels, along with a subwoofer for low-frequency sounds, 7.1 surround sound delivers a cinematic audio experience, making it ideal for movies and games that support multi-channel audio.
Stereo, on the other hand, is a two-channel audio setup that consists of a left and a right speaker. It is the most common audio configuration found in regular music playback, videos, and most multimedia content. While it does not offer the spatial depth of surround sound, stereo is known for its simplicity, compatibility, and accurate sound reproduction.
Both 7.1 and stereo setups come with their own advantages and use cases. 7.1 surround sound provides an immersive audio experience, ideal for gaming and movies, as it can create a sense of depth and directionality. However, it might not always be suitable for every content type or audio device. Furthermore, not all media are designed to take full advantage of multi-channel audio setups, so switching to stereo might result in a more balanced and accurate sound reproduction.
Understanding the differences between 7.1 and stereo settings will help you determine which setup is best suited for your needs. Now that we have a basic understanding of these configurations, let’s move on to the benefits of switching from 7.1 to stereo.
The Benefits of Switching from 7.1 to Stereo
While 7.1 surround sound can create an immersive audio experience, there are several compelling reasons to consider switching to stereo. Let’s explore the benefits of using a stereo audio configuration.
- Simplicity: Stereo setups are much simpler and easier to set up compared to their 7.1 counterparts. With just two speakers, you don’t have to worry about positioning and calibrating multiple channels. This simplicity makes stereo ideal for everyday use, such as listening to music or watching videos.
- Compatibility: Stereo is widely supported by audio devices, media players, and operating systems. Whether you’re using headphones, speakers, or built-in audio on your computer, stereo will work seamlessly across various devices. It ensures compatibility with a wide range of multimedia content, eliminating the need for specialized hardware or software.
- Accurate Sound Reproduction: Stereo configurations provide a balanced and accurate sound reproduction. With two speakers delivering audio from the left and right channels, stereo captures the nuances and details of the original audio recording. This accuracy is especially crucial for music enthusiasts who seek to hear the subtle instruments and vocals in their favorite tracks.
- Immersive for Personal Listening: While surround sound is great for a shared audio experience, stereo can deliver an immersive personal listening experience. Whether you’re using headphones or speakers, stereo audio creates a sense of depth and spaciousness, allowing you to focus on the details of the audio without distractions.
- Better Performance on Non-Surround Content: Not all media content is designed to take advantage of multi-channel audio setups. Some movies, music, and videos may be encoded in stereo or have limited surround sound effects. By switching to stereo, you ensure that your audio setup is optimized for the content you consume, resulting in more accurate and enjoyable playback.
By switching from 7.1 to stereo, you can enjoy simplicity, compatibility, accurate sound reproduction, and an immersive personal listening experience. Now that we understand the benefits of stereo, let’s move on to the step-by-step guide on changing Realtek settings from 7.1 to stereo.
Step-by-Step Guide to Changing Realtek Settings from 7.1 to Stereo
Changing Realtek settings from 7.1 to stereo is a straightforward process that can be done using either the Realtek Audio Manager or the Windows Sound Settings. Let’s explore both methods:
Method 1: Using Realtek Audio Manager
- Open the Realtek Audio Manager: You can usually find it in your system tray or by searching for it in the Windows Start menu.
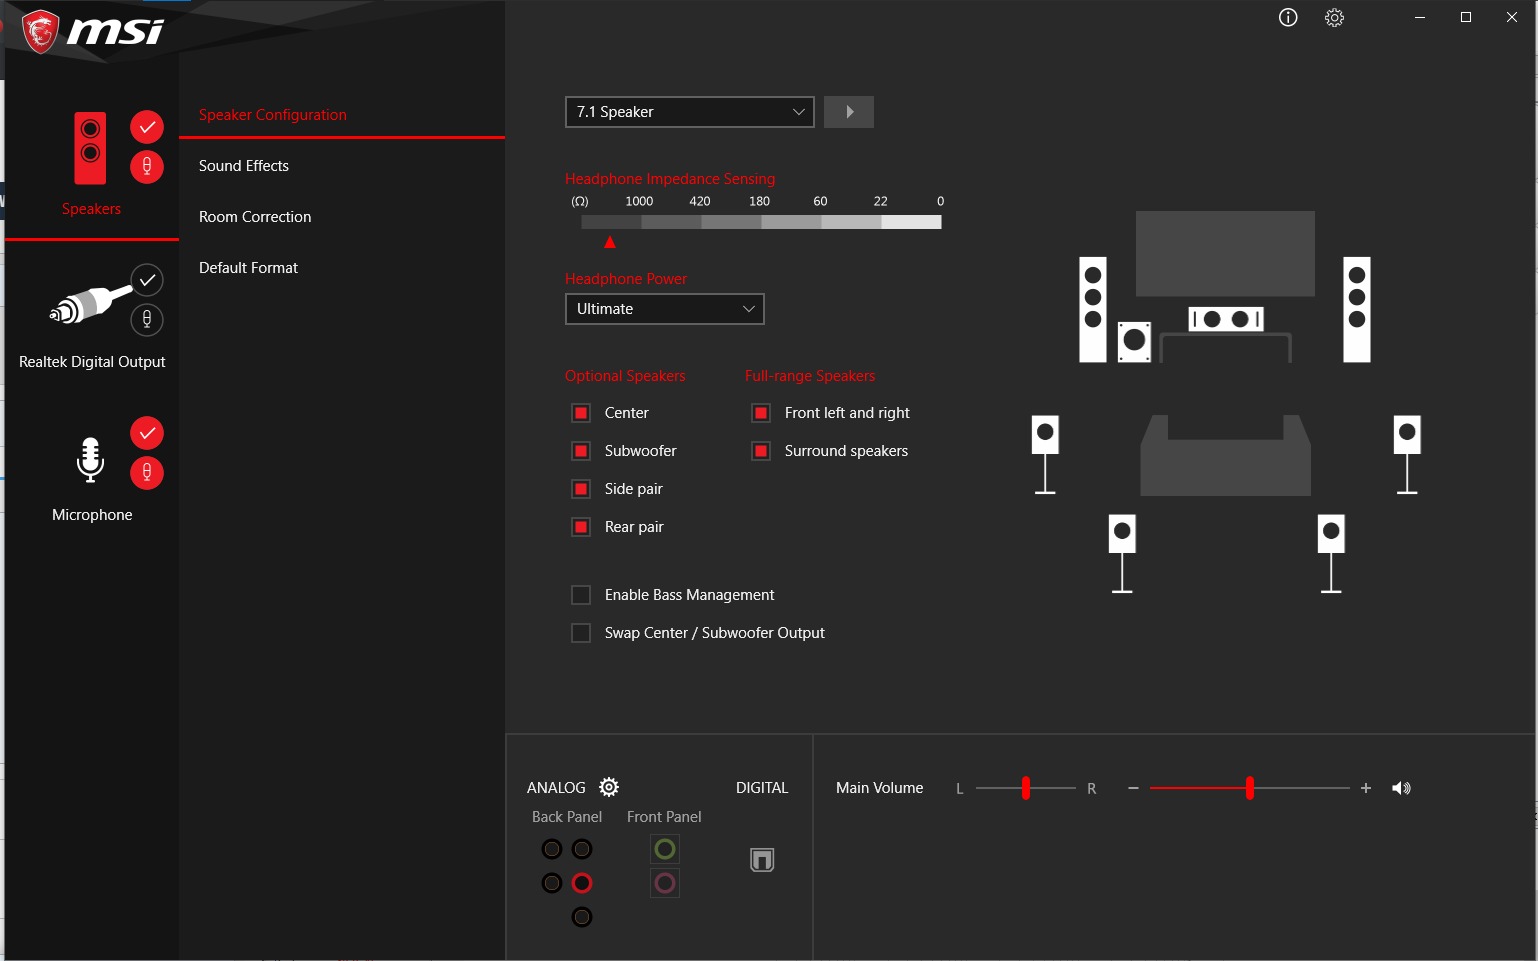
- Navigate to the Speaker Configuration: Look for an option that specifies speaker configuration or audio setup.
- Select Stereo: From the available options, choose stereo or 2-channel audio configuration. This will disable the surround sound setup and enable stereo audio output.
- Apply the Changes: Save the changes and exit the Realtek Audio Manager. Your audio setup should now be switched from 7.1 to stereo.
Method 2: Using Windows Sound Settings
- Right-click on the sound icon in the system tray: You’ll find it located at the bottom right corner of your screen.
- Select “Sounds” or “Open Sound Settings”: This will open the Sound settings window.
- Navigate to the Audio Device Settings: Look for an option that allows you to configure your audio devices or manage sound settings.
- Select the Playback Device: Choose the playback device that is associated with your Realtek audio hardware.
- Click on “Configure”: This will take you to the configuration options for the selected playback device.
- Select Stereo or 2-Channel Configuration: Look for an option that mentions stereo or 2-channel audio setup and choose it as your preferred configuration.
- Apply the Changes: Save the changes and exit the Sound settings window. Your audio setup should now be set to stereo.
Following these steps, you should be able to successfully switch your Realtek audio settings from 7.1 surround sound to stereo. However, if you encounter any issues or face difficulties during the process, do not worry. We will now address some common issues and provide troubleshooting tips to help you overcome them.
Method 1: Using Realtek Audio Manager
If you have Realtek Audio Manager installed on your computer, you can easily switch from 7.1 to stereo by following these steps:
- Open the Realtek Audio Manager: You can typically find the Realtek Audio Manager icon in your system tray, near the clock. It may appear as a small speaker icon or as the Realtek logo. Alternatively, you can search for “Realtek Audio Manager” in the Windows Start menu.
- Navigate to the Speaker Configuration: Once you have the Realtek Audio Manager open, look for an option that specifies speaker configuration or audio setup. This may be labeled as “Audio Control Panel,” “Sound Manager,” or similar.
- Select Stereo: In the Speaker Configuration or similar section, you will see a list of available audio setups. Choose the option that mentions stereo or 2-channel audio configuration. By selecting this option, you are disabling the surround sound setup and enabling stereo audio output.
- Apply the Changes: After selecting the stereo option, make sure to apply the changes. You may need to click on a “Save” or “Apply” button located within the Realtek Audio Manager. This will save the new settings and activate the stereo audio setup.
- Exit the Realtek Audio Manager: Once you have applied the changes, you can exit the Realtek Audio Manager. You can usually do this by clicking on the “X” or “Close” button in the top-right corner of the window.
Following these steps should successfully switch your Realtek settings from 7.1 surround sound to stereo using the Realtek Audio Manager. Remember to test your audio output after making the changes to ensure they have taken effect.
Please note that the exact layout and options in the Realtek Audio Manager may vary depending on the version and manufacturer of your audio hardware. If you can’t find the Speaker Configuration or stereo option, try exploring different tabs or sections within the Realtek Audio Manager. Alternatively, you can refer to your audio device’s documentation or the manufacturer’s website for specific instructions on changing the audio setup.
Now that you are familiar with Method 1, let’s move on to Method 2, which involves using the Windows Sound Settings to change Realtek settings from 7.1 to stereo.
Method 2: Using Windows Sound Settings
If you prefer to use the Windows Sound Settings to change your Realtek audio settings from 7.1 to stereo, follow these steps:
- Right-click on the sound icon in the system tray: The sound icon is typically located in the bottom-right corner of your screen, near the clock. When you right-click on it, a context menu will appear.
- Select “Sounds” or “Open Sound Settings”: In the context menu, you should see an option to open the Sound settings. Click on it, and the Sound settings window will open.
- Navigate to the Audio Device Settings: Within the Sound settings window, you will see a list of audio devices and playback options. Look for an option that allows you to configure your audio devices or manage sound settings.
- Select the Playback Device: In the audio device settings, you will find a list of playback devices. Choose the device that is associated with your Realtek audio hardware. This might be labeled as “Speakers (Realtek Audio)” or a similar name.
- Click on “Configure”: After selecting the playback device, you will see a “Configure” button. Click on it to access the configuration options for the selected device.
- Select Stereo or 2-Channel Configuration: In the configuration options, you will see a list of audio setups. Look for an option that mentions stereo or 2-channel audio configuration. Select this option to set your preferred stereo audio setup.
- Apply the Changes: Once you have selected the stereo option, click on the “Apply” or “OK” button to save the changes. This will activate the new audio setup for your Realtek device.
- Exit the Sound Settings: After applying the changes, you can exit the Sound settings window. You can usually do this by clicking on the “X” or “Close” button in the top-right corner of the window.
By following these steps, you should be able to switch your Realtek audio settings from 7.1 surround sound to stereo using the Windows Sound Settings. Make sure to test your audio output after making the changes to ensure that they have been applied successfully.
Please note that the exact layout and options in the Windows Sound Settings may vary slightly depending on your version of Windows. If you encounter any issues or cannot find the necessary options, refer to the Windows help documentation or the manufacturer’s website for further assistance.
Now that you are familiar with both methods of changing Realtek settings, let’s move on to the next section, where we will address common issues and provide troubleshooting tips to help you along the way.
Troubleshooting Common Issues
While changing Realtek settings from 7.1 to stereo is usually a straightforward process, you may encounter some common issues along the way. Here are a few troubleshooting tips to help you overcome these issues:
- No Speaker Configuration Option: If you are using Method 1 with the Realtek Audio Manager and cannot find the Speaker Configuration option, it is possible that your audio driver version does not support it. In this case, try updating your audio drivers to the latest version provided by the manufacturer.
- No Stereo Option in Windows Sound Settings: If you are using Method 2 with the Windows Sound Settings and cannot find the stereo or 2-channel configuration option, it is likely that your audio device does not support stereo output. Double-check your audio device specifications and consult the manufacturer’s documentation or support for further assistance.
- No Sound After Changing Settings: If you have followed the steps to switch to stereo but are not getting any sound, check the following:
- Ensure that your speakers or headphones are properly connected to the audio output on your device.
- Verify that the volume is turned up and not muted both on your device and in the audio settings.
- Restart your device to apply the changes and reset the audio system.
- Inconsistent Sound Quality: If you notice inconsistent sound quality after changing to stereo, it could be due to improper speaker positioning or audio enhancements. Experiment with speaker placement and try disabling any audio enhancements or effects in the Realtek Audio Manager or Windows Sound Settings to improve the sound quality.
- Audio Device Not Detected: If your audio device is not being detected or recognized after changing the settings, check the following:
- Ensure that the audio device is properly connected to your computer.
- Confirm that the device drivers for your audio hardware are up to date.
- Try disconnecting and reconnecting the audio device or restarting your computer.
If you encounter any other issues or have difficulty resolving the above problems, it is recommended to consult the manufacturer’s documentation or support. They will have specific troubleshooting steps for your audio device and may provide additional guidance or software updates to address the issues.
Now that we have addressed common issues and provided troubleshooting tips, let’s move on to the final section where we will wrap up the article with some closing thoughts and recommendations.
Final Thoughts and Recommendations
Congratulations! You have successfully learned how to change Realtek settings from 7.1 to stereo. By switching to stereo, you can enjoy a more balanced and natural audio experience, perfect for music listening and regular multimedia usage.
While 7.1 surround sound offers an immersive audio experience, stereo provides simplicity, compatibility, accurate sound reproduction, and an immersive personal listening experience. It is important to consider your specific needs and the content you consume when deciding between these two setups.
Whether you used the Realtek Audio Manager or the Windows Sound Settings, changing your Realtek settings to stereo was a straightforward process. Make sure to apply the changes, test your audio output, and adjust speaker placement if needed for optimal sound quality.
If you encountered any issues during the process, remember to check for updated audio drivers, reconnect your audio devices, adjust volume settings, and consult the manufacturer’s documentation or support for further assistance.
Before we conclude, here are some final recommendations:
- Experiment with different audio setups: While stereo is a popular choice for everyday usage, it’s always worth exploring different audio setups to find the one that suits your preferences and the content you consume best.
- Invest in high-quality audio equipment: To truly appreciate the switch to stereo, consider investing in high-quality speakers or headphones that can deliver accurate and immersive sound reproduction.
- Explore audio enhancement options: Both the Realtek Audio Manager and Windows Sound Settings offer additional audio enhancements and effects. Take the time to explore these options and fine-tune your sound preferences according to your personal preferences.
- Stay up to date: Occasionally check for updated drivers and firmware for your audio devices to ensure the best performance and compatibility.
With your new knowledge and ability to switch Realtek settings from 7.1 to stereo, you can now enjoy a more immersive and personalized audio experience. Whether you are listening to your favorite music tracks, watching movies, or playing games, the switch to stereo will enhance your audio enjoyment.
Thank you for joining us on this audio journey, and we hope that this article has been informative and helpful. Happy listening!