Home>Production & Technology>Stereo>How To Turn An Old Stereo Into Bluetooth
Stereo
How To Turn An Old Stereo Into Bluetooth
Modified: January 22, 2024
Learn how to transform your old stereo into a Bluetooth-enabled device. Upgrade your sound system and enjoy wireless connectivity with this step-by-step guide.
(Many of the links in this article redirect to a specific reviewed product. Your purchase of these products through affiliate links helps to generate commission for AudioLover.com, at no extra cost. Learn more)
Table of Contents
Introduction
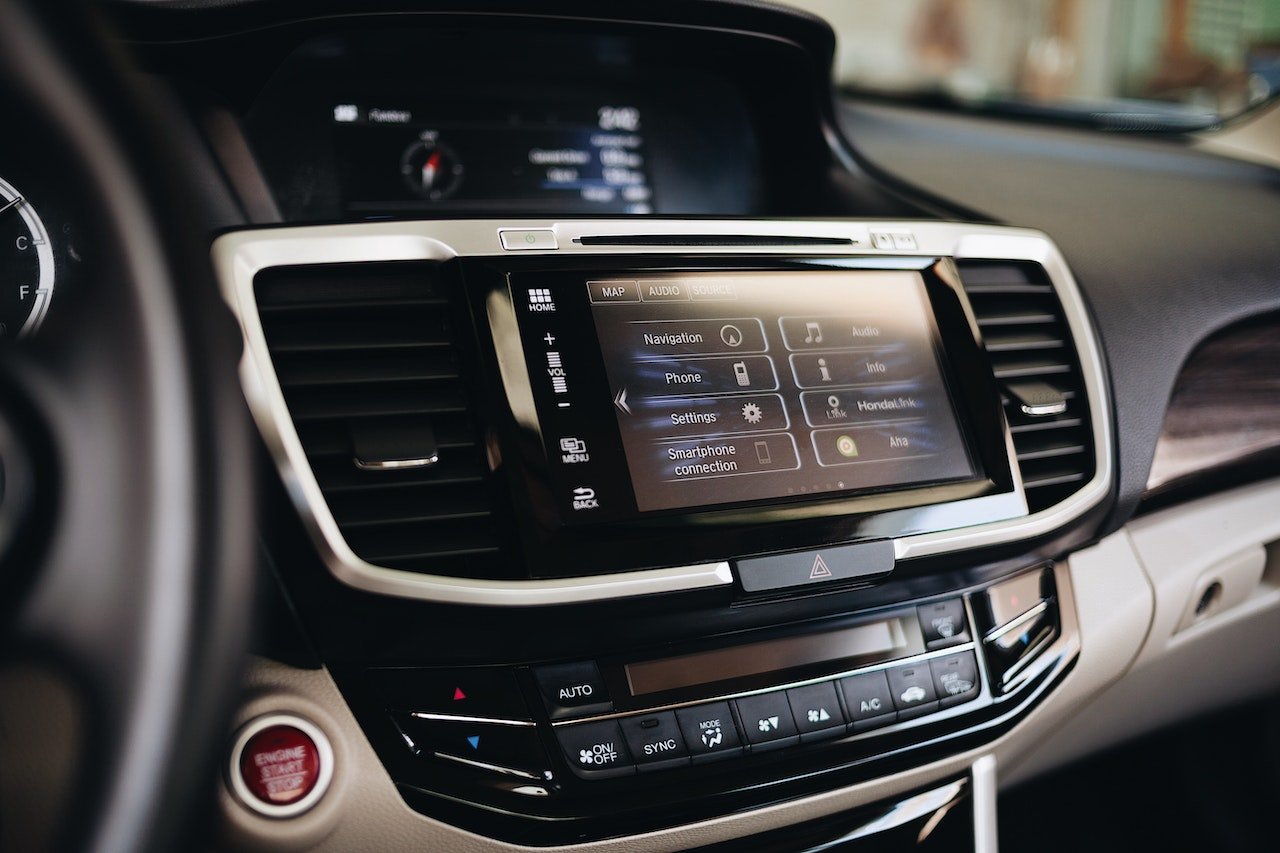
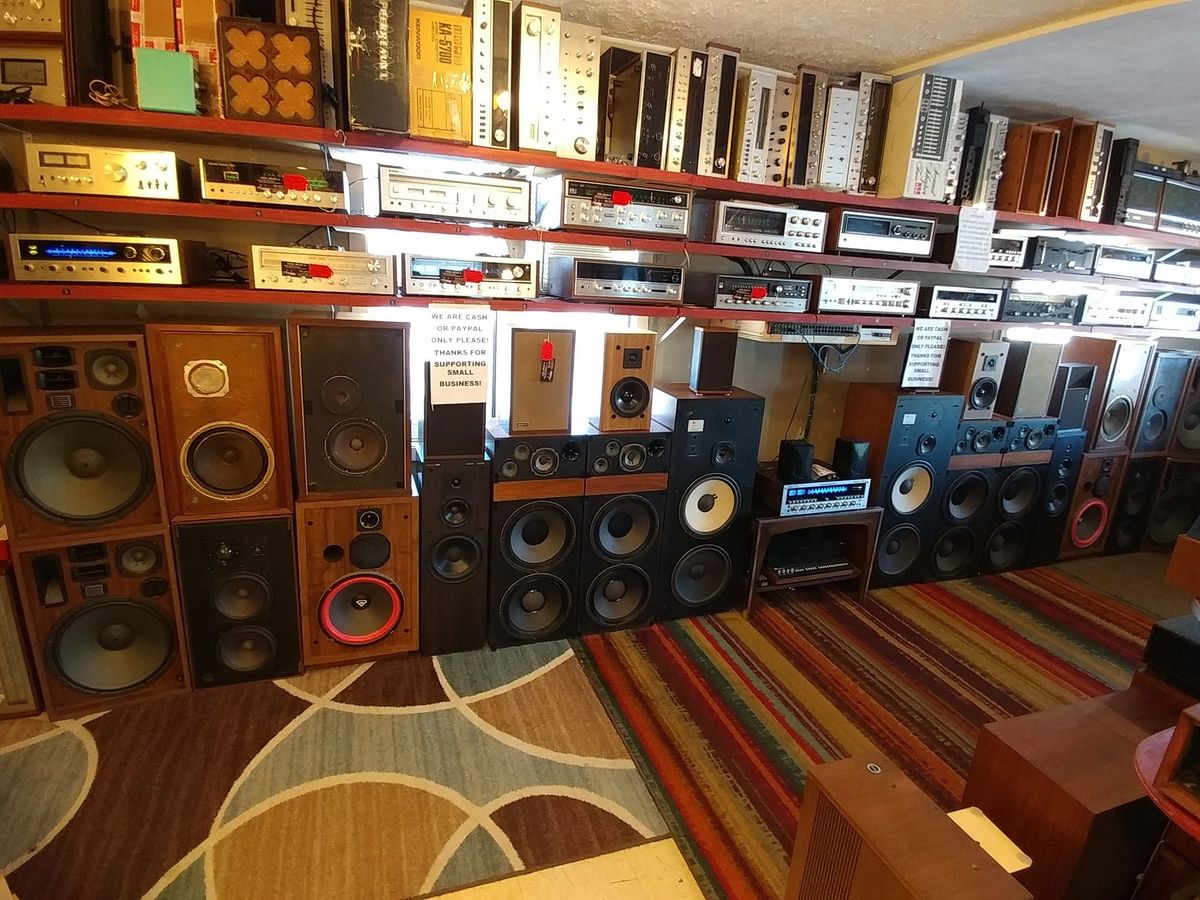
There’s something nostalgic and charming about old stereos. The classic design, the warm sound, and the tactile controls can evoke pleasant memories of the past. However, as technology advances, these old stereos can become outdated and less functional in our modern age of wireless connectivity. But fear not, for there is a way to breathe new life into your old stereo by transforming it into a Bluetooth-enabled device.
With a few simple steps and some basic electronic know-how, you can turn your old stereo into a Bluetooth powerhouse, allowing you to wirelessly stream music from your smartphones, tablets, and other Bluetooth-enabled devices. Not only will this upgrade make your stereo more versatile and convenient to use, but it will also preserve its vintage aesthetic.
This step-by-step guide will walk you through the process of converting your old stereo into a Bluetooth-enabled device. From gathering the necessary materials to testing the Bluetooth connection, you’ll learn how to harness the power of Bluetooth technology and bring your stereo into the 21st century.
So, dust off that old stereo, roll up your sleeves, and get ready to embark on a rewarding DIY project that will not only revive your beloved audio system but also enhance your listening experience. Let’s dive in and discover how to turn an old stereo into Bluetooth-enabled bliss!
Step 1: Gather the necessary materials
Before you can begin the transformation process, it’s essential to gather all the necessary materials. Here’s a list of items you’ll need:
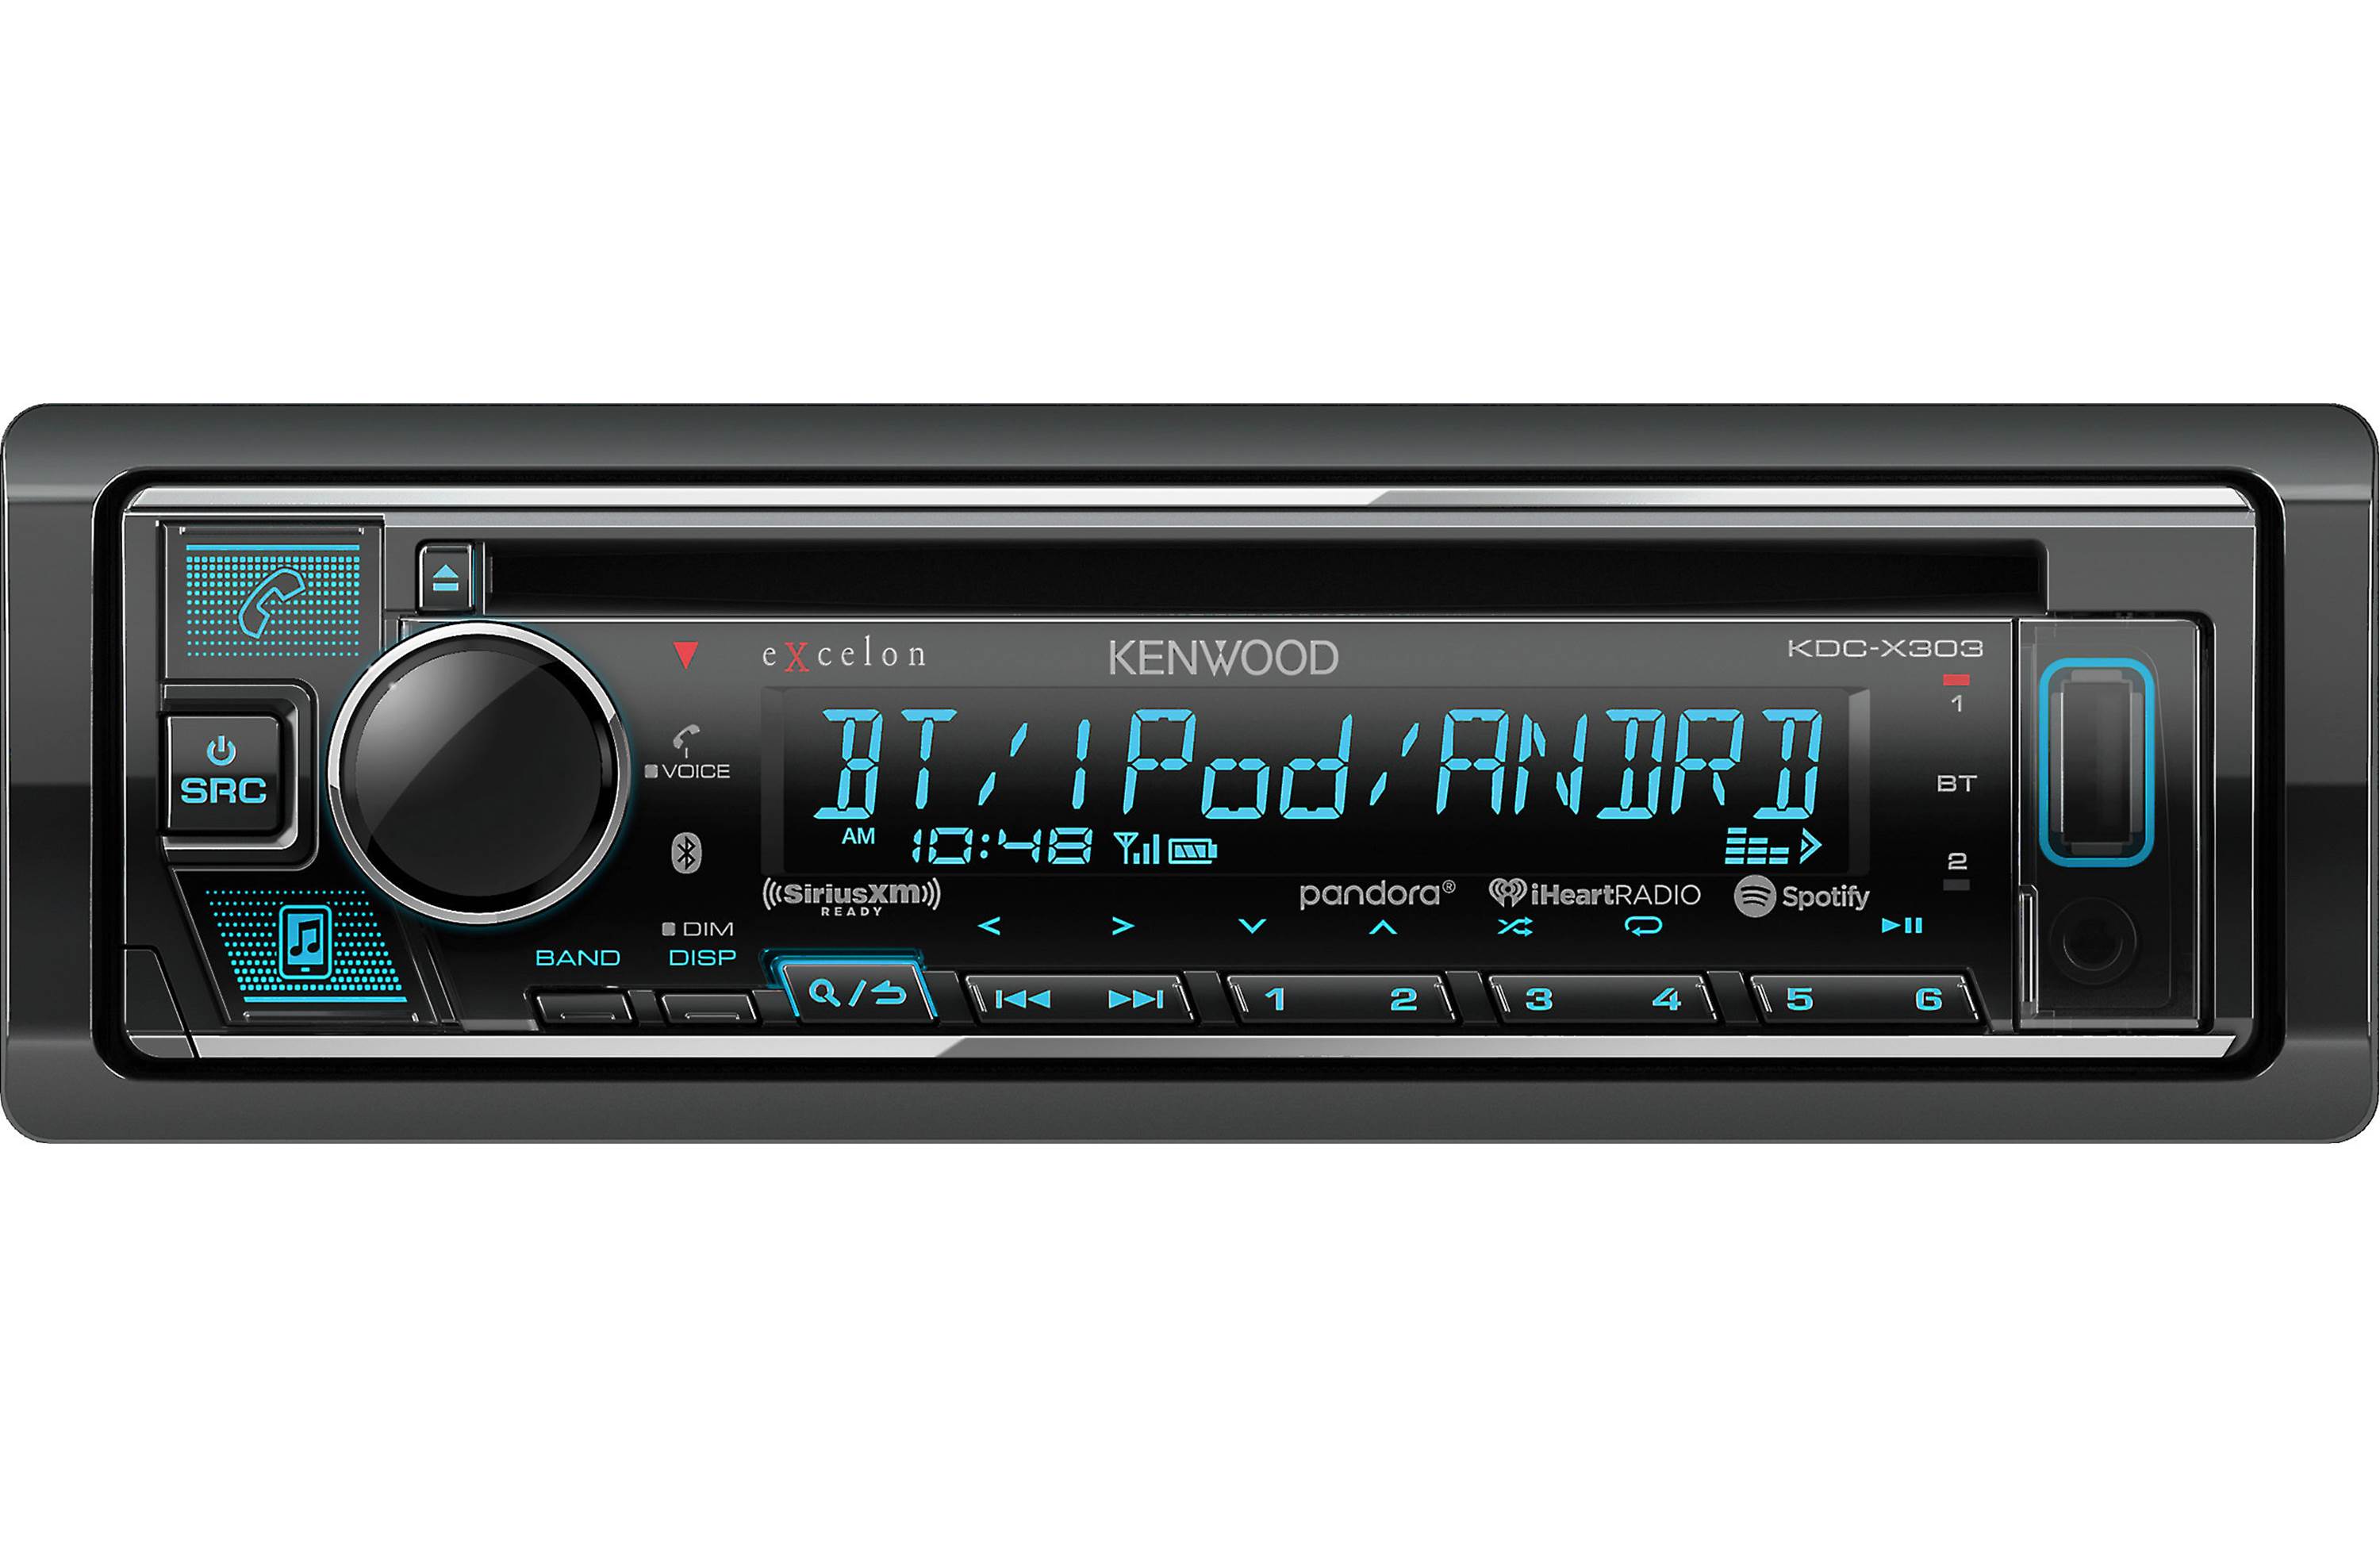
- Old stereo: Ensure you have an old stereo that you’re willing to modify. It should be in decent condition and have all the necessary components intact.
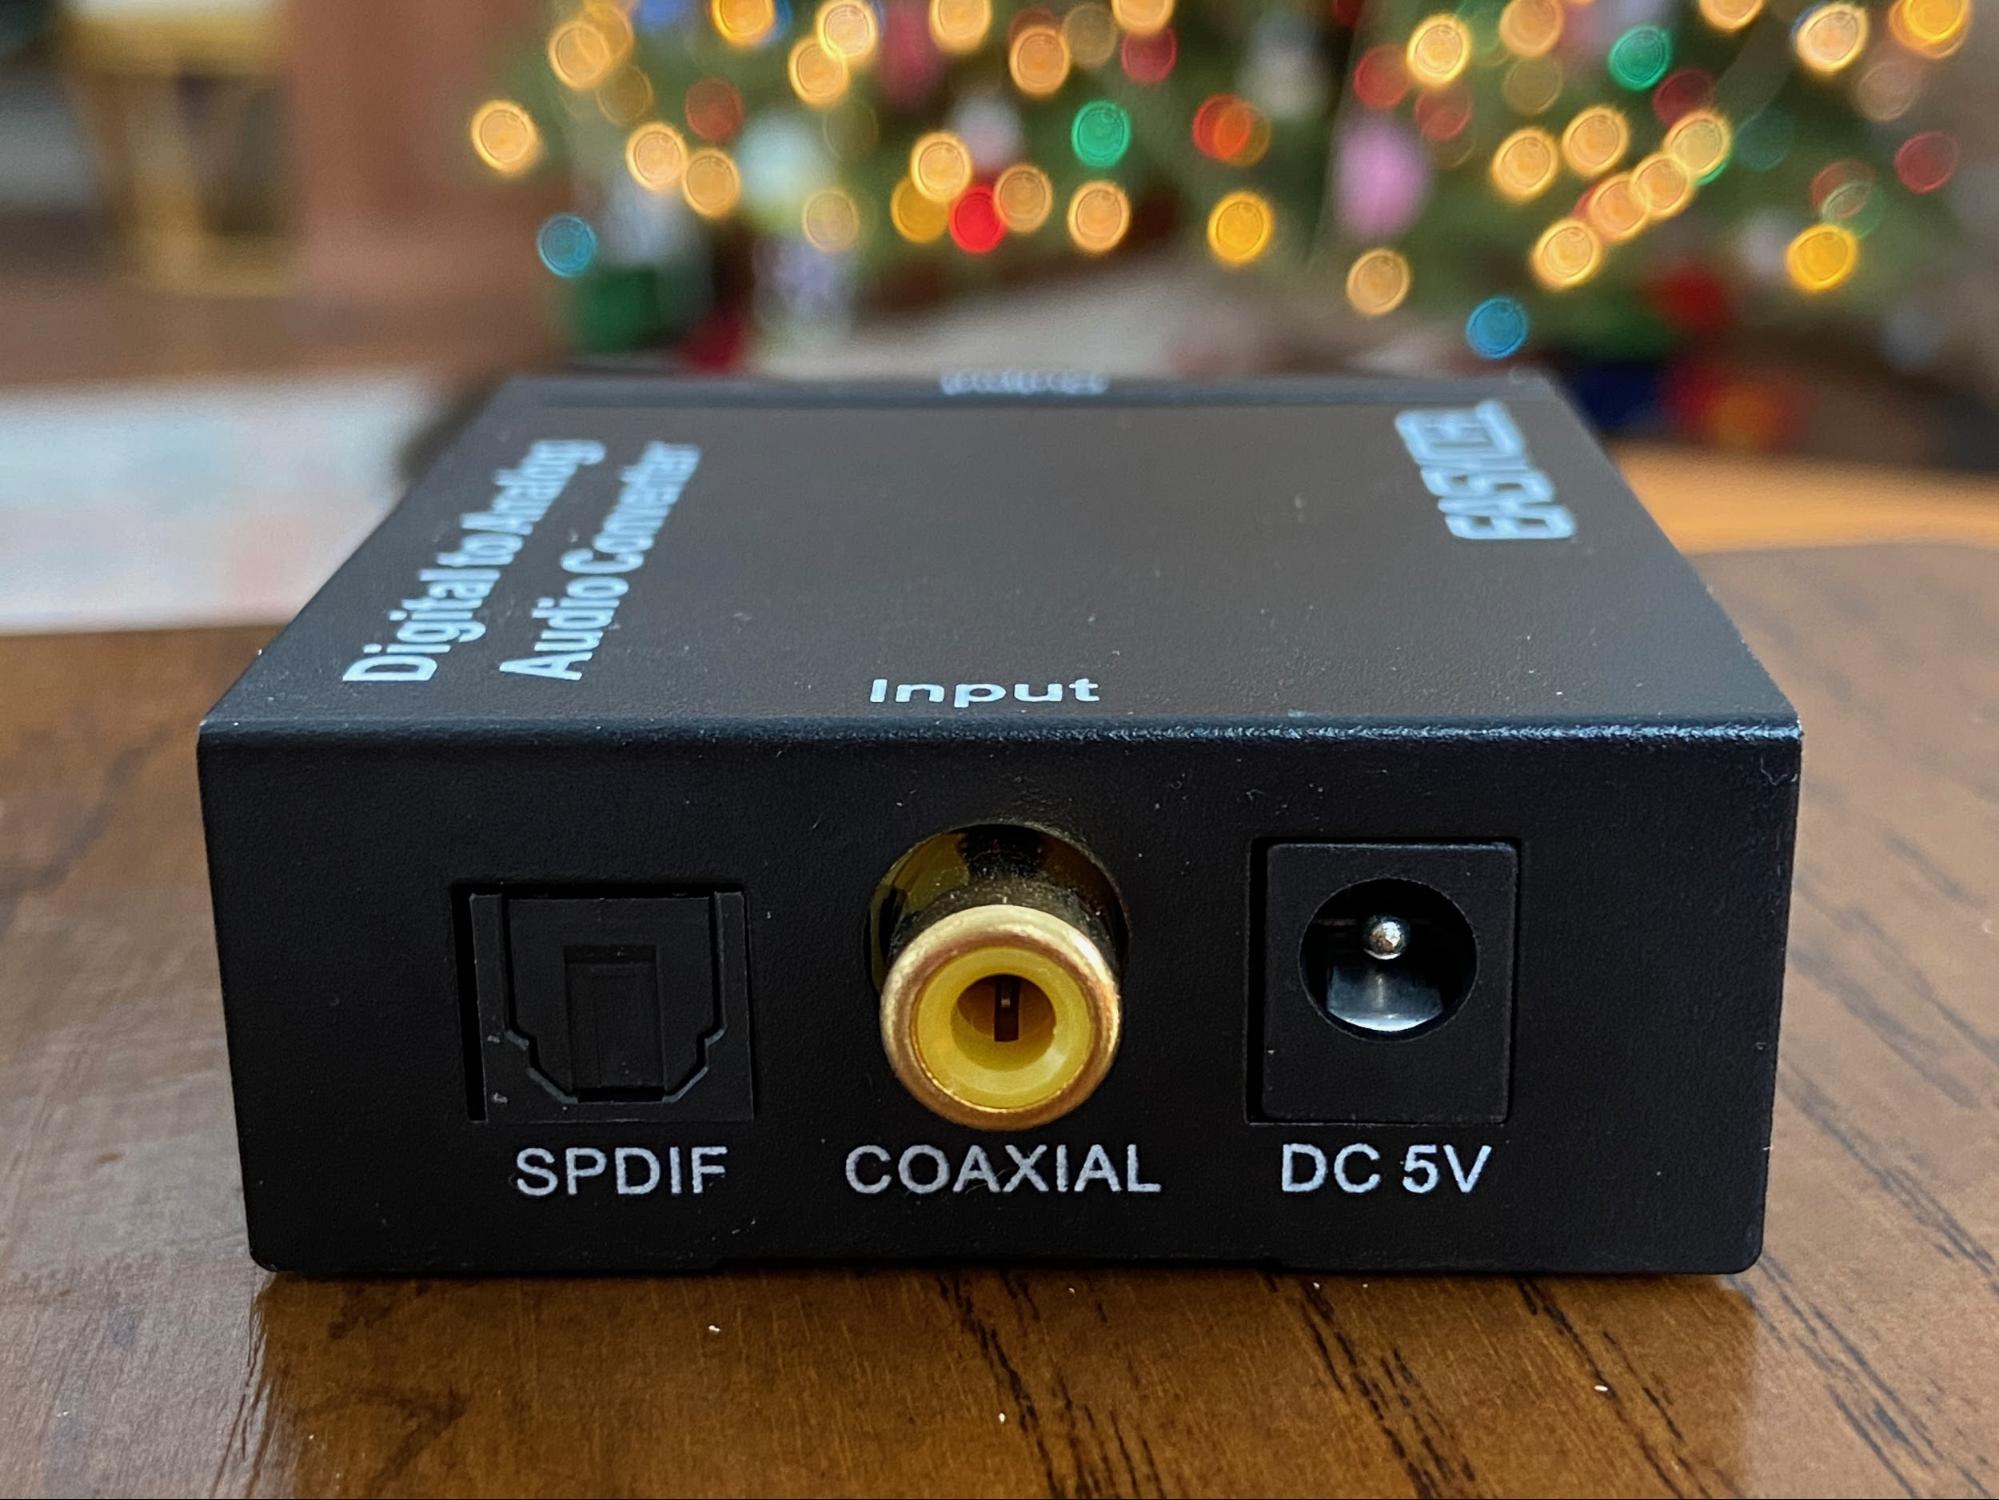
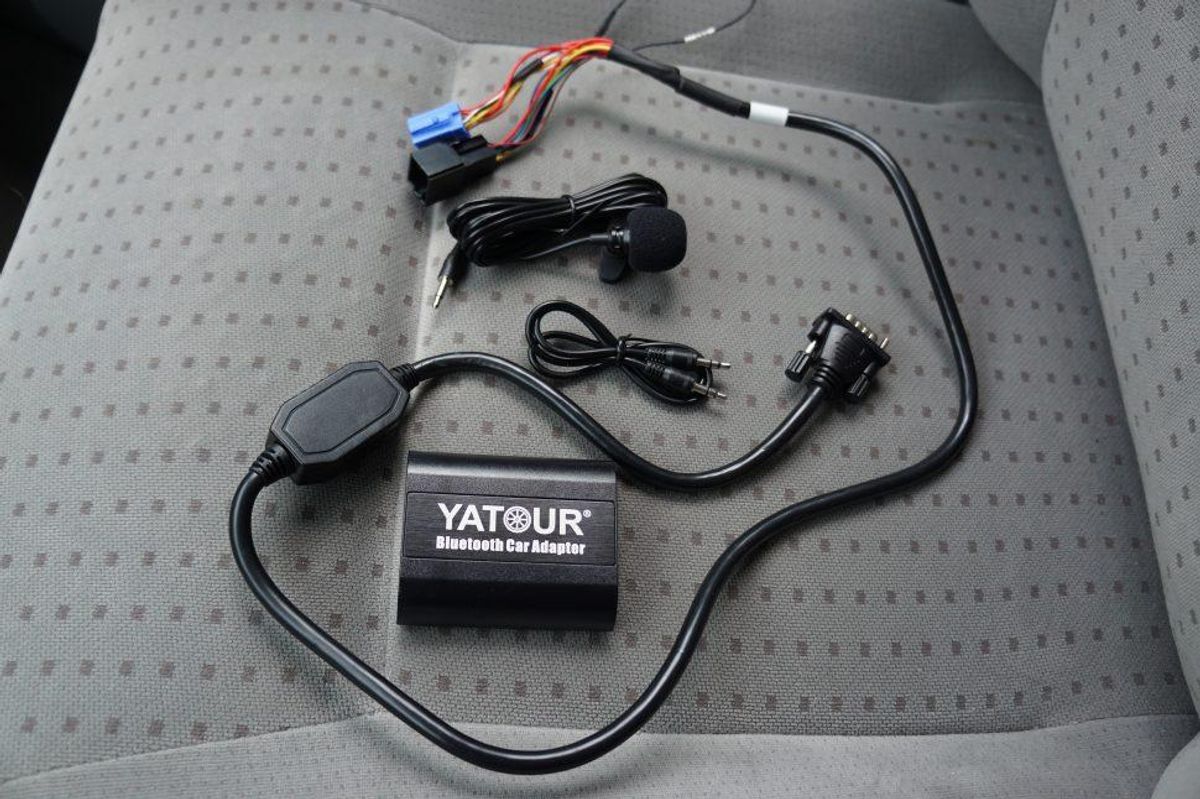
- Bluetooth receiver module: This is the heart of the entire project. You’ll need a Bluetooth receiver module, which will allow your stereo to receive audio signals wirelessly from your Bluetooth-enabled devices. Make sure to choose a module with the appropriate connectors for your stereo.
- Soldering iron and solder: A soldering iron and solder are essential for making electrical connections during the installation process. Make sure your soldering iron is in good working condition.
- Wire strippers: You’ll need wire strippers to remove the insulation from the wires and make clean connections. Opt for a quality pair that can handle various wire gauges.
- Electrical tape or heat shrink tubing: These tools are used to insulate the soldered connections and prevent any short circuits. Choose the option that works best for you and provides a secure and durable seal.
- Screwdrivers and pliers: Depending on the type of screws and connectors on your stereo, you may need a set of screwdrivers and pliers to disassemble and reassemble the unit.
- Wire and connectors: In some cases, you may need additional wire and connectors to make the necessary connections between the Bluetooth receiver and your stereo’s audio input/output ports.
- Optional: mounting bracket or adhesive: If you want to secure the Bluetooth receiver module inside the stereo, you may need a mounting bracket or adhesive to hold it in place.
Once you have gathered all the materials, you can proceed to the next step of the process: removing the old stereo components.
Step 2: Remove the old stereo components
Now that you have gathered all the necessary materials, it’s time to remove the old components from your stereo. Follow these steps:
- Power off: Ensure that the stereo is powered off and unplugged from the electrical outlet for safety.
- Remove the outer casing: Depending on the design of your stereo, you may need to unscrew or detach the outer casing to access the internal components. Use a suitable screwdriver or follow the manufacturer’s instructions.
- Identify the audio input/output ports: Locate the audio input/output ports on your stereo. These are usually located at the back of the unit and labeled as “AUX IN,” “LINE IN,” or similar. Take note of their locations for later reference.
- Disconnect the old components: Carefully disconnect the old components from the audio input/output ports. This may involve removing screws, unplugging cables, or gently pulling connectors apart. Take your time and be gentle to avoid damaging any components or cables.
- Set aside the old components: Once the old components are disconnected, set them aside in a safe place. You may choose to keep them for future use or store them as backups.
With the old components removed, you’re now ready to install the Bluetooth receiver module in the next step. Keep in mind that each stereo may have a slightly different internal layout, so make sure to take note of any specific instructions or variations for your particular model.
Step 3: Install a Bluetooth receiver module
With the old components removed, it’s time to install the Bluetooth receiver module. Follow these steps:
- Locate a suitable spot: Find a suitable location inside your stereo where you can install the Bluetooth receiver module. Consider factors such as available space, accessibility, and proximity to the audio input/output ports.
- Prepare the module: If necessary, prepare the Bluetooth receiver module by attaching any mounting brackets or adhesive strips as per the manufacturer’s instructions. This will help secure the module inside the stereo.
- Make space: If the chosen spot doesn’t have enough space, you may need to remove or relocate any obstructions. This might include wires, cables, or other components that are in the way. Be cautious and avoid damaging any existing components.
- Connect the power supply: Some Bluetooth receiver modules require a power supply to function. Check the manufacturer’s instructions to determine if your module needs to be connected to a power source. If so, make the necessary connections. This could involve soldering wires or using appropriate connectors.
- Connect the audio signal wires: Identify the audio input/output ports on the Bluetooth receiver module. Connect the appropriate wires from the module to the corresponding audio input/output ports on your stereo. Make sure to double-check the connections and secure them properly using solder or connectors. Pay attention to the wiring configuration and follow any color-coding or labeling specified by the manufacturer.
Remember to refer to the installation instructions provided with the Bluetooth receiver module, as specific steps may vary based on the module’s design and manufacturer.
Once the module is securely installed and all connections are made, you’re ready to move on to the next step: connecting the Bluetooth receiver to the stereo.
Step 4: Connect the Bluetooth receiver to the stereo
Now that you have installed the Bluetooth receiver module, it’s time to connect it to your stereo. Follow these steps:
- Power off: Ensure that the stereo is powered off and unplugged from the electrical outlet for safety.
- Identify the audio input/output ports: Locate the audio input/output ports on the Bluetooth receiver module. These ports should be labeled or color-coded for easy identification.
- Connect the audio output port: Take an audio cable with the appropriate connectors and plug one end into the audio output port of the Bluetooth receiver module. Ensure a secure connection is made.
- Connect the audio input port: Plug the other end of the audio cable into the audio input port on your stereo. Again, ensure a secure connection is made.
- Secure the connections: Use electrical tape or heat shrink tubing to insulate and secure the connections made in the previous steps. This will prevent any shorts or loose connections.
- Double-check the connections: Take a moment to double-check all the connections. Make sure they are properly connected and secure.
By connecting the Bluetooth receiver module to your stereo’s audio input/output ports, you are enabling the transmission of audio signals wirelessly from your Bluetooth-enabled devices.
With the Bluetooth receiver module connected, you’re now ready to move on to the next step: testing the Bluetooth connection.
Step 5: Test the Bluetooth connection
After connecting the Bluetooth receiver module to your stereo, it’s time to test the Bluetooth connection. Follow these steps to ensure everything is working correctly:
- Power on both devices: Turn on your stereo and power up the Bluetooth receiver module.
- Enable Bluetooth on your device: Take your smartphone, tablet, or any other Bluetooth-enabled device and enable the Bluetooth function in its settings menu. Ensure that your device is discoverable and ready to pair.
- Put the Bluetooth receiver into pairing mode: Refer to the Bluetooth receiver module’s instructions to learn how to put it into pairing mode. This usually involves pressing and holding a button or following a specific sequence of button presses.
- Pair your device with the Bluetooth receiver: On your Bluetooth-enabled device, search for nearby devices and look for the Bluetooth receiver module in the list of available devices. Select it to initiate the pairing process.
- Confirm the pairing: The Bluetooth receiver module may display a passcode or ask for confirmation on your device. Follow the on-screen prompts to complete the pairing process.
- Test the Bluetooth connection: Once the devices are paired, open a music or audio streaming app on your device and start playing a song. Verify that the audio is coming through your stereo speakers. Adjust the volume and ensure the sound quality is satisfactory.
- Reposition the devices if needed: If you experience any interference or weak signal, try repositioning your Bluetooth-enabled device and the Bluetooth receiver module to improve the connection. Sometimes, distance or obstacles can affect signal strength.
By successfully testing the Bluetooth connection, you can verify that your old stereo has been successfully transformed into a Bluetooth-enabled device. Enjoy the convenience of wirelessly streaming music and audio from your favorite devices.
If the Bluetooth connection is working properly, you’re ready to move on to the next step: mounting the Bluetooth receiver module inside your stereo.
Step 6: Mount the Bluetooth receiver
Now that you have tested the Bluetooth connection and confirmed that everything is working correctly, it’s time to mount the Bluetooth receiver module inside your stereo. Follow these steps:
- Select a secure location: Choose a spot inside your stereo where the Bluetooth receiver module will be securely mounted. Consider factors such as available space, accessibility, and the proximity to the audio input/output ports.
- Prepare the mounting bracket or adhesive: If you’re using a mounting bracket or adhesive, follow the manufacturer’s instructions to attach it to the Bluetooth receiver module. This will ensure a secure and stable mount.
- Position the Bluetooth receiver module: Carefully position the Bluetooth receiver module in the chosen location. Ensure that it is aligned properly and ready to be mounted.
- Secure the Bluetooth receiver module: Use screws or adhesive to secure the Bluetooth receiver module in place. Ensure that it is firmly attached and will not come loose during use.
- Double-check the mounting: Take a moment to double-check the mounting of the Bluetooth receiver module. Ensure that it is secure and stable within your stereo.
By mounting the Bluetooth receiver module inside your stereo, you can keep it out of sight while still enjoying the benefits of wireless audio streaming. This helps maintain the vintage aesthetic of your stereo while adding a modern touch.
Once the Bluetooth receiver module is securely mounted, you can proceed to the final step: reassembling your stereo.
Step 7: Reassemble the stereo
Now that you have completed all the necessary modifications to your stereo, it’s time to reassemble it. Follow these steps:
- Clean the components: Before reassembling, take a moment to clean the components, including the outer casing and any other parts that were removed. This will ensure a polished and refreshed appearance.
- Reinsert the old components: If you removed any components during the process, such as knobs or buttons, reinsert them back into their respective positions.
- Align the casing: Carefully align the outer casing with the body of the stereo. Make sure it fits snugly and aligns with any screw holes or clips.
- Screw or snap the casing back in place: Depending on the design of your stereo, use the appropriate screws or clips to secure the outer casing. Tighten the screws evenly to ensure a secure fit.
- Test the functionality: Power on the stereo and test all the functions, including the Bluetooth connection and audio output. Verify that everything is working as expected.
- Make any final adjustments: If needed, make any final adjustments to the positioning or connections to ensure the best performance and functionality.
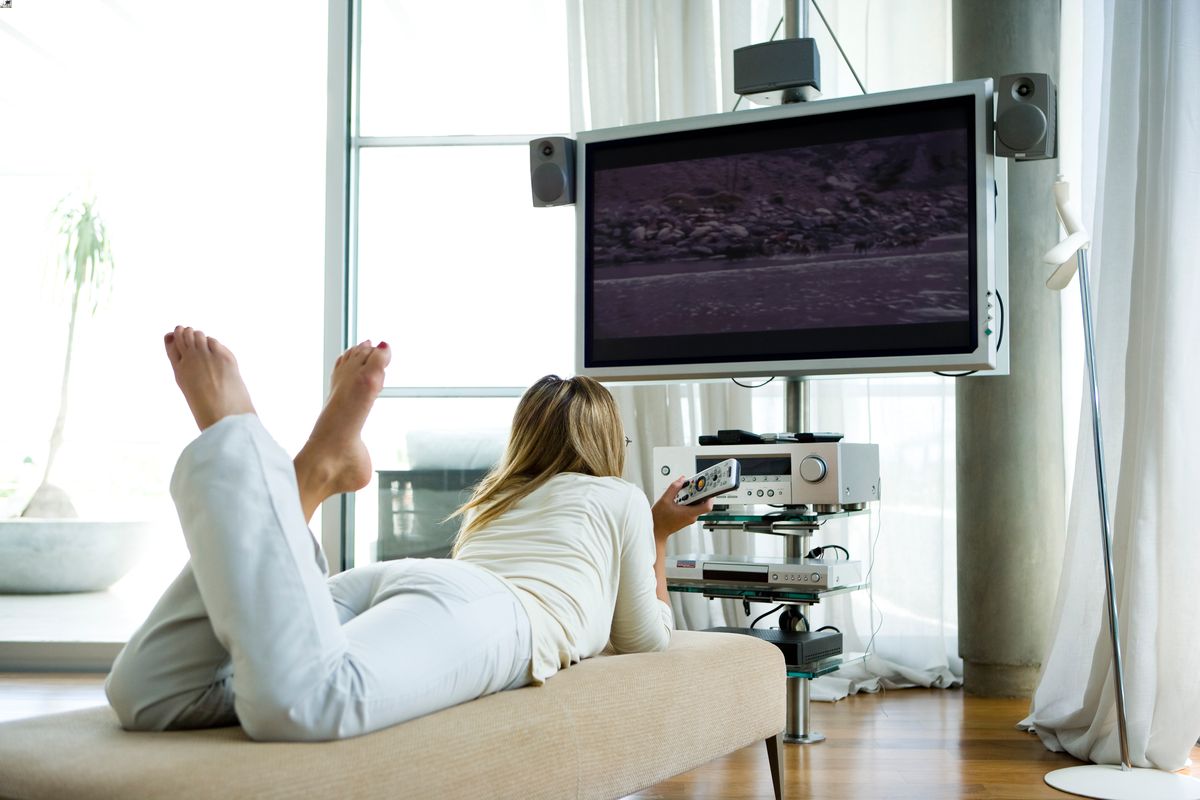
- Enjoy your newly upgraded stereo: With all the components reassembled and the modifications complete, sit back, relax, and enjoy the enhanced functionality of your Bluetooth-enabled stereo.
By reassembling your stereo, you bring the transformation process to a close. You can now relish the combination of vintage charm and modern convenience as you listen to your favorite music wirelessly.
Congratulations! You have successfully turned your old stereo into an impressive Bluetooth-enabled device that will surely bring joy and enjoyment for years to come.
Conclusion
Transforming your old stereo into a Bluetooth-enabled device is a gratifying and rewarding DIY project. By following the steps outlined in this guide, you can breathe new life into your beloved audio system and enjoy the convenience of wireless audio streaming.
Starting with gathering the necessary materials and removing the old stereo components, you carefully installed a Bluetooth receiver module and connected it to your stereo. After testing the Bluetooth connection and mounting the module securely, you reassembled the stereo, completing the transformation process.
Now you can enjoy the best of both worlds – the vintage appeal of your old stereo combined with the modern technology of Bluetooth connectivity. Wirelessly stream music from your smartphone, tablet, or any other Bluetooth-enabled device, and experience the joy of high-quality audio through your classic audio system.
Remember, each stereo may have its own unique specifications and considerations, so adapt the steps accordingly. If you encounter any challenges along the way, don’t hesitate to consult the manufacturer’s instructions or seek assistance from experts in the field.
Embrace the nostalgia of your old stereo while embracing the convenience of Bluetooth technology. Upgrade your audio experience and relish in the harmonious blend of vintage aesthetics and modern functionality.
Now, gather your materials, and embark on this exciting journey to transform your old stereo into a Bluetooth masterpiece. Happy listening!