Home>Production & Technology>Stereo>How To Convert Old Stereo To Wi-Fi
Stereo
How To Convert Old Stereo To Wi-Fi
Modified: January 22, 2024
Learn how to convert your old stereo system to Wi-Fi and enjoy seamless streaming and wireless connectivity. Upgrade your stereo with our step-by-step guide and enhance your music listening experience.
(Many of the links in this article redirect to a specific reviewed product. Your purchase of these products through affiliate links helps to generate commission for AudioLover.com, at no extra cost. Learn more)
Table of Contents
- Introduction
- Step 1: Gather the necessary materials
- Step 2: Prepare the stereo system for conversion
- Step 3: Choose a Wi-Fi audio receiver
- Step 4: Connect the Wi-Fi audio receiver to the stereo system
- Step 5: Set up the Wi-Fi audio receiver
- Step 6: Test the Wi-Fi connection
- Step 7: Enjoy wireless streaming on your old stereo
- Conclusion
Introduction
Do you have an old stereo system gathering dust in the corner of your room? Perhaps it was once the life of the party, blasting out your favorite tunes, but now it feels outdated and disconnected from the modern digital world. Don’t let it go to waste – you can bring your old stereo back to life by converting it to Wi-Fi connectivity!
In this article, we will guide you through the process of turning your old stereo into a wireless powerhouse that can stream music from your smartphone, tablet, or computer. With a few simple steps and the right equipment, you’ll be able to enjoy your favorite music wirelessly, breathe new life into your old stereo, and impress your friends with your tech-savvy skills.
Gone are the days of tangled cords and limited listening options. By converting your old stereo to Wi-Fi, you can say goodbye to cumbersome wires and hello to the convenience of wireless streaming. Whether you’re a music enthusiast, a party host, or simply someone who appreciates the nostalgia and sound quality of vintage stereo systems, this guide is here to help you.
So, dust off that old stereo, gather the necessary materials, and prepare to give it a modern makeover. Let’s dive into the step-by-step process of converting your old stereo to Wi-Fi and unlock a world of limitless music possibilities!
Step 1: Gather the necessary materials
Before we begin the conversion process, it’s important to gather all the necessary materials. Here’s a list of what you’ll need:
- Old stereo system
- Wi-Fi audio receiver
- Wi-Fi network
- Smartphone, tablet, or computer
- Audio cables (if not included with the Wi-Fi audio receiver)
- Power cables
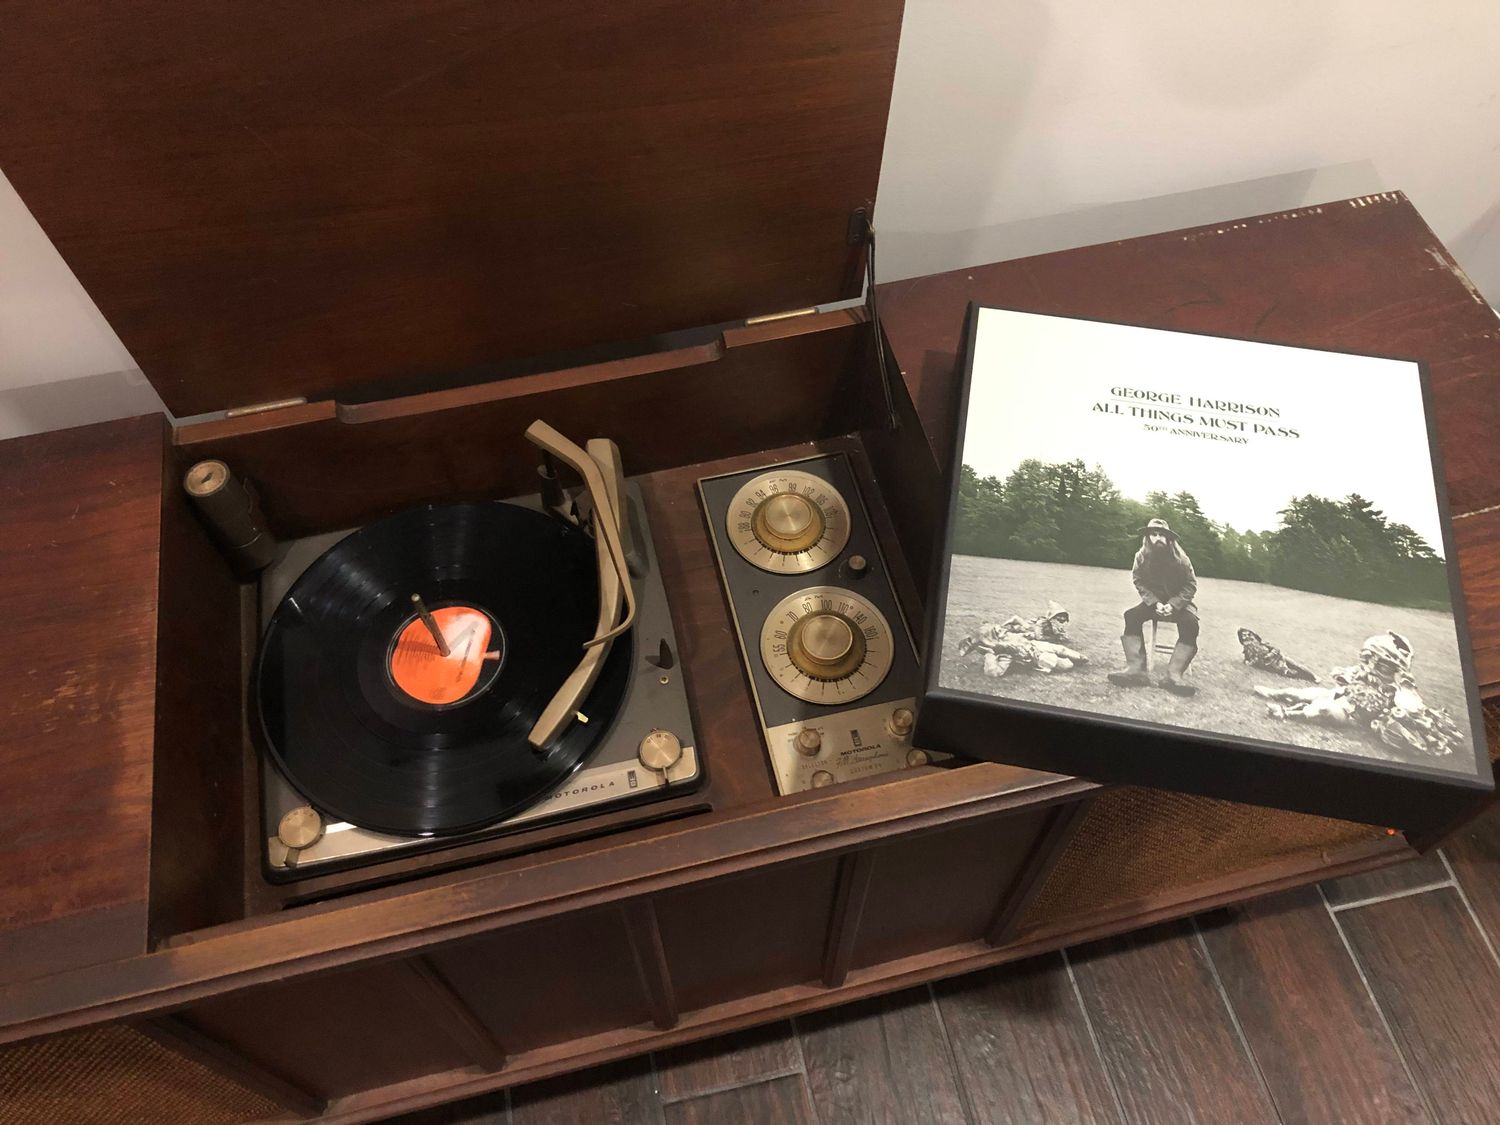
The first item on the list, of course, is your old stereo system. This can be your trusty vintage receiver, a classic turntable, or any other audio equipment you want to connect to Wi-Fi. Make sure it’s in good working condition before proceeding.
The next item is a Wi-Fi audio receiver. This is the key component that will enable your old stereo to connect to your Wi-Fi network and stream audio wirelessly. There are various options available in the market, so choose one that suits your needs and budget.
Remember to check if the Wi-Fi audio receiver comes with audio cables. If not, you’ll need to purchase them separately. These cables will be used to connect your stereo to the Wi-Fi audio receiver, allowing the audio signal to be transmitted.
Additionally, make sure you have a stable Wi-Fi network in your home. Without a reliable internet connection, the Wi-Fi audio receiver won’t be able to connect and stream music. If you don’t have a Wi-Fi network set up, you’ll need to do that before proceeding with the conversion.
Lastly, you’ll need a device such as a smartphone, tablet, or computer to control and stream audio to your old stereo. Ensure that the device you choose is compatible with the Wi-Fi audio receiver and has the necessary apps or software for streaming music.
Once you have gathered all the materials, you’re ready to move on to the next step: preparing your stereo for conversion.
Step 2: Prepare the stereo system for conversion
Now that you have all the necessary materials, it’s time to prepare your old stereo system for the conversion process. Follow these steps to ensure a smooth transition:
- Unplug your old stereo system: Before making any changes or connections, make sure your old stereo system is turned off and unplugged from the power source. This will help prevent any electric shocks or damage to the equipment.
- Clean and inspect your stereo: Take a moment to clean the surface of your stereo system, removing any dust or dirt. Inspect the cables and connectors for any signs of wear or damage. Replace any faulty cables before proceeding with the conversion.
- Identify the audio input/output ports: Look for the audio input/output ports on your stereo system. These are typically labeled as “AUX,” “Line-In,” or “RCA.” You will need to connect the audio cables from the Wi-Fi audio receiver to these ports.
- Check compatibility: Ensure that the audio input/output ports on your stereo system match the type of cables or connectors provided with the Wi-Fi audio receiver. If they don’t match, you may need to purchase additional adapters or cables to establish a proper connection.
- Position the Wi-Fi audio receiver: Find a suitable location near your stereo system to place the Wi-Fi audio receiver. This should be within range of your Wi-Fi network and easily accessible for future adjustments or troubleshooting.
By following these steps, you’ll be well-prepared to connect the Wi-Fi audio receiver to your old stereo system. Taking the time to clean and inspect your stereo will ensure optimal performance and longevity. Double-checking compatibility will save you from any frustrations later on during the conversion process.
Once you have prepared your stereo system, you’re ready to move on to the exciting part: choosing a Wi-Fi audio receiver that will bring wireless streaming capabilities to your old stereo.
Step 3: Choose a Wi-Fi audio receiver
Choosing the right Wi-Fi audio receiver is a crucial step in converting your old stereo to Wi-Fi. Here are some factors to consider when selecting a Wi-Fi audio receiver:
- Compatibility: Ensure that the Wi-Fi audio receiver you choose is compatible with your old stereo system. Check the input/output ports and connectors to make sure they match.
- Streaming options: Look for a Wi-Fi audio receiver that supports your preferred streaming platforms, such as Spotify, Apple Music, or Amazon Music. Make sure it also has compatibility with popular operating systems like iOS and Android.
- Audio quality: Consider the audio quality supported by the Wi-Fi audio receiver. Look for receivers that support high-definition audio formats like FLAC or AAC for an enhanced listening experience.
- Ease of use: Check if the Wi-Fi audio receiver comes with a user-friendly interface and intuitive controls. It should be easy to set up and navigate, especially if you’re not a tech-savvy person.
- Multi-room capabilities: If you have multiple rooms or zones where you want to stream music, look for a Wi-Fi audio receiver that supports multi-room functionality. This will allow you to synchronize or control audio playback across different areas of your home.
- Budget: Determine your budget for the Wi-Fi audio receiver. There are options available at various price points, so find one that offers the right balance of features and affordability.
Take your time to research and read reviews of different Wi-Fi audio receivers before making a decision. Consider your specific needs and preferences to find the receiver that best suits your requirements.
Once you’ve chosen the perfect Wi-Fi audio receiver, you’re ready to move on to the next step: connecting the Wi-Fi audio receiver to your old stereo system.
Step 4: Connect the Wi-Fi audio receiver to the stereo system
Now that you have chosen a Wi-Fi audio receiver, it’s time to connect it to your old stereo system. Follow these steps to establish the connection:
- Refer to the user manual: Familiarize yourself with the user manual provided with the Wi-Fi audio receiver. It will contain specific instructions and diagrams on how to connect the receiver to your stereo system.
- Connect the audio cables: Take the audio cables that came with the Wi-Fi audio receiver (or the ones you purchased separately) and plug one end into the audio output ports on the receiver.
- Connect the other end of the audio cables to the audio input ports on your old stereo system. Ensure that you match the left (L) and right (R) channels correctly.
- Secure the connections: Once the cables are connected, make sure they are securely plugged in. This will ensure a stable and uninterrupted audio signal.
- Connect the power cables: Plug in the power cables for both the Wi-Fi audio receiver and your old stereo system. Ensure that they are connected to a power source.
- Power on the devices: Turn on your old stereo system and the Wi-Fi audio receiver. Follow the specific instructions in the user manual to power them on and initiate the setup process.
By following these steps, you will establish a physical connection between the Wi-Fi audio receiver and your old stereo system. This connection will enable the transmission of audio signals from your devices to the stereo system.
Take your time to double-check all the connections to ensure they are secure and properly aligned. Any loose cables or incorrectly plugged connections can result in poor audio quality or inconsistent streaming performance.
Once the Wi-Fi audio receiver is successfully connected to your old stereo system, you’re ready to move on to the next step: setting up the Wi-Fi audio receiver.
Step 5: Set up the Wi-Fi audio receiver
With the Wi-Fi audio receiver connected to your old stereo system, it’s time to set it up and configure it to work with your Wi-Fi network. Follow these steps to get your Wi-Fi audio receiver up and running:
- Access the setup menu: Most Wi-Fi audio receivers have a dedicated setup menu that you can access through a mobile app, a web interface, or physical buttons on the device itself. Consult the user manual to find out how to access the setup menu for your specific receiver.
- Select your Wi-Fi network: Within the setup menu, look for the option to connect to a Wi-Fi network. Search for your home Wi-Fi network name (SSID) and input the password to connect the Wi-Fi audio receiver to your network.
- Configure additional settings: Depending on the model and features of the Wi-Fi audio receiver, you may have options to set up different preferences such as audio equalization, multi-room functionality, or integration with music streaming platforms. Adjust these settings according to your preferences.
- Update firmware (if necessary): Check if there are any firmware updates available for your Wi-Fi audio receiver. Keeping the firmware up to date ensures optimal performance and compatibility with future software upgrades.
- Save and exit the setup menu: Once you have finalized the settings, save them and exit the setup menu. The Wi-Fi audio receiver should now be connected to your Wi-Fi network and ready for streaming.
During the setup process, make sure you follow the instructions provided in the user manual or the on-screen prompts. Each Wi-Fi audio receiver may have a slightly different setup procedure, so it’s important to consult the documentation for your specific model.
Once you have successfully set up the Wi-Fi audio receiver, you’re almost ready to enjoy wireless streaming on your old stereo system. The next step is to test the Wi-Fi connection and ensure everything is working correctly.
Step 6: Test the Wi-Fi connection
After setting up the Wi-Fi audio receiver, it’s important to test the Wi-Fi connection to ensure that everything is working properly. Follow these steps to test the connection:
- Open the music streaming app on your smartphone, tablet, or computer that is connected to the same Wi-Fi network as the Wi-Fi audio receiver.
- Select a song or playlist from the streaming app.
- Choose the Wi-Fi audio receiver as the playback device within the streaming app. This may require accessing the app’s settings or audio output options.
- Start playing the selected song or playlist. The audio should start streaming from the streaming app to the old stereo system through the Wi-Fi audio receiver.
- Check the audio quality and ensure that the volume levels are properly adjusted on both the streaming device and the stereo system.
If you encounter any issues during this testing phase, double-check the following troubleshooting steps:
- Ensure that both the Wi-Fi audio receiver and the streaming device are connected to the same Wi-Fi network. If not, reconnect the devices to the appropriate network.
- Check the Wi-Fi signal strength in the area where the Wi-Fi audio receiver is placed. If the signal is weak, consider moving the receiver closer to the Wi-Fi router or using Wi-Fi range extenders.
- Verify that the streaming app is up to date and compatible with the Wi-Fi audio receiver. Consider reinstalling or updating the app, if necessary.
- Restart both the streaming device and the Wi-Fi audio receiver to refresh the connections.
- Consult the user manual or the support documentation for your specific Wi-Fi audio receiver model for further troubleshooting steps.
By testing the Wi-Fi connection, you can ensure that your old stereo system is successfully streaming music wirelessly. Once everything is working correctly, you’re ready to enjoy the convenience and freedom of wireless streaming on your restored stereo system.
Step 7: Enjoy wireless streaming on your old stereo
Congratulations! You have successfully converted your old stereo into a wireless streaming powerhouse. Now it’s time to sit back, relax, and enjoy the endless possibilities of wireless audio. Here are some tips to enhance your experience:
- Create customized playlists: Take advantage of the convenience of wireless streaming by curating personalized playlists for different moods, occasions, or genres. Explore the vast music libraries available on streaming platforms and let your old stereo bring them to life.
- Explore streaming services: Discover new music and explore different streaming platforms. From popular options like Spotify, Apple Music, and Amazon Music to genre-specific services, there is a plethora of music available at your fingertips.
- Utilize multi-room functionality: If your Wi-Fi audio receiver supports multi-room capabilities, consider expanding your wireless audio setup to other rooms in your home. Sync the audio playback across multiple devices for a seamless listening experience throughout your space.
- Experiment with audio settings: Adjust the audio settings on your old stereo system to find the optimal sound quality. Play around with bass, treble, and other audio adjustments to match your preferences and enhance the listening experience.
- Connect additional devices: In addition to your smartphone, tablet, or computer, try connecting other devices to the Wi-Fi audio receiver. This could include gaming consoles, TVs, or even voice assistants, expanding the functionality of your old stereo system.
With wireless streaming, you can now enjoy your favorite music from anywhere in your home without the hassle of tangled cables or limited range. Whether you’re hosting a party, relaxing alone, or simply appreciating the nostalgia of your vintage stereo system, wireless streaming adds a new level of convenience and enjoyment.
Remember to keep your Wi-Fi network and streaming devices up to date to ensure the best streaming experience. Stay connected to the ever-evolving world of music by exploring new artists, albums, and playlists.
By following the step-by-step guide in this article, you have successfully breathed new life into your old stereo system and transformed it into a modern, wireless audio solution. Enjoy the freedom, flexibility, and superior sound quality that wireless streaming brings, and indulge in the joy of music on your own terms.
Conclusion
Converting your old stereo system to Wi-Fi connectivity is a rewarding and fulfilling process that allows you to bring your beloved vintage equipment into the modern digital age. By following the steps outlined in this guide, you can enjoy the convenience and freedom of wireless streaming on your old stereo system.
We started by gathering the necessary materials, including an old stereo system, a Wi-Fi audio receiver, audio cables, and a stable Wi-Fi network. Then, we prepared the stereo system for the conversion by cleaning and inspecting it, identifying the audio ports, and positioning the Wi-Fi audio receiver.
Next, we selected a Wi-Fi audio receiver that suited our needs and preferences, considering compatibility, streaming options, audio quality, ease of use, multi-room capabilities, and budget. Once chosen, we connected the Wi-Fi audio receiver to the stereo system using audio cables and made sure the connections were secure.
Afterwards, we set up the Wi-Fi audio receiver by accessing the setup menu, selecting the Wi-Fi network, configuring additional settings, and updating the firmware if necessary. With the setup complete, we proceeded to test the Wi-Fi connection by playing music from a streaming app on our smartphone, tablet, or computer, ensuring a smooth audio playback.
Finally, we reached the stage where we could fully enjoy wireless streaming on our old stereo system. We explored customized playlists, experimented with audio settings, and even expanded to multi-room functionality if supported. The possibilities are endless, and with the convenience of wireless streaming, you can rediscover your love for music and enjoy it throughout your home.
Converting your old stereo to Wi-Fi connectivity breathes new life into a classic piece of equipment, merging the best of both worlds – vintage charm and modern technology. Embrace the freedom and flexibility that wireless streaming brings, and indulge in the joy of music in a whole new way.
So, what are you waiting for? Dust off that old stereo, gather the necessary materials, and embark on the journey of converting your old stereo to Wi-Fi. Unleash its full potential and let the music fill your home once again, reminding you of the rich history and timeless beauty of your vintage stereo system.