Home>Production & Technology>Stereo>How To Add AUX Input To Old Car Stereo

Stereo
How To Add AUX Input To Old Car Stereo
Modified: January 22, 2024
Learn how to add an AUX input to your old car stereo and enjoy seamless connectivity. Upgrade your stereo system for enhanced audio experience.
(Many of the links in this article redirect to a specific reviewed product. Your purchase of these products through affiliate links helps to generate commission for AudioLover.com, at no extra cost. Learn more)
Table of Contents
Introduction
Do you have an old car stereo that doesn’t have an AUX input? Don’t worry, you’re not alone. Many older car stereos lack the convenience of an AUX input, which means you can’t easily connect your smartphone or other audio devices to enjoy your favorite music or podcasts while on the road. However, there’s a solution! In this article, we’ll guide you through the process of adding an AUX input to your old car stereo, so you can bring it up to speed with modern technology.
Gone are the days of burning CDs or relying on limited radio stations for your driving entertainment. With an AUX input, you can effortlessly connect your smartphone or MP3 player to your car stereo and enjoy an endless library of music and audio content. Whether you want to jam to your favorite tunes or catch up on the latest podcasts, adding an AUX input to your old car stereo will open up a whole new world of audio possibilities.
Don’t worry if you’re not a tech-savvy person; this guide is designed to be beginner-friendly and easy to follow. By the end of this article, you’ll have all the knowledge and skills necessary to successfully add an AUX input to your old car stereo. So let’s get started and unleash the full potential of your car stereo!
Step 1: Gather Your Materials
Before you start adding an AUX input to your old car stereo, it’s important to gather all the necessary materials. Having everything you need at hand will make the installation process much smoother. Here’s a list of the materials you’ll need:
- AUX Input Adapter: This is the most crucial component for enabling the AUX input on your car stereo. There are various types of AUX input adapters available, so make sure to choose one that is compatible with your specific car stereo model.
- Wire Cutters and Strippers: You’ll need these tools to cut and strip the wires during the installation process. It’s important to have a clean and precise cut to ensure proper connectivity.
- Electrical Tape or Heat Shrink Tubing: These materials will help secure the connections and prevent any potential short circuits. Electrical tape or heat shrink tubing provides insulation and protection against moisture or damage.
- Mounting Tools: Depending on your car stereo and the type of AUX adapter you choose, you may need mounting tools such as screws, brackets, or adhesive pads to securely attach the adapter to your car stereo or dashboard.
- User Manual or Wiring Diagram: It’s always a good idea to have the user manual or wiring diagram for your car stereo handy. This will help you identify the correct wires and ensure proper installation.
Once you’ve gathered all the necessary materials, you’re ready to move on to the next step. It’s important to have everything organized and easily accessible to avoid any unnecessary delays during the installation process. So, double-check your inventory and make sure you have everything you need before proceeding.
Step 2: Assess Your Car Stereo
Before you begin the installation process, it’s important to assess your old car stereo to determine if it’s compatible with an AUX input. Some older car stereos may not have the necessary input ports or wiring for an AUX connection. Here’s what you need to do:
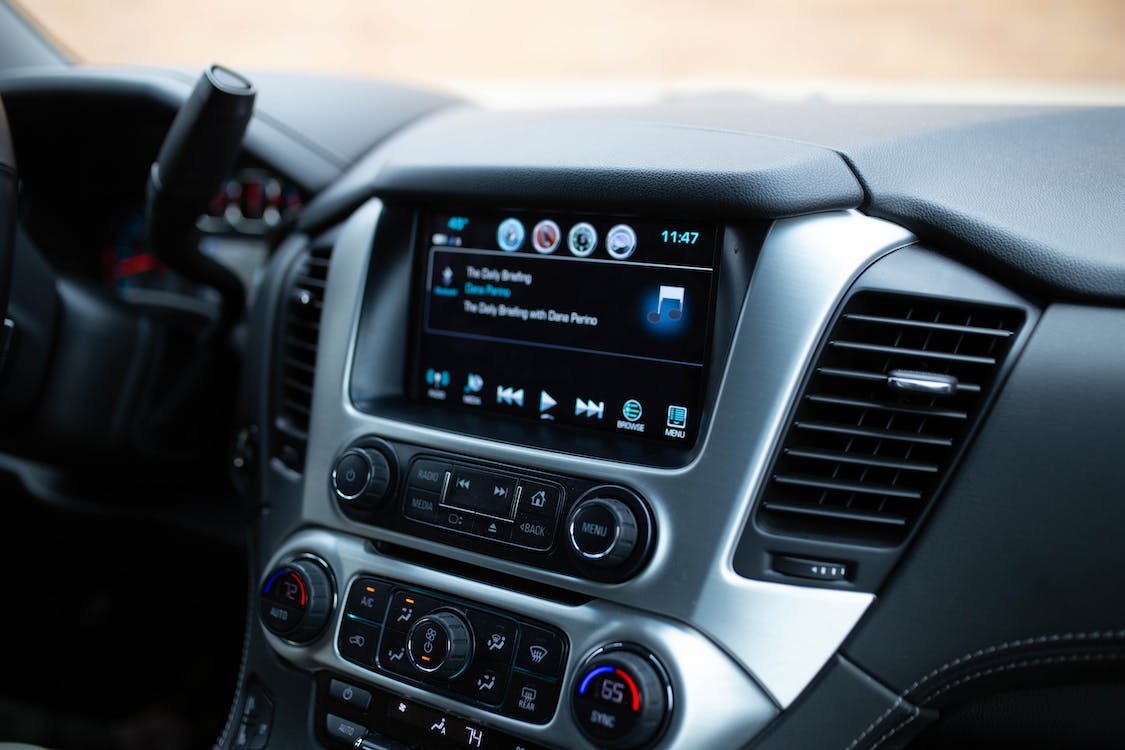
- Check for AUX Input: Take a close look at your car stereo’s faceplate and user manual to see if it has an AUX input. Look for any labeled ports or icons that indicate an AUX connection. If you can’t find any, it’s likely that your car stereo doesn’t have a built-in AUX input.
- Look for Other Input Options: Even if your car stereo doesn’t have a dedicated AUX input, it may have other input options such as a CD changer port or a cassette player. In such cases, you can use an adapter specifically designed for those input options to enable AUX connectivity.
- Consider Compatibility: If your car stereo doesn’t have any input options or if you’re unsure about its compatibility, it’s a good idea to consult with a professional car audio technician. They will be able to assess your car stereo and suggest the best solution based on your specific needs and budget.
Assessing your car stereo will help you determine the feasibility of adding an AUX input. If your car stereo has an AUX input or other compatible input options, you can proceed with confidence. However, if it doesn’t have any input options, don’t worry. There are still alternative solutions available, such as FM transmitters or Bluetooth adapters, which we’ll explore in later steps.
Once you have assessed your car stereo, move on to the next step to choose the most suitable AUX input method for your specific situation.
Step 3: Choose the AUX Input Method
Now that you have assessed your car stereo and determined its compatibility with an AUX input, it’s time to choose the method for adding the AUX input. There are a few different options available, depending on your car stereo’s capabilities and your personal preferences. Here are some popular AUX input methods:
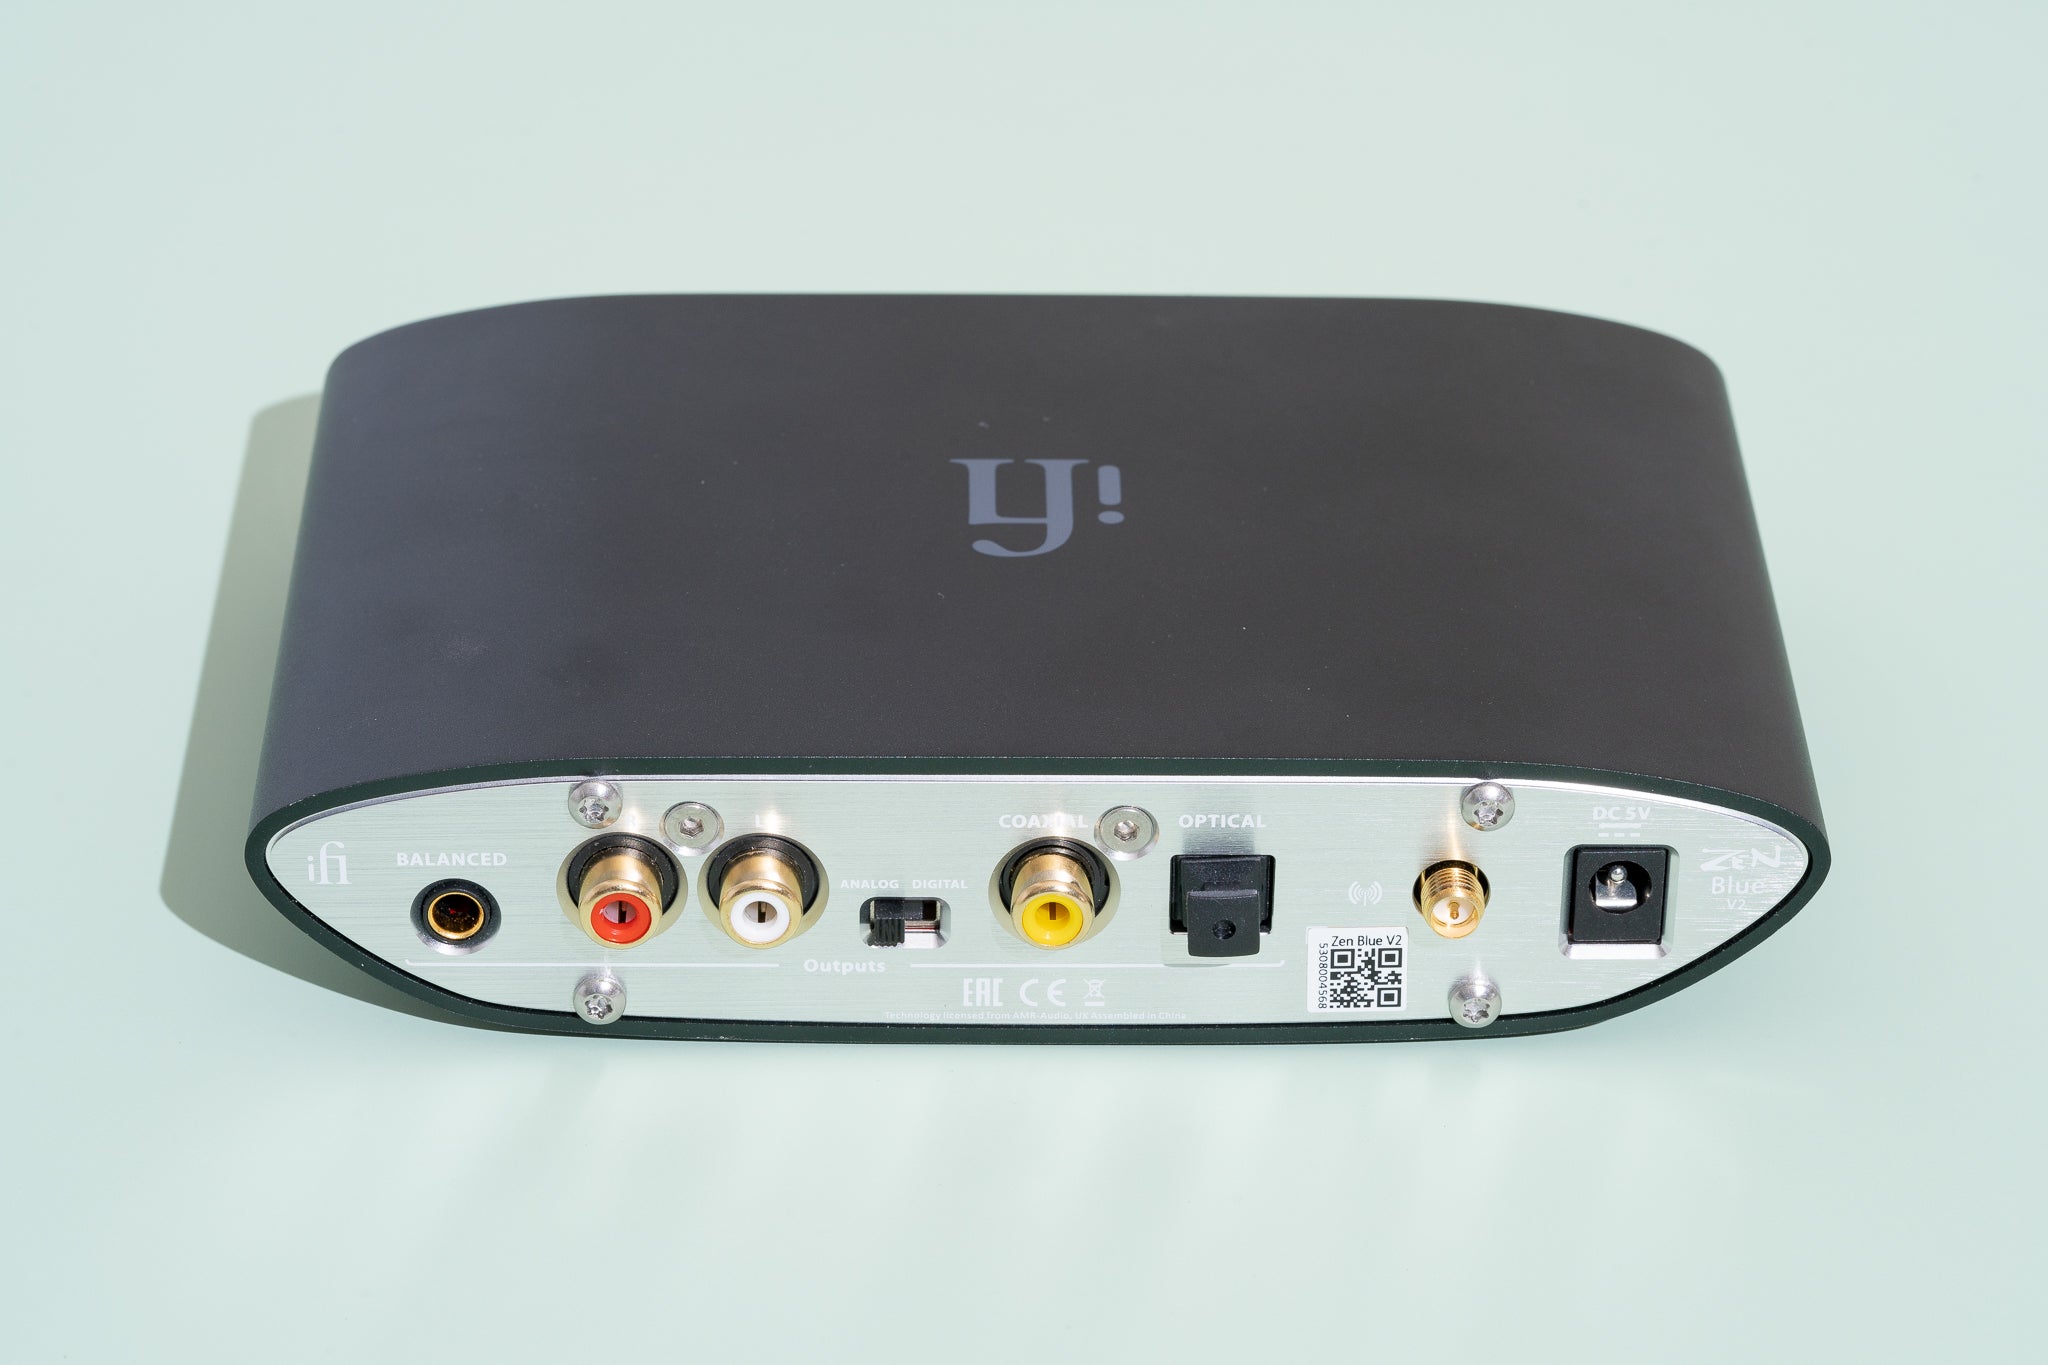
- AUX Input Adapter: This is the most common and straightforward method for adding an AUX input to your old car stereo. An AUX input adapter is a small device that connects to the back of your car stereo, allowing you to plug in your audio device via a standard 3.5mm AUX cable. This method provides a direct and high-quality audio connection.
- FM Transmitter: If your car stereo lacks an AUX input and you don’t want to mess with the wiring, an FM transmitter is a convenient option. It works by broadcasting the audio signal from your audio device to a specific FM frequency that you tune into on your car stereo. While this method is wireless and easy to install, the audio quality may not be as good as a direct AUX connection.
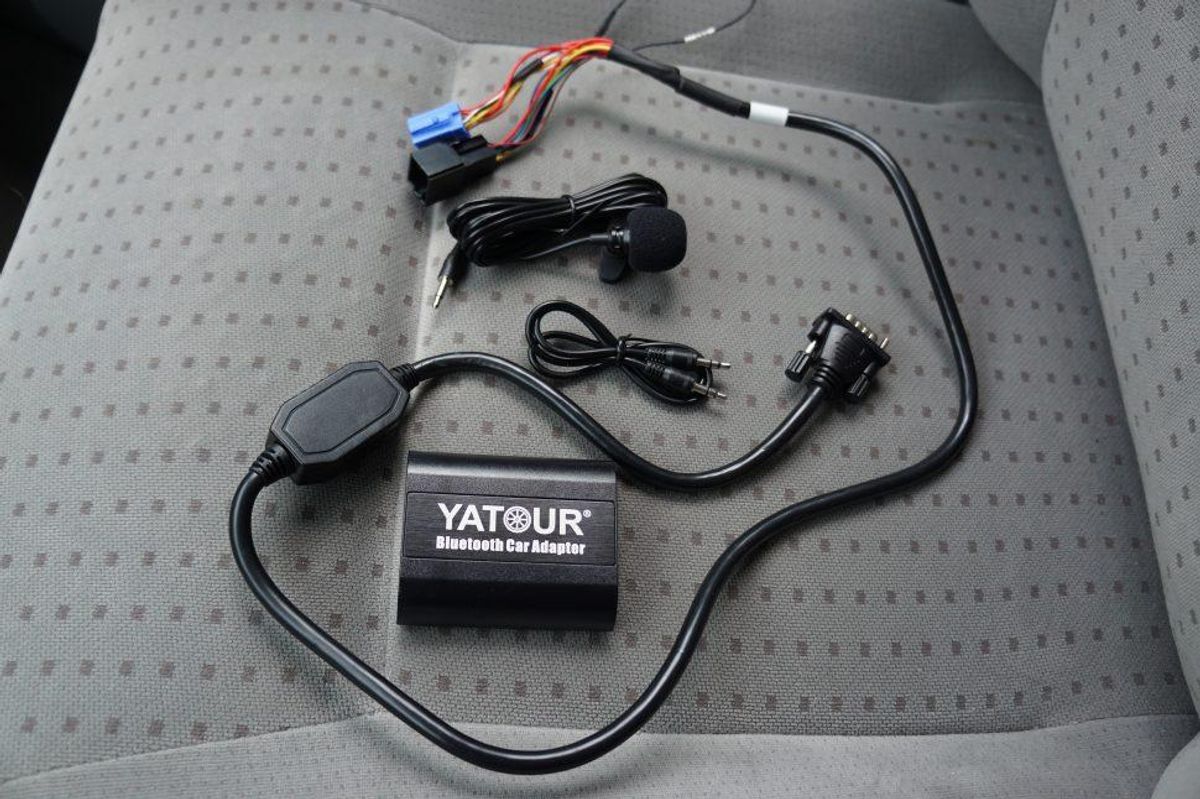
- Bluetooth Adapter: If you prefer a wireless solution, a Bluetooth adapter can be a great choice. This method allows you to connect your audio device to your car stereo using Bluetooth technology. It eliminates the need for cables, providing a seamless and convenient listening experience. However, keep in mind that your car stereo must have Bluetooth capabilities or an available USB port for the Bluetooth adapter.
Consider your specific needs, budget, and the capabilities of your old car stereo when choosing the AUX input method. The AUX input adapter is generally the most reliable and high-quality option, but the FM transmitter and Bluetooth adapter provide wireless convenience. Make sure to read reviews and do some research to find the best option for your situation.
Once you have chosen the most suitable AUX input method, you’re ready to move on to the next step: installing the AUX input.
Step 4: Install the AUX Input
Now that you have chosen the AUX input method for your old car stereo, it’s time to install the AUX input. Follow these steps to successfully install the AUX input:
- Refer to the User Manual: If your AUX input method comes with a user manual, carefully read through the instructions before starting the installation process. Familiarize yourself with the wiring and any specific steps or precautions mentioned.
- Disconnect the Car Battery: To avoid any electrical mishaps or short circuits, it’s important to disconnect the car battery before starting the installation. This helps ensure your safety and prevents any damage to the car stereo or other electrical components.
- Access the Back of the Car Stereo: Depending on your car’s make and model, accessing the back of the car stereo may require removing the trim or dashboard panels. Refer to your car’s user manual or consult an online resource for specific instructions on how to access the back of your car stereo.
- Connect the AUX Input Adapter: If you’re using an AUX input adapter, locate the appropriate wire connections on the back of your car stereo for the AUX input. Connect the wires from the adapter according to the instructions provided, ensuring a secure and proper connection. Use wire cutters and strippers to prepare the wires for connection, and then use electrical tape or heat shrink tubing to insulate and secure the connections.
- Mount the AUX Input Adapter: Once the wires are connected, mount the AUX input adapter securely to the back of your car stereo or in a suitable location on your dashboard. Depending on the type of adapter and your car’s design, you may need screws, brackets, or adhesive pads for mounting.
- Reconnect the Car Battery: After successfully installing the AUX input, carefully reconnect the car battery. Double-check all connections and make sure everything is secure and in place.
Remember to take your time, be patient, and follow the instructions provided with your chosen AUX input method. If you’re unsure about any steps or encounter difficulties during the installation process, it’s recommended to seek assistance from a professional car audio technician.
Once the AUX input is installed, you’re ready for the final step: testing and troubleshooting.
Step 5: Test and Troubleshoot
Now that you have successfully installed the AUX input in your old car stereo, it’s time to test it and troubleshoot any issues that may arise. Follow these steps to ensure everything is working correctly:
- Connect Your Audio Device: Use a standard 3.5mm AUX cable to connect your audio device, such as a smartphone or MP3 player, to the AUX input on your car stereo.
- Turn on Your Car Stereo: Start your car and turn on the car stereo. Make sure the volume is at an appropriate level and that any audio sources other than the AUX input are turned off.
- Select AUX Input: Use the source or mode button on your car stereo to select the AUX input. It may be labeled as “AUX,” “AUX IN,” or something similar.
- Play Audio: Play some audio on your connected audio device and listen for the sound through your car stereo’s speakers. Adjust the volume and sound settings as needed.
- Check for Sound Quality: Pay attention to the sound quality and ensure that there are no distortions, static, or intermittent connections. Test different audio files or sources to ensure consistent performance.
- Troubleshoot Issues: If you encounter any issues, such as no sound, distorted sound, or poor connection, double-check all the connections, particularly at the back of the car stereo. Ensure that the AUX input adapter is securely mounted and that the wires are properly connected. You may also want to check the settings on your audio device and make sure the volume is turned up.
If you continue to experience difficulties or if the AUX input is not functioning as expected, it’s advisable to consult a car audio technician or the manufacturer’s support for further assistance. They will have the expertise to troubleshoot any specific issues related to your car stereo or the AUX input method you have chosen.
Congratulations! You have successfully added an AUX input to your old car stereo. You can now enjoy your favorite music and audio content with enhanced convenience while on the road.
Before concluding, let’s summarize the steps we’ve covered:
- Gather Your Materials
- Assess Your Car Stereo
- Choose the AUX Input Method
- Install the AUX Input
- Test and Troubleshoot
With these steps, you have transformed your old car stereo into a modern audio powerhouse. Safe driving and enjoy your music!
Conclusion
Adding an AUX input to your old car stereo is a fantastic way to upgrade its functionality and bring it up to speed with modern technology. With the ability to connect your smartphone or other audio devices, you can enjoy a wide variety of music, podcasts, and audio content while on the road. By following the steps outlined in this guide, you can successfully install an AUX input and enjoy a seamless audio experience in your car.
Throughout this process, it’s important to gather all the necessary materials, assess your car stereo’s compatibility, choose the best AUX input method for your needs, and carefully install the AUX input adapter. Testing and troubleshooting are also crucial steps to ensure that everything is functioning properly and that you can enjoy your audio content without any issues.
If you encounter any difficulties or are uncertain about any steps, don’t hesitate to consult a professional car audio technician. They have the expertise and experience to assist you and ensure a smooth installation process.
Adding an AUX input to your old car stereo opens up a world of possibilities for entertainment and convenience while driving. Say goodbye to outdated technologies and limited audio options. Now, you can easily connect and enjoy your favorite tunes, podcasts, and audio content through a direct and high-quality connection.
So, get ready to embark on an audio journey with your upgraded car stereo. Sit back, relax, and enjoy the ride, accompanied by the sound of your favorite music through your newly installed AUX input.
Safe travels and happy listening!