Home>Production & Technology>Stereo>How To Update An Old Console Stereo
Stereo
How To Update An Old Console Stereo
Modified: January 22, 2024
Learn how to update your old console stereo and transform it into a modern entertainment system. Upgrade the sound quality and enjoy your favorite tunes with our step-by-step guide.
(Many of the links in this article redirect to a specific reviewed product. Your purchase of these products through affiliate links helps to generate commission for AudioLover.com, at no extra cost. Learn more)
Table of Contents
- Introduction
- Step 1: Assessing the Condition of the Console Stereo
- Step 2: Cleaning and Restoring the Exterior
- Step 3: Updating the Audio Components
- Step 4: Upgrading the Speaker System
- Step 5: Replacing or Refurbishing the Turntable
- Step 6: Adding Modern Connectivity Options
- Step 7: Testing and Troubleshooting
- Conclusion
Introduction
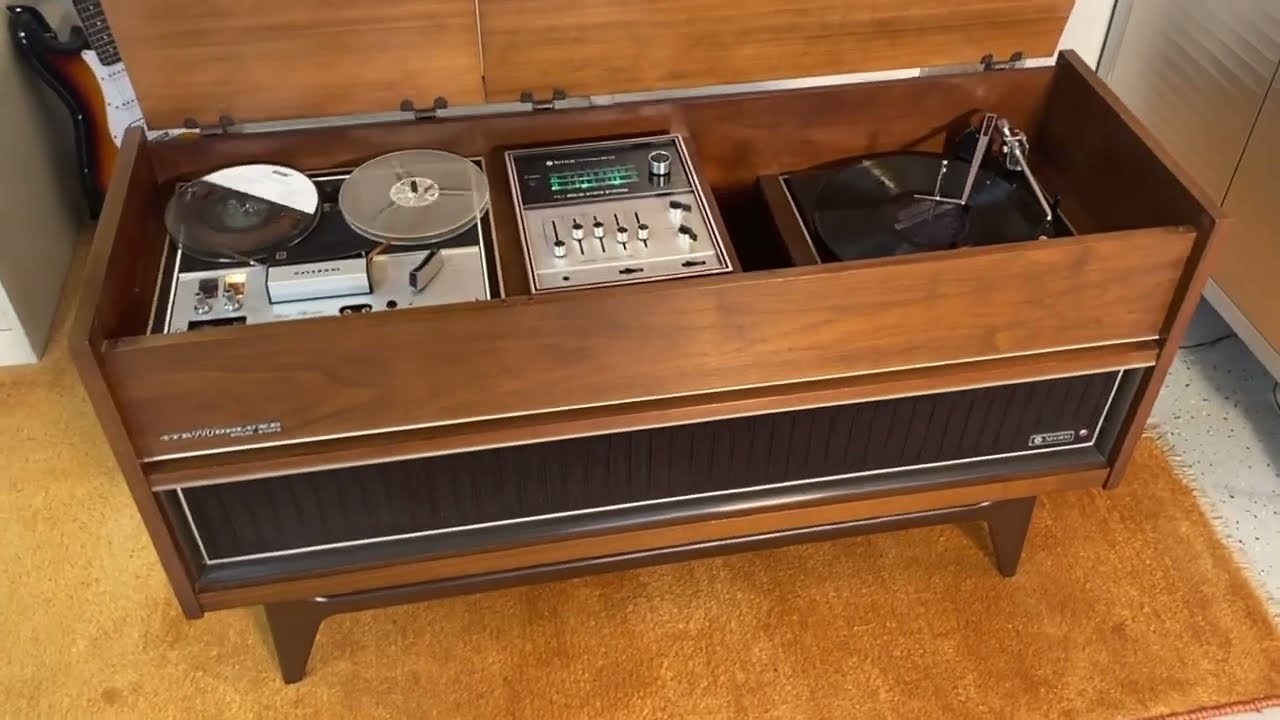
Do you have an old console stereo gathering dust in your attic or basement? It may seem like a relic from a bygone era, but with a little love and some updates, you can bring it back to life and enjoy its vintage charm while still enjoying modern audio technology. In this article, we will guide you through the process of updating an old console stereo to make it both functional and aesthetically pleasing.
Console stereos were popular in the mid-20th century and often served as a focal point in living rooms, providing not only a place to listen to music but also a piece of furniture that added style to the space. While the exterior may have withstood the test of time, the internal components may need some attention. With advancements in audio technology, you can improve the sound quality and functionality of your console stereo without compromising its vintage appeal.
Before diving into the updates, it’s essential to assess the condition of your console stereo. Check for any external damage such as chips, scratches, or worn-out finishes. Inspect the electronic components and ensure there are no loose wires or broken parts. Once you have a clear understanding of the stereo’s condition, you can proceed with the necessary cleaning, restoration, and updates.
In the following sections, we will walk you through the step-by-step process of updating your old console stereo. We’ll cover cleaning and restoring the exterior, upgrading the audio components, enhancing the speaker system, replacing or refurbishing the turntable, and adding modern connectivity options. By the end of this article, you’ll have a fully functional and stylish console stereo that seamlessly combines the best of both vintage and modern audio technology.
Step 1: Assessing the Condition of the Console Stereo
Before you begin updating an old console stereo, it’s important to assess its current condition. This step will help you identify any potential issues and determine the scope of the restoration process. Here’s how to get started:
1. Inspect the Exterior: Carefully examine the console stereo for any visible damage, such as scratches, dents, or worn-out finishes. Take note of any areas that require repair or refinishing.
2. Check the Internal Components: Open up the stereo cabinet and inspect the electronic components. Look for loose wires, broken parts, or signs of water damage. Make sure all the components are securely attached and functioning properly.
3. Evaluate the Cabinet: Determine the condition of the cabinet. Are there any cracks or structural issues? Consider whether the cabinet needs to be repaired or if it can simply be cleaned and polished to bring back its original shine.
4. Assess the Wiring: Examine the wiring inside the console. Look for frayed or damaged wires that may need to be replaced. Make sure all connections are secure and properly insulated.
5. Check the Power Supply: Test the power supply to ensure it is functioning correctly. Check the power cord for any signs of damage and replace it if necessary. It’s important to have a safe and reliable power source for your updated console stereo.
6. Consider the Overall Sound Quality: Play some music through the stereo and assess the sound quality. Listen for any distortion, crackling, or lack of clarity. This will help you determine if any audio components need to be upgraded or repaired.
By thoroughly assessing the condition of your console stereo, you’ll have a better understanding of what updates and repairs are needed. This step will help you create a plan and budget for the restoration process, ensuring that you can bring your vintage stereo back to life in the most effective and efficient way.
Step 2: Cleaning and Restoring the Exterior
Once you have assessed the condition of your console stereo, it’s time to focus on cleaning and restoring the exterior. This step will help rejuvenate the appearance of your vintage stereo and bring back its original charm. Here are the key tasks to accomplish:
1. Dusting and Cleaning: Start by removing any dust and debris from the surface of the stereo. Use a soft cloth or a gentle brush to avoid scratching the finish. Pay attention to the corners, crevices, and any decorative elements. You can also use compressed air to remove dust from hard-to-reach areas.
2. Repairing Scratches and Dents: If your console stereo has scratches or dents, you can try to repair them yourself. For small scratches, use a scratch repair kit or furniture marker that matches the color of the wood. Gently rub the product onto the scratched area and blend it in with a soft cloth. For deeper scratches or dents, consider seeking professional help to restore the surface.
3. Refinishing and Restoring the Wood: If the wood finish has faded or worn out, refinishing it can bring back its original luster. Start by sanding the surface using fine-grit sandpaper to remove any existing finish. After sanding, clean the surface and apply a wood stain or finish that matches your desired color and bring out the natural beauty of the wood. Follow the manufacturer’s instructions for the best results.
4. Polishing the Metal Parts: If your console stereo has metal elements, such as speaker grills or hardware, polishing them can enhance their appearance. Use a metal polish solution and a soft cloth to gently buff the metal parts. This will help remove tarnish and restore their shine.
5. Restoring the Fabric or Speaker Cloth: If the fabric or speaker cloth on your console stereo is damaged or faded, you can replace it to give it a fresh look. Measure the dimensions of the existing fabric and purchase a suitable replacement. Remove the old fabric or speaker cloth, and carefully install the new one, ensuring it is securely attached.
By thoroughly cleaning and restoring the exterior of your console stereo, you’ll revitalize its visual appeal and preserve its vintage charm. This step sets the foundation for the rest of the updating process, ensuring that your console stereo looks its best before moving on to the audio components and functionality upgrades.
Step 3: Updating the Audio Components
With the exterior of your console stereo looking fresh and restored, it’s time to focus on updating the audio components. This step will ensure that your vintage stereo delivers high-quality sound and is compatible with modern audio devices. Here’s what you need to do:
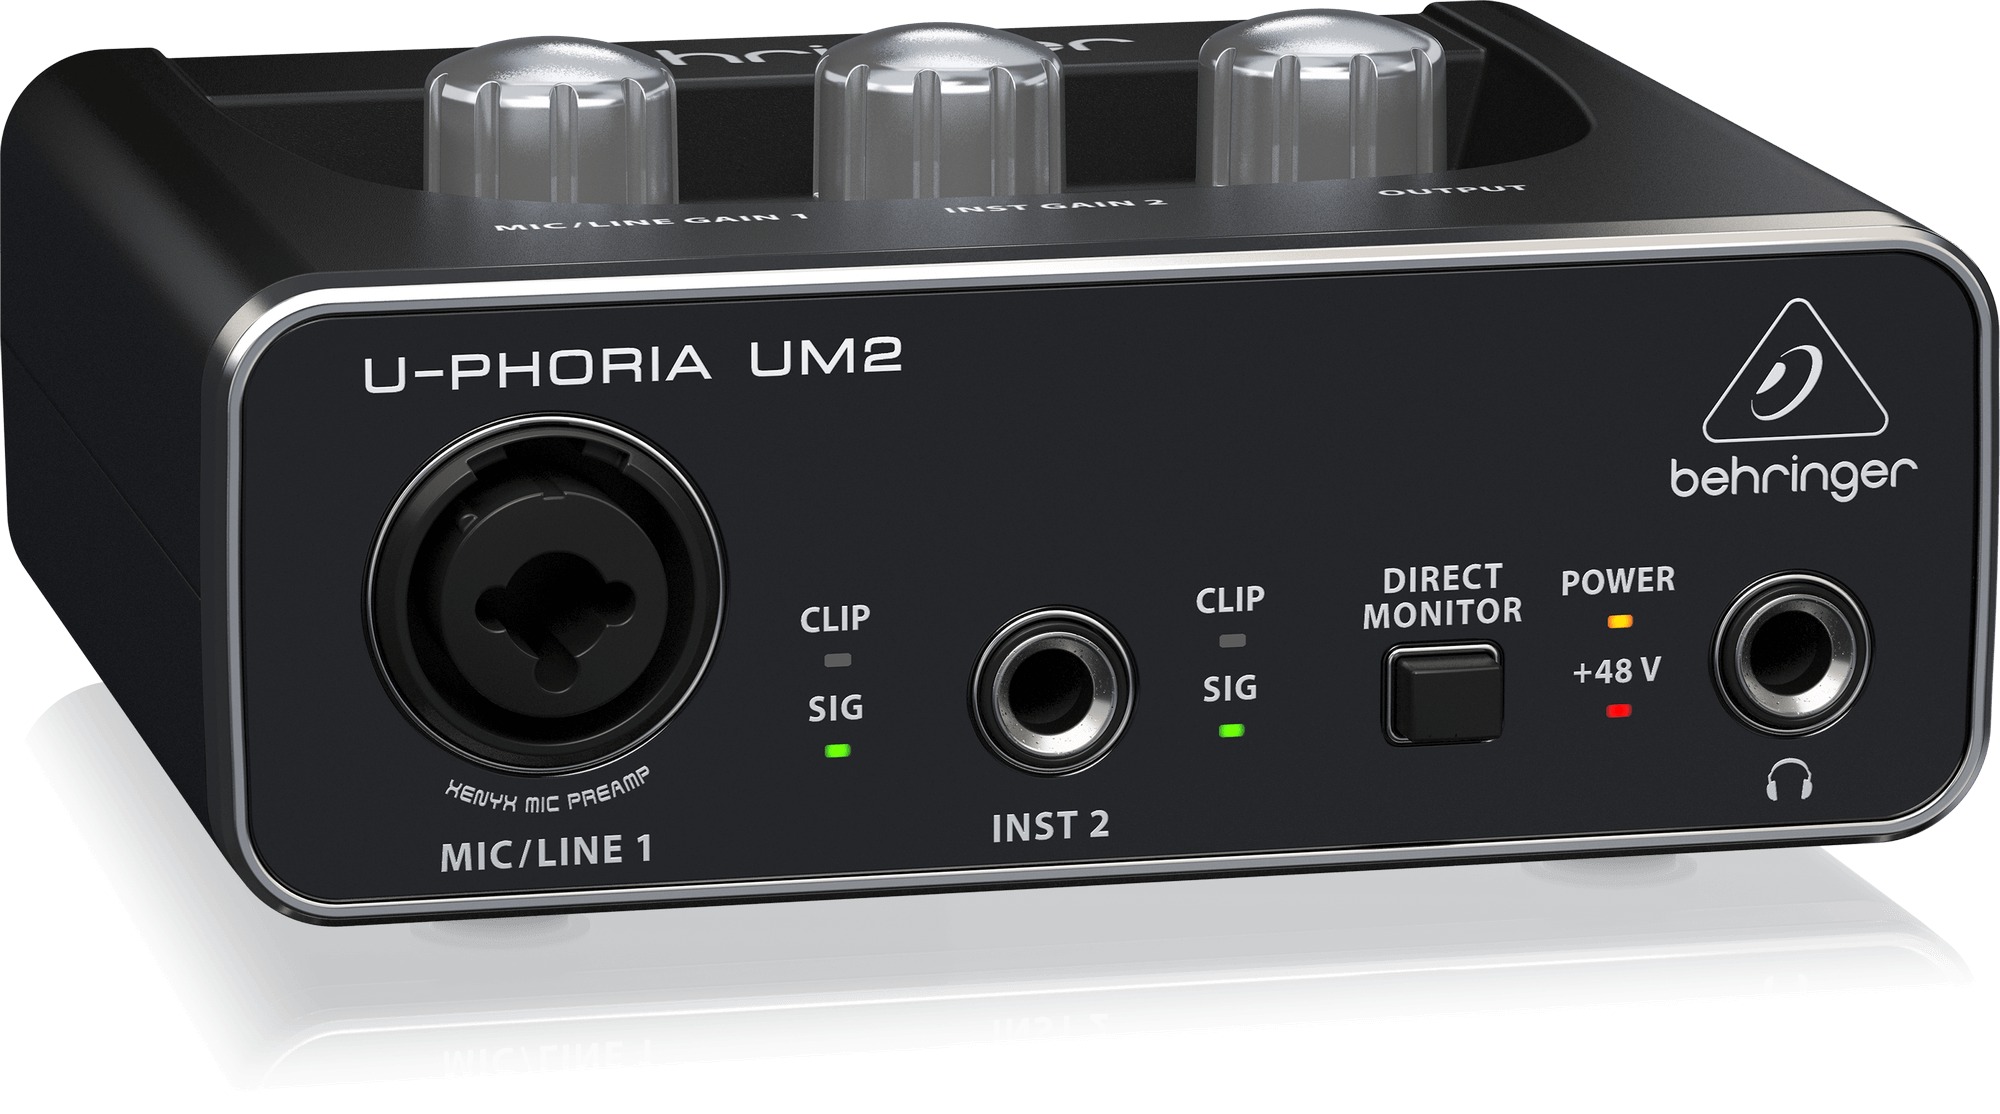
1. Amplifier Upgrade: The amplifier is a crucial component that amplifies the audio signals from your stereo system. Consider upgrading to a modern amplifier that provides better sound quality and power output. Look for amplifiers with multiple inputs, built-in equalizers, and compatibility with different audio formats.
2. Preamp and Equalizer: Upgrading the preamp and equalizer will further enhance the audio performance of your console stereo. Look for preamps that offer features like tone controls, adjustable gain, and compatibility with different sources. An equalizer will allow you to fine-tune the sound by adjusting the frequency response.
3. Digital Audio Converter: If your console stereo doesn’t have a built-in digital audio converter (DAC), consider adding one. This device will allow you to connect digital audio sources, such as smartphones or computers, and convert the digital signal to analog for playback on your vintage stereo system.
4. Input and Output Connections: Assess the input and output connections of your console stereo. Consider adding additional inputs like RCA or AUX inputs to connect modern audio devices. You can also add Bluetooth connectivity to wirelessly stream music from your smartphone or other Bluetooth-enabled devices.
5. Audio Cables: Upgrade the audio cables connecting your components for better sound quality. Opt for high-quality cables that minimize interference and signal loss. Consider using shielded cables for optimal audio performance.
6. Power Conditioning: Adding a power conditioner to your console stereo setup can help eliminate electrical noise and provide clean power to your audio components. This will enhance the overall audio performance and reduce potential interference.
By updating the audio components of your console stereo, you’ll greatly improve the sound quality and compatibility with modern audio devices. These upgrades will ensure that your vintage system can deliver crisp and immersive audio, providing an enriching listening experience.
Step 4: Upgrading the Speaker System
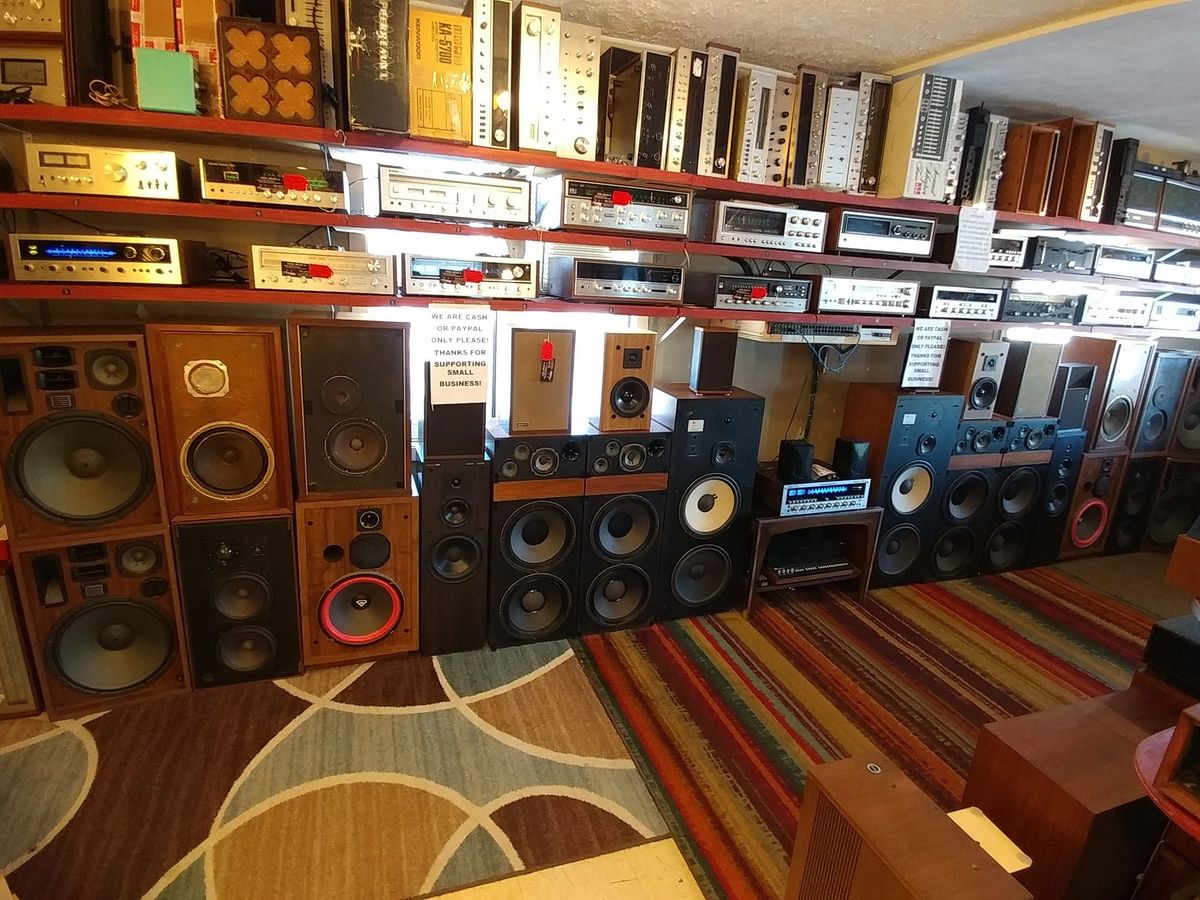
Upgrading the speaker system of your console stereo is a crucial step in achieving optimal sound quality and a more immersive listening experience. By replacing or enhancing the speakers, you can ensure that your vintage stereo delivers rich, clear, and balanced audio. Here’s how to upgrade the speaker system:
1. Assess Speaker Condition: Begin by examining the current speakers in your console stereo. Look for signs of wear, damage, or deterioration. If the speakers are in good condition, you may choose to enhance them through other means, such as adding additional drivers or improving the speaker enclosure.
2. Replace Damaged Speakers: If the speakers are damaged or not functioning correctly, it’s best to replace them. Look for speakers that are compatible with the size and mounting options of your console stereo. Consider factors such as power handling, frequency response, and impedance to ensure the best match for your system.
3. Upgrade Speaker Drivers: Another option is to upgrade the speaker drivers within the existing speaker cabinets. This can be done by replacing the original drivers with higher quality ones that offer improved sound reproduction and frequency response. Ensure that the new drivers are compatible with the impedance and power requirements of your console stereo.
4. Enhance Speaker Enclosures: Upgrading the speaker enclosures can significantly impact the sound quality. Consider reinforcing the cabinets with additional bracing to reduce resonance and improve overall audio performance. You can also add sound insulation material to minimize vibrations and enhance sound clarity.
5. Optimize Speaker Placement: Proper speaker placement is crucial for achieving optimal soundstage and imaging. Experiment with speaker positioning, ensuring that they are at ear level and properly spaced apart. Take into account the dimensions of your listening space for the best sound dispersion.
6. Calibrate Speaker Settings: Once you have upgraded the speakers, calibrate the sound settings to achieve the best sound quality. Adjust the speaker balance, equalization, and audio levels to ensure a balanced and immersive listening experience.
By upgrading the speaker system of your console stereo, you’ll significantly enhance the audio quality and create a more enjoyable listening environment. A well-designed and properly calibrated speaker setup will bring your vintage stereo to life, producing rich, detailed, and immersive sound.
Step 5: Replacing or Refurbishing the Turntable
The turntable is a crucial component of a console stereo, allowing you to play vinyl records and enjoy the nostalgic warmth and sound quality they offer. However, over time, the turntable may deteriorate or become outdated. In this step, we’ll guide you on replacing or refurbishing the turntable to ensure optimal performance and longevity:
1. Assess Turntable Condition: Start by assessing the condition of the existing turntable. Check for any visible signs of wear, such as a worn-out stylus, warped platter, or malfunctioning tonearm. Determine if it’s worth refurbishing or if a replacement is a better option.
2. Refurbishing the Turntable: If the turntable has sentimental value or is a high-quality vintage model, consider refurbishing it. This process may involve replacing the stylus, belt, and tonearm components, and lubricating moving parts. Clean the dust cover and any other accessible parts to enhance the turntable’s appearance.
3. Upgrading to a New Turntable: If the existing turntable is beyond repair or does not meet your requirements, consider upgrading to a new one. Look for a turntable that suits your budget and preferences, taking into account features such as belt-driven or direct-drive mechanisms, adjustable speed settings, and adjustable tonearm.
4. Cartridge and Stylus Upgrade: Whether you choose to refurbish the existing turntable or replace it, consider upgrading the cartridge and stylus. These components have a significant impact on sound quality. Opt for a high-quality cartridge and stylus that matches your musical preferences and delivers accurate tracking and precise sound reproduction.
5. Anti-Vibration and Isolation: To ensure optimal performance, minimize vibrations that can interfere with turntable functionality and audio playback. Use an anti-vibration mat or isolate the turntable from external vibrations caused by speakers or other audio equipment. This will help maintain consistent sound quality and prevent skipping or distortion.
6. Alignment and Calibration: Once you have refurbished or installed the new turntable, it’s essential to align the cartridge and calibrate the tonearm. This ensures accurate tracking, proper channel balance, and optimal sound reproduction. Follow the manufacturer’s instructions or consult a professional for precise alignment and calibration.
By replacing or refurbishing the turntable, you’ll ensure that your console stereo can deliver the best possible sound quality from your vinyl record collection. Enjoy the authentic warmth, depth, and richness of analog audio, fully immersing yourself in the nostalgia and beauty of vinyl playback.
Step 6: Adding Modern Connectivity Options
To make your vintage console stereo more versatile and compatible with modern audio devices, it’s crucial to add modern connectivity options. This step will allow you to enjoy the convenience of wireless streaming and connect your stereo system to various audio sources. Here’s what you need to do:
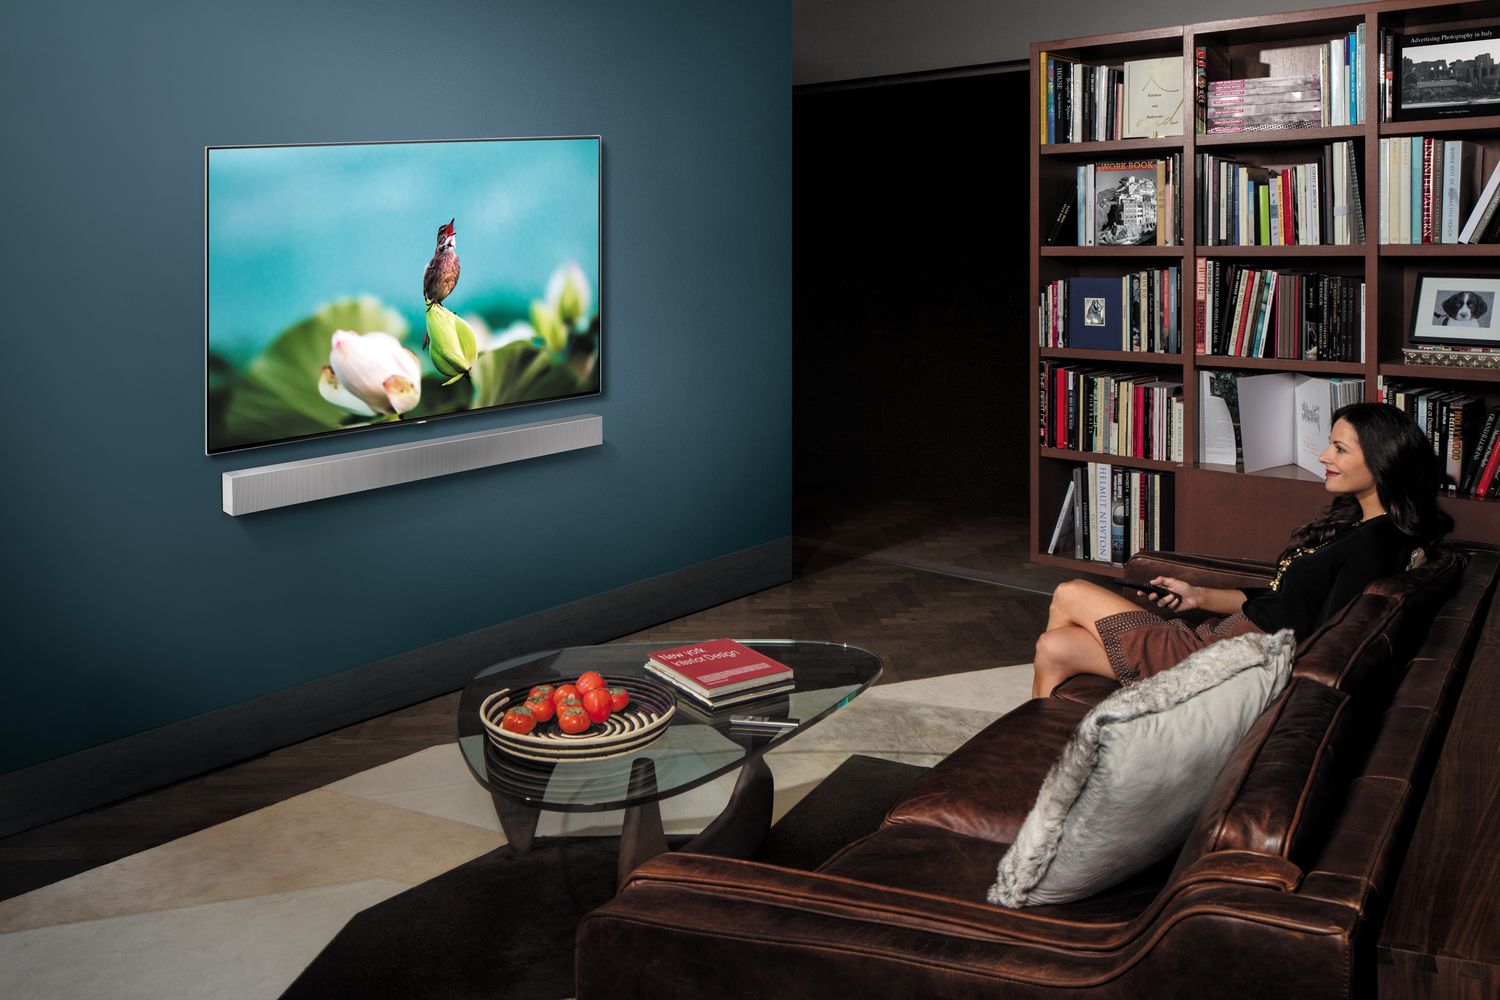
1. Bluetooth Connectivity: One of the most popular modern connectivity options is Bluetooth. Adding a Bluetooth receiver or module to your stereo system allows you to stream music wirelessly from smartphones, tablets, or computers. Choose a Bluetooth receiver that supports the latest Bluetooth version for optimal compatibility and audio quality.
2. Wi-Fi Streaming: If you want to access a wider range of online music services and enjoy higher-quality audio, consider adding Wi-Fi streaming capabilities. This can be achieved through the addition of a Wi-Fi-enabled receiver or by connecting your stereo system to a Wi-Fi audio streaming device.
3. AUX and RCA Inputs: Ensure that your console stereo has AUX and RCA input options. These connections allow you to connect external audio devices such as MP3 players, CD players, or even a digital audio converter. Having these input options expands the versatility of your stereo system.
4. USB and SD Card Support: Adding USB and SD card support to your console stereo allows you to play digital audio files directly from these devices. Look for a stereo system that has built-in USB and SD card slots or consider adding a separate USB/SD card reader that connects to your stereo system.
5. Streaming Services Compatibility: Explore options for connecting your stereo system to popular music streaming services like Spotify, Apple Music, or Tidal. Some stereo systems come with built-in support for such services, while others require additional devices or apps to enable streaming.
6. Multi-Room Audio: If you want to extend your music listening experience to multiple rooms, consider adding a multi-room audio system. This allows you to wirelessly connect and synchronize audio playback across different speakers and rooms, giving you the flexibility to enjoy music throughout your home.
By incorporating modern connectivity options into your vintage console stereo, you can seamlessly integrate it into your digital music ecosystem. Enjoy the convenience of wireless streaming, access a vast library of online music, and connect your stereo to various audio sources, all while retaining the timeless appeal of your vintage stereo system.
Step 7: Testing and Troubleshooting
After completing the updates and enhancements to your vintage console stereo, it’s essential to thoroughly test the system and troubleshoot any potential issues. This final step ensures that everything is working properly and allows you to address any problems that may arise. Follow these guidelines for testing and troubleshooting:
1. Audio Playback Test: Start by testing the audio playback capabilities of your console stereo. Play a variety of music genres and carefully listen for any distortion, imbalance, or other audio anomalies. Adjust the volume and tone controls to ensure they are working correctly.
2. Connectivity Test: If you have added modern connectivity options, test each of these connections. Connect your smartphone, tablet, or other devices via Bluetooth or auxiliary inputs and verify that the audio is transmitting smoothly. Test the Wi-Fi streaming capabilities and ensure that the connection is stable.
3. Record Playback Test: If you replaced or refurbished the turntable, test its performance by playing a few vinyl records. Ensure that the turntable is tracking properly, and the sound quality is clear and consistent. Check for any skipping or excessive noise during playback.
4. Speaker Performance Test: Pay attention to the performance of the upgraded or new speakers. Listen for balanced sound reproduction, accurate imaging, and adequate bass response. Adjust the speaker positioning and calibration settings to achieve the best soundstage and audio performance.
5. Troubleshooting: If you encounter any issues during testing, troubleshoot the problem systematically. Check connections for loose cables, ensure that all components are powered on, and inspect for any error indicators or warning lights on audio devices. Consult user manuals or seek assistance from professionals if needed.
6. Fine-tuning: After testing and troubleshooting, make any necessary adjustments or fine-tuning to further enhance the overall performance of your vintage console stereo. This may include revisiting speaker placement, adjusting equalizer or tone controls, or fine-tuning the turntable’s tracking force and anti-skate settings.
By diligently testing and troubleshooting your console stereo, you can address any potential issues and ensure that your system is working optimally. This final step guarantees that you can fully enjoy the benefits of your updated vintage stereo, delivering high-quality sound and a delightful listening experience.
Conclusion
Updating an old console stereo can be a rewarding endeavor, allowing you to revive a piece of vintage technology and enjoy the best of both worlds – the nostalgia of vintage design and the convenience of modern audio technology. By following the step-by-step process outlined in this article, you can transform your vintage stereo into a functional and aesthetically pleasing centerpiece in your home.
Starting with assessing the condition of your console stereo and cleaning the exterior, you can restore its original charm. Upgrading the audio components, such as amplifier, preamp, and equalizer, ensures improved sound quality and compatibility with modern devices. Enhancing the speaker system and refurbishing or replacing the turntable further elevate the audio experience, providing rich and detailed sound reproduction. Adding modern connectivity options allows you to stream music wirelessly and connect to various audio sources, expanding the versatility of your console stereo.
Through thorough testing and troubleshooting, you can ensure that your updated console stereo is functioning optimally, addressing any potential issues along the way. Fine-tuning and adjusting the system’s settings further enhance the overall performance, enabling you to fully enjoy the seamless integration of vintage charm and modern convenience.
By breathing new life into your old console stereo, you can create an immersive audio experience, relish the warm sound of vinyl records, and rediscover the pleasure of enjoying music in a timeless and stylish manner.
So, dust off that old console stereo and embark on this journey of restoration and upgrading. The end result will be a truly unique piece that not only enhances your listening experience but also serves as a testament to the beauty of combining vintage aesthetics with modern technology. Let the music play!