Home>Devices & Equipment>Turntable>How To Hook A Newer Component Turntable To An Old Console Stereo
Turntable
How To Hook A Newer Component Turntable To An Old Console Stereo
Modified: January 22, 2024
Learn how to easily connect a newer turntable to an old console stereo and enjoy your vinyl collection in style. Step-by-step guide for hooking up a turntable to a vintage stereo system.
(Many of the links in this article redirect to a specific reviewed product. Your purchase of these products through affiliate links helps to generate commission for AudioLover.com, at no extra cost. Learn more)
Table of Contents
Introduction
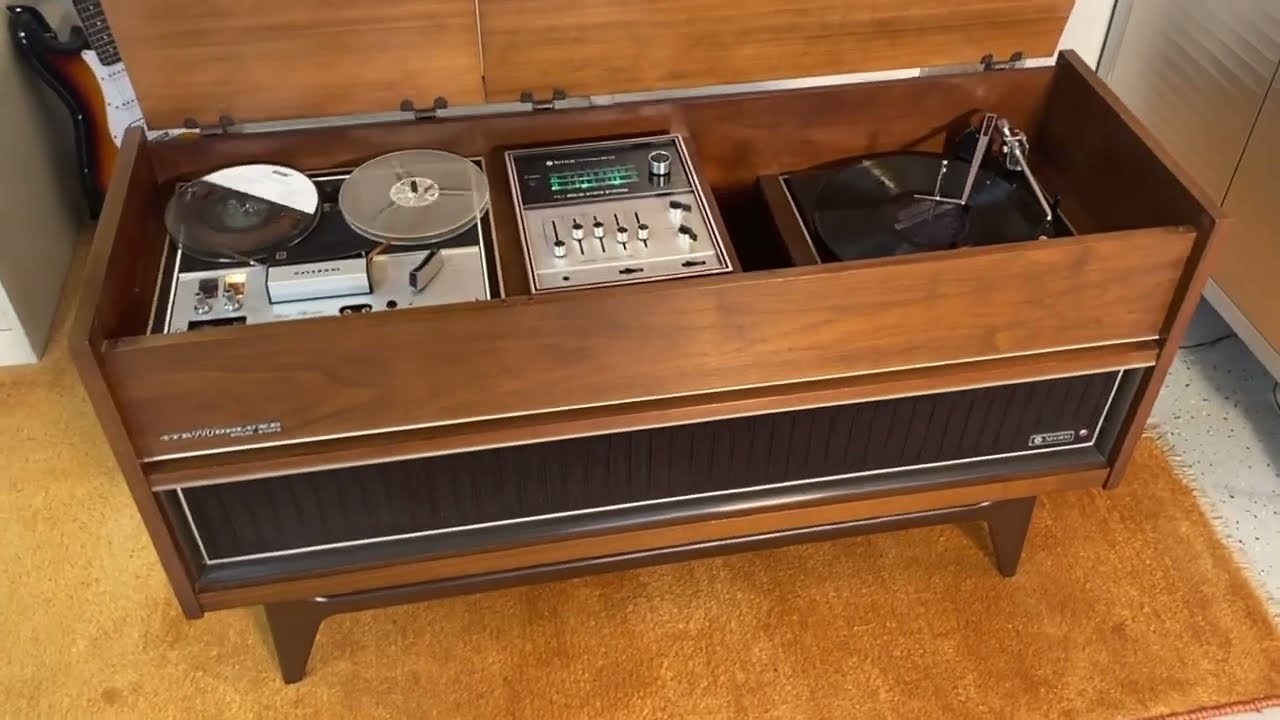
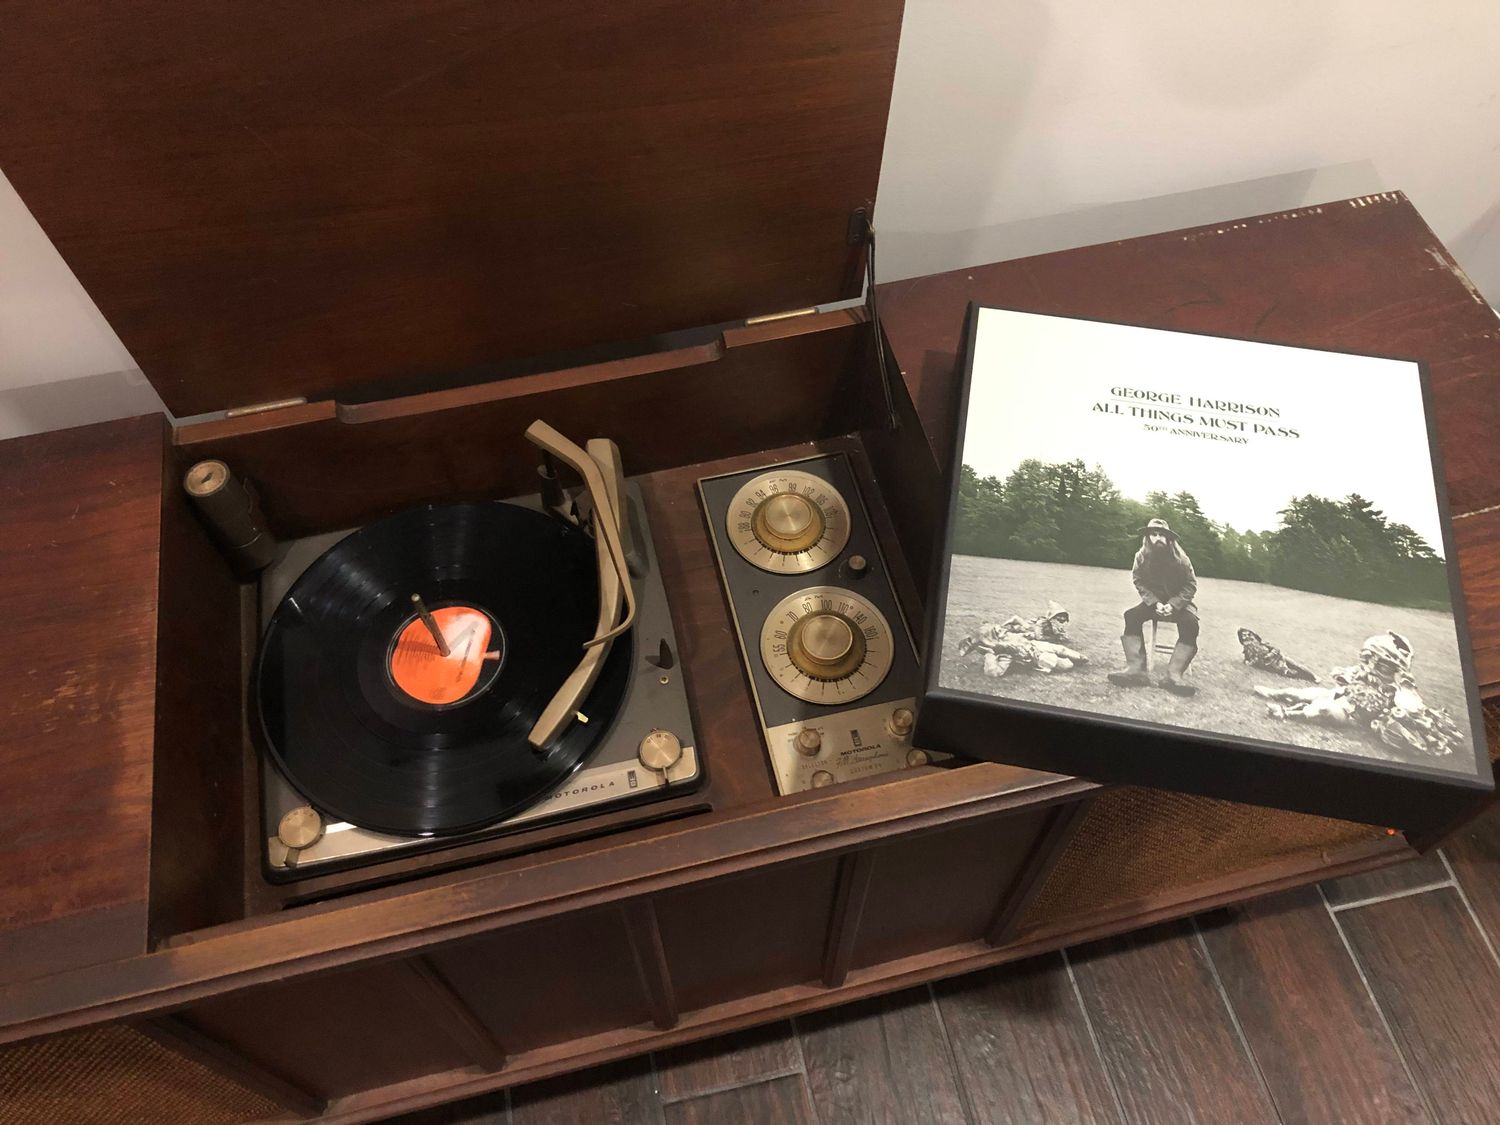
Welcome to the world of vinyl! Turntables have made a comeback in recent years, with music lovers rediscovering the warm and authentic sound that only vinyl records can deliver. If you’re a proud owner of a newer component turntable and you want to connect it to your old console stereo, you’ve come to the right place. In this article, we’ll guide you through the process step by step, ensuring a seamless connection that will allow you to enjoy your vinyl collection on your vintage stereo system.
When it comes to hooking up a newer turntable to an old console stereo, there are a few factors to consider. First, you need to assess the compatibility of your turntable and stereo system. Next, gather the necessary equipment to make the connection. Finally, you’ll connect the turntable to the console stereo and test everything to ensure it’s working correctly.
With the right guidance, you’ll be enjoying the nostalgic sound of vinyl on your vintage console stereo in no time. So, let’s dive into the details and get you started on your vinyl journey!
Assessing Compatibility
The first step in hooking up a newer component turntable to an old console stereo is assessing the compatibility between the two. You’ll need to consider a few key factors to ensure that they can work together harmoniously.
1. Phono preamp:
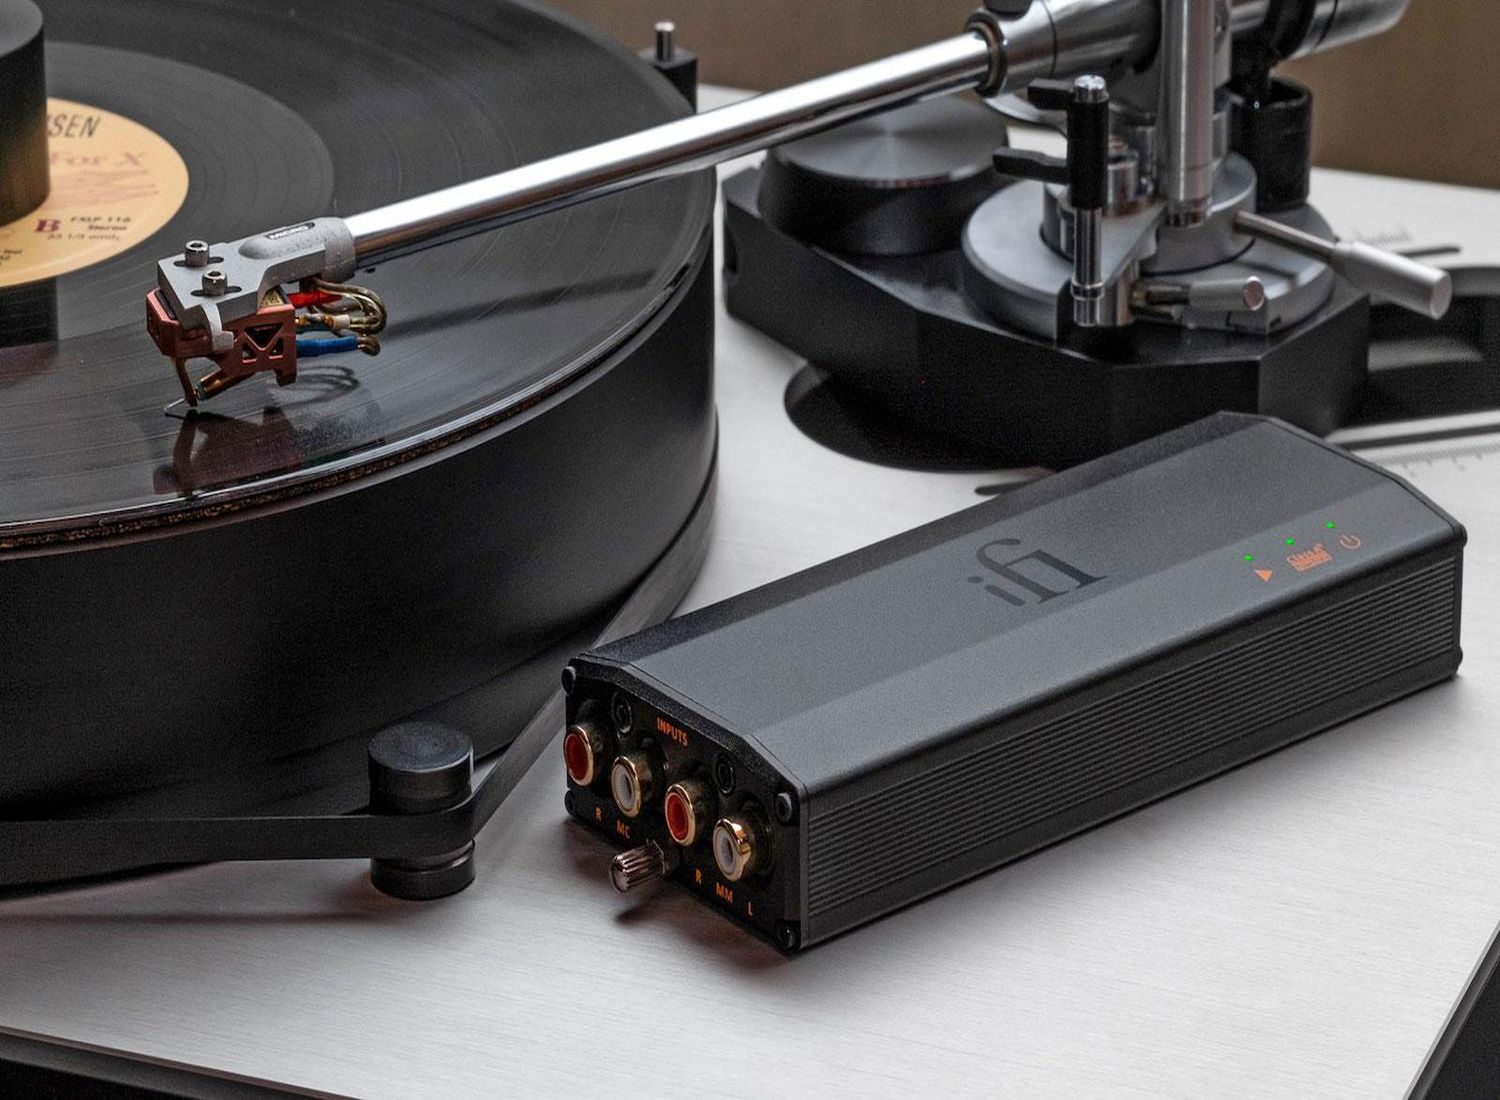
Older console stereos typically have a built-in phono preamp, which amplifies the signal from the turntable. However, newer component turntables often have a built-in phono preamp as well. Before connecting them, you’ll need to determine if both the turntable and the console stereo have a phono preamp. If they both have one, you’ll need to disable either the turntable’s internal phono preamp or the one in the console stereo. Refer to the user manuals of your turntable and stereo for instructions on how to do this.
2. Input connections:
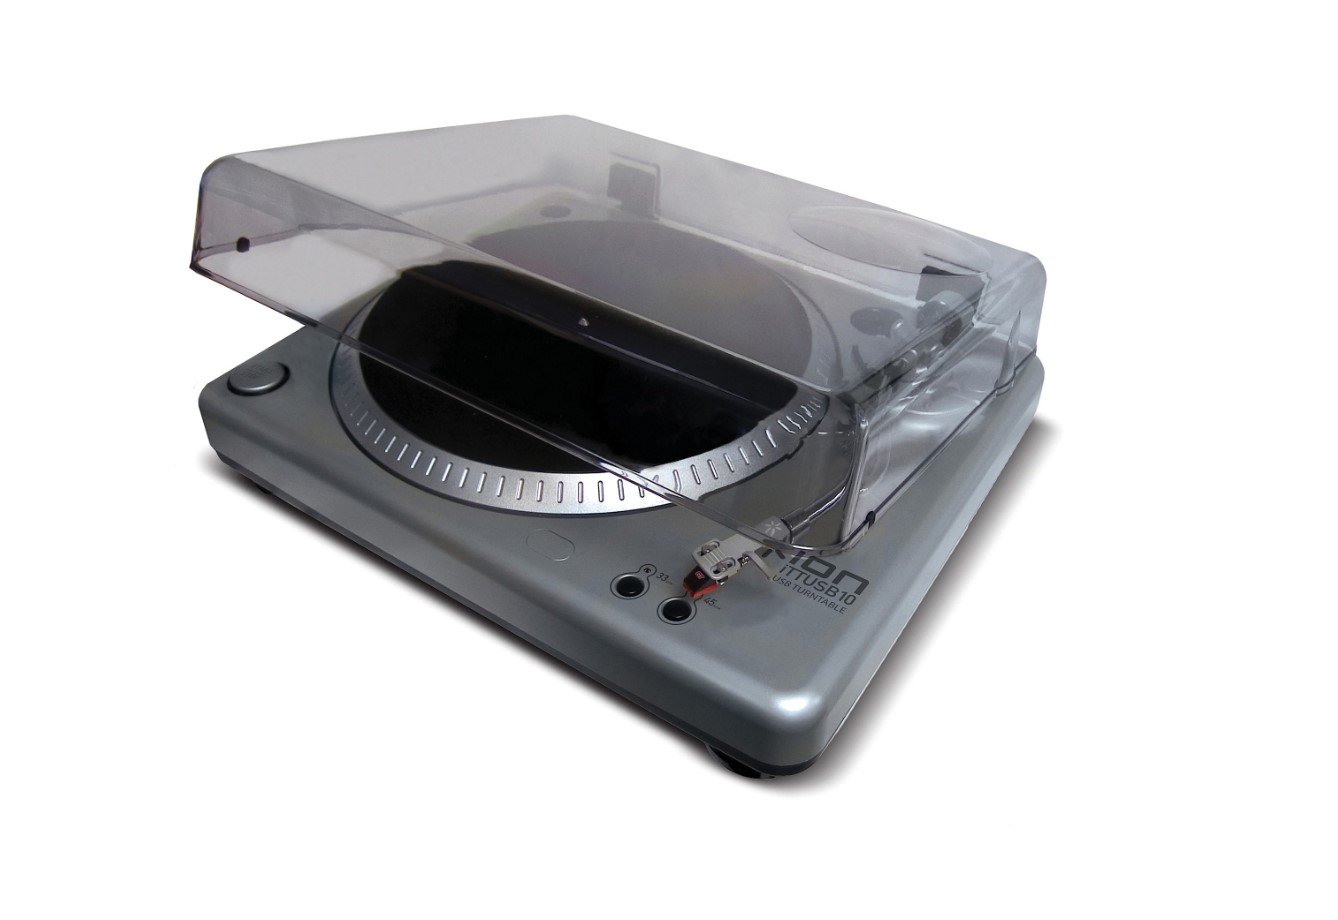
Check the input connections available on your console stereo. Most old stereos have RCA inputs for connecting external audio devices. Ensure that your turntable has RCA output connections as well. If your turntable only has a USB output or a different type of connection, you may need additional adapters or converters to make the connection compatible with the stereo.
3. Power requirements:
Consider the power requirements of your turntable and console stereo. Ensure that your console stereo has enough power to support the additional device. Check the power output information in the turntable’s user manual, and compare it with the power specifications of your console stereo. If necessary, you may need to use a separate power supply or make adjustments to accommodate the power needs of both devices.
By thoroughly assessing the compatibility between your turntable and console stereo, you’ll have a better understanding of the necessary equipment and any adjustments that may be required. Once you’ve determined compatibility, you can proceed to the next step of gathering the necessary equipment.
Gathering the Necessary Equipment
Now that you’ve assessed the compatibility between your newer component turntable and old console stereo, it’s time to gather the necessary equipment to make the connection. Here’s what you’ll need:
- RCA cables: These are the most common type of cables used to connect audio devices. You’ll need a pair of RCA cables to connect the turntable to the console stereo. Make sure to get cables with male RCA connectors on both ends.
- Adapters or converters: Depending on the input connections available on your console stereo and the output connections on your turntable, you may need adapters or converters. For example, if your turntable has a USB output and your stereo only has RCA inputs, you’ll need a USB to RCA adapter. Similarly, if your turntable has a different type of output connection, such as XLR or 3.5mm, you’ll need the appropriate adapter to convert it to RCA.
- Grounding wire: Some turntables require a grounding wire to reduce unwanted noise or hum. Check the user manual of your turntable to see if it requires grounding. If it does, ensure that your console stereo has a grounding terminal or find an alternative grounding solution.
- Power supply: If your turntable requires a separate power supply, make sure you have it on hand. Check the user manual for the specific power requirements and ensure that the power supply matches those specifications.
By gathering these essential items, you’ll have everything you need to make the connection between your turntable and console stereo. Double-check that you have the correct cables, adapters, grounding wire, and power supply to avoid any hiccups during the setup process. Once you’ve gathered the equipment, it’s time to move on to connecting the turntable to the console stereo.
Connecting the Turntable to the Console Stereo
Now that you have assessed compatibility and gathered the necessary equipment, it’s time to connect your newer turntable to the old console stereo. Follow these steps to ensure a successful connection:
- Turn off all devices: Before making any connections, ensure that both the turntable and the console stereo are turned off. This will prevent any potential damage to the equipment.
- Locate the audio inputs: On your console stereo, identify the RCA audio inputs. These are typically color-coded, with red for the right channel and white for the left channel. If your console stereo has multiple input options, choose the one that corresponds to the desired audio source.
- Connect the turntable to the stereo: Take one end of the RCA cables and insert the red connector into the red audio input on the console stereo. Similarly, insert the white connector into the white audio input. Ensure that the connectors are securely plugged in to provide proper audio transmission.
- Ground the turntable: If your turntable requires grounding, locate the grounding terminal on the console stereo and connect the grounding wire from the turntable to it. This will help reduce any unwanted noise or hum during playback.
- Power up the devices: Once all the connections are made, turn on the console stereo and the turntable. Make sure to follow the specific power-up sequence recommended in the user manuals to avoid any potential issues.
- Select the correct input: On your console stereo, select the input corresponding to the connection you made with the turntable. This can usually be done using a selector switch or button labeled with the appropriate input source.
- Adjust volume and settings: With everything powered up and connected, adjust the volume on your console stereo to a comfortable level. Consult the user manuals of both the turntable and the stereo to familiarize yourself with any additional settings or adjustments that may enhance your listening experience.
With the turntable successfully connected to the console stereo, you are now ready to experience the joy of vinyl on your vintage audio system. However, before you start playing your favorite records, it’s important to test and troubleshoot the setup to ensure optimal performance.
Testing and Troubleshooting
After connecting your turntable to the console stereo, it’s crucial to perform testing and troubleshooting to ensure that everything is working as expected. Follow these steps to verify the setup and address any potential issues:
- Check for audio output: Start by playing a vinyl record on your turntable. Adjust the volume on your console stereo and listen for audio output through the speakers. If you hear sound, congratulations! Your setup is working properly. If there’s no audio, proceed to the next step.
- Verify the connections: Double-check all the connections between the turntable and the console stereo. Ensure that the RCA cables are securely plugged in, the grounding wire (if applicable) is properly connected, and the power supply for the turntable (if required) is connected and turned on. Make any necessary adjustments or reconnections as needed.
- Test with different inputs: If you’re still not getting any audio output, try using a different input on your console stereo, if available. This can help rule out any issues with a specific input channel. Remember to select the corresponding input on the stereo and test again.
- Check the turntable’s settings: Review the user manual for your turntable and ensure that all the necessary settings are properly configured. For example, if your turntable has a switch for selecting between line level and phono level output, ensure that it is set to the appropriate position for your console stereo setup.
- Inspect the cables: Examine the RCA cables for any visible damage or wear. If you notice any issues, consider replacing the cables with high-quality ones. Faulty cables can cause connectivity problems and affect audio output.
- Consult the user manuals: If you’ve gone through the troubleshooting steps and are still experiencing issues, refer to the user manuals of both your turntable and console stereo. They may provide specific troubleshooting tips or solutions for common problems.
- Seek professional help: If you’re unable to resolve the issues or suspect there may be a more complex problem, consider reaching out to a professional audio technician. They can diagnose and address any technical issues with your setup.
By following these testing and troubleshooting steps, you’ll be able to identify and potentially resolve any issues with your turntable and console stereo setup. Once everything is working smoothly, it’s time to sit back, relax, and enjoy the nostalgic sound of vinyl on your vintage audio system.
Conclusion
Congratulations on successfully connecting your newer component turntable to your old console stereo! By assessing compatibility, gathering the necessary equipment, connecting the devices, and performing testing and troubleshooting, you’ve unlocked the ability to enjoy the rich and authentic sound of vinyl on your vintage audio system.
Remember, when hooking up a newer turntable to an old console stereo, it’s essential to consider factors such as phono preamp compatibility, input connections, and power requirements. By assessing these elements, you can ensure a seamless and optimal connection between the two devices.
Gathering the necessary equipment, such as RCA cables, adapters, grounding wire, and power supply, is crucial in establishing a successful connection. Make sure to double-check that you have everything you need to avoid any potential setbacks during the setup process.
Once you’ve made the physical connections between the turntable and the console stereo, it’s important to test the setup and troubleshoot any issues that may arise. By following the recommended steps and consulting the user manuals, you can address common problems and ensure that your audio system is functioning properly.
With everything in working order, you can now sit back, relax, and enjoy the vintage sound of vinyl on your restored console stereo. Whether you’re rediscovering old favorites or exploring new vinyl releases, the warm and authentic sound of vinyl records will undoubtedly enhance your listening experience.
Remember, if you encounter any challenges or technical difficulties that you’re unable to resolve on your own, don’t hesitate to seek help from audio professionals or consult the user manuals of your specific devices.
Now that you’ve successfully connected your turntable to your console stereo, it’s time to immerse yourself in the world of vinyl music. Enjoy the timeless sound and the unique charm that only vinyl records can offer!