Home>Production & Technology>Stereo>How To Update Pioneer Car Stereo
Stereo
How To Update Pioneer Car Stereo
Modified: January 22, 2024
Discover how to update your Pioneer car stereo with our step-by-step guide. Enhance your audio experience and get the latest features for your vehicle's stereo system.
(Many of the links in this article redirect to a specific reviewed product. Your purchase of these products through affiliate links helps to generate commission for AudioLover.com, at no extra cost. Learn more)
Table of Contents
- Introduction
- Step 1: Gather the necessary tools and materials
- Step 2: Determine the current firmware version
- Step 3: Download the latest firmware update
- Step 4: Prepare the USB drive for the firmware update
- Step 5: Update the Pioneer car stereo firmware
- Step 6: Verify the firmware update
- Step 7: Restore factory settings (optional)
- Step 8: Troubleshooting common issues
- Conclusion
Introduction
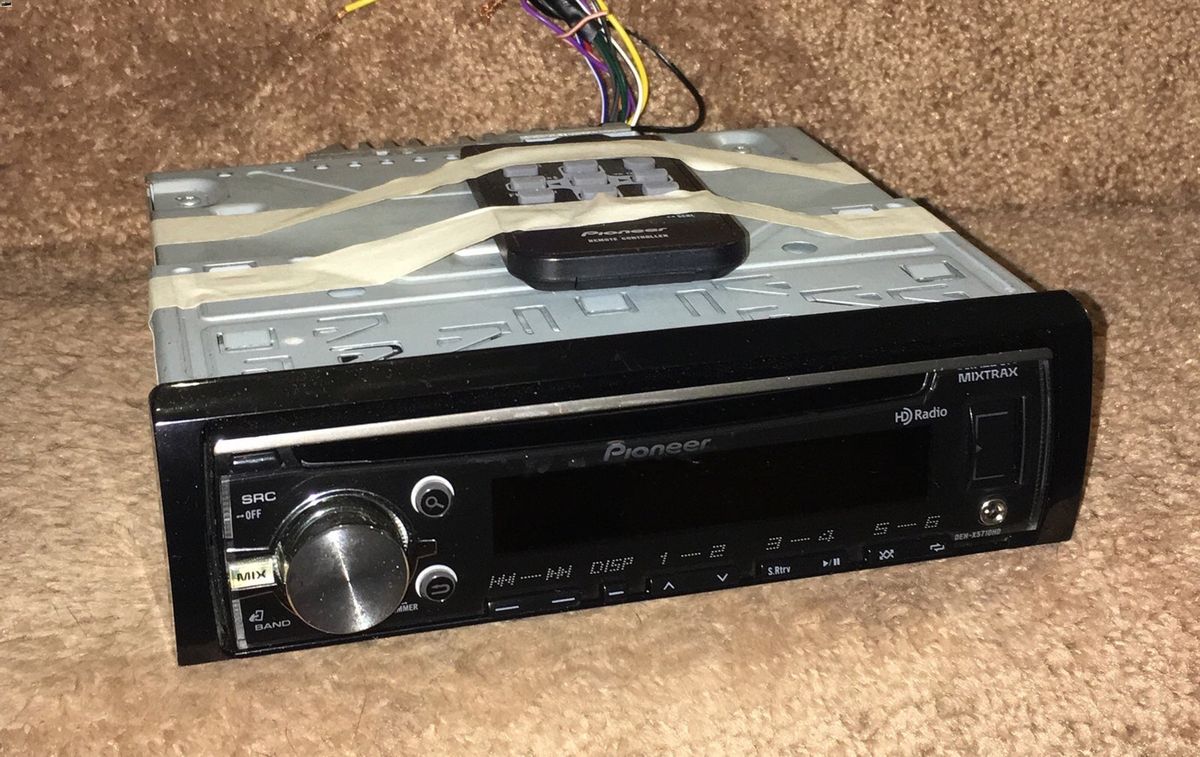
Welcome to our comprehensive guide on how to update your Pioneer car stereo. As technology continues to evolve, keeping your car stereo system up to date is essential for optimal performance and access to the latest features. Fortunately, Pioneer provides firmware updates that allow you to easily update your car stereo’s software and ensure that you’re getting the most out of your audio experience.
Updating the firmware on your Pioneer car stereo can bring a host of benefits, including improved functionality, enhanced audio quality, and compatibility with the latest music streaming platforms. Additionally, firmware updates often address bugs and security vulnerabilities, ensuring a safer and more reliable system.
In this guide, we’ll take you through the step-by-step process of updating your Pioneer car stereo, from gathering the necessary tools and materials to troubleshooting common issues. Whether you’re a car audio enthusiast or simply looking to optimize your in-car entertainment system, this article is designed to help you through the firmware update process with ease.
Before we dive into the steps, it’s important to note that the specific process may vary slightly depending on the model and year of your Pioneer car stereo. We recommend consulting your car stereo’s user manual for any model-specific instructions. With that said, let’s get started on updating your Pioneer car stereo and unlocking its full potential.
Step 1: Gather the necessary tools and materials
Before you begin the firmware update process for your Pioneer car stereo, it’s essential to gather the necessary tools and materials. Here’s a list of what you’ll need:
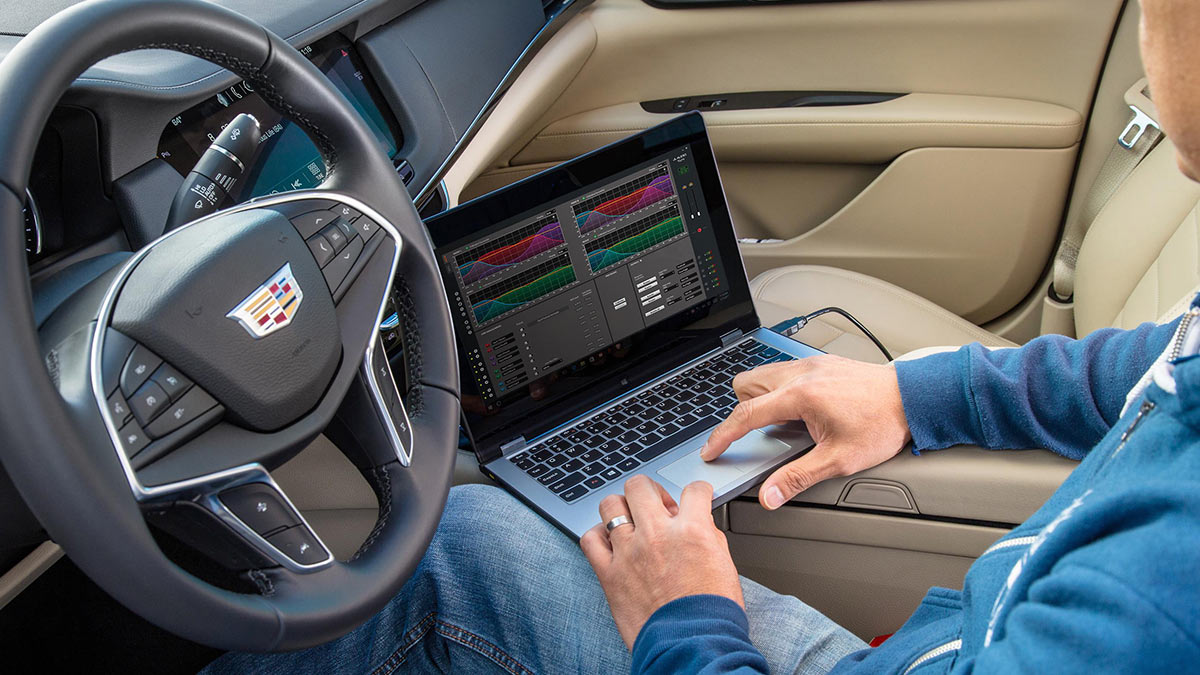
- Computer or laptop: You will need a computer or laptop with a USB port to download the firmware update and transfer it to a USB drive.
- USB drive: A USB drive with sufficient storage capacity is required to store the firmware update file. Make sure the USB drive is in good working condition and formatted in FAT32 or exFAT format.
- Pioneer car stereo user manual: It’s a good idea to have the user manual handy during the update process. It will provide specific instructions and any additional information related to updating the firmware for your particular model.
- Internet connection: A stable internet connection is necessary to download the firmware update file from the Pioneer website.
Once you have gathered these tools and materials, you are ready to move on to the next steps in the firmware update process. It’s important to note that some newer Pioneer car stereo models may have wireless update capabilities, allowing you to directly download and install updates from the device itself. However, for the purpose of this guide, we will focus on updating via a USB drive.
Now that you have everything you need, let’s proceed to the next step: determining the current firmware version of your Pioneer car stereo.
Step 2: Determine the current firmware version
Before proceeding with the firmware update, it’s important to determine the current firmware version of your Pioneer car stereo. This will help you confirm whether an update is needed and ensure that you’re installing the correct firmware file. Here’s how you can check the current firmware version:
- Turn on your Pioneer car stereo and navigate to the system settings menu. The exact location of the system settings menu may vary depending on your car stereo model.
- Once you’re in the settings menu, look for an option related to firmware or software information. It may be labeled as “Firmware version,” “Software version,” or something similar.
- Select the firmware or software information option to view the current version installed on your Pioneer car stereo.
Take note of the firmware version, as you will need this information when downloading the appropriate update from the Pioneer website. It’s worth mentioning that some car stereo models may also display the firmware version on the startup screen or in the about section of the settings menu.
If you’re having trouble finding the firmware version or if the option is not available in your car stereo’s settings menu, refer to the user manual for further guidance. The manual should provide instructions on how to access the firmware information specific to your Pioneer car stereo model.
Once you have determined the current firmware version, you can proceed to the next step: downloading the latest firmware update for your Pioneer car stereo.
Step 3: Download the latest firmware update
Now that you know the current firmware version of your Pioneer car stereo, it’s time to download the latest firmware update from the official Pioneer website. Follow these steps to download the firmware update:
- Open a web browser on your computer or laptop and navigate to the Pioneer website (www.pioneerelectronics.com).
- Click on the “Support” or “Downloads” section of the website.
- Select the appropriate category for your car stereo, such as “Car Audio,” “In-Dash Receivers,” or a similar option.
- Enter the model number of your Pioneer car stereo in the search bar or use the provided filters to locate your specific car stereo model.
- Once you have found your car stereo model, look for a “Firmware” or “Software” section on the product page. This is where you will find the available firmware updates.
- Select the latest firmware update compatible with your car stereo model and click on the download button.
Ensure that you download the correct firmware update based on the model number and current firmware version of your Pioneer car stereo. It’s important to double-check this information to avoid any compatibility issues or incorrect installations.
After the download is complete, save the firmware update file to a convenient location on your computer or laptop. Remember the location of the file as you will need to access it in the next steps.
Now that you have successfully downloaded the latest firmware update, it’s time to prepare the USB drive for the firmware update process. Proceed to the next step to learn how to do this.
Step 4: Prepare the USB drive for the firmware update
In order to update the firmware on your Pioneer car stereo, you will need to prepare a USB drive by formatting it and transferring the firmware update file onto it. Follow these steps to prepare the USB drive:
- Insert the USB drive into a USB port on your computer or laptop.
- Before proceeding, make sure that the USB drive doesn’t contain any important files, as the formatting process will erase all existing data on the drive.
- Open the File Explorer (Windows) or Finder (Mac) and locate the USB drive in the list of available drives.
- Right-click on the USB drive and select the “Format” option.
- Choose the appropriate file system format for your Pioneer car stereo. Most Pioneer car stereos require the USB drive to be formatted in either FAT32 or exFAT.
- Give the USB drive a recognizable name to make it easier to identify later.
- Click on the “Format” button to begin the formatting process. Note that this may take a few moments to complete.
- Once the formatting is finished, locate the firmware update file that you downloaded in the previous step.
- Copy or drag the firmware update file from its original location and paste it into the root directory of the USB drive. Do not place the file within any folders on the drive.
- Safely eject the USB drive from your computer or laptop. This ensures that all data is written and the drive is ready for use.
With the USB drive prepared and the firmware update file transferred onto it, you are now ready to proceed with updating the firmware on your Pioneer car stereo. Move on to the next step to learn how to update the firmware successfully.
Step 5: Update the Pioneer car stereo firmware
Now that you have prepared the USB drive with the firmware update file, it’s time to update the firmware on your Pioneer car stereo. Follow these steps to ensure a successful firmware update:
- Ensure that your vehicle is parked in a safe location and the ignition is turned off. It’s important to avoid any distractions or interruptions during the firmware update process.
- Insert the USB drive containing the firmware update file into the USB port on your Pioneer car stereo.
- Turn on your car stereo and navigate to the system settings menu.
- Look for an option related to firmware updates or software updates. The exact location and labeling of this option may vary depending on your car stereo model.
- Select the firmware update or software update option to begin the update process.
- Follow the on-screen prompts or instructions provided in the user manual to initiate the firmware update.
- During the update process, do not turn off the car stereo or remove the USB drive. Doing so may cause damage to the car stereo system.
- Wait for the firmware update to complete. This may take several minutes, so be patient.
- Once the update is finished, you will typically see a confirmation message on the car stereo’s screen. Some models may also prompt you to restart the car stereo.
- Remove the USB drive from the car stereo’s USB port.
Congratulations! You have successfully updated the firmware on your Pioneer car stereo. The car stereo will now have the latest software version, bringing potential improvements and new features to your audio experience.
Before moving on, it’s important to verify that the firmware update was installed correctly. Proceed to the next step to learn how to do this.
Step 6: Verify the firmware update
After updating the firmware on your Pioneer car stereo, it’s crucial to verify that the update was installed successfully. Here’s how you can check if the firmware update was successful:
- Turn on your Pioneer car stereo.
- Navigate to the system settings menu and look for the firmware or software information.
- Check the firmware version to confirm that it matches the latest version you downloaded and installed.
- Ensure that all the previously mentioned features and functionality improvements associated with the firmware update are working as expected. For example, test the audio quality, navigation system (if applicable), Bluetooth connectivity, and any other relevant features.
- If you encounter any issues or notice any discrepancies, refer to the user manual for troubleshooting guidance. You may also consider reaching out to Pioneer customer support for further assistance.
If the firmware version matches the latest version, and all the features and functionality are working properly, then the firmware update was successful. You can now enjoy the enhanced audio experience and potential new features that the updated firmware brings to your Pioneer car stereo.
However, if you encounter any problems during the verification process or experience any issues with the updated firmware, it may be necessary to restore the factory settings. This optional step is discussed in detail in the next section.
Before proceeding, remember to keep a record of the updated firmware version in case you need it for future reference. With the firmware update verified, you can move forward with confidence in your updated Pioneer car stereo.
Step 7: Restore factory settings (optional)
If you have completed the firmware update on your Pioneer car stereo and are facing persistent issues or unexpected behavior, you may consider restoring the factory settings. Restoring the factory settings will revert your car stereo back to its original state, eliminating any changes or configurations made since its initial setup.
Before proceeding with this optional step, it’s important to note that restoring factory settings will erase all personalized settings and saved data on your Pioneer car stereo. This includes radio station presets, Bluetooth pairings, equalizer settings, and any other customized configurations.
If you still want to restore the factory settings, follow these steps:
- Turn on your Pioneer car stereo and navigate to the system settings menu.
- Look for an option labeled “Restore Factory Settings,” “Reset,” or something similar.
- Select this option to initiate the restoration process.
- Follow the on-screen prompts or instructions provided in the user manual to confirm the restoration.
- Once the factory settings have been restored, your Pioneer car stereo will restart.
- Reconfigure any necessary settings, such as radio presets and audio preferences, to personalize your car stereo experience.
After restoring the factory settings, observe if the issues or unexpected behavior persist. If they do, it’s recommended to reach out to Pioneer customer support for further assistance. They can provide additional troubleshooting steps or guide you through any necessary repairs or replacements.
Keep in mind that restoring the factory settings should only be done as a last resort when all other troubleshooting methods have been exhausted. It’s always best to consult the user manual or seek professional assistance if you’re unsure about performing this step or if you have concerns about losing your personal settings.
With the option to restore the factory settings in mind, you can now move forward with confidence, knowing that you have explored all possible avenues to ensure the optimal functionality of your Pioneer car stereo.
Step 8: Troubleshooting common issues
In some cases, you may encounter common issues after updating the firmware on your Pioneer car stereo. Here are a few troubleshooting tips to help you resolve these issues:
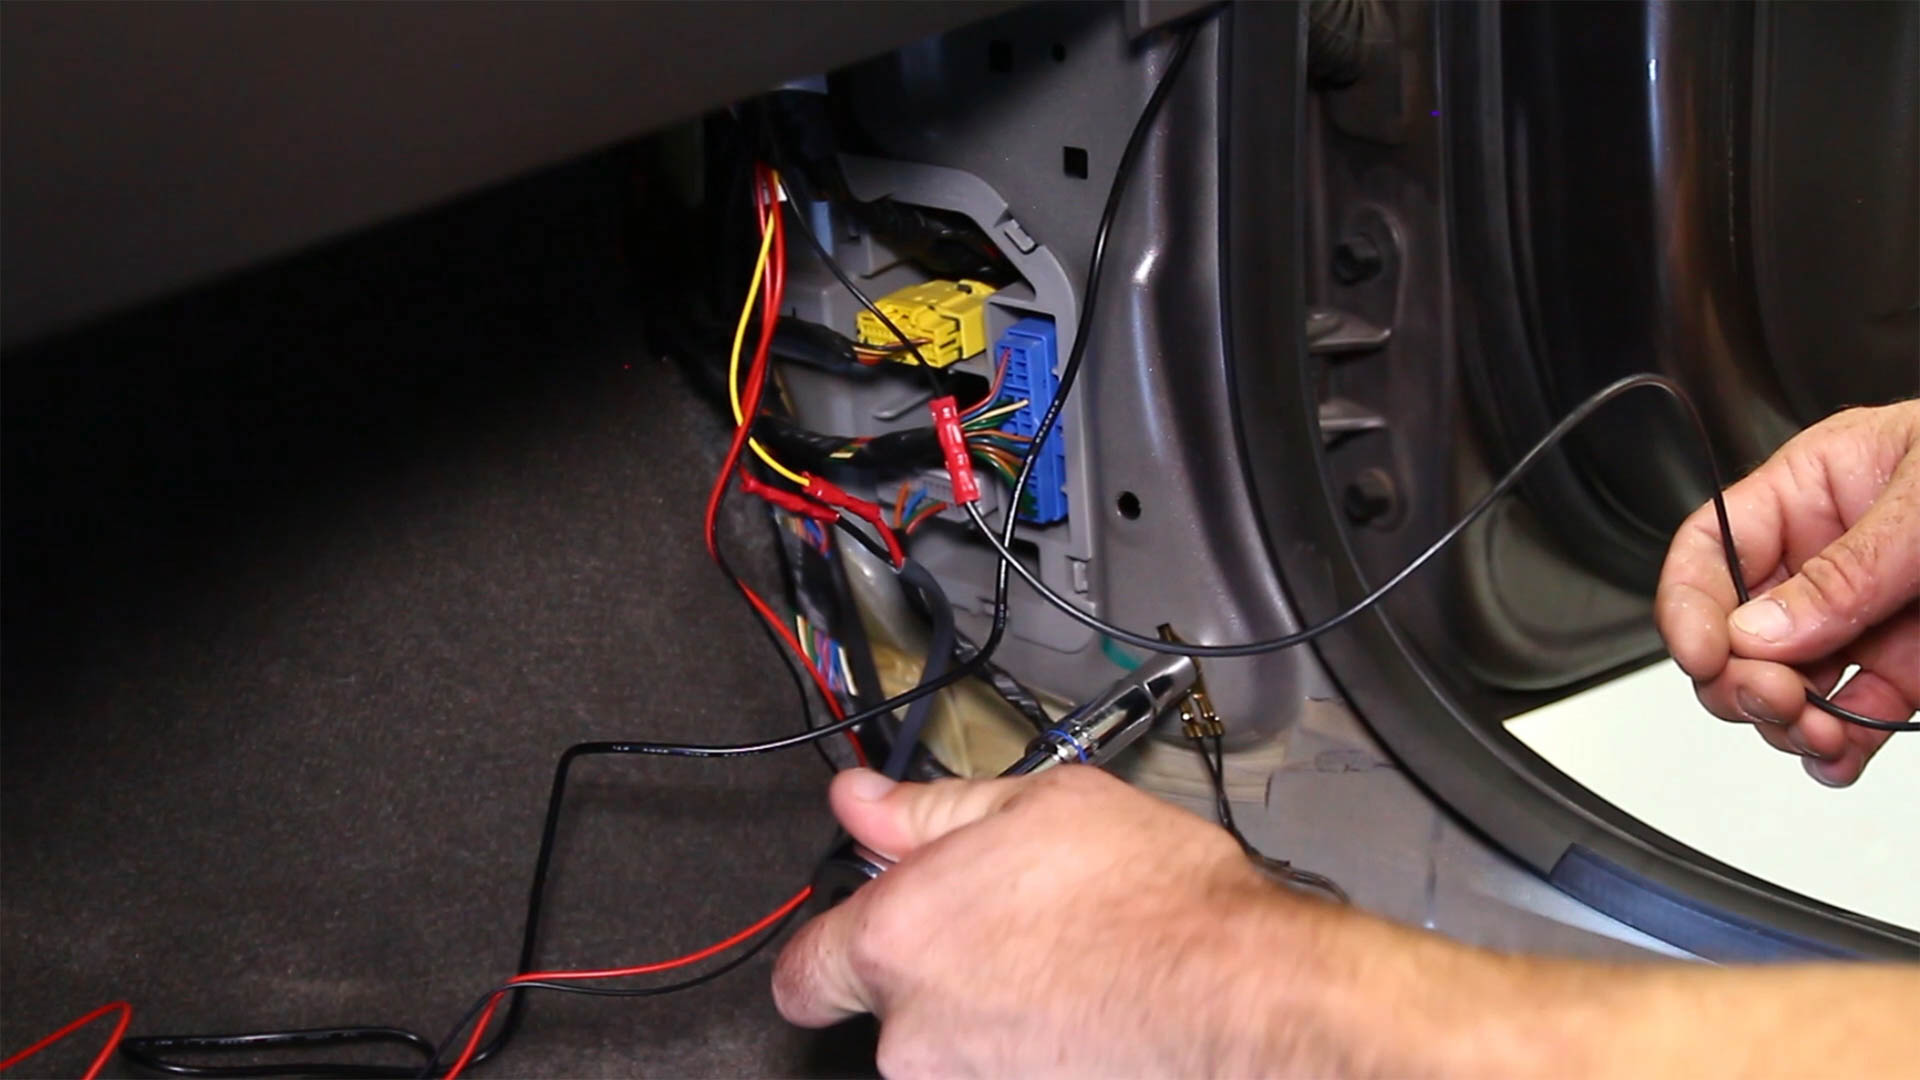
- No power or display: If your car stereo is not powering on or the display is not functioning after the firmware update, ensure that the power connections are secure and the fuse is intact. You may need to consult a professional installer or check the car’s electrical system.
- Poor audio quality: If you experience a decrease in audio quality, check the speaker connections and ensure that they are securely plugged into the car stereo. You may also want to adjust the audio settings, such as the equalizer or audio input levels.
- Bluetooth connectivity issues: If you’re having trouble connecting your mobile device via Bluetooth, try clearing the Bluetooth pairing history on both your car stereo and mobile device. Then, reattempt the pairing process following the instructions in the user manual.
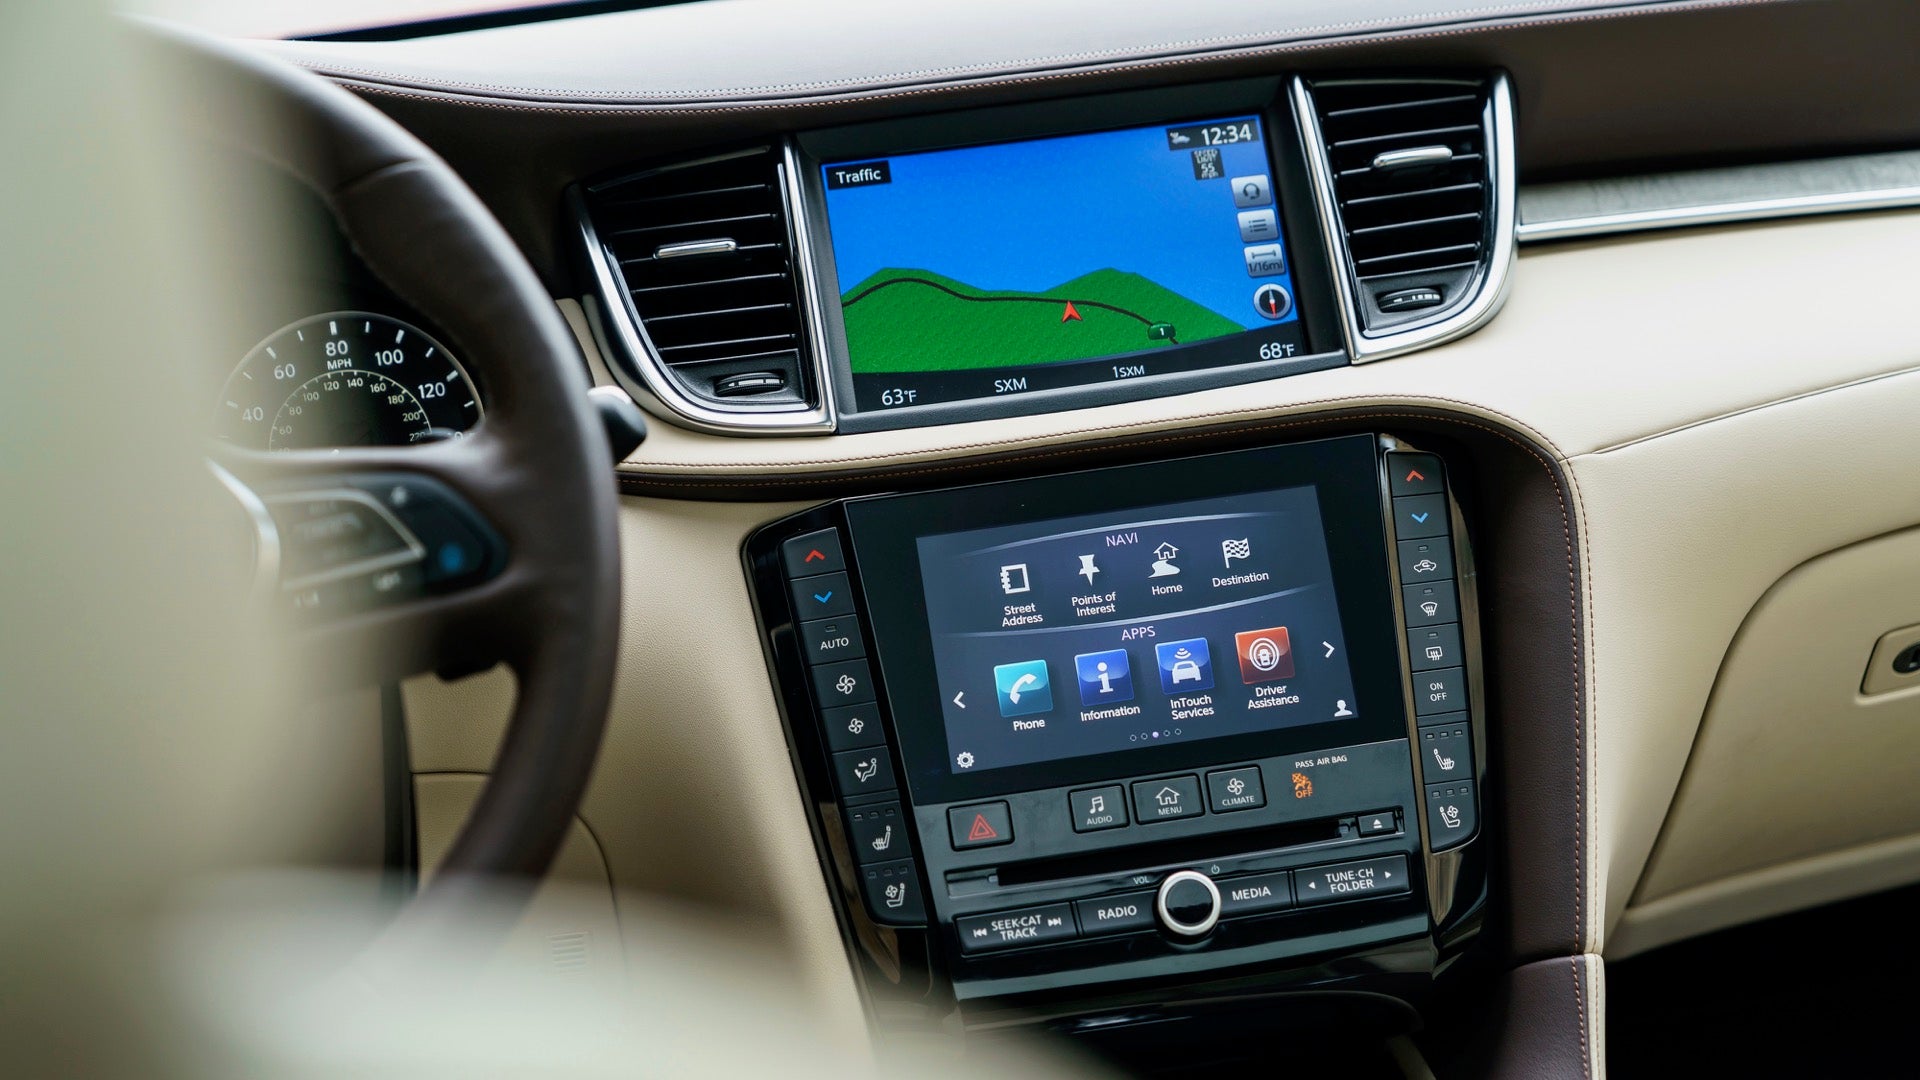
- Navigation system errors: If your car stereo has a built-in navigation system and you encounter errors or inaccuracies, ensure that the GPS antenna is properly installed and unobstructed. You may also need to update the maps to the latest version if available.
- Unresponsive controls or freezing: If your car stereo becomes unresponsive or freezes, try performing a system reset by disconnecting the power source for a few minutes and then reconnecting it. If the issue persists, consult the user manual for additional troubleshooting steps.
If you encounter an issue that is not mentioned in this guide or if the troubleshooting steps do not resolve the problem, it’s recommended to reach out to Pioneer customer support for further assistance. They have the expertise to guide you through advanced troubleshooting or recommend professional service if necessary.
Remember, troubleshooting common issues may require some patience and trial-and-error. It’s essential to follow the instructions provided in the user manual and consult professional help when needed. By troubleshooting common issues, you can ensure that your Pioneer car stereo is functioning optimally after the firmware update.
Conclusion
Updating the firmware on your Pioneer car stereo is a crucial step in ensuring optimal performance, improved functionality, and access to the latest features. With the step-by-step guide provided in this article, you have learned how to successfully update the firmware on your Pioneer car stereo and unlock its full potential.
Throughout this guide, we have covered the essential steps of gathering the necessary tools and materials, determining the current firmware version, downloading the latest firmware update from the Pioneer website, preparing the USB drive for the update, updating the firmware on your car stereo, verifying the update, restoring factory settings (if needed), and troubleshooting common issues.
Remember to refer to your car stereo’s user manual for any model-specific instructions or additional information related to the firmware update process. It’s also recommended to keep a record of the updated firmware version for future reference.
By following these steps, you can ensure that your Pioneer car stereo is up to date, providing optimal audio quality, enhanced features, and a seamless user experience. Whether you are a car audio enthusiast or simply want to elevate your in-car entertainment system, updating the firmware on your Pioneer car stereo will help you achieve just that.
If you encounter any difficulties or have further questions, don’t hesitate to reach out to Pioneer customer support or consult professional help. They are there to assist you and provide the necessary guidance to resolve any issues you may encounter along the way.
Now, it’s time to enjoy your updated Pioneer car stereo and immerse yourself in a top-quality audio experience wherever your journeys may take you.