Home>Production & Technology>Stereo>Who Can Install My Car Stereo
Stereo
Who Can Install My Car Stereo
Modified: January 22, 2024
Looking for professional car stereo installation services? Trust our experts to install your car stereo efficiently and ensure optimal sound quality. Contact us today!
(Many of the links in this article redirect to a specific reviewed product. Your purchase of these products through affiliate links helps to generate commission for AudioLover.com, at no extra cost. Learn more)
Table of Contents
Introduction
Welcome to the world of car audio! If you’re looking to upgrade your car stereo, you’ve come to the right place. Installing a new car stereo can greatly enhance the audio experience in your vehicle, allowing you to enjoy your favorite music, podcasts, and radio stations with crystal-clear sound and powerful bass.
When it comes to installing a car stereo, you have two options: hiring a professional installer or doing it yourself. In this article, we’ll explore both options and help you make an informed decision based on your skills, budget, and preferences.
Hiring a professional installer can save you time and ensure a seamless installation. These experts have the knowledge, skills, and tools needed to handle the job efficiently and effectively. They are experienced in working with different car models and can navigate any potential challenges that may arise during the installation process. Additionally, professional installers often offer warranties on their work, providing you with added peace of mind.
On the other hand, if you’re a hands-on person who loves a good DIY project, installing a car stereo yourself can be a rewarding experience. It allows you to learn more about your vehicle’s electrical system and gain a sense of accomplishment knowing that you did the installation yourself.
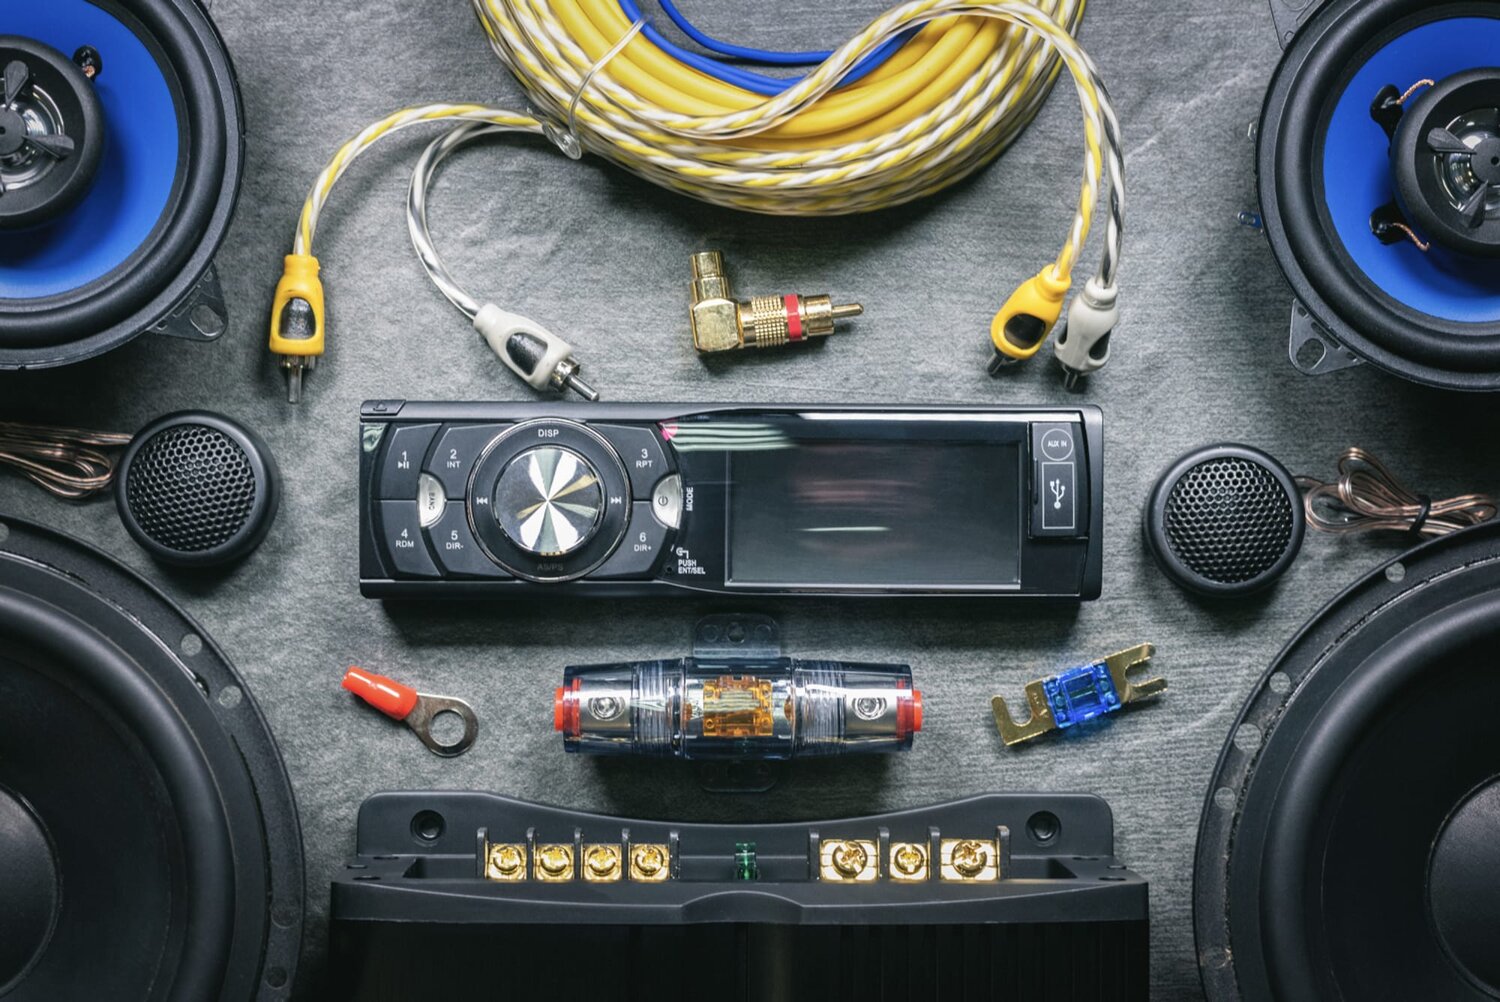
Before diving into the installation, let’s first familiarize ourselves with some basic tools that you’ll need:
- Screwdriver set
- Wire strippers
- Electrical tape
- Multimeter
- Wire connectors
- Panel removal tools
These tools will come in handy throughout the installation process, ensuring that you have everything you need to complete the job efficiently.
In the next sections, we’ll guide you through the steps involved in removing the old stereo, wiring the new stereo, mounting it in your car, and testing it. Whether you choose to hire a professional or take on the challenge yourself, you’ll gain valuable knowledge and enjoy the benefits of a top-notch car audio system.
Hiring a Professional Installer
If you’re not confident in your DIY skills or simply prefer to have a professional handle the job, hiring an experienced car stereo installer can be a great option. These experts have the knowledge and expertise to ensure a seamless installation and can save you time and potential headaches along the way.
One of the major advantages of hiring a professional installer is their extensive experience in working with different car models. They are familiar with the intricacies of various vehicles, including the specific wiring configurations and installation techniques required for each make and model. This expertise allows them to handle any challenges that may arise during the installation process, ensuring that your new car stereo is installed correctly and functions optimally.
Professional installers also have access to specialized tools and equipment that may not be readily available to the average DIYer. These tools, such as panel removal tools and wire testing devices, can make the installation process smoother and more efficient. Additionally, professional installers often have a wide range of accessories and wiring harnesses on hand, eliminating the need for you to source these parts separately.
When you hire a professional installer, you can also benefit from their warranty or guarantee on the work performed. This means that if any issues arise post-installation, they will be responsible for resolving them at no additional cost to you. This provides you with added peace of mind, knowing that you have reliable support should any problems arise with your new car stereo.
It’s important to do your research and select a reputable and trustworthy car stereo installer. Look for customer reviews, ask for recommendations from friends or car enthusiasts, and inquire about their experience and certifications. A qualified and professional installer will ensure that your car stereo installation is done correctly, ensuring optimal performance and longevity.
Pros of Hiring a Professional Installer:
- Extensive experience with different car models
- Knowledge of specific wiring configurations
- Access to specialized tools and equipment
- Availability of accessories and wiring harnesses
- Warranty or guarantee on the work performed
While hiring a professional installer may come at an additional cost compared to a DIY installation, the expertise, convenience, and peace of mind they provide often make it a worthwhile investment. However, if you’re up for the challenge and want to save some money, you can also choose to install your new car stereo yourself. In the next section, we’ll explore the DIY installation process in detail.
DIY Installation
If you’re a hands-on person who enjoys tackling projects yourself, installing a car stereo can be a rewarding and satisfying experience. With the right tools, a bit of patience, and some basic knowledge, you can successfully install your new car stereo and take pride in your accomplishment.
Before diving into the installation process, it’s crucial to gather all the necessary tools and equipment. As mentioned earlier, you’ll need a screwdriver set, wire strippers, electrical tape, a multimeter, wire connectors, and panel removal tools. Having these tools on hand will make the installation process easier and ensure that you’re well-prepared.
The first step in a DIY installation is to remove the old stereo from your car. Start by disconnecting the negative terminal of your car battery to avoid any electrical mishaps. Next, using the appropriate panel removal tools, carefully detach any trim panels or faceplates surrounding the stereo. Once the panels are removed, you can access the mounting screws or clips that secure the old stereo in place.
After removing the old stereo, it’s time to start wiring the new one. Begin by identifying the wiring harnesses of the new stereo and the corresponding wires in your vehicle. It’s essential to match the color-coded wires and use wire connectors to securely join the connections. Take your time with this step and double-check the wiring to ensure correctness.
Once the wiring is complete, you’ll need to mount the new stereo in your car. Most car stereos come with a mounting sleeve or cage that needs to be attached to the dashboard using the provided screws or clips. Carefully slide the new stereo into the sleeve or cage, ensuring a snug fit. Once in place, tighten the screws or clips to secure the stereo.
With the new stereo installed, it’s time to test and troubleshoot. Reconnect the negative terminal of your car battery and turn on the stereo. Check that all the functions, such as audio playback, radio reception, and inputs, are working properly. If any issues arise, refer to the troubleshooting guide provided by the manufacturer or seek assistance from online forums or car stereo experts.
Pros of DIY Installation:
- Cost-effective compared to hiring a professional installer
- Sense of accomplishment and learning experience
- Flexibility to customize the installation to your preferences
- Ability to troubleshoot and make adjustments on your own
While DIY installation may require some time and effort, it can be a gratifying experience for those who enjoy hands-on projects. Make sure to follow the instructions provided by the manufacturer, consult wiring diagrams specific to your car model, and take your time to ensure a proper installation.
Whether you choose to hire a professional installer or embark on a DIY installation, upgrading your car stereo can significantly enhance your driving experience. So, gather your tools, choose your preferred method, and enjoy the benefits of a top-notch audio system in your car.
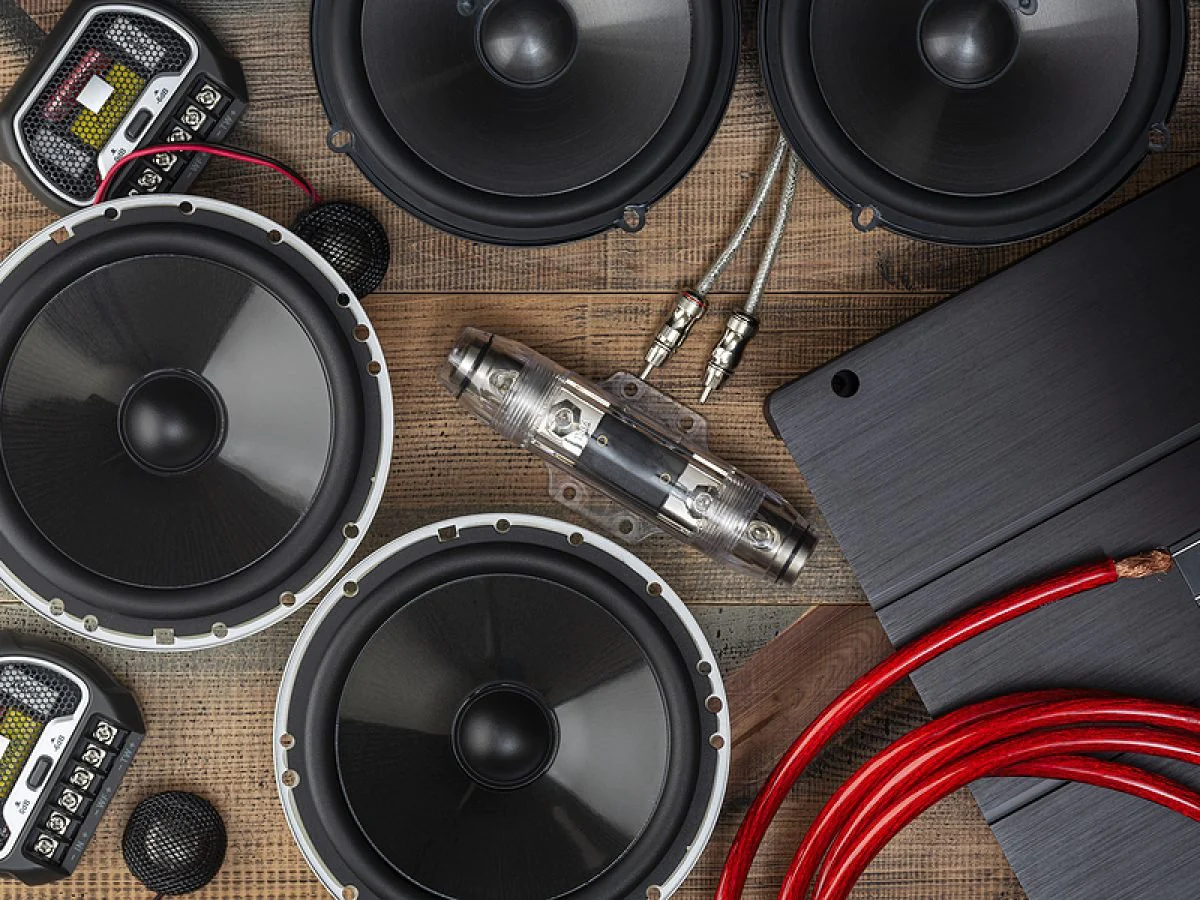
The Tools You’ll Need
Before you begin installing your new car stereo, it’s essential to have the right tools on hand. This will ensure a smooth installation process and prevent any unnecessary delays or frustrations along the way. Here are the essential tools you’ll need:
- Screwdriver set: A set of screwdrivers with different sizes and types (such as Phillips or flathead) will come in handy for removing panels and mounting brackets.
- Wire strippers: Wire strippers allow you to easily remove insulation from wires, exposing the metal conductor for proper connections.
- Electrical tape: Electrical tape is essential for insulating and securing wire connections, preventing any potential short circuits.
- Multimeter: A multimeter is a versatile tool that allows you to measure voltages, check continuity, and test for proper connections. It can be helpful during the installation and troubleshooting process.
- Wire connectors: Wire connectors, such as butt connectors or crimp connectors, are used to join and secure wires together. They provide a reliable and safe connection between different wires.
- Panel removal tools: These tools are specifically designed to safely remove trim panels or faceplates without causing any damage to them or the surrounding components. They come in various shapes and sizes to accommodate different panel types.
In addition to these essential tools, it’s also a good idea to have a set of wire cutters, zip ties, and a flashlight on hand for any additional needs that may arise during the installation process.
When selecting tools, opt for high-quality ones that will withstand the demands of the installation process and provide accurate results. Investing in quality tools will not only make the installation easier but also ensure their longevity for future projects.
Remember to exercise caution and safety precautions when using these tools. Always disconnect the negative terminal of your car battery before starting the installation to prevent any electrical mishaps. Additionally, follow the manufacturer’s instructions for both the tools and the car stereo to ensure a successful installation.
Summary:
Having the right tools is crucial for a successful car stereo installation. Make sure to have a screwdriver set, wire strippers, electrical tape, a multimeter, wire connectors, and panel removal tools. These tools will enable you to remove panels, wire the new stereo, and make secure connections. Additionally, having wire cutters, zip ties, and a flashlight can be beneficial for any additional needs that may arise. Choose high-quality tools that will provide accurate results and ensure their longevity for future projects.
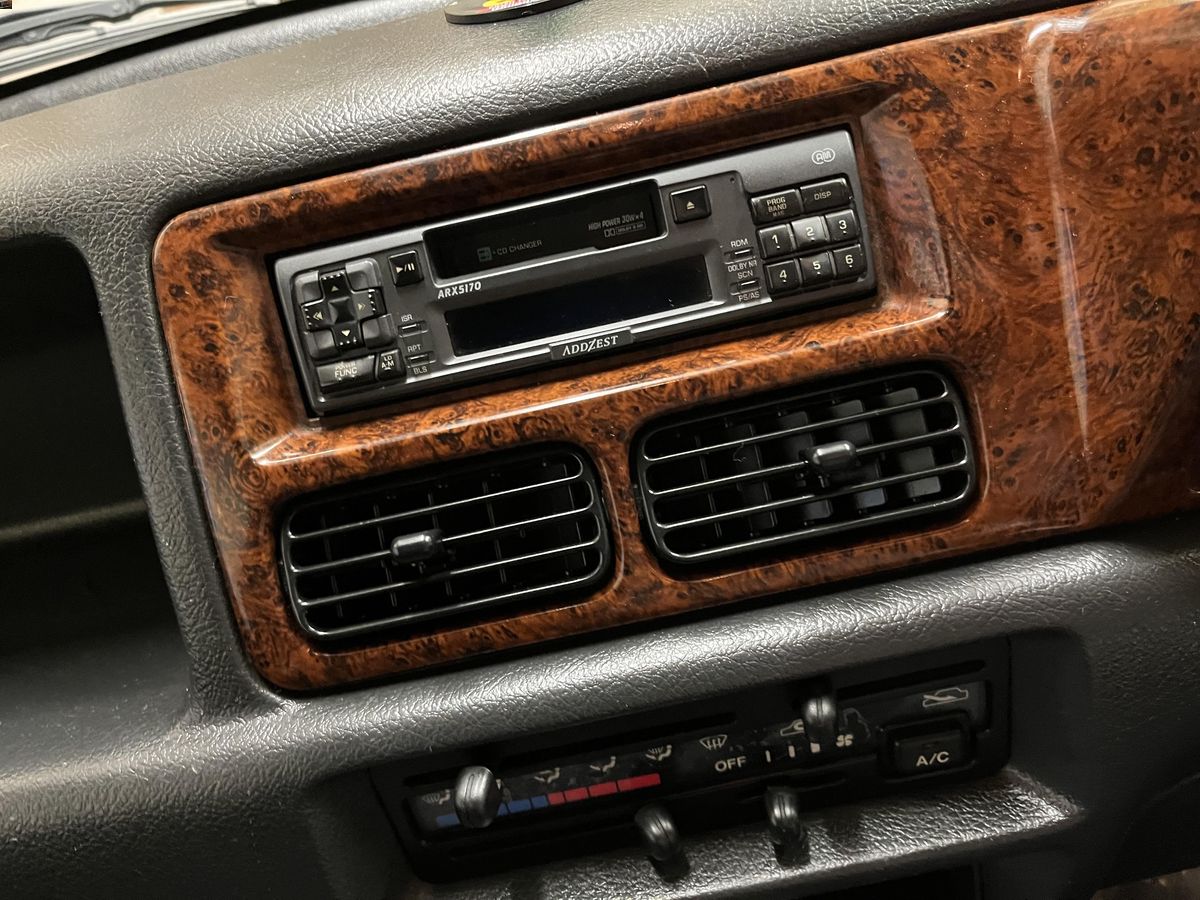
Removing the Old Stereo
Before you can install your new car stereo, you’ll need to remove the old one from your vehicle. While the specific steps may vary depending on your car model and stereo type, the general process remains relatively consistent. Here’s a step-by-step guide to help you remove the old stereo:
- Disconnect the negative terminal of your car battery: This is an essential safety step to prevent any potential electrical issues during the installation process.
- Gather the necessary tools: You’ll likely need a screwdriver set and panel removal tools to properly remove the old stereo. Consult your car’s manual or online resources to determine the specific tools required.
- Remove any trim panels or faceplates: Carefully use the appropriate panel removal tools to detach any trim panels or faceplates surrounding the stereo. Take your time and be gentle to avoid damaging the panels or other components.
- Locate the mounting screws or clips: Once the trim panels are removed, you should be able to access the mounting screws or clips that secure the old stereo in place. These can usually be found on the sides or bottom of the stereo.
- Unscrew or unclip the old stereo: Use a screwdriver or release the clips to remove the mounting screws or clips from the old stereo. Be sure to support the stereo with one hand as you remove the last screw or clip to prevent it from falling.
- Disconnect the wiring harness and antenna: Gently unplug the wiring harness and antenna from the back of the old stereo. Some wiring harnesses may be secured with locking tabs that need to be released before the connectors can be disconnected.
Once you’ve successfully removed the old stereo, it’s important to store it in a safe place in case you ever need to reinstall it or use it as a reference for the wiring connections. Take note of any wiring adapters or harnesses that were connected to the old stereo, as you may need them for the installation of the new stereo.
Keep in mind that the specific steps for removing the old stereo may vary depending on your car’s make and model. It’s always a good idea to consult your car’s manual or refer to online resources for detailed instructions specific to your vehicle.
Summary:
To remove the old car stereo, start by disconnecting the negative terminal of your car battery and gather the necessary tools. Carefully remove any trim panels or faceplates surrounding the stereo using panel removal tools. Locate and remove the mounting screws or clips that secure the old stereo in place, ensuring to support the stereo as you remove the last one. Finally, disconnect the wiring harness and antenna from the back of the stereo. Keep the old stereo stored in a safe place for future reference or potential reinstallation.
Wiring the New Stereo
Once you have successfully removed the old stereo, it’s time to wire the new one. Proper wiring is crucial to ensure that the new stereo functions correctly and is compatible with your vehicle’s electrical system. Follow these steps to wire your new car stereo:
- Identify the wiring harnesses: The new car stereo will come with a wiring harness that corresponds to your vehicle’s wiring. Identify the harnesses and connectors for power, ground, speaker outputs, and any other necessary connections. Refer to the wiring diagram included with your new stereo or consult online resources for specific instructions.
- Match the colors: Match the color-coded wires from the new stereo’s wiring harness to the corresponding wires in your vehicle. Typically, wires of the same color serve the same purpose. For example, red is usually for power, black is for ground, and various colors are used for the speaker outputs.
- Make the connections: Strip a small amount of insulation from the ends of the wires to expose the metal conductor. Twist the corresponding wires together and secure the connection using wire connectors. Butt connectors or crimp connectors are commonly used for this purpose. Ensure that the connections are tight and secure to prevent any loose connections or electrical issues.
- Connect the wiring harness: Once all the necessary connections have been made, plug the wiring harness of the new stereo into the corresponding connectors in your vehicle. Some wiring harnesses may have locking tabs that need to be secured in place to ensure a reliable connection. Take your time and double-check that all the connections are properly made.
- Test the connections: Before mounting the new stereo, reconnect the negative terminal of your car battery and turn on the stereo. Make sure that all the functions, such as sound output, radio reception, and any additional features, are working properly. Check each speaker to ensure it is functioning as expected. If any issues arise, double-check the wiring connections and consult the troubleshooting section of your car stereo’s manual or seek assistance from online resources or experts.
It’s important to note that the wiring requirements may vary depending on your vehicle and the new stereo you’re installing. Make sure to refer to the wiring diagram provided with your stereo and consult online resources or forums for any specific instructions or potential compatibility issues.
Summary:
When wiring the new car stereo, identify the wiring harnesses and connect the color-coded wires from the new stereo to the corresponding wires in your vehicle. Make secure connections using wire connectors, ensuring that they are tight and reliable. Plug the wiring harness of the new stereo into the appropriate connectors in your vehicle. Finally, test the connections by reconnecting the car battery and ensuring that all the functions of the stereo are working correctly. Double-check the wiring connections if any issues arise.
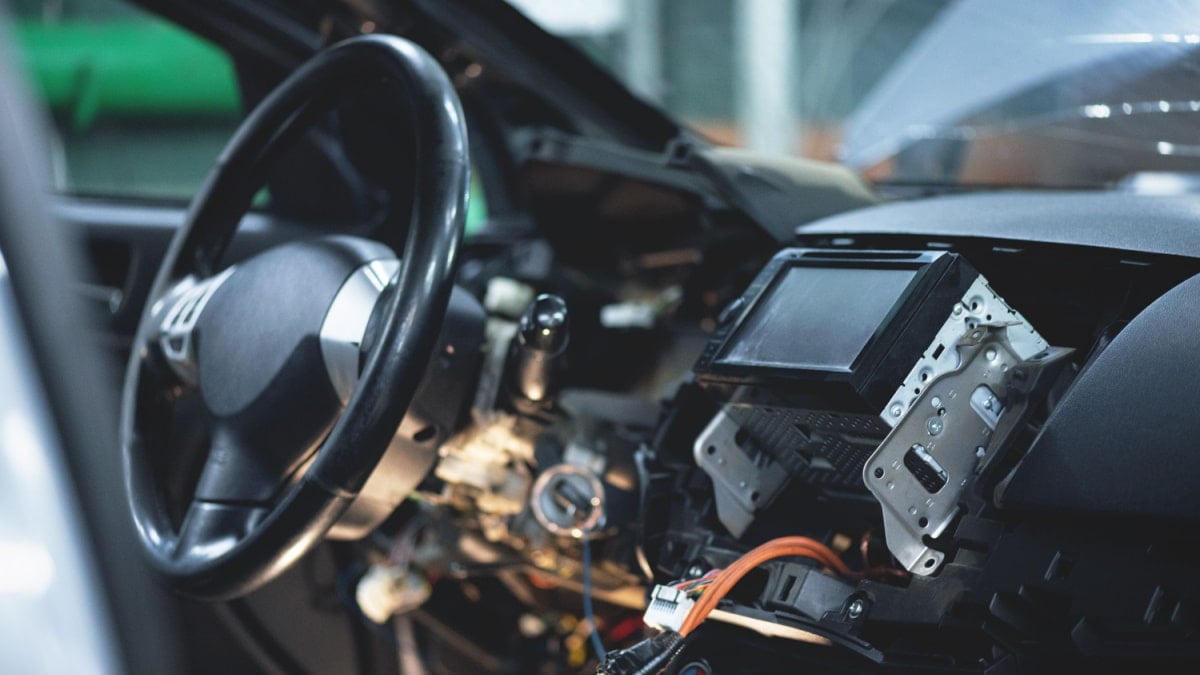
Mounting the New Stereo
Now that you have wired the new car stereo, it’s time to mount it securely in your vehicle. Proper mounting ensures that the stereo is stable while driving and allows for easy access to the controls. Follow these steps to properly mount your new car stereo:
- Prepare the mounting sleeve or cage: Most car stereos come with a mounting sleeve or cage that needs to be attached to the dashboard for stability. Depending on your vehicle’s make and model, you may need to use the existing factory bracket or a universal aftermarket bracket.
- Attach the mounting sleeve or cage to the stereo: Slide the mounting sleeve or cage onto the new stereo and secure it in place as per the instructions provided by the manufacturer. This step ensures a proper fit and alignment of the stereo within the dashboard.
- Insert the stereo into the dash opening: Carefully slide the new stereo, with the attached mounting sleeve or cage, into the dash opening. Be mindful of any connected wires to prevent any damage or disconnection during the process.
- Secure the stereo in place: Depending on the mounting system used, secure the stereo in place by tightening the screws or clips provided. Follow the manufacturer’s instructions for proper tightening and alignment to ensure a stable and flush fit.
- Reinstall any trim panels or faceplates: Once the stereo is securely mounted, reattach any trim panels or faceplates that were removed during the initial steps. Carefully align and snap them back into place, ensuring a seamless and clean appearance.
Take your time during the mounting process to ensure that the new stereo is securely held in place. A properly mounted stereo will minimize vibrations and movement while driving, preventing any potential damage or disruption to the electrical connections.
It’s important to note that the mounting process may vary depending on your vehicle’s make and model. Refer to the instructions provided by the manufacturer of your new stereo, consult your vehicle’s manual, or search online resources to ensure that you’re following the correct procedure specific to your car.
Summary:
Mounting the new car stereo involves attaching the mounting sleeve or cage to the stereo, inserting the stereo into the dash opening, securing it in place, and reinstalling any trim panels or faceplates. Follow the instructions provided by the manufacturer and ensure a secure fit to prevent vibrations and movement while driving. Take your time and refer to resources specific to your vehicle’s make and model to ensure a proper mounting process.
Testing and Troubleshooting
After installing the new car stereo, it’s essential to thoroughly test it to ensure that everything is functioning as expected. Testing allows you to identify any potential issues or adjustments that may be needed. Follow these steps to test and troubleshoot your new car stereo:
- Reconnect the negative terminal of your car battery: Once the installation is complete, reconnect the negative terminal of your car battery. This will restore power to the stereo and allow you to test its functionality.
- Power on the stereo: Turn on the stereo and check that it powers on without any issues. Ensure that the display is clear and that all buttons and controls respond properly.
- Check audio playback: Play music from different sources, such as radio, CDs, or auxiliary inputs, to ensure that the audio is clear and properly balanced. Test each speaker individually to make sure they are all functioning correctly.
- Test radio reception: Tune into different radio stations and check for good reception and clear audio. Adjust the antenna if necessary to improve reception quality.
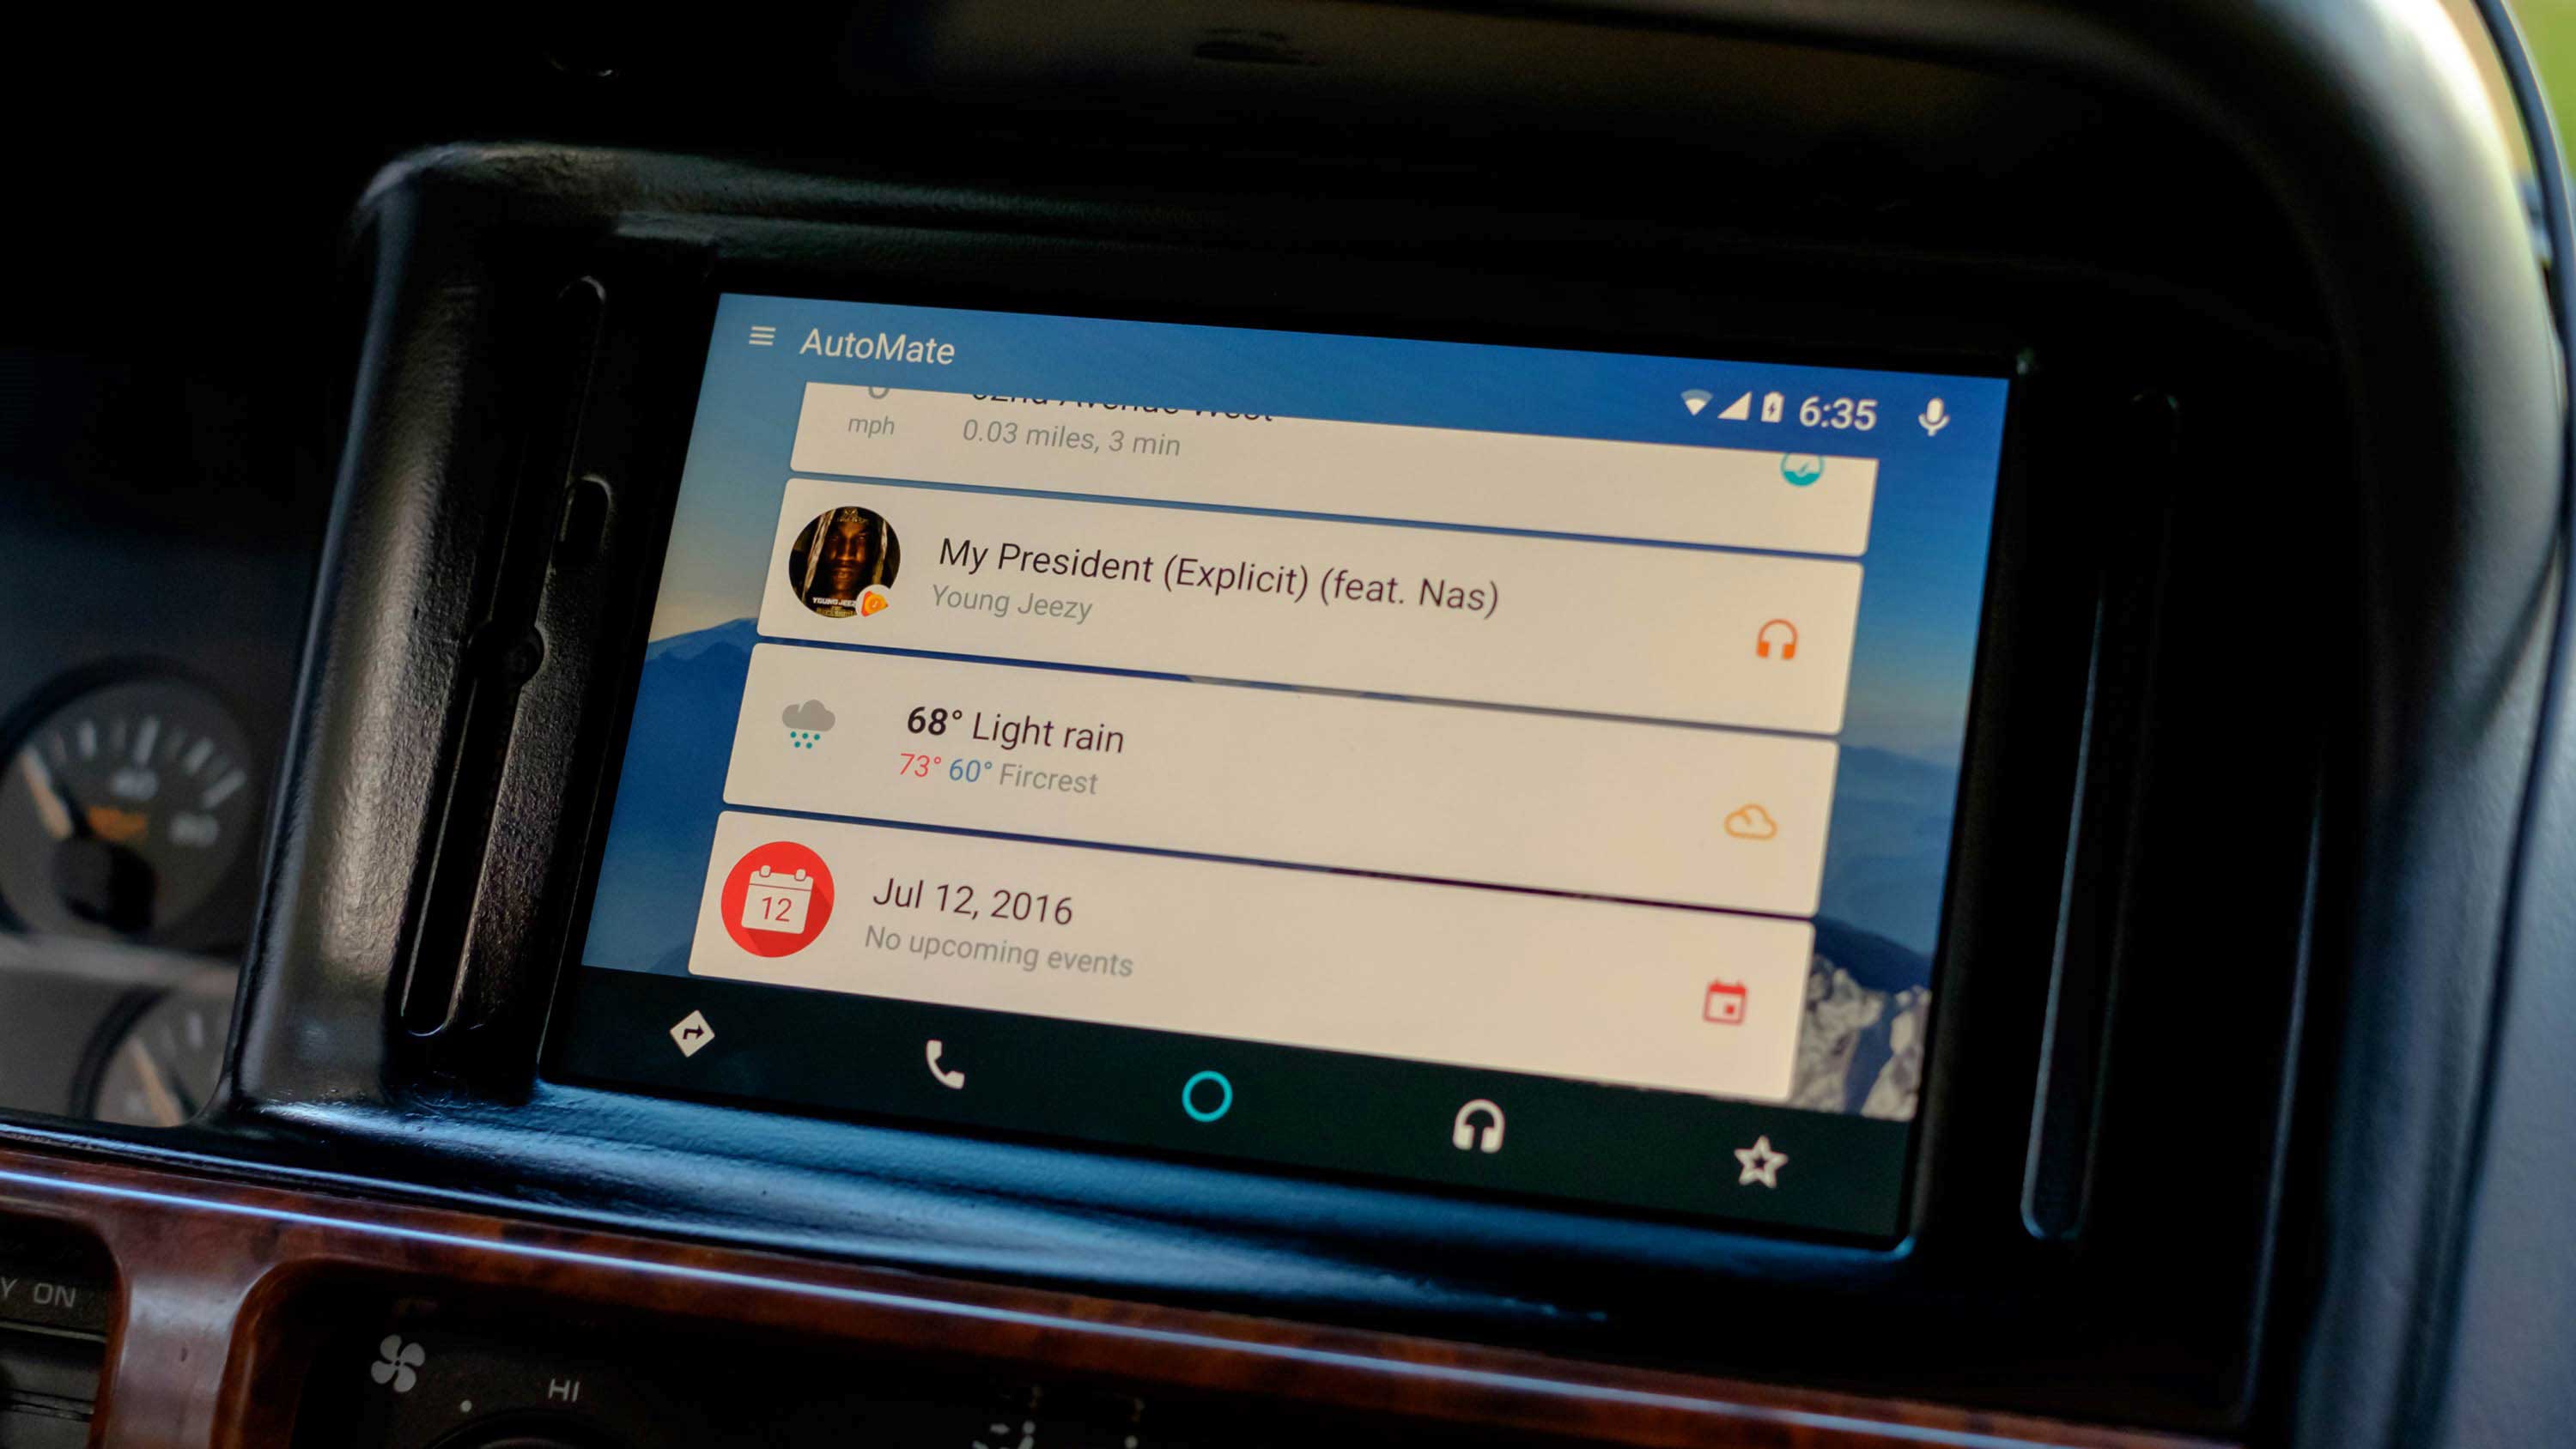
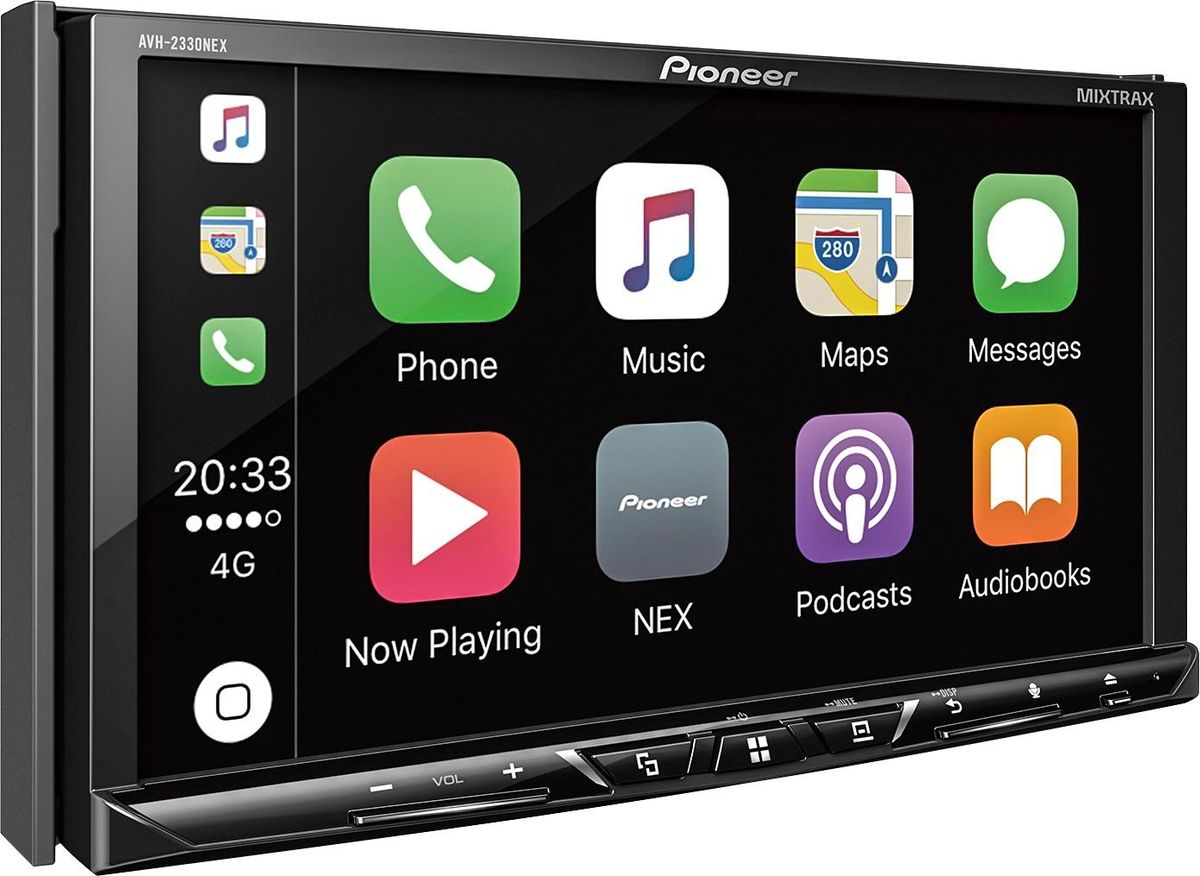
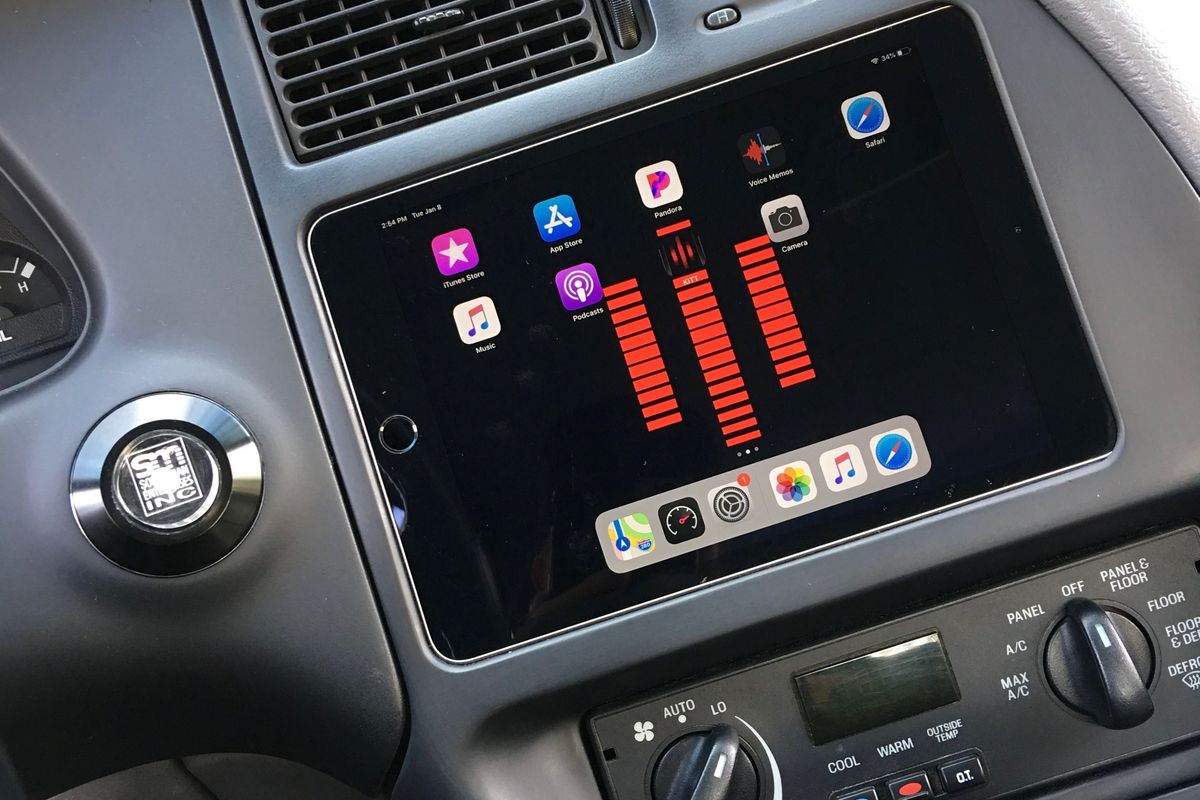
- Test additional features: If your new stereo has any additional features, such as Bluetooth connectivity, navigation, or smartphone integration, test them to ensure they are functioning correctly.
- Address any issues: If you encounter any issues, refer to the troubleshooting section of your car stereo’s manual or consult online resources. Common issues may include no sound, poor reception, or compatibility issues. Double-check all the wiring connections and ensure they are secure and correct. Consider seeking assistance from car audio professionals or forums if needed.
During the testing process, it’s recommended to adjust the audio settings, such as equalizer settings and volume levels, to suit your preferences. Take the time to familiarize yourself with the new stereo’s functions and features to make the most out of your audio experience.
If you encounter persistent issues that you are unable to resolve, it may be necessary to consult a professional car stereo installer for further assistance. They have the expertise and tools to diagnose and fix any complex issues that may arise during the installation process.
Summary:
Testing your new car stereo is crucial to ensure proper functionality. Power on the stereo, check audio playback and radio reception, and test any additional features. Address any issues that arise by referring to troubleshooting resources or seeking help from professionals. Adjust audio settings to your preferences and enjoy your newly installed car stereo.
Conclusion
Congratulations! You’ve successfully navigated the process of installing a new car stereo. Whether you chose to hire a professional installer or tackled the project yourself, you now have a top-notch audio system that will enhance your driving experience.
Hiring a professional installer offers the advantage of their expertise, specialized tools, and warranty on their work. They can ensure a seamless installation and provide peace of mind knowing that your new stereo is installed correctly and functioning optimally.
On the other hand, opting for a DIY installation allows you to learn about your vehicle’s electrical system, exercise your hands-on skills, and take pride in a job well done. It can be a rewarding experience, and you have the flexibility to customize the installation to your preferences.
Throughout the installation process, it’s important to have the right tools on hand, carefully remove the old stereo, wire the new stereo properly, mount it securely, and test and troubleshoot any issues that may arise. This ensures that the new stereo functions correctly and provides you with the audio experience you desire.
Remember to always refer to the instructions provided by the manufacturer of your new stereo, consult your vehicle’s manual, and utilize online resources or forums specific to your car model for guidance and troubleshooting assistance.
Now that your new car stereo is installed, get ready to enjoy your favorite music, radio stations, and podcasts with enhanced sound quality and clarity. Drive with style and groove to the beat of your favorite tunes with confidence, knowing that you’ve successfully upgraded your car audio system.
Whether you’re cruising down the highway or stuck in traffic, your new car stereo will bring joy and entertainment to your journeys. So, sit back, relax, and let the power of music transform your driving experience like never before!