Home>Production & Technology>Stereo>How To Install New Stereo In Car
Stereo
How To Install New Stereo In Car
Modified: January 22, 2024
Learn how to easily install a new stereo in your car and upgrade your audio system. [Stereo] installation guide with step-by-step instructions.
(Many of the links in this article redirect to a specific reviewed product. Your purchase of these products through affiliate links helps to generate commission for AudioLover.com, at no extra cost. Learn more)
Table of Contents
- Introduction
- Step 1: Gather the necessary tools and materials
- Step 2: Disconnect the negative battery terminal
- Step 3: Remove the old stereo
- Step 4: Prepare the wiring harness and the stereo mounting kit
- Step 5: Connect the wiring harness to the stereo
- Step 6: Install the new stereo into the dash
- Step 7: Test the new stereo
- Step 8: Secure the stereo in place
- Step 9: Reconnect the negative battery terminal
- Conclusion
Introduction
Upgrading the stereo in your car can significantly enhance your driving experience, allowing you to enjoy your favorite music with a higher quality sound system. Whether you’re tired of listening to static or want to take advantage of advanced features like Bluetooth connectivity, installing a new stereo is a worthwhile investment.
In this article, we will guide you through the process of installing a new stereo in your car. We will cover everything from gathering the necessary tools and materials to testing and securing the new stereo. By following these steps, you will be able to confidently install a new stereo and enjoy your favorite tunes on the road.
Before we begin, it’s essential to note that the process may vary slightly depending on your car’s make and model. Therefore, it’s always a good idea to consult the user manual or seek professional assistance if you encounter any difficulties.
Now, let’s dive into the step-by-step guide on how to install a new stereo in your car!
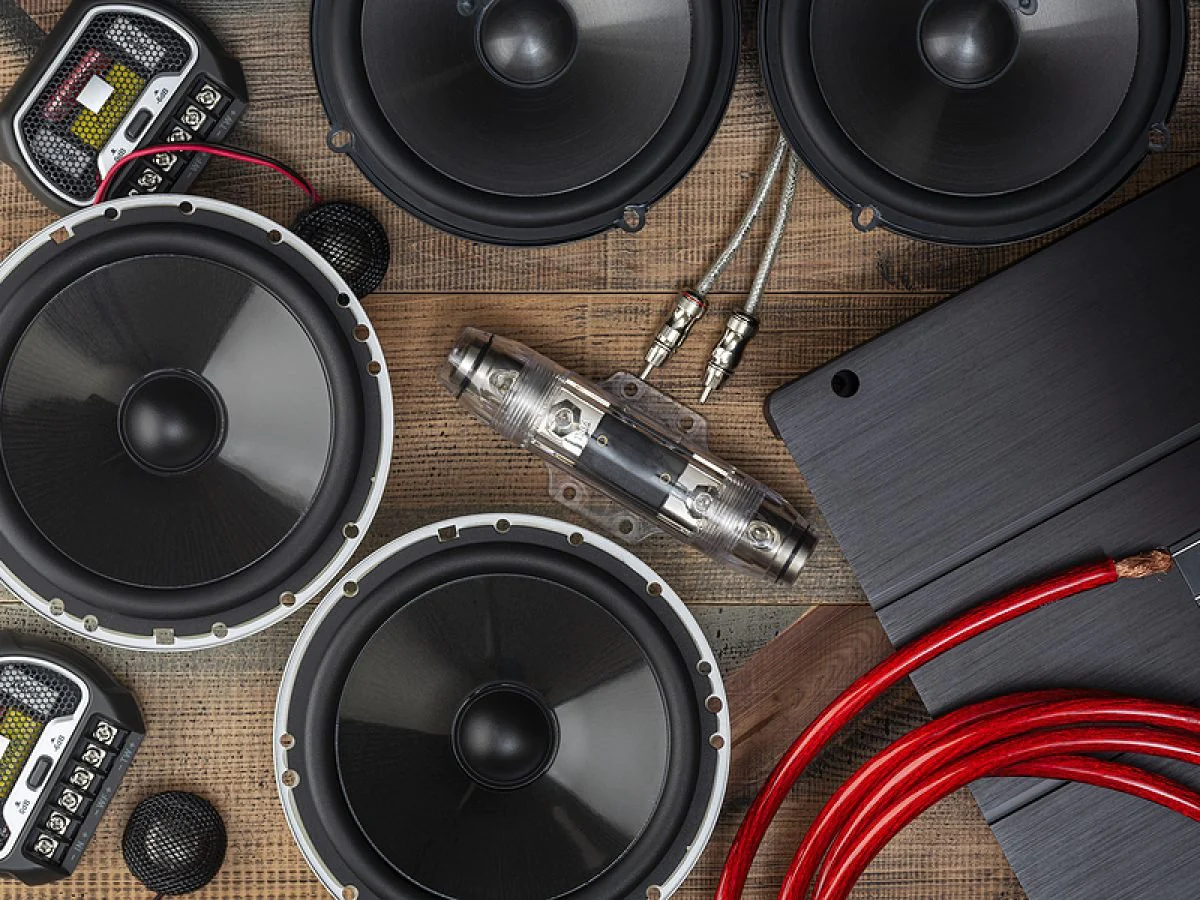
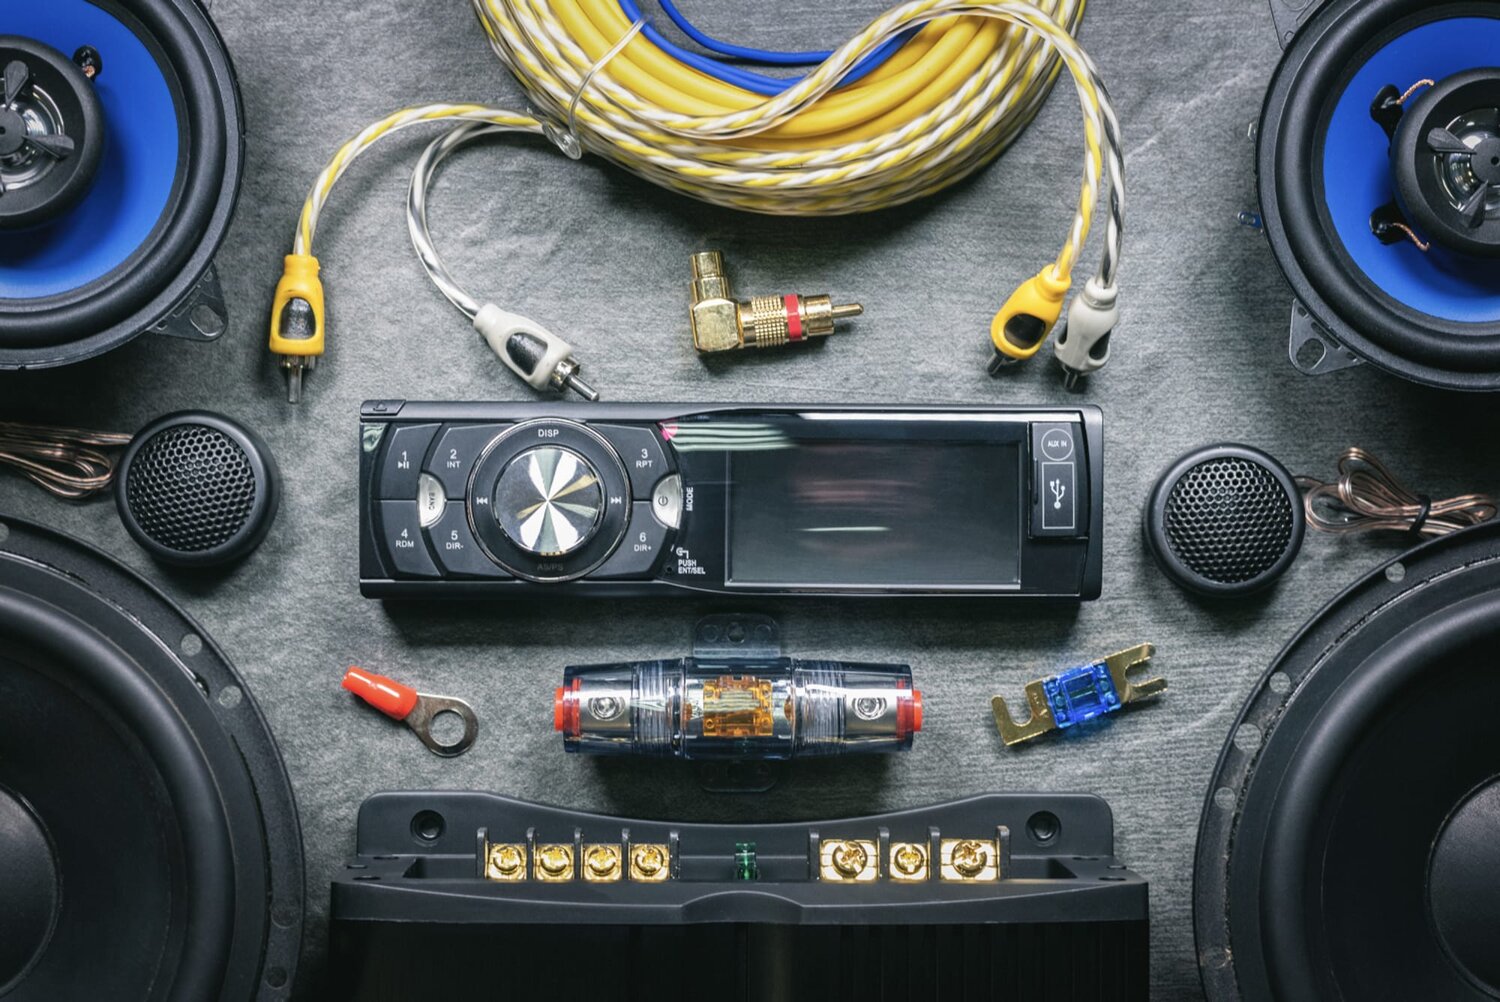
Step 1: Gather the necessary tools and materials
Before diving into the installation process, it’s crucial to gather all the necessary tools and materials. By having everything on hand, you can ensure a smooth and efficient installation. Here’s a list of items you’ll need:
- New car stereo unit
- Wiring harness adapter
- Stereo mounting kit
- Screwdriver set
- Wire cutters/strippers
- Electrical tape
- Trim removal tools
The first item on the list is, of course, the new car stereo unit. Make sure to choose a stereo that is compatible with your car’s make and model. Research the specifications and features to find the perfect fit for your needs.
The wiring harness adapter is essential for connecting the new stereo to your car’s wiring system. This adapter will ensure compatibility between the stereo and your car’s electrical system, making the installation process much easier.
The stereo mounting kit is necessary to secure the new stereo unit into your car’s dashboard. It typically includes brackets, screws, and any other hardware required for a proper fit. Check the compatibility of the mounting kit with your car’s make and model.
Next, you’ll need a set of screwdrivers to remove the old stereo and install the new one. It’s always a good idea to have a variety of screwdriver sizes on hand to tackle different types of screws.
Wire cutters and strippers are essential for properly preparing the wiring connections. These tools will help you remove the insulation from the wires and trim them to the appropriate length for a secure and stable connection.
Electrical tape should be used to insulate and protect the wire connections. It prevents any loose or exposed wires from coming into contact with other components, reducing the risk of electrical issues.
Lastly, trim removal tools will come in handy when removing any decorative trims or panels from your car’s dashboard. These tools are designed to safely pry and release clips without damaging the interior.
Now that you have gathered all the necessary tools and materials, you’re ready to move on to the next step, which is disconnecting the negative battery terminal.
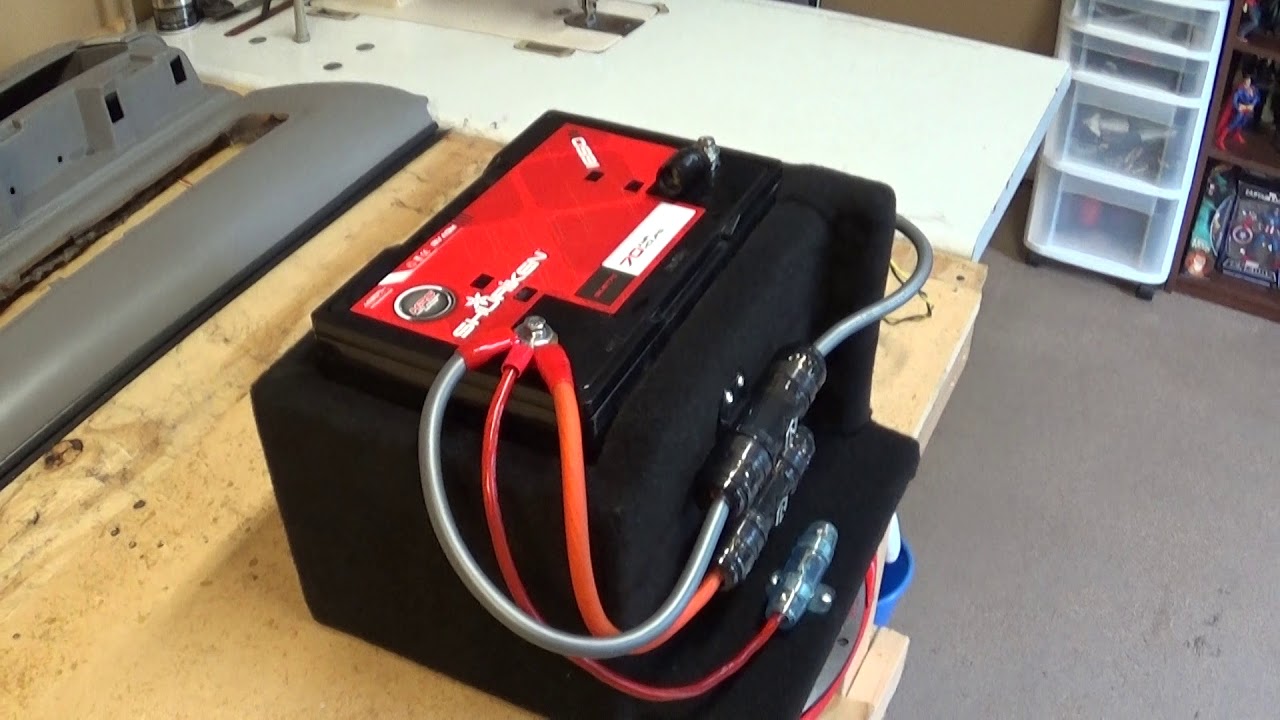
Step 2: Disconnect the negative battery terminal
Prior to working with any electrical components in your car, it’s important to disconnect the negative battery terminal. This step ensures your safety and prevents any accidental damage to the electrical system.
To disconnect the negative battery terminal, follow these steps:
- Locate the car’s battery within the engine bay. The negative terminal is typically labeled with a “-” symbol and is colored black.
- Using an appropriate-sized wrench or socket, loosen the nut on the negative terminal clamp.
- Once the nut is loosened, carefully slide the clamp off the negative terminal post.
- Ensure that the clamp is kept away from the battery post to prevent any accidental contact.
By disconnecting the negative battery terminal, you significantly reduce the risk of electrical shock or short-circuiting during the stereo installation process.
It’s important to note that some car models may have additional precautions or requirements when disconnecting the battery. Always consult your car’s user manual to follow the manufacturer’s recommended steps for disconnecting the battery.
Now that the negative battery terminal is safely disconnected, you can proceed with the next step, which involves removing the old stereo from your car’s dashboard.
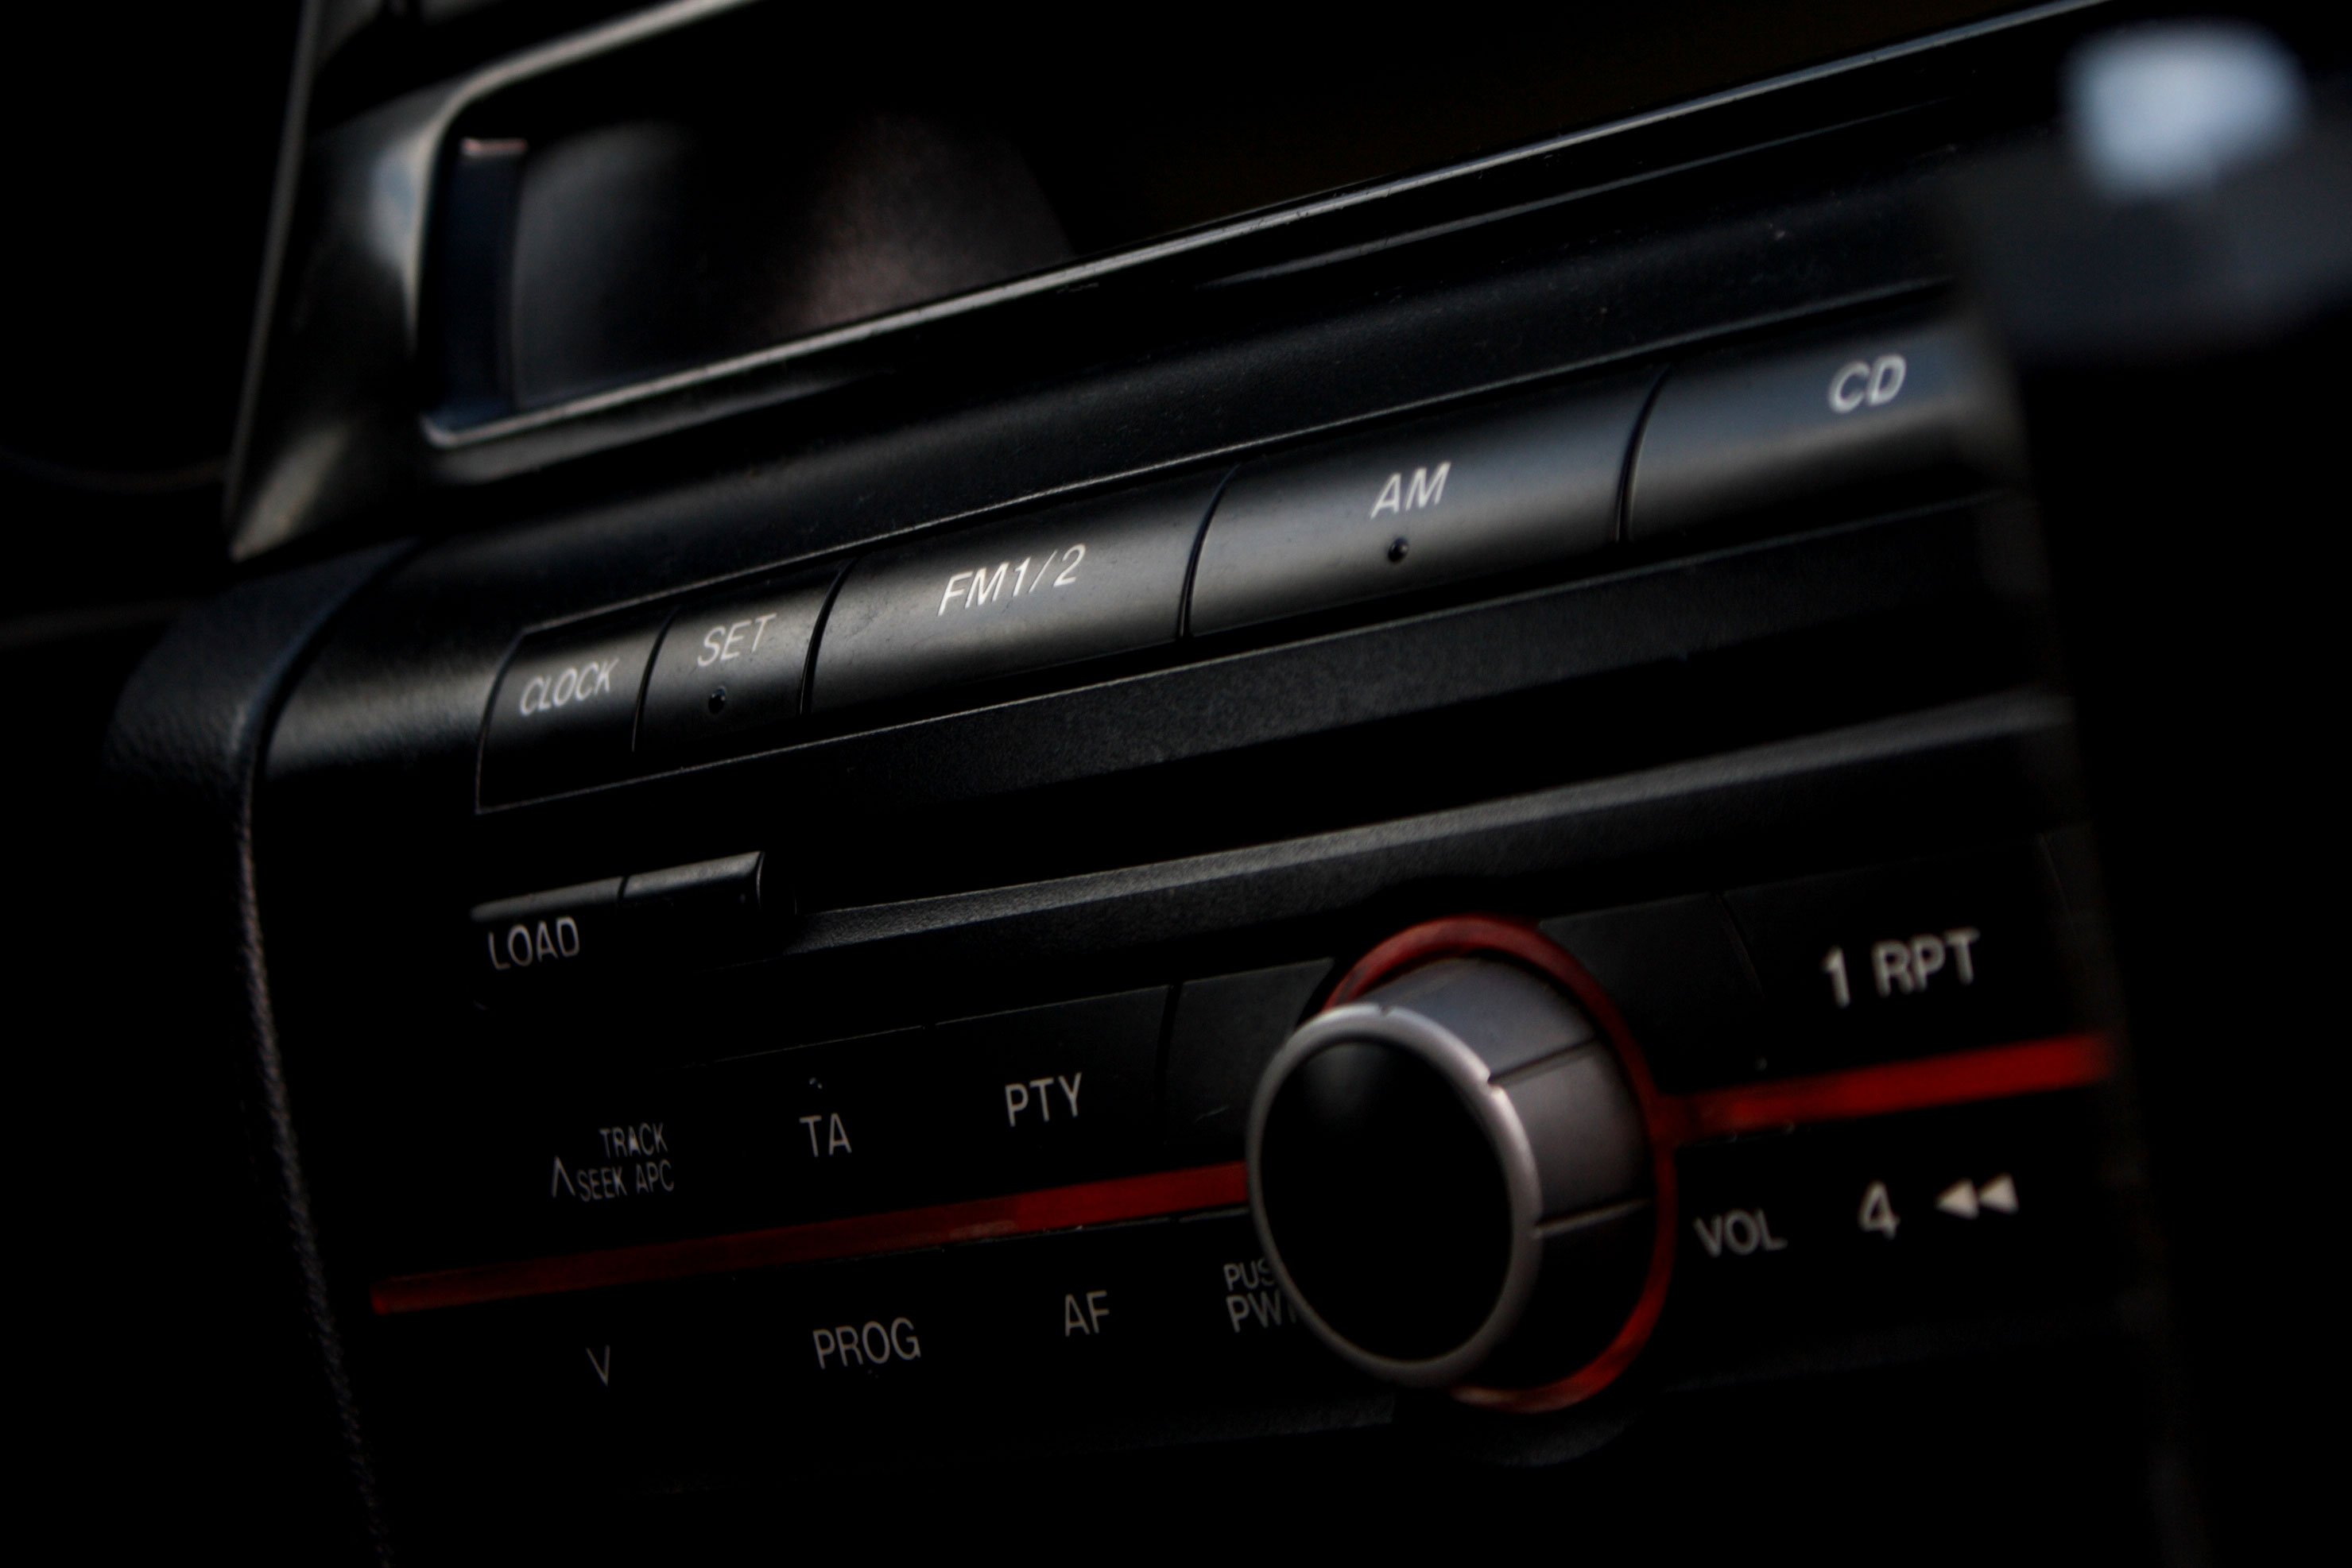
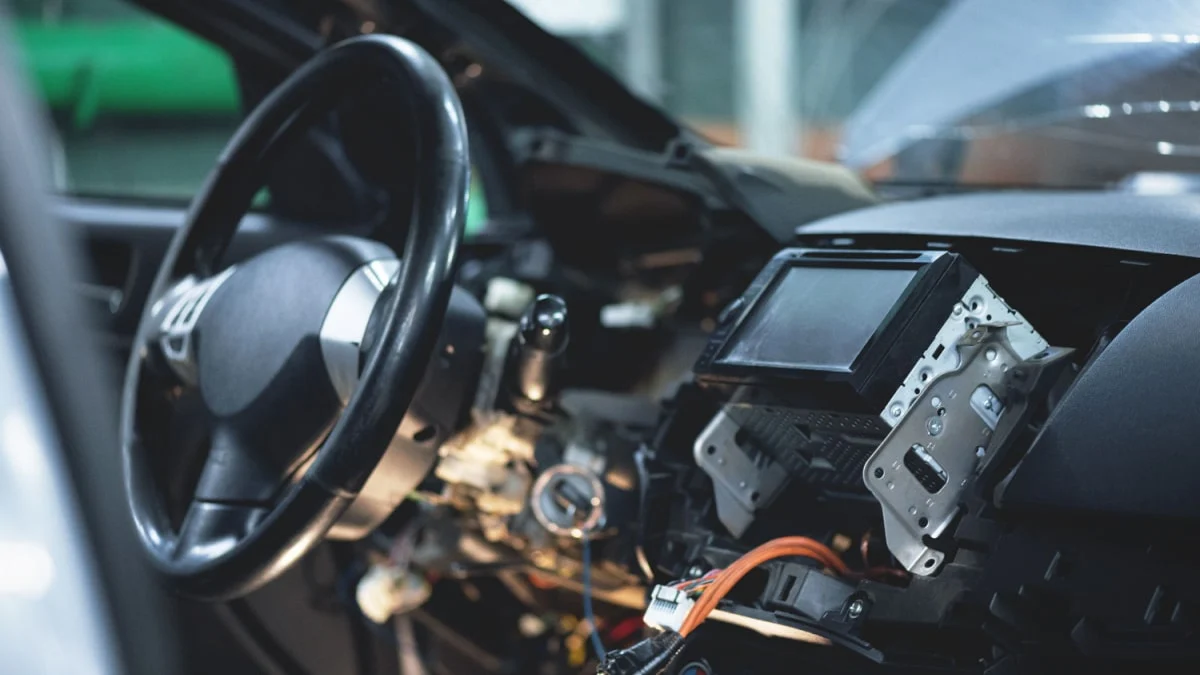
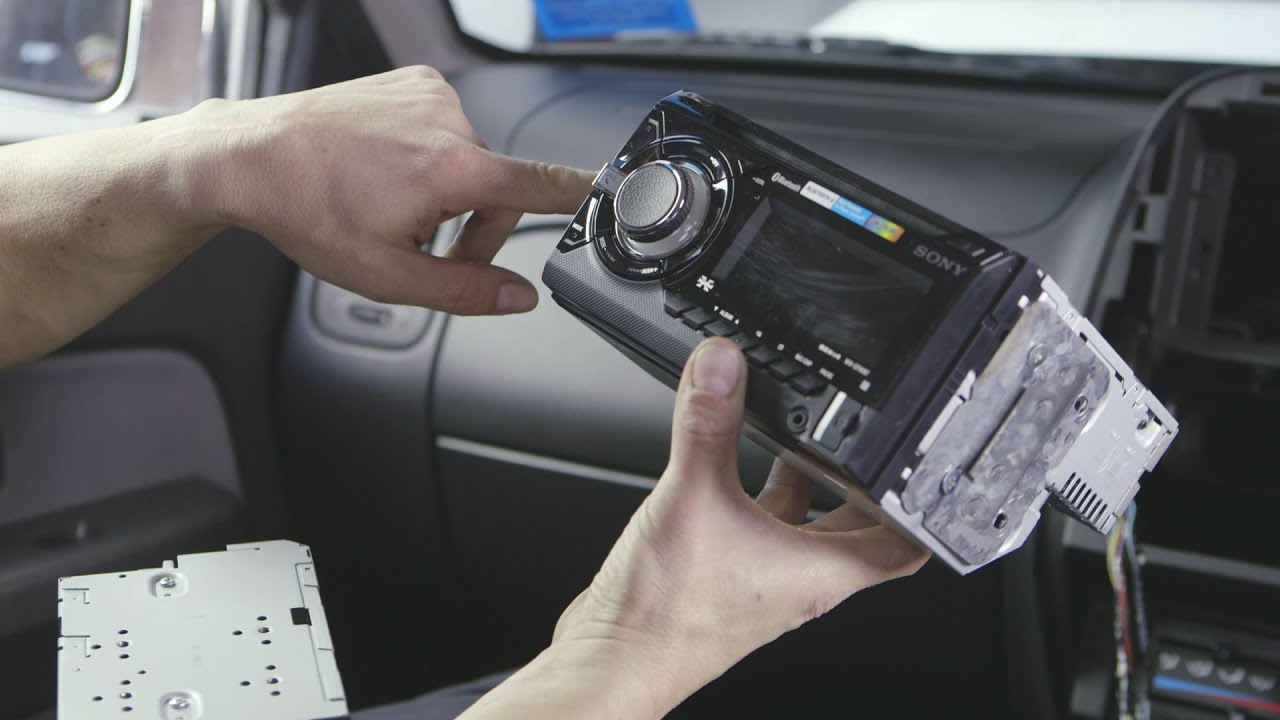
Step 3: Remove the old stereo
Now that the negative battery terminal has been disconnected, it’s time to remove the old stereo from your car’s dashboard. Follow these steps to successfully remove the old stereo:
- Identify the trim panels surrounding the stereo. These panels may be held in place by screws, clips, or a combination of both. Use the appropriate tools, such as a trim removal tool or screwdriver, to carefully remove the trim panels.
- Once the trim panels are removed, you will typically find mounting screws securing the stereo in place. Use a screwdriver to remove these screws and set them aside in a safe place.
- Gently pull the old stereo unit forward, being cautious of any wires or connectors that may still be attached. You may need to release any wiring harness connectors or antenna connectors before fully removing the old stereo.
- If there are any additional brackets or mounting hardware attached to the old stereo, remove them as well. These may be necessary for installing the new stereo unit.
- Carefully disconnect any remaining wiring harness or antenna connectors from the old stereo. Take note of how these connectors are attached, as you will need to reconnect them to the new stereo later on.
It’s important to handle the old stereo unit with care and avoid pulling or forcing any wires or connectors. Delicate components and wiring can be easily damaged if not handled properly.
Once the old stereo unit and all associated components have been removed, set them aside in a safe place. You can now move on to the next step, where you will prepare the wiring harness and stereo mounting kit for installation.
Step 4: Prepare the wiring harness and the stereo mounting kit
With the old stereo unit removed, it’s time to prepare the wiring harness and the stereo mounting kit for the installation of the new stereo. Proper preparation will ensure a smooth and secure fit for the new unit. Follow these steps:
- Retrieve the wiring harness adapter specific to your car’s make and model. This adapter will allow you to connect the new stereo to your car’s existing wiring system. Connect the wires from the adapter to the corresponding wires on the new stereo unit, following the color-coded instructions provided with the adapter.
- After connecting the wiring harness adapter, use electrical tape to secure and insulate the connections. This will provide added protection against loose or exposed wires and ensure a stable connection.
- Next, take the stereo mounting kit and assess its compatibility with your car’s dashboard. Follow the instructions provided with the kit to assemble any necessary brackets, panels, or hardware to properly secure the new stereo unit in place. Test the fit of the mounting kit to ensure it aligns correctly with the dashboard.
- If any adjustments or modifications are needed to the mounting kit, carefully make them according to the provided instructions. It’s important to ensure a secure and stable mounting for the new stereo unit.
- Once the wiring harness adapter and the mounting kit are prepared and adjusted, double-check all connections and ensure they are secure. Inspect the wiring harness for any signs of damage or loose connections.
Properly preparing the wiring harness and the stereo mounting kit is crucial for a successful installation. Take your time and double-check all connections and adjustments to ensure a smooth installation process.
With the wiring harness and the mounting kit prepared, you’re ready to move on to the next step, which involves connecting the wiring harness to the new stereo unit.
Step 5: Connect the wiring harness to the stereo
Now that the wiring harness and the stereo mounting kit are prepared, it’s time to connect the wiring harness to the new car stereo unit. Follow these steps for a secure and proper connection:
- Locate the wiring harness coming from your car’s electrical system. This is usually a bundle of wires with matching connectors.
- Take the wiring harness adapter that you prepared in the previous step and connect it to the car’s wiring harness. Make sure the connectors match and securely snap or clip them together.
- Double-check the connections to ensure they are securely fastened. Any loose or incomplete connections can lead to functionality issues with the new stereo unit.
- With the wiring harness connected, carefully guide the connected wires behind the dashboard to create a clean and organized installation.
- Take any excess wiring and neatly bundle it together using zip ties or electrical tape. This will help prevent wires from dangling or interfering with the stereo unit or other components.
- Make sure there is enough slack in the wiring for easy removal of the stereo unit in the future, if needed.
Connecting the wiring harness to the new stereo is a critical step in the installation process. Take your time to ensure all connections are secure and properly matched. This will ensure the functionality and longevity of the new stereo unit in your car.
With the wiring harness connected, you are now ready to proceed to the next step, where we’ll guide you through the process of installing the new stereo into your car’s dashboard.
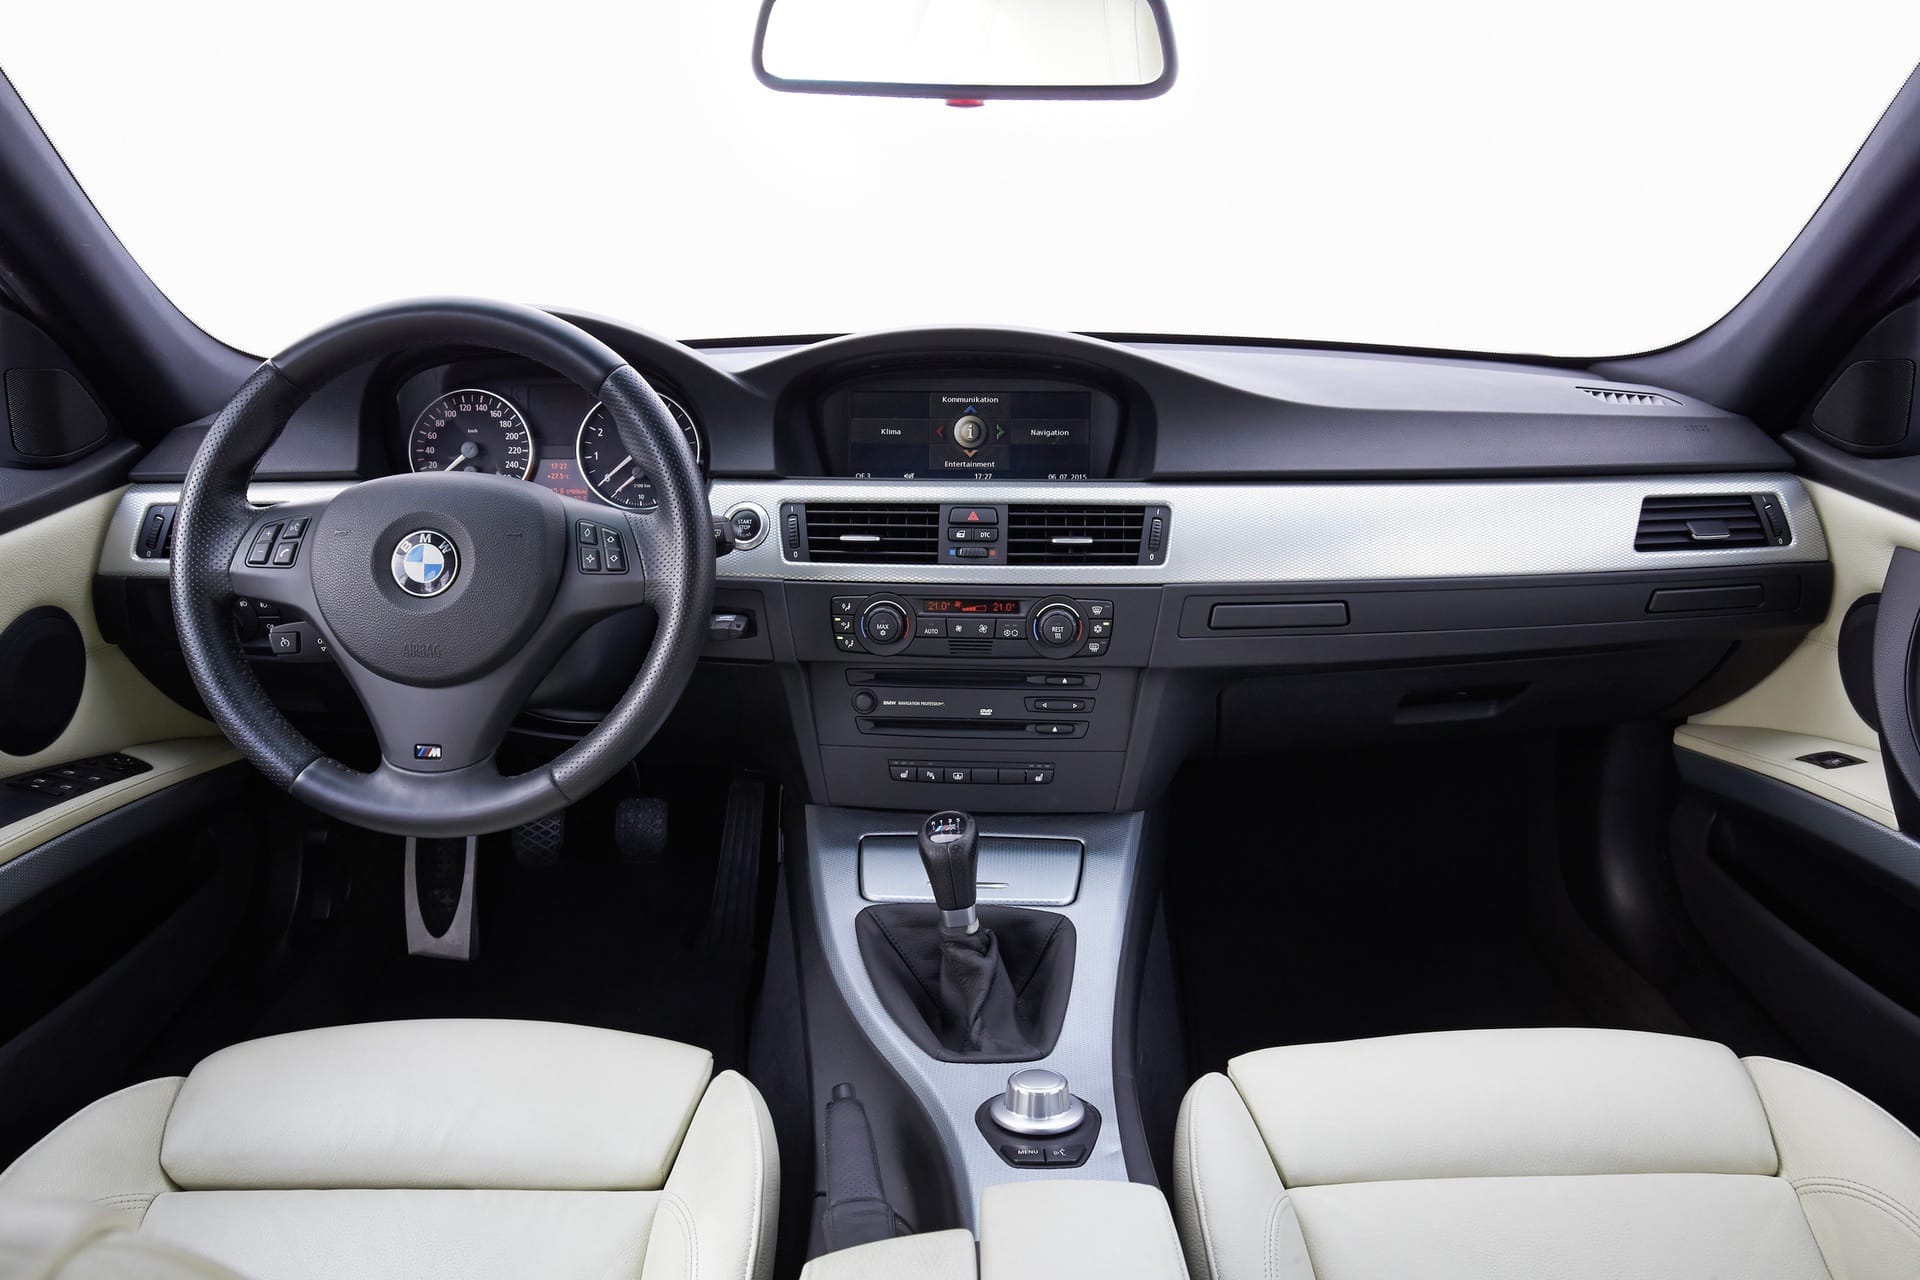
Step 6: Install the new stereo into the dash
With the wiring harness securely connected to the new stereo unit, it’s time to install the unit into your car’s dashboard. Follow these steps to ensure a proper and secure installation:
- Take the prepared stereo mounting kit and carefully slide the new stereo unit into the mounting bracket. Ensure that the unit fits snugly and aligns properly with the dashboard.
- Slide the stereo unit and the mounting bracket assembly into the dashboard opening. Use caution to avoid damaging any wires or connectors behind the dashboard.
- Pay attention to any guiding or aligning tabs on the mounting bracket that assist in securing the unit properly in place. These tabs should fit into corresponding slots or notches inside the dashboard.
- Push the stereo unit firmly into the dashboard until it is fully seated and flush with the surrounding trim.
- If necessary, refer to the instructions provided with the mounting kit to secure the unit further using screws or additional hardware. Carefully follow the instructions to avoid over-tightening or damaging the unit or dashboard.
- Double-check the alignment and fitment of the stereo unit. Ensure that it is stable and does not move or rattle when touched.
Properly installing the new stereo into the dashboard is essential for its functionality and longevity. Take your time to ensure a secure and precise fit, as this will enhance the overall performance and aesthetics of your new stereo unit.
Once the new stereo is installed, you can proceed to the next step, which involves testing the functionality of the unit.
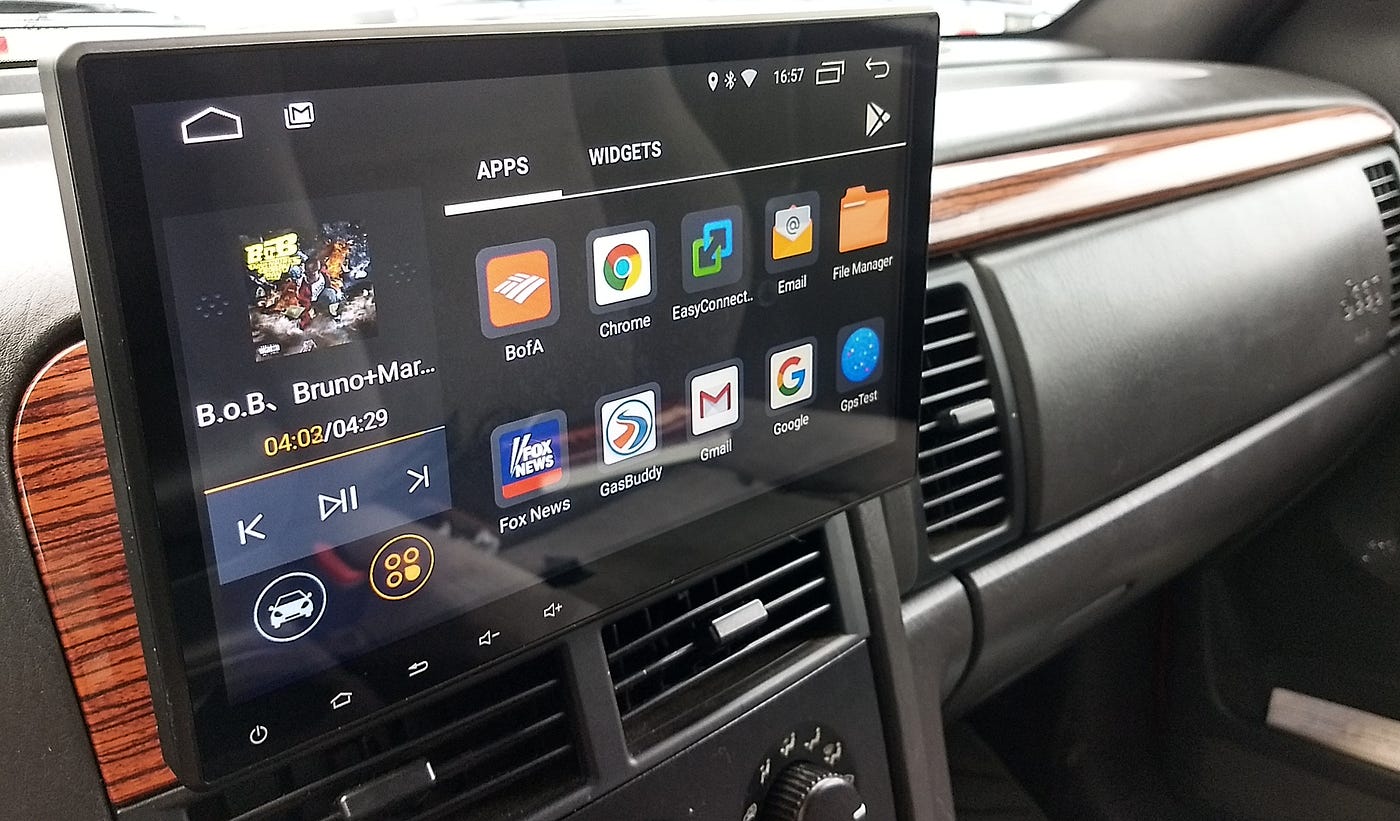
Step 7: Test the new stereo
After successfully installing the new stereo into your car’s dashboard, it’s time to test its functionality. Testing the new stereo will ensure that everything is working correctly and that you can enjoy your favorite music and features while on the road. Follow these steps to test the new stereo:
- Reconnect the negative battery terminal that you disconnected earlier. Use the appropriate-sized wrench or socket to tighten the nut on the negative terminal clamp securely.
- Power on your car’s ignition without starting the engine. The new stereo should turn on automatically if the wiring connections are correct.
- Test all the essential functions of the new stereo, such as the radio, CD player, Bluetooth connectivity, and any other features it offers. Ensure that the buttons and controls are responsive and that the sound quality is satisfactory.
- Check the audio output from each speaker to ensure that all channels are functioning correctly. Adjust the balance and fade settings if necessary.
- Test any additional features or inputs that your new stereo may have, such as USB or auxiliary ports, navigation systems, or smartphone integration.
- Pay attention to any error messages or unusual behavior that may indicate an issue. If you encounter any problems, consult the user manual or seek professional assistance to troubleshoot and resolve them.
By thoroughly testing the new stereo, you can identify any potential issues early on and ensure a satisfactory audio experience in your car. If everything is functioning properly during the testing phase, you can move on to the next step, where we’ll guide you on how to secure the stereo in place.
Step 8: Secure the stereo in place
Once you have tested the functionality of the new stereo and are satisfied with its performance, it’s time to secure it in place to prevent any shifting or movement. Follow these steps to ensure a secure installation:
- Refer to the instructions provided with the stereo mounting kit to determine the appropriate method of securing the unit in place. This may involve using screws, brackets, or other hardware.
- Carefully follow the instructions to attach the mounting brackets or any additional hardware to secure the stereo unit to the dashboard. Be sure to tighten the screws or fasteners securely, but avoid over-tightening that may damage the unit or the dashboard.
- Double-check the stability and alignment of the stereo unit after securing it in place. Ensure that it does not move or rattle when driving over bumps or uneven surfaces.
- If necessary, make any final adjustments to the position or alignment of the stereo unit to achieve the desired fit and appearance.
By properly securing the stereo in place, you can ensure that it remains stable and functions optimally while driving. A secure installation also helps to prevent any potential damage to the unit or the dashboard caused by vibrations or movements.
With the stereo securely installed, you can proceed to the final step, where we’ll guide you on how to reconnect the negative battery terminal.
Step 9: Reconnect the negative battery terminal
Now that the new stereo is securely in place, it’s time to reconnect the negative battery terminal that you disconnected earlier. Follow these steps to safely reconnect the negative battery terminal:
- Locate the car’s battery within the engine bay. Identify the negative terminal, which is typically labeled with a “-” symbol and is colored black.
- Carefully position the negative battery clamp over the negative terminal post.
- Slide the clamp onto the negative terminal post and ensure it is seated properly.
- Using an appropriate-sized wrench or socket, tighten the nut on the negative terminal clamp securely. This will ensure a reliable and secure connection.
Once the negative battery terminal is reconnected, you have completed the installation process of the new stereo. It’s important to note that some car models may require additional steps or precautions when reconnecting the battery. Consult your car’s user manual to follow the manufacturer’s recommended steps for reconnecting the battery.
You can now turn on your car’s ignition and enjoy your new stereo system. Take a moment to test all the features and functionalities again to ensure everything is still working as expected.
Congratulations! You have successfully installed a new stereo in your car. Enjoy your upgraded audio experience during your drives.
If you encounter any difficulties during the installation process or have any concerns about the performance of your new stereo, it is always recommended to consult a professional for assistance.
Thank you for following this step-by-step guide. We hope it has been helpful in installing your new car stereo and enhancing your driving experience.
Conclusion
Installing a new stereo in your car can greatly enhance your driving experience, allowing you to enjoy high-quality sound and access advanced features. By following the step-by-step guide outlined in this article, you can confidently install a new stereo and enjoy your favorite music while on the road.
We began by gathering the necessary tools and materials, ensuring that we have everything needed for a smooth installation. Then, we proceeded to disconnect the negative battery terminal to prioritize safety throughout the process.
Removing the old stereo from the dashboard was the next step, taking care to handle delicate components and properly disconnect all wiring and connectors.
We then prepared the wiring harness and stereo mounting kit, ensuring compatibility with the new stereo unit and making any necessary adjustments or modifications.
Connecting the wiring harness to the new stereo followed, providing a secure and reliable electrical connection for optimal performance.
With the new stereo unit prepared, we installed it into the dashboard using the provided mounting kit and double-checked its alignment and stability.
Testing the functionality of the new stereo was a crucial step to ensure that all features and functions perform as expected, providing an enjoyable audio experience.
Securing the stereo in place was essential to prevent any shifting or movement while driving, ensuring long-term stability and optimal performance.
Finally, we reconnected the negative battery terminal and concluded the installation process of the new stereo in your car.
Remember, while this guide provides a general overview of the installation process, it’s essential to consult your car’s user manual or seek professional assistance if you encounter any difficulties or have specific requirements for your vehicle.
Now that you have successfully installed your new car stereo, it’s time to hit the road and enjoy your favorite tunes with improved sound quality and enhanced features. Safe travels!