Home>Production & Technology>Stereo>How To Install Double Din Car Stereo
Stereo
How To Install Double Din Car Stereo
Modified: January 22, 2024
Looking to install a double din car stereo? We've got you covered! Learn how to install a stereo in your car and upgrade your audio experience.
(Many of the links in this article redirect to a specific reviewed product. Your purchase of these products through affiliate links helps to generate commission for AudioLover.com, at no extra cost. Learn more)
Table of Contents
- Introduction
- Tools and Materials Needed
- Step 1: Preparing the Car
- Step 1: Preparing the Car
- Step 1: Preparing the Car
- Step 2: Mounting the Double Din Car Stereo
- Step 2: Mounting the Double Din Car Stereo
- Step 2: Mounting the Double Din Car Stereo
- Step 2: Mounting the Double Din Car Stereo
- Step 3: Wiring the Double Din Car Stereo
- Step 3: Wiring the Double Din Car Stereo
- Step 3: Wiring the Double Din Car Stereo
- Step 3: Wiring the Double Din Car Stereo
- Step 4: Testing and Finishing the Installation
- Step 4: Testing and Finishing the Installation
- Step 4: Testing and Finishing the Installation
- Step 4: Testing and Finishing the Installation
- Conclusion
Introduction
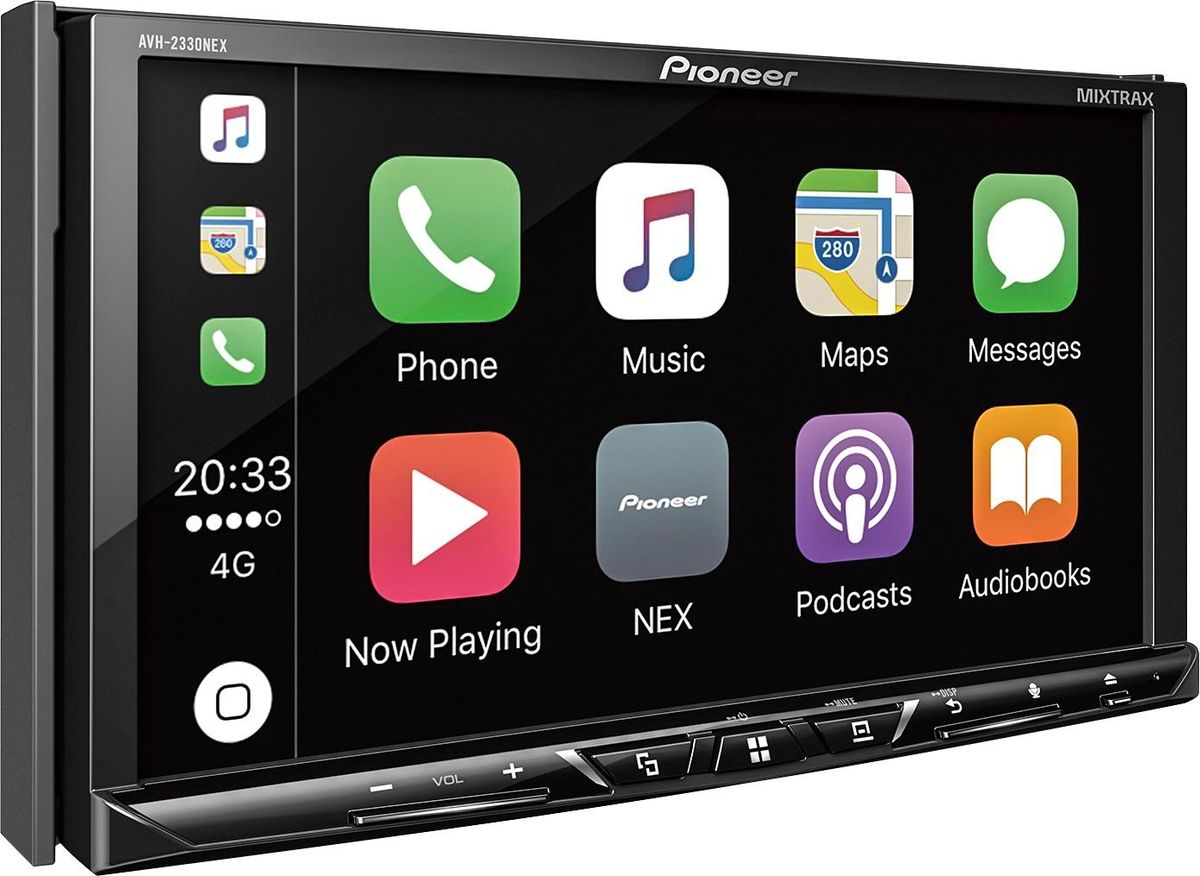
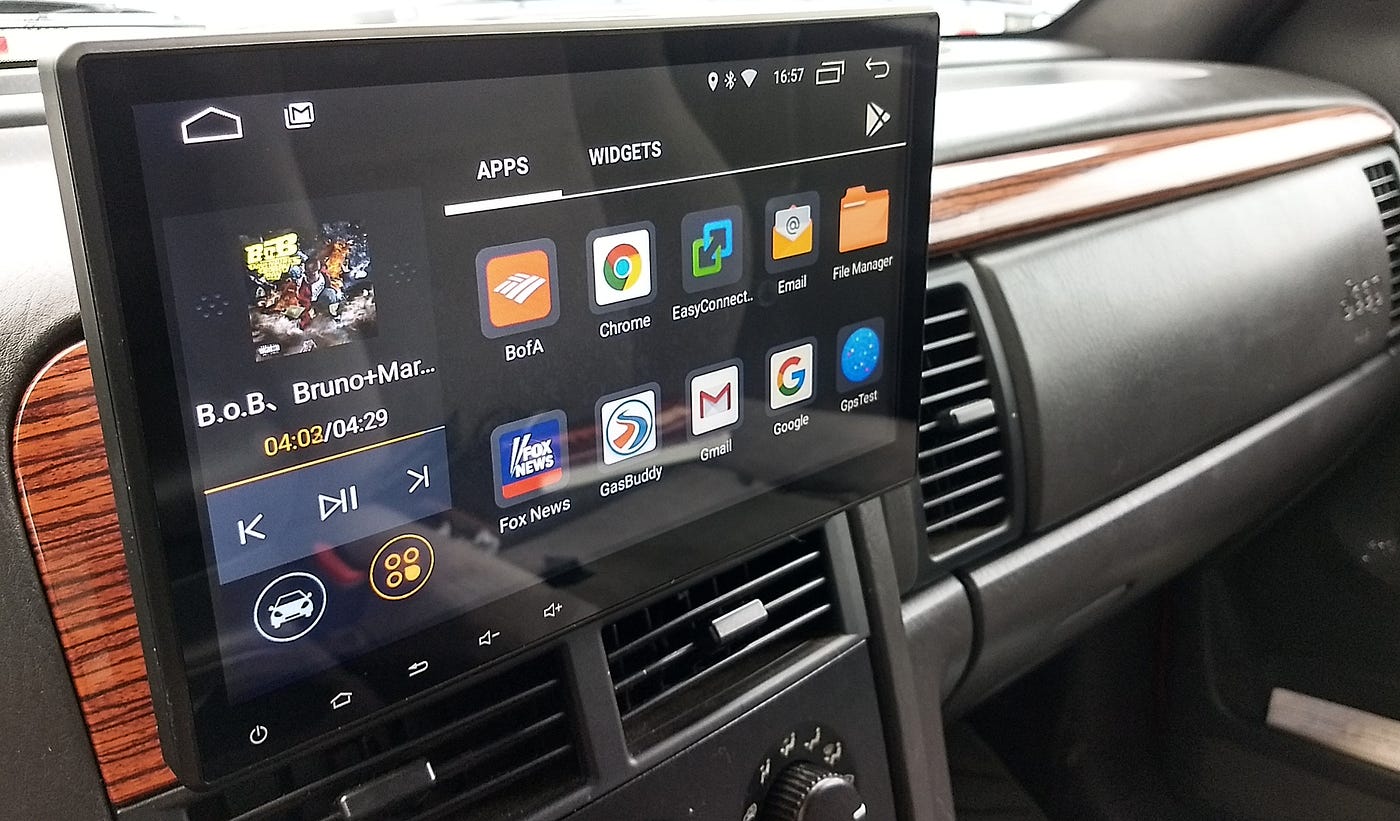
Welcome to the world of stereo upgrades for your car! If you’re tired of the lackluster sound quality and outdated features of your factory-installed car stereo, it’s time to consider installing a double din car stereo. A double din stereo is larger in size and offers a range of advanced features, including touchscreen displays, Bluetooth connectivity, navigation systems, and even support for Apple CarPlay or Android Auto.
Upgrading your car stereo to a double din unit not only enhances the overall driving experience but also adds a touch of modernity to your vehicle’s interior. Whether you’re an audio enthusiast or simply looking for a more convenient way to access your favorite music and apps on the go, installing a double din car stereo is a worthwhile investment.
Before you dive into the installation process, it’s essential to gather the necessary tools and materials and familiarize yourself with the steps involved. In this article, we will guide you through the installation process, ensuring that you have a smooth and successful upgrade.
Tools and Materials Needed
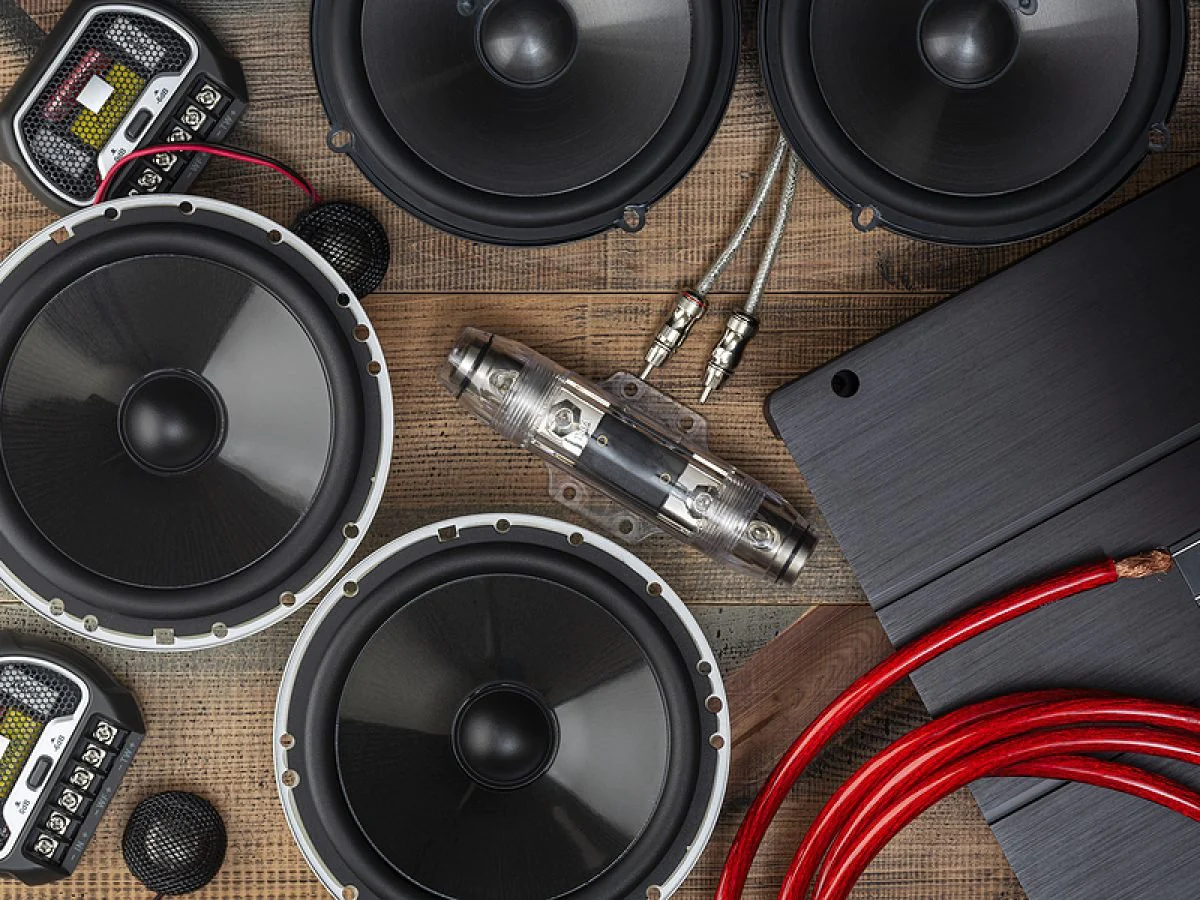
Before you begin the installation process, it’s important to gather the necessary tools and materials. Having everything on hand will help you work efficiently and ensure a successful installation. Here’s a list of what you’ll need:
- Double din car stereo: Choose a unit that fits your vehicle’s requirements and has the features you desire.
- Mounting brackets: These brackets help secure the double din stereo in the dashboard. Make sure to get ones that are compatible with your particular car make and model.
- Wiring harness: A wiring harness allows for easy connection between the car’s electrical system and the double din stereo.
- Antenna adapter: An antenna adapter is necessary to ensure proper radio reception with the new stereo unit.
- Screwdriver set: You’ll need a set of screwdrivers, including Phillips and flathead, to remove the old stereo and secure the mounting brackets.
- Trim removal tools: These tools are used to gently pry off the dash panels without causing damage.
- Wire stripper and crimping tool: These tools are essential for properly connecting and securing the wiring harness.
- Electrical tape: Use electrical tape to insulate any exposed wires or connections to prevent electrical shorts.
It’s always a good idea to read the user manual that comes with your double din stereo to see if there are any specific tools or materials recommended by the manufacturer. Additionally, make sure to have a clean working environment and enough time to complete the installation without rushing.
Now that you have all the necessary tools and materials, you’re ready to dive into the installation process. Let’s get started!
Step 1: Preparing the Car
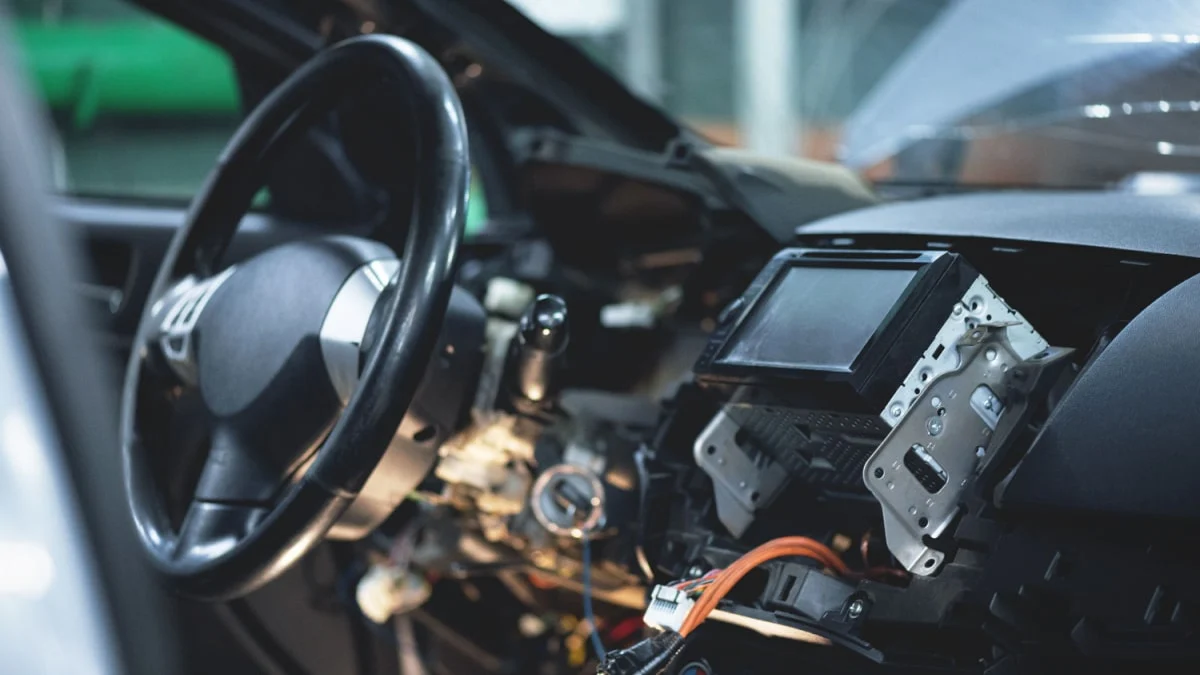
Before you can begin the installation of your double din car stereo, you’ll need to prepare your car by removing the old stereo and disconnecting the wiring. Here’s how to do it:
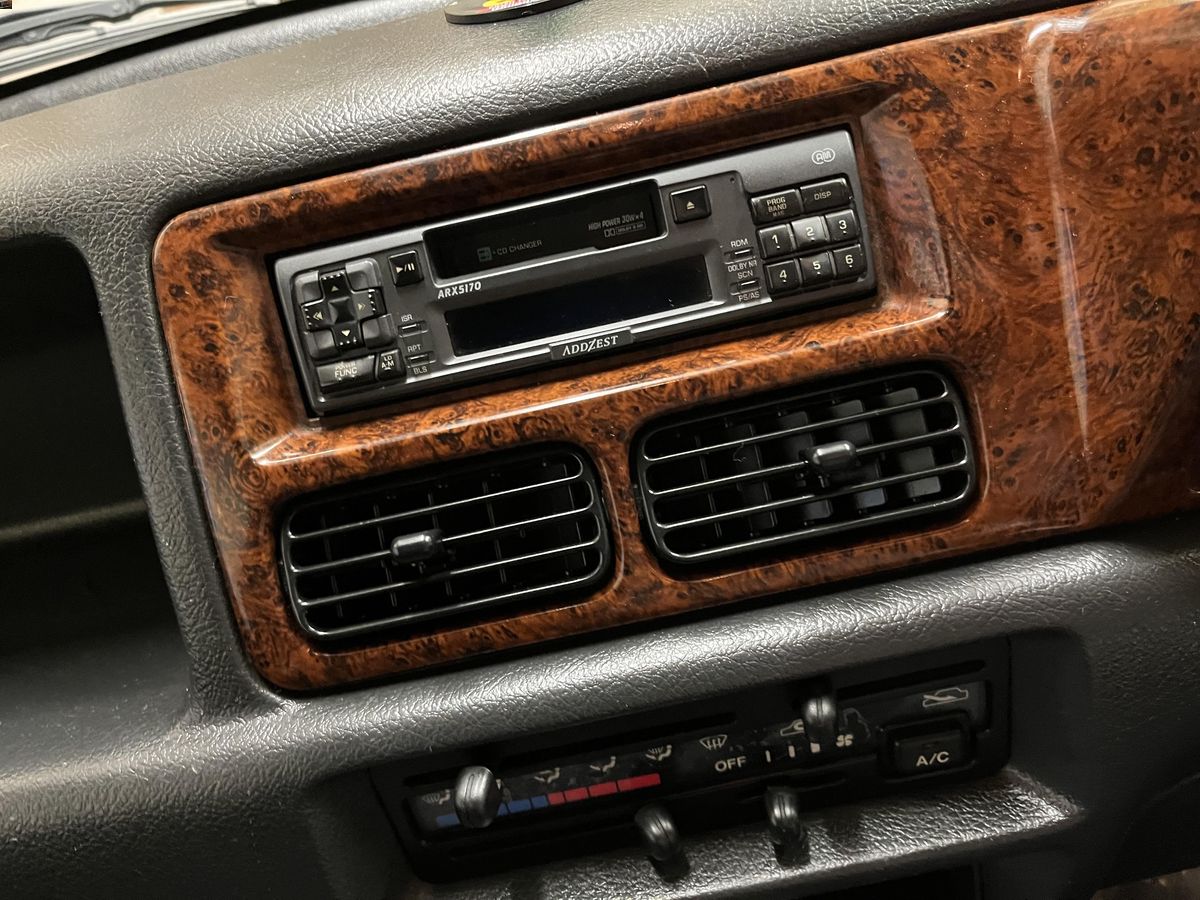
1.1 Removing the Old Stereo
Start by disconnecting the negative terminal of the car battery to prevent any electrical mishaps. Then, remove any trim panels or bezels surrounding the stereo. You may need to use trim removal tools to gently pry them off without causing damage.
Once the trim panels are removed, you’ll usually find screws or bolts securing the stereo in place. Use the appropriate screwdriver to remove them. Carefully pull the stereo out of the dash, being mindful of any connected wires at the back.
1.2 Disconnecting the Wiring
With the stereo out of the dash, locate the wiring harness at the back of the unit. Depress any tabs or release mechanisms that are holding it in place, and gently pull the harness out.
Next, detach any additional connections, such as the antenna cable and auxiliary input cables, if applicable. Take note of any color-coded wires or labels to ensure a seamless connection with the new stereo.
Once all the wiring is disconnected, set aside the old stereo and trim panels in a safe place. Now you’re ready to move on to the next step!
Step 1: Preparing the Car
1.1 Removing the Old Stereo
Removing the old stereo is the first step in installing a double din car stereo. Follow these instructions to safely remove the old unit:
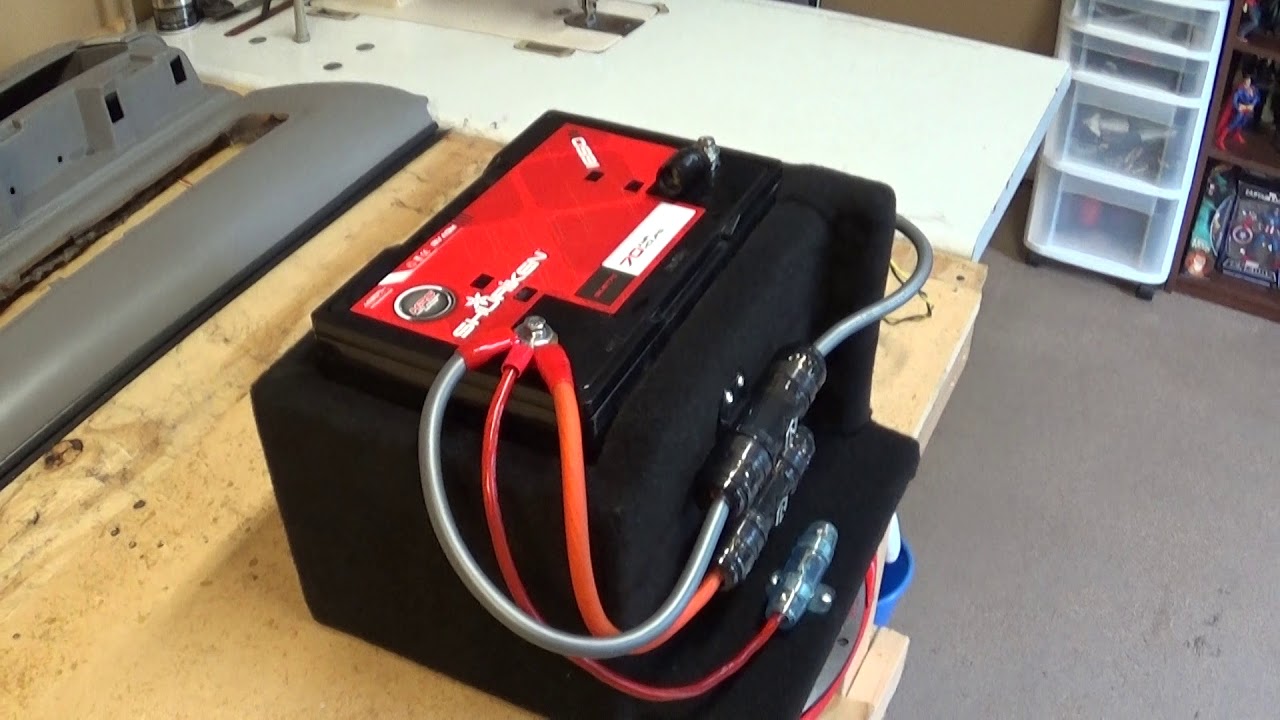
- Start by disconnecting the negative terminal of the car battery. This will prevent any potential electrical mishaps during the removal process.
- Identify any trim panels or bezels surrounding the stereo that need to be removed. These panels are usually held in place with clips or screws. Use a trim removal tool to gently pry them off without causing damage.
- Once the trim panels are removed, you will typically find screws or bolts securing the stereo in place. Use the appropriate screwdriver or wrench to remove them. Store the screws in a safe place for reassembly later.
- Carefully pull the stereo out of the dashboard, taking care not to force it or damage any connected wires at the back. Some stereos may be held in place with additional clips or retaining brackets. If necessary, release them to remove the stereo completely.
- As you remove the stereo, take note of any connected wires at the back. Depending on the model, there may be multiple wiring harnesses or plugs that need to be detached. Gently depress any tabs or release mechanisms to disconnect the wiring.
Once you have disconnected the wiring, set the old stereo aside in a safe place. You are now ready to move on to the next step of the installation process.
Step 1: Preparing the Car
1.2 Disconnecting the Wiring
After removing the old stereo from the dashboard, the next step is to disconnect the wiring. Follow these steps to safely disconnect the wiring:
- Locate the wiring harness at the back of the old stereo. The wiring harness is a bundle of wires that connects the stereo to the car’s electrical system.
- Inspect the wiring harness for any clips, tabs, or release mechanisms that are holding it in place. These vary depending on the car and stereo model. Gently depress or release any connectors to disengage the wiring harness.
- As you disconnect the wiring harness, be mindful of any color-coded wires or labels on the connectors. These indicate the purpose of each wire, such as power, ground, or speaker connections. Take a mental note or use a diagram to ensure a proper connection with the new double din stereo.
- In addition to the wiring harness, there may be other connections to detach, such as the antenna cable and auxiliary input cables. Carefully disconnect these connections as well, ensuring a clean separation without causing any damage.
- Once all the wiring is disconnected, double-check to make sure no wires are inadvertently connected or tangled with the old stereo. This will help ensure a smooth installation of the new double din stereo.
With the wiring disconnected, you can now move on to the next step of the installation process.
Step 2: Mounting the Double Din Car Stereo
Now that you have prepared the car by removing the old stereo and disconnecting the wiring, it’s time to mount the new double din car stereo. Follow these steps to ensure a proper and secure installation:
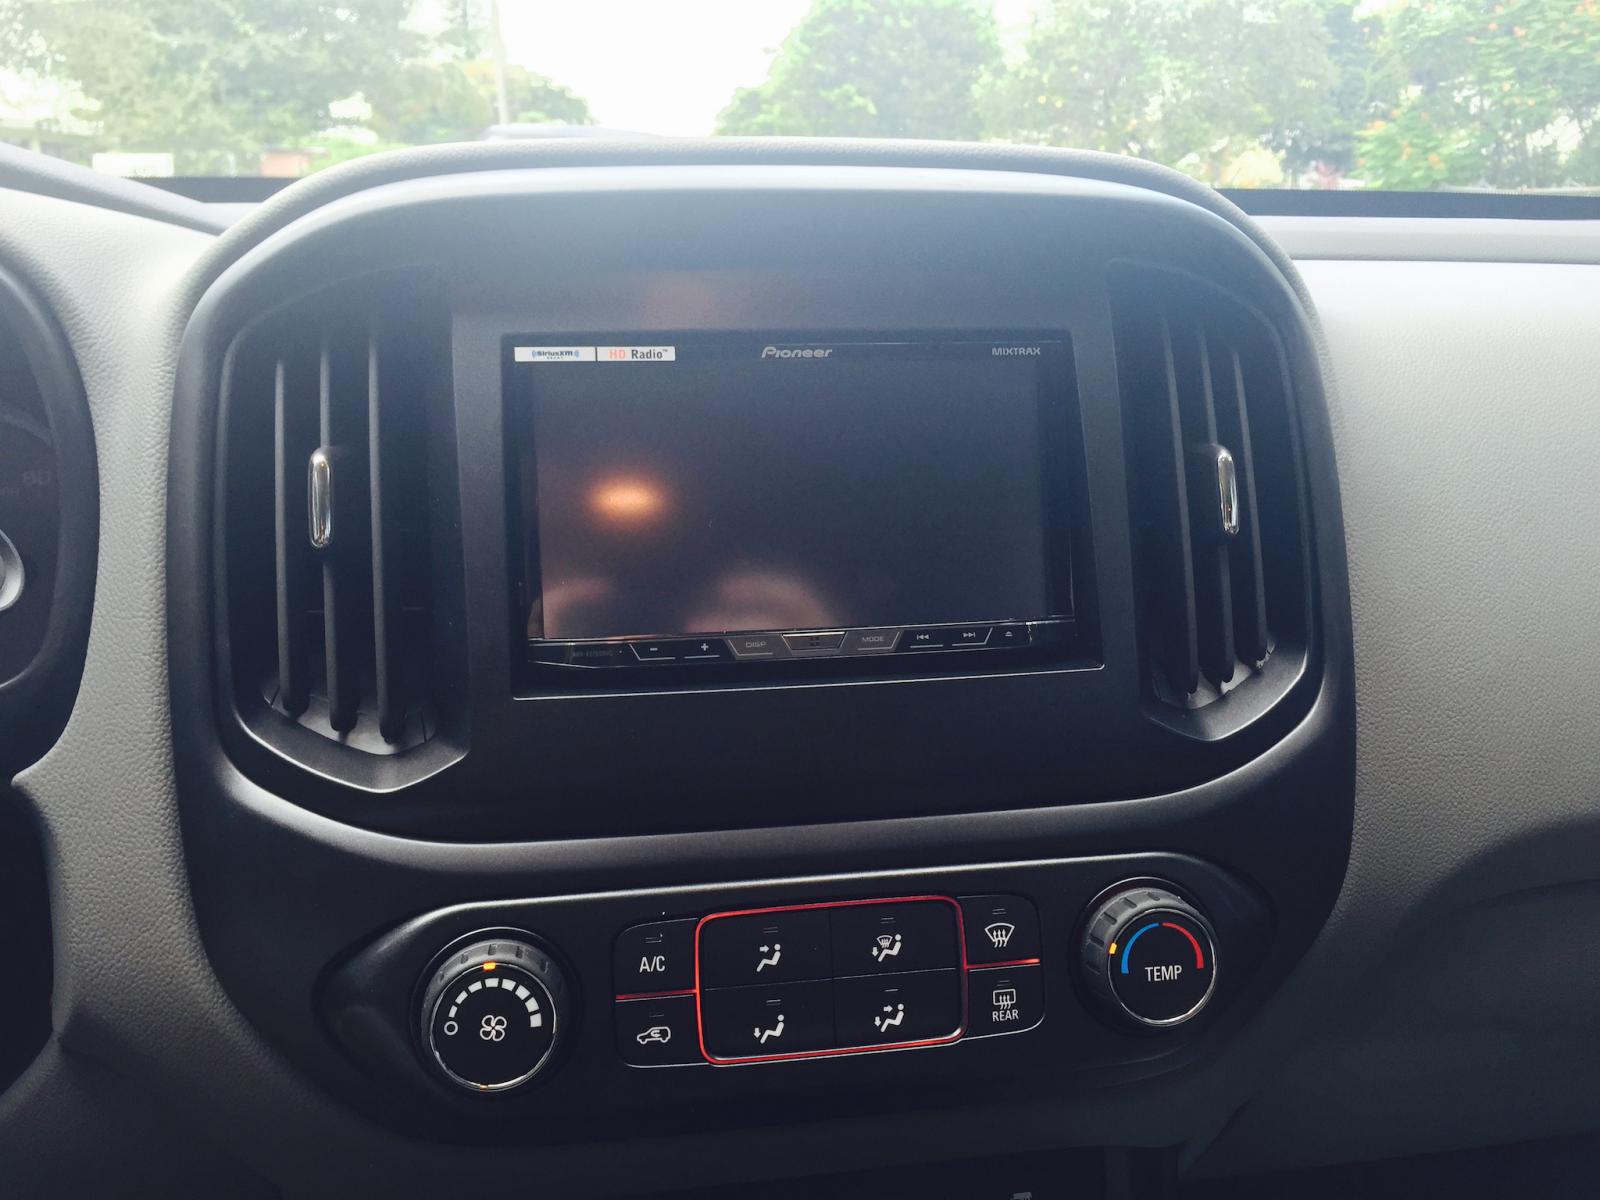
2.1 Checking the Fit
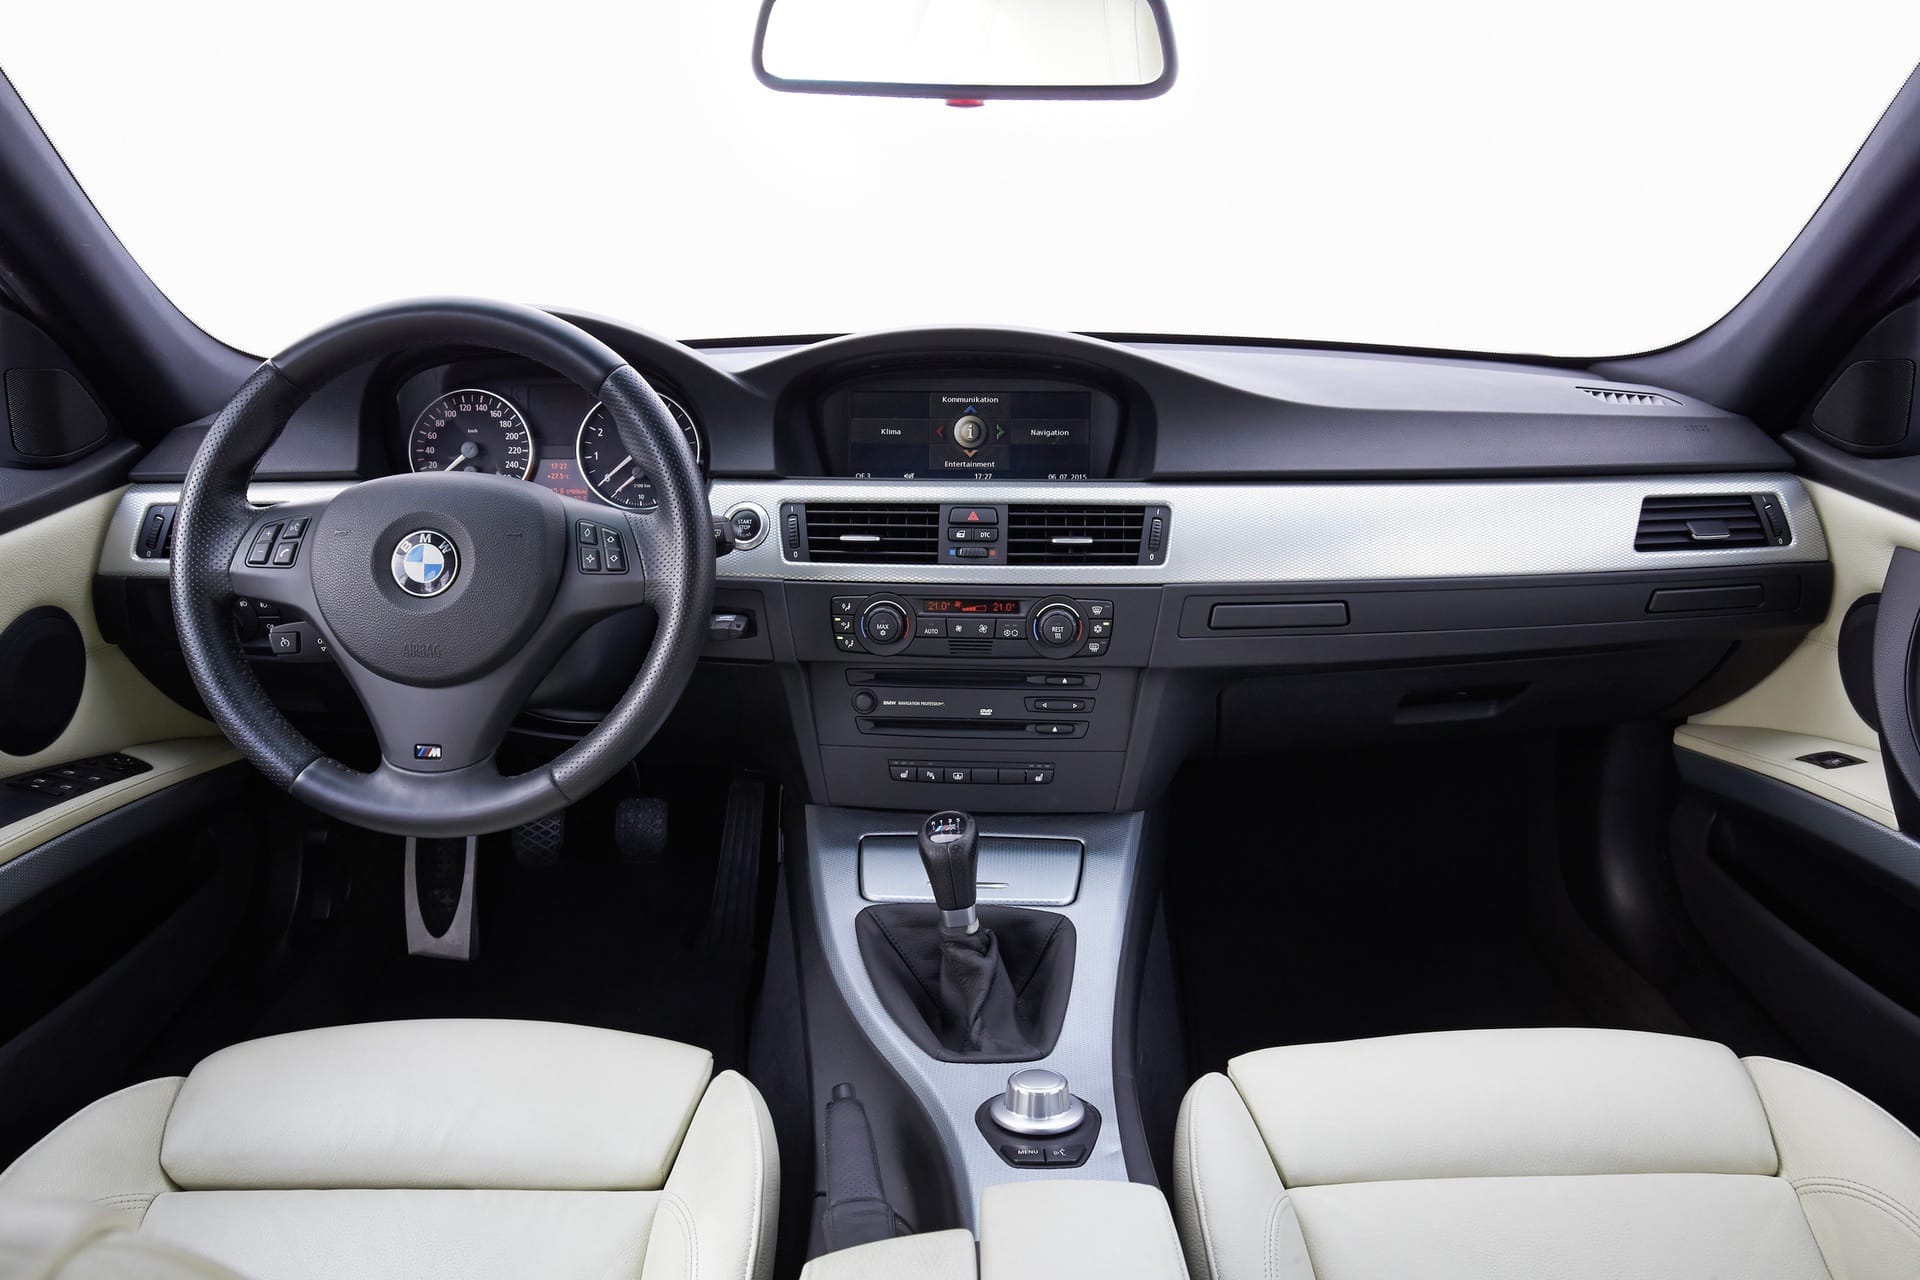
Before mounting the double din stereo, it’s crucial to check its fit in your car’s dashboard. Different car models may have varying dimensions, and not all double din stereos may be compatible. Place the stereo into the dashboard opening and ensure that it fits without any obstructions or gaps. If the fit seems too tight or loose, you may need to consider a different stereo unit or make adjustments to the dash opening.
2.2 Positioning the Mounting Brackets
If the fit of the double din stereo is satisfactory, the next step is to position the mounting brackets. Most double din stereos come with mounting brackets that need to be attached to the sides of the stereo unit. Line up the brackets with the holes or slots on the stereo and ensure they are aligned properly.
Depending on the specific brackets and stereo model, you may need to use screws, bolts, or other securing mechanisms to attach the brackets to the stereo. Refer to the manufacturer’s instructions for the correct installation method.
2.3 Securing the Brackets
Once the mounting brackets are positioned and attached to the double din stereo, it’s time to secure them into the dashboard. Carefully slide the stereo with the attached brackets into the dash opening, making sure the brackets align with the mounting points in the dash.
Use the screws or bolts provided, or the ones removed during the old stereo removal, to secure the brackets to the dash. It’s essential to fasten the brackets securely but not overtighten, as it may cause damage to the stereo or the dash. Follow the manufacturer’s instructions for the proper torque specifications, if provided.
With the double din car stereo securely mounted in the dashboard, you’re ready to move on to the next step of the installation process: wiring the stereo.
Step 2: Mounting the Double Din Car Stereo
2.1 Checking the Fit
Before mounting the new double din car stereo, it is crucial to check its fit in your car’s dashboard. While most double din stereos have a standardized size, there can be slight variations in dimensions among different car models. Follow these steps to ensure a proper fit:
- Begin by placing the double din stereo into the dashboard opening. Carefully slide it in, making sure it sits flush with the surrounding panel.
- Inspect the fit of the stereo by checking for any gaps or obstructions. It should fit snugly without any visible openings or misalignments.
- Ensure that the stereo does not interfere with any other components in the dashboard, such as air vents or control buttons. It should not restrict the functionality or accessibility of other features.
- If you encounter any issues with the fit, such as a tight or loose fit, you may need to consider a different stereo unit or make adjustments to the dashboard opening. It is essential to have a proper fit to ensure a seamless installation.
During this step, it is also a good idea to test the functionality and alignment of the display, buttons, and other controls on the stereo. Verify that all the buttons are easily accessible and the touchscreen operates smoothly.
By carefully checking the fit of the double din car stereo, you can ensure a successful installation and avoid any potential issues down the line.
Step 2: Mounting the Double Din Car Stereo
2.2 Positioning the Mounting Brackets
After checking the fit of the double din car stereo in your car’s dashboard, the next step is to position the mounting brackets. Mounting brackets are typically included with the stereo and are used to secure it in place. Follow these steps to properly position the mounting brackets:
- Take a close look at the mounting brackets that came with your double din car stereo. These brackets are designed to attach to the sides of the stereo unit and provide stability and support during installation.
- Align the brackets with the corresponding holes or slots on the sides of the stereo unit. Make sure the brackets are flush against the stereo and sit securely in place.
- If necessary, use screws, bolts, or other attachment mechanisms provided with the brackets to secure them to the stereo unit. Follow the manufacturer’s instructions if there are specific guidelines for attaching the brackets.
- Ensure that the brackets are evenly positioned on both sides of the stereo and are aligned properly. This will help distribute the weight of the stereo evenly and avoid any imbalance or strain during installation.
While positioning the mounting brackets, it’s important to be gentle and take care not to damage the double din car stereo. Make sure the brackets are securely attached but not overtightened to avoid any potential harm to the stereo or its components.
Once you have properly positioned and attached the mounting brackets to the double din car stereo, you’re ready to move on to the next step of the installation process: securing the brackets in the car’s dashboard.
Step 2: Mounting the Double Din Car Stereo
2.3 Securing the Brackets
After positioning the mounting brackets on the double din car stereo, the next step is to securely fasten them in your car’s dashboard. Follow these steps to ensure a stable and secure installation:
- Gently slide the double din car stereo with the attached brackets into the dashboard opening. Align the brackets with the mounting points in the dash, ensuring a proper fit.
- Using the appropriate screws or bolts, secure the brackets to the dashboard. It’s crucial to fasten them tightly enough to hold the stereo in place, but be careful not to overtighten and risk damaging the brackets or the dashboard.
- Double-check the alignment of the stereo and brackets once they are secured. Make sure the stereo is straight and centered in the dash opening.
- If the double din car stereo has an adjustable angle feature, adjust it to your desired position. This will ensure optimal visibility and accessibility while driving.
During the process of securing the brackets, it’s essential to be mindful of any wires or cables connected to the stereo. Take care not to pinch or damage any cables, as this may affect the performance of the stereo or cause wiring issues.
After securing the brackets, gently tug on the double din car stereo to ensure it is firmly in place. It should not move or wiggle after being properly secured.
With the brackets securely fastened in the dashboard, you have successfully completed the mounting step. Now, it’s time to move on to the next step of the installation process: wiring the double din car stereo.
Step 3: Wiring the Double Din Car Stereo
Now that the double din car stereo is securely mounted in your car’s dashboard, it’s time to connect and wire it. This step involves ensuring a proper connection between the stereo and your car’s electrical system. Follow these steps to successfully wire the double din car stereo:
3.1 Connecting the Wiring Harness
- Locate the wiring harness that came with your double din car stereo. The wiring harness contains a set of colored wires designed to connect to the corresponding wires in your car’s electrical system.
- Match the wires from the wiring harness to the corresponding wires in your car’s harness. The wires are typically color-coded for easier identification. Connect the wires by twisting them together and securing them with electrical tape or crimp connectors.
- Refer to the wiring diagram or the instructions provided with your double din car stereo to ensure the correct connections. Incorrect wiring can result in a loss of functionality or damage to the stereo or your car’s electrical system.
3.2 Attaching the Antenna Adapter
- Locate the antenna adapter that is compatible with your car and the new double din car stereo. This adapter ensures proper reception of radio signals.
- Connect the antenna adapter to the antenna cable in your car. Make sure it is securely attached to provide a reliable connection.
- Connect the other end of the antenna adapter to the corresponding antenna input on the double din car stereo. Ensure a snug connection to maintain optimal reception.
3.3 Connecting the Stereo to the Car Wiring
- Once all the necessary connections are made, carefully slide the double din car stereo into the dashboard opening, ensuring that all the wiring is properly routed.
- Secure the stereo in place by following the steps outlined in the previous section.
- After securing the stereo, double-check all the connections to ensure they are secure and properly insulated. Use electrical tape or heat shrink tubing to cover any exposed wires and prevent short circuits.
With the wiring properly connected and secured, you can now move on to the next step of the installation process: testing and finishing the installation.
Step 3: Wiring the Double Din Car Stereo
3.1 Connecting the Wiring Harness
Connecting the wiring harness is a crucial step in wiring the double din car stereo. The wiring harness allows for a seamless connection between the car’s electrical system and the stereo unit. Follow these steps to properly connect the wiring harness:
- Locate the wiring harness that came with your double din car stereo. The wiring harness consists of a set of colored wires designed to connect to the corresponding wires in your car’s electrical system.
- Refer to the wiring harness diagram provided with your stereo or the instructions manual to determine the function of each wire. The wires are typically color-coded for easy identification. Common wire functions include power, ground, speaker, and accessory connections.
- Strip the insulation off the ends of the wires using a wire stripper. Be careful not to strip too much insulation, as it may cause short circuits or poor connections.
- Match the wires from the wiring harness to the corresponding wires in your car’s wiring harness. Connect them by twisting the bare ends together and securing them with electrical tape or crimp connectors. It’s important to ensure a secure and insulated connection for each wire.
- Once all the wires are connected, double-check the connections to ensure they are properly secured and insulated. Inspect each connection for any loose wires or exposed conductors.
During this process, it is essential to refer to the wiring diagram provided with your double din car stereo or consult a vehicle-specific wiring guide for accurate wire identification. Incorrect wiring can lead to malfunctioning of the stereo or damage to the car’s electrical system.
Once all the wires are properly connected and insulated, you can proceed to the next step of the installation process: attaching the antenna adapter.
Step 3: Wiring the Double Din Car Stereo
3.2 Attaching the Antenna Adapter
Attaching the antenna adapter is a crucial step in wiring the double din car stereo. The antenna adapter ensures proper reception of radio signals when you use the stereo’s radio function. Follow these steps to properly attach the antenna adapter:
- Locate the antenna adapter that is compatible with both your car and the new double din car stereo. The adapter may have a coaxial connector on one end and a standardized antenna connector on the other.
- Find the antenna cable in your car, which is usually located near the stereo opening or in the dashboard.
- Connect one end of the antenna adapter to the antenna cable, making sure it fits securely. You may need to twist it or push it in until you feel it lock into place.
- Take the other end of the antenna adapter with the standardized antenna connector and connect it to the corresponding antenna input on the back of the double din car stereo. Align the connectors properly and push them in until they are fully connected.
- Ensure that the antenna adapter is securely attached to both the car’s antenna cable and the stereo’s antenna input. If the antenna adapter has a locking mechanism, make sure it is engaged.
Properly attaching the antenna adapter is essential for optimal radio reception. A loose or poorly connected adapter may result in a weak or distorted radio signal. Take the time to ensure a secure and snug connection for reliable radio performance.
With the antenna adapter properly attached, you can move on to the next step of the installation process: connecting the double din car stereo to the car wiring.
Step 3: Wiring the Double Din Car Stereo
3.3 Connecting the Stereo to the Car Wiring
Now that you have connected the wiring harness and attached the antenna adapter, it’s time to connect the double din car stereo to the car wiring. This step ensures that all the necessary connections are made between the stereo and the car’s electrical system. Follow these steps to properly connect the stereo to the car wiring:
- With the wiring harness and antenna adapter in place, carefully slide the double din car stereo into the dashboard opening, ensuring that all the wiring is properly routed.
- Align the stereo with the mounting brackets and secure it into place following the instructions provided in the mounting step.
- Double-check all the connections to ensure they are secure and properly insulated. Ensure that no wires are exposed or at risk of coming into contact with any metal parts.
- Take a moment to inspect and organize the wires behind the stereo. Use zip ties or wire clips to secure and organize the wires, ensuring a clean and organized installation.
- Once the connections are secure and organized, test the functionality of the stereo. Turn on the power and check that all the buttons, displays, and features are working properly.
During this step, it’s important to be cautious and gentle to avoid damaging the wiring or causing any electrical shorts. Pay attention to the color-coded wires and follow the wiring diagram provided by the manufacturer for accurate connections.
If everything is functioning correctly, and you are satisfied with the installation, you can proceed to the final step: testing and finishing the installation.
Step 4: Testing and Finishing the Installation
After completing the wiring of your double din car stereo, it’s crucial to test the installation and ensure that everything is functioning properly. Follow these steps to test and finish the installation:
4.1 Checking the Connections
- Inspect all the connections and wiring behind the double din car stereo to ensure that they are secure and properly insulated.
- Check for any loose wires, exposed conductors, or potential sources of electrical shorts. If you find any issues, address them immediately to prevent further problems.
- Make sure that no wires are interfering with any moving parts in the dashboard, such as air vents or control knobs.
4.2 Testing the Stereo
- Turn on the car’s ignition and the new double din car stereo to test its functionality.
- Test all the features of the stereo, including the radio, CD player, Bluetooth connectivity, and any additional functions available.
- Ensure that the touchscreen is responsive and accurately registers your input.
- Adjust the volume, balance, and fade to ensure that the audio is working properly.
- If you have any additional accessories, such as steering wheel controls or backup cameras, test their functionality to ensure they are properly integrated with the new stereo.
4.3 Reassembling the Dash
- If everything is working as expected, reassemble any trim panels or bezels that were removed during the installation process.
- Ensure that the panels are securely in place and fit seamlessly with the dashboard.
- Double-check that no wires are pinched or obstructed by the reassembled panels.
With the testing complete and the dashboard reassembled, take a final look at the installation to ensure its cleanliness and professionalism. Make any necessary adjustments to the stereo’s positioning or wiring if needed.
Congratulations! You’ve successfully installed a double din car stereo. Enjoy the improved sound quality, advanced features, and enhanced driving experience it provides.
Step 4: Testing and Finishing the Installation
4.1 Checking the Connections
Before testing your newly installed double din car stereo, it’s crucial to thoroughly check the connections to ensure they are secure and properly insulated. Follow these steps to check the connections:
- Inspect all the connections behind the double din car stereo, including the wiring harness, antenna adapter, and any other auxiliary connections.
- Check for any loose wires or connectors. Gently tug on each wire to ensure it is securely attached.
- Make sure that all wires are properly insulated. Use electrical tape or heat shrink tubing to cover any exposed wires or connections.
- Ensure that no wires are pinched or at risk of getting caught on any moving parts in the dashboard, such as air vents or control knobs.
- Inspect the wiring behind the stereo to ensure it is organized and free from any potential sources of interference.
By carefully checking the connections, you can identify and address any issues that may affect the performance or longevity of your double din car stereo. It is important to resolve any loose or exposed connections before proceeding with testing.
Once you are satisfied that all the connections are secure and properly insulated, you can move on to testing the functionality of your double din car stereo.
Step 4: Testing and Finishing the Installation
4.2 Testing the Stereo
After checking the connections in your double din car stereo installation, it’s time to test the functionality of the stereo and ensure that all features are working properly. Follow these steps to test your new stereo:
- Turn on the car’s ignition and power up the double din car stereo.
- Test the radio function by tuning into different stations. Ensure that the reception is clear and the stereo can retain radio presets.
- If your stereo has a CD/DVD player, insert a disc and check that it plays smoothly without any skipping or distortion.
- Connect your smartphone or other audio devices via Bluetooth and test the audio playback. Check that the sound quality is clear and the volume levels are adjustable.
- If the stereo has auxiliary input ports, connect a compatible device and test the audio playback through these inputs.
- Verify that the touchscreen display is responsive and accurately registers your input, whether it’s selecting music, adjusting settings, or navigating menus.
- Adjust the volume, balance, and fade controls to ensure they are functioning as expected.
- If you have any additional accessories, such as steering wheel controls or backup cameras, test their integration with the new stereo and ensure they are working properly.
During the testing process, listen to the audio carefully and pay attention to any distortion, imbalance, or abnormal behavior. If anything seems off, double-check the connections, settings, and configuration options to rectify the issue.
Testing the stereo thoroughly ensures that all its features are functioning as intended, providing you with an optimal audio and entertainment experience while driving.
Once you are satisfied with the performance of your double din car stereo, you can proceed to the final step: reassembling the dashboard.
Step 4: Testing and Finishing the Installation
4.3 Reassembling the Dash
After successfully testing your double din car stereo and confirming that all its features are working properly, it’s time to reassemble the dashboard. Follow these steps to complete the installation:
- Retrieve the trim panels or bezels that were removed earlier in the installation process.
- Carefully align the panels with the openings in the dashboard.
- Gently push or snap the panels back into place, ensuring that they fit securely without any gaps or misalignments.
- Double-check that all the clips, screws, or fasteners are properly engaged, and the panels are firmly in place.
- If necessary, reconnect any electrical connectors or cables for features like climate control or other dashboard components.
While reassembling the dash, be mindful of any wires or cables that may be in the way. Ensure that no wires are pinched or caught between the panels and the dashboard to prevent potential damage or interference with the stereo or any other components.
Once the trim panels are reassembled, take a moment to inspect the overall appearance of the installation. Ensure that the panels fit flush and seamlessly with the surrounding dashboard, giving a clean and professional finish to the installation.
With the dash fully reassembled, take another moment to test the functionality of any buttons, knobs, or controls that were reconnected. Verify that they operate smoothly and respond correctly to your inputs.
Congratulations! You have successfully completed the installation of your double din car stereo. Enjoy the enhanced audio experience and the features it offers as you hit the road.
Conclusion
Installing a double din car stereo can greatly enhance your driving experience by providing you with advanced features, improved sound quality, and seamless connectivity options. By following the step-by-step guide outlined in this article, you can successfully upgrade your car’s stereo system.
Throughout the installation process, it’s important to gather all the necessary tools and materials, familiarize yourself with the steps involved, and ensure a secure and proper connection of the wiring harness and antenna adapter. Taking the time to check the fit, position and secure the mounting brackets, and carefully connect the wiring will help ensure a successful installation.
After completing the wiring, it’s crucial to test the stereo and verify that all its features are functioning as expected. Check the connections, test the radio, CD player, Bluetooth connectivity, and any additional features or accessories your stereo may have. Confirm that the touchscreen display is responsive and that the sound quality and volume levels are satisfactory.
Once everything is tested and working properly, reassemble the dashboard, making sure that all trim panels are securely in place and that the overall aesthetic is clean and professional. Take the time to double-check the functionality of any reconnected buttons, knobs, or controls.
By following these steps and paying attention to detail, you can successfully install a double din car stereo and enjoy a more modern and enjoyable driving experience. Whether you’re a music enthusiast, need advanced navigation features, or simply want to upgrade your car’s entertainment system, a well-installed double din car stereo can provide you with the functionality and convenience you desire.
Remember, if you encounter any difficulties or are unsure about any step of the installation process, it is always recommended to consult the user manual provided with your stereo unit or seek professional assistance.
Now, it’s time to hit the road and enjoy your new double din car stereo! Safe travels!