Home>Production & Technology>Stereo>How To Install A Car Stereo System
Stereo
How To Install A Car Stereo System
Modified: January 22, 2024
Learn how to install a car stereo system and upgrade your audio experience. Follow our step-by-step guide to install a new stereo for maximum sound quality and enjoyment.
(Many of the links in this article redirect to a specific reviewed product. Your purchase of these products through affiliate links helps to generate commission for AudioLover.com, at no extra cost. Learn more)
Table of Contents
Introduction
Installing a new car stereo system can greatly enhance the driving experience by providing upgraded audio quality and additional features. Whether you’re a music lover or just want to stay connected with hands-free calling and Bluetooth connectivity, a new car stereo is a great investment. However, the process of installing a car stereo may seem daunting for those who are not familiar with automotive electronics.
In this comprehensive guide, we will walk you through the step-by-step process of installing a car stereo system. From gathering the necessary tools and materials to connecting the wiring harnesses, we’ll cover everything you need to know to successfully install your new car stereo system.
Before we begin, it’s important to note that every car model may have specific requirements and variations in the installation process. This guide provides a general overview, but it’s always a good idea to refer to the instructions provided with your specific car stereo and consult a professional if you’re unsure about any steps.
Now, let’s dive in and get started with the first step!
Step 1: Gather the necessary tools and materials
Before you begin the car stereo installation process, it’s important to ensure that you have all the necessary tools and materials at hand. Having everything prepared will make the process much more efficient and smooth. Here’s a list of the essential tools and materials you’ll need:
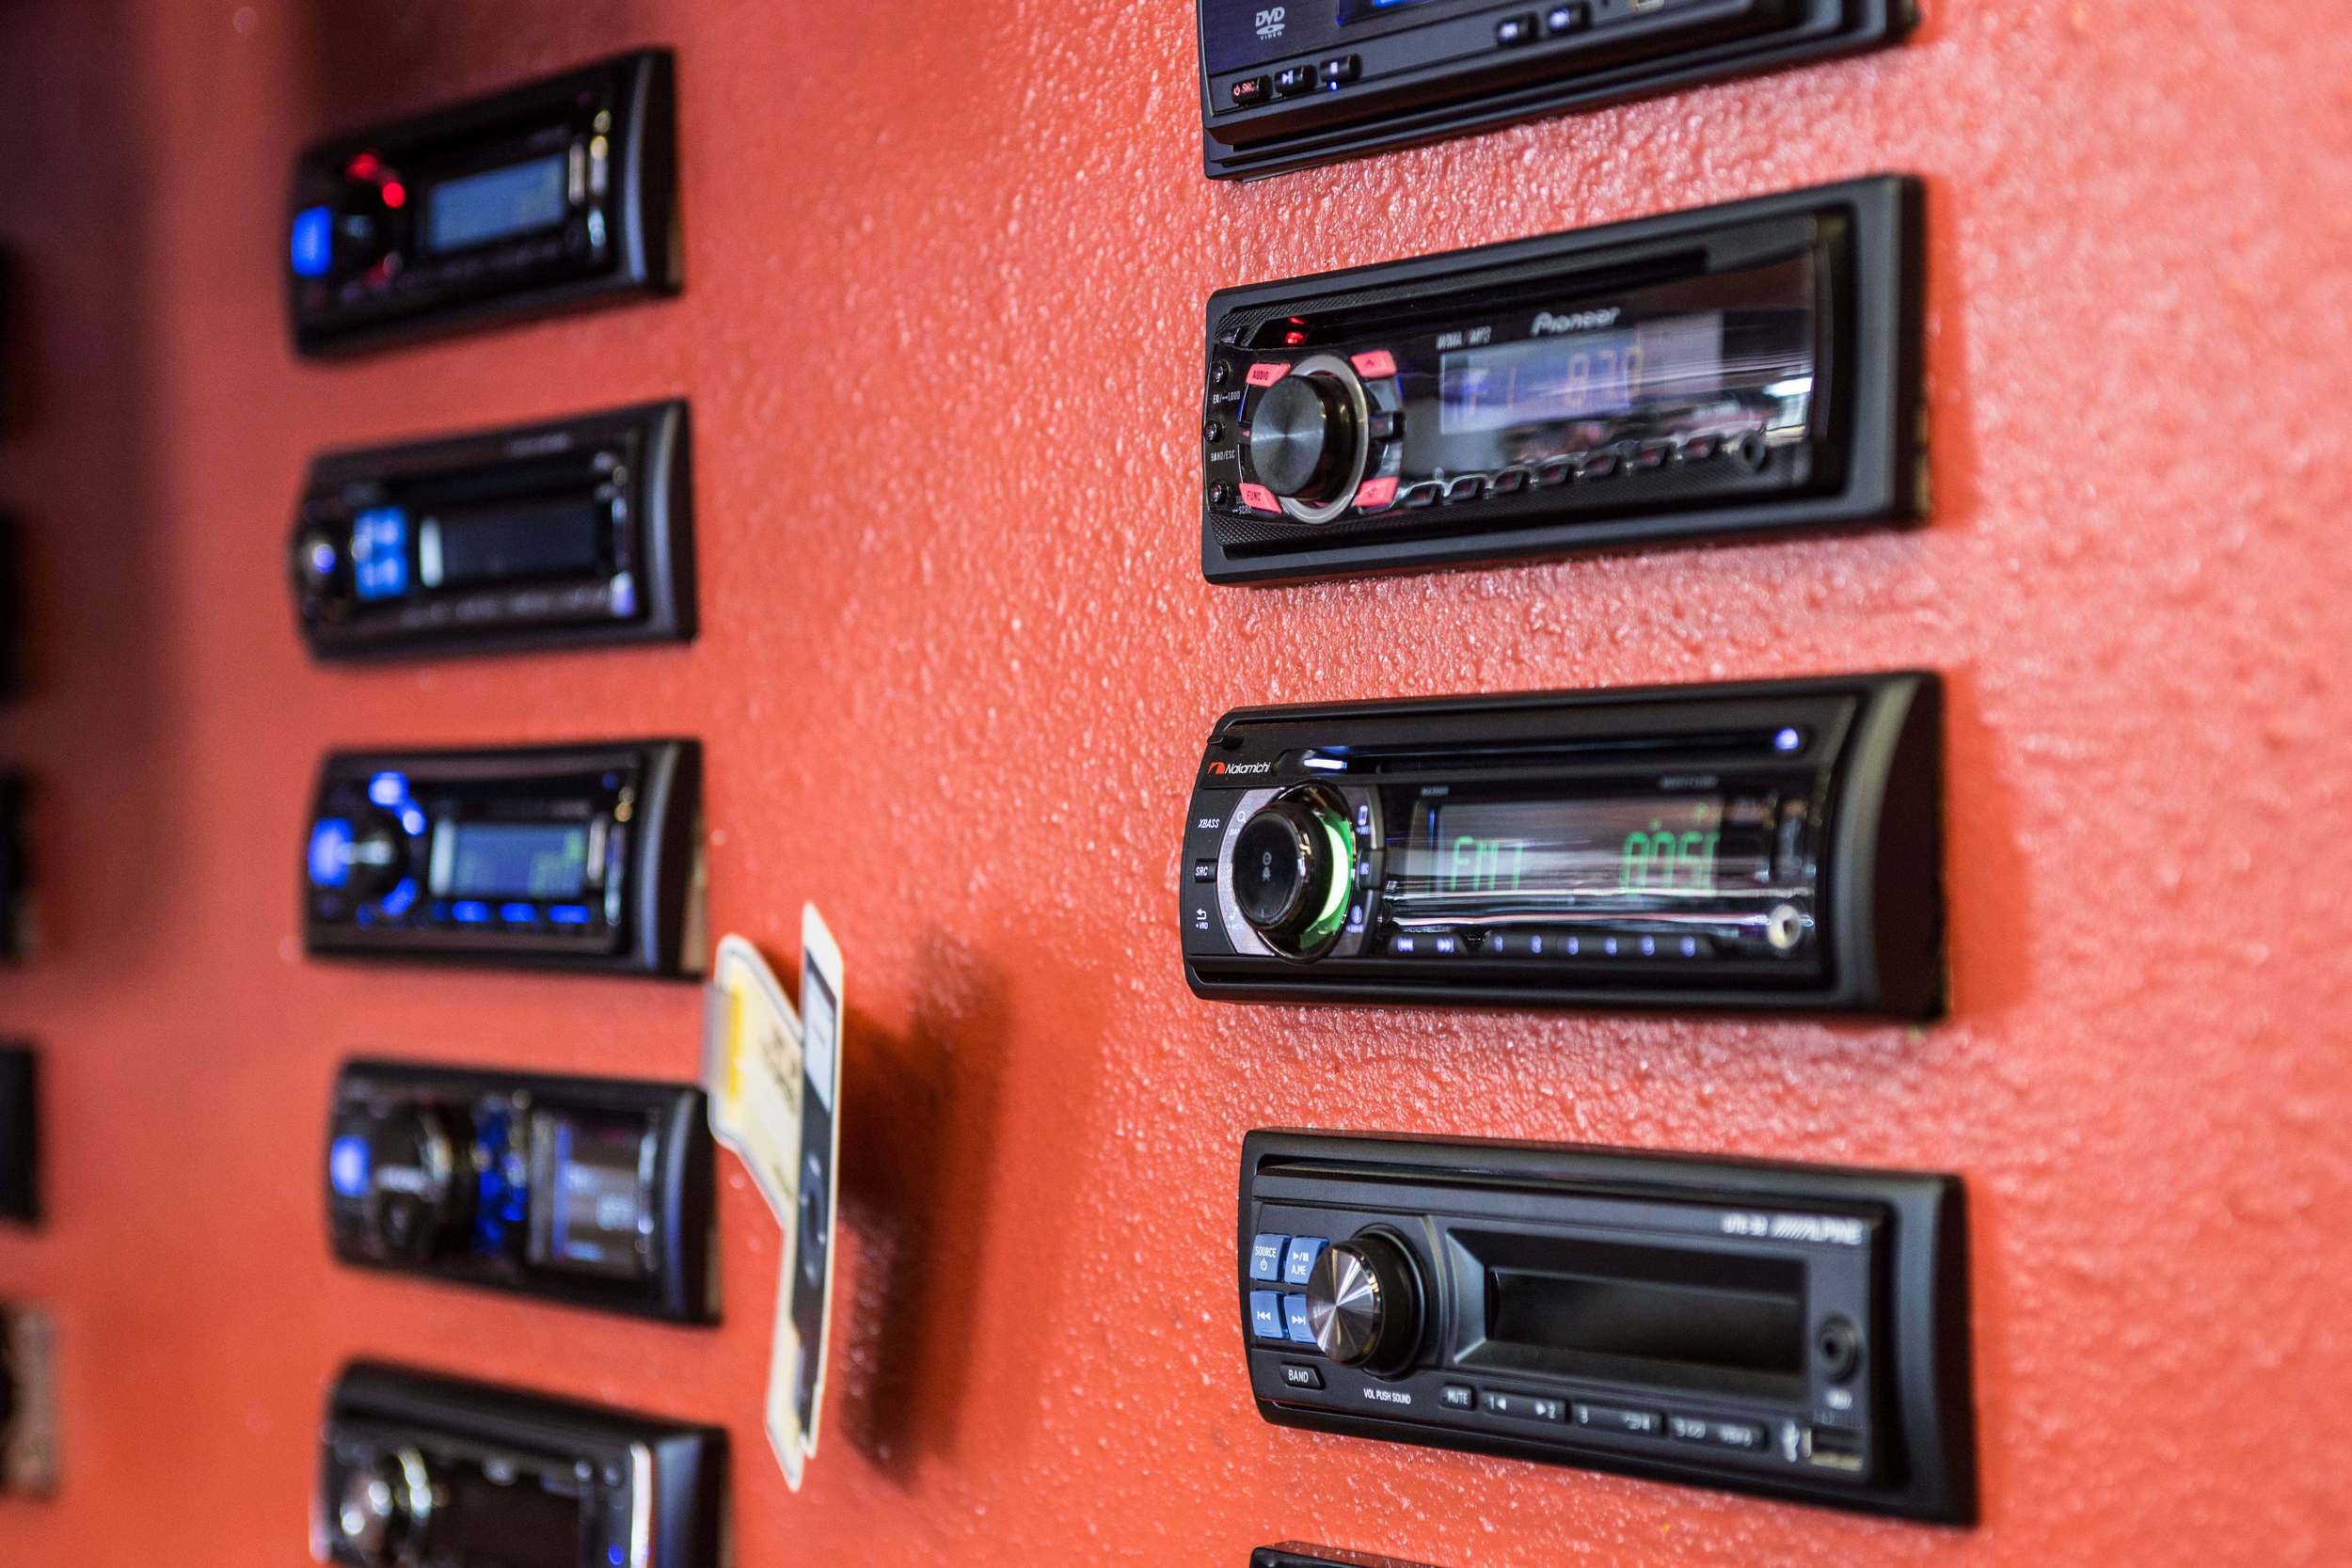
- Car stereo unit: Choose a car stereo unit that is compatible with your vehicle’s make and model. Consider the features you want, such as Bluetooth connectivity, navigation, or USB ports.
- Metal panel removal tool: This tool is used to pry off panels and trim pieces without damaging them.
- Trim removal tool: Similar to the metal panel removal tool, this tool is designed to remove trim pieces without causing any scratches or dents.
- Wire strippers: These are necessary for stripping the insulation off the wires to make proper connections.
- Wire connectors: Use wire connectors to secure the connections between wires and terminals.
- Electrical tape: This is useful for insulating and protecting exposed wires.
- Screwdriver set: A set of screwdrivers with different sizes and types will be handy for removing and installing screws.
- Socket set: Depending on your vehicle, you may need a socket set to remove bolts and screws.
- Crimping tool: This tool is necessary for crimping wires together securely.
- Mounting kit: A mounting kit is required to properly secure the new car stereo unit into your vehicle’s dashboard. Make sure it is compatible with your specific vehicle.
- Wiring harness: A wiring harness is essential for connecting your new car stereo to your vehicle’s electrical system. It simplifies the installation process by providing plug-and-play connections.
Make sure to check the instructions provided with your car stereo unit for any additional tools or materials that may be required. Having all the necessary tools and materials ready before you start will save you time and frustration during the installation process.
Step 2: Disconnect the old stereo system
Before you can install your new car stereo, you’ll need to disconnect the old system. Here’s a step-by-step guide to help you with this process:
- Disconnect the negative terminal of your car’s battery: This is an important safety step to prevent any electrical damage or short circuits. Locate the negative terminal of your car’s battery and use a wrench or socket set to loosen and remove the negative cable.
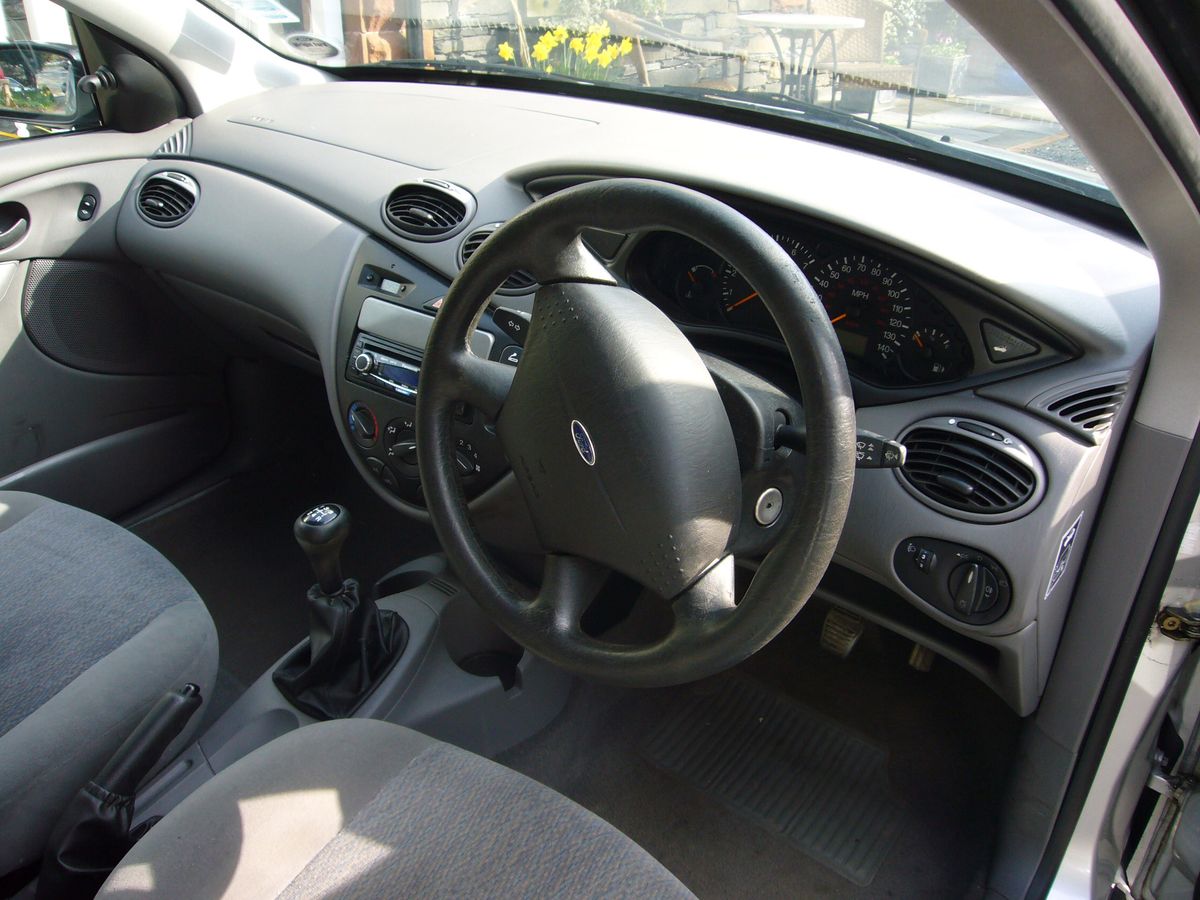
- Remove the trim panel: Carefully pry off the trim panel surrounding the old stereo using a metal panel removal tool or trim removal tool. Be gentle to avoid causing any damage to the panels or trim pieces.
- Unscrew and remove the old stereo unit: Locate the screws or bolts securing the old stereo unit in place. Use a screwdriver or socket set to remove them. Once the screws are removed, gently pull the stereo unit out of the dashboard.
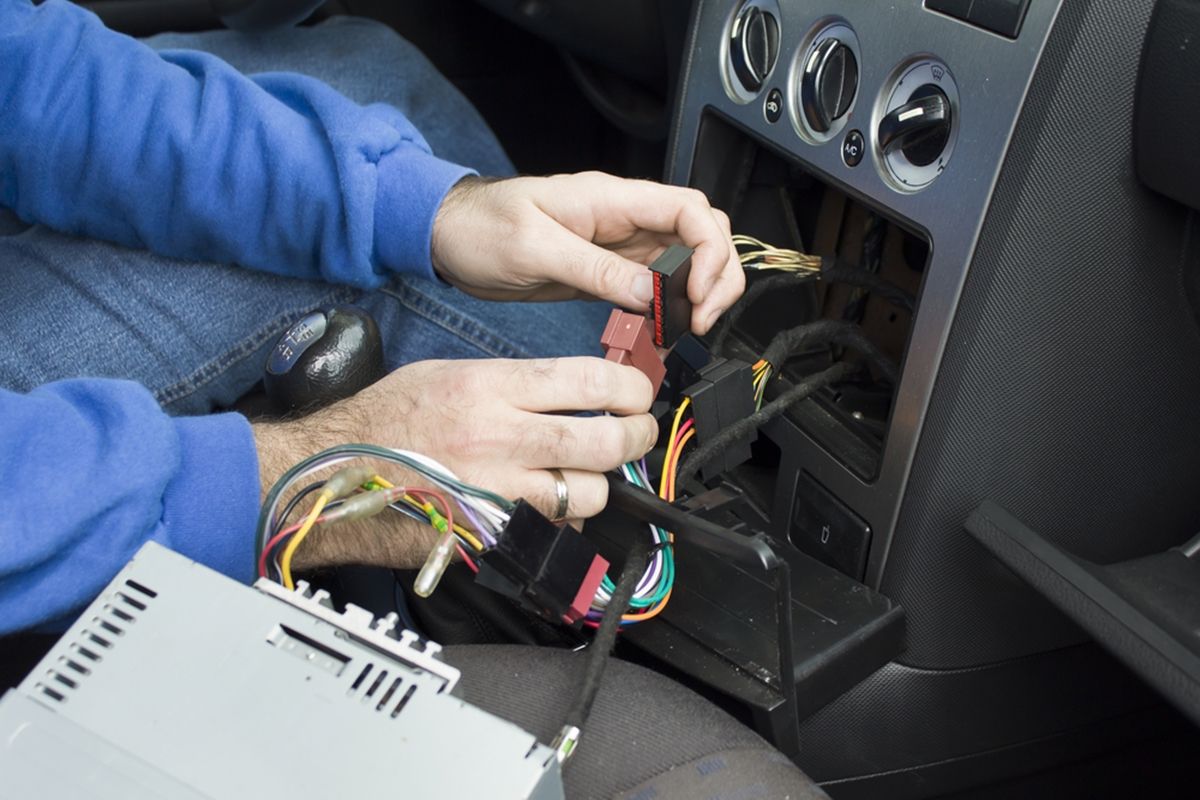
- Disconnect the wiring harness and antenna: Behind the stereo unit, you’ll find a wiring harness and antenna connection. Carefully disconnect these connections by pressing the release tabs and pulling them apart. Take note of the connections and their locations for easier installation of the new stereo.
- Remove any additional components: Some cars may have additional components, such as external amplifiers or CD changers, connected to the stereo system. If your car has any of these, disconnect them as well.
Keep in mind that the steps mentioned above may vary depending on your car’s make and model. Refer to the instructions provided with your old stereo unit or consult a professional if you’re unsure about how to disconnect the old system properly.
Once you have successfully disconnected the old stereo system, you’re ready to move on to the next step of preparing the mounting kit and wiring harness for the installation of your new car stereo system.
Step 3: Prepare the mounting kit and wiring harness
Preparing the mounting kit and wiring harness is an essential step in installing a new car stereo system. It ensures that the new stereo unit fits securely into your vehicle’s dashboard and connects seamlessly to the existing wiring. Follow these steps to prepare the mounting kit and wiring harness:
- Choose the right mounting kit: Select a mounting kit that is compatible with your specific car make and model. These kits are designed to fill the gaps between the new stereo unit and the dashboard, providing a secure and professional-looking installation.
- Assemble the mounting kit: Carefully follow the instructions provided with the mounting kit to assemble the necessary brackets and trim pieces. Make sure all the components are securely attached, as this will impact the stability of the new stereo unit once installed.
- Connect the wiring harness: Match the wire colors of the new stereo unit’s wiring harness with those of the vehicle’s wiring harness. Use crimp connectors or soldering to make secure connections between the wires. If you have a wiring harness adapter, connect the adapter to the new stereo’s harness before connecting it to the vehicle’s harness.
- Test the connections: After connecting the wiring harnesses, it’s important to test the connections to ensure proper functionality. Reconnect the negative battery terminal and turn on the new stereo unit. Check if all the speakers are working, the lights on the unit are functioning correctly, and any additional features are operational.
- Secure the wiring harness: Once you have tested the connections and everything is working properly, secure the wiring harnesses by using zip ties or electrical tape. This helps to keep the wires organized and prevents them from coming loose during driving.
By properly preparing the mounting kit and wiring harness, you’ll be one step closer to successfully installing your new car stereo system. With these elements ready, you’re now ready to move on to the next step – installing the new head unit.
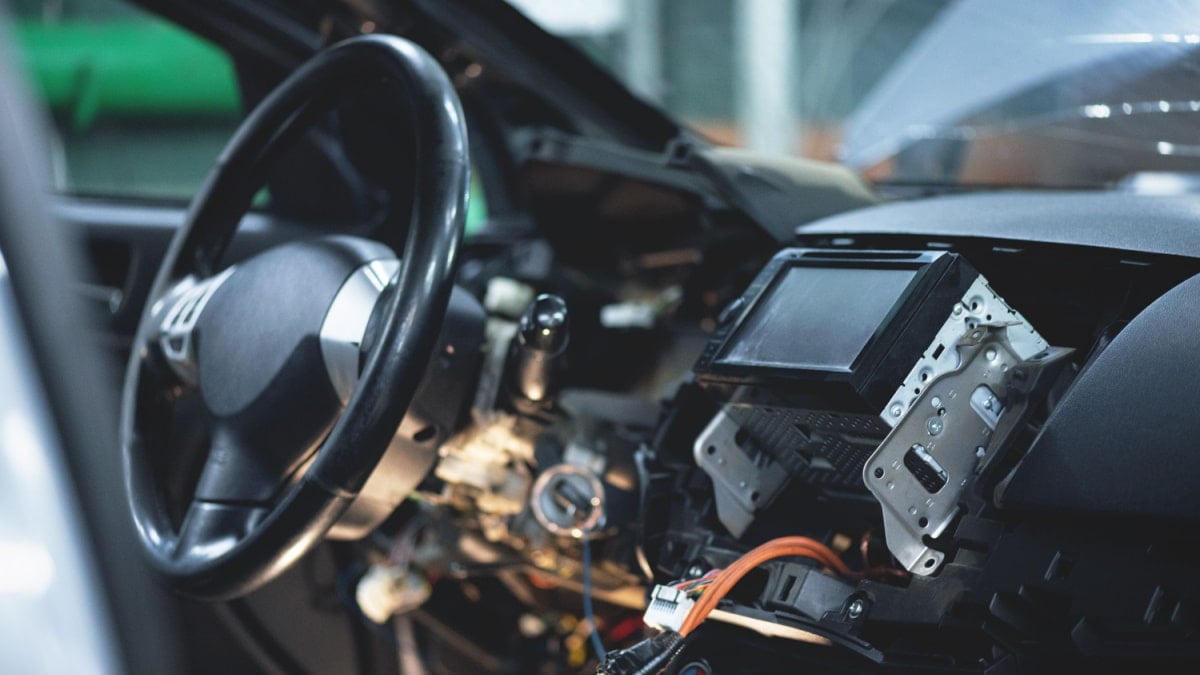
Step 4: Install the new head unit
Installing the new head unit is a crucial step in upgrading your car stereo system. Follow these steps to properly install the new head unit:
- Prepare the new head unit: Before installing the new head unit, remove any protective covers or packaging. Familiarize yourself with the unit’s features and functions by referring to the instruction manual provided.
- Insert the new head unit into the mounting kit: Slide the new head unit into the prepared mounting kit in your vehicle’s dashboard. Ensure a snug fit to prevent any rattling or movement while driving.
- Secure the head unit in place: Use the screws or tabs provided with the mounting kit to secure the head unit in place. Follow the instructions specific to your mounting kit to ensure a secure and stable installation.
- Reattach the trim panel: Place the trim panel back into position around the newly installed head unit. Ensure that it aligns properly with the rest of the dashboard and securely snaps back into place.
- Test the new head unit: Reconnect the negative battery terminal and power on the new head unit. Test all the functions of the head unit, including audio playback, touchscreen functionality, and any additional features. Adjust any settings to your preference.
Keep in mind that the installation process may vary depending on your specific car make and model, as well as the head unit you’ve chosen. Always refer to the instructions provided with the new head unit and the mounting kit for any additional steps or considerations specific to your installation.
Once you have successfully installed the new head unit, you’re ready to move on to the next step – connecting the wiring harnesses.
Step 5: Connect the wiring harnesses
Connecting the wiring harnesses is a crucial step in the installation of a new car stereo system. It allows for the proper electrical connections between the new head unit and your vehicle’s wiring system. Follow these steps to connect the wiring harnesses:
- Identify the wiring harnesses: Locate the wiring harness that is compatible with your specific vehicle and the one that came with your new head unit. The wiring harness from the vehicle should match the colors and pin-outs of the one from the head unit.
- Match the wire colors: Match the wire colors from the wiring harnesses together, ensuring the positive (+) and negative (-) connections are correctly aligned. Consult the wiring diagrams provided with your new head unit and the vehicle’s manual if necessary.
- Make the connections: There are multiple ways to connect the wires, such as using crimp connectors or soldering. Follow the best practice recommended by the instructions provided. Ensure the connections are secure and check for any loose or exposed wires.
- Secure the connections: After connecting the wires, use electrical tape or heat shrink tubing to insulate and secure the connections. This helps prevent shorts and ensures a reliable electrical connection.
- Double-check the connections: Before proceeding, double-check all the connections to make sure they are properly secured and insulated. This will help prevent any issues with the new head unit or the vehicle’s electrical system.
It’s important to note that some new head units may require additional connections, such as for power antennas, steering wheel controls, or backup cameras. Refer to the instructions provided with your specific head unit for any additional wiring requirements or specifications.
Once you have successfully connected the wiring harnesses, you’re ready to move on to the next step – testing and reassembling the car stereo system.
Step 6: Test and reassemble the car stereo system
After completing the installation and connection of your new car stereo system, it’s important to test its functionality and finalize the reassembly of your car’s interior. Follow these steps to ensure everything is working properly:
- Reconnect the negative battery terminal: Before testing, reconnect the negative battery terminal that was disconnected earlier. This will restore power to the vehicle’s electrical system.
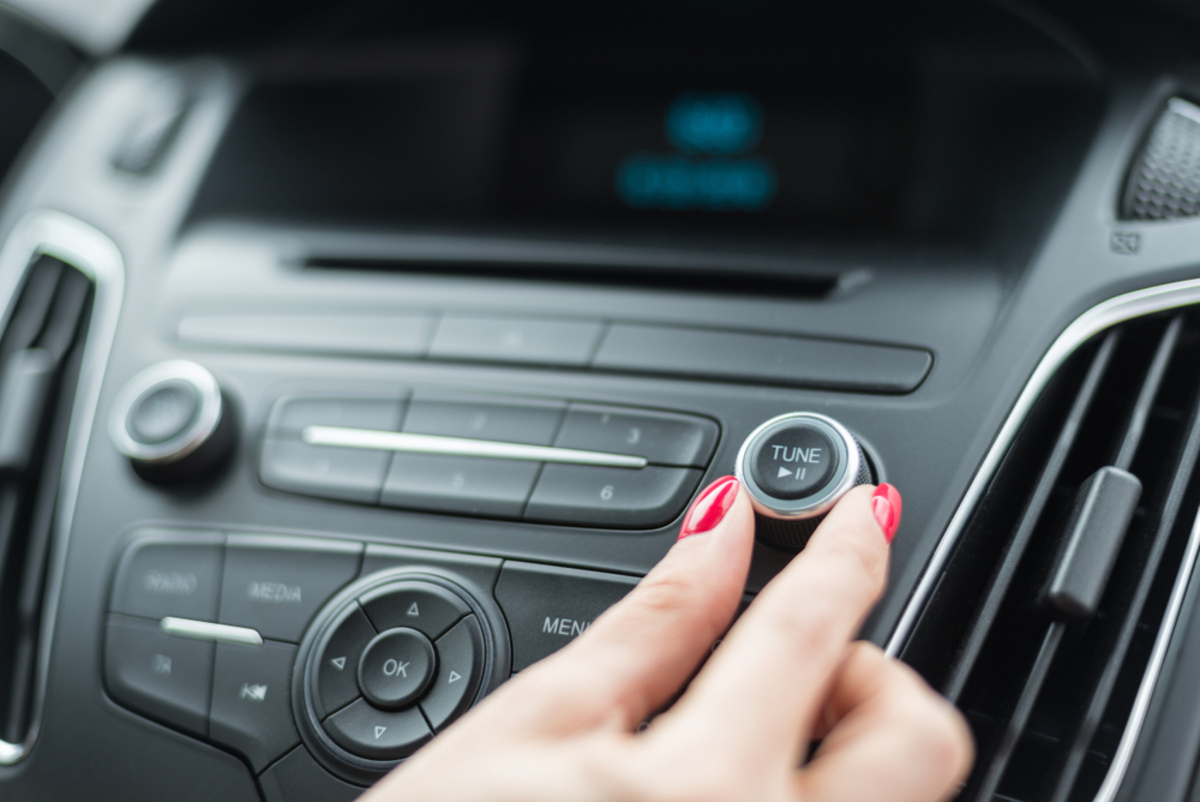
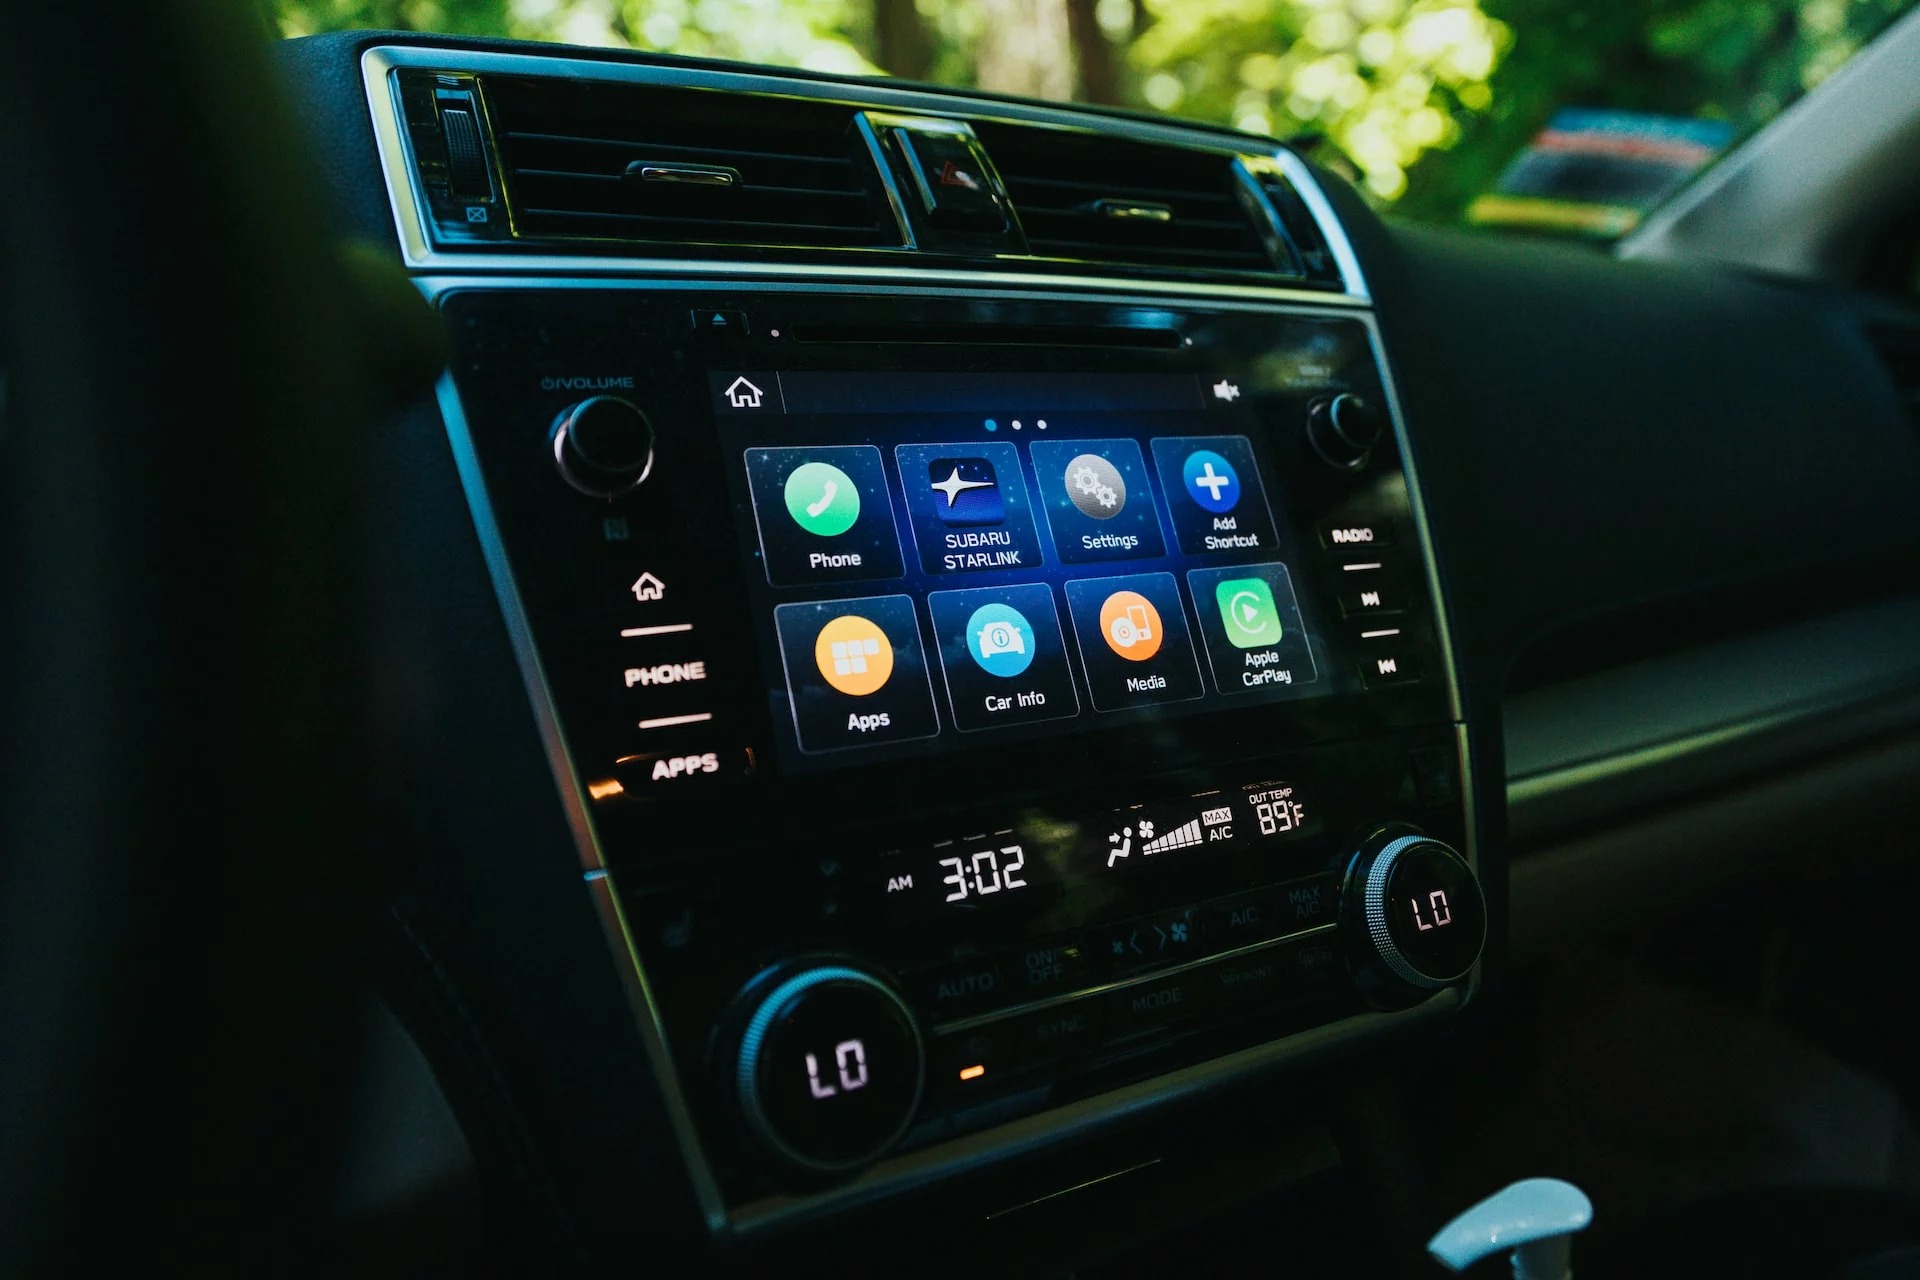
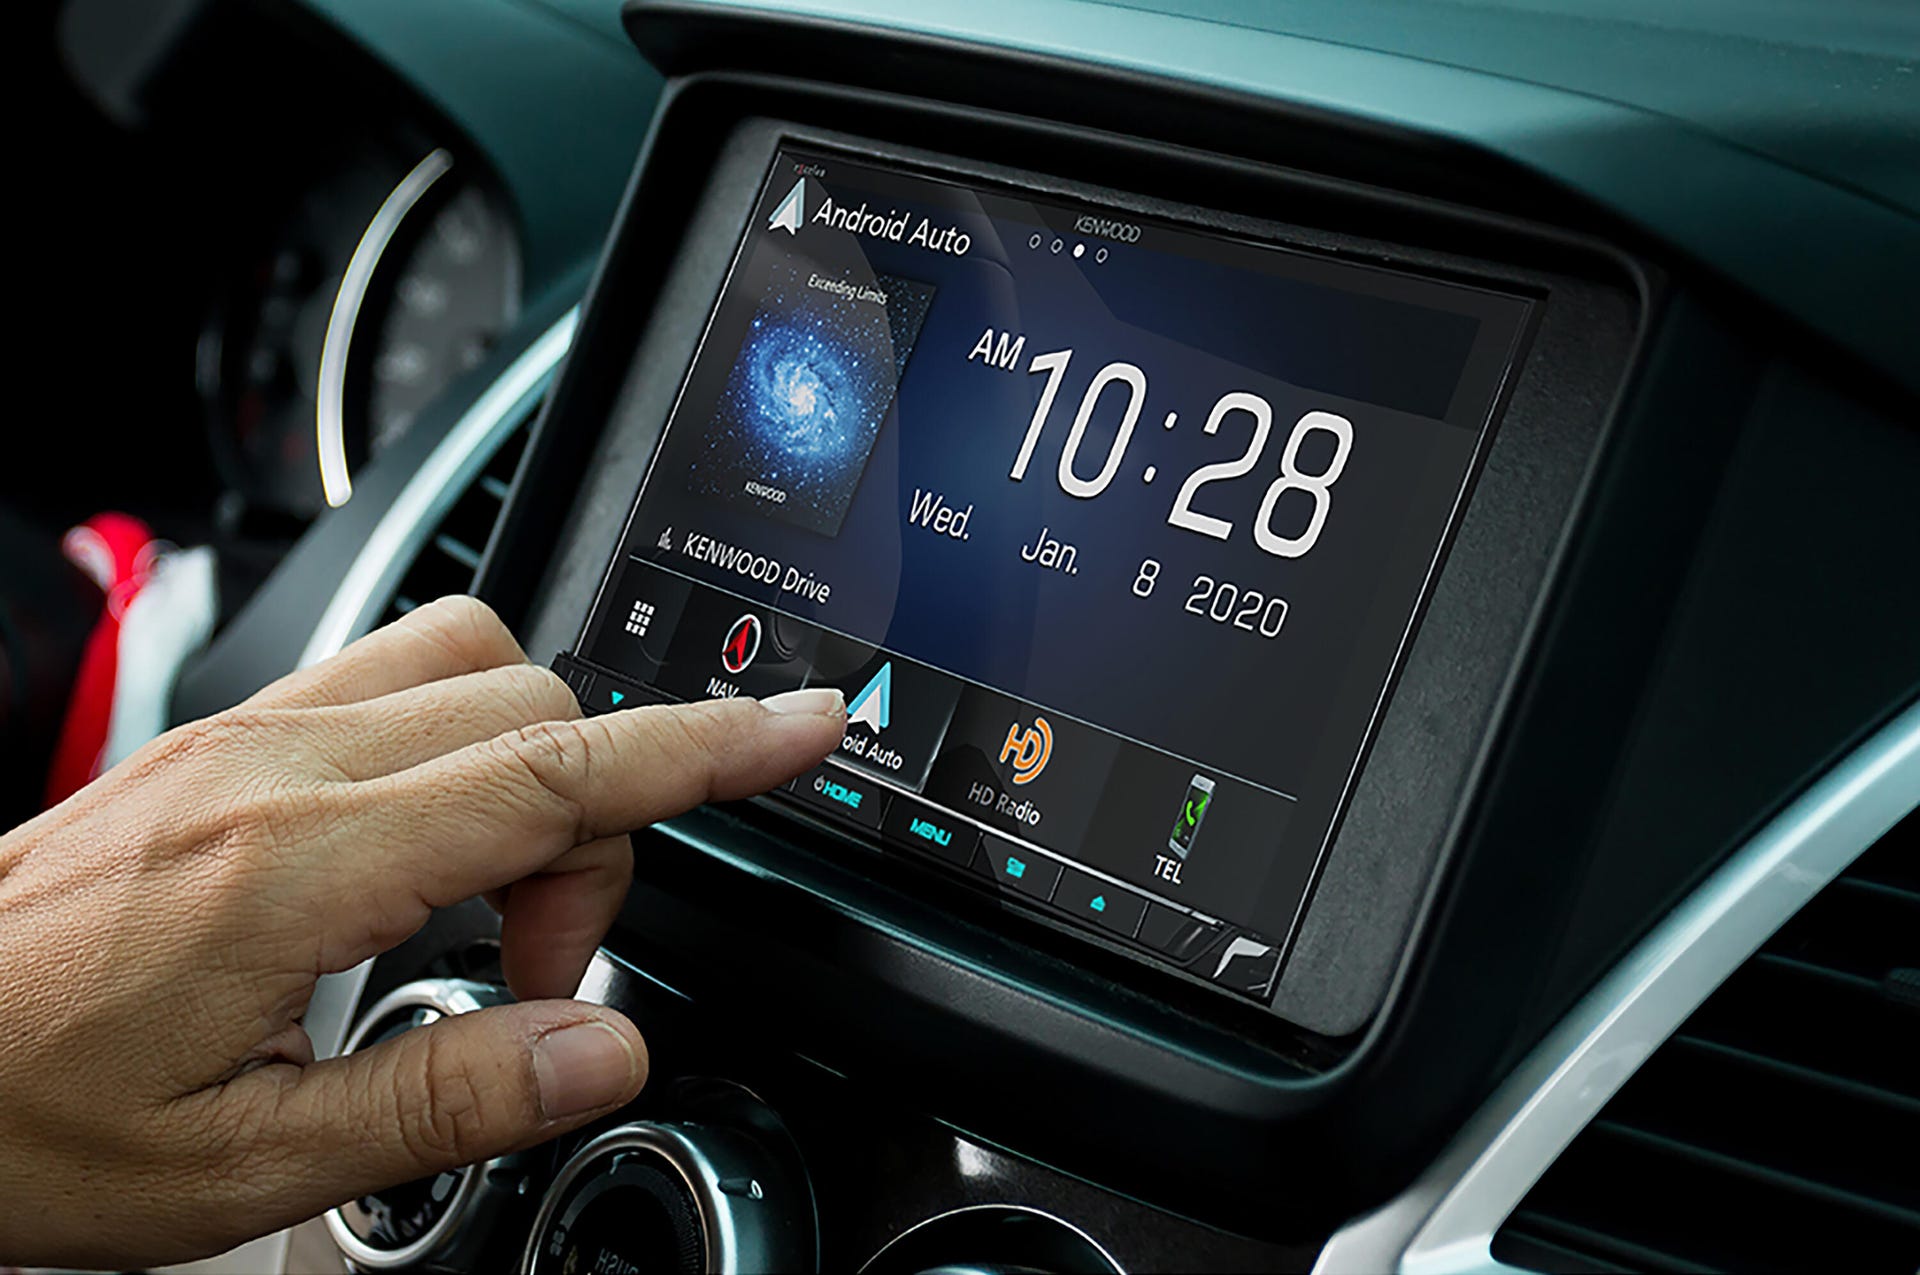
- Power on the new stereo system: Turn on the new car stereo system and check if it powers up correctly. Ensure that the display is clear and all buttons and knobs are functioning.
- Test audio playback: Play music through the new stereo system and listen for any distortion, imbalance, or lack of clarity. Adjust the audio settings as needed to achieve the desired sound quality.
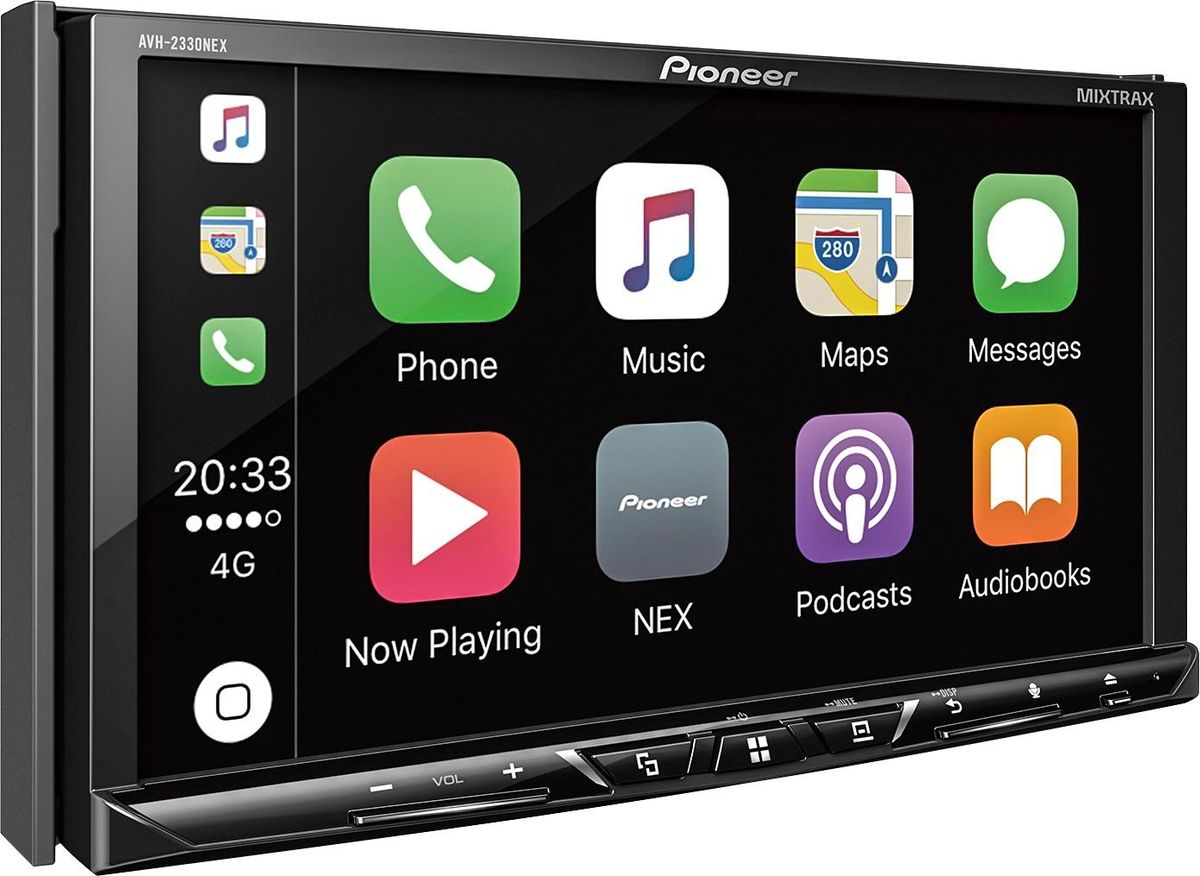
- Check all functions: Test all the functions and features of the new car stereo system, including CD or USB playback, Bluetooth connectivity, navigation (if applicable), and any other features specific to your unit.
- Verify speaker connections: Pay close attention to the sound coming from each speaker to ensure that they are properly connected and functioning correctly. Adjust the balance and fade settings to ensure even sound distribution.
- Ensure proper fit and security: Double-check that the new head unit is securely mounted and fits properly within the dash. Confirm that the trim panel and any other interior pieces have been reassembled correctly and are flush with the dashboard.
If you encounter any issues during the testing phase, refer to the troubleshooting section in the instruction manual for your new car stereo system. Additionally, ensure that all connections are securely in place and that the wiring harnesses are properly connected.
Once you have confirmed that everything is functioning correctly, you can proceed with reassembling any remaining interior components of your car. This includes securing panels, trim pieces, and any other parts that were removed during the installation process.
Congratulations! You have successfully installed and tested your new car stereo system. Enjoy your enhanced audio experience and the additional features that come with it.
Conclusion
Installing a new car stereo system may seem like a daunting task, but with the right tools, materials, and guidance, it can be a rewarding and enjoyable experience. By following the step-by-step process outlined in this guide, you can upgrade your car’s audio system and enjoy enhanced sound quality and additional features.
Remember to gather all the necessary tools and materials before starting the installation process, disconnect the old stereo system properly, prepare the mounting kit and wiring harness, and install the new head unit securely. Take the time to connect the wiring harnesses correctly, ensuring a reliable and proper electrical connection.
After completing the installation, it’s crucial to test the functionality of the new car stereo system. Verify that all the features, audio playback, and connections are working as expected. Reassemble your car’s interior components carefully, ensuring a secure and professional-looking installation.
If you encounter any issues or feel unsure about any step, it is always a good idea to consult the instructions provided with your specific car stereo system or seek professional assistance.
Now that you have successfully installed your new car stereo system, it’s time to hit the road and enjoy your favorite tunes or take advantage of the advanced features that come with it. Whether you’re embarking on a long road trip or just running errands around town, your new car stereo system will enhance your driving experience and provide enjoyment for years to come.